Prerequisites
What you need before provisioning clusters
EKS Manager deploys into infrastructure you own. The network, the DNS zones and the directory are yours to provide; the bootstrap assumes they exist and creates none of them.
Licence and accounts
- A licence for EKS ManagerBought through the AWS Marketplace.
- An AWS shared services accountHosts the agent, the bootstrap pipeline and the CodeBuild automations, and the configuration they write.
- An OU containing only the accounts and regions you intend to enrol for EKS cluster deploymentThe role the agent uses is deployed by a StackSet, and StackSets target OUs rather than individual accounts.
- AWS Organizations, with a role the bootstrap can assume into shared services
AWSControlTowerExecutionif that account came from Control Tower, orOrganizationAccountAccessRoleif it was created with plain Organizations. - An infrastructure administrator with access to the management accountThe bootstrap is run from there.
- A Graph administrator in your Entra directoryNeeded for the SAML SSO and Headlamp applications.
GitHub
- A GitHub account with Actions enabledWorkflows carry the bootstrap upload, prefix lists and Let's Encrypt, as well as your own CI/CD runners.
- A GitHub organisation administrator to run Admin SetupEKS Manager walks that person through creating several GitHub App manifests, which they approve. One of them clones the bootstrap into a private repository in your organisation.
- A private continuous-deployment repositoryArgoCD syncs manifests to your clusters from it.
Network — yours to provide
- A VPC and subnetsSupplied as inputs; never created for you.
- A stable set of public egress addresses, and the list of themEverything reaching the EKS Manager API passes an IP allowlist, so the addresses have to be known in advance and stay the same.
- Internet access for the agent and for the clustersThe AWS agent reaches the server over PrivateLink, but both still need outbound internet.
- Connectivity between the agents and the clusters
DNS — yours to provide
- A public and a private hosted zone per environmentThe public zone is where Let's Encrypt reads the DNS-01 challenge; the private zone is what makes an internal load balancer reachable by name.
- Delegation from your parent domainAdd the zone's nameservers to
aws.<yourdomain>, so everything beneath it is managed here. - The shared services VPC associated with each private zoneA private zone answers only through the resolver of a VPC associated with it. Peering carries packets, not names.
- A certificate role in the account that owns each zone
- An external-dns role in the same accountNamed under
roles.external_dns, and a different mechanism: external-dns runs inside the cluster, so it uses Pod Identity rather than a cross-account assume. Its trust names a service and needssts:TagSessionalongsidests:AssumeRole. It must also carry the tagEKSManager = PassRole, or the pod identity association cannot be created. Its permissions cover the private zone, where cluster ingress hostnames are published. → trust, policy - Both roles are yours to createNothing in the bootstrap makes them, deliberately: they live where the zone lives, in accounts that are yours.
Tooling
- Terraform 1.10 or laterThe modules setup-pipeline applies need 1.10; the build container installs 1.11 for the root module.
- The AWS CLI
- The Azure CLIThe identity bootstrap runs through
az. - bash, or PowerShell 7.1 or laterNot 5.1 and not 7.0 — the GitHub App's JWT signing needs a .NET 5 API.
Quick Install
From purchase to a configured installation
Buy EKS Manager on the AWS Marketplace. The subscription takes you to the landing page on eksmanager.io.
Your installation is then built for you, and an email tells you it is ready. Subject Welcome to GitOps Manager, carrying its address and a temporary password.
Check spam. It comes from Amazon Cognito at no-reply@verificationemail.com, not from us.
Sign in and you land on Settings. The password must be twenty characters or more, and multi-factor authentication is set up on that first sign-in.
That first account is a break-glass administrator, not how your team signs in. Configure SSO from Settings and everyone else arrives through your own directory. Keep the break-glass credentials safe — they are the way back in if SSO fails.
Everything after that is in the Admin Guide.
Getting Started
What EKS Manager gives you
This section assumes Prerequisites and Admin Setup are complete — your environment is ready and cloud agents are bootstrapped.
EKS Manager combines External DNS, Traefik, Argo and ArgoCD with ECK for monitoring, plus a set of open-source CI/CD actions and workflows — giving you everything needed to stand up global CI/CD pipelines on AWS in as little as a day.
Continue with:
Admin Guide
Installation-level administration
The infrastructure administrator's guide: the parts of the system that sit below the product, and that the people using it never touch.
Reference
Machinery the installation already runs. Nothing here asks anything of you — it is here so that when one of these needs reading, it can be read.
Settings
Where you are starting
A new installation arrives with everything to do. Settings is the checklist, and it is the first page you land on after signing in.
The groups say what is needed and what is not. AWS Bootstrap and AWS Config are marked required — the application does nothing useful until both are green. Identity is optional: SSO can wait, though it should not wait long.
The tiles below unlock in order. Only the first one is available now, because nothing else can be done until it is finished.
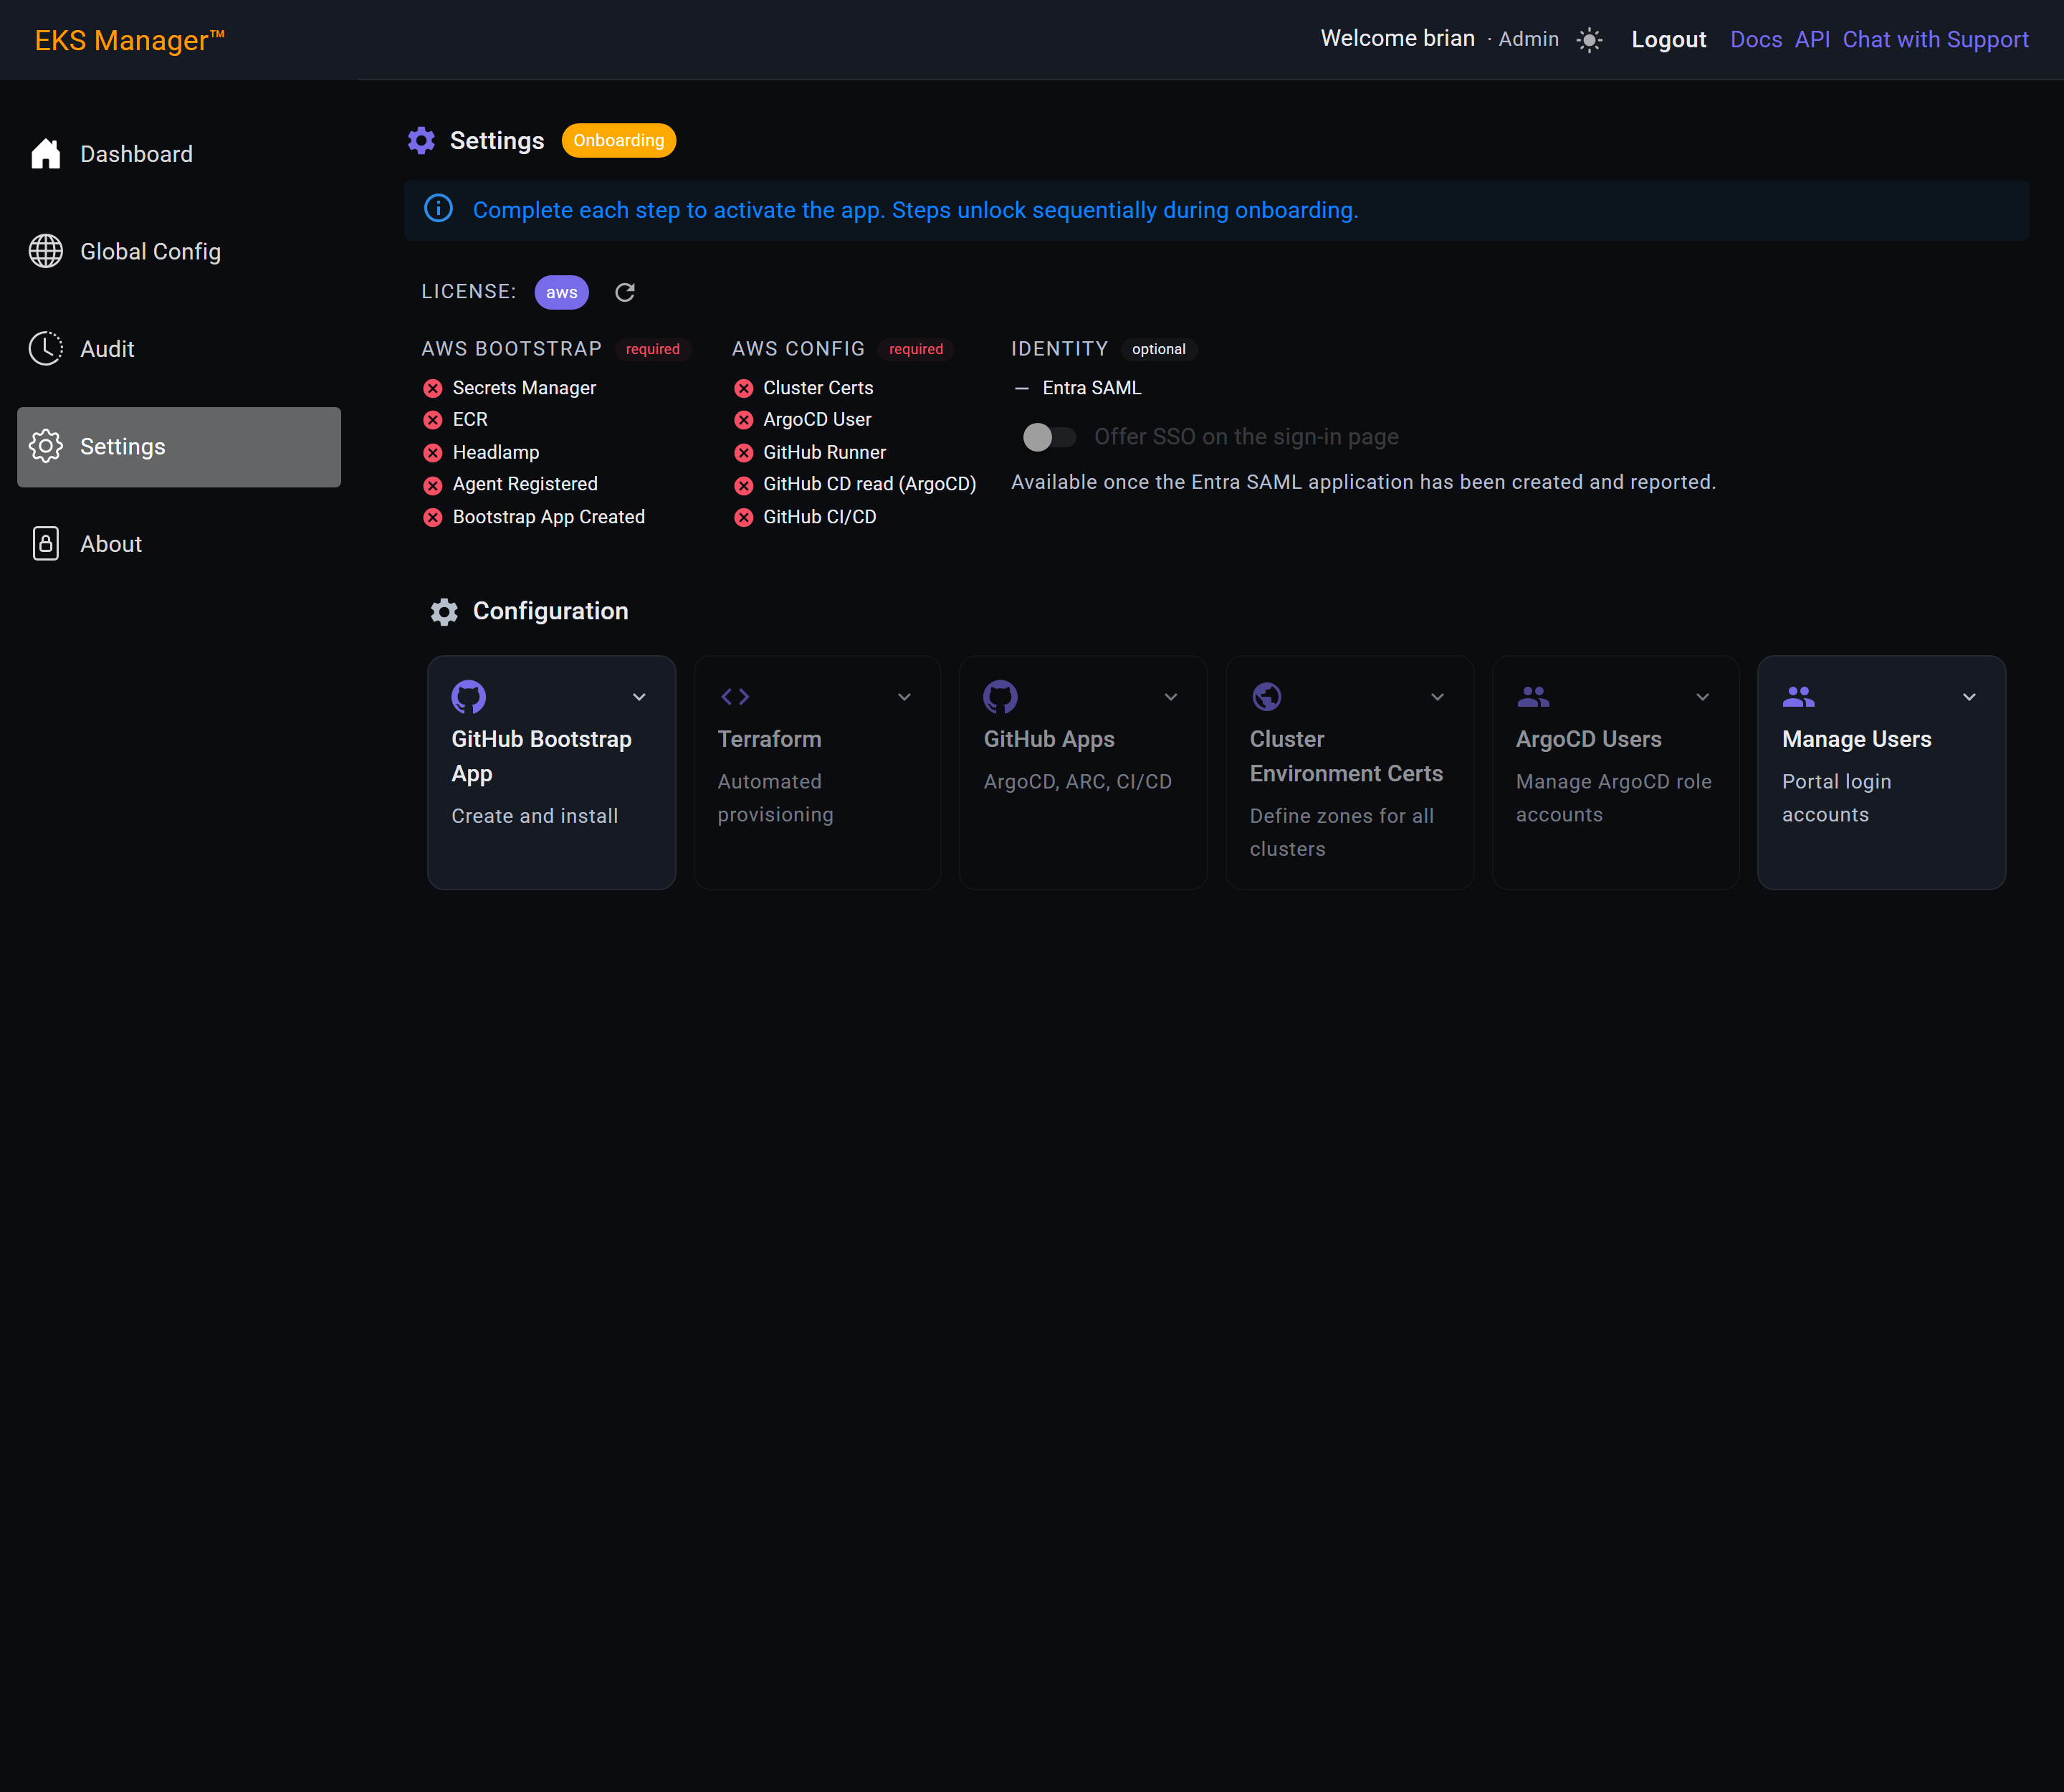
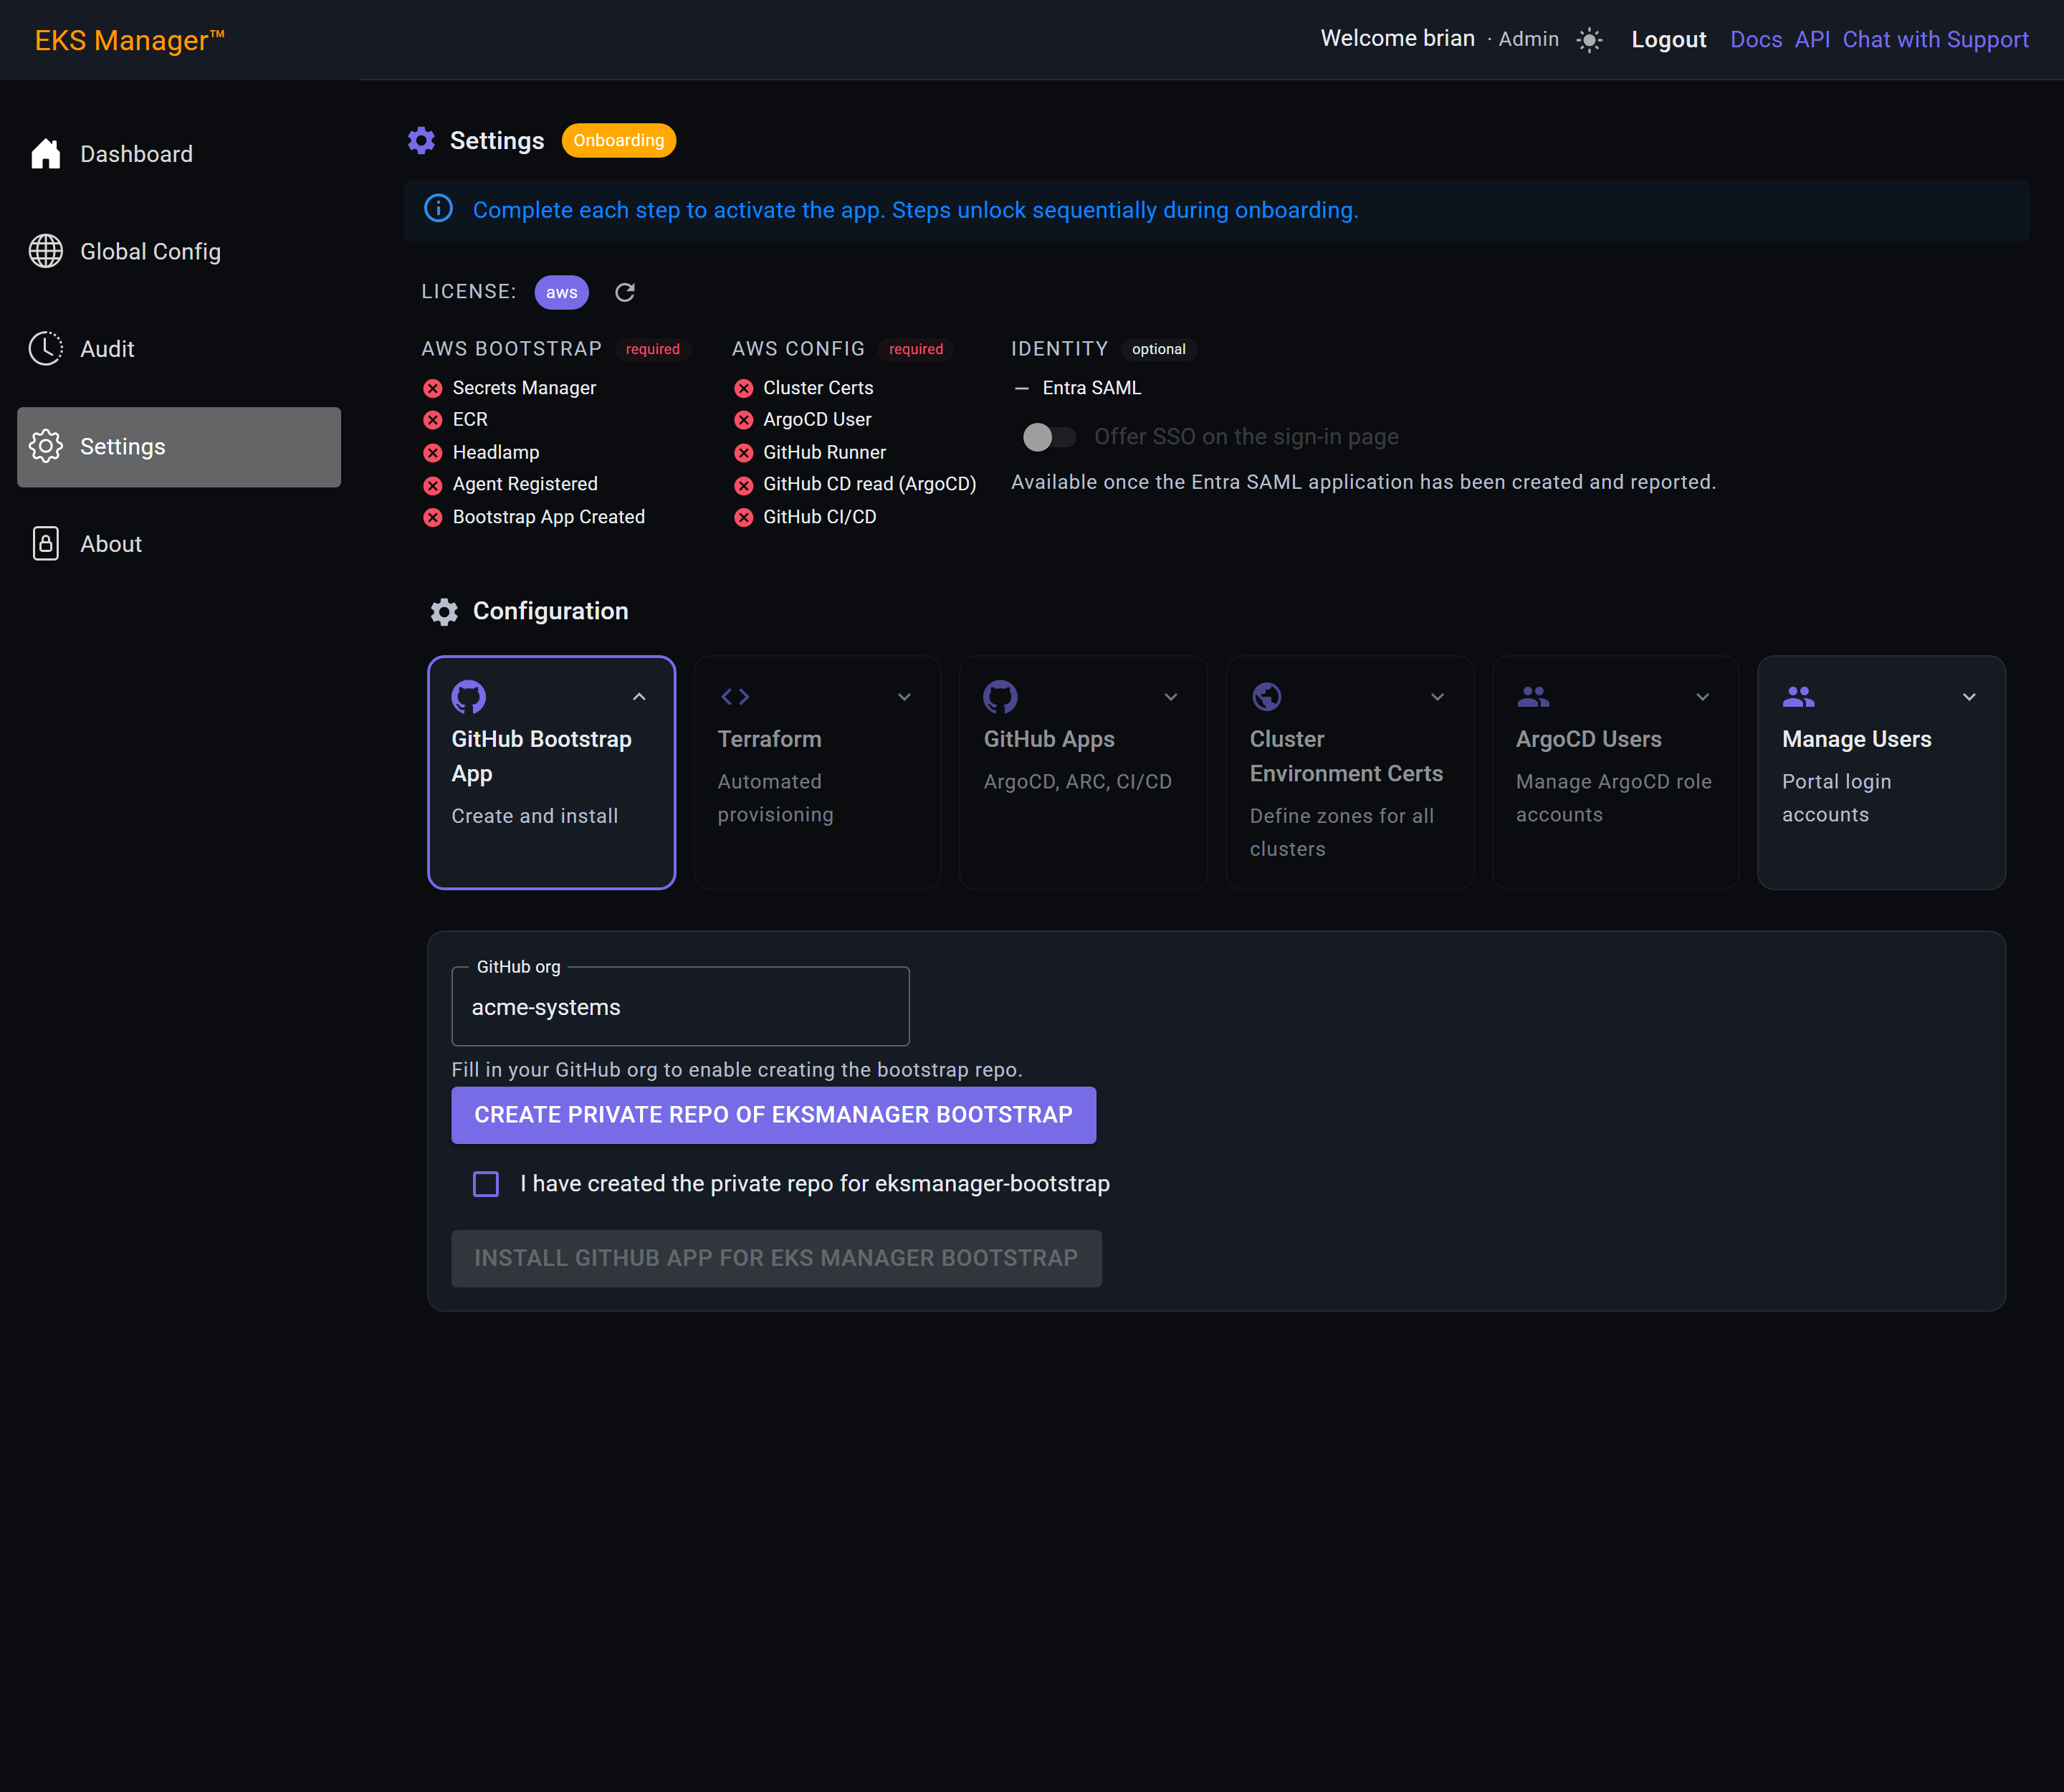
The first tile creates the bootstrap repository, and it needs to know where to put it.
Type the organisation's name — the name as GitHub knows it, not its display name and not a URL. Nothing is created by typing it; the button below only becomes usable once the field has something in it.
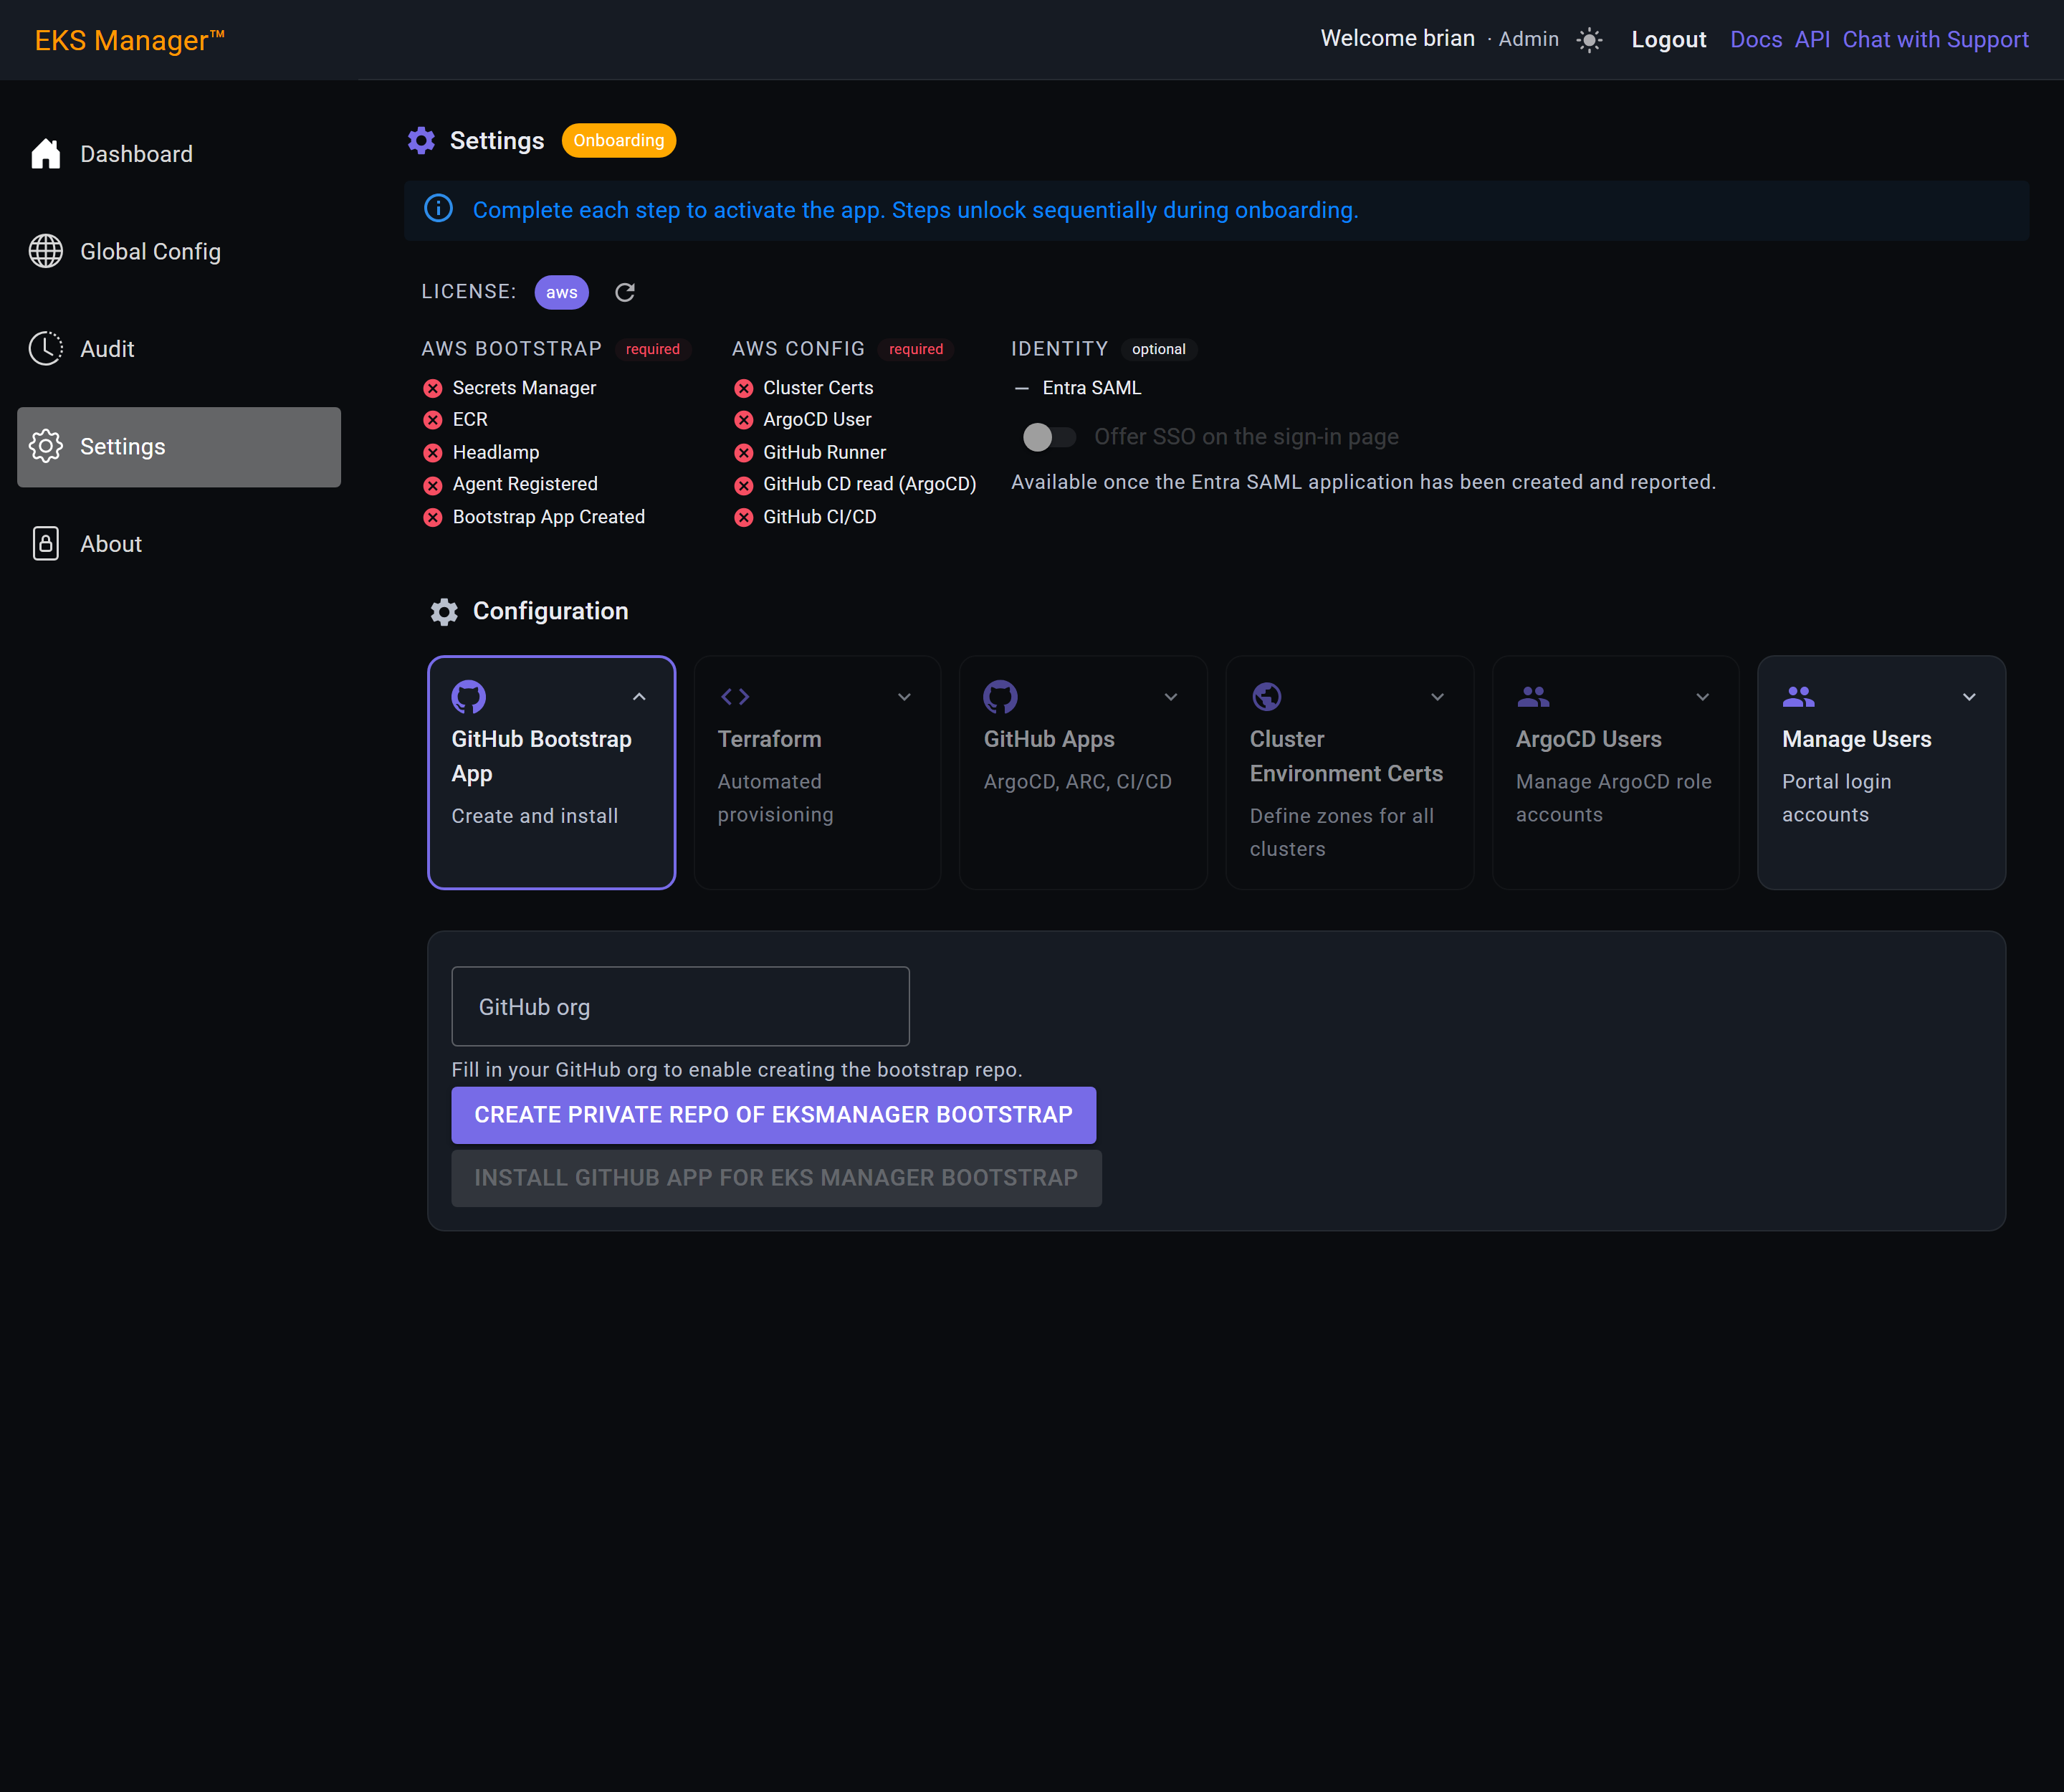
GitHub Bootstrap App
Create Private Repo opens GitHub's new-repository form in a new tab, with the name and Private already filled in. Nothing is created until you submit it there.
What you get is an empty repository, and that is expected. The Bootstrap App fills it afterwards — that is the contents: write permission the GitHub App Installation chapter describes as cloning the bootstrap in. An empty repository at this point is the flow working, not failing.
Private, and not a fork. A fork of a public repository is public, and everything that ends up in this one is your data.
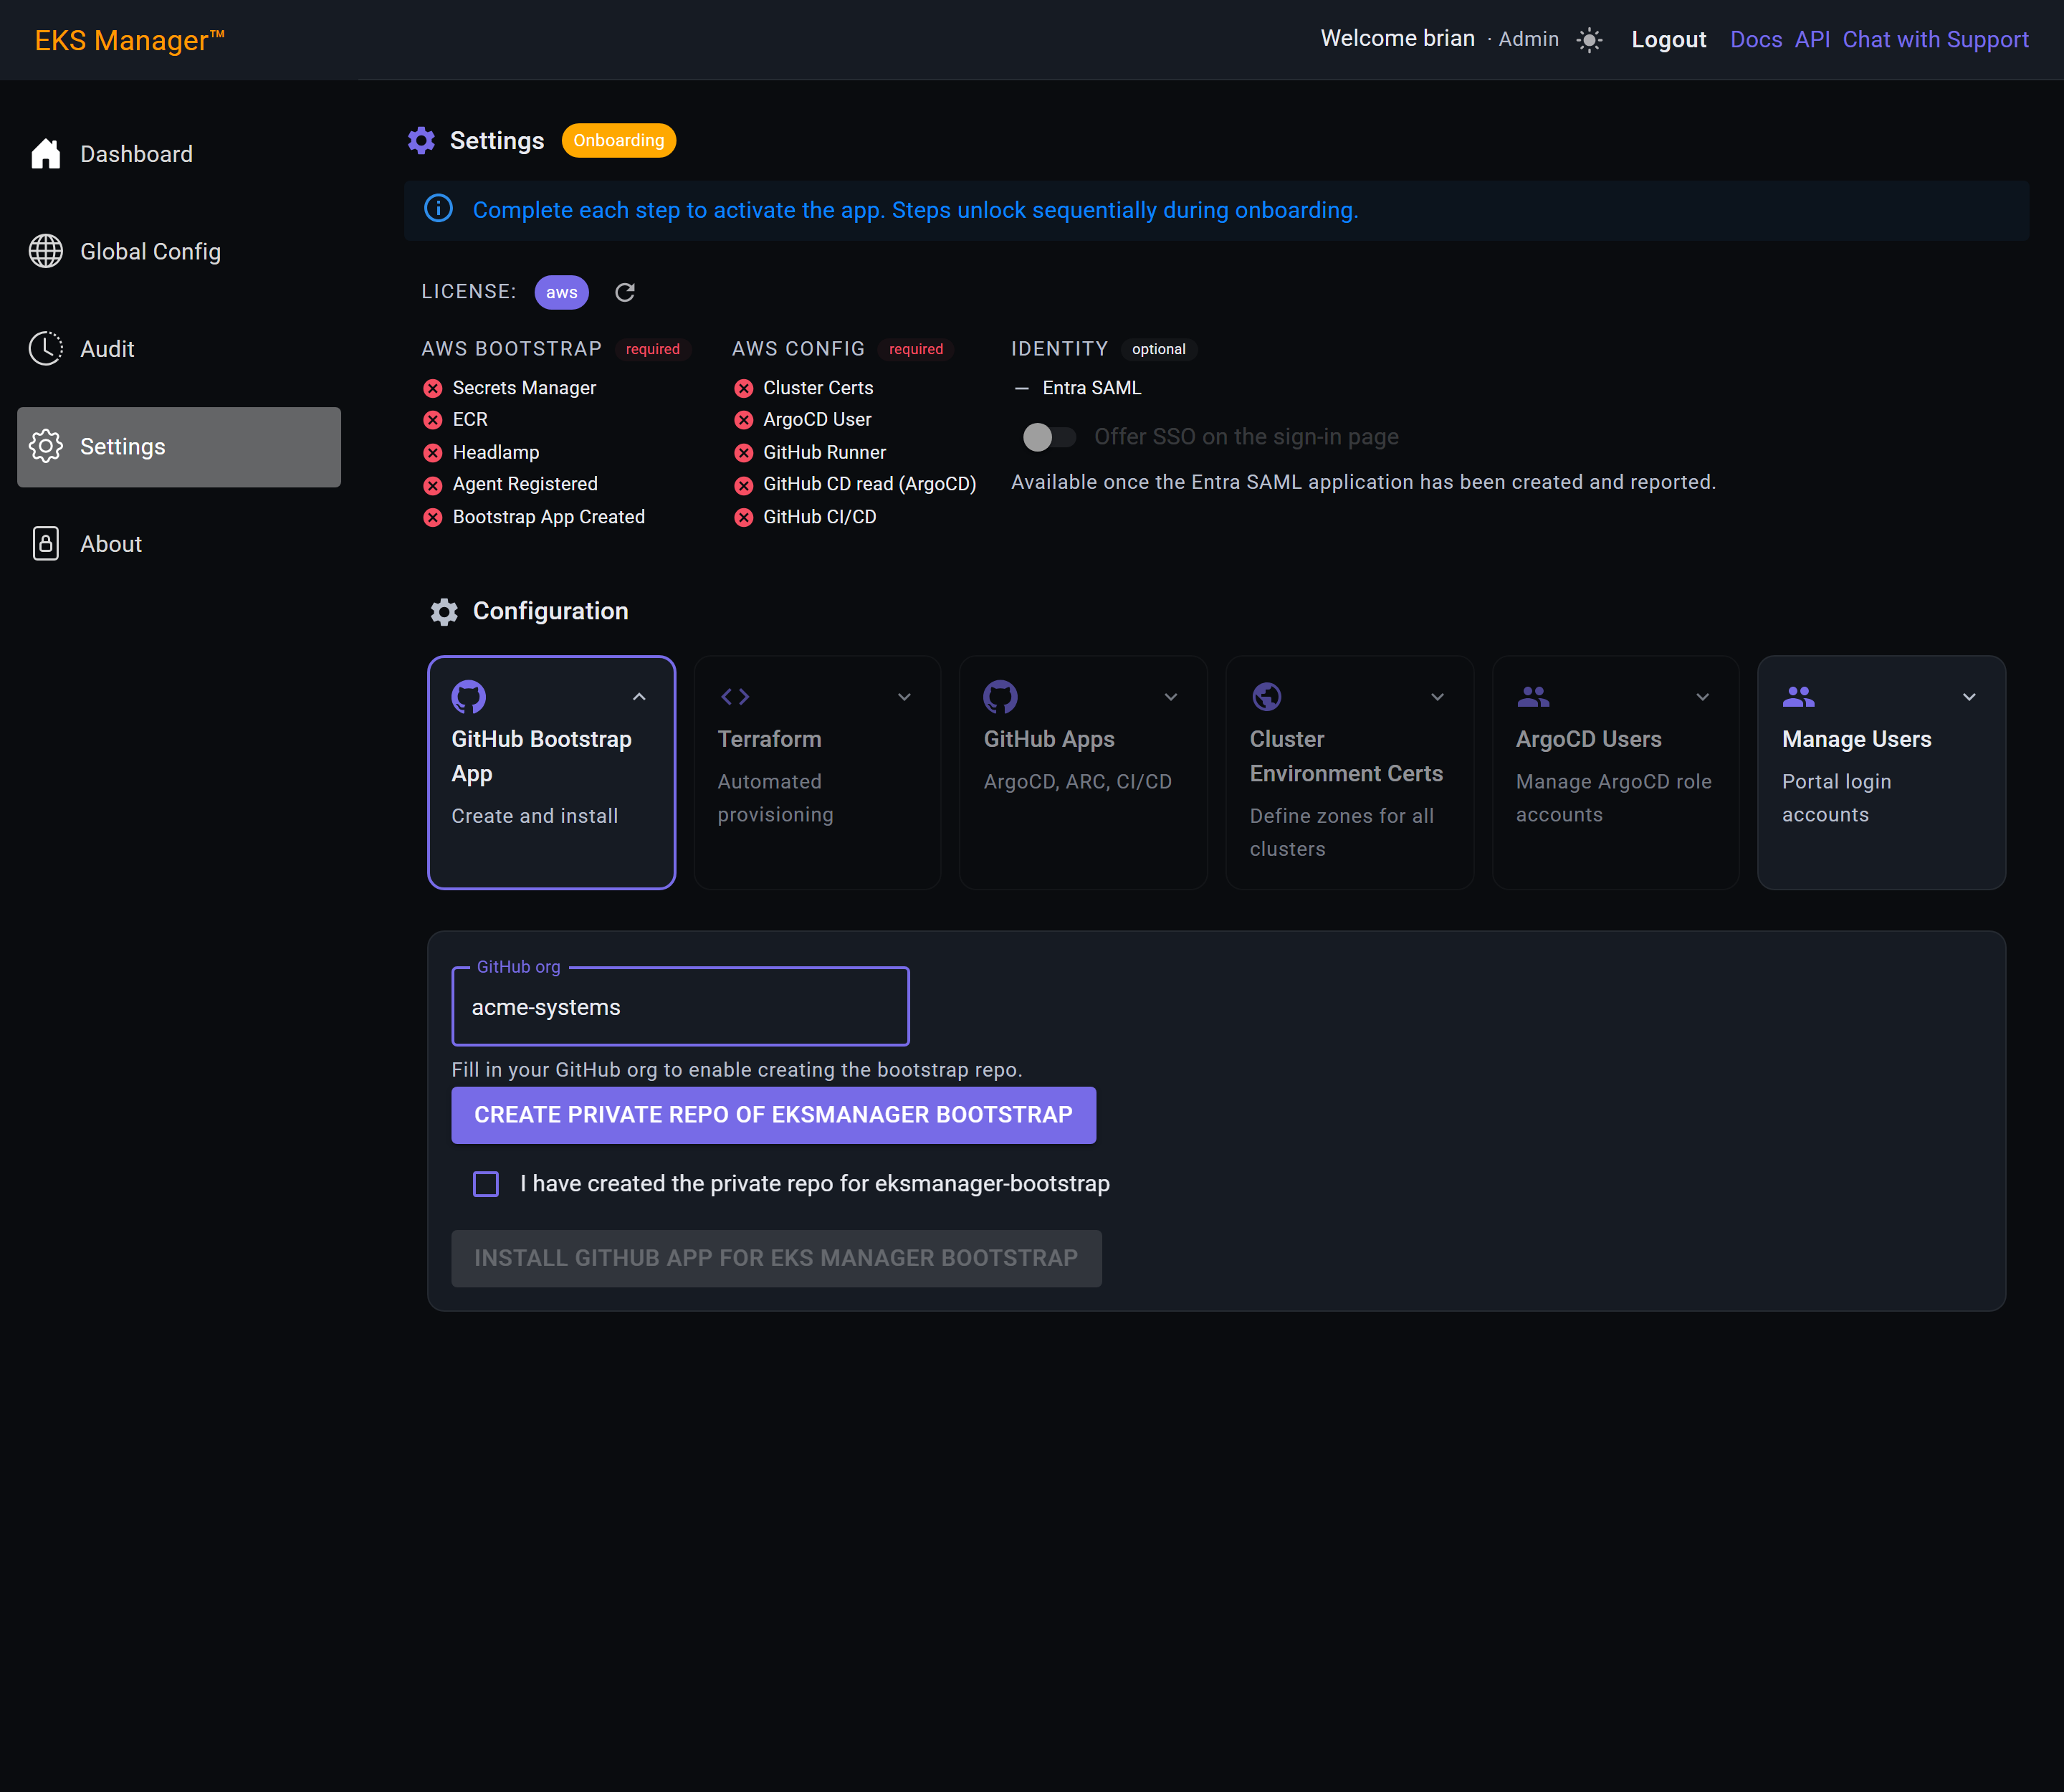
The form arrives pre-filled — the name the product expects, and Private already chosen. Leave both alone. The name is what every later step looks for, and a private repository is the point.
Add nothing else. No README, no licence, no .gitignore: the App pushes into this repository, and a repository that already has commits is one more thing that can conflict.
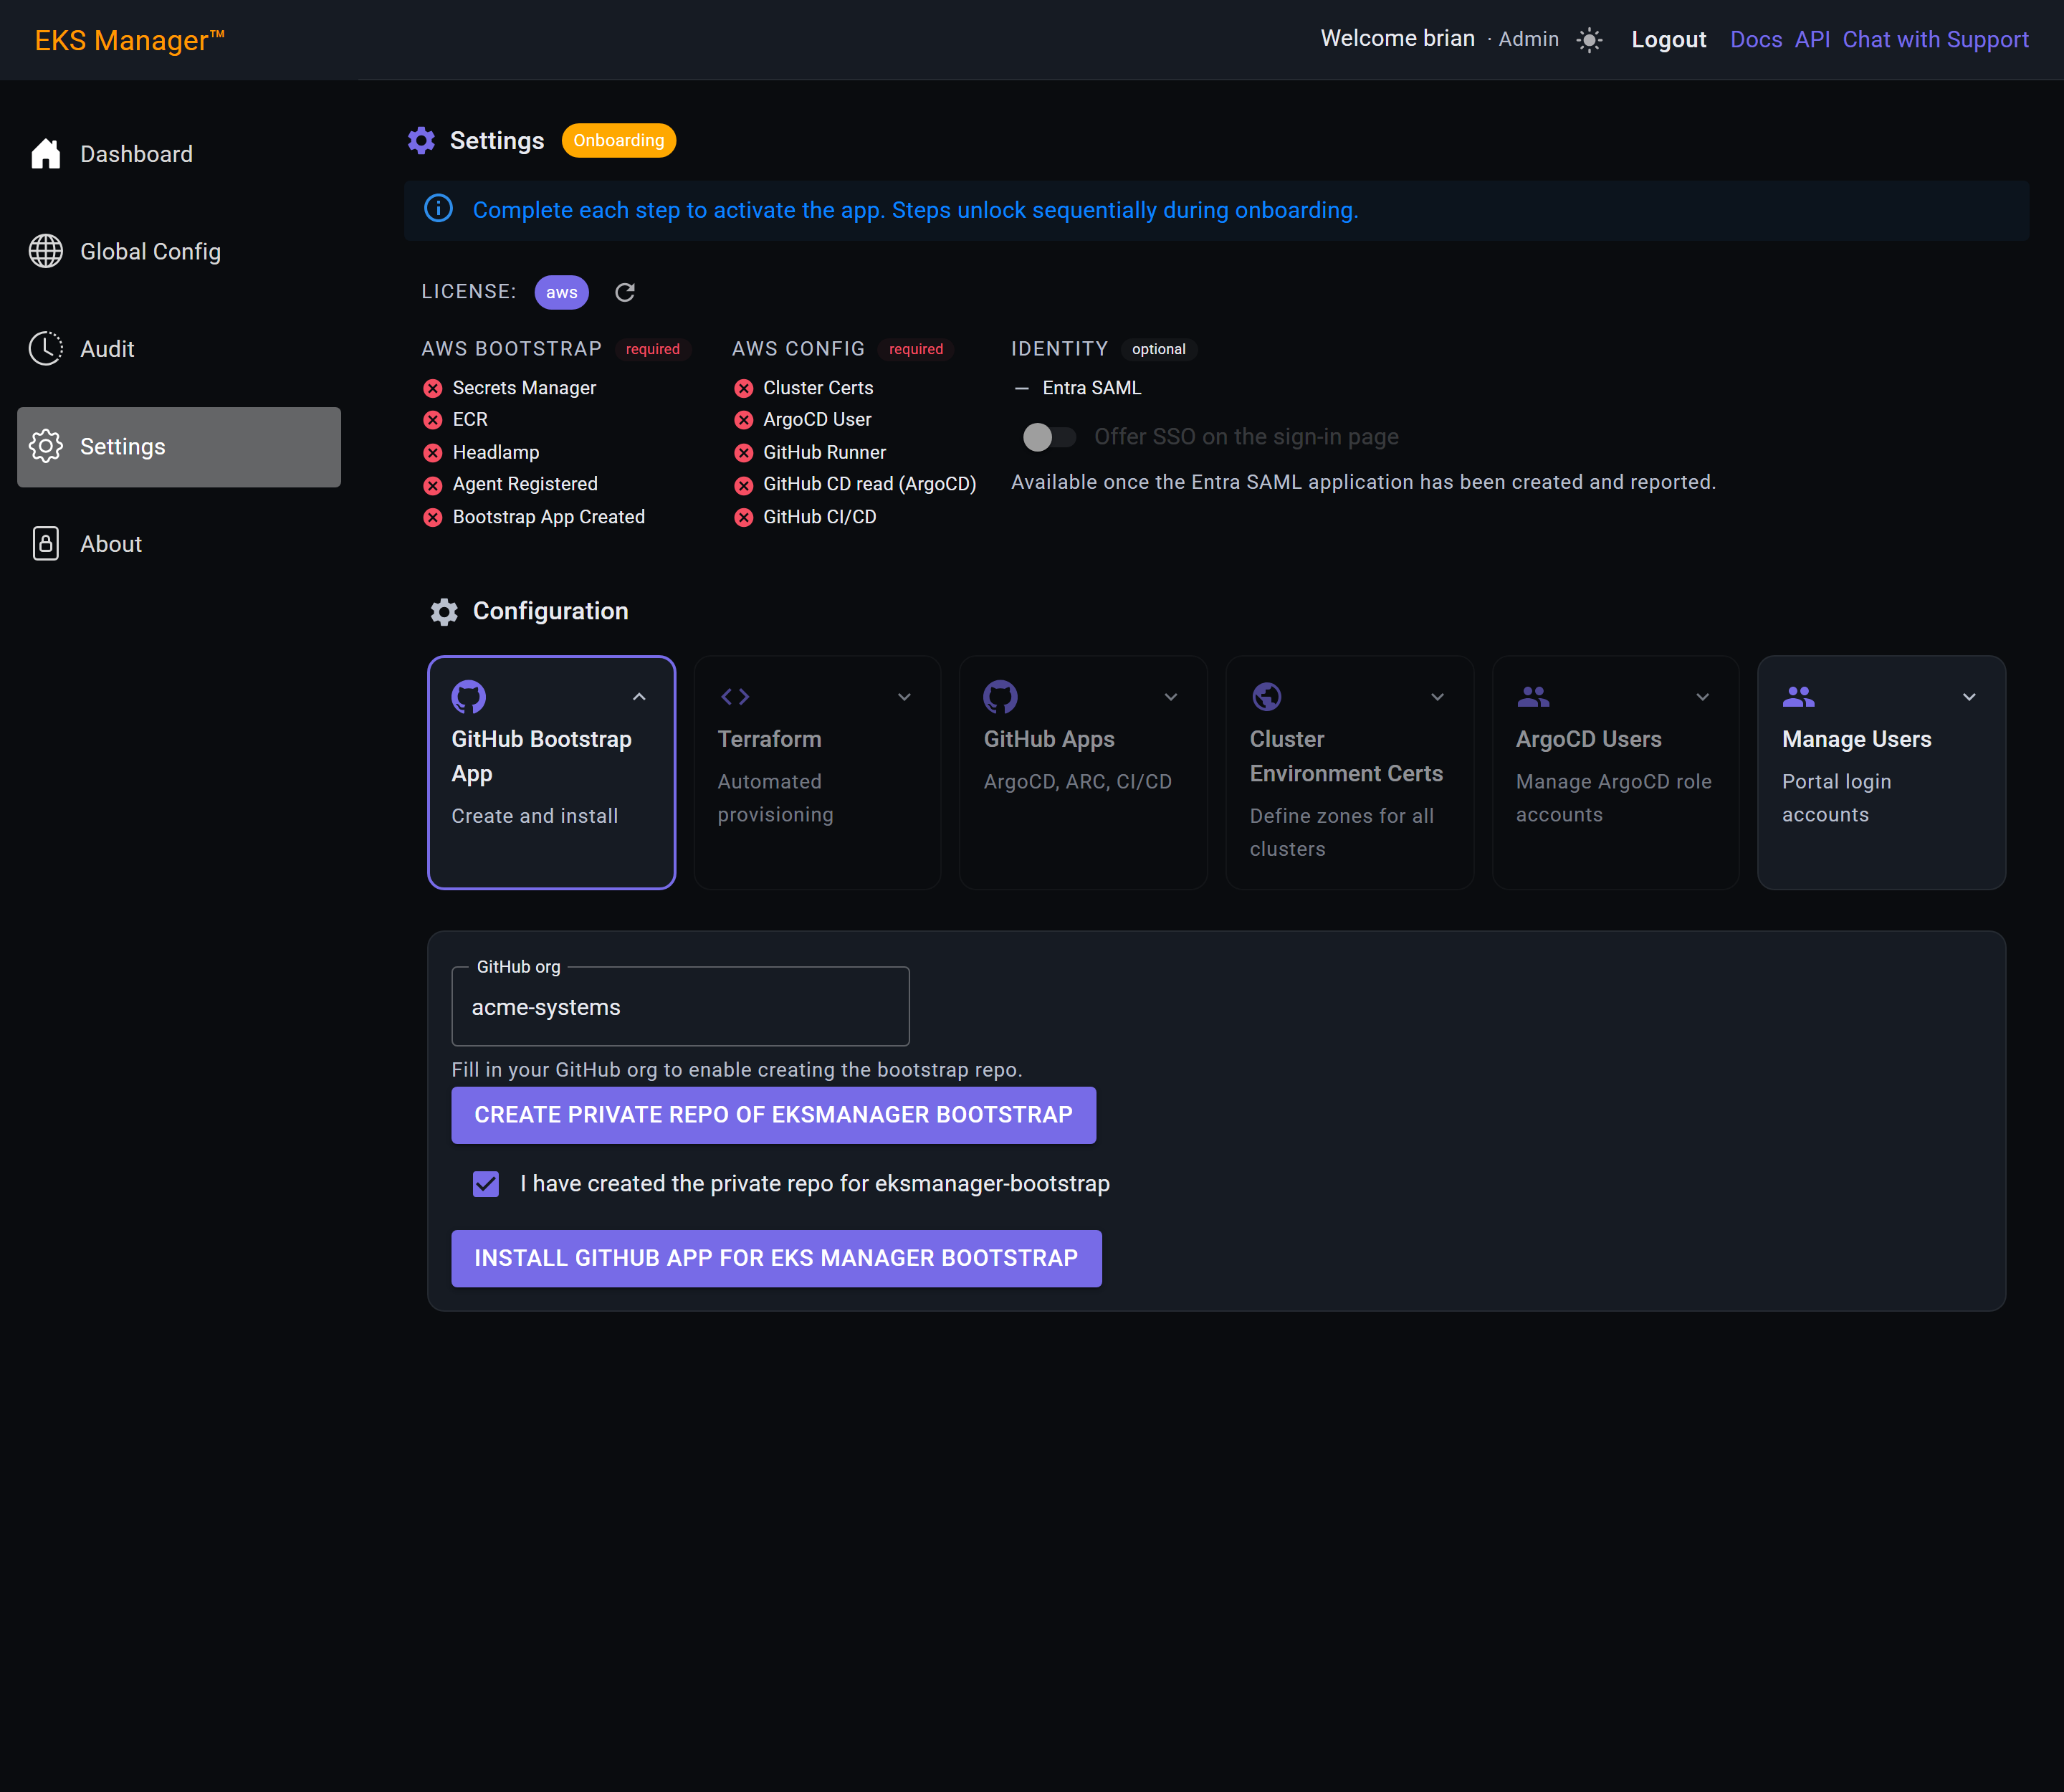
Create it, then come back to EKS Manager and tick the box to say you have.
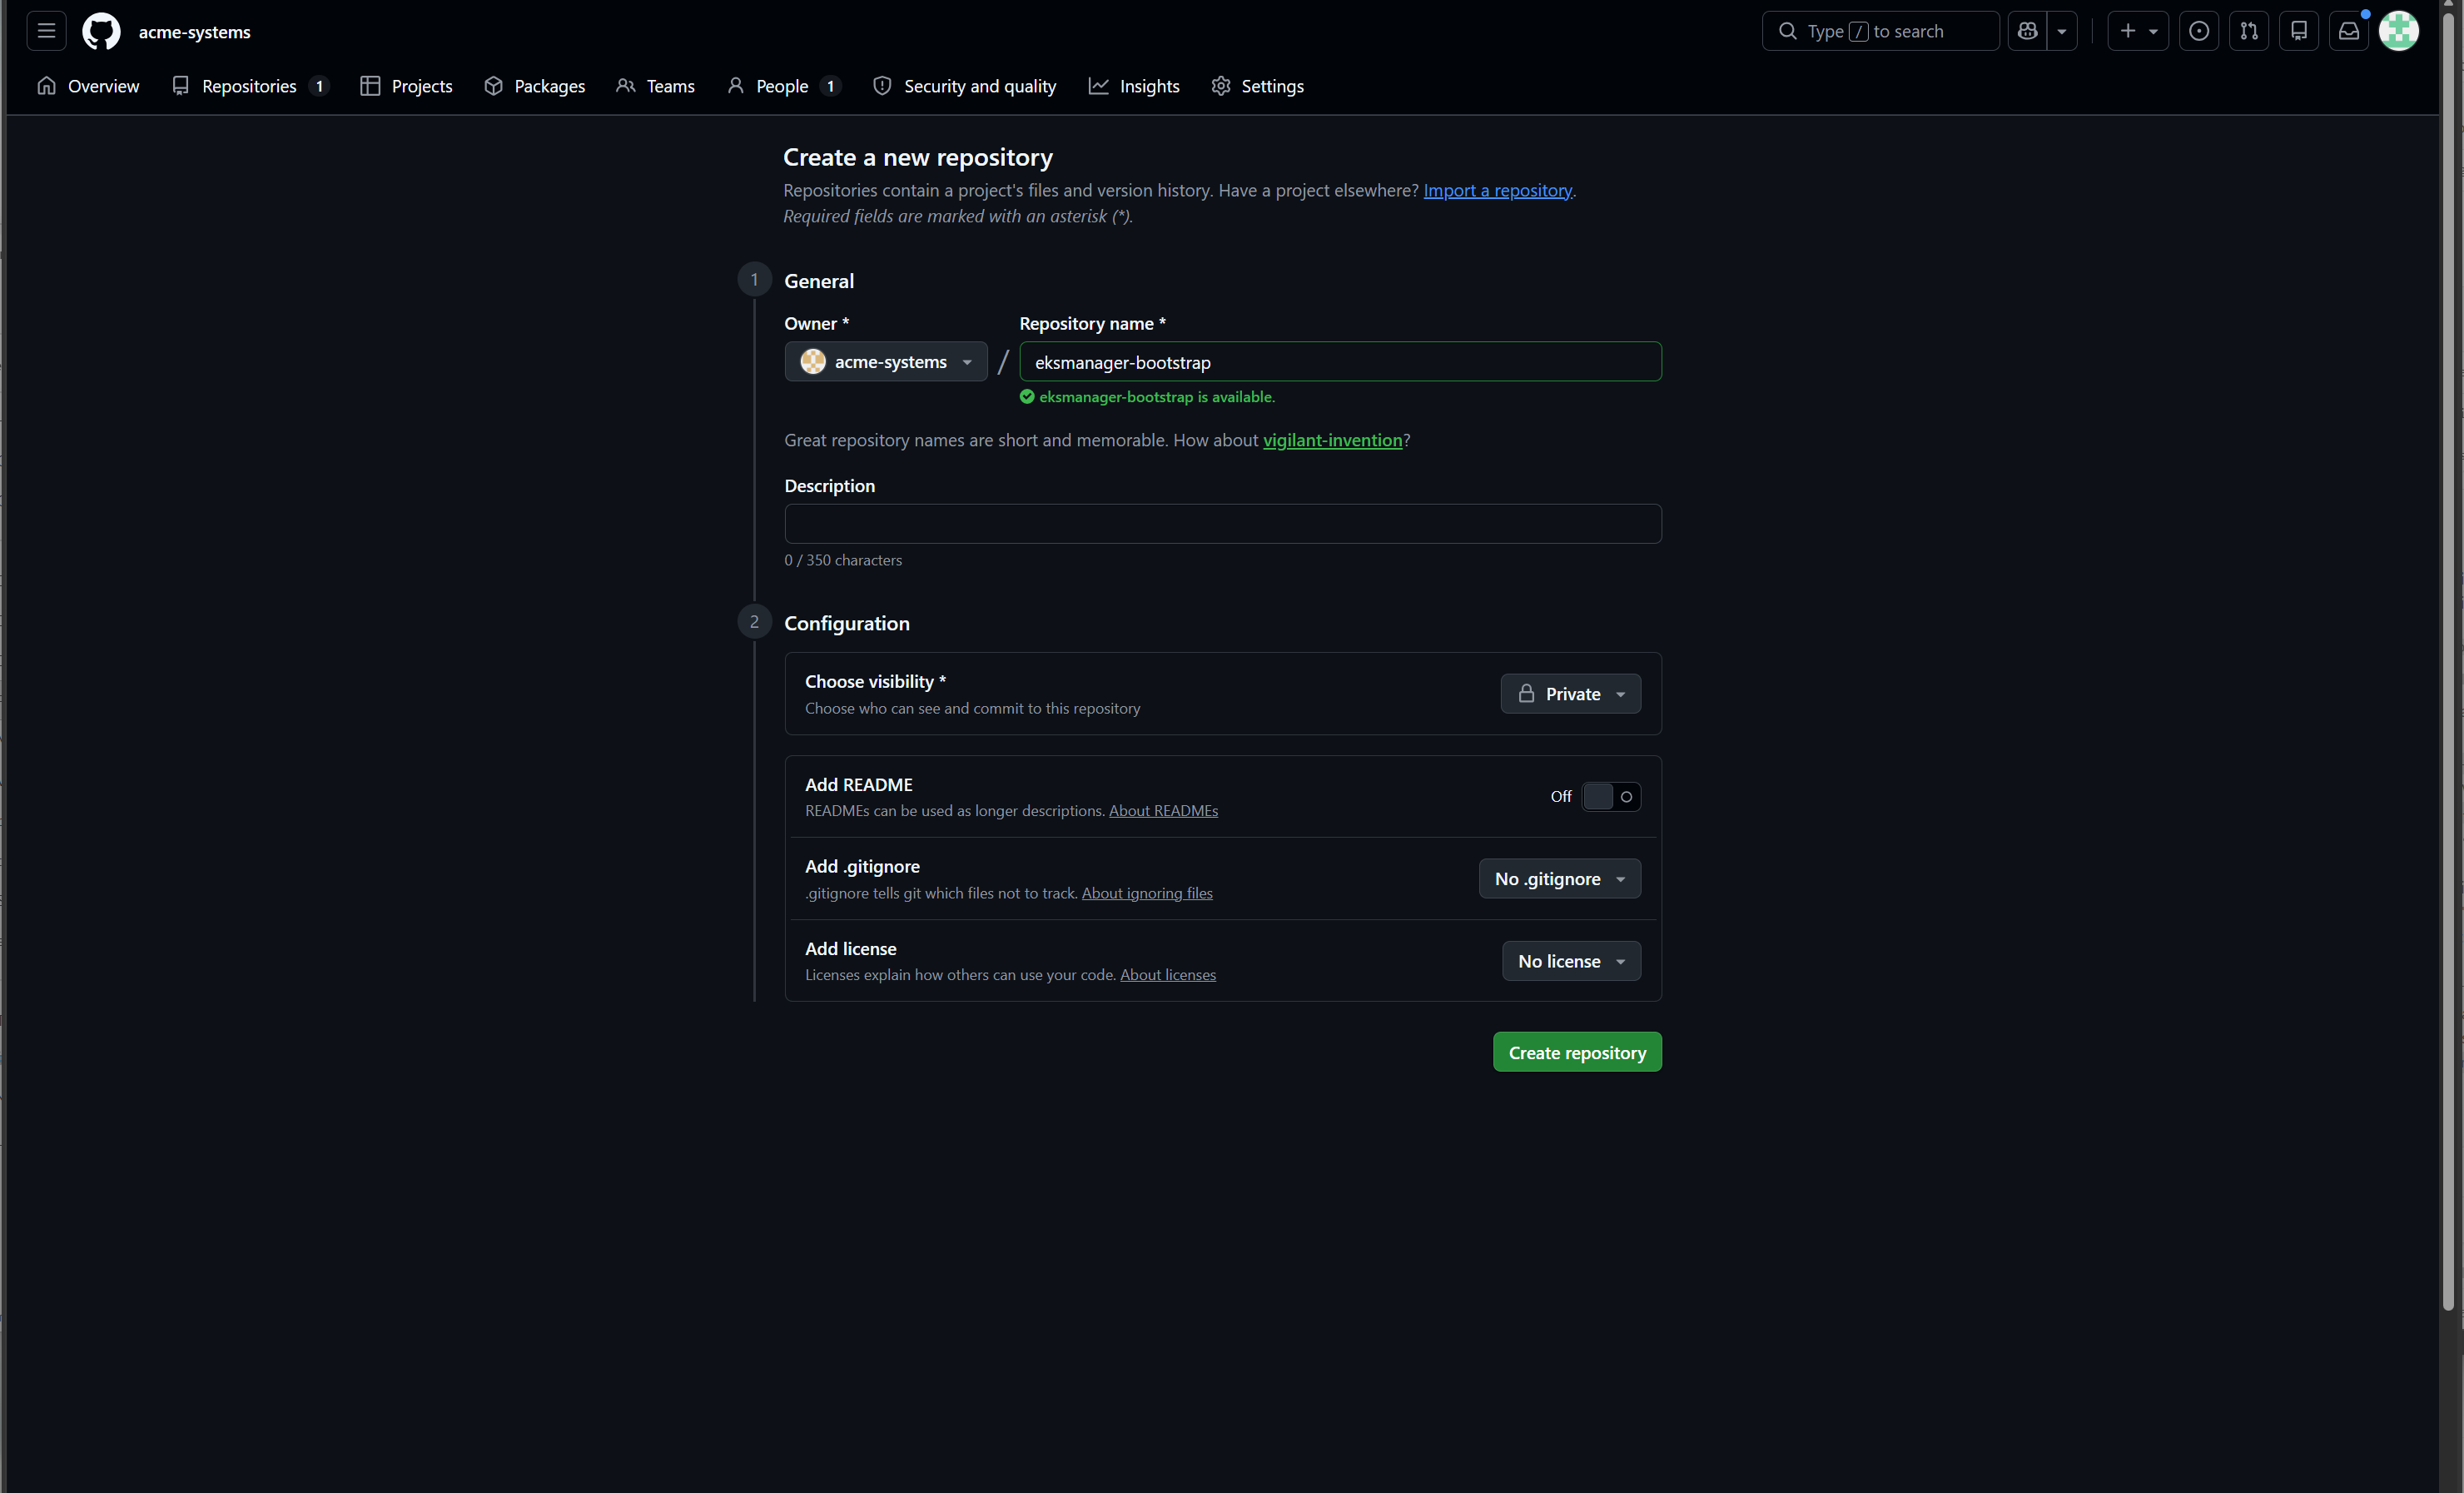
Creating the repository opens GitHub in a new tab, and what happens there is GitHub's, not ours. When it is done, tick the box.
The tick is a statement of fact, not a request: it tells this page the repository is there so the next step can go looking for it. Ticking it early only means the App install fails against a repository that does not exist yet.
With the repository confirmed, Install GitHub App becomes available. It takes you to GitHub to create and approve the App from a manifest.
The permissions are fixed by that manifest rather than chosen by you — what you are approving is a set someone can read before accepting. Its credentials are what clones the repository and what every later upload uses.
Between the button and GitHub there is a page of ours, usually on screen for less than a second. It carries the manifest and posts it, which is why the App arrives at GitHub already described rather than as a blank form to fill in.
There is nothing to do on it. It is here because a page that flashes past is worth recognising — if it stays, something between you and GitHub is slow or blocked, and a Continue to GitHub button appears for anyone whose browser will not run its script.
It is served by the hub rather than by your installation, and it is the only point in the flow that touches our infrastructure. What it sends is the manifest and a signed, single-use value GitHub hands back afterwards — no credentials pass through it in either direction.

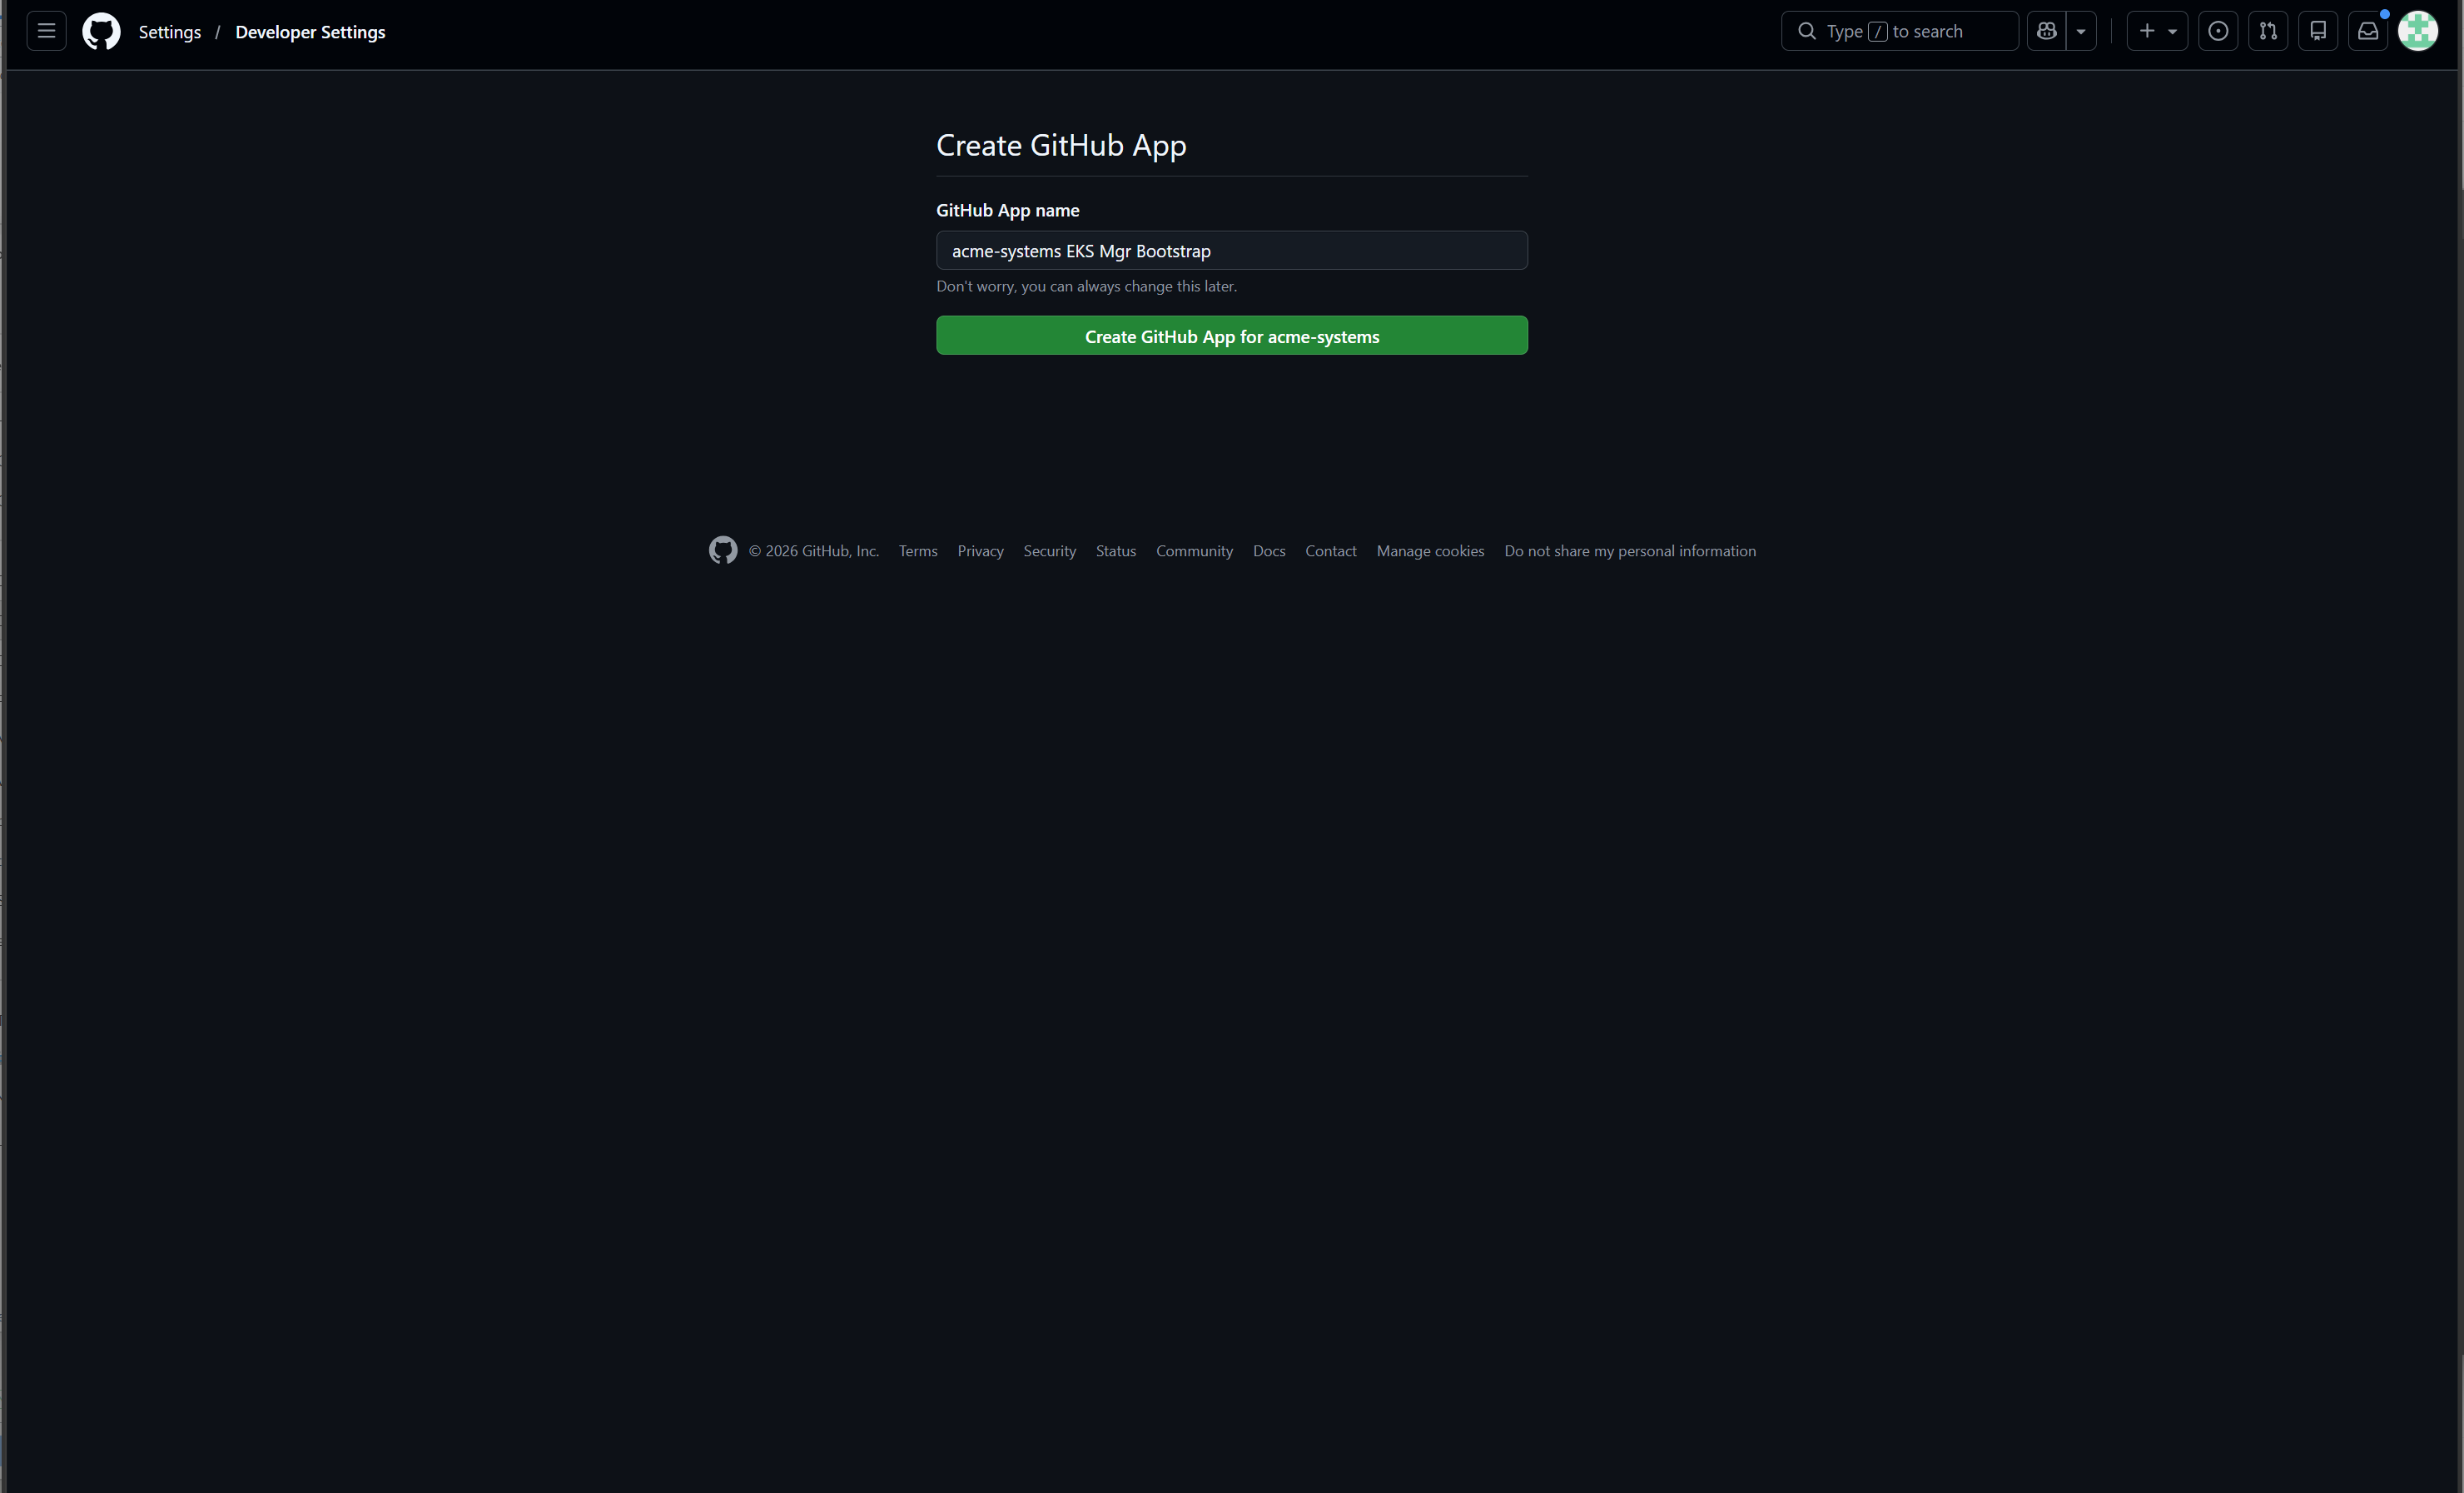
The next screens are GitHub's. There is nothing to fill in — the App is built from the manifest EKS Manager supplied, so the name is already there and the permissions are already decided.
Check the button before pressing it. It names the account the App will belong to, and it must be your organisation. If it names a personal account, the organisation was wrong: GitHub falls back rather than failing, and an App owned by a personal account can only ever be installed on that account.
Pressing it creates nothing by itself. GitHub hands back a short-lived code, and it is EKS Manager exchanging that code which registers the App and collects its credentials.
Creating an App and installing it are separate. The App now exists; installing is what gives it access to repositories, and it has none until you do.
All repositories is selected by default, and it is the wrong answer here. It covers every repository the organisation has now and every one it ever will, which for an App holding write access to code and workflows is far more than it needs.
This App works against one repository: your private copy of the bootstrap.
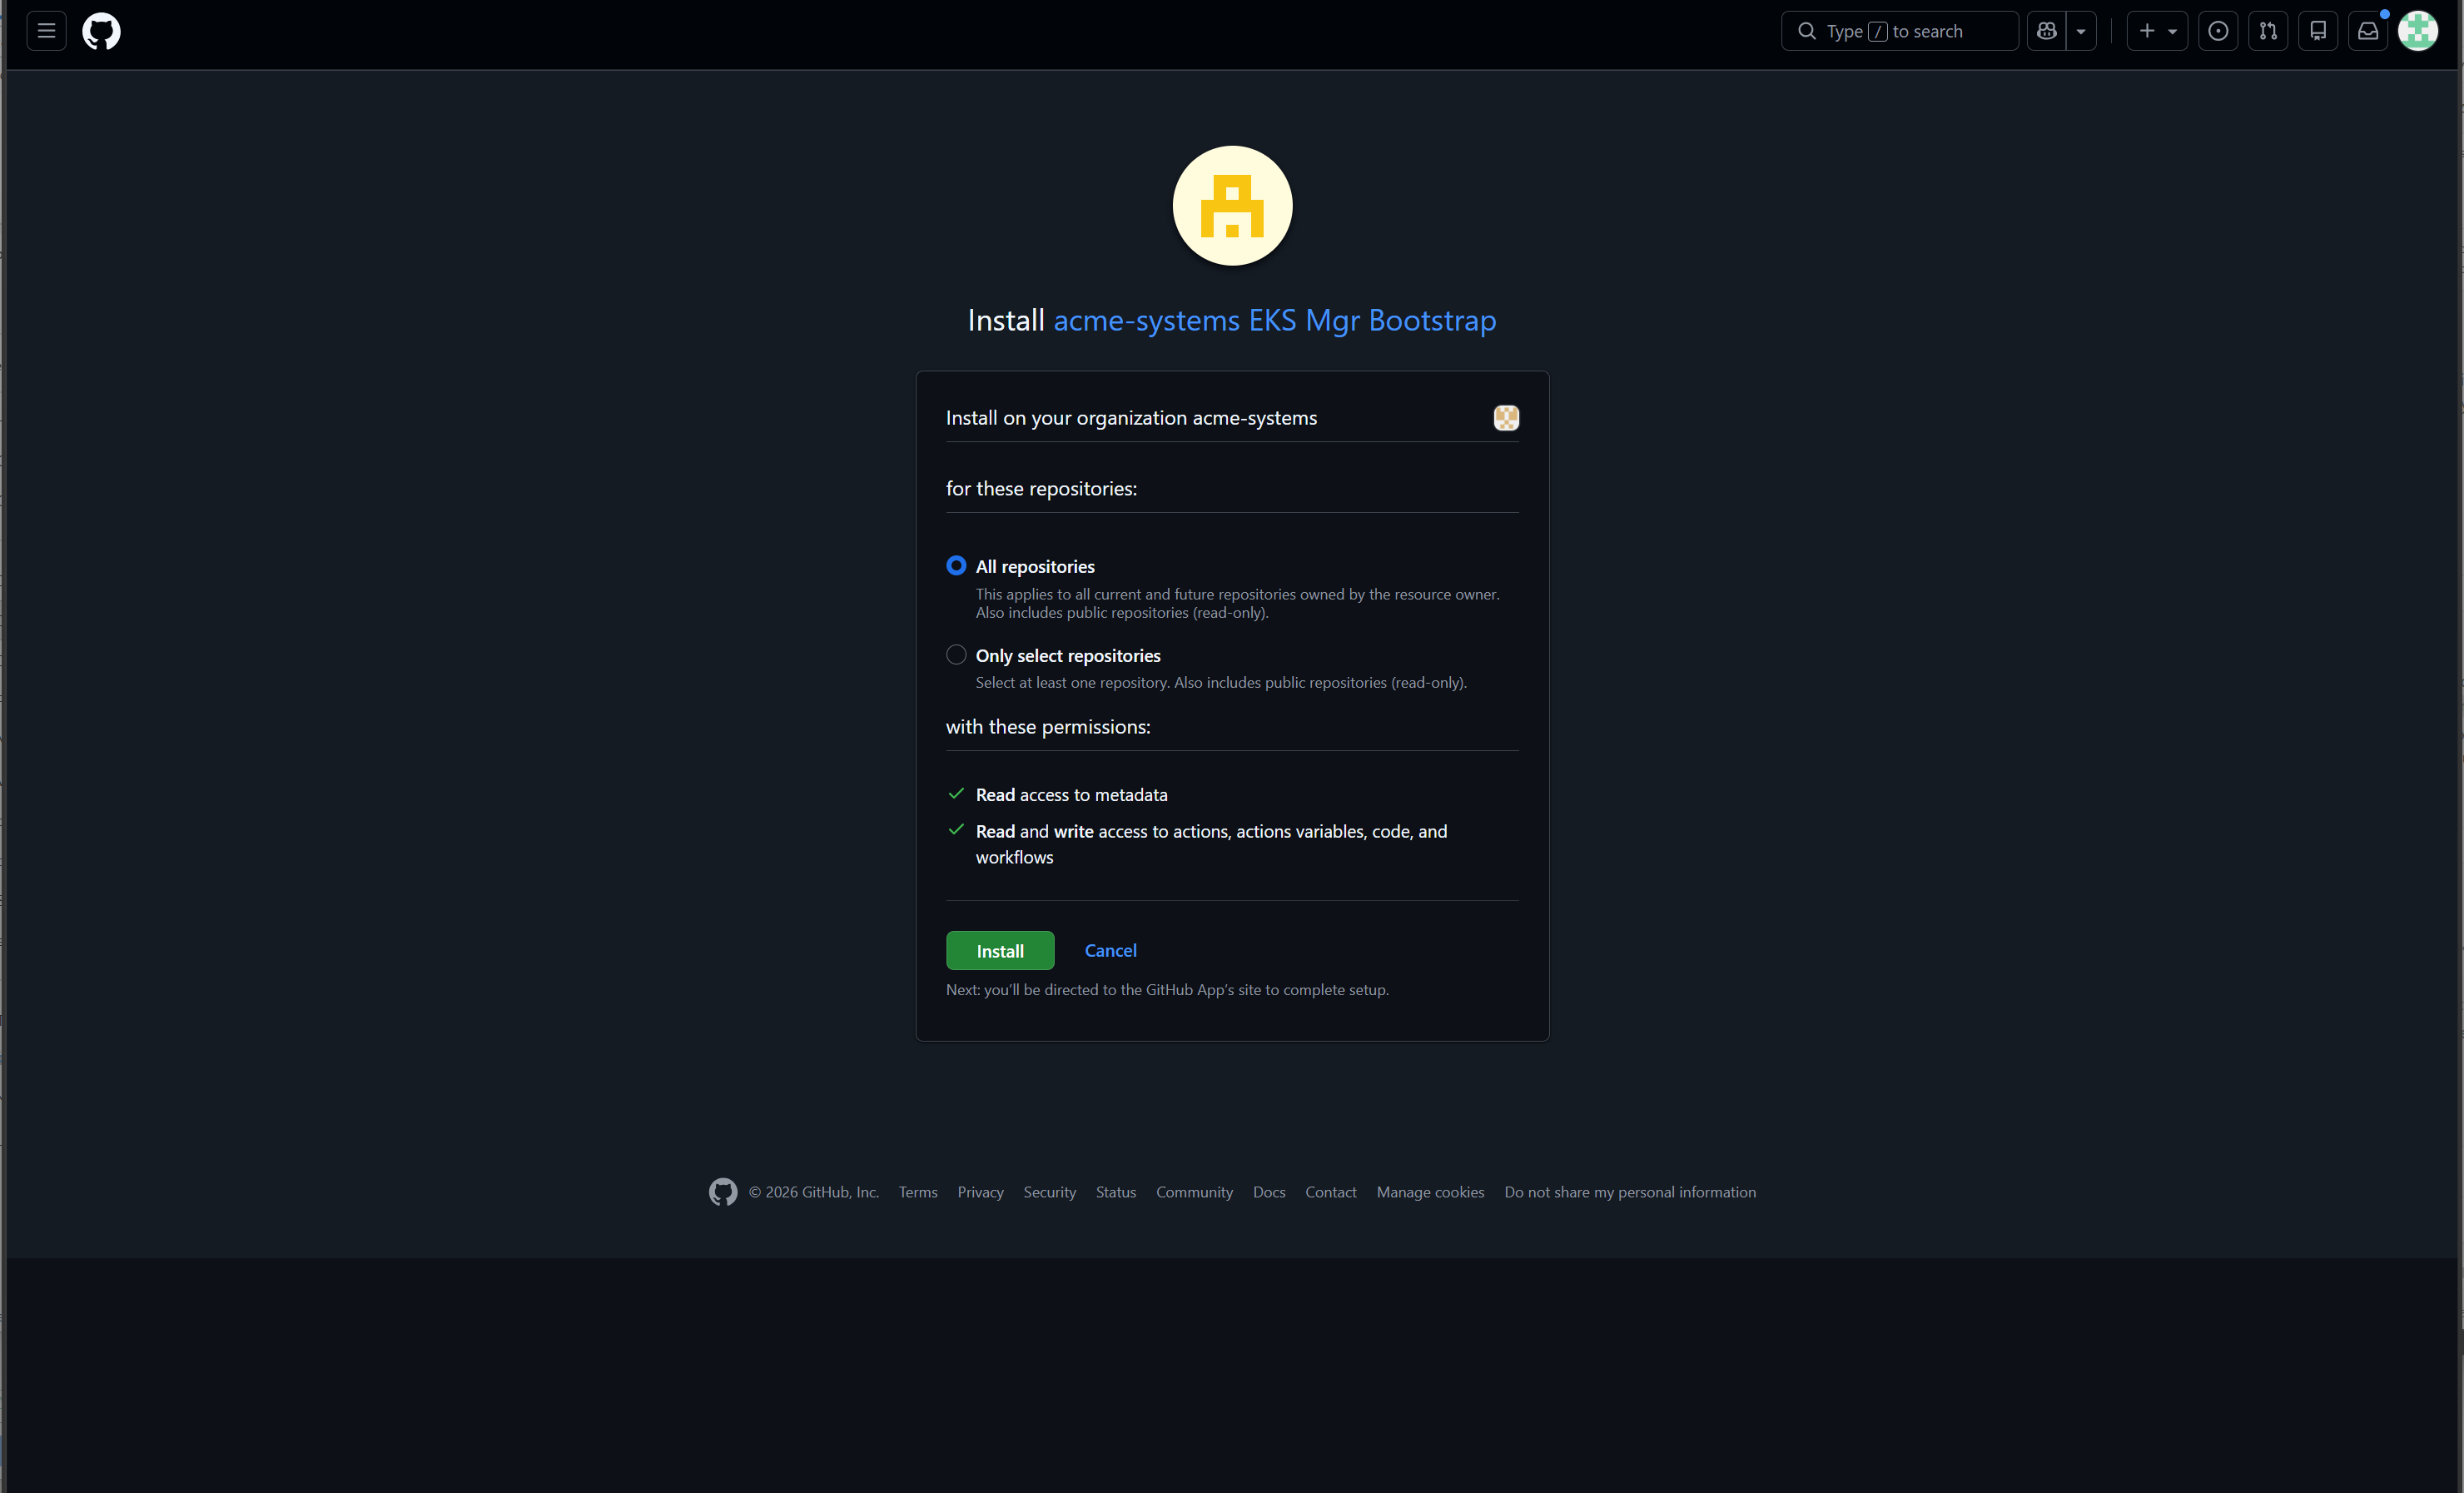
Choose Only select repositories and pick the repository you created earlier. One entry, and it is the only one this App ever needs.
If the list is empty, the repository was not created, or it was created somewhere other than this organisation.
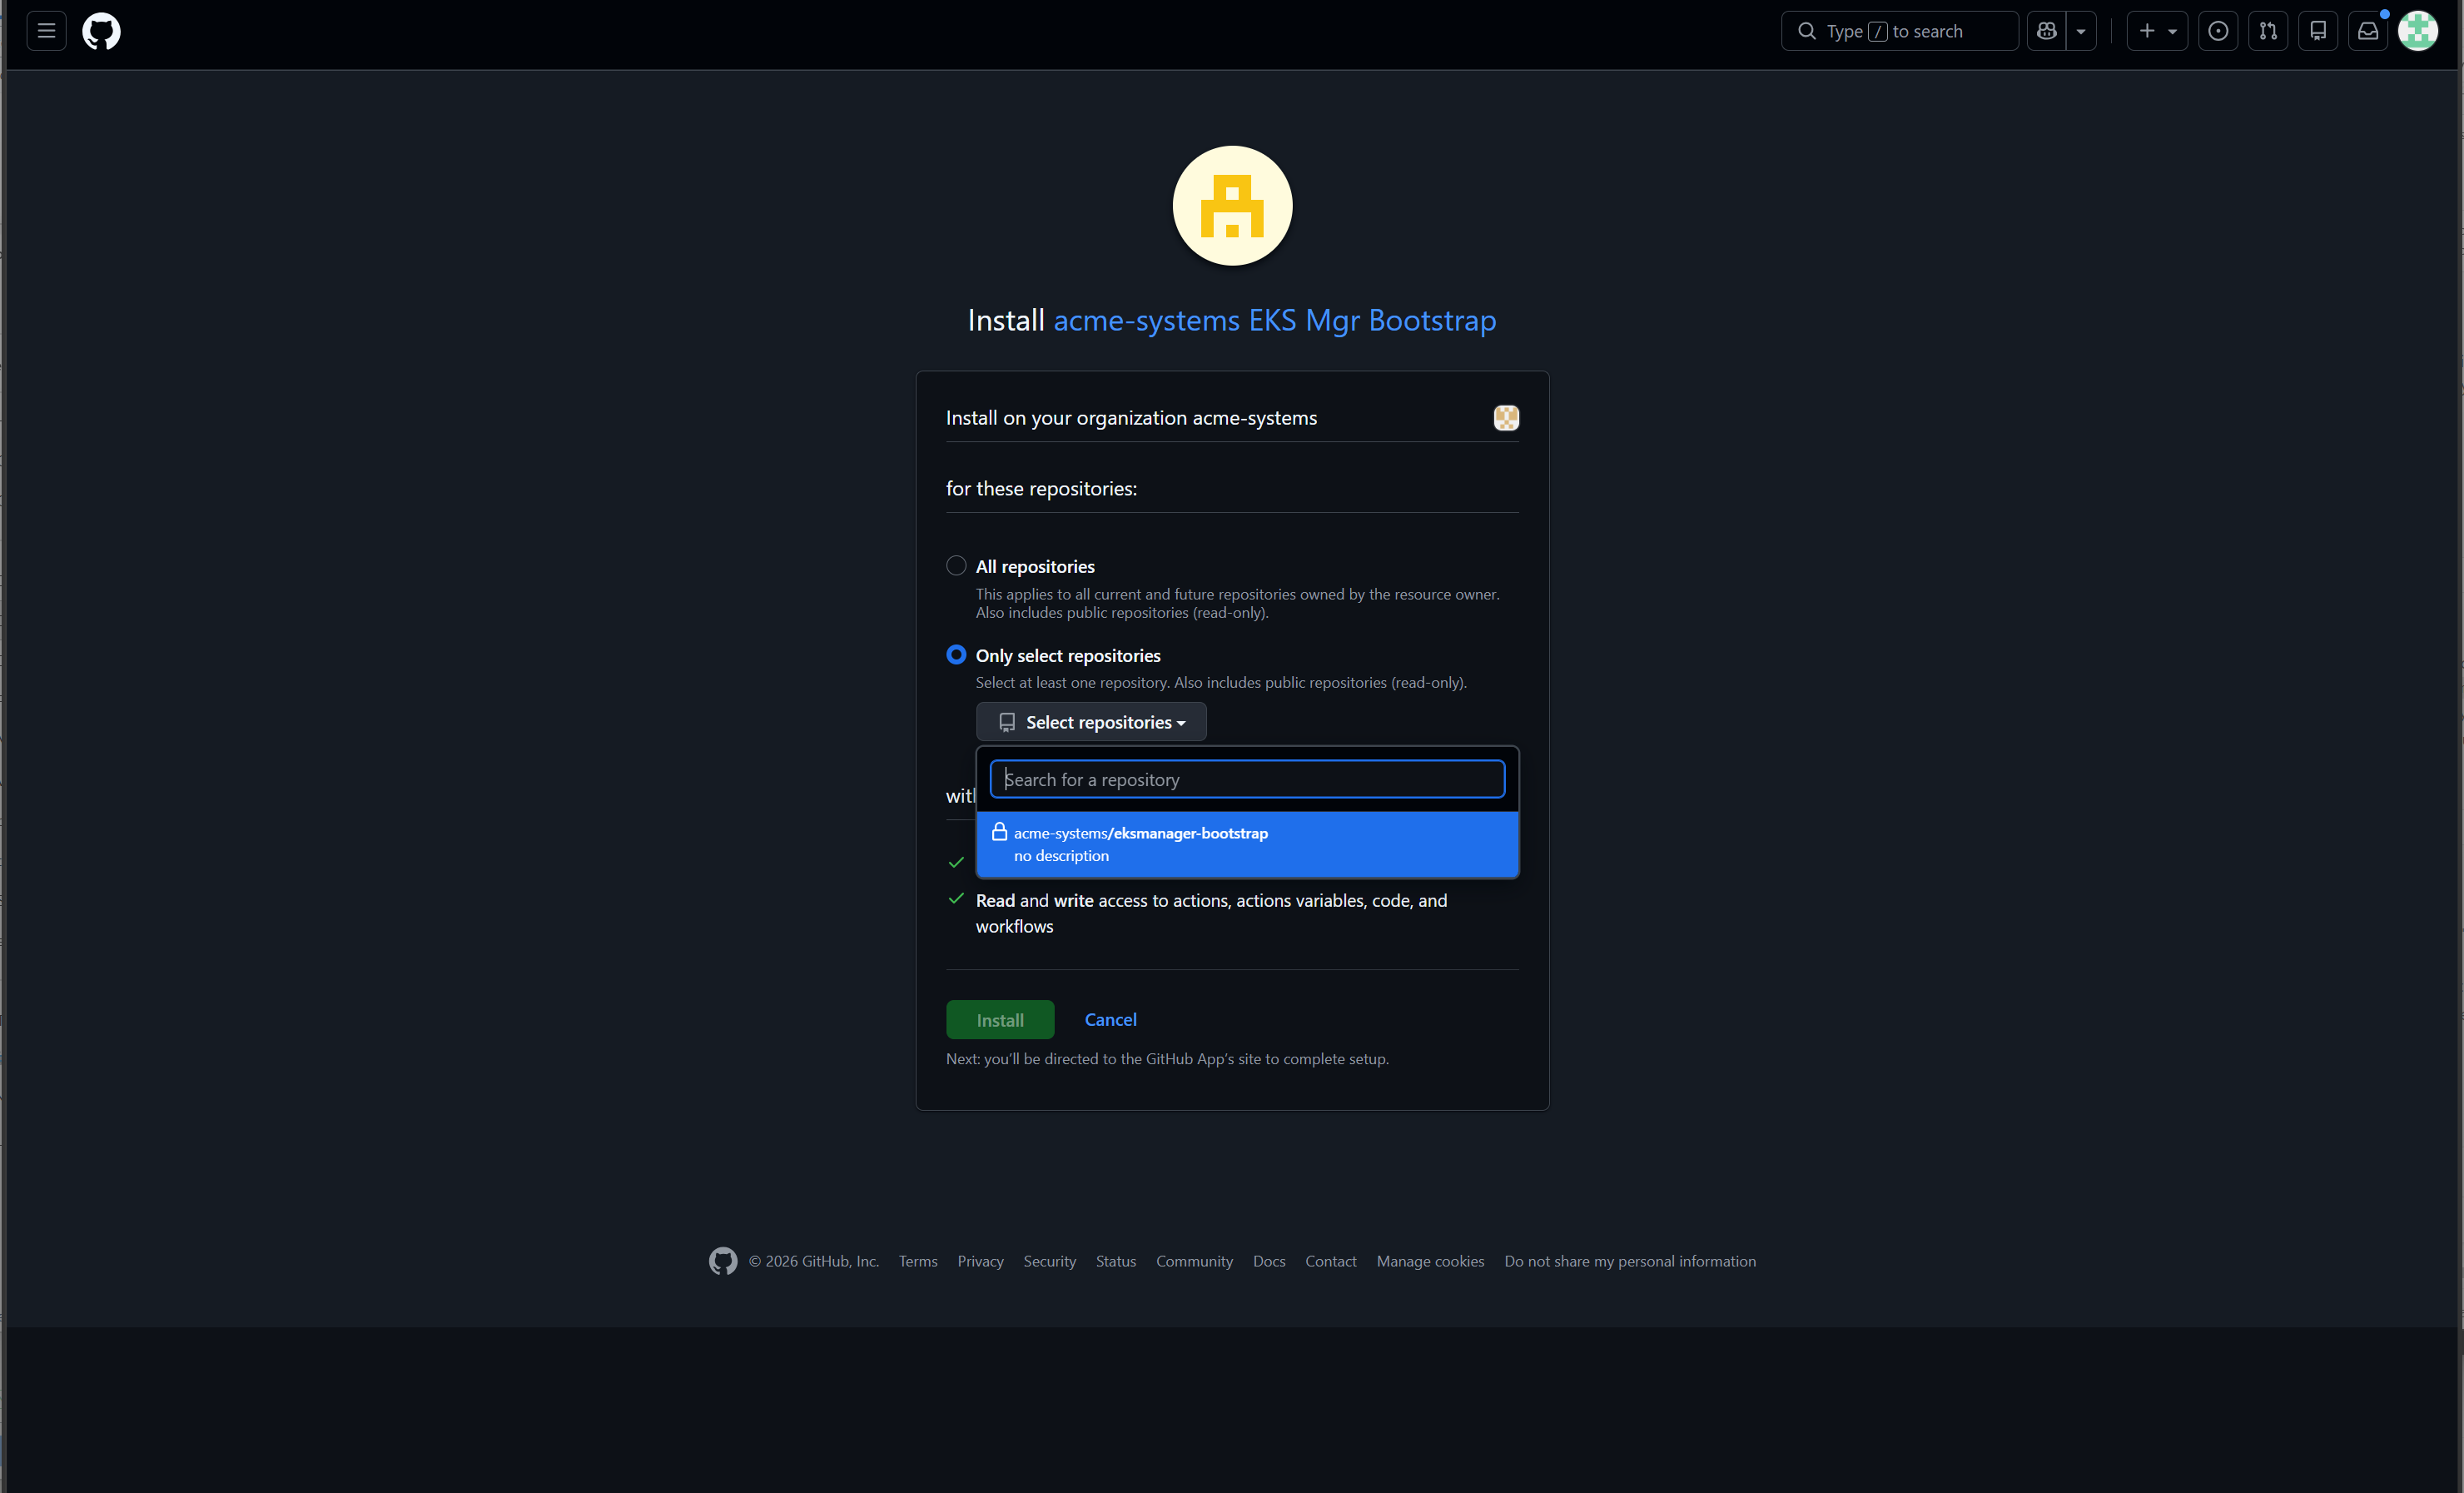
With the repository chosen, GitHub states the access in its own words before you commit to it.
It summarises rather than lists. The manifest asks for five permissions — metadata, contents, actions, actions variables and workflows — and GitHub renders them as two lines, calling contents “code”. Fewer lines, the same access; the Admin Guide's GitHub App Installation chapter sets them out one by one.
Press Install and GitHub returns you to EKS Manager, which is where the next step picks up.
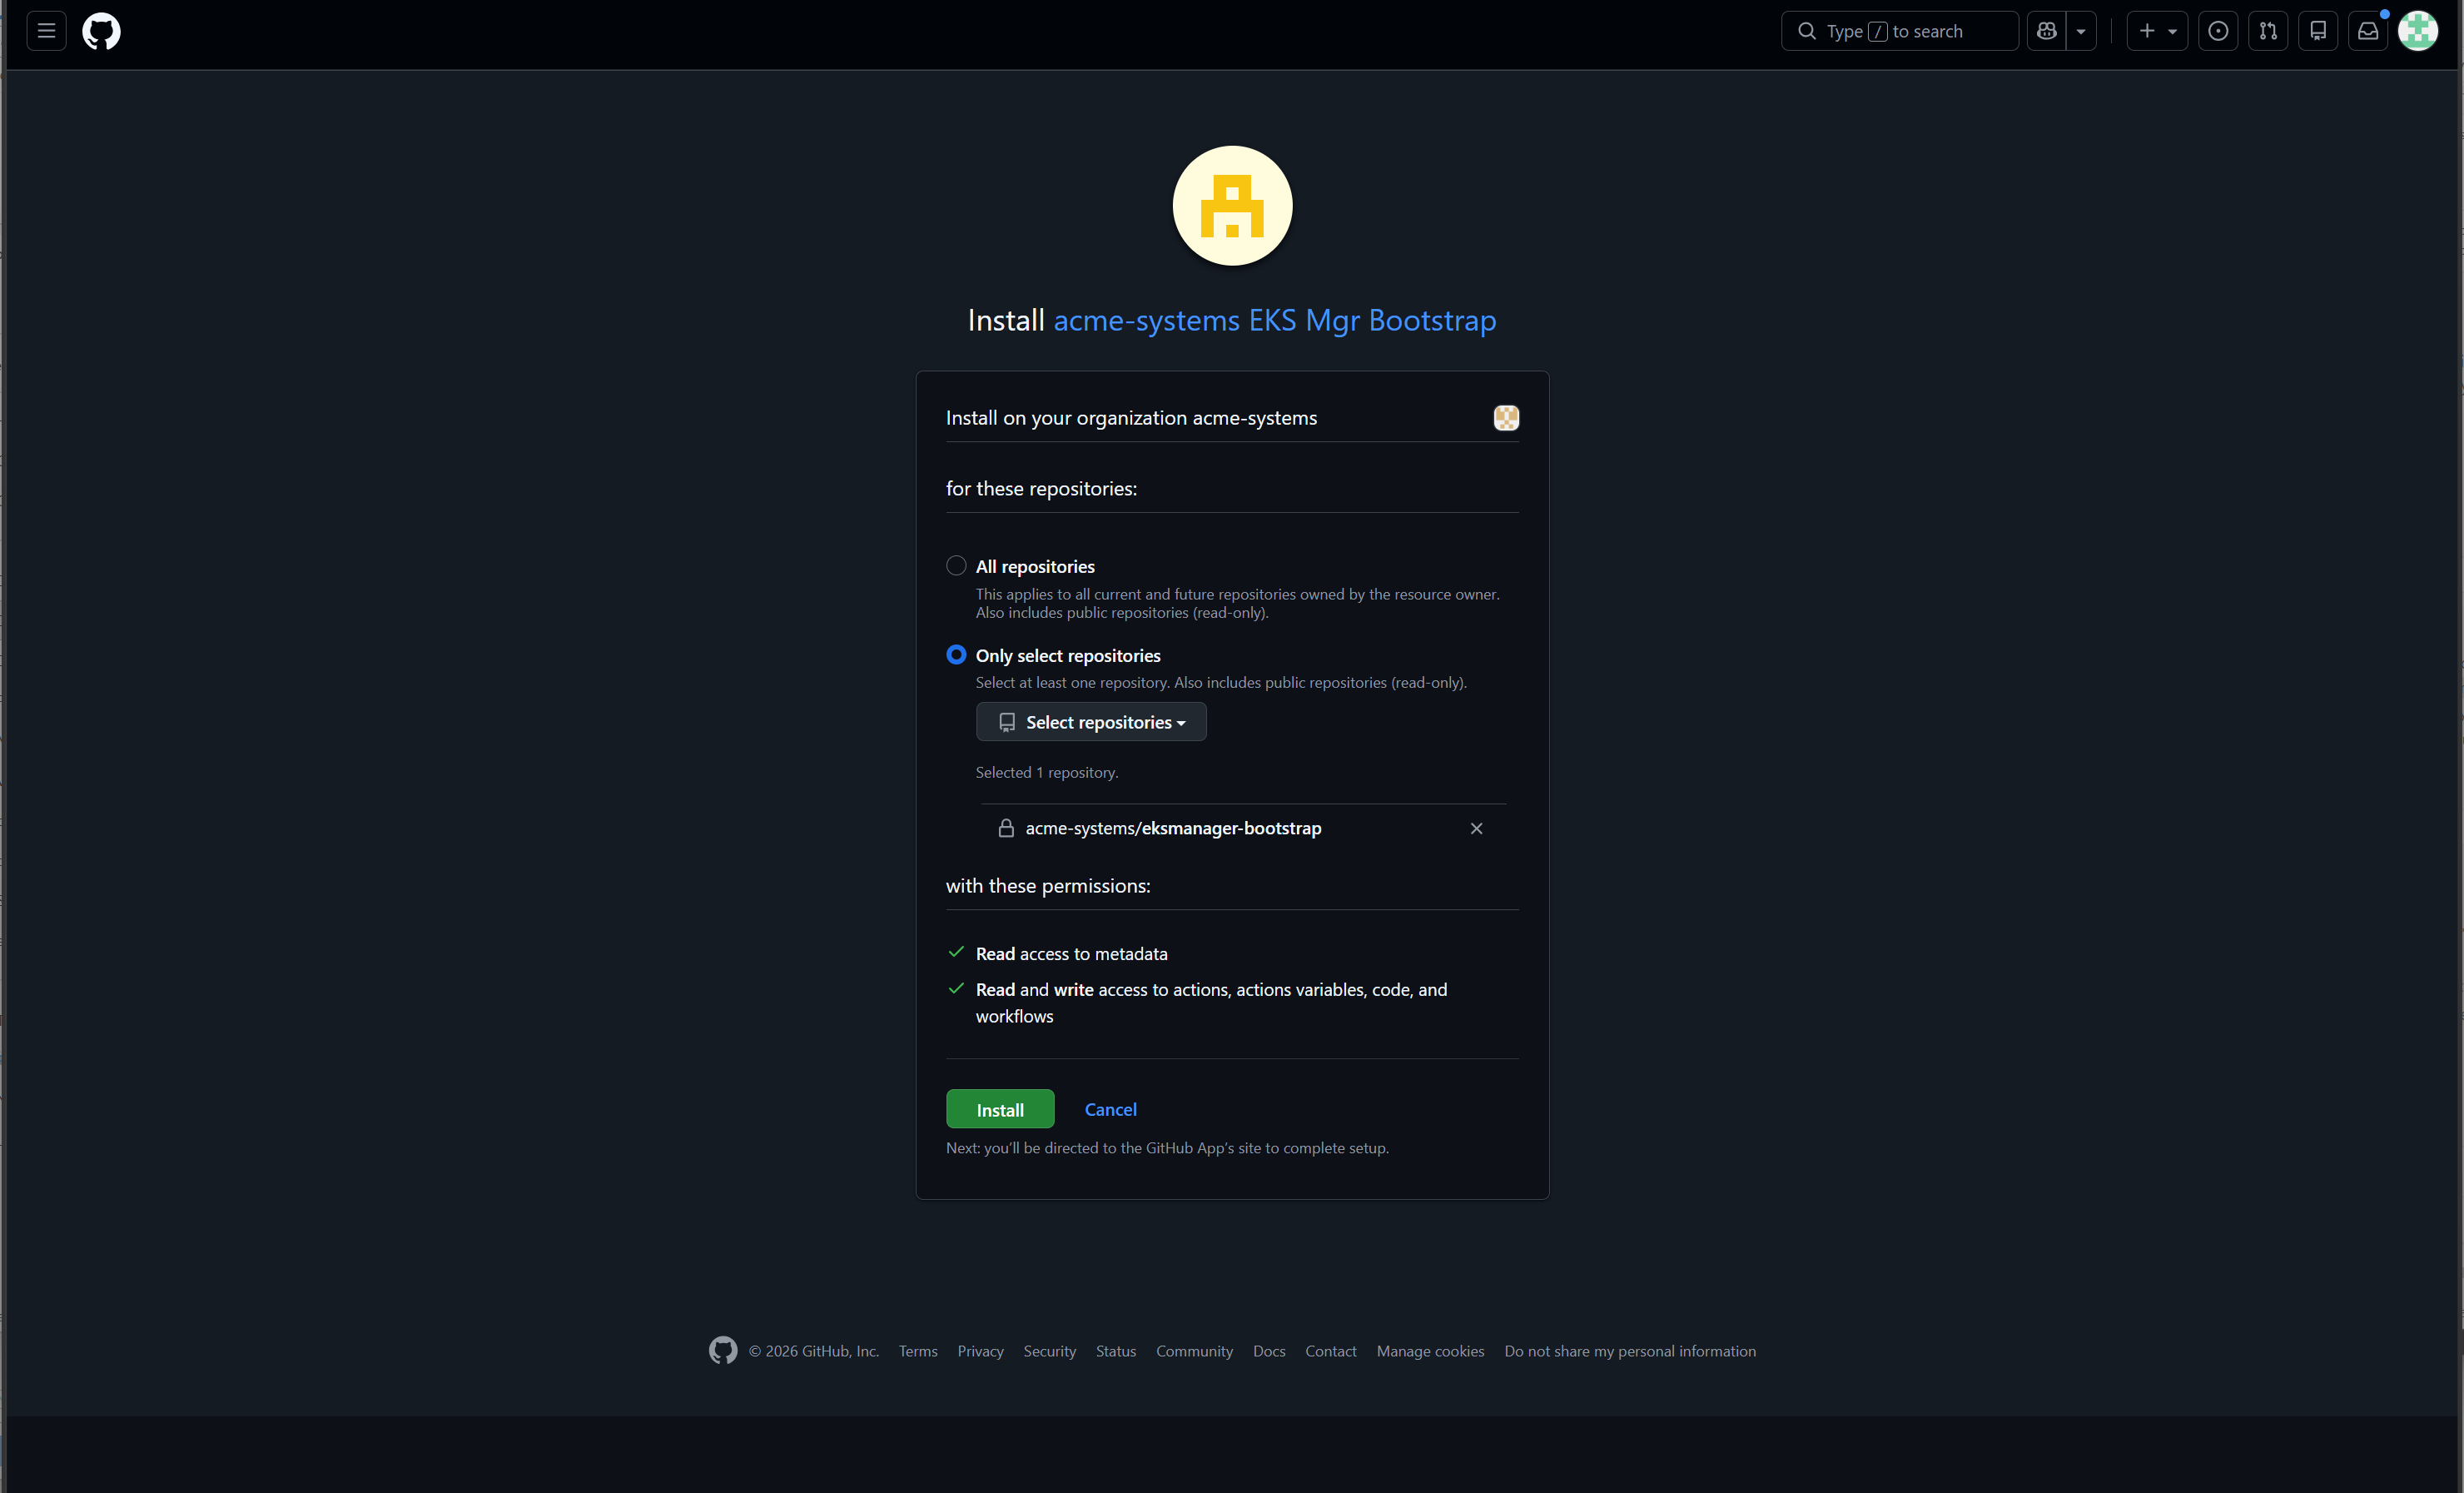
Bootstrap App Created has gone green, and the step collapses to Completed with an Edit beside it — the values are still there to change, they are simply out of the way.
Terraform is no longer greyed out. That is the pattern for the whole page: each step lights its own chip and opens the one after it.
The other four chips are still red, and should be. They go green as the bootstrap actually runs — the agent registering, the secret store and registry appearing — not because anything was configured here.
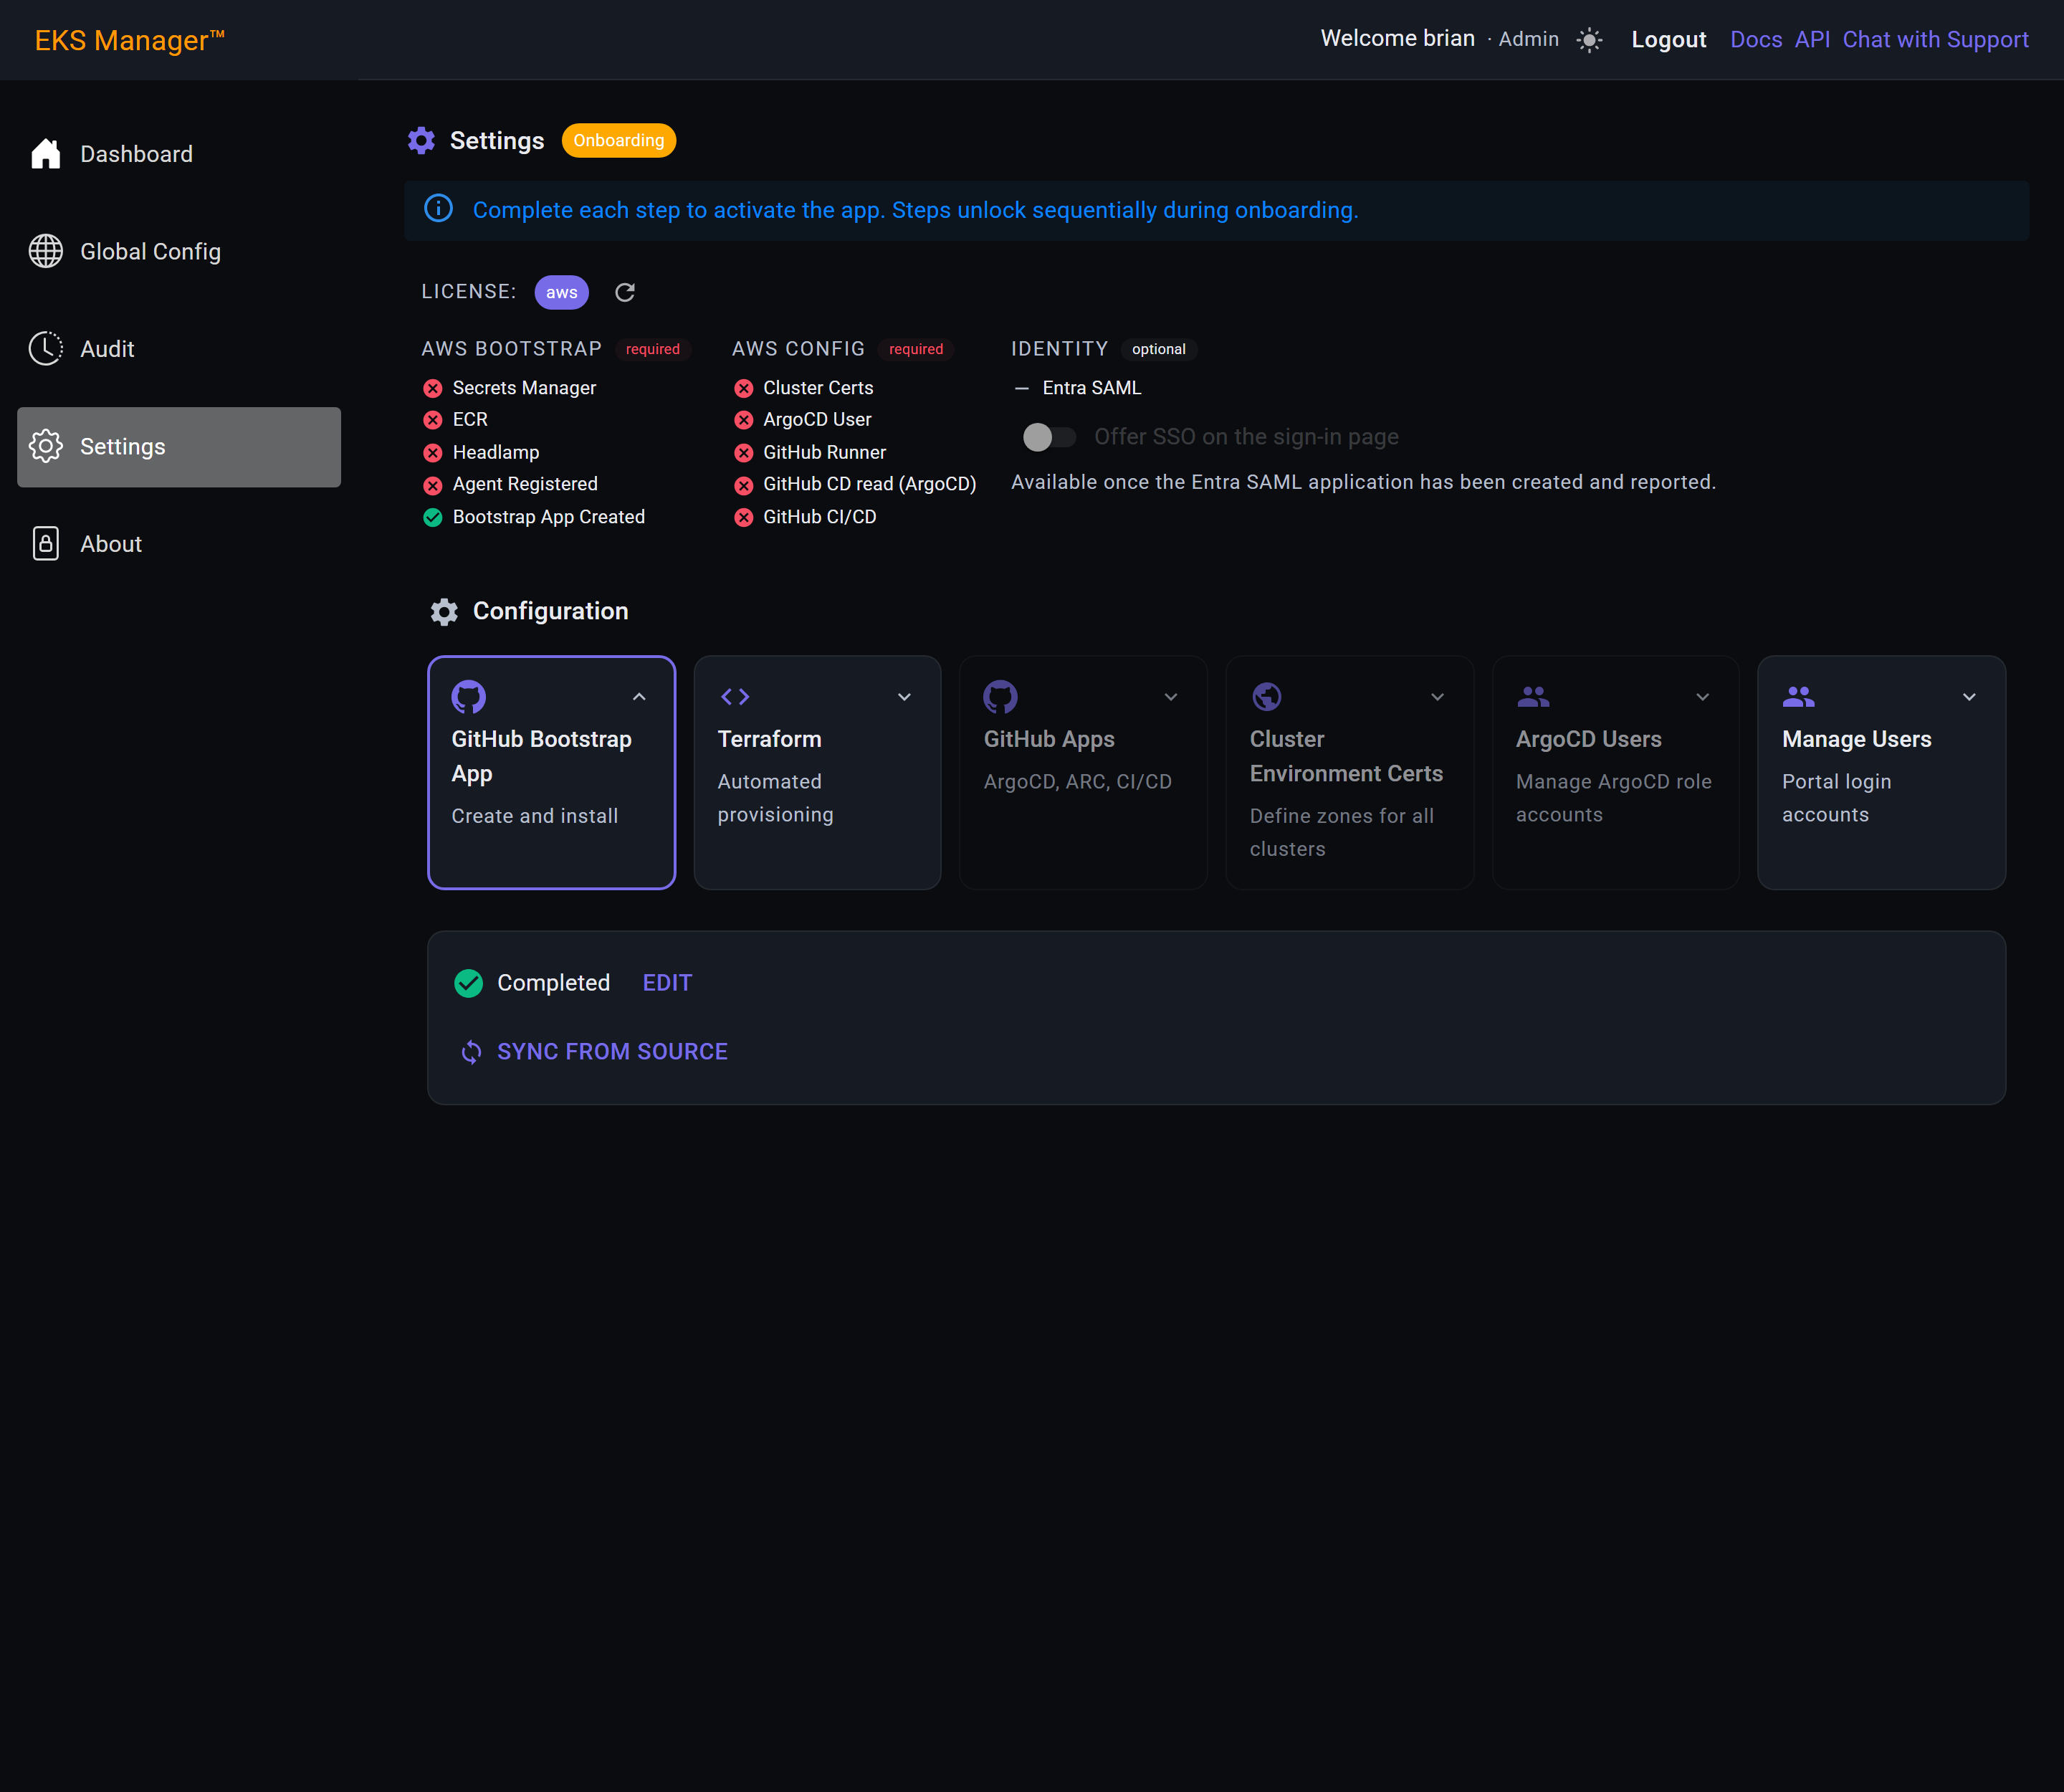
Terraform
The Terraform tile does not run anything. It collects the handful of facts the bootstrap cannot work out for itself, and hands them back as a block you paste into a shell.
Two accounts, because they do different jobs: the management account is where the bootstrap is run from, and the shared services account is where everything it creates lives.
The VPC and subnet are the ones the build container attaches to — it egresses through your network so its address is one you can allowlist.
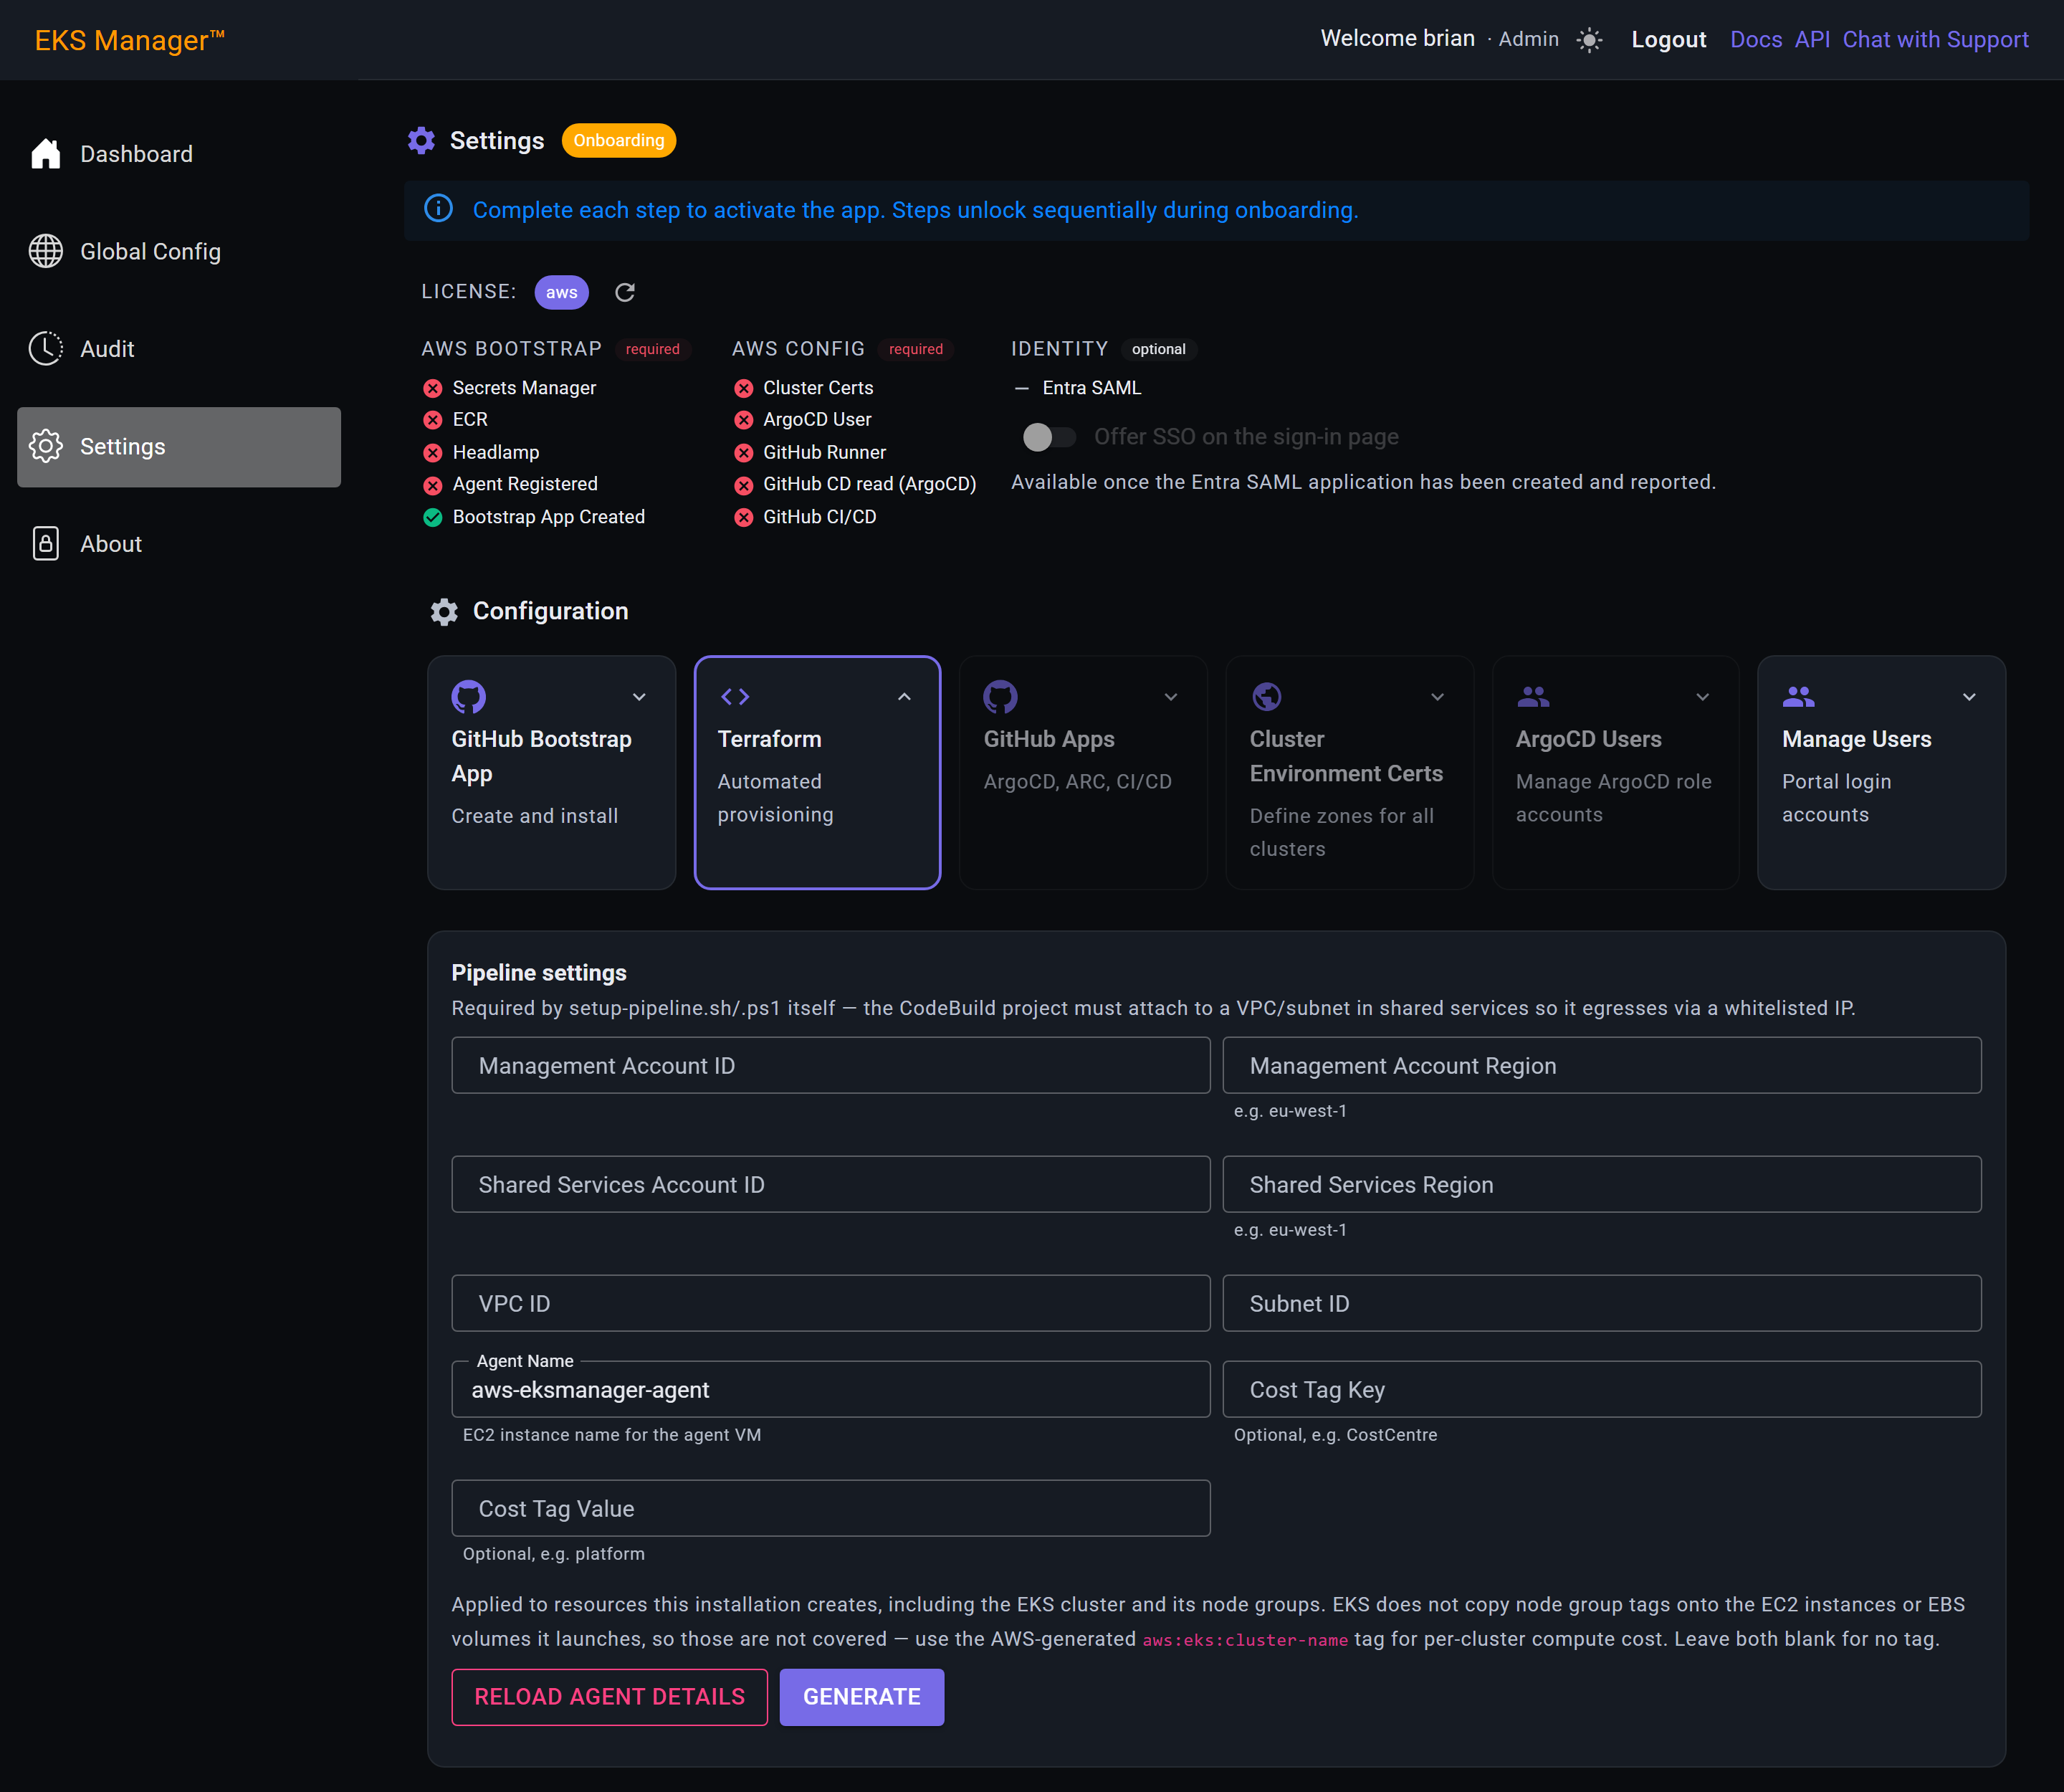
Agent Name becomes the EC2 instance name for the agent, so make it one you will recognise in a console listing months from now.
The cost tag is optional and applied to what this installation creates, including clusters and their node groups. It does not reach the instances and volumes EKS launches for a node group — EKS does not copy node group tags onto them — so use the AWS-generated aws:eks:cluster-name tag for per-cluster compute cost.
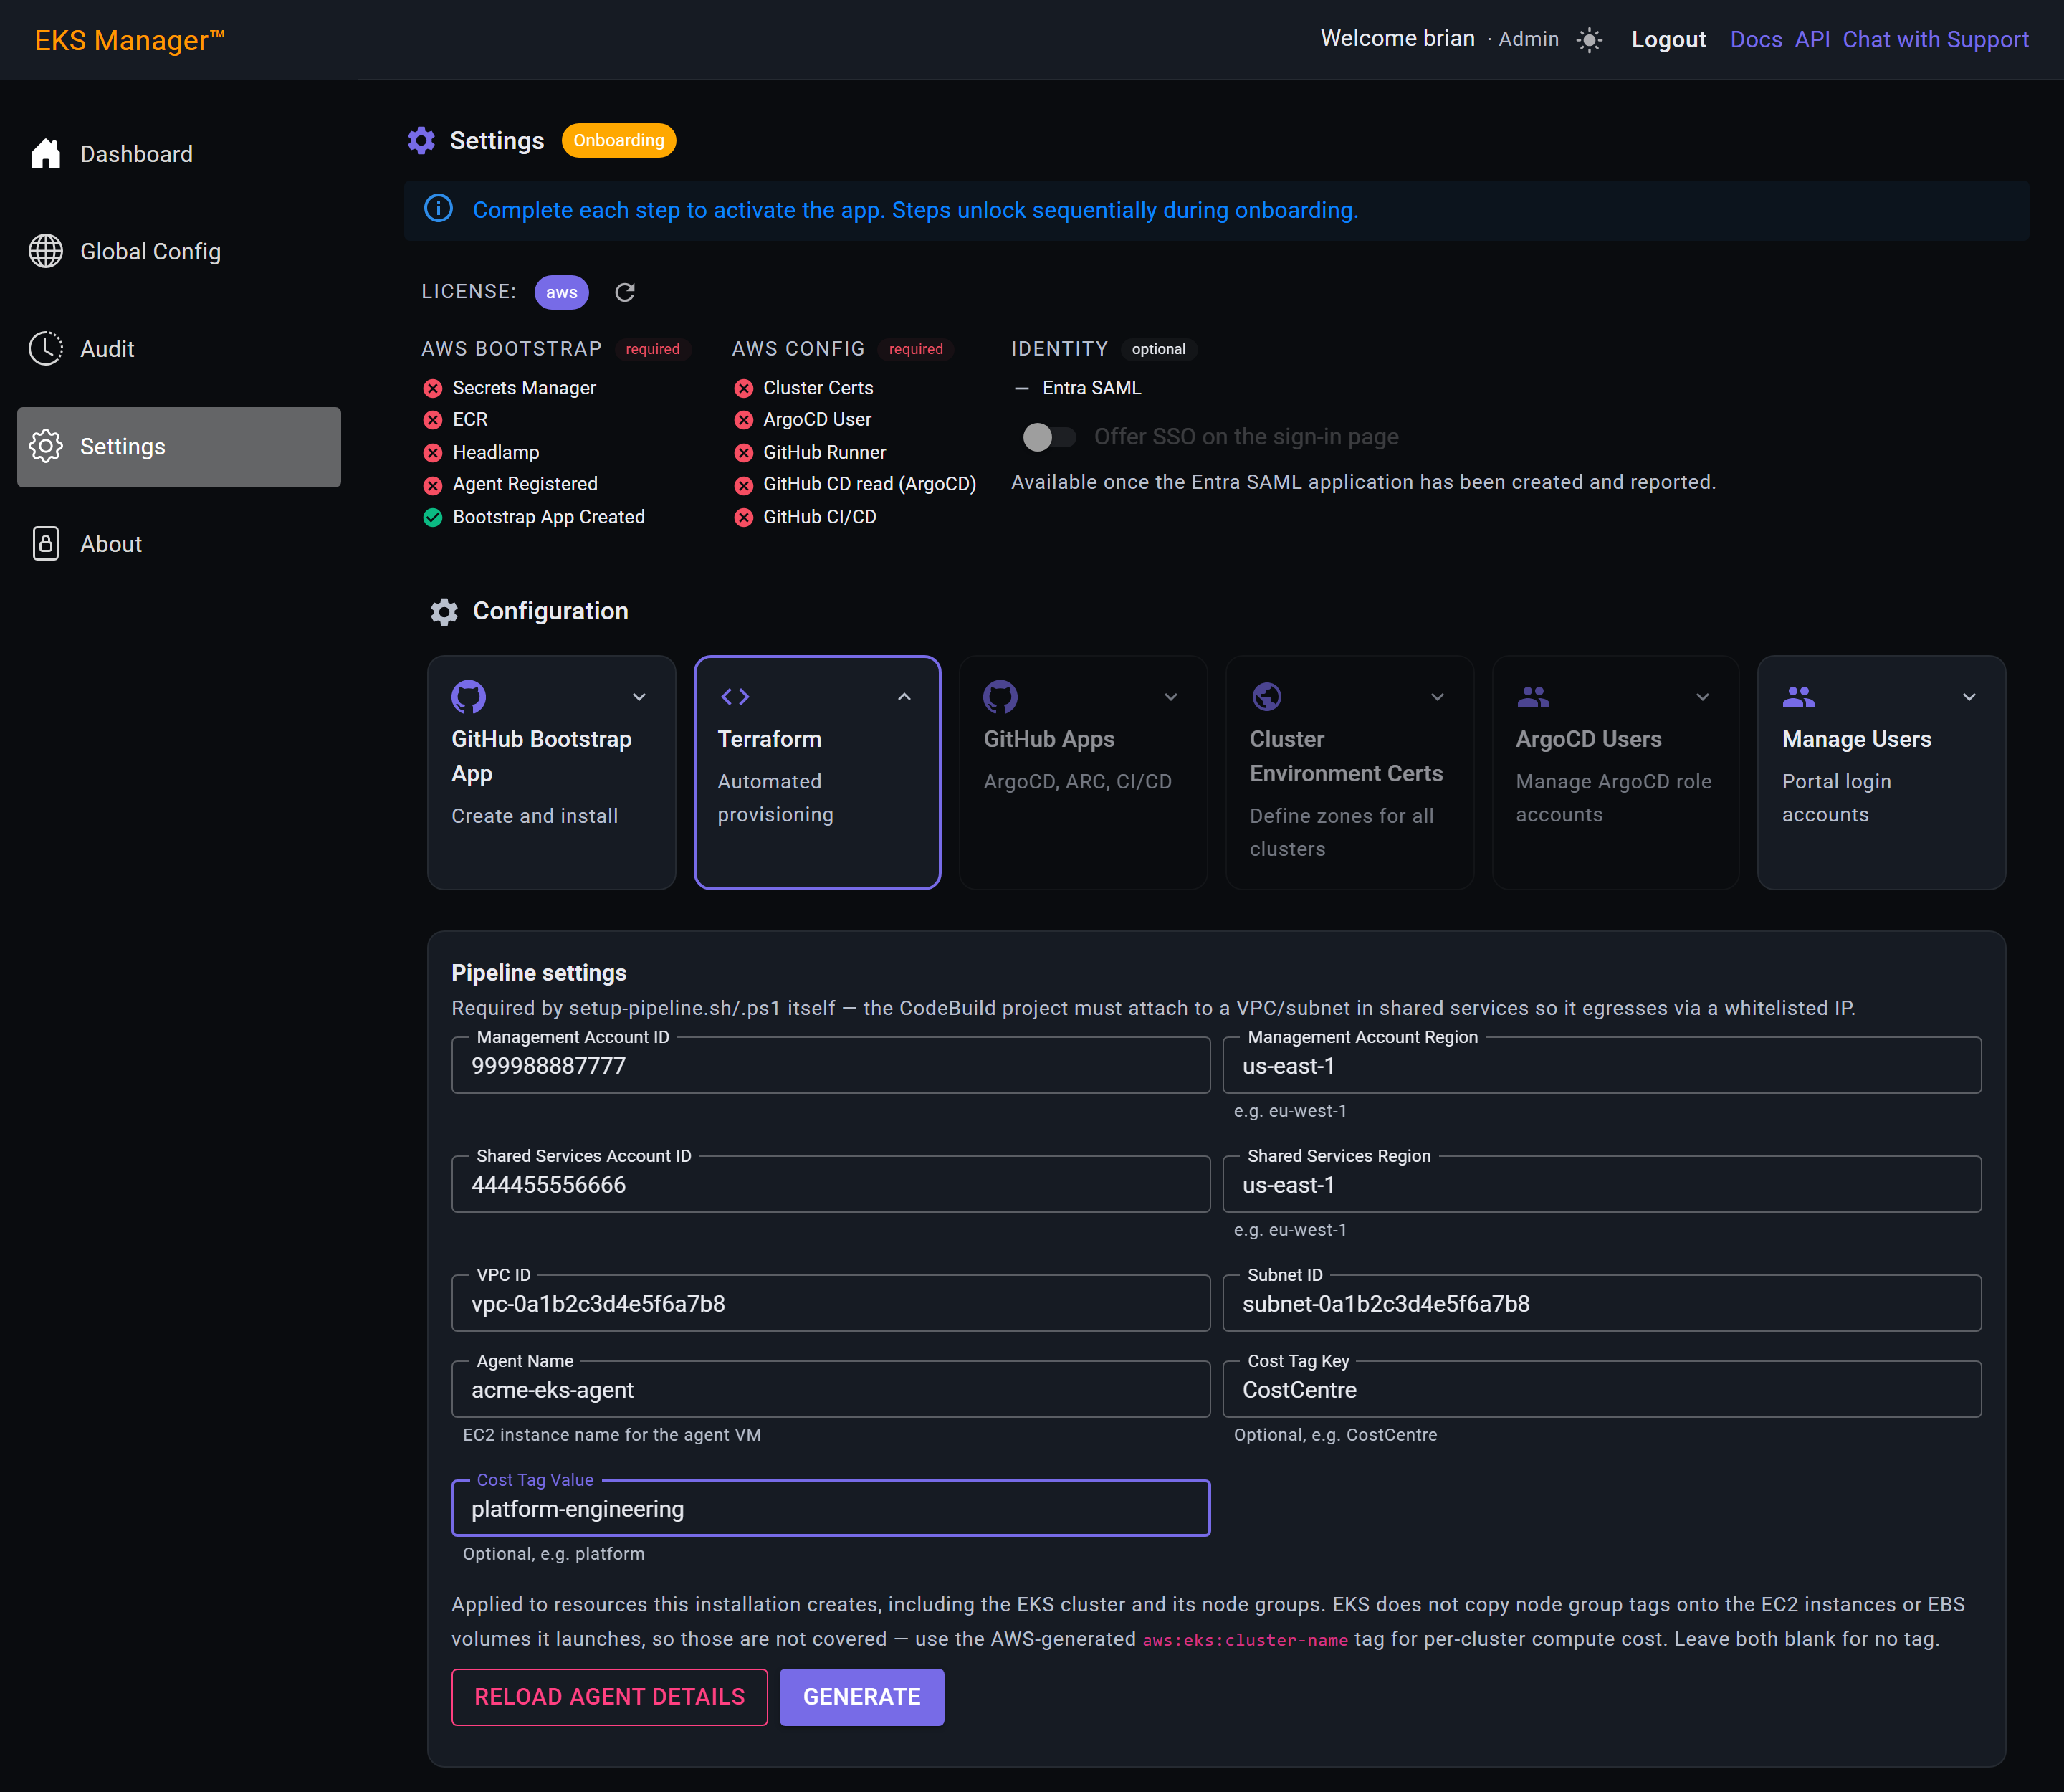
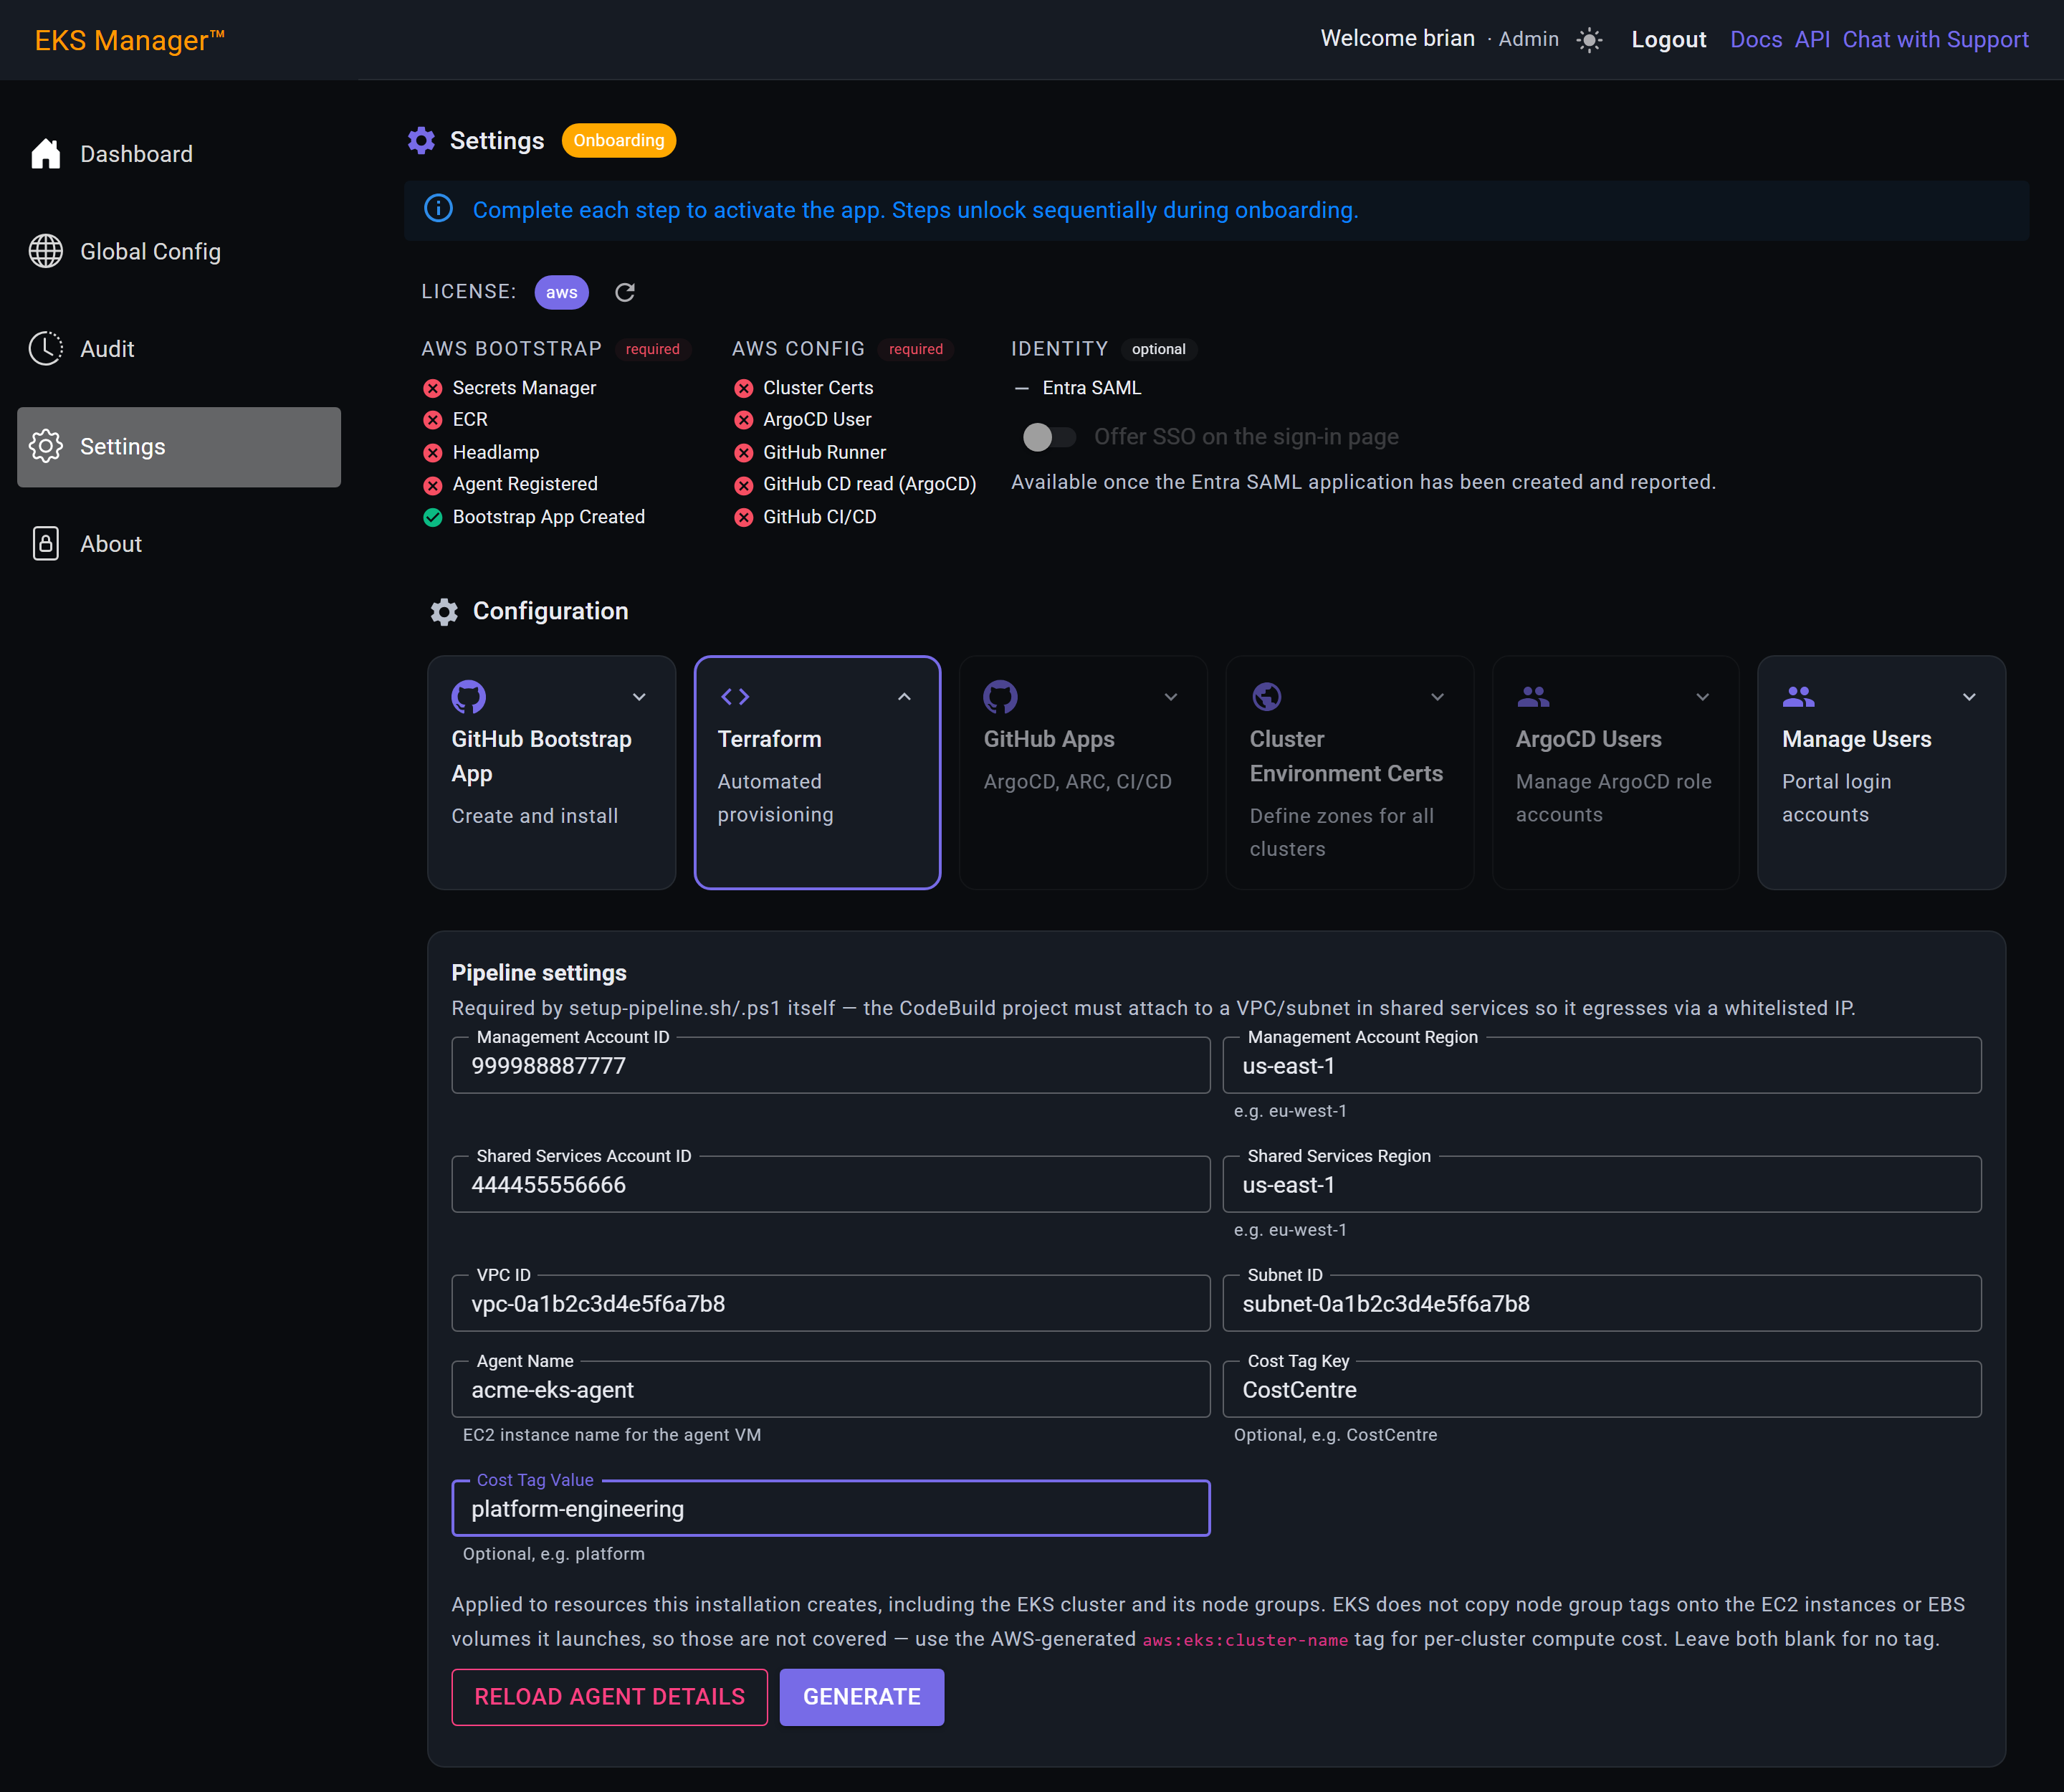
Generate builds the credential block. It writes nothing and starts nothing — the values above are simply assembled with the ones this installation already knows, such as its API endpoints and the machine-to-machine client.
Pressing it again after changing a field is the way to refresh the block; there is nothing to undo.
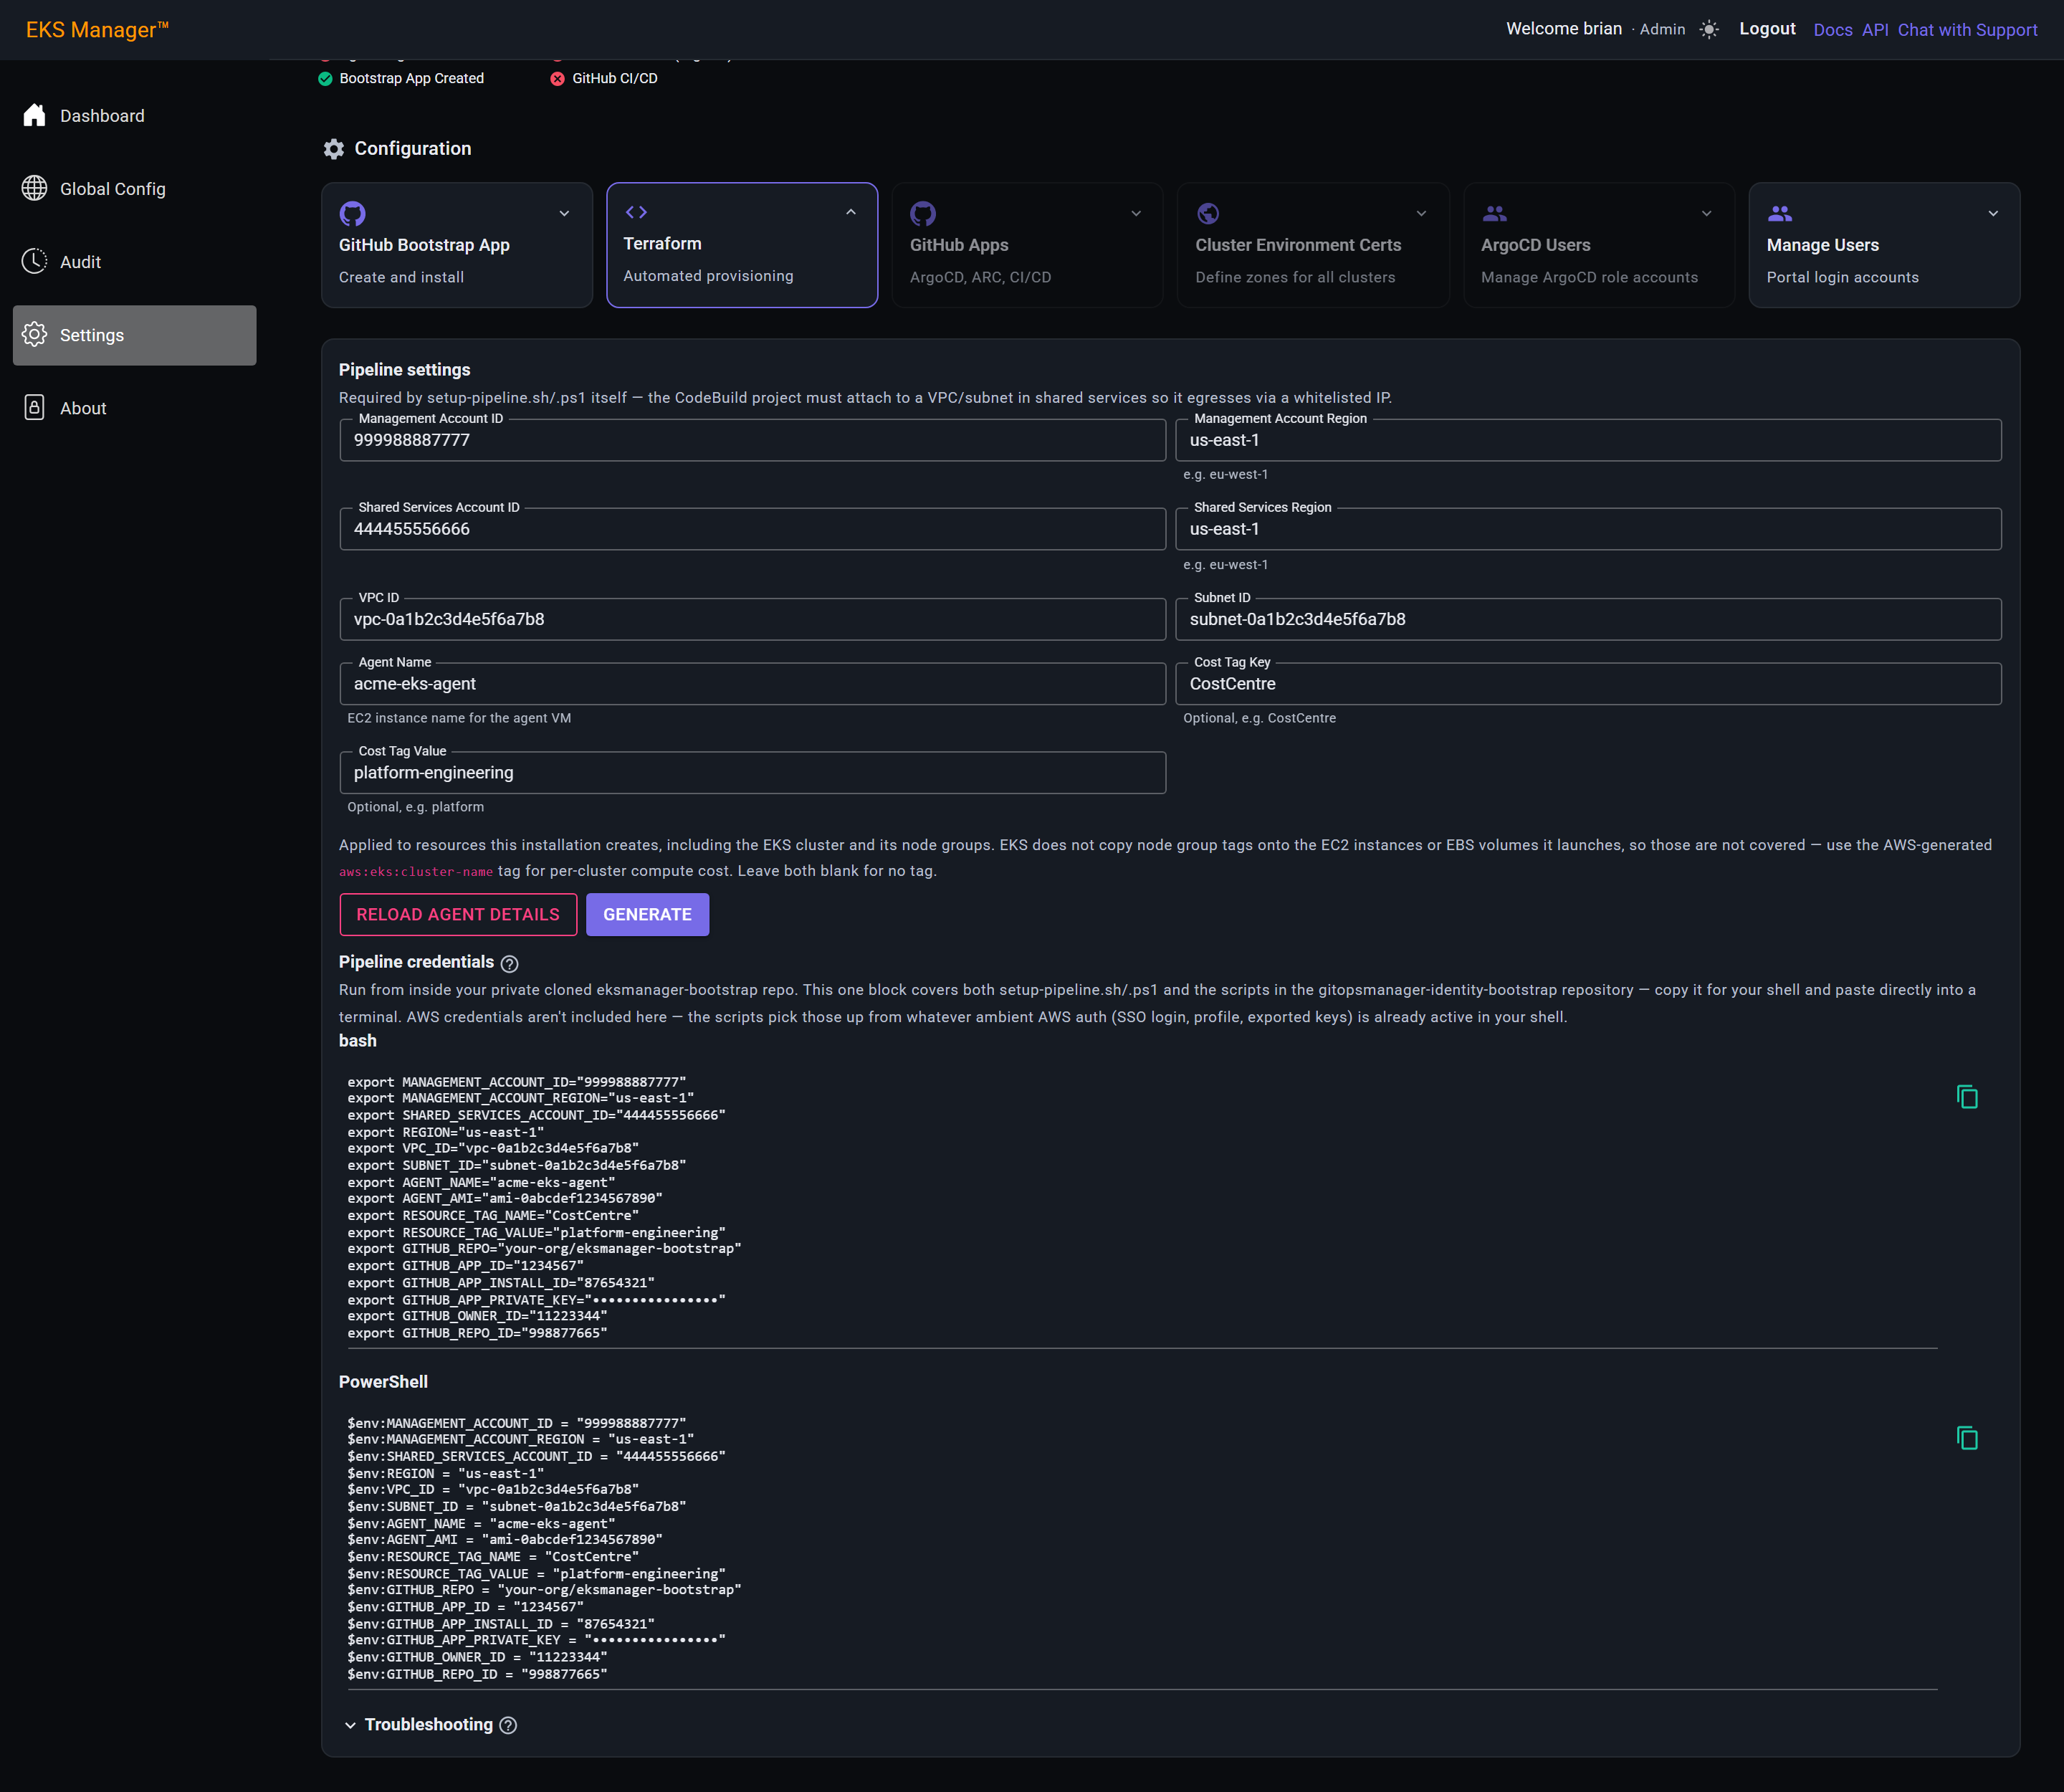
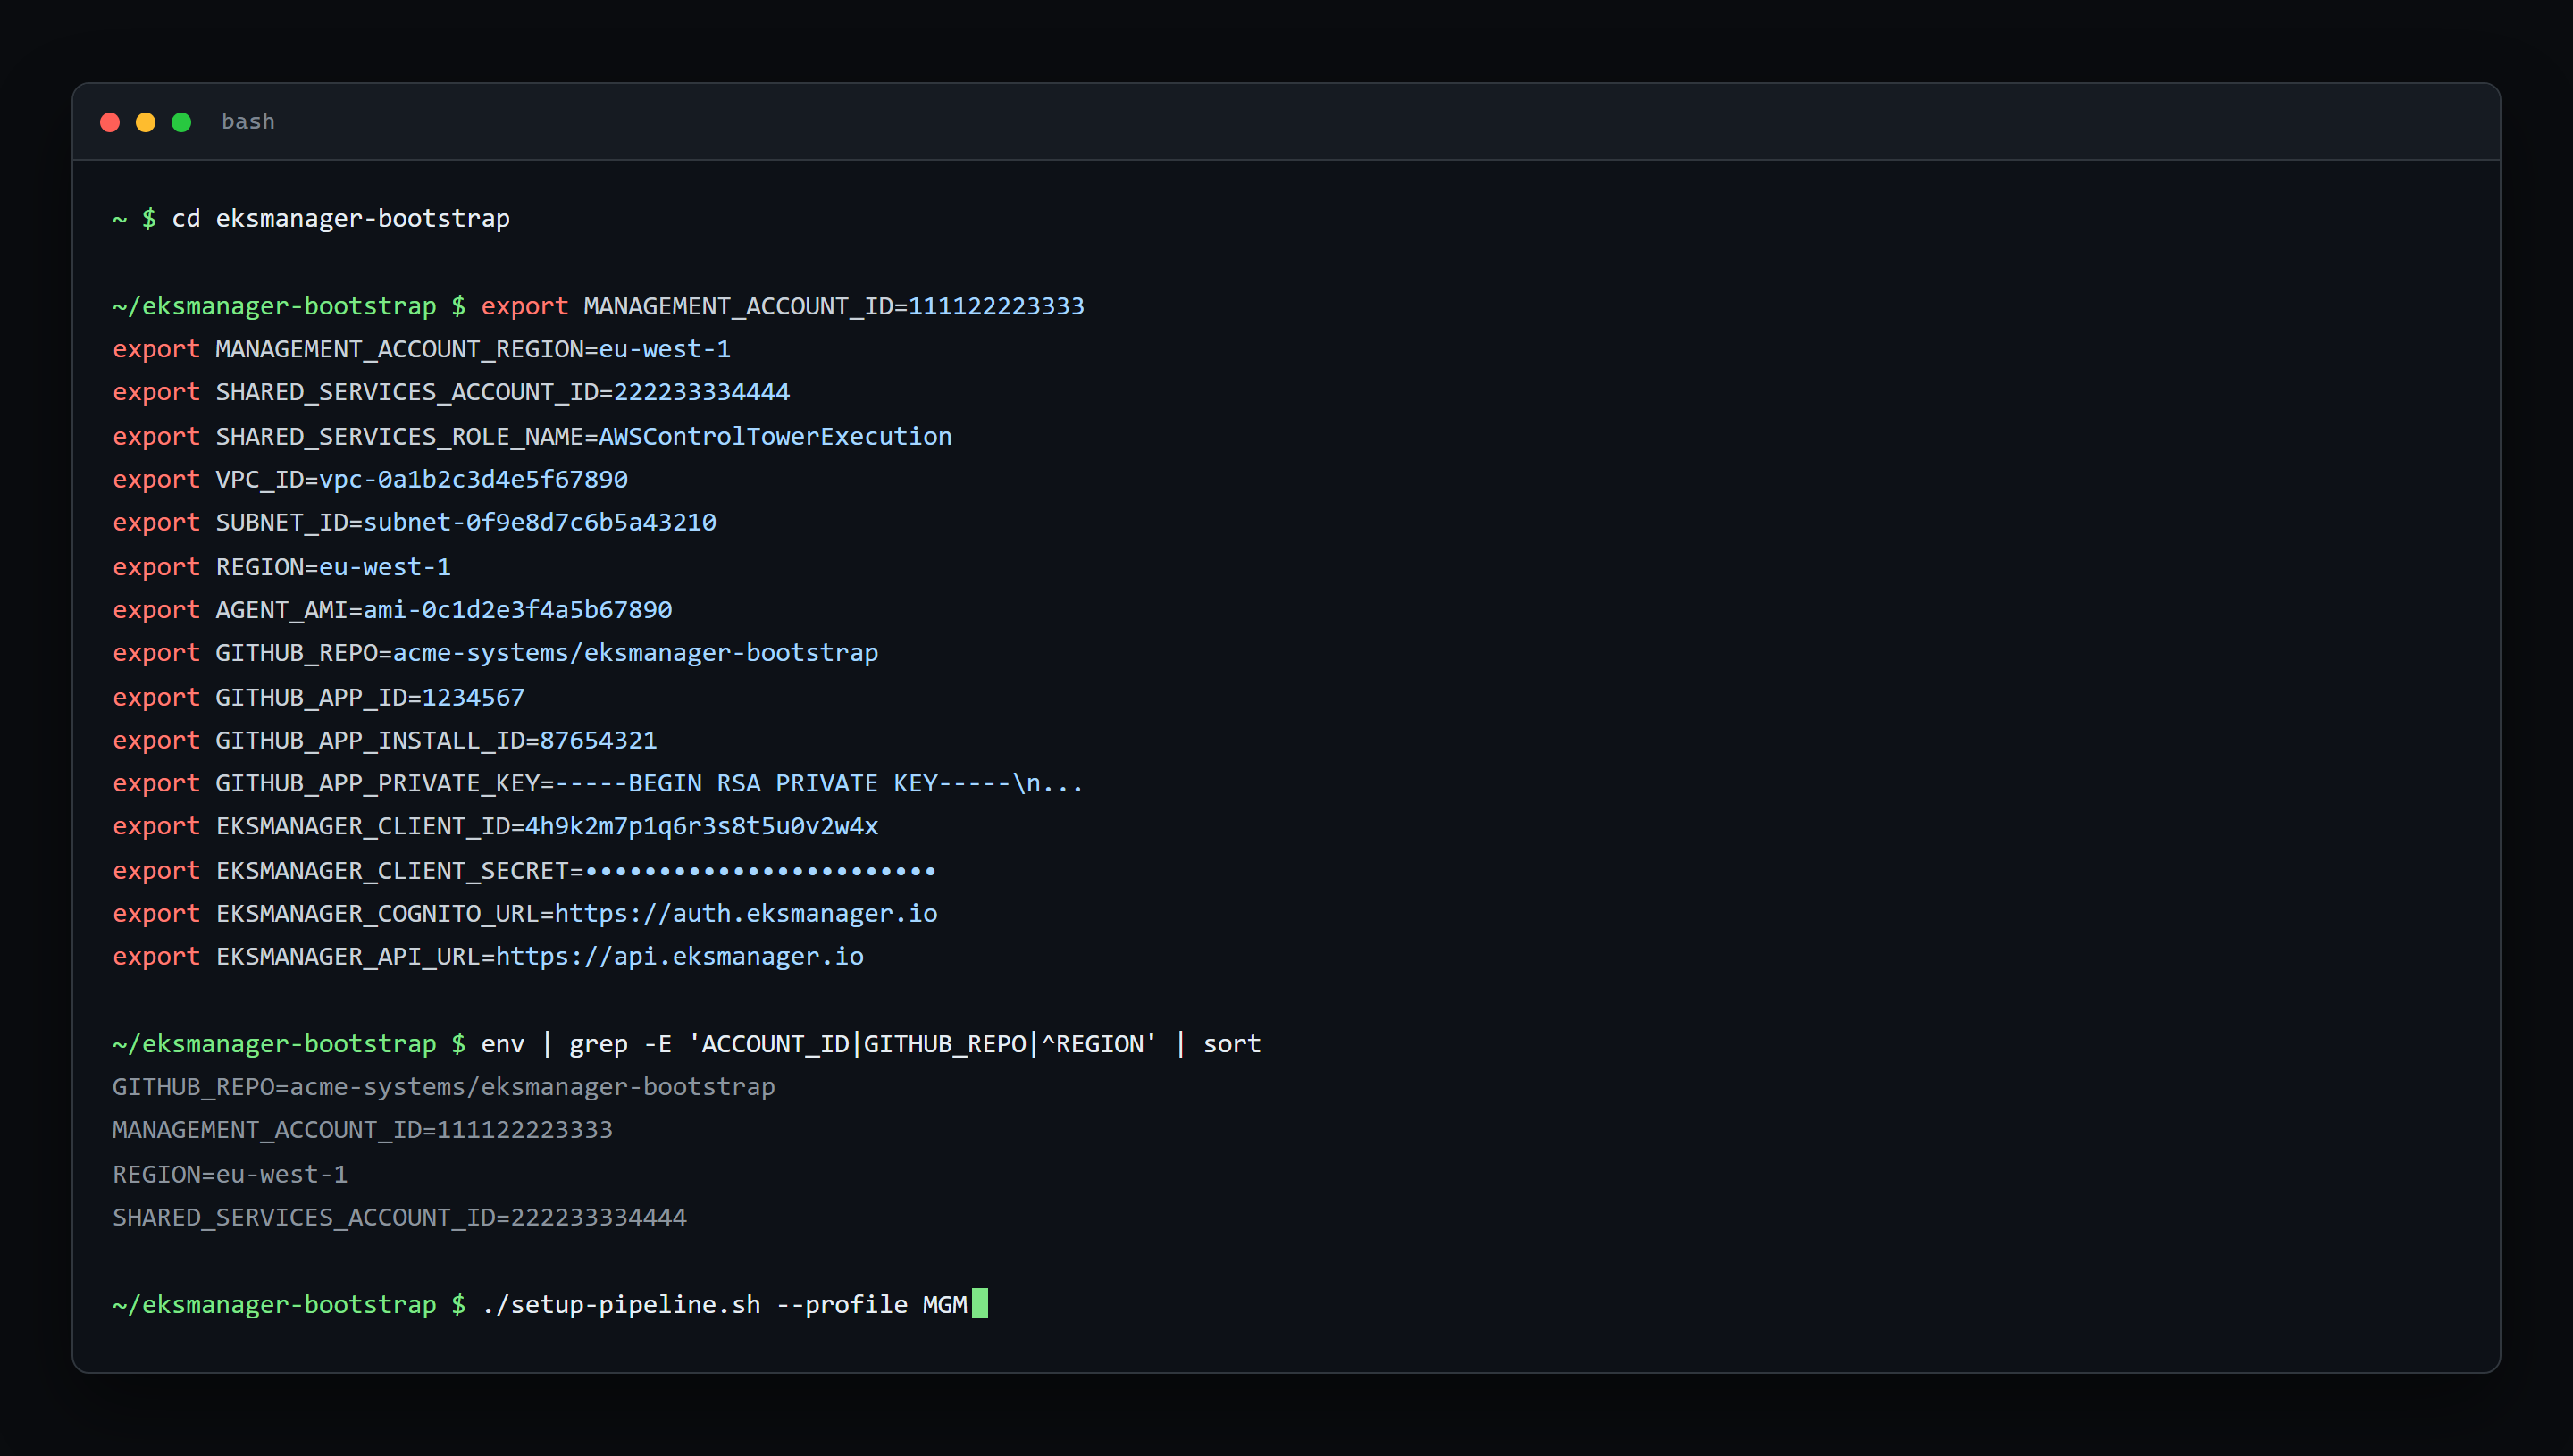
The block is everything setup-pipeline.sh and the identity bootstrap scripts need, in one paste. Run it from inside your private clone.
AWS credentials are deliberately absent. The scripts pick those up from whatever AWS authentication is already active in your shell — an SSO login, a profile, exported keys — so nothing here has to be a secret you handle twice.
The private key is masked on screen and copied in full by the button beside the block.
The same values again for PowerShell, so a Windows shell does not need the block translating by hand.
Copy one or the other, not both.
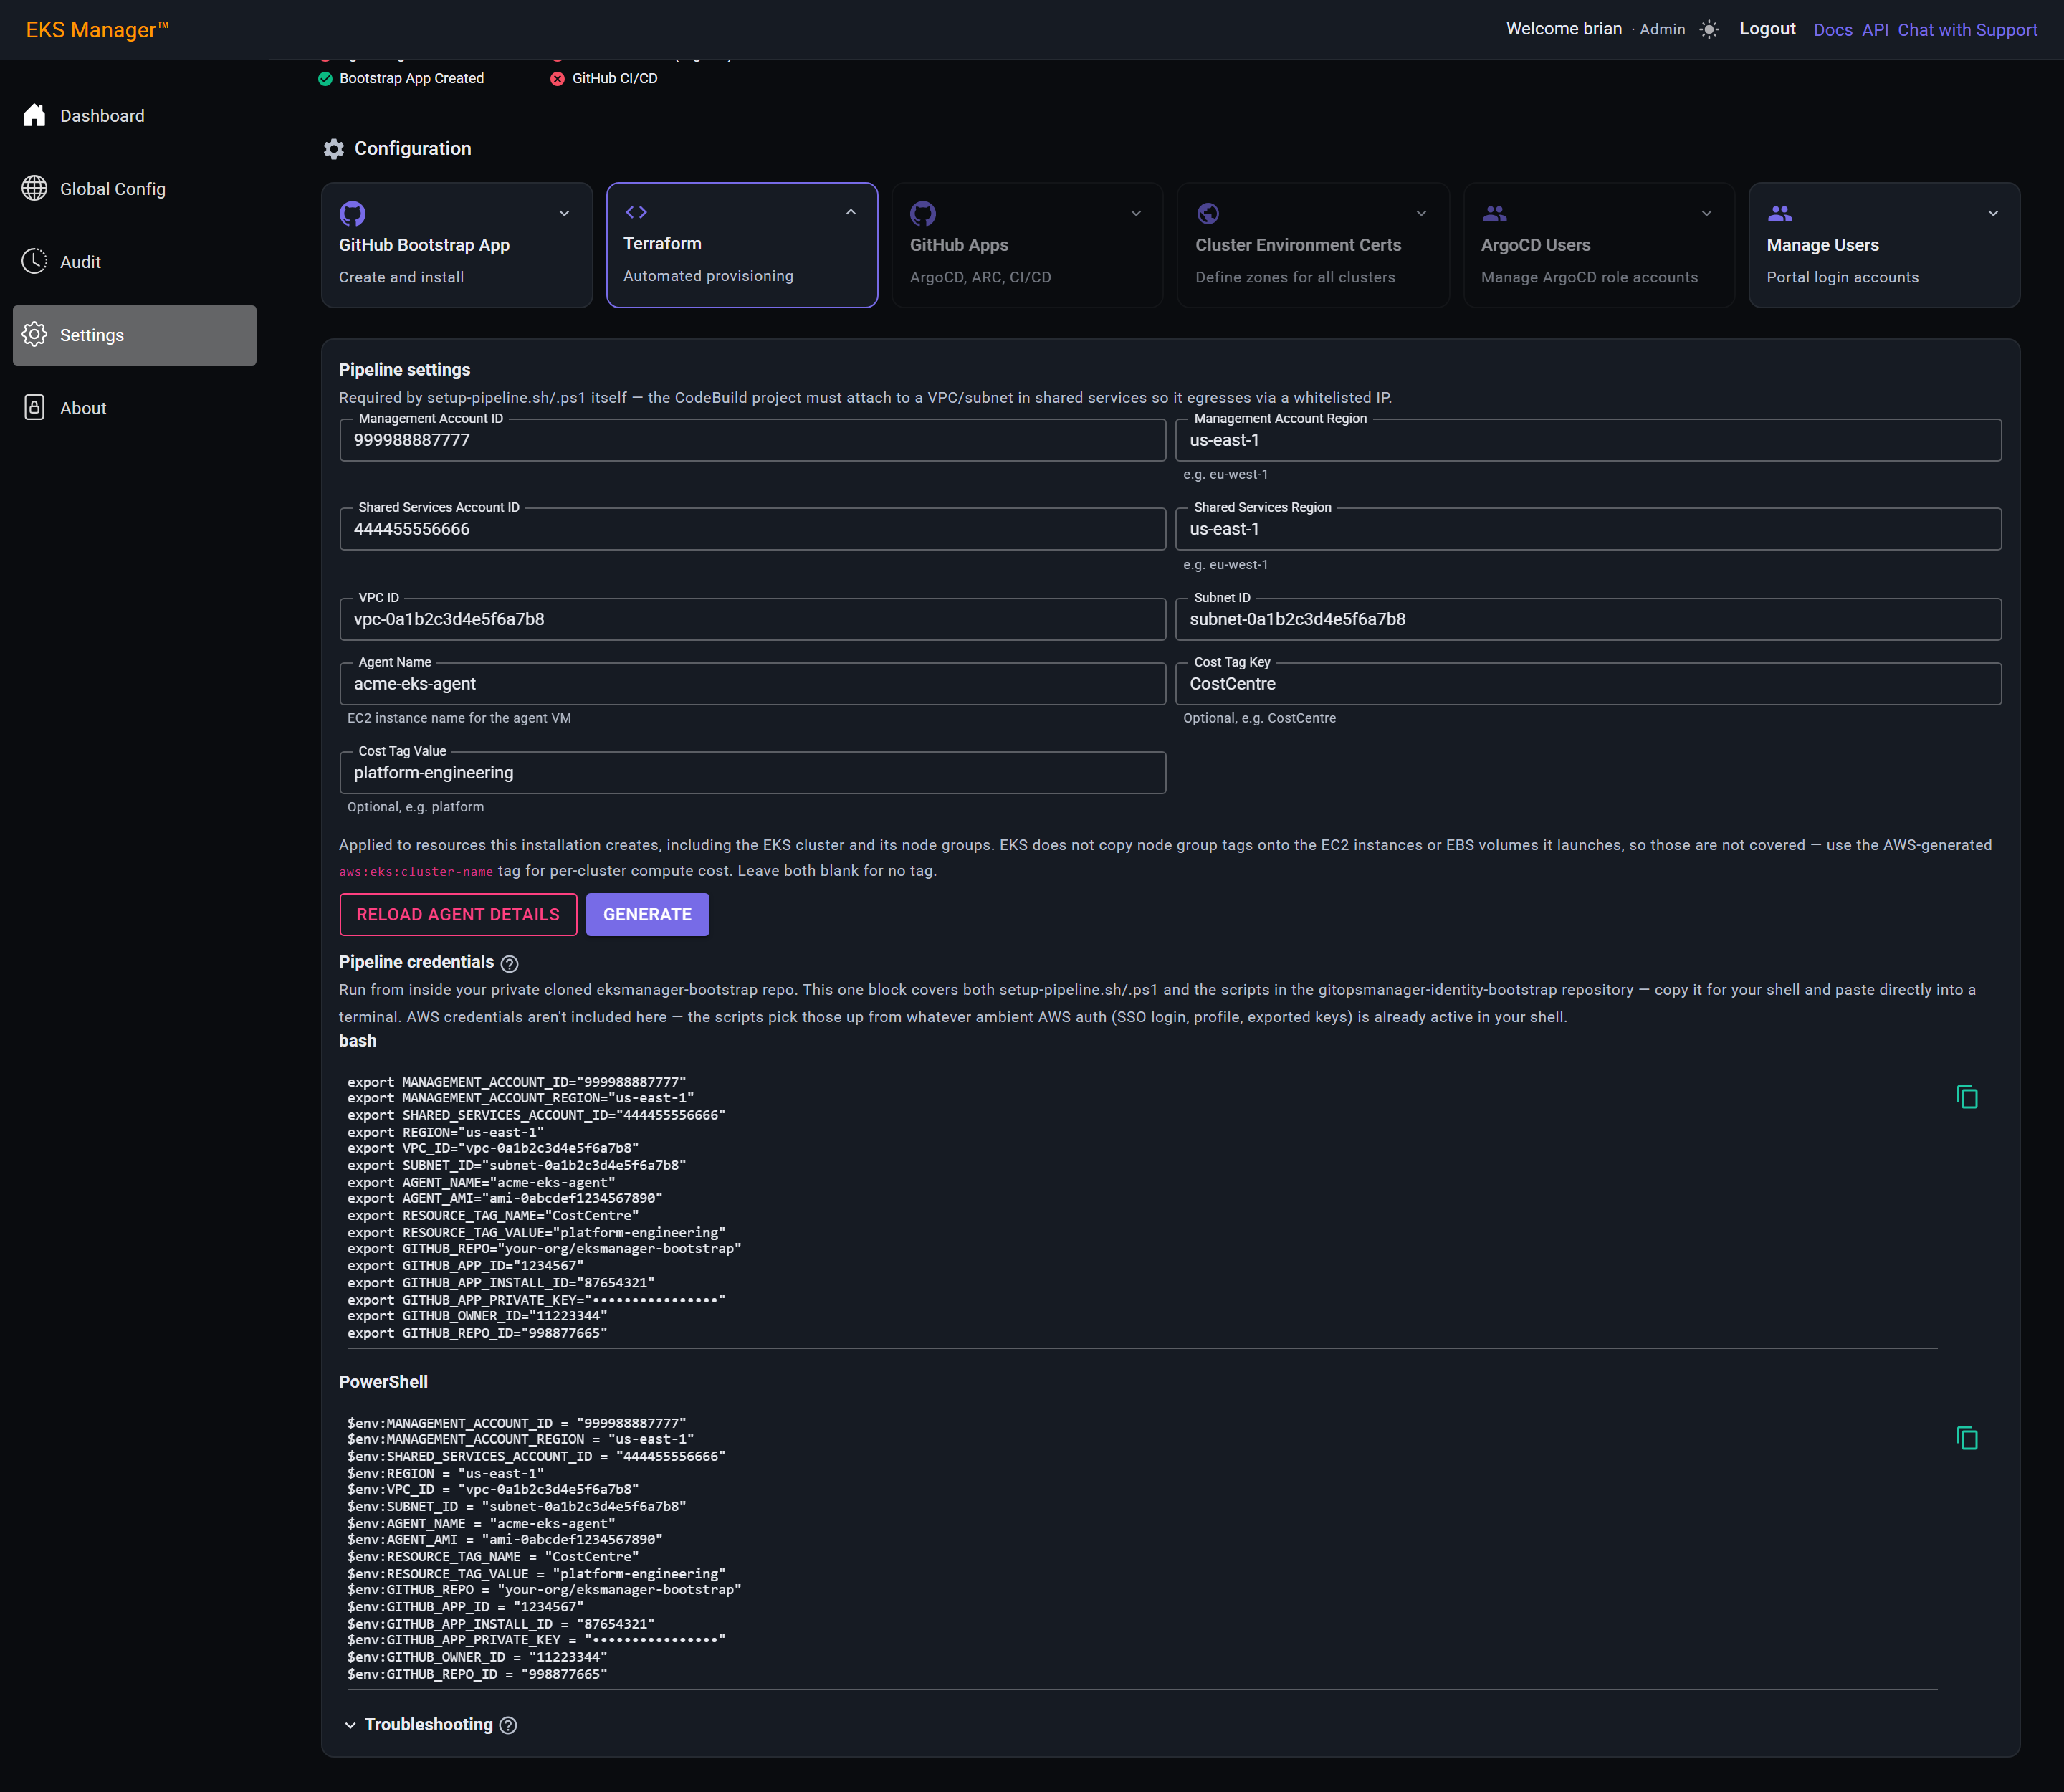
Clone your private copy, change into it, and paste the block. The variables are everything setup-pipeline.sh needs about your installation — and nothing about who you are.
The paste contains no AWS credentials. You have to be signed in to the management account separately, before you run the script. It has administrative rights there, creating EKSManagerBootstrap directly before assuming SHARED_SERVICES_ROLE_NAME into shared services from it. Run it signed in as anything else and it fails on its first resource.
There are two ways to do that, and the script accepts either:
cd /c/git/eksmanager-bootstrap

# a named profile for the management account
aws sso login --profile MGM
./setup-pipeline.sh --profile MGM

# or the three variables in the shell, from the console or an SSO copy
export AWS_ACCESS_KEY_ID=...
export AWS_SECRET_ACCESS_KEY=...
export AWS_SESSION_TOKEN=...
./setup-pipeline.sh
--region is accepted the same way if you would rather be explicit than rely on the profile's own.
It is idempotent — safe to re-run, and re-running is the normal way to correct a wrong value. It also stops short of doing anything: it creates the pipeline and leaves it idle. Nothing builds until a workflow uploads the zip, which the Workflows chapter covers.
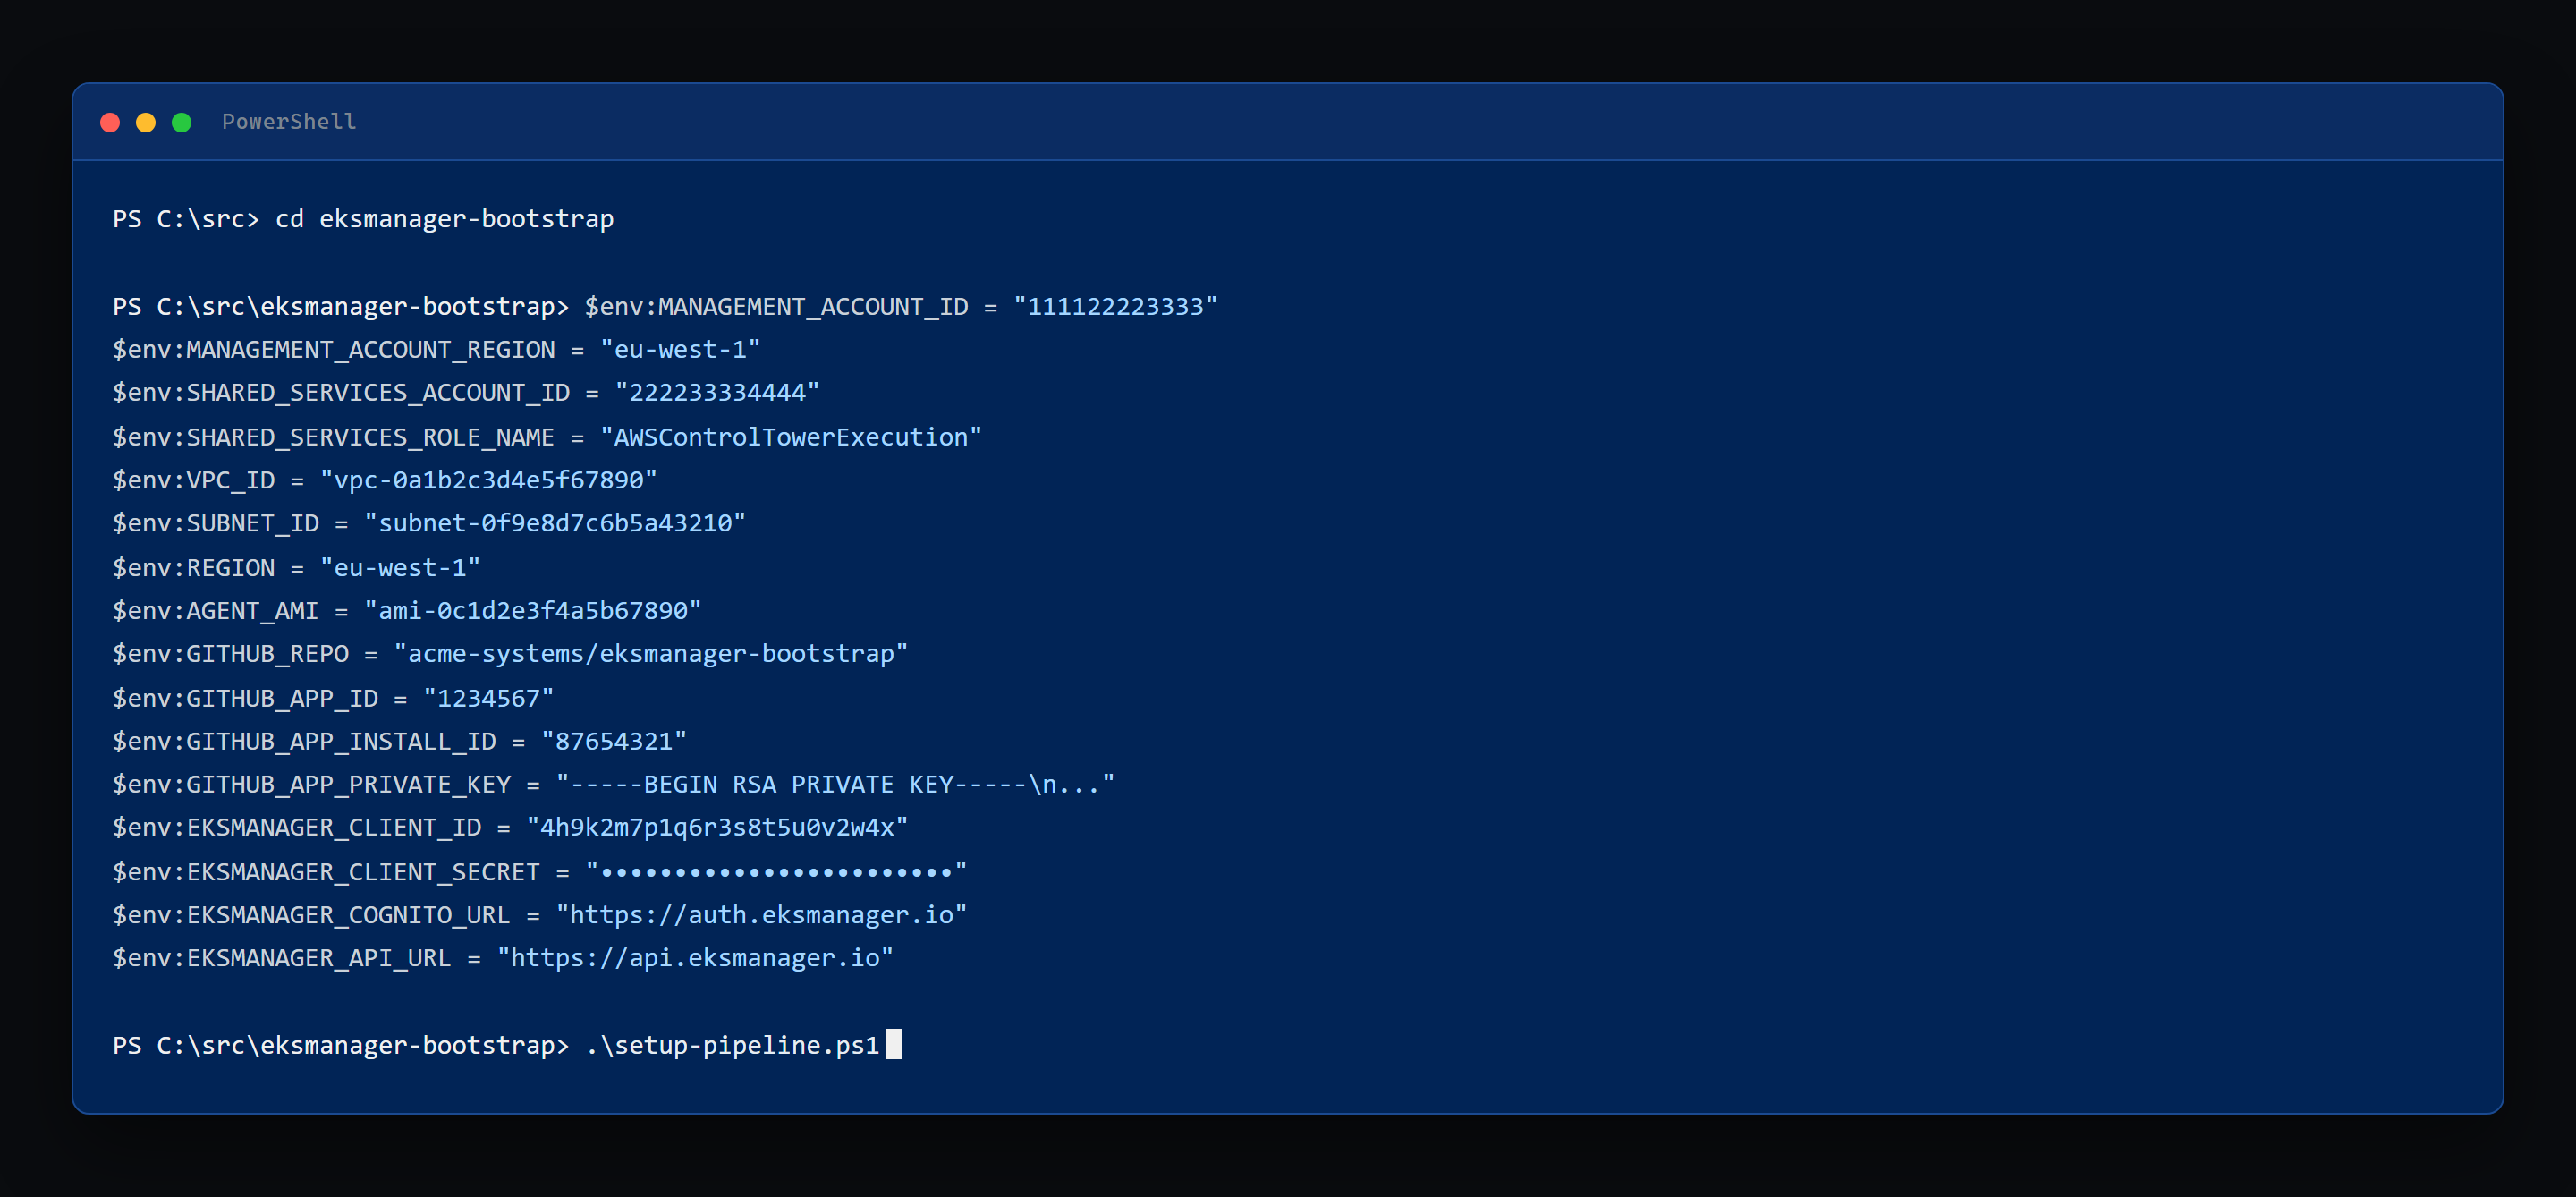
The PowerShell block sets the same variables as $env: values, and setup-pipeline.ps1 beside the shell script does the same work. A Windows administrator needs neither WSL nor Git Bash for this step.
The same credential requirement, and the same two routes. Note the parameter: -Profile, not --profile — the script declares [string]$Profile and sets AWS_PROFILE from it.
cd C:\git\eksmanager-bootstrap

# a named profile for the management account
aws sso login --profile MGM
.\setup-pipeline.ps1 -Profile MGM

# or the three variables in the session, from the console or an SSO copy
$env:AWS_ACCESS_KEY_ID = "..."
$env:AWS_SECRET_ACCESS_KEY = "..."
$env:AWS_SESSION_TOKEN = "..."
.\setup-pipeline.ps1
-Region works the same way if you would rather be explicit than rely on the profile's own.
Copy one block or the other, not both.
AWS Configuration
What these files are
setup-pipeline built the machinery. What it builds with comes from four JSON files in your private copy, and the installation is driven by them rather than by anything typed into this page.
Three of them are read by the bootstrap itself, so they have to be right before the workflow at the end of this section. The fourth is not needed until you register a cluster.
Each ships as an example- file in the repository. Copy it to the real name, edit, commit — the examples stay where they are, so there is always something to compare against.
topology.json
The organisational units and accounts this installation manages, and the regions it may use in each. Everything else follows from it: the StackSet targets these OUs, the agent is given these accounts, and a region absent here is one no cluster can be created in.
{
  "manageSCPAutomatically": true,
  "secretsEditing": false,
  "orgConfig": {
    "ou-xxxx-workloads": {
      "111111111111": ["eu-west-1"],
      "222222222222": ["eu-west-1", "eu-central-1"]
    }
  }
}
manageSCPAutomatically is the one to think about. Left true, the bootstrap maintains a service control policy confining these accounts to the regions listed. That is a guardrail with teeth: it applies to everyone working in those accounts, not only to this product.
hosted-zones.json
One entry per DNS zone: its prefix, the public and private zone names, the account that owns it, and the two role ARNs from the prerequisites.
{
  "acme-email": "platform-team@acme.com",
  "acme-staging": true,
  "hosted-zones": [
    {
      "dns-zone-prefix": "dev",
      "private-hosted-zone": "dev.aws.acme.com",
      "public-hosted-zone": "dev.aws.acme.com",
      "account": "123456789012",
      "roles": {
        "cert_manager": "arn:aws:iam::123456789012:role/acme-dev-cert-manager",
        "external_dns": "arn:aws:iam::123456789012:role/acme-dev-external-dns"
      }
    }
  ]
}
acme-staging decides whether the certificates are real. True issues from Let's Encrypt's staging endpoint — untrusted by browsers, and generous with rate limits, which is what you want while getting DNS delegation right. Switch it to false once a staging certificate has issued cleanly.
acme-email is where Let's Encrypt sends expiry warnings. A team address, not a person's.
clusters.json
Every cluster, with its account, region, environment and two sets of security groups. On a new installation this is empty — the product writes to it when you create a cluster.
{
  "cluster1": {
    "account": "111111111111",
    "region": "eu-west-1",
    "environment": "prod",
    "eks_sg_ids": ["sg-0def456eks"],
    "nlb_sg_ids": ["sg-0abc123nlb"]
  }
}
It is here because the bootstrap reads it, and because editing it by hand has consequences that are easy to miss: a commit touching this file triggers the registry trust sync, and environment is what decides which prefix lists a cluster gets.
prefix-groups.json
Which prefix lists each environment allows, by name.
[
  { "environment": "dev",  "prefix-lists": ["corp_vpn", "azure_cluster_cidrs"] },
  { "environment": "prod", "prefix-lists": ["corp_vpn", "office"] }
]
The bootstrap does not read this one. It is used when a cluster is registered, so it can wait — but it is easier to write now, while the environments are fresh, than to find it missing when a cluster's security groups come out empty.
The prefix lists themselves are not created here. They must already exist in each target account and region; this file resolves them by name, which is also why renaming one breaks a build rather than silently allowing nothing.
Run the bootstrap
Commit the files, then open the Actions tab of your private copy — eksmanager-bootstrap — and run Publish bootstrap pipeline by hand. Nothing starts it for you.
It is listed under Actions by that name, not by its filename: the file is bootstrap.yml and the tab shows what the workflow calls itself.
That upload is what installs the product: the zip lands in the bucket, an EventBridge rule starts the CodeBuild project, and the bootstrap applies — the agent instance, the ECR repository, the config bucket, the SSM parameters, the StackSet that puts EKSManagerAdminRole into every enrolled account, and the Organizations delegated-admin registration.
It applies immediately. There is no plan-then-approve step between the upload and the change, so merging to main is the approval gate.
Watch the build rather than the workflow. The workflow's job ends when the zip is uploaded; everything that can go wrong afterwards goes wrong in CodeBuild, and the Workflows chapter covers reading that.
The chips on this page go green as it runs — not because anything here was configured, but because the agent has registered and the secret store and registry now exist.
GitHub Apps
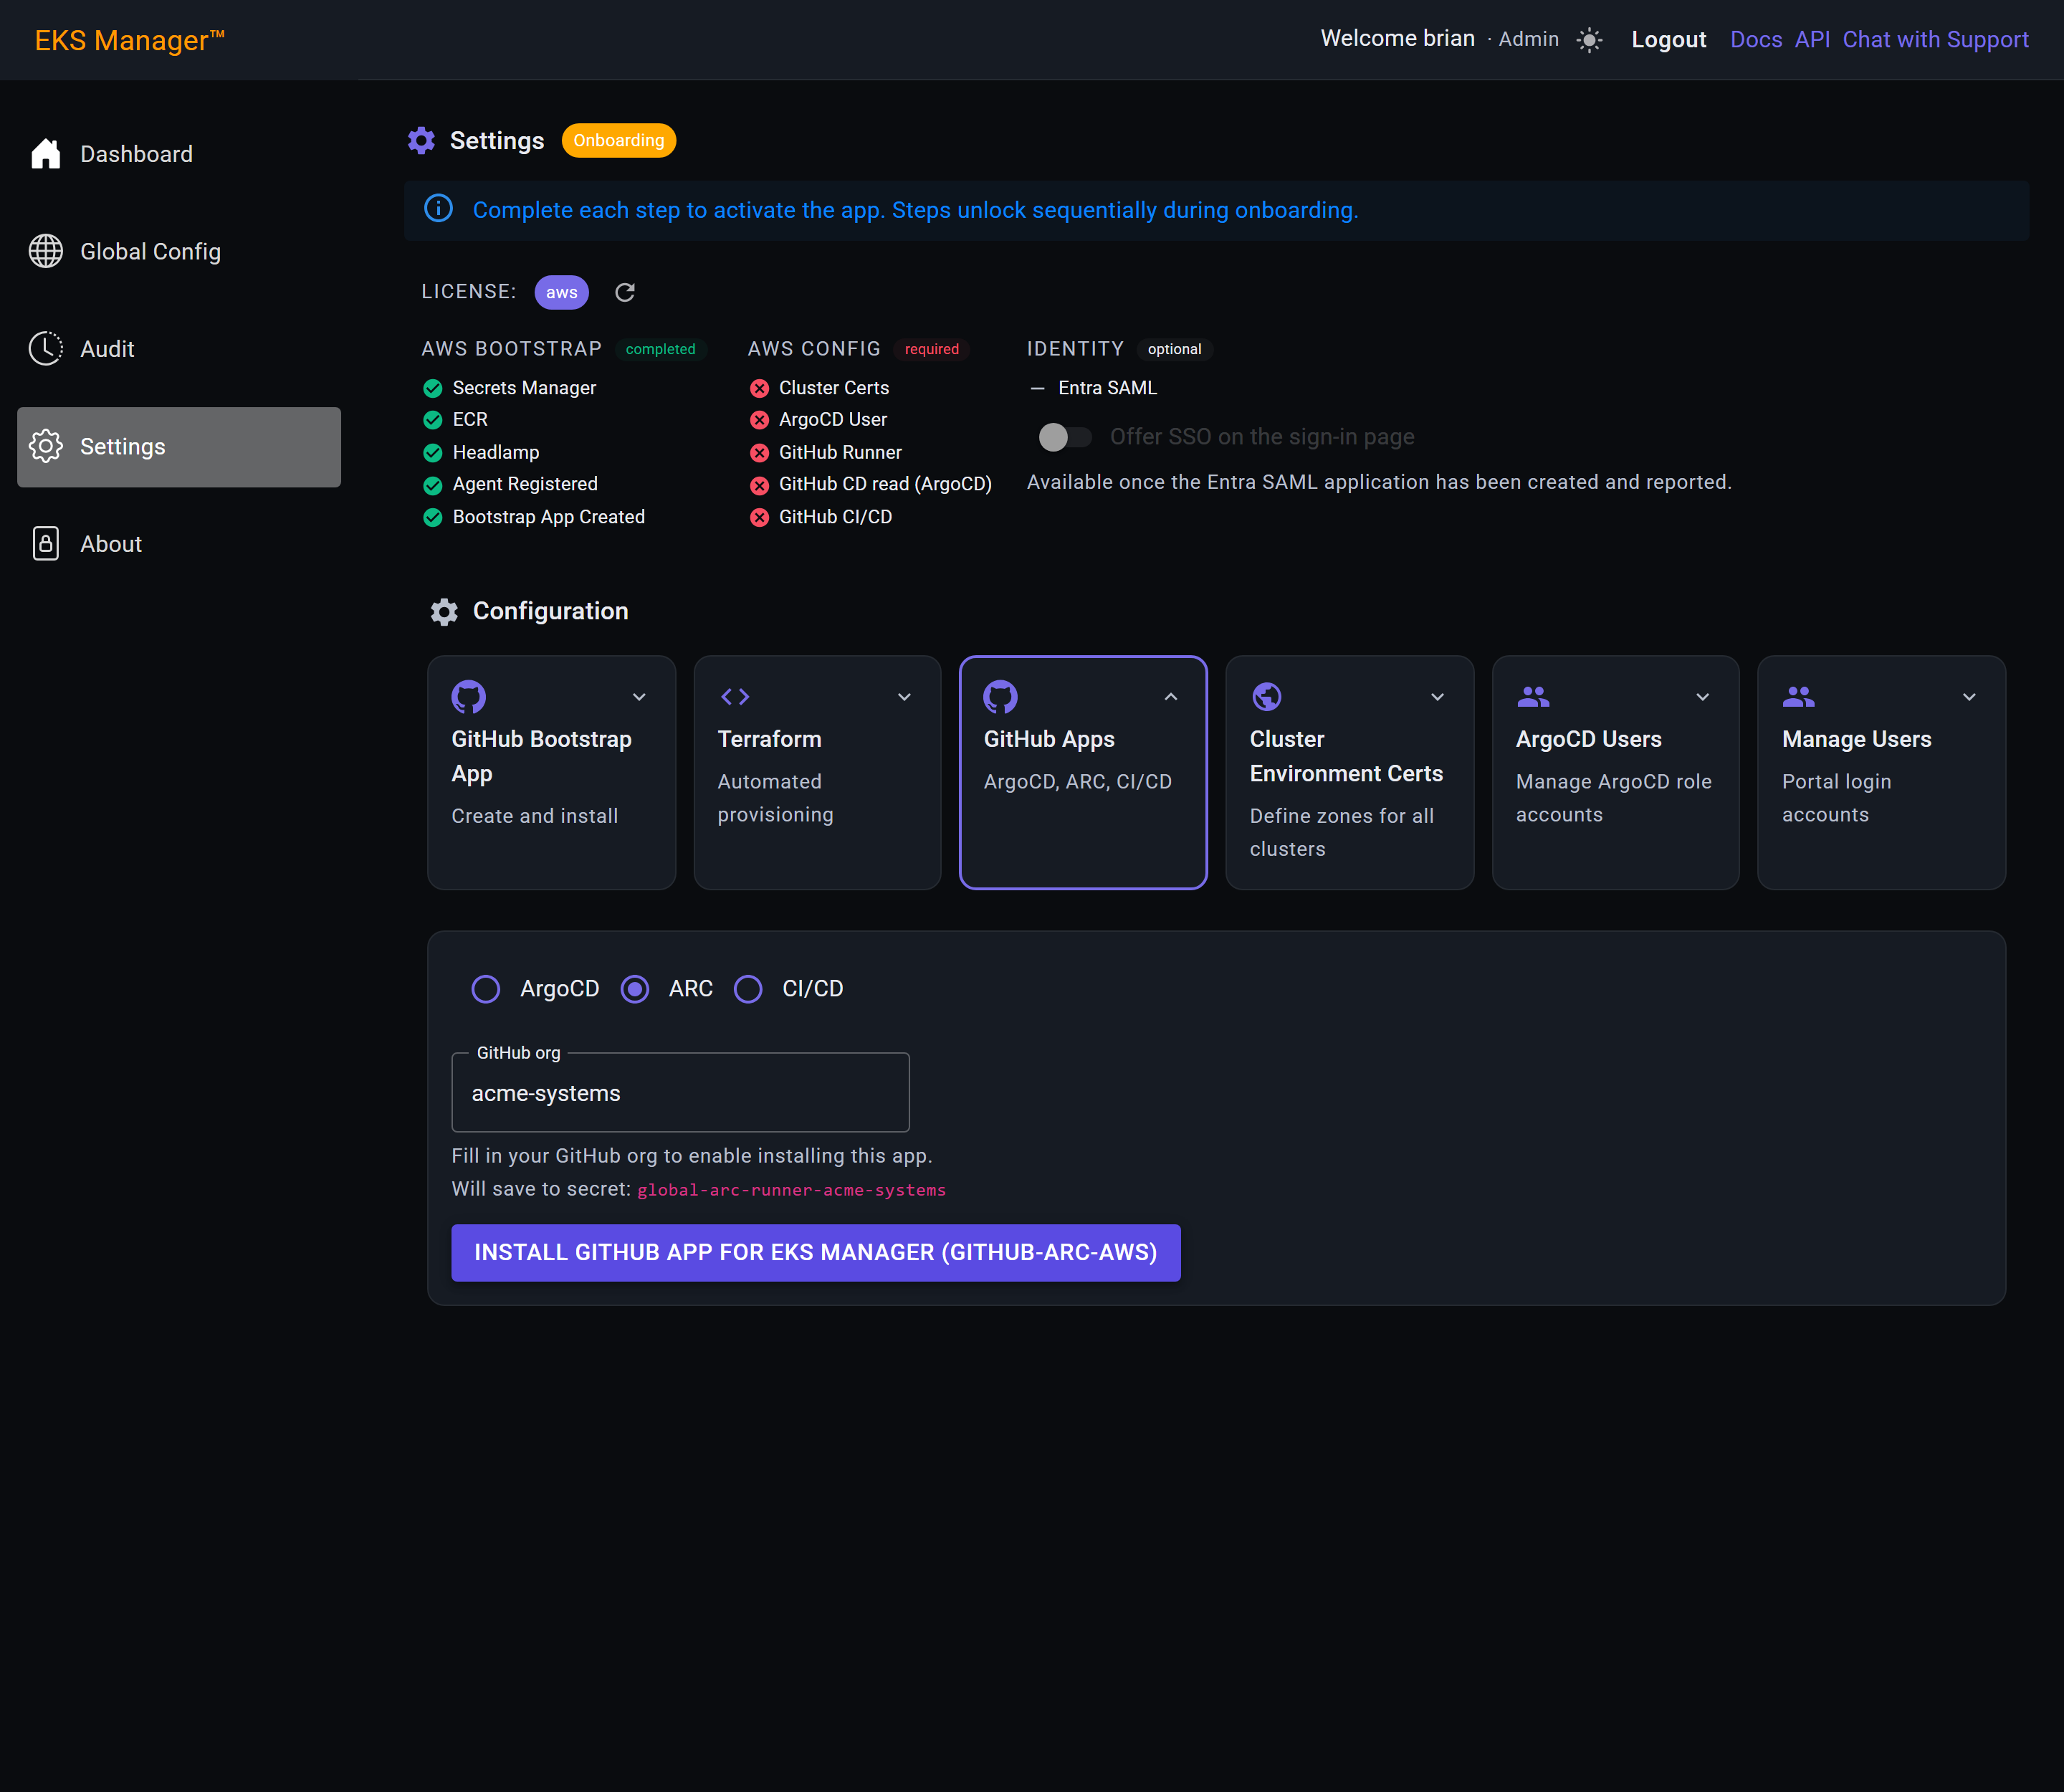
The bootstrap App was the first of four. The other three are installed here, one at a time — pick which, give the organisation, install, then come back for the next.
ArgoCD reads your continuous-deployment repository, so ArgoCD can sync manifests from it. ARC registers the self-hosted runners. CI/CD is what the open-source GitOps Manager actions use to write templated manifests back.
They are separate Apps rather than one because they need different permissions and are installed against different repositories. An App that can write your deployment manifests has no business reading anything else.
Each takes the same route through GitHub as the first: create, then install against the repository it works on. What differs is what it asks for, and the Admin Guide's GitHub App Installation chapter shows each of those screens.
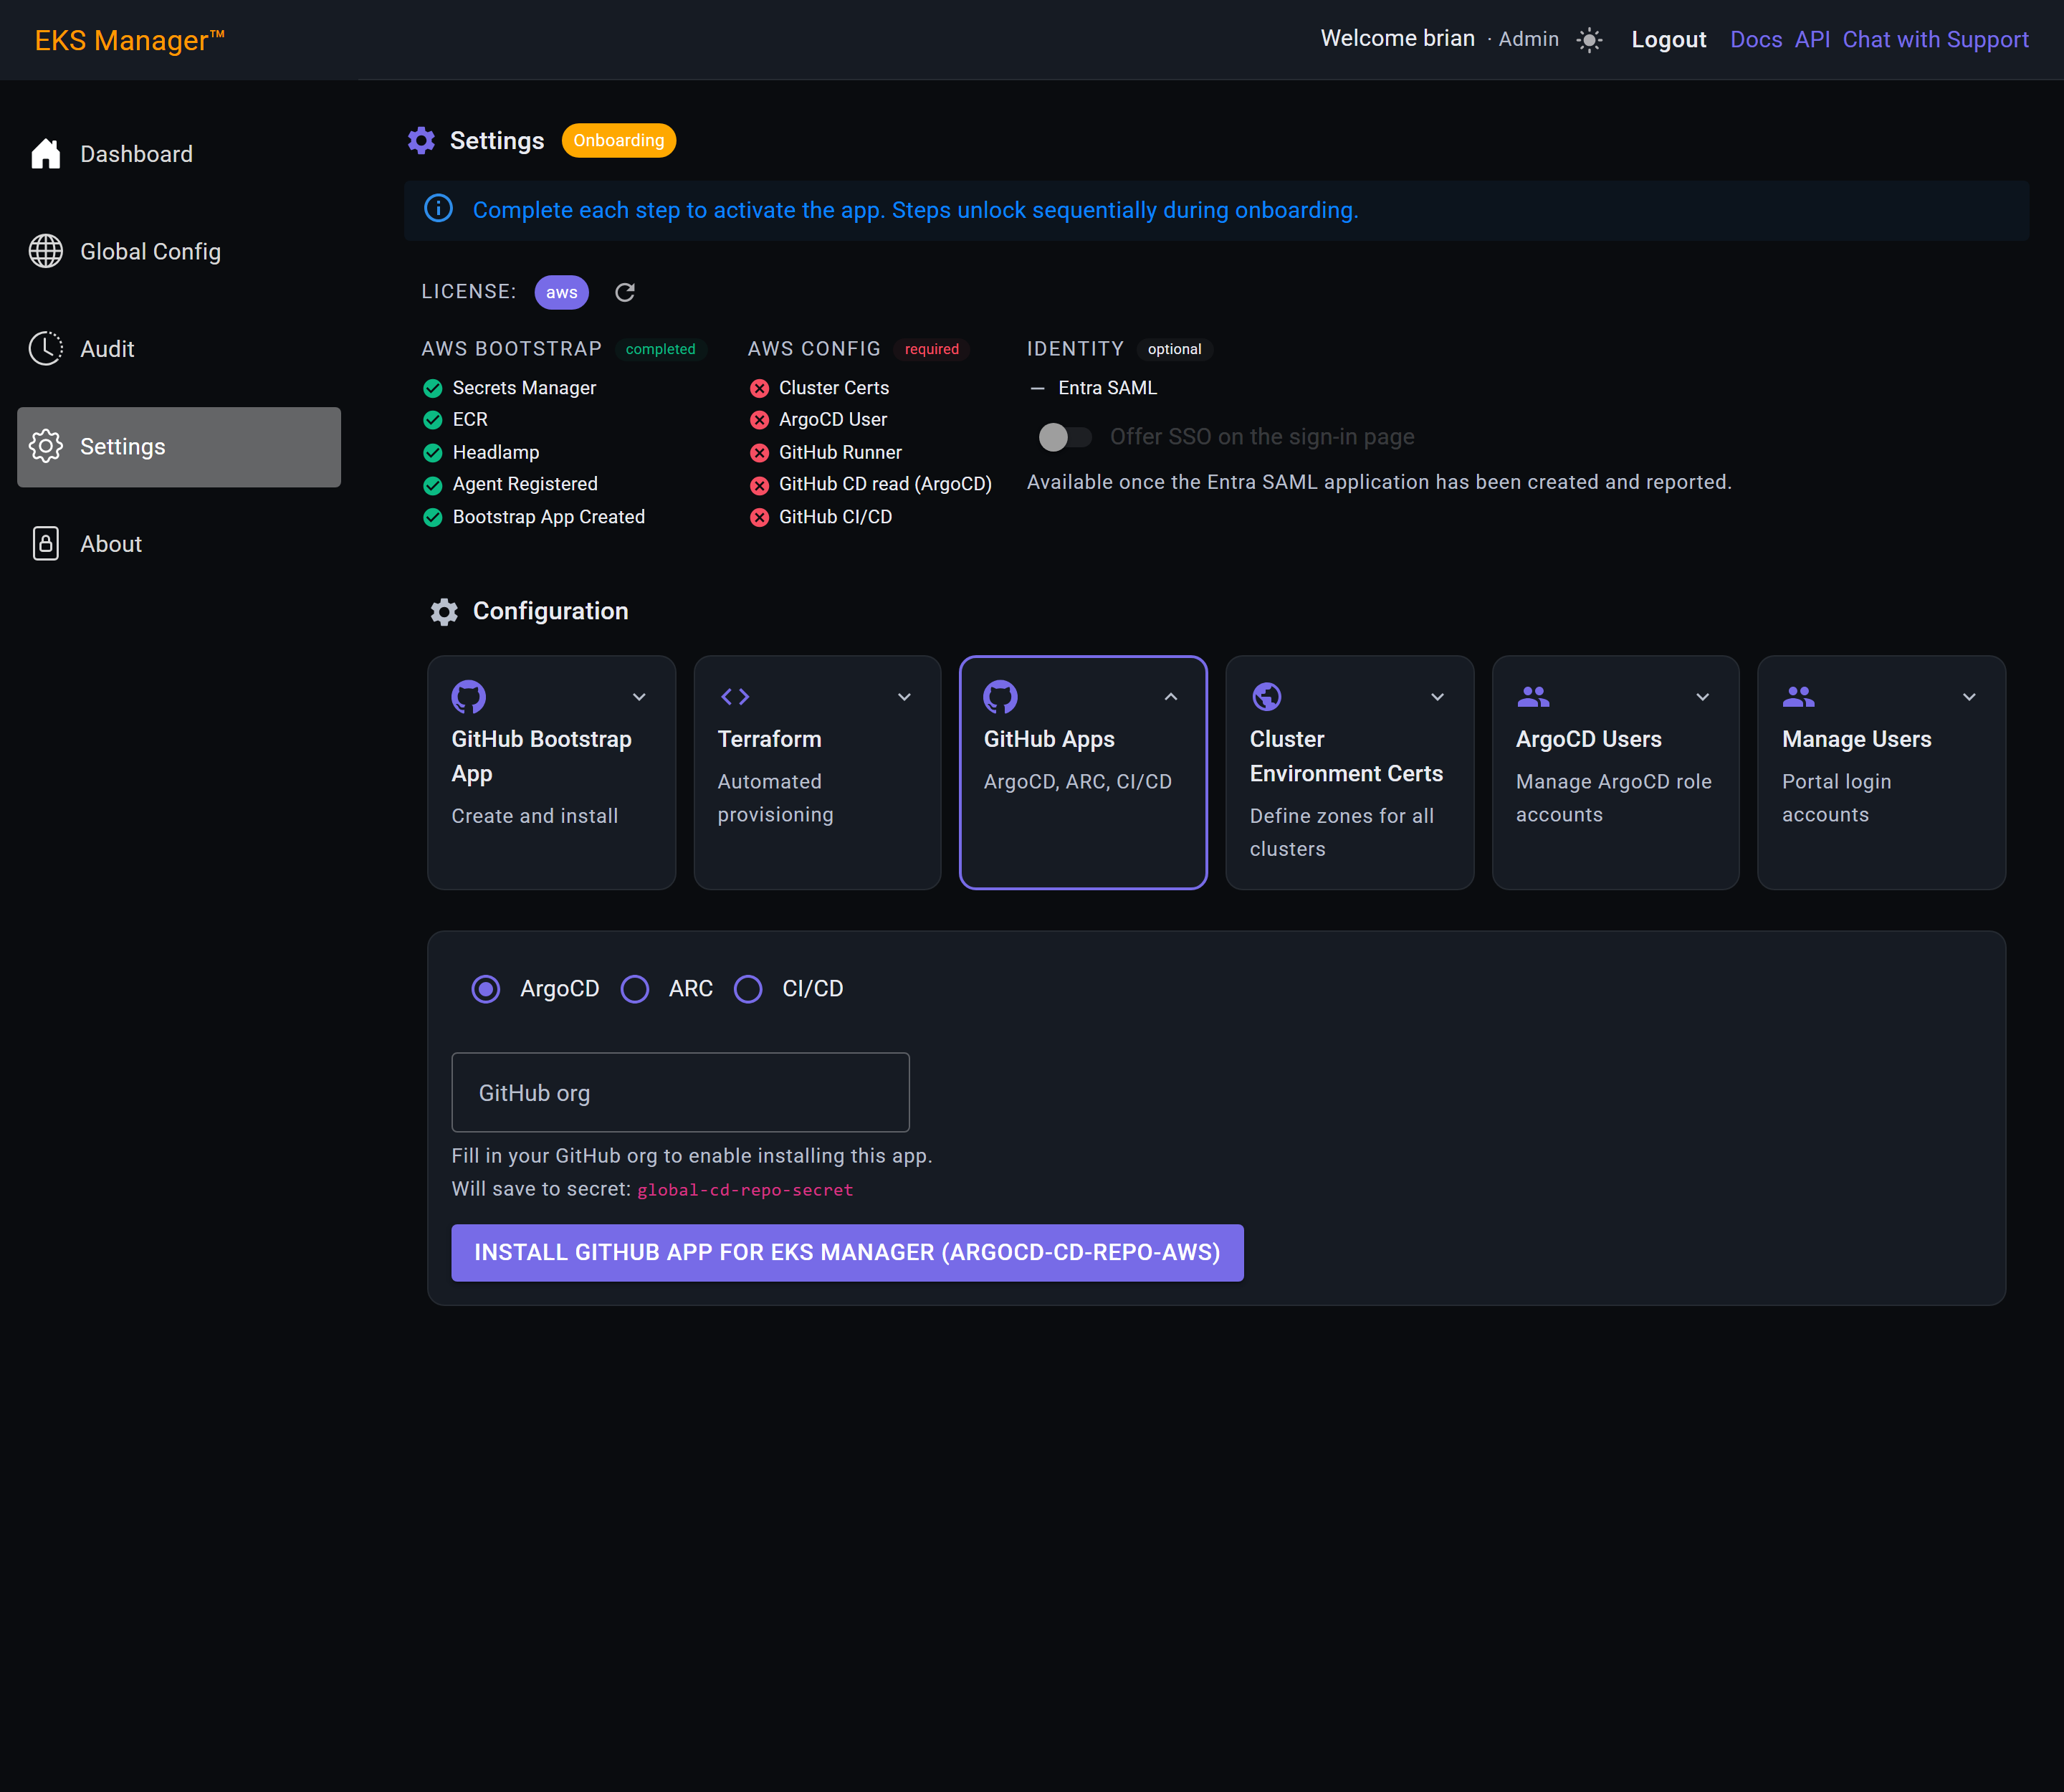
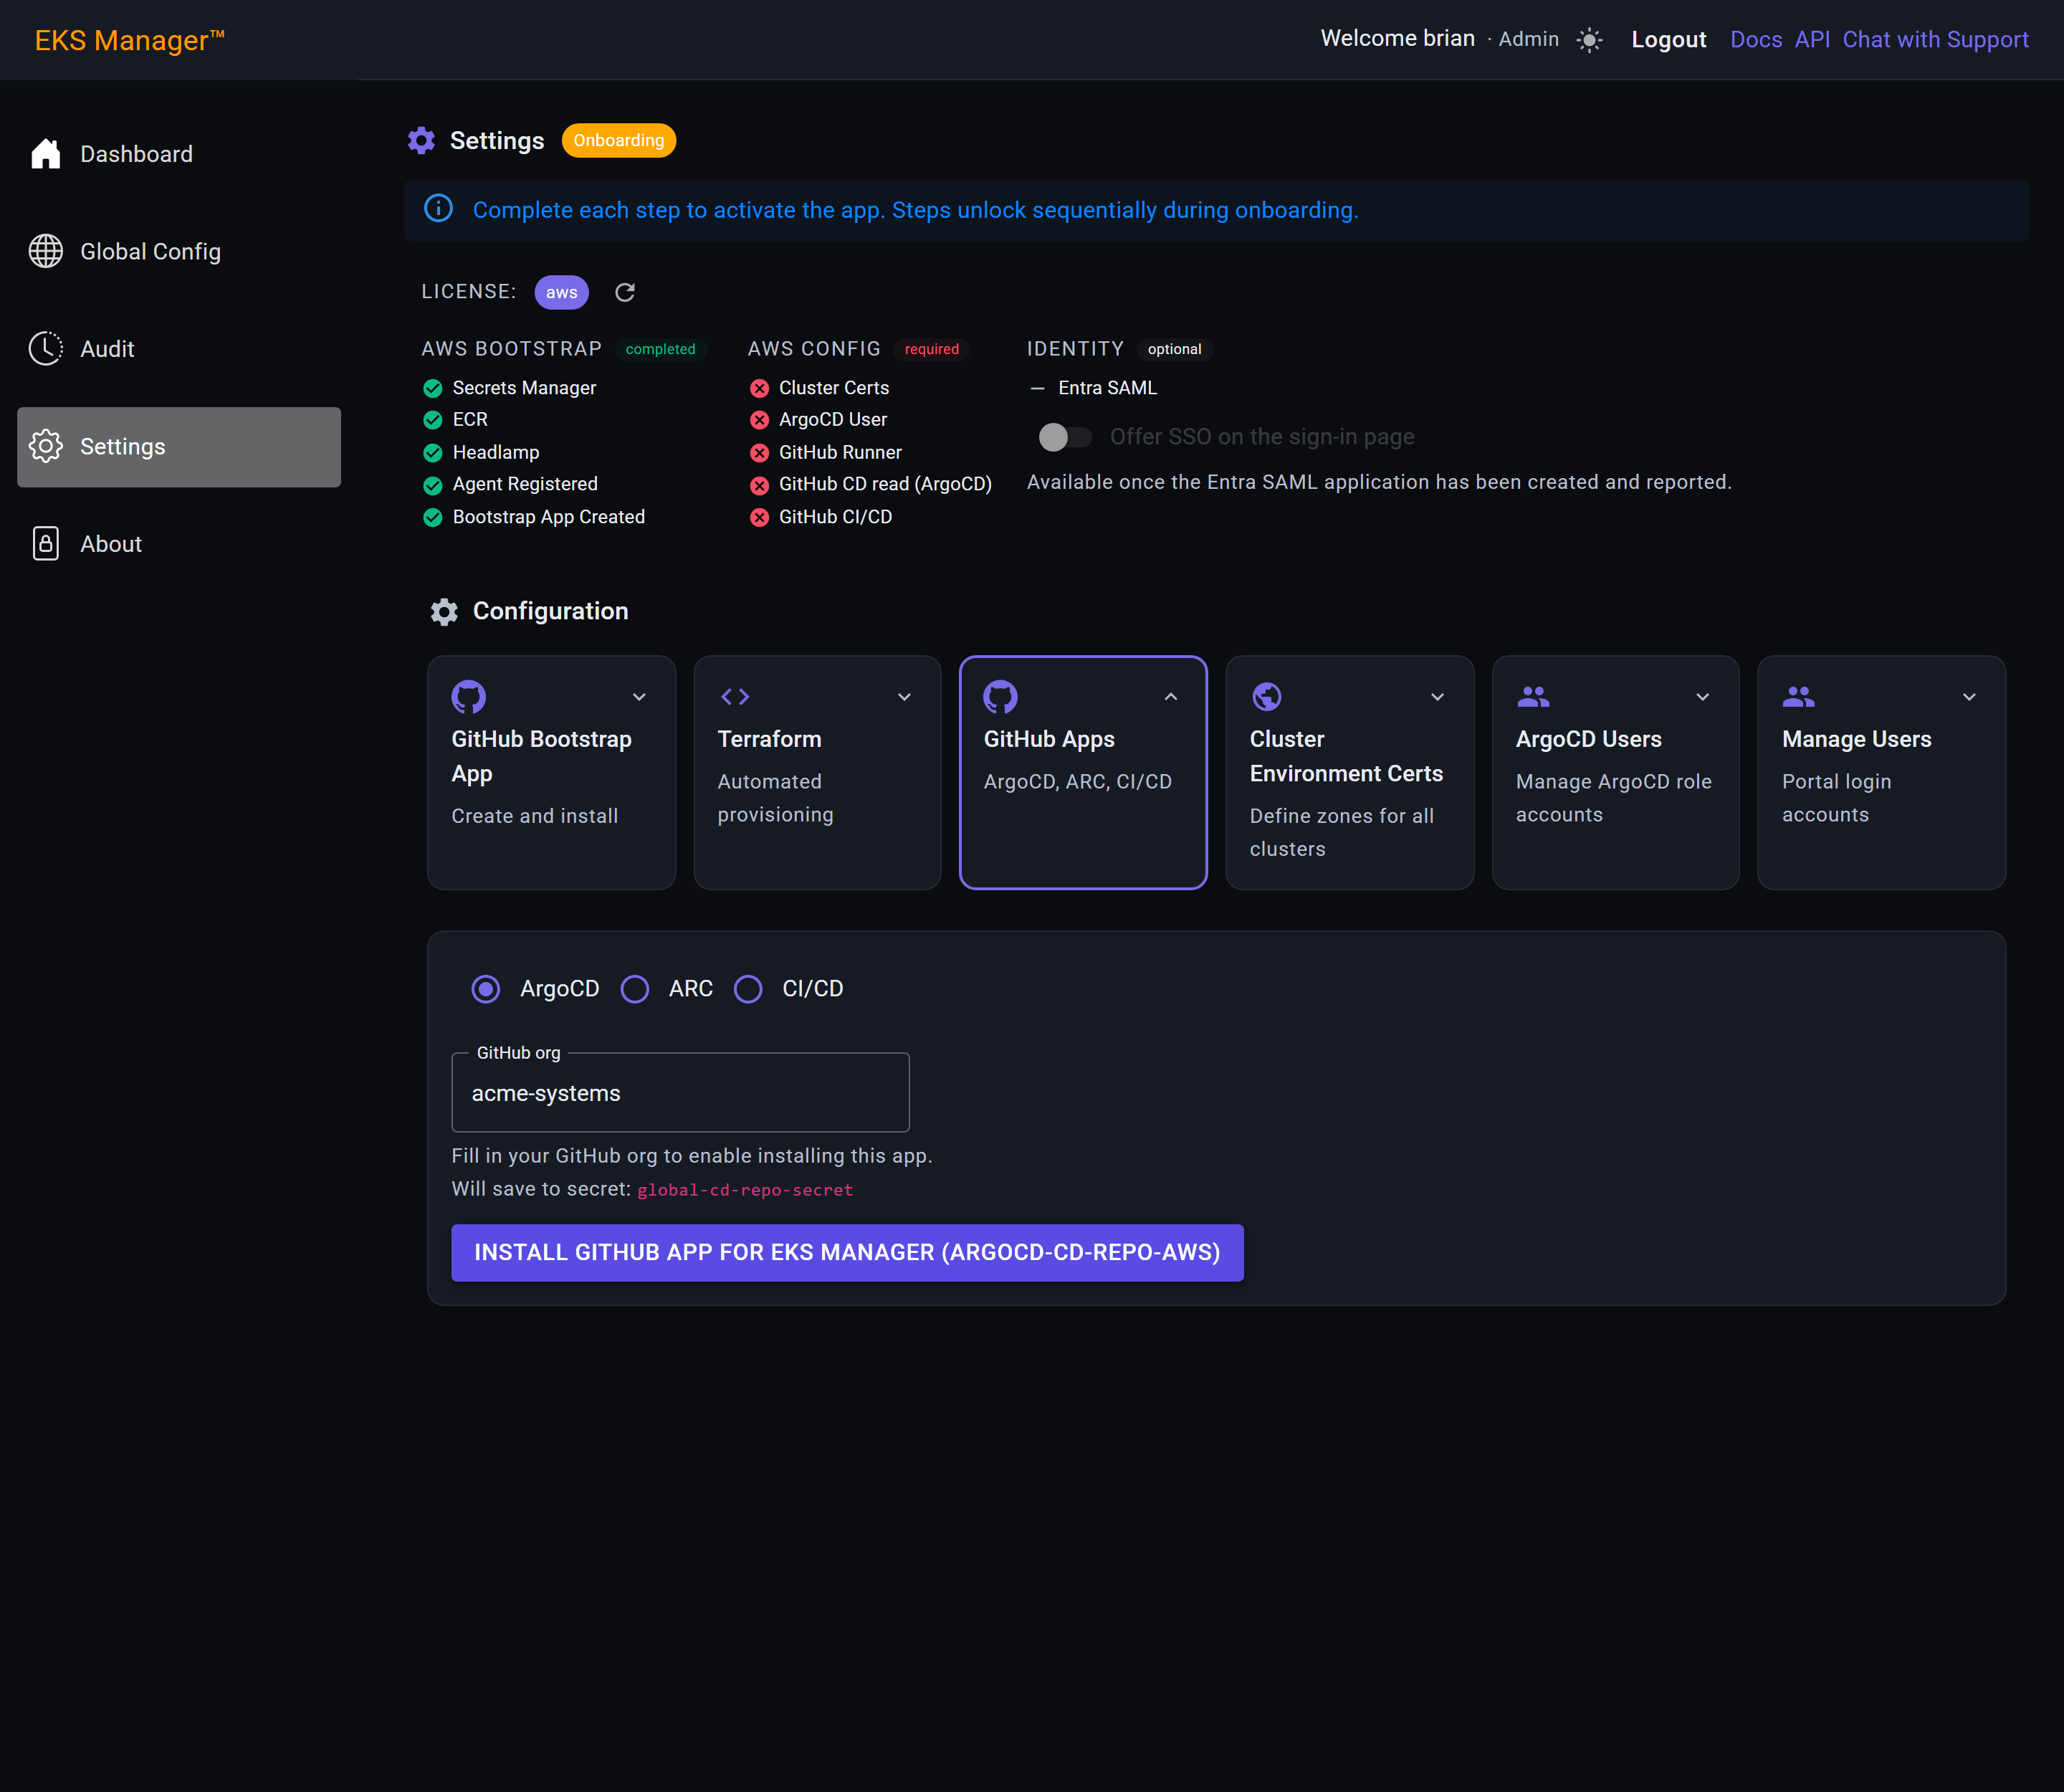
Every App's credentials go to a named secret, and the tab tells you which before you install — here global-cd-repo-secret.
Worth reading rather than skipping. The name is how you find these credentials again from outside this application, and it is what the agent looks for when it needs them.
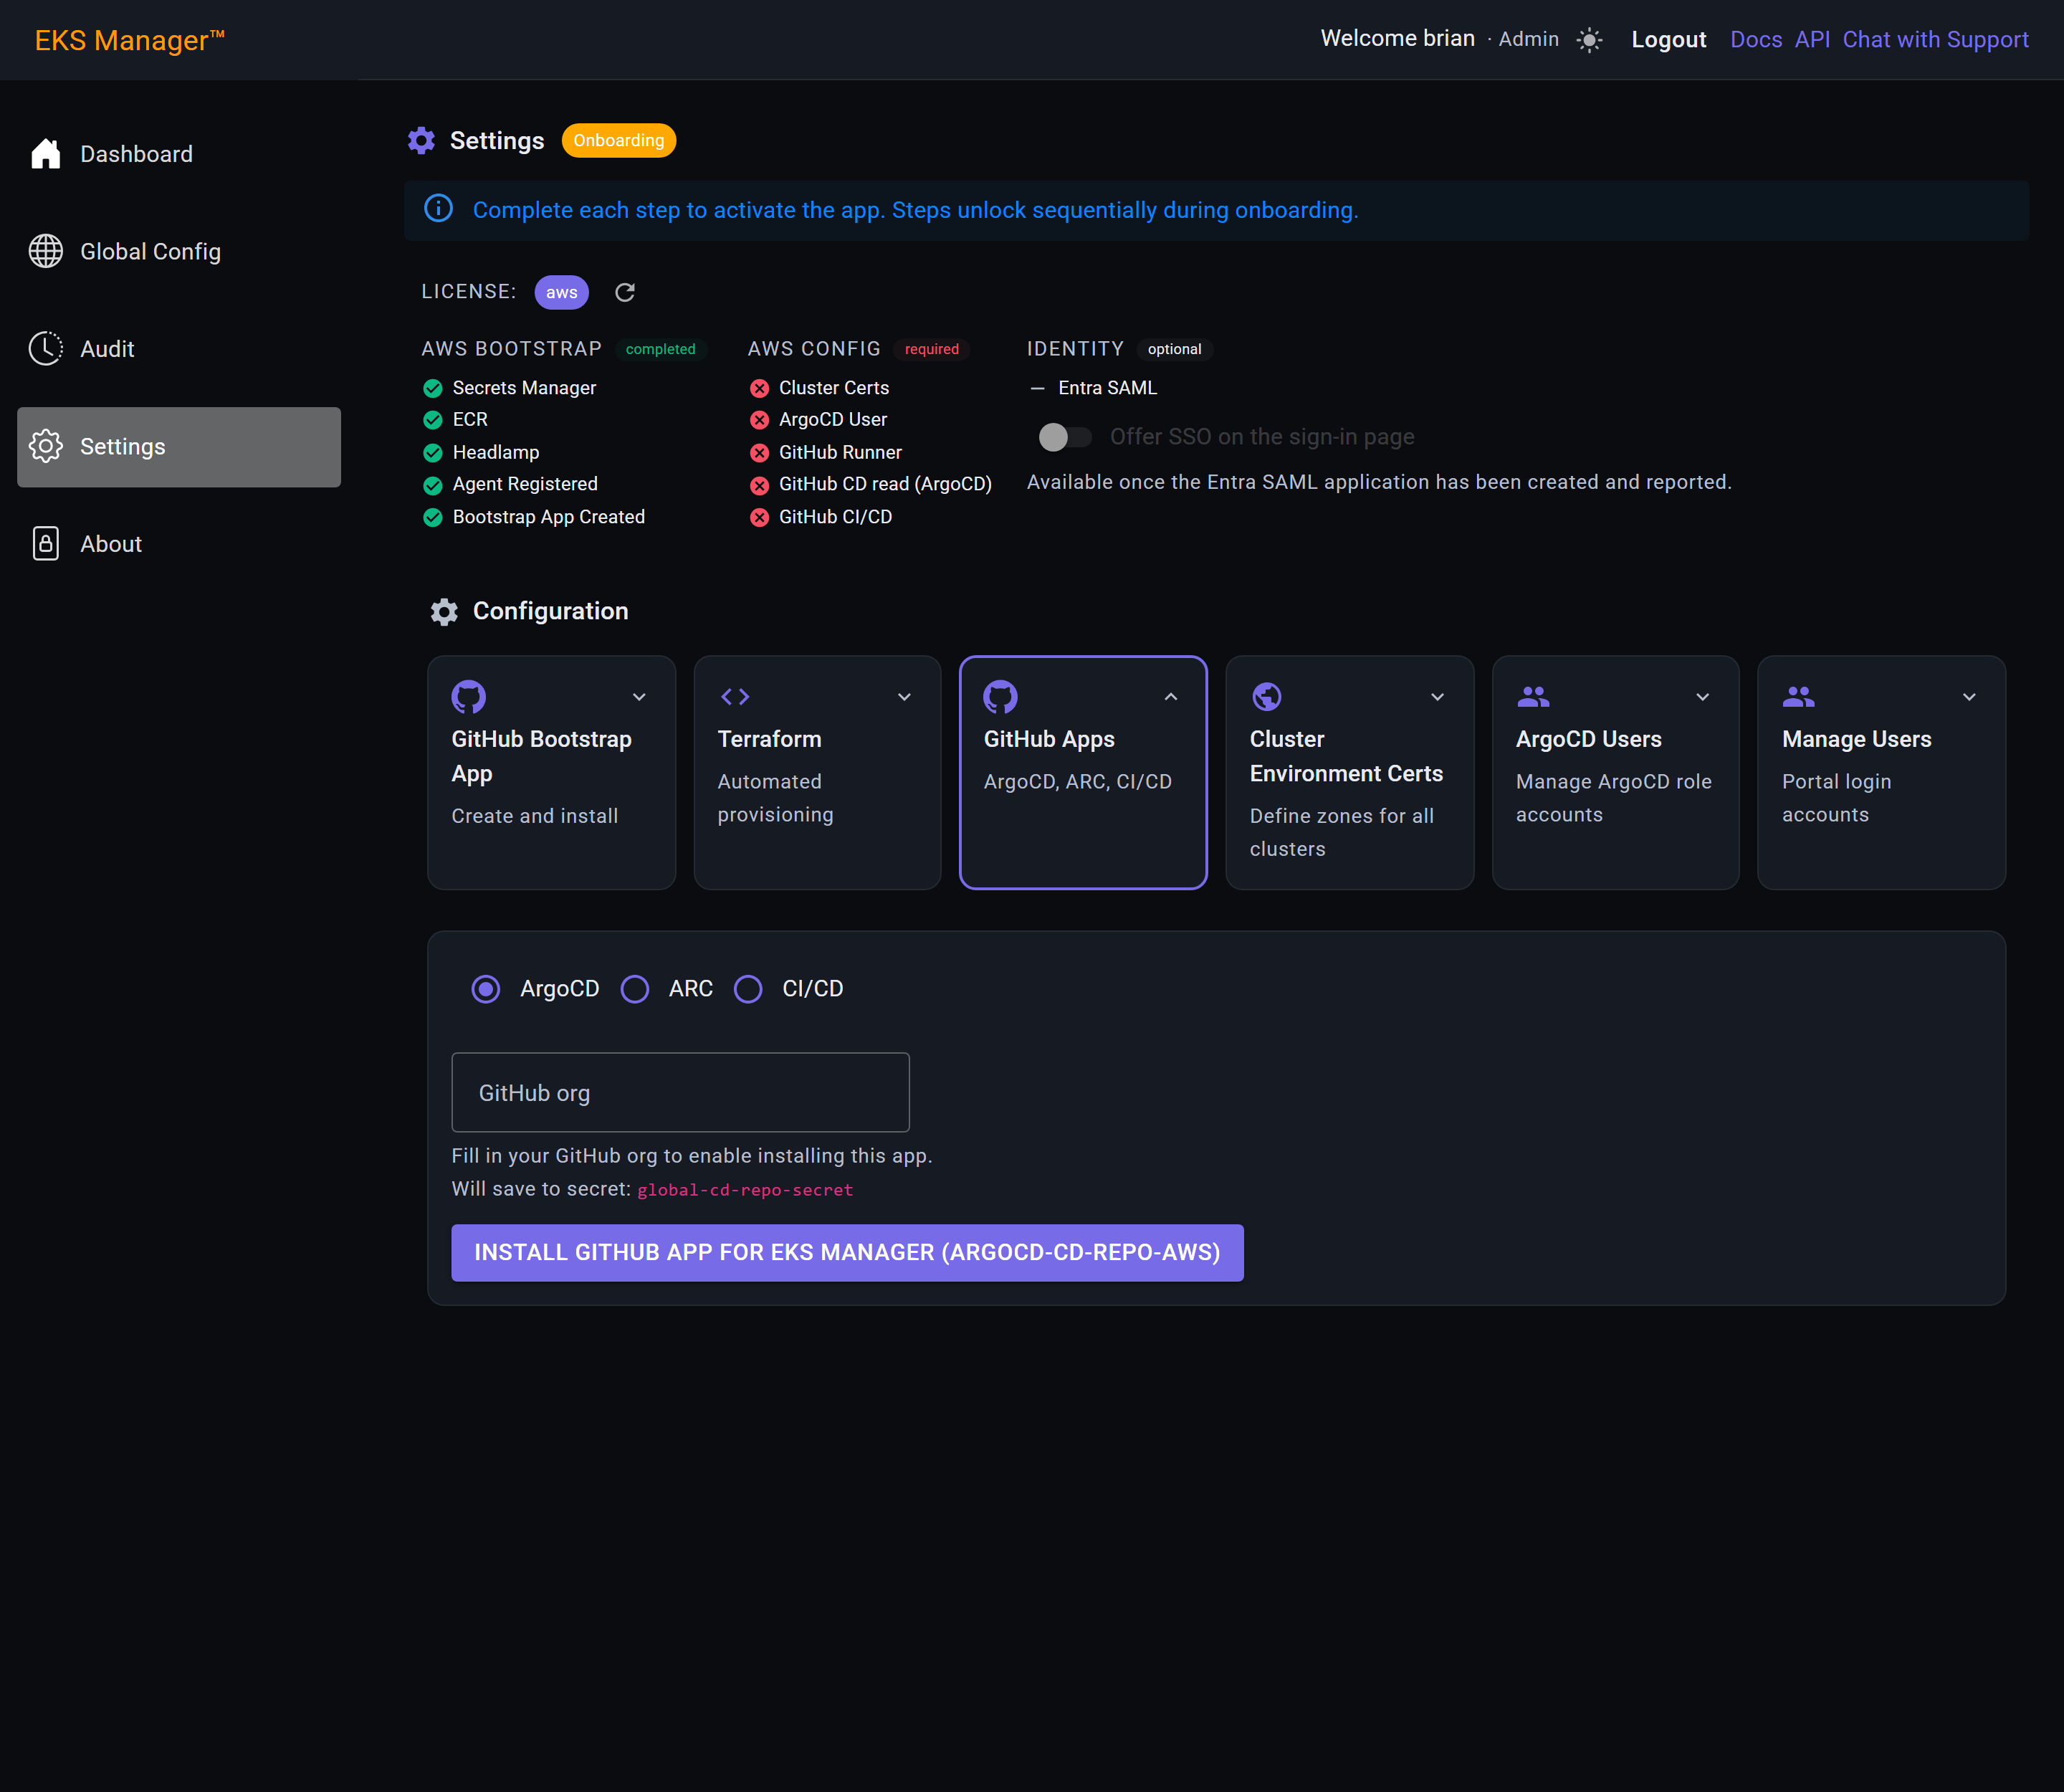
Same shape as the bootstrap App: pick which one, give the organisation, install. The App is created from a manifest and approved by an organisation administrator, exactly as the first one was.
Three things change with the radio — the App key in the button, the secret its credentials are saved to, and what the App is allowed to do. The button naming argocd-cd-repo-aws is how you confirm you are installing the one you meant.
ArgoCD reads your continuous-deployment repository so ArgoCD can sync manifests from it, and its credentials are saved as global-cd-repo-secret. It is the smallest of the four: read access, nothing else.
The organisation can differ per App if your repositories live in more than one. Most installations use the same one throughout.
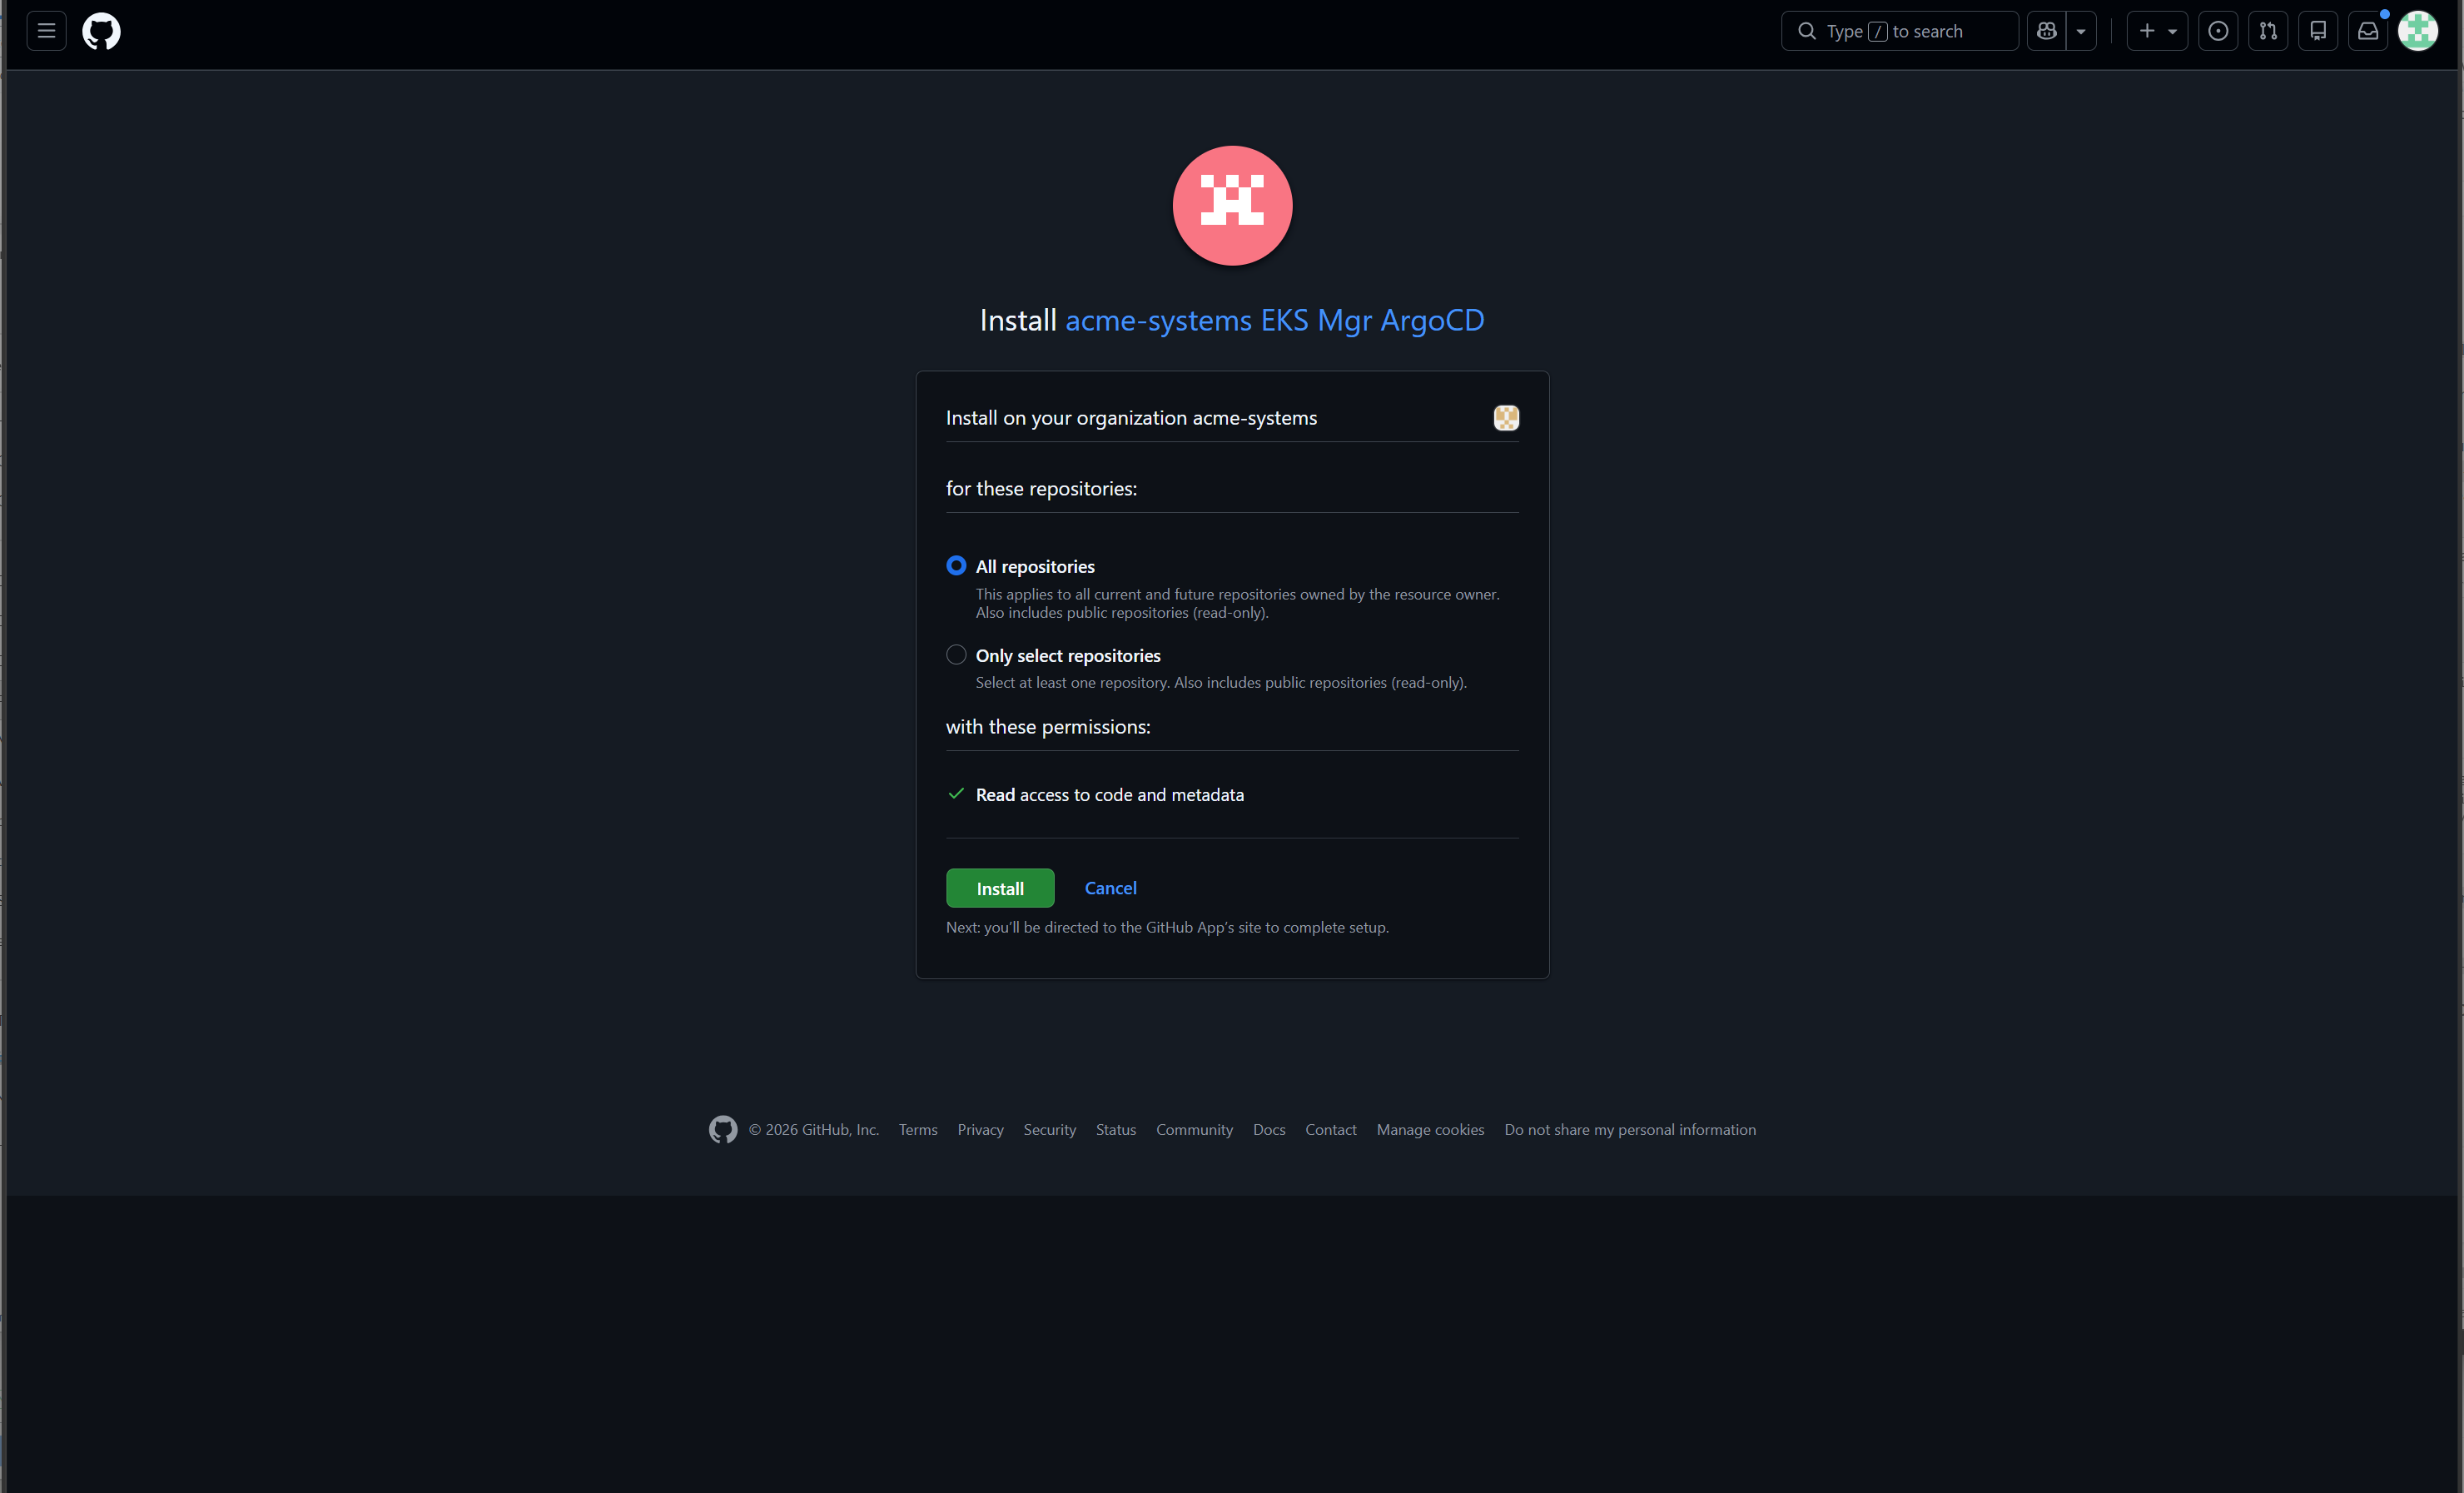
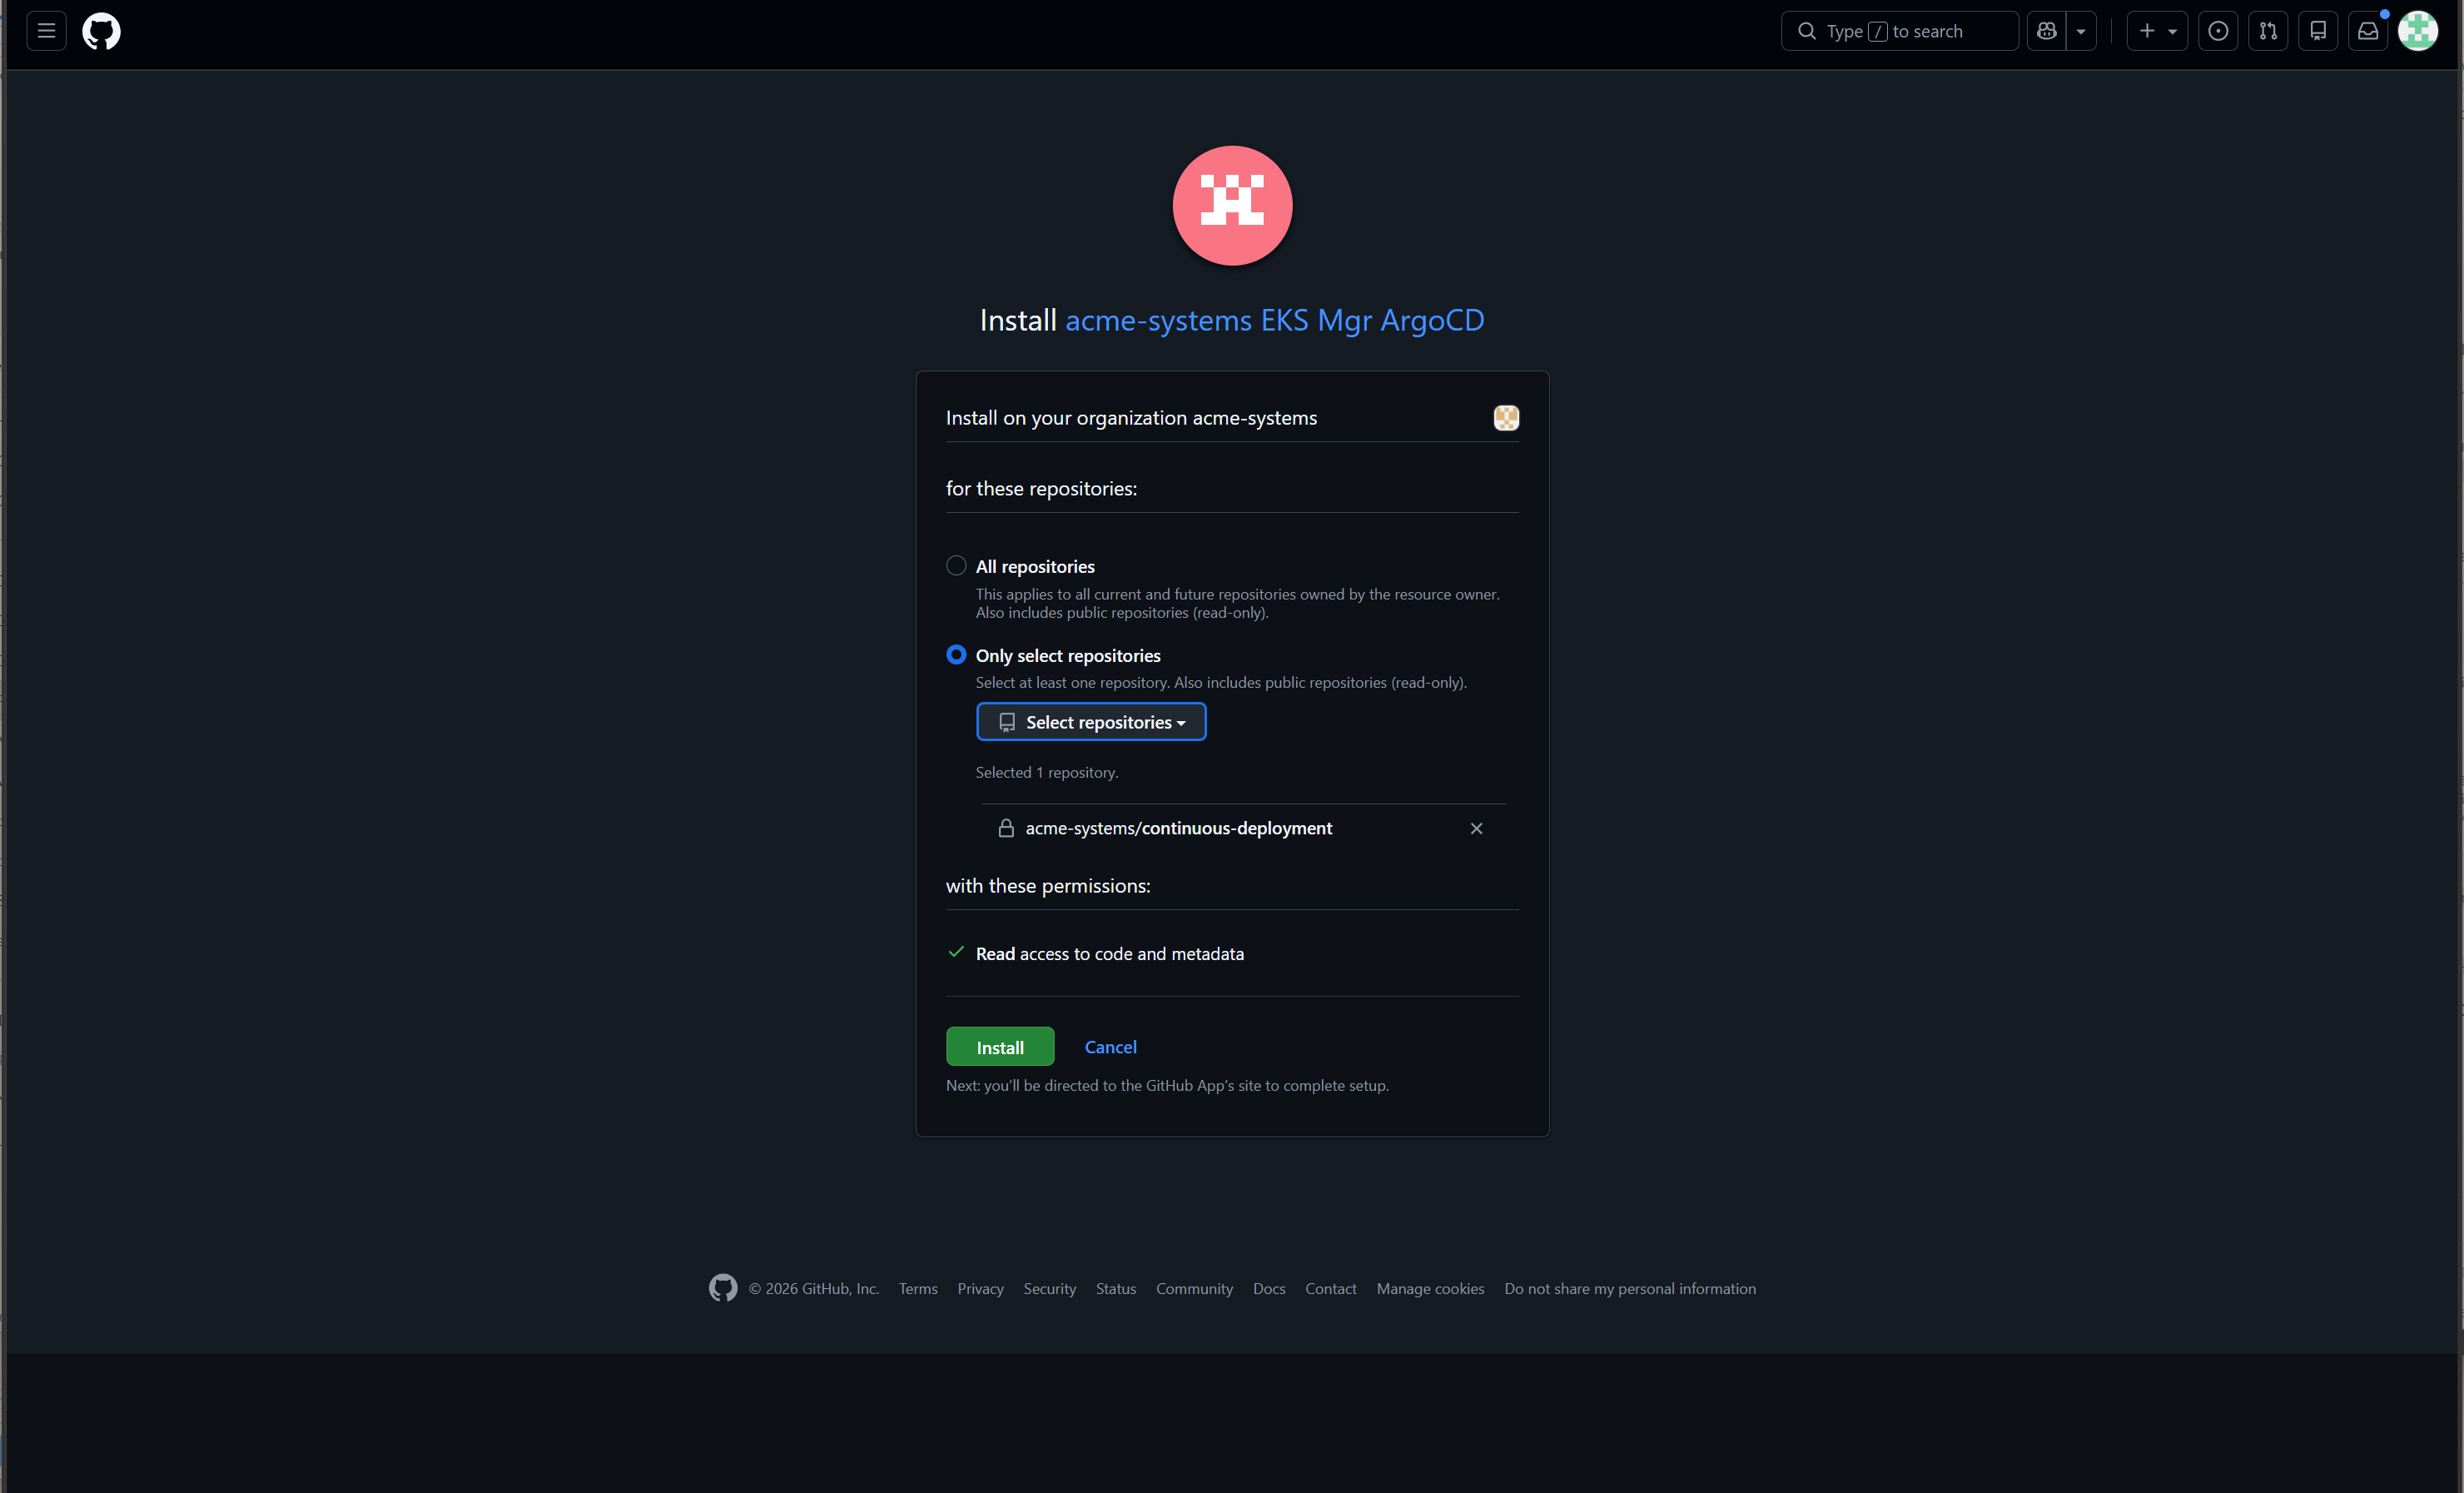
The same route as the bootstrap App: created from the manifest, then installed. GitHub states the access up front — read access to code and metadata, one line, no write anywhere.
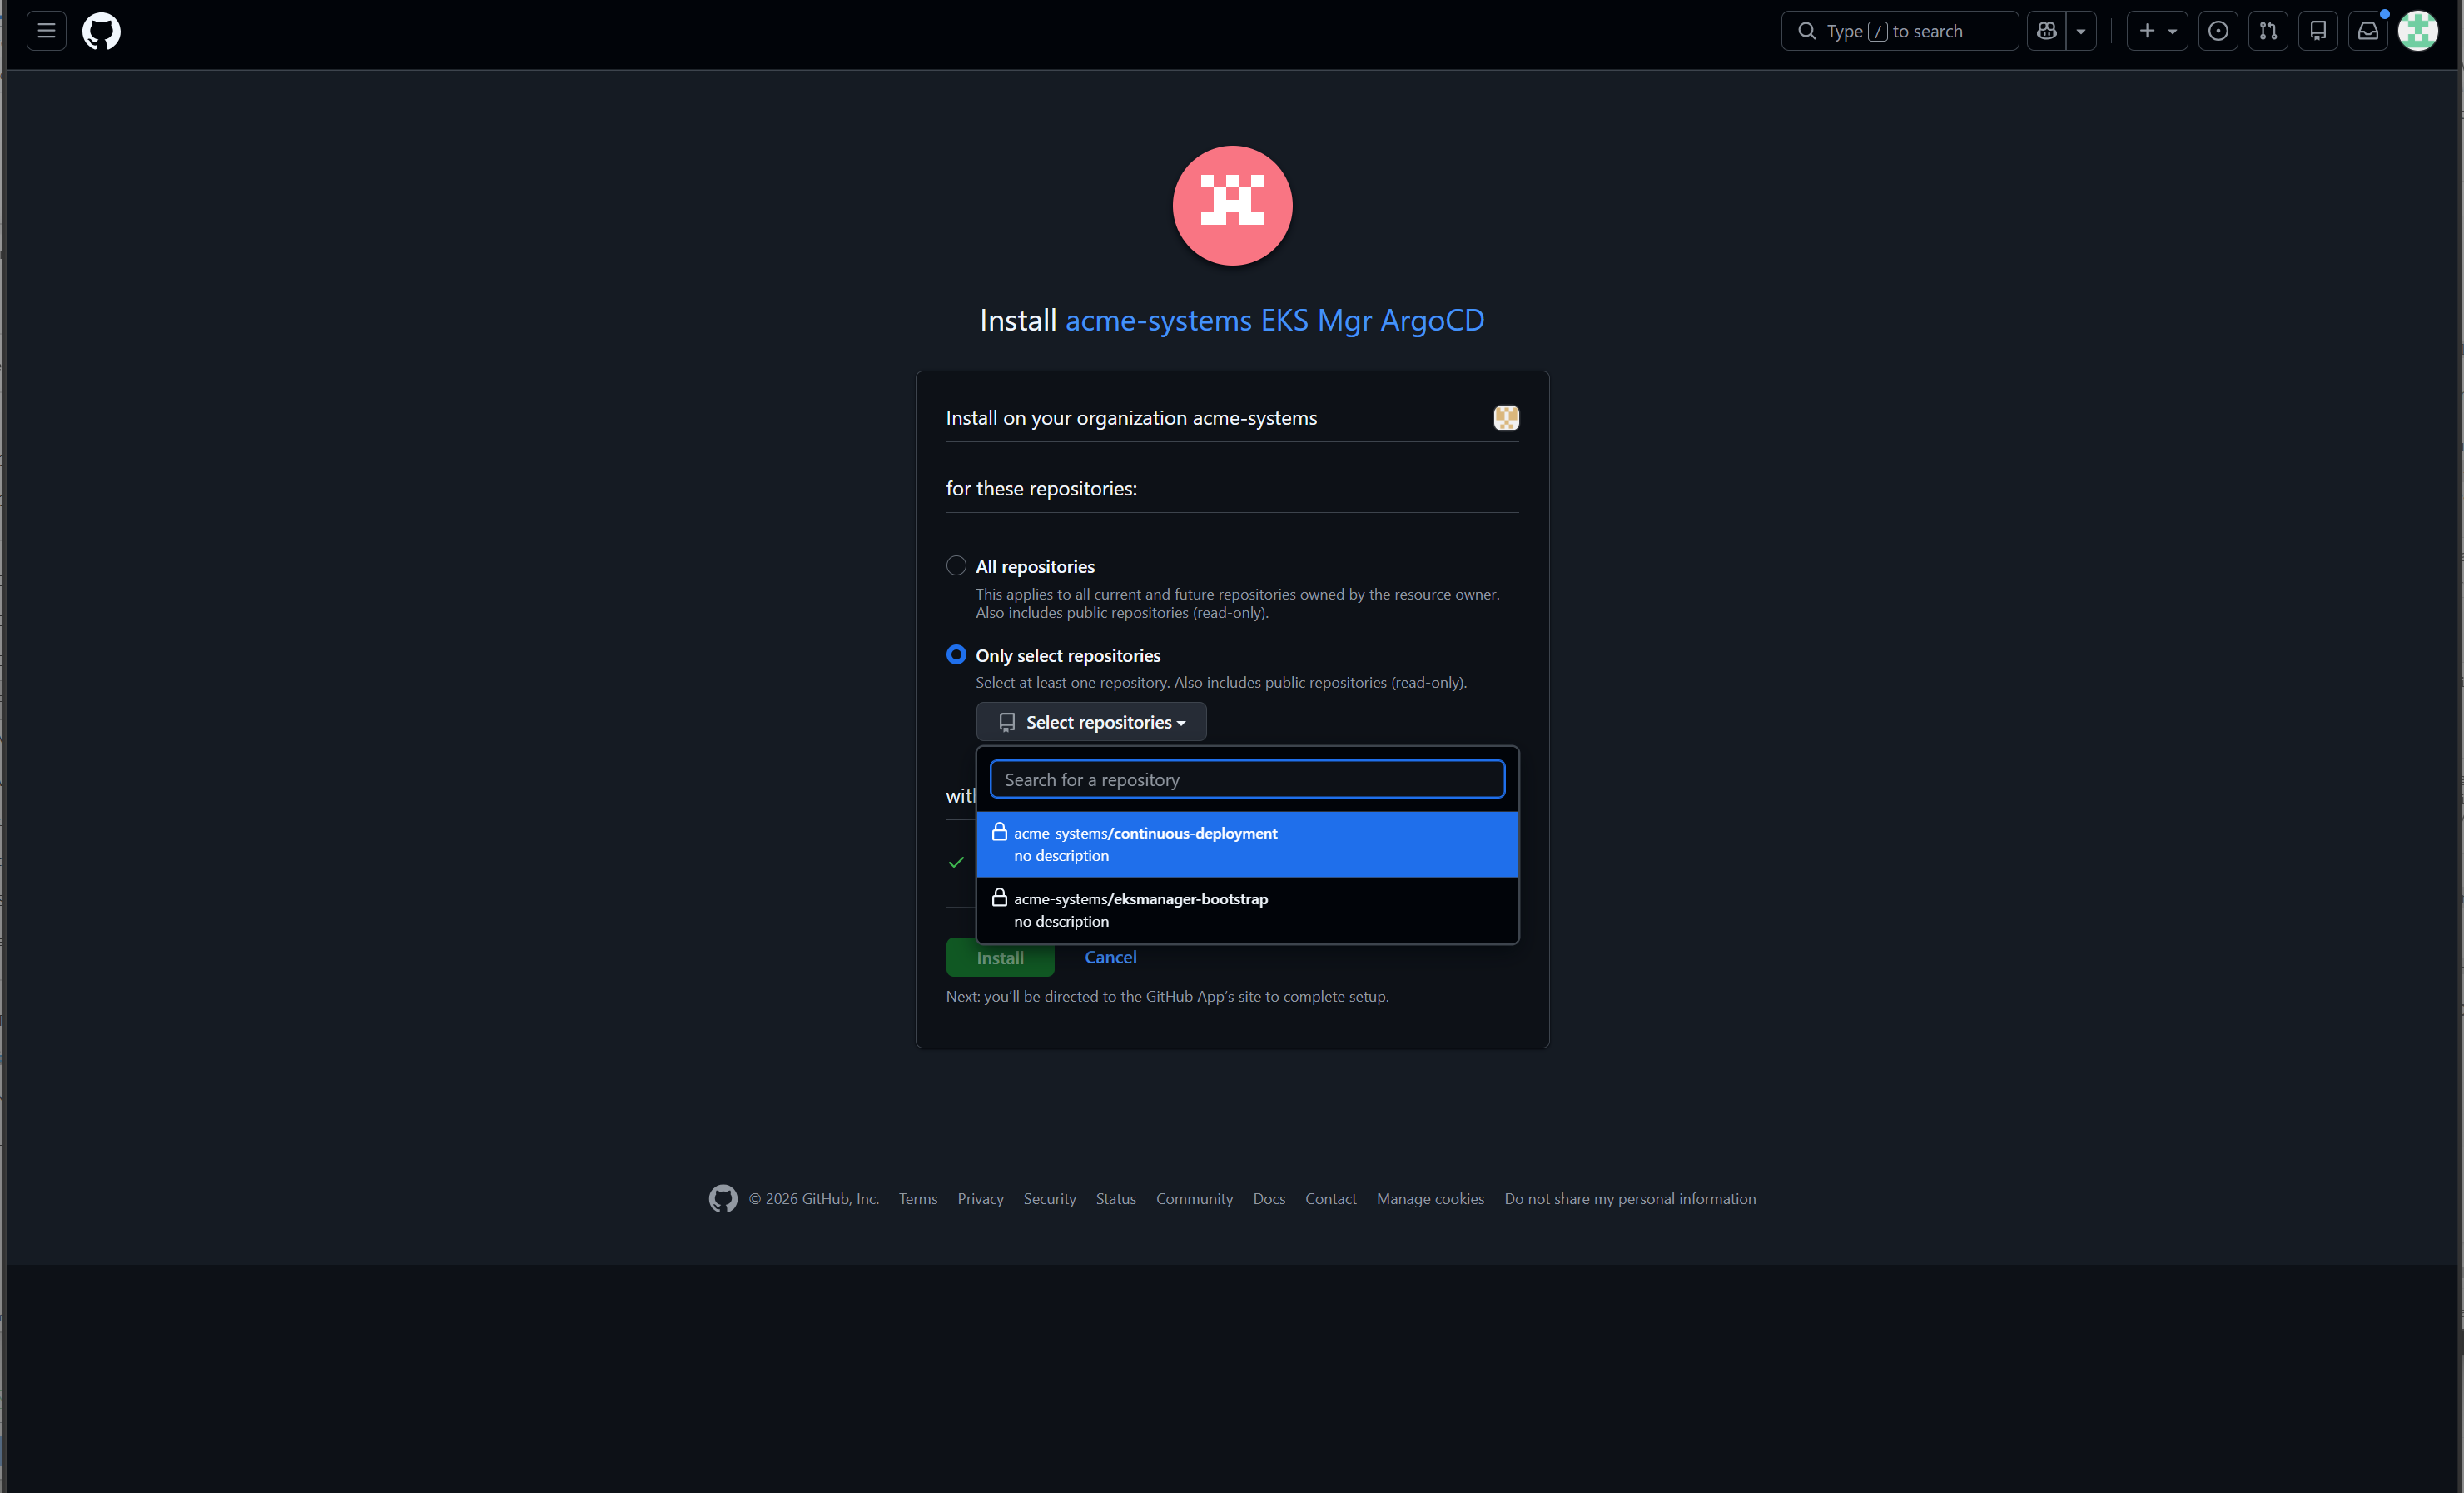
All repositories is selected by default, and it is the wrong answer. ArgoCD needs one repository: the one holding the manifests it syncs. Accepting the default hands it every repository the organisation has now and every one it ever adds.
Choose Only select repositories and pick your continuous-deployment repository — the one the CI/CD App writes rendered manifests into.
If the list is empty, that repository has not been created, or it lives in a different organisation from the one you typed.
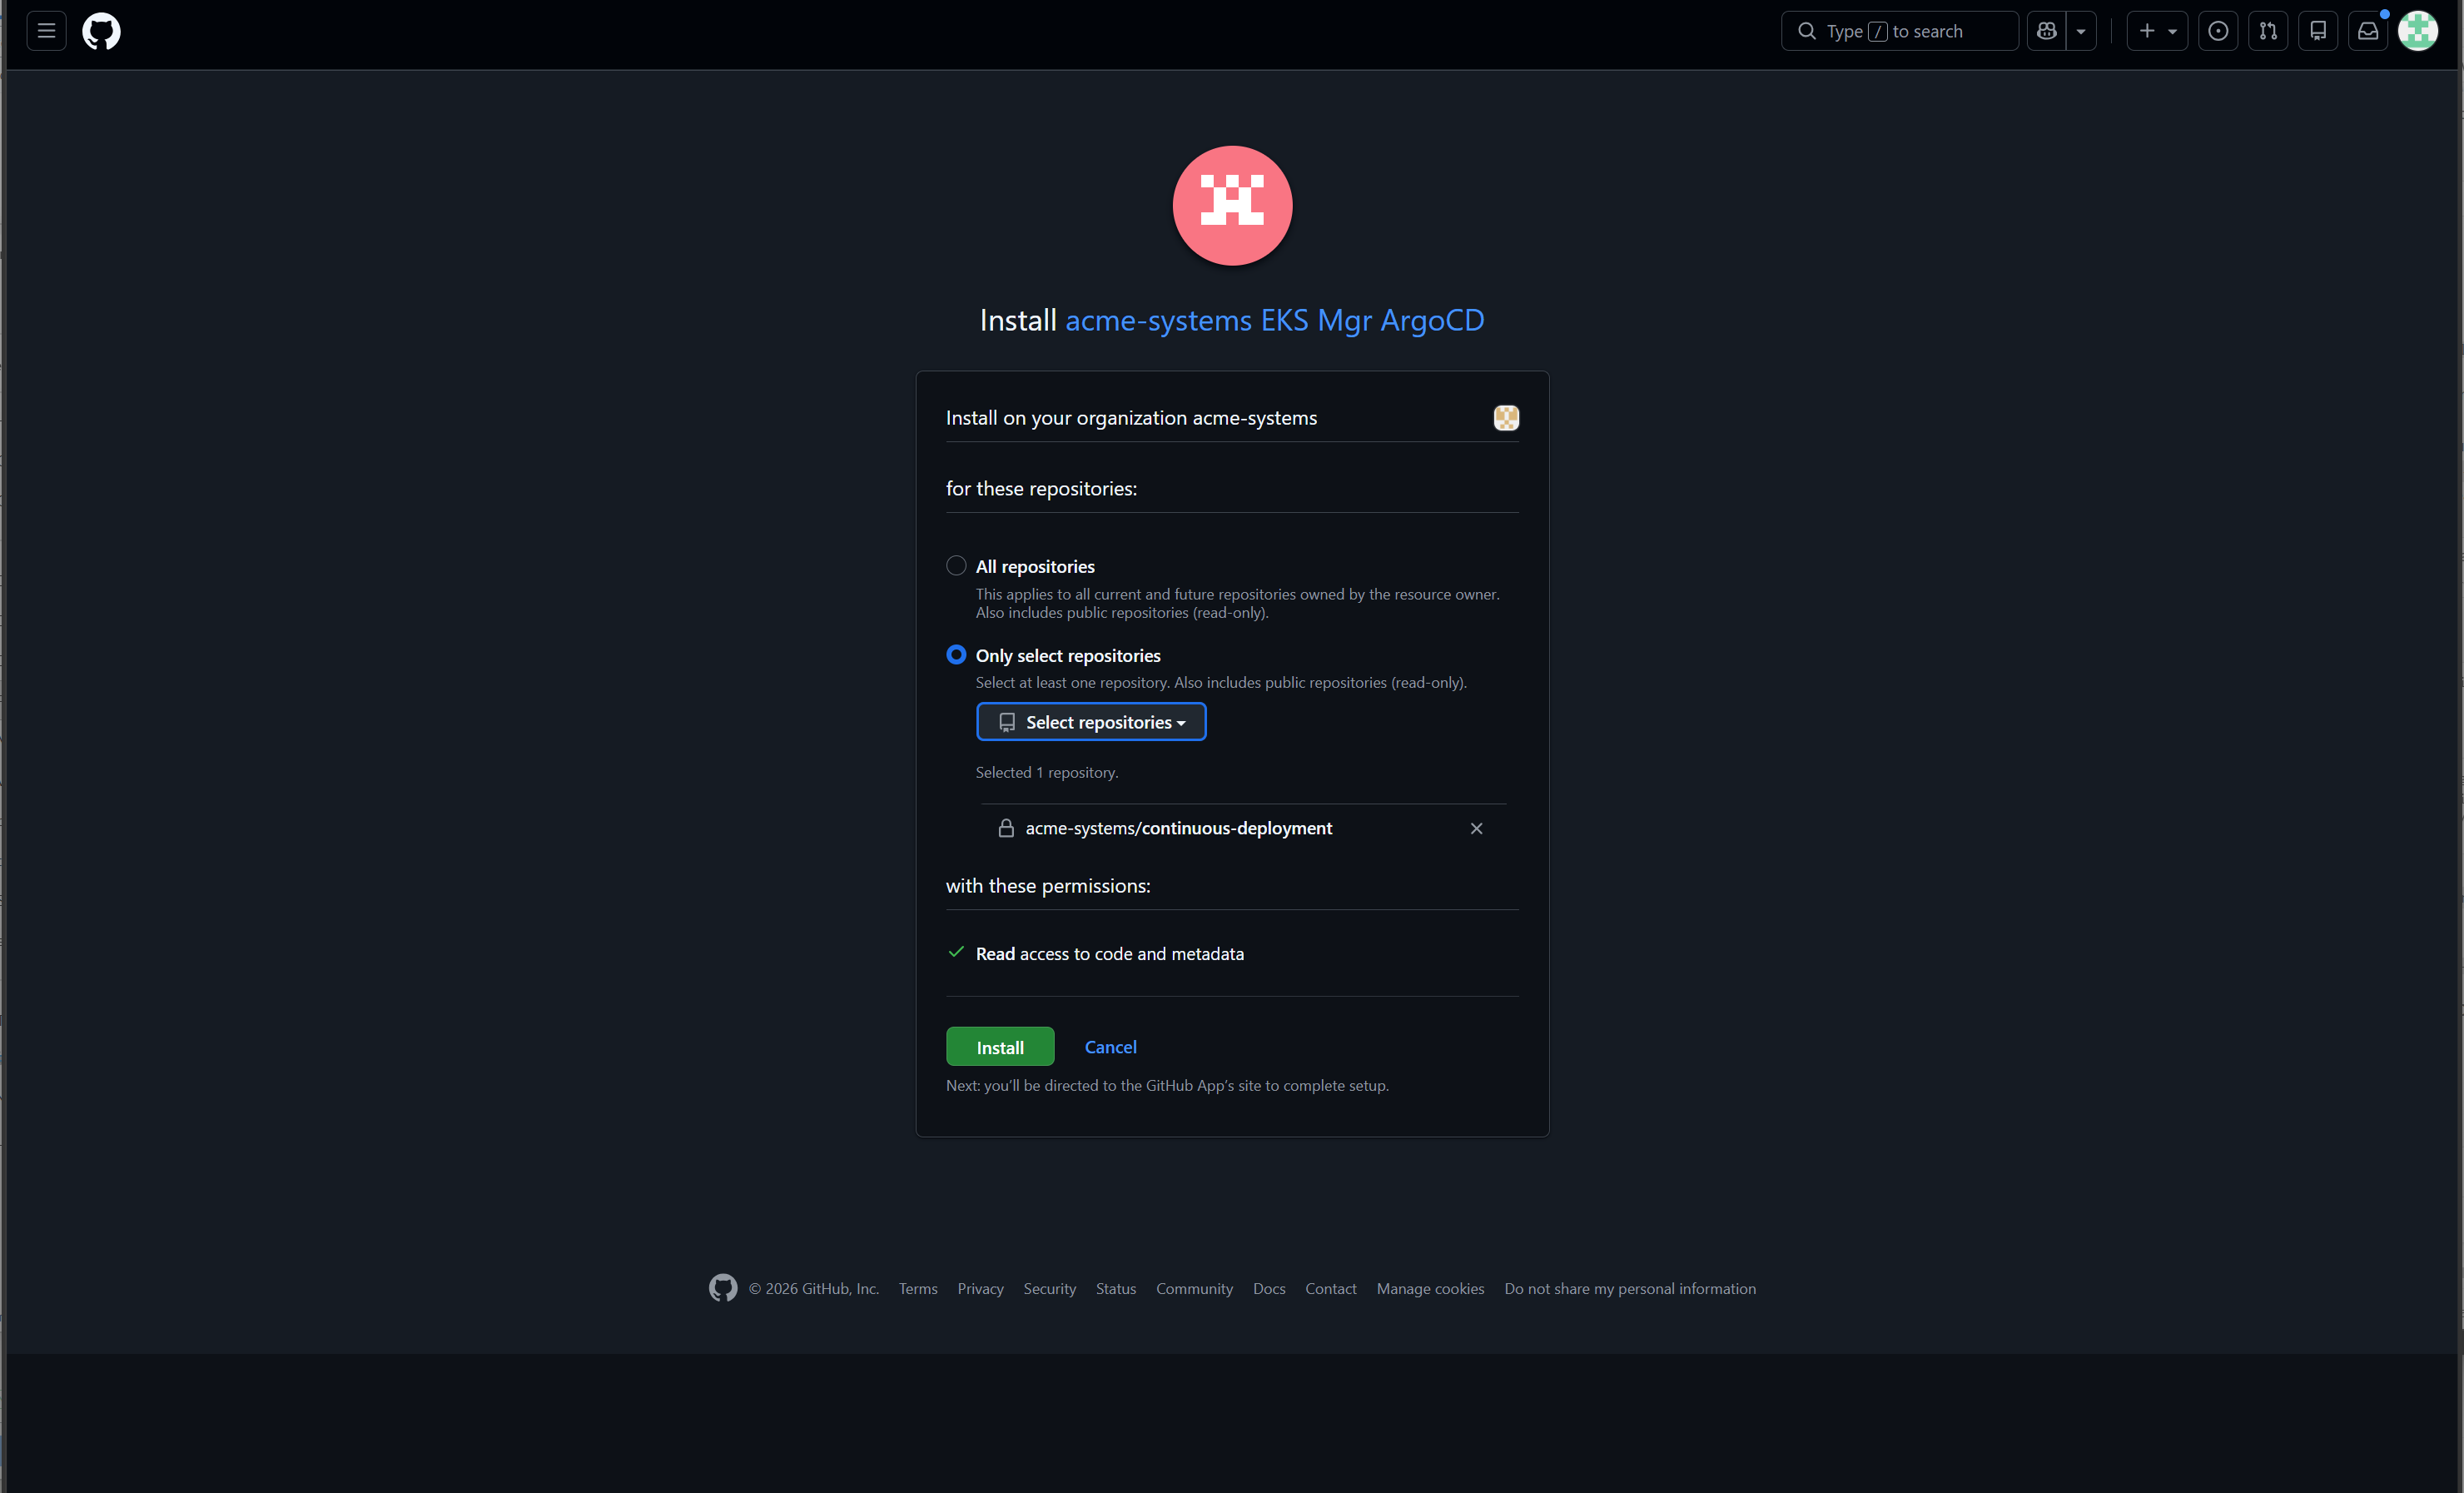
Chosen: one repository, and read access to it. That is the whole of ArgoCD's reach.
It is worth being deliberate here rather than accepting the default, because this App is the one that runs continuously and unattended. Everything it is allowed to see, it sees for as long as the installation exists.
ARC registers the self-hosted runner scale sets with your organisation, so runners deployed into a cluster appear in its runner list and can be targeted by a workflow.
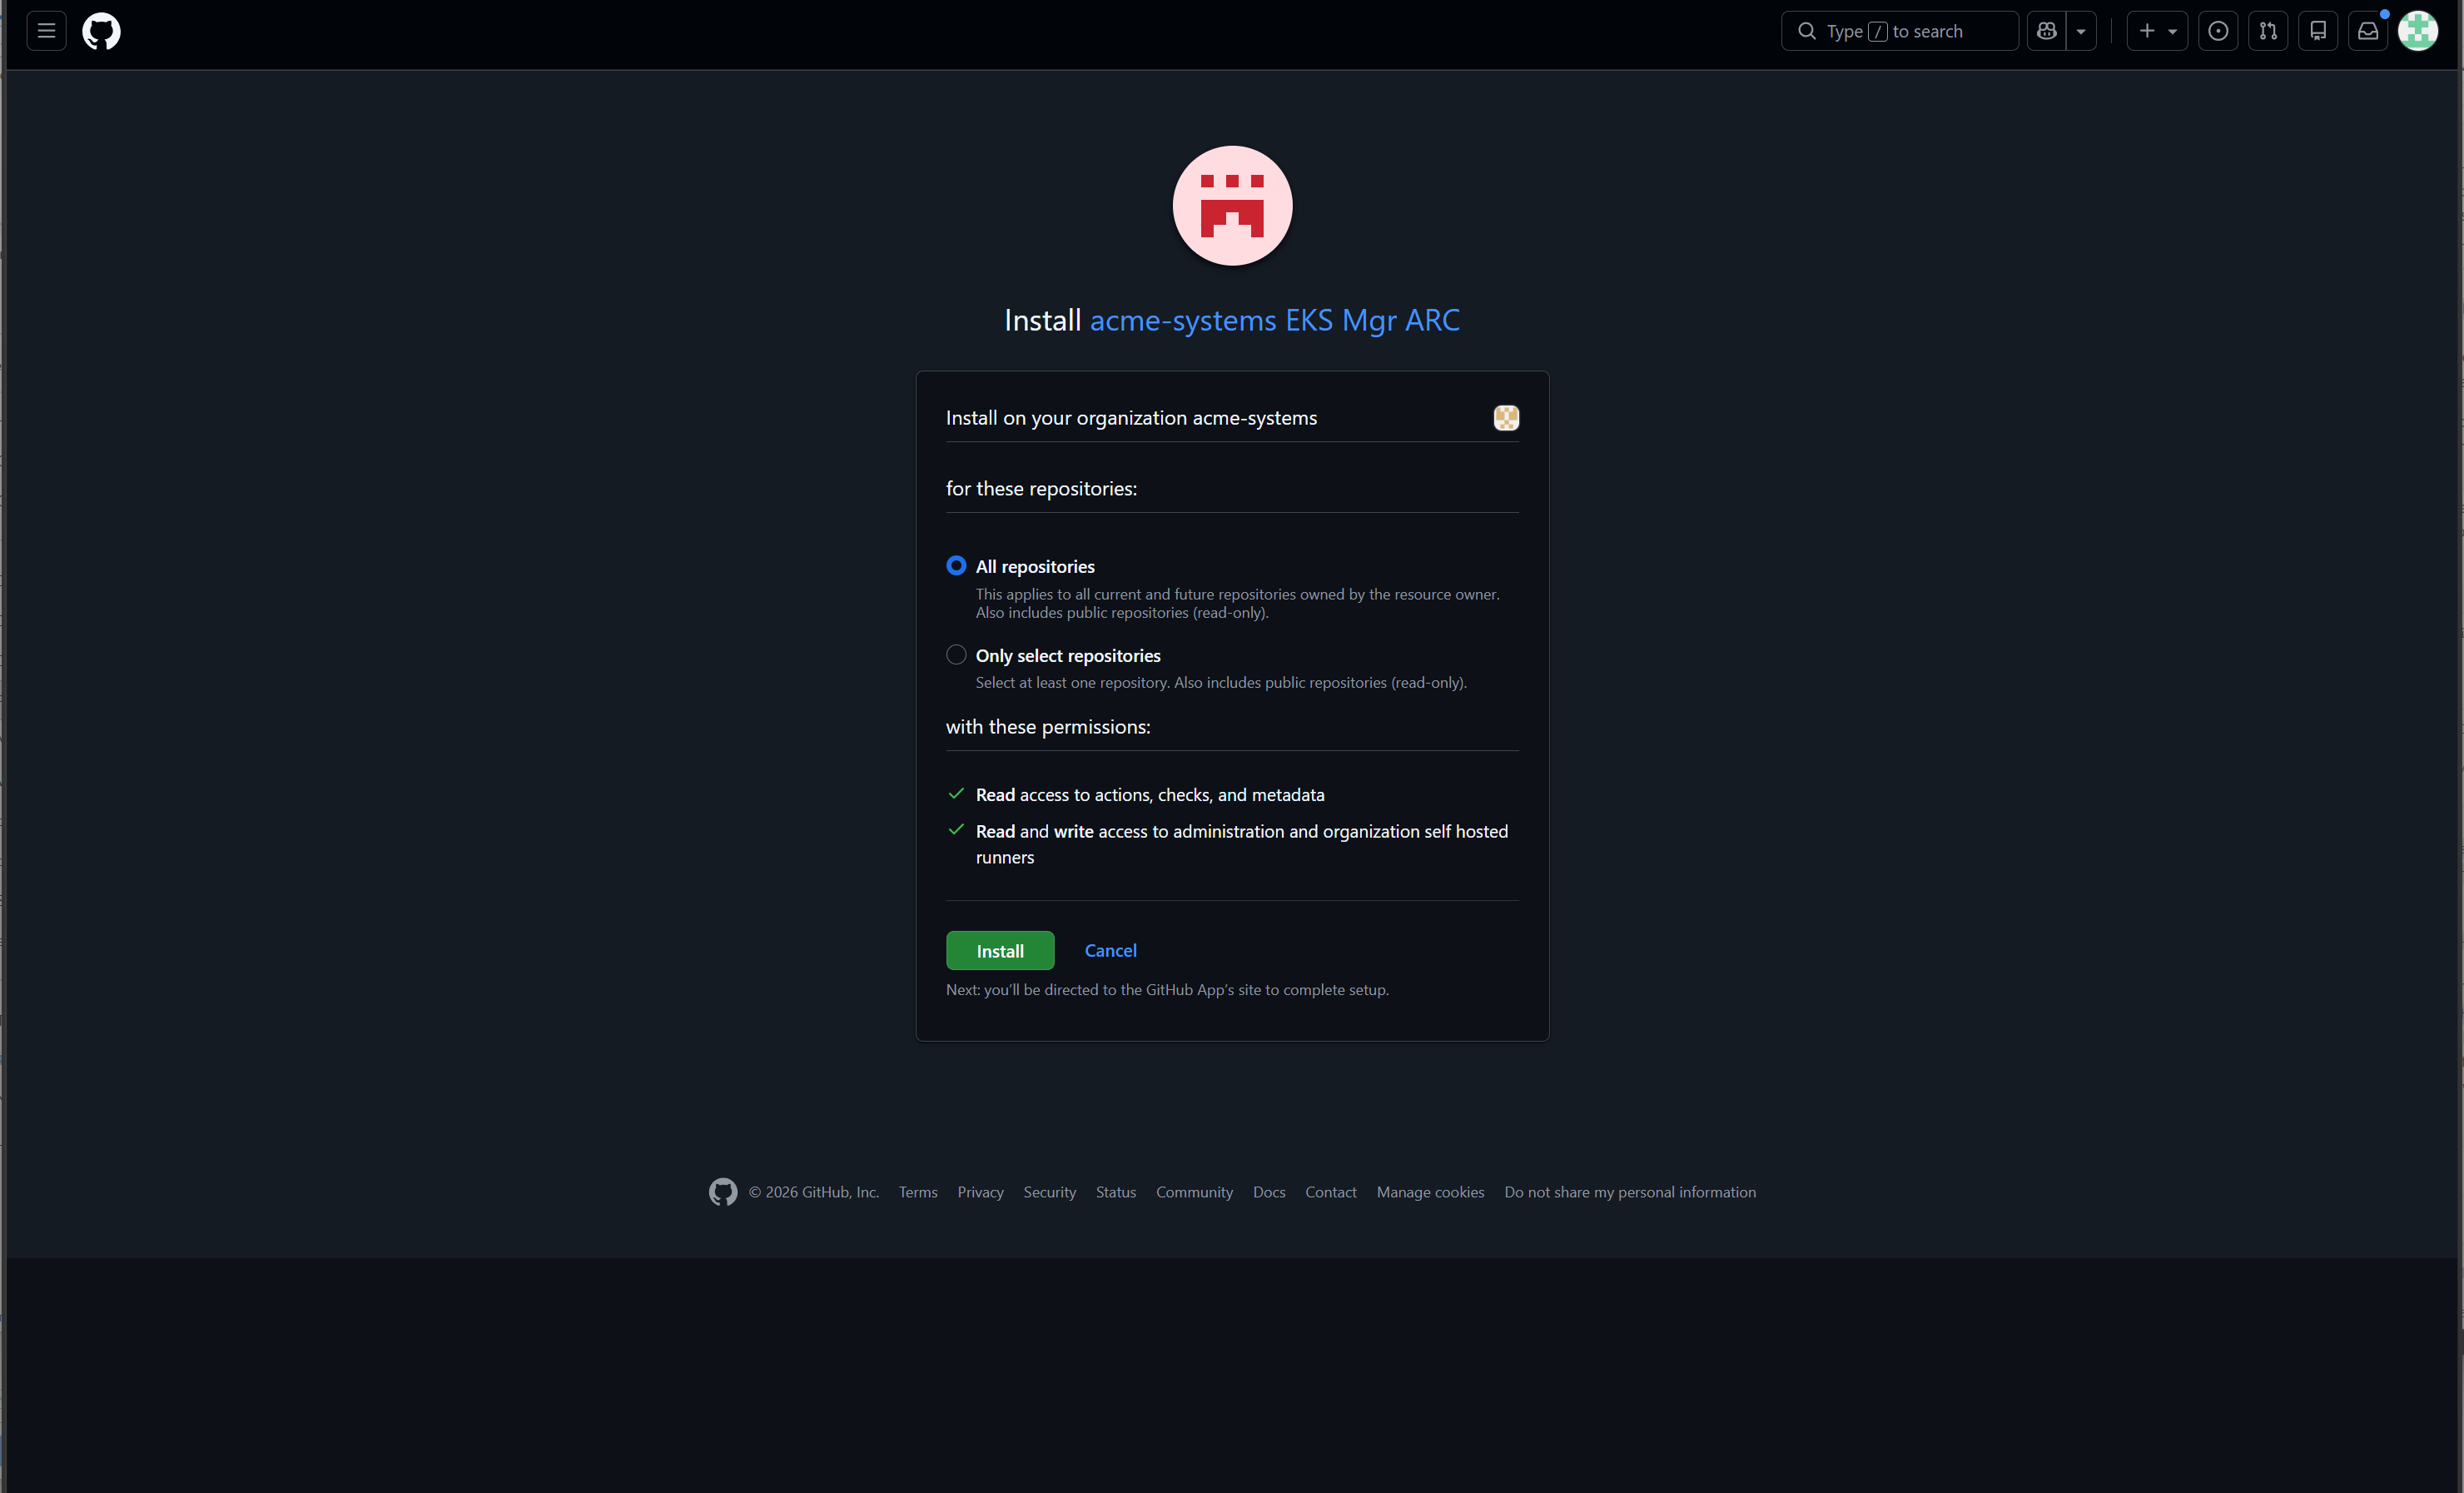
It is the broadest of the four and the only one that writes at the organisation level — the GitHub App Installation chapter shows the approval screen where GitHub says so in its own words.
Same organisation, same install; only the App key in the button differs.
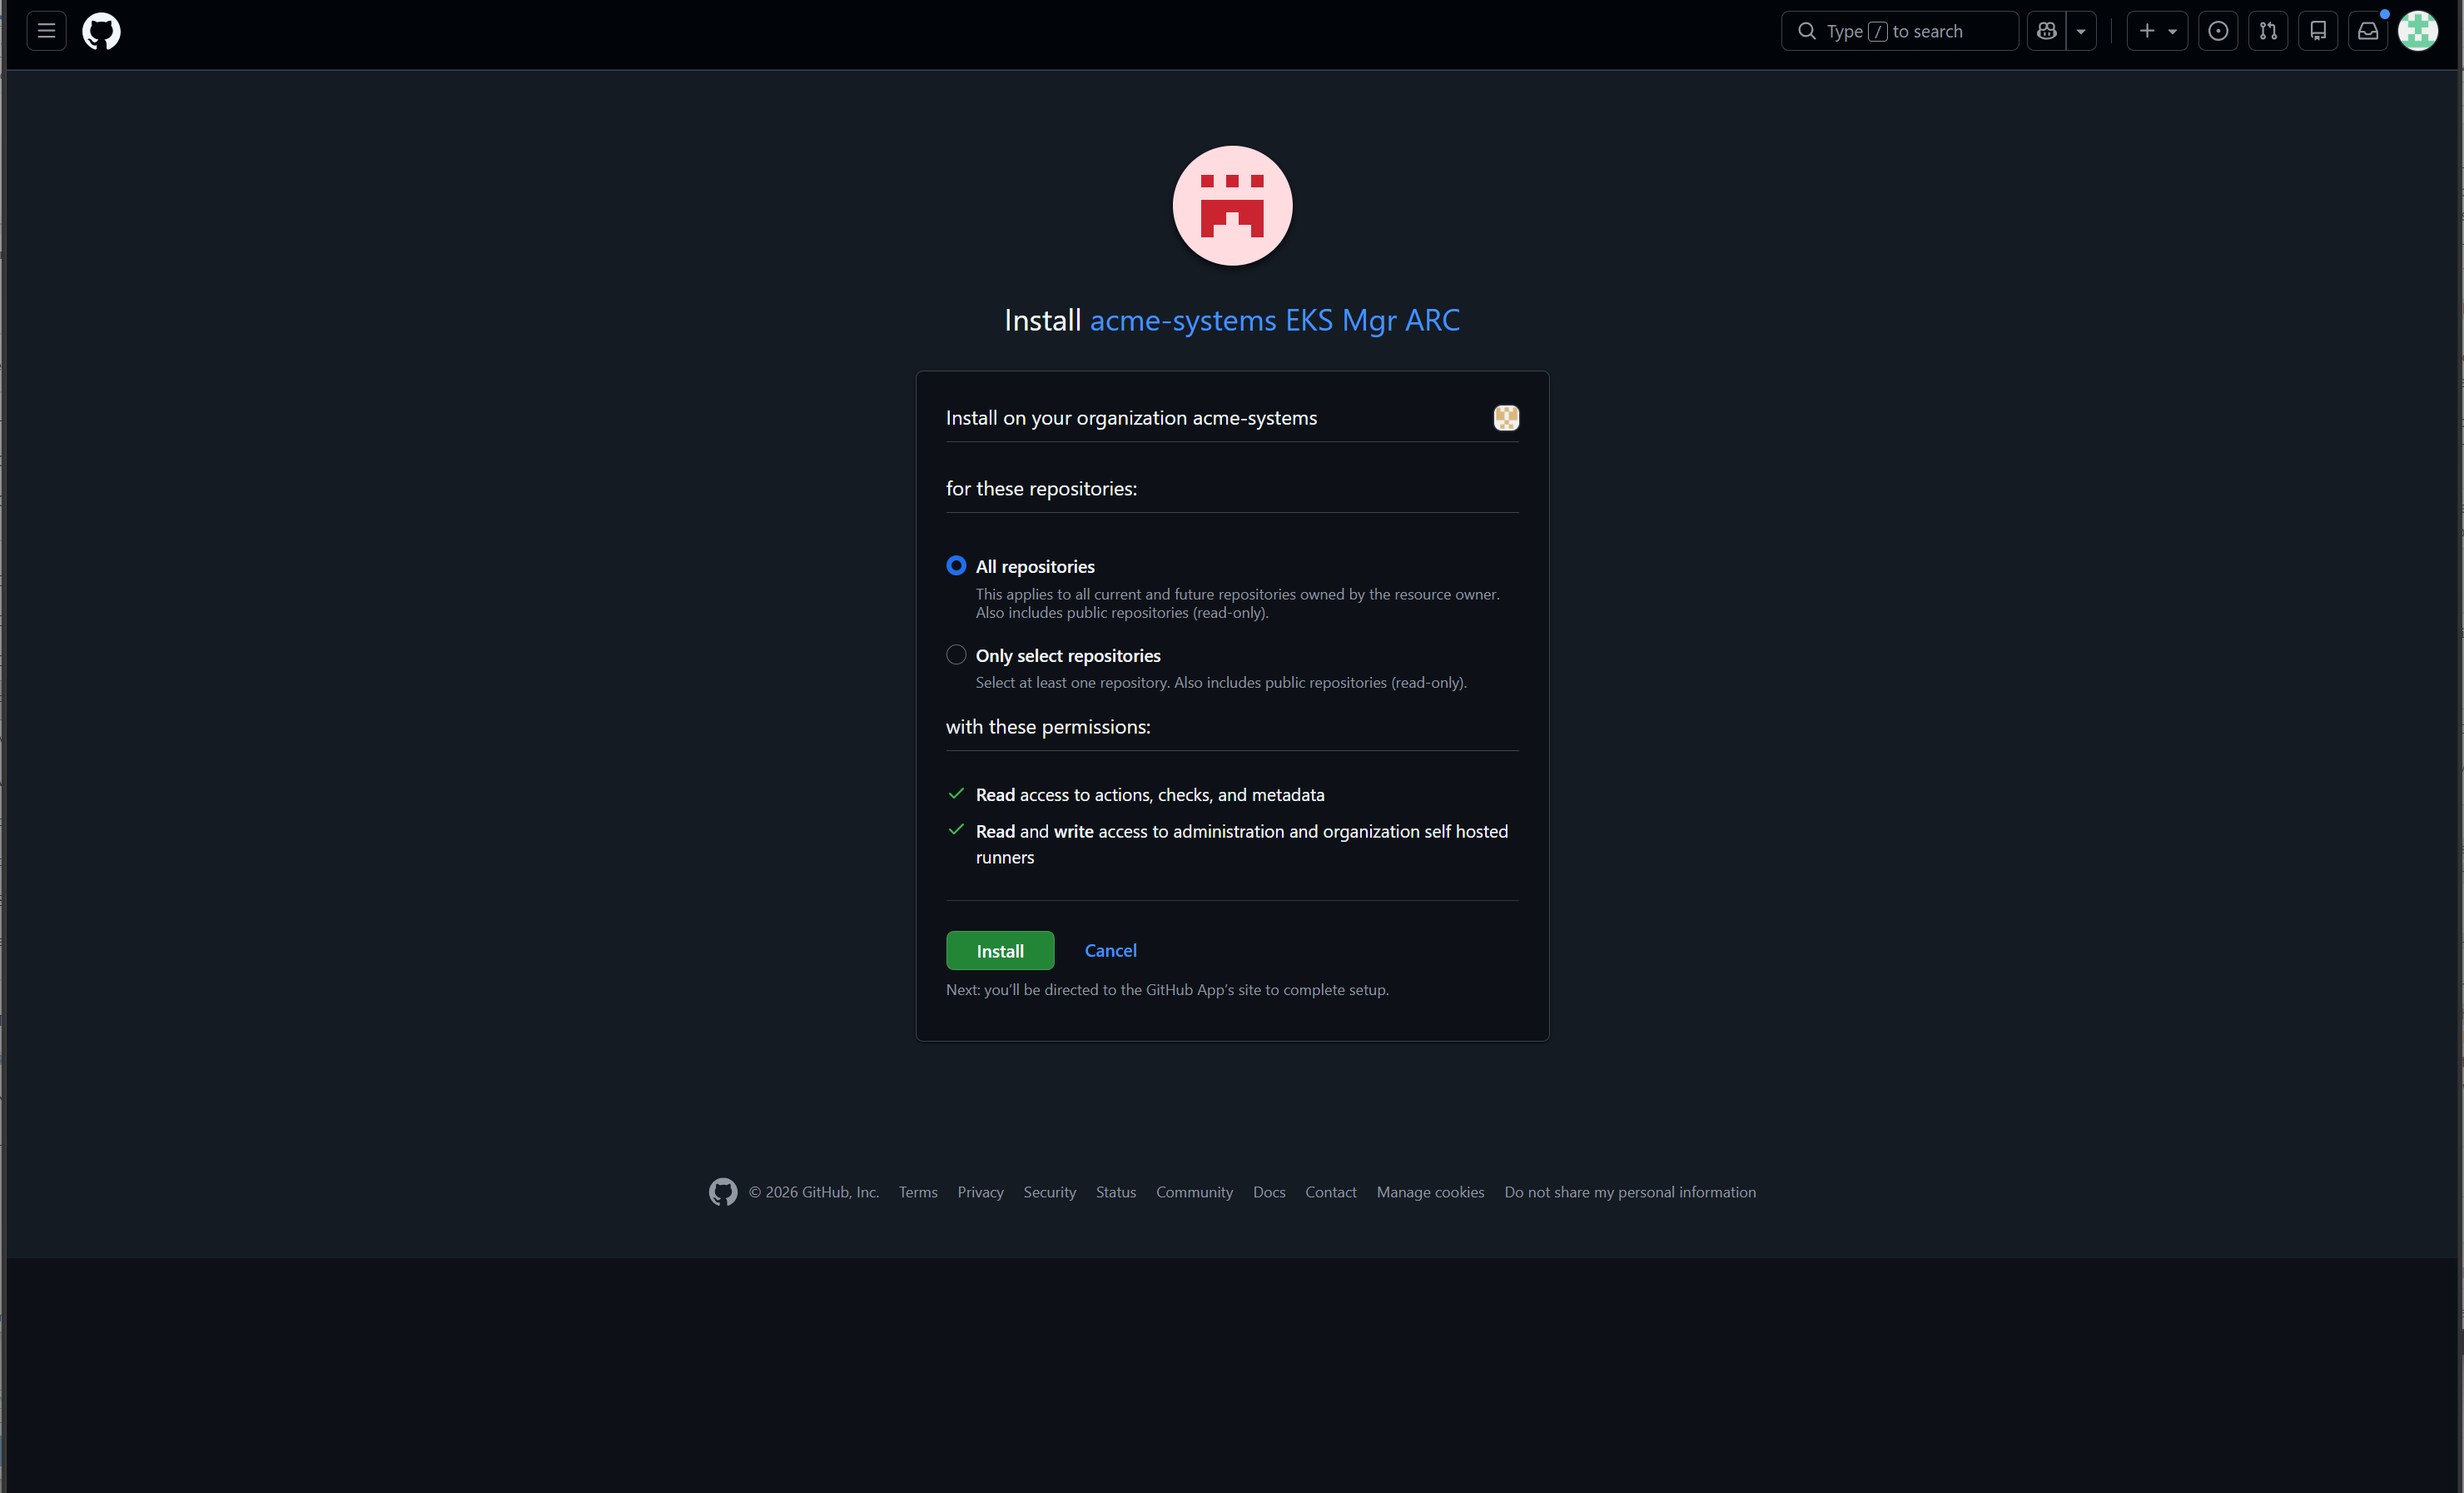
ARC's screen is the one to read slowly. Read and write access to administration and organization self hosted runners — the only one of the four that writes at the organisation level.
All repositories is the right answer here, which is the opposite of the advice on the App before it. What this App manages is the organisation's runners rather than any repository's contents, so narrowing the repository list narrows nothing that matters.
The rule is not never All repositories; it is that the scope should match what the App does.
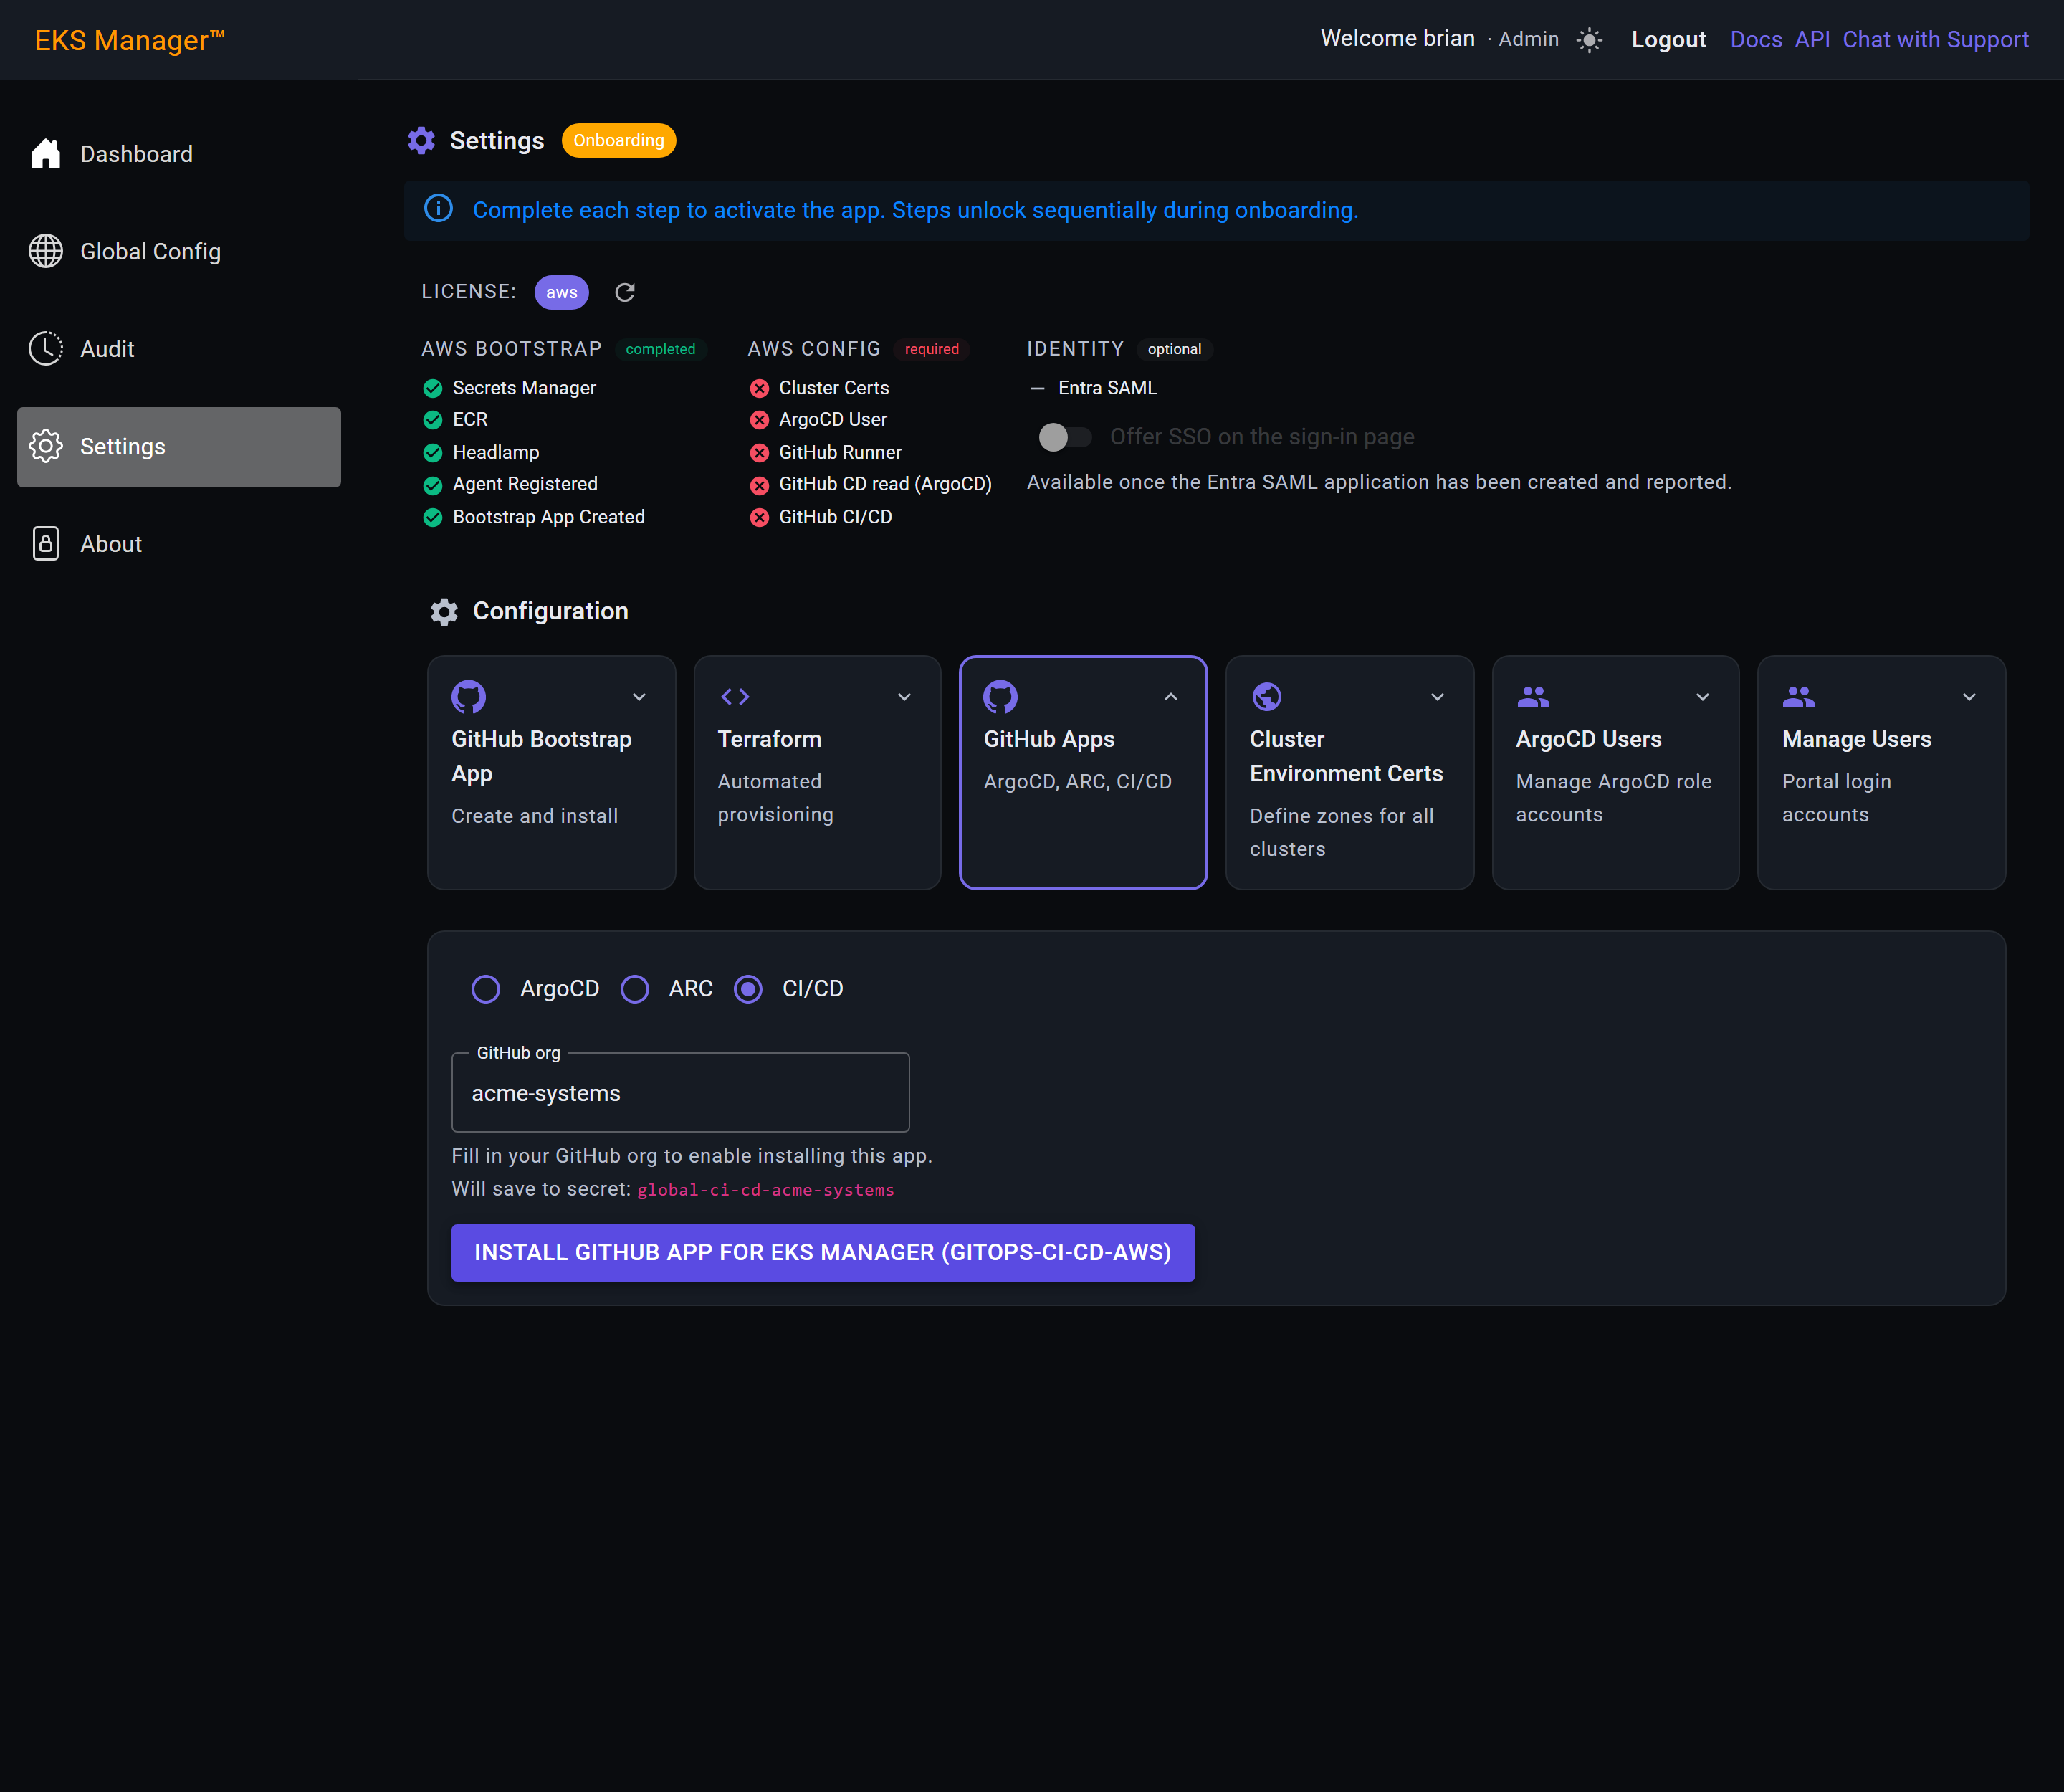
CI/CD is the credential the open-source GitOps Manager actions run under, and the one App that writes to your continuous-deployment repository — through a pull request rather than straight to the branch.
Install it last and the chips complete. Nothing else in this tile is waiting on it.
Four Apps, four jobs. They are separate because they need different access, and keeping them separate is what stops the App that renders your manifests from also being able to read everything else.
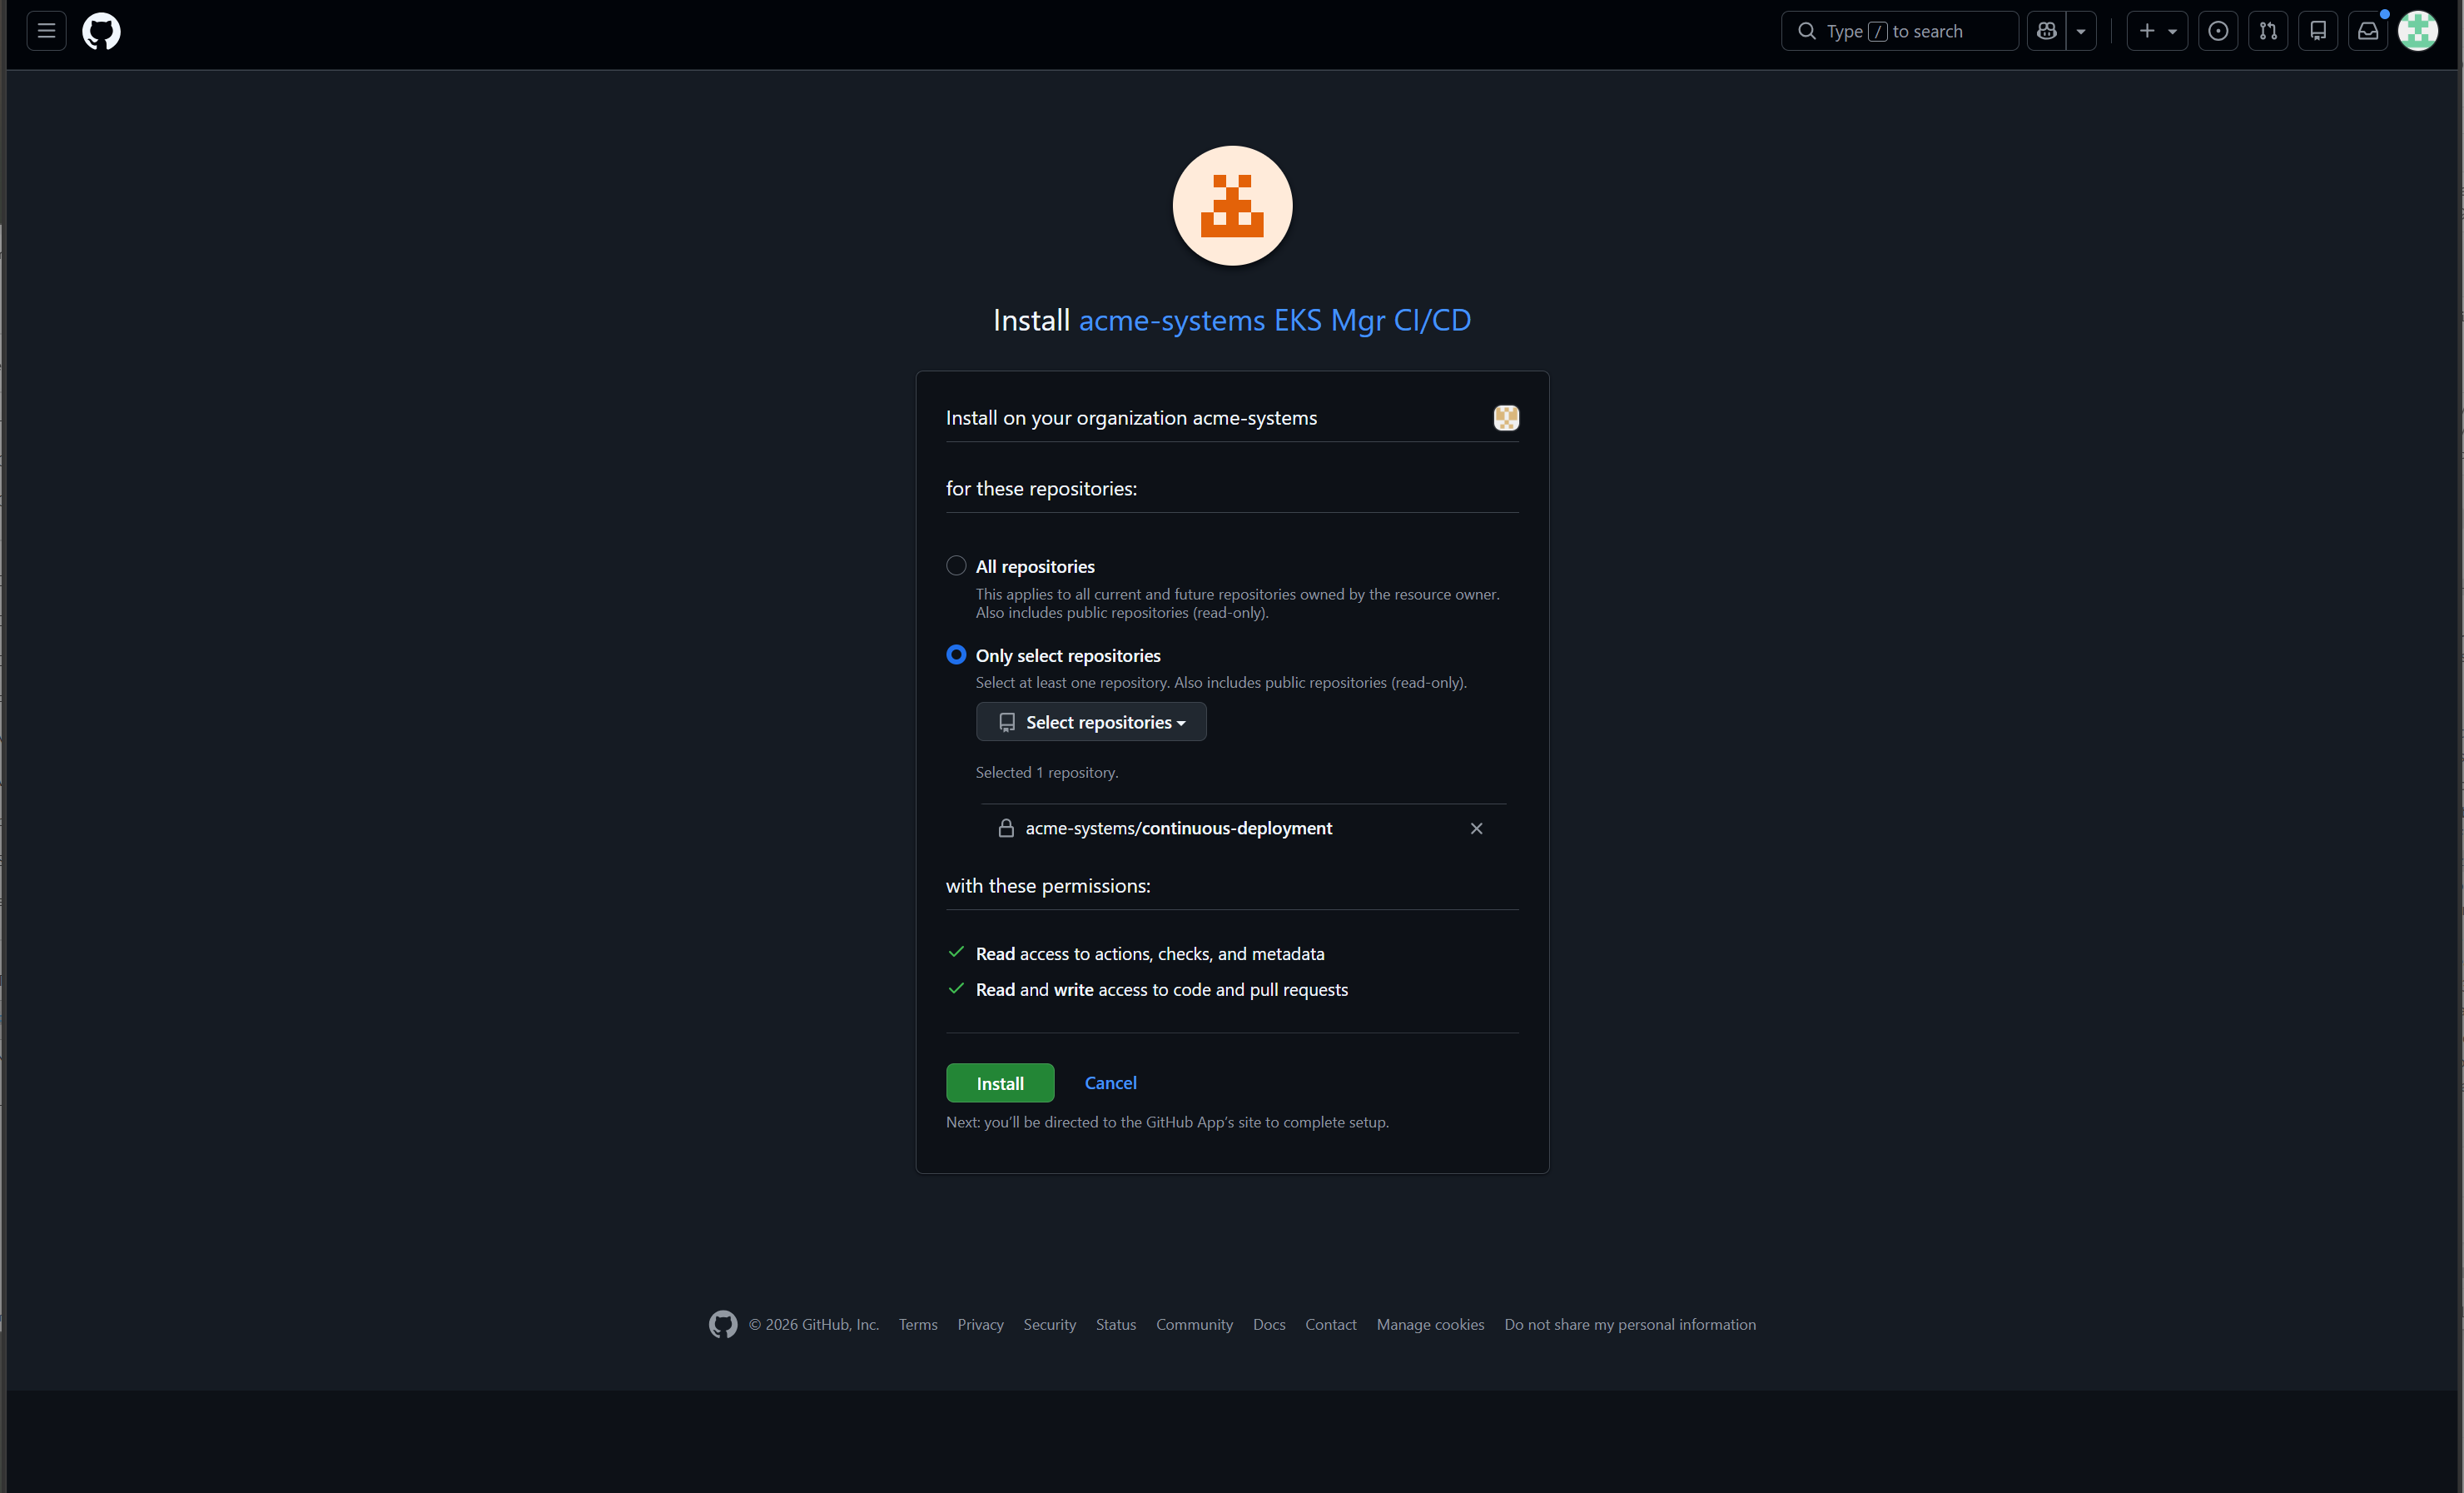
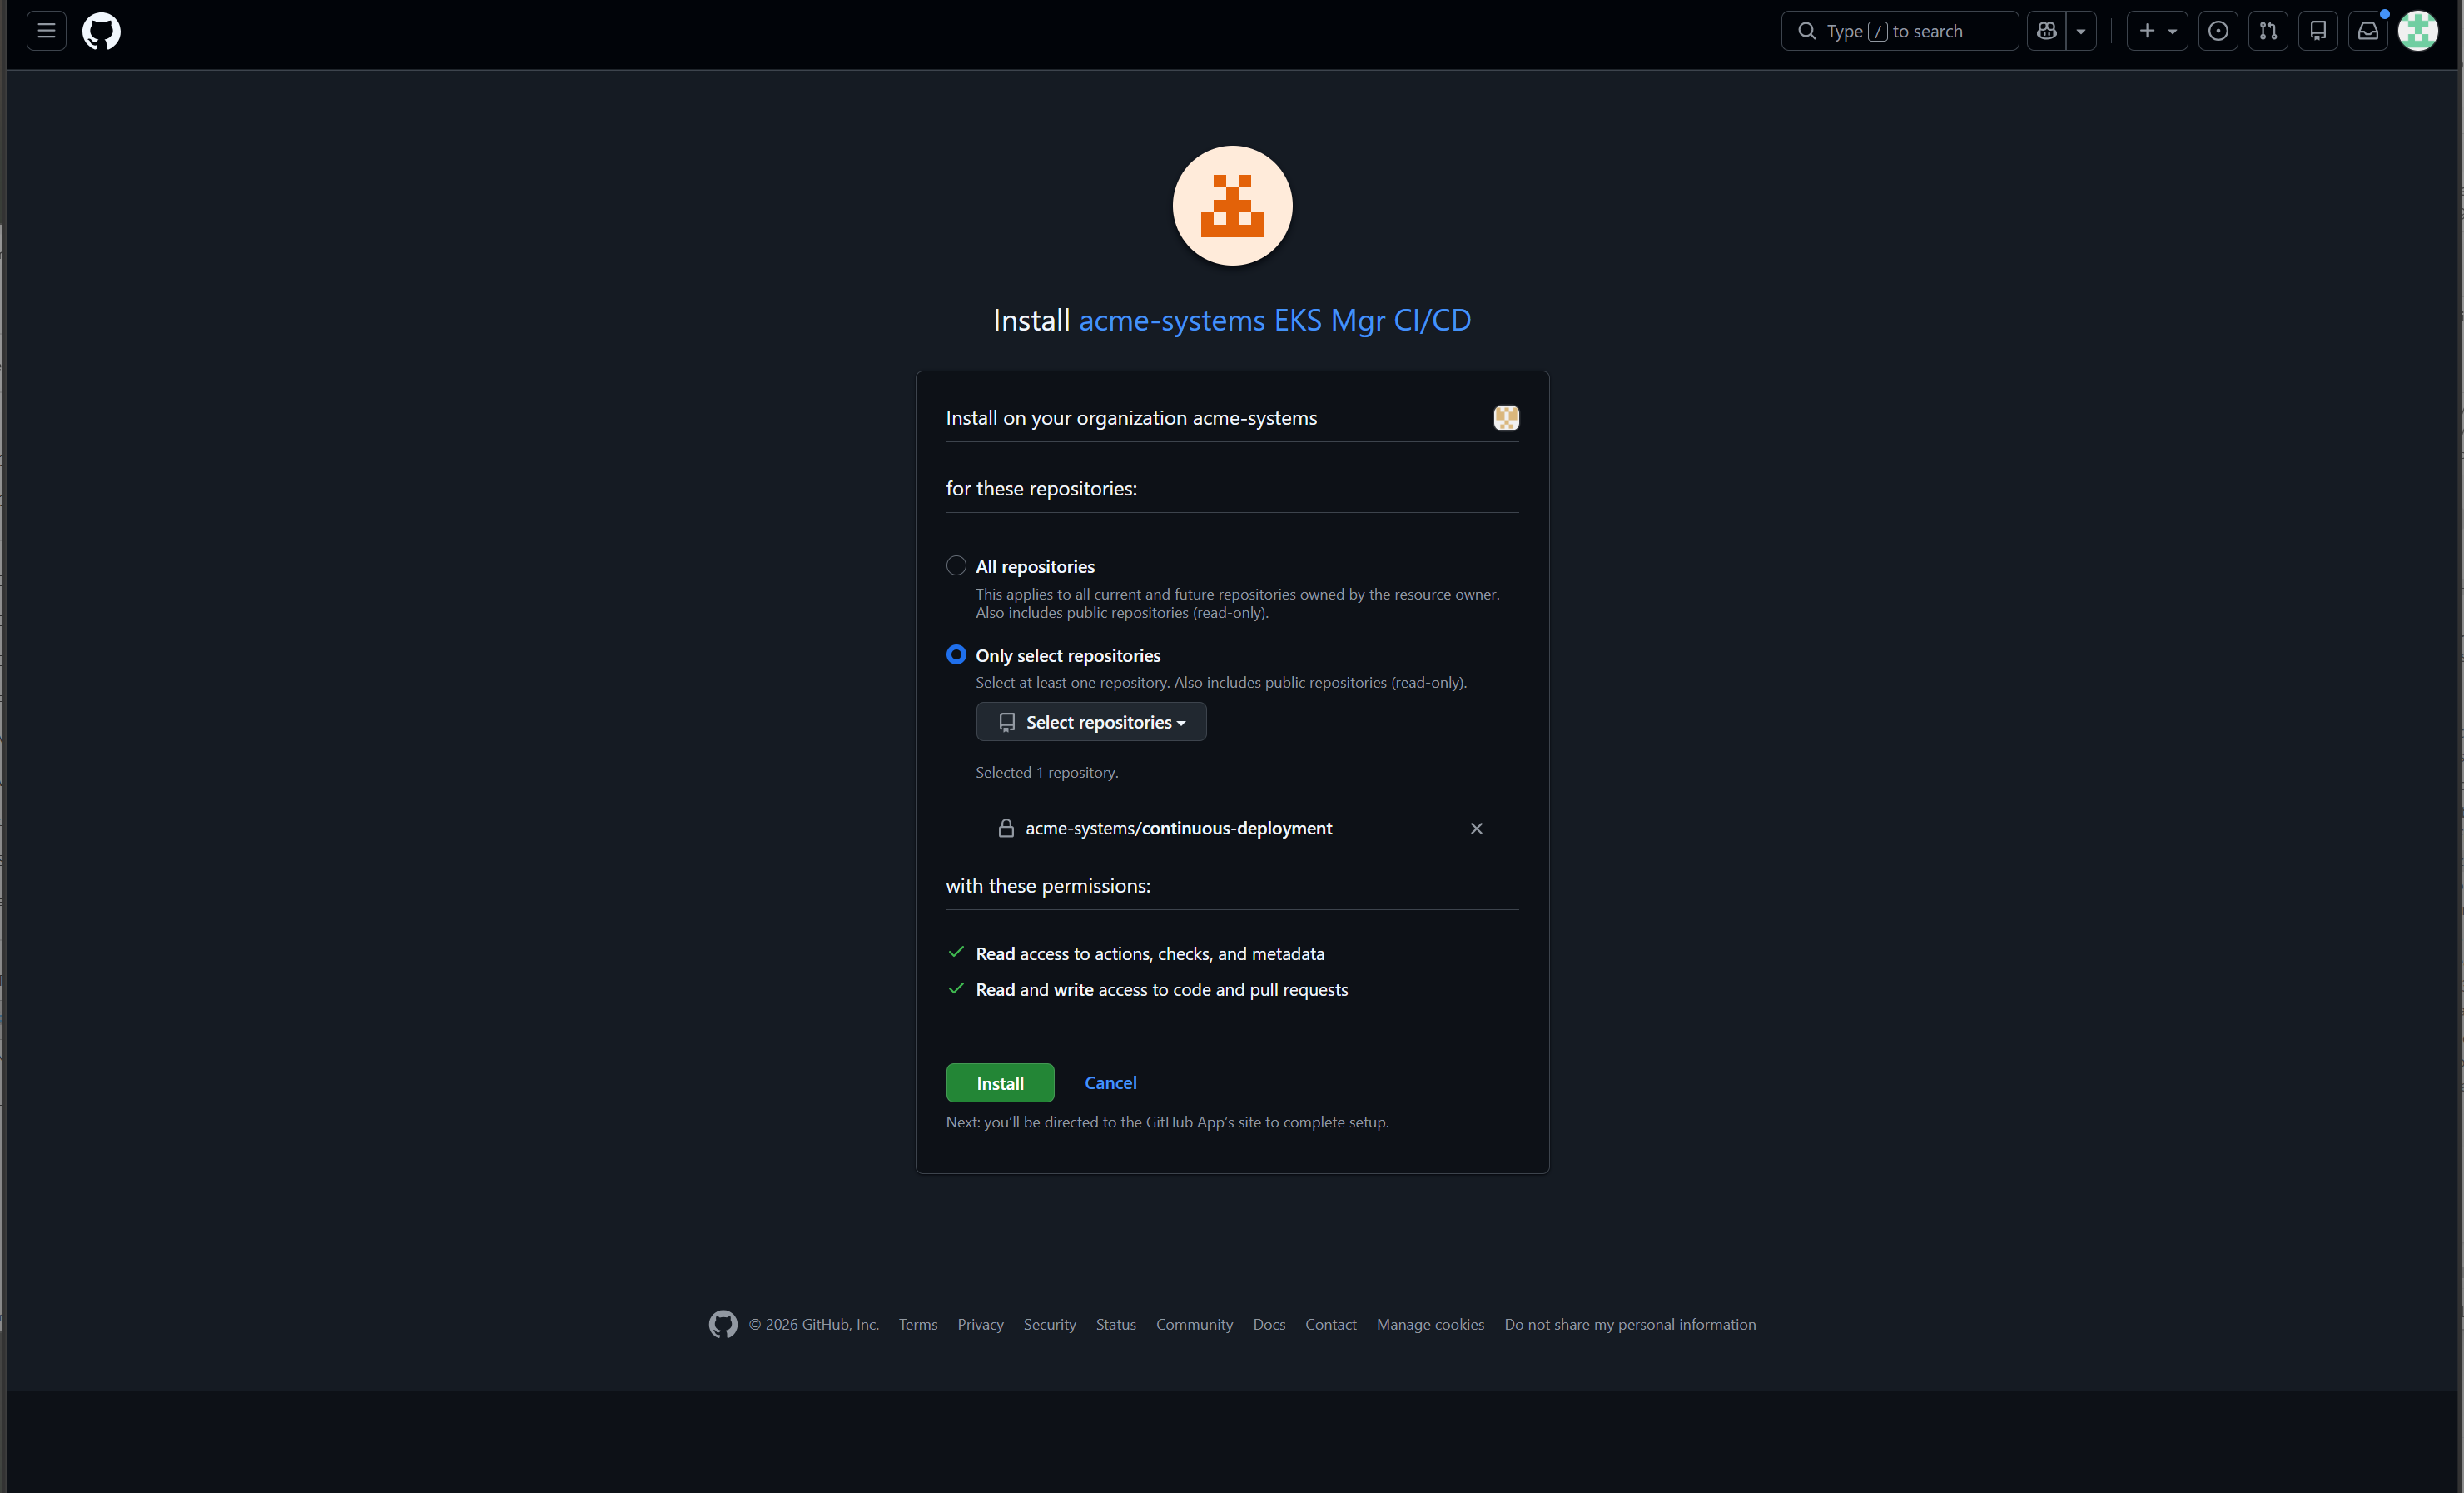
The last of the four, and the only one that writes. GitHub says so before you agree: read and write access to code and pull requests, alongside read on actions, checks and metadata.
All repositories is the default here too, and it is the most consequential place to accept it. This App does not read your repositories — it changes them. Left on the default it can change any of them, including ones that have nothing to do with deployment.
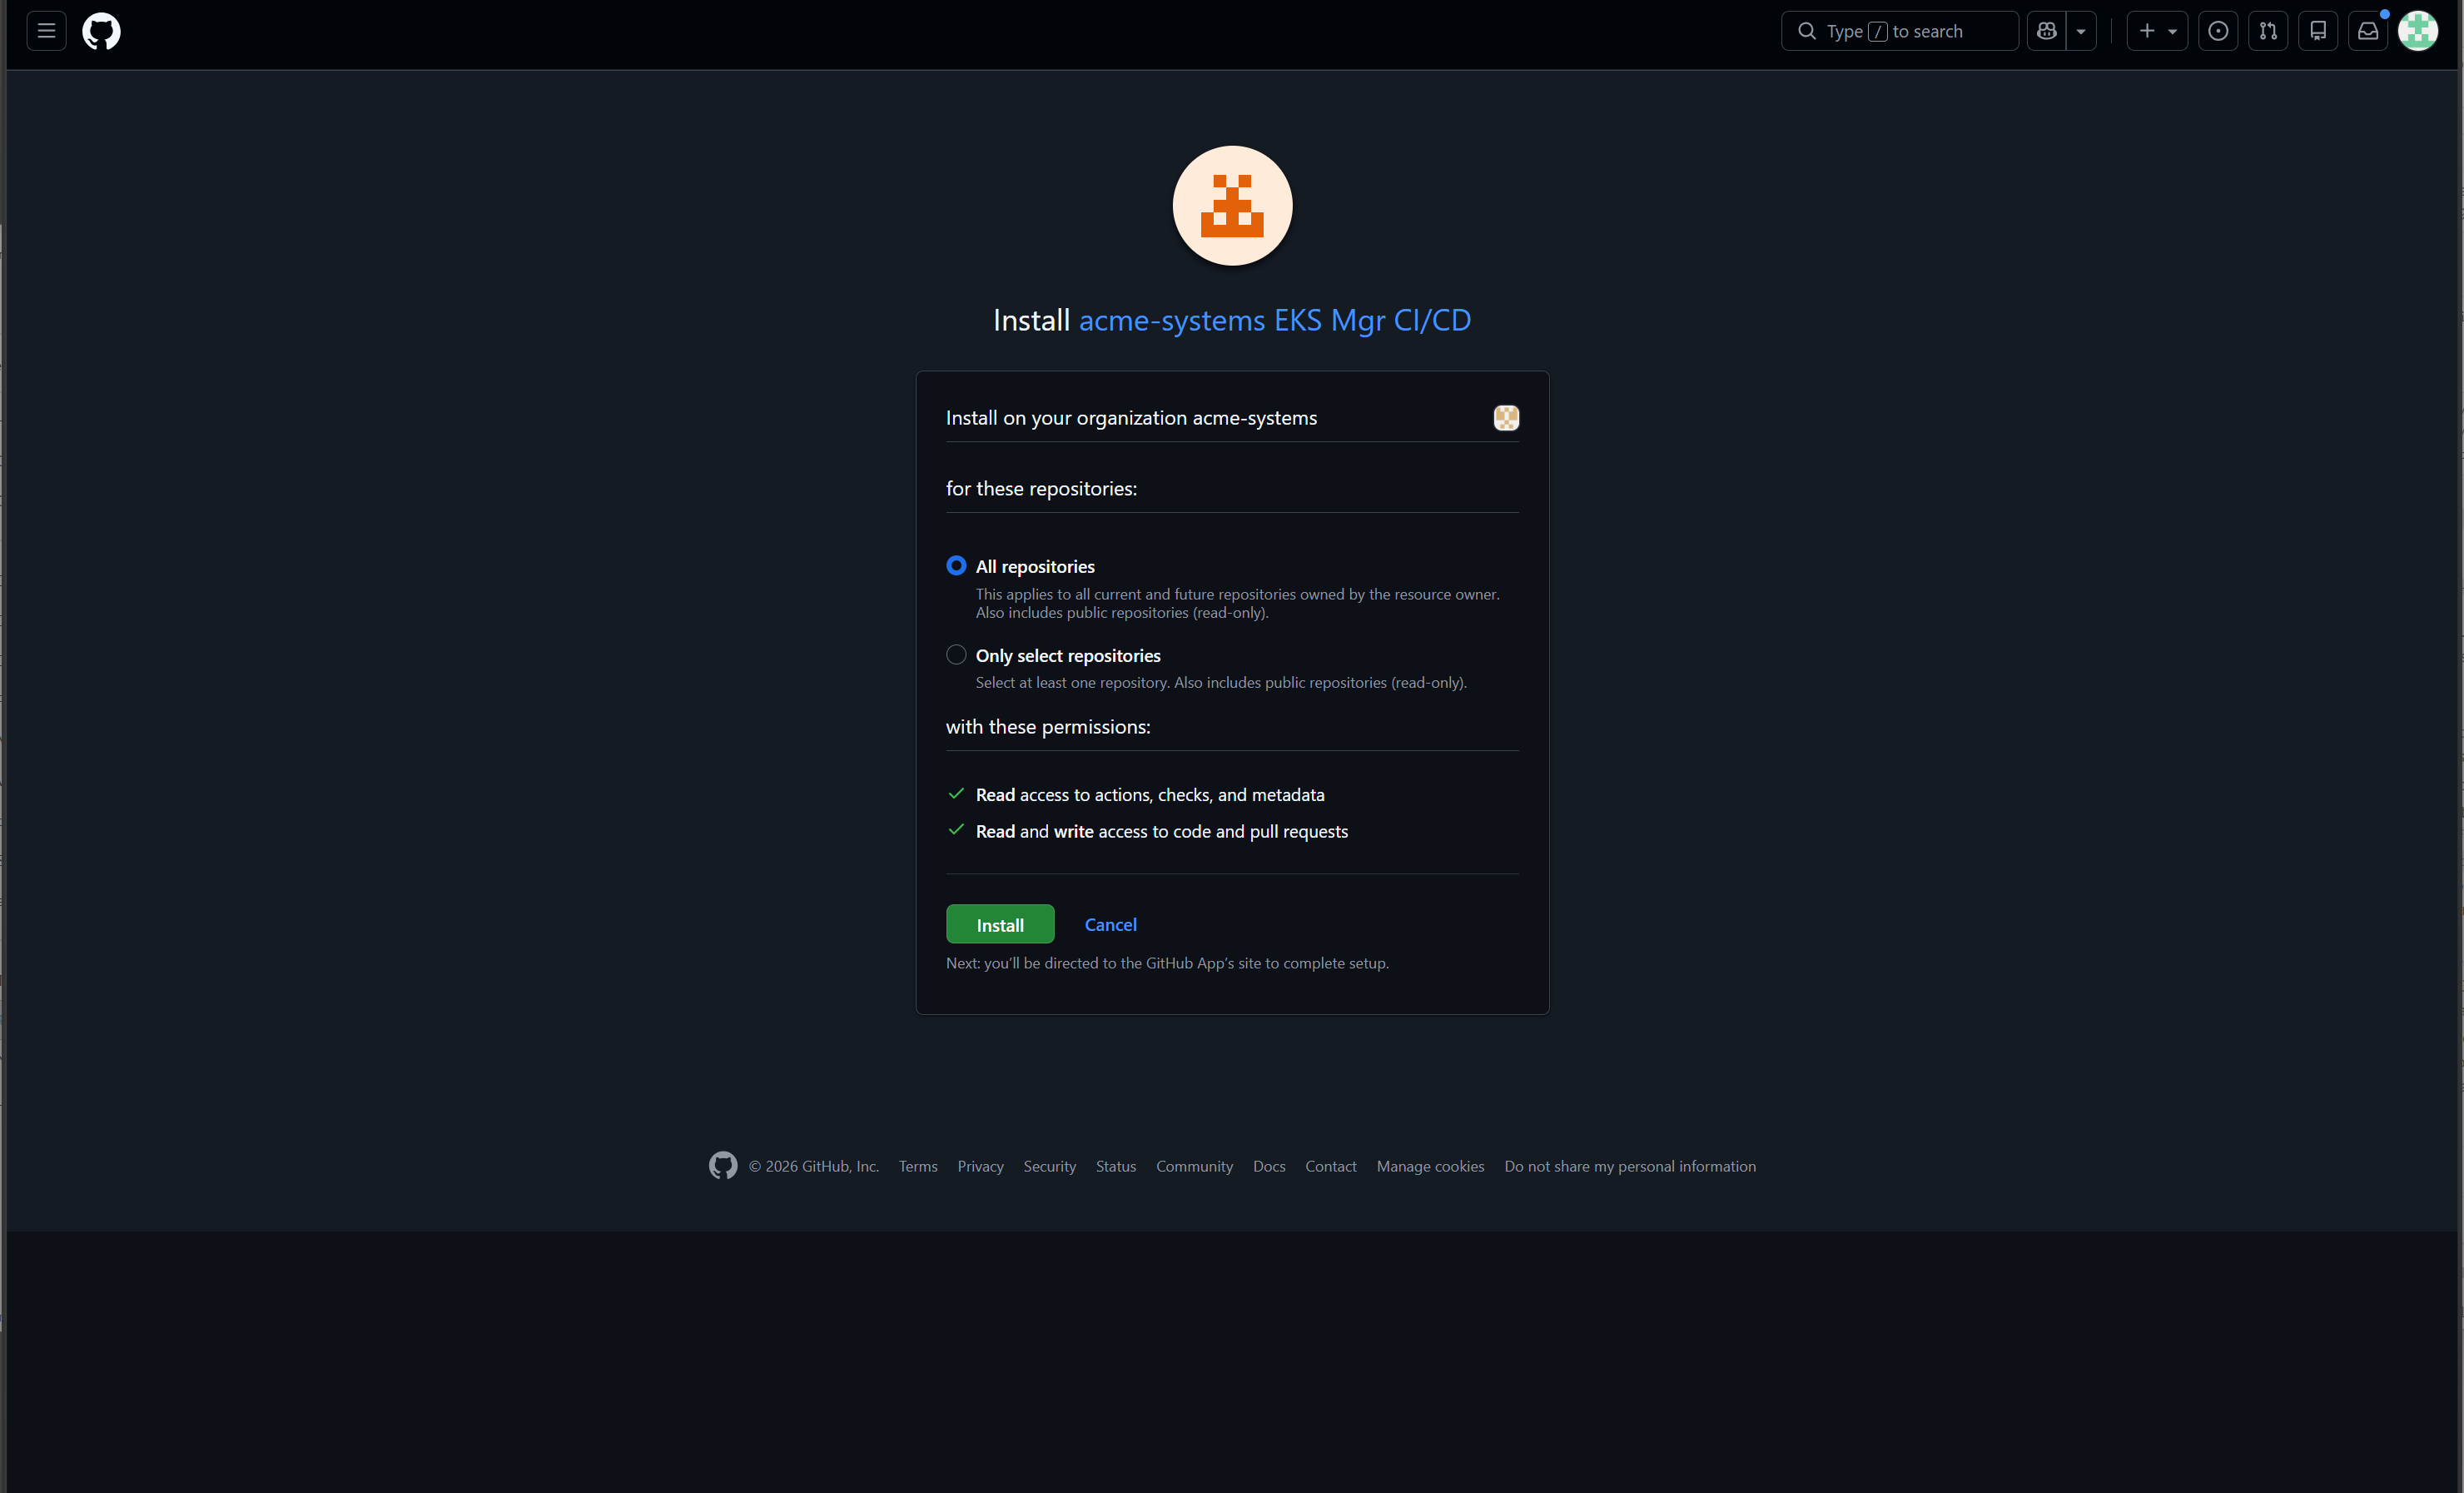
Only select repositories, and the same continuous-deployment repository ArgoCD was given. The two Apps work on one repository from opposite ends: this one writes the manifests, ArgoCD reads them.
That is the whole reason they are separate Apps rather than one with both permissions. Split this way, nothing that can change the repository is also running continuously against your clusters.
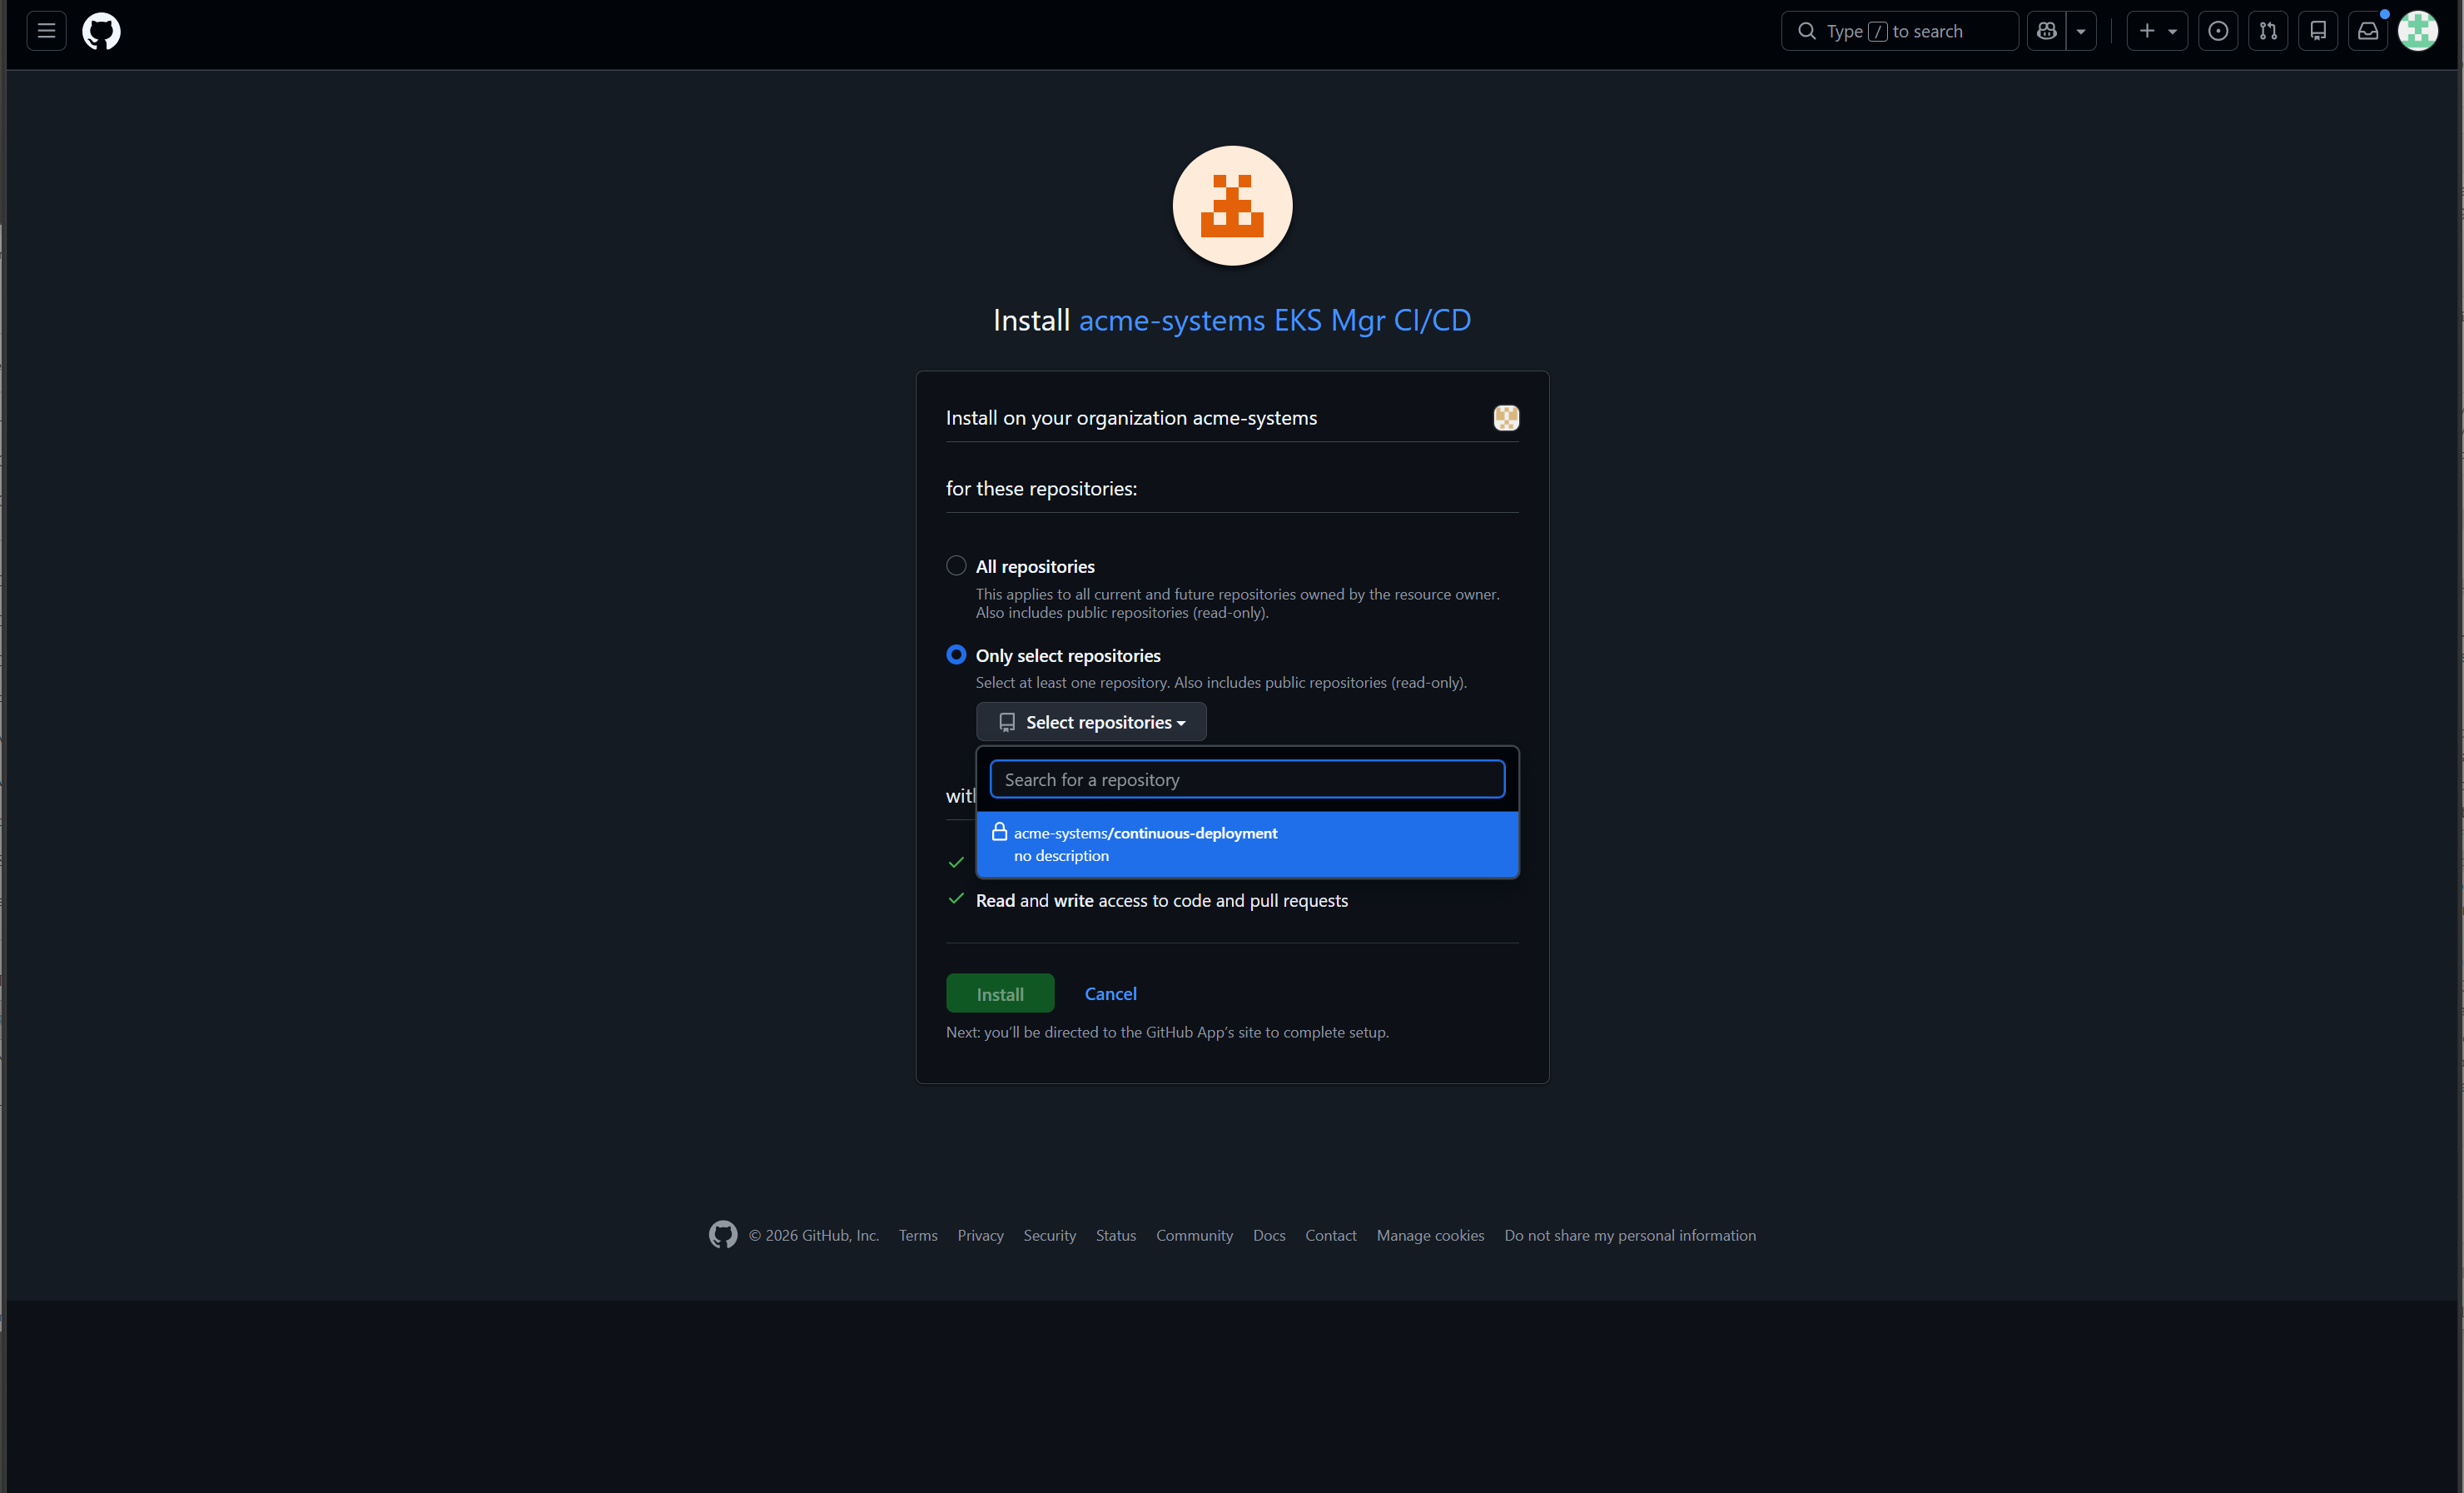
Chosen. One repository, and on it the ability to commit and to open a pull request.
It writes through a pull request rather than straight to the branch — a temporary branch, a pull request, a squash merge, the branch deleted — so the repository's history stays readable and whatever protections you have put on that branch still apply.
With this installed the last chip goes green. One thing remains, and it is not on this page — the deployment workflow needs this App's credentials as secrets on your continuous deployment repository. Next.
Installing the App is not the last of it. The workflow that deploys your applications signs in as this App, and it reads the credentials from Actions secrets on the continuous deployment repository — which nothing sets for you.
That workflow is open source: gitopsmanager/k8s-deploy. It is a reusable workflow your own repositories call, and its Secrets section lists what it expects. Two of them are required, and both come from the App you have just installed.
CONTINUOUS_DEPLOYMENT_GH_APP_IDGitHub App ID used for CD repo pushesCONTINUOUS_DEPLOYMENT_GH_APP_PRIVATE_KEYGitHub App private key
They go on the continuous deployment repository, not the organisation and not the application repositories: Settings → Secrets and variables → Actions, as repository secrets, with those names exactly. A typo in a name reads as a missing secret, and the run fails at authentication with nothing to say which of the two was wrong.
The tile hands them to you. Once the CI/CD App exists, its panel shows both secret names with a Copy button against each, and a Fetch credentials button below them.
Fetch is deliberate rather than automatic. These credentials are not held here — the install wrote them to global-ci-cd-<org> in your own secret store and kept nothing, so fetching asks the agent to read them back. There is no reason to move a private key across that path until somebody is actually setting up a repository.
The private key is never displayed. It goes to the clipboard and nowhere else, so nothing on a shared screen or in a screenshot carries it. The App ID is shown, because it is not a secret.
If the fetch reports nothing back, the agent is offline or the App went into a different organisation from the one this installation bootstrapped — the secret is named after the org, so the wrong org is a secret that does not exist rather than one that is empty.
SSO and Identity
Sign-in touches your directory twice, by two different routes, and it is worth knowing why before running anything.
The dashboard federates through Cognito: a user signs in to Entra, Cognito trusts the SAML assertion, and EKS Manager trusts Cognito. Headlamp reaches Entra directly over OIDC, because the Kubernetes API server has to validate the same token and accepts only certain issuers.
Two paths, one directory. Neither depends on which cloud your clusters run in — an AWS-only installation still needs the SAML application if SSO is enabled, because sign-in federates to your directory regardless of where the workloads sit.
That is why these live in their own repository rather than in either cloud's bootstrap: gitopsmanager-identity-bootstrap. Clone it once and both scripts come from it. It is public and stays that way — unlike the bootstrap, there is no private copy to take, nothing in it is yours, and it is run from rather than kept.
Dashboard SSO
create-saml-app.ps1Creates— an Entra app registration and a service principal in SAML modeAlso— a self-signed token signing certificate on that principalReports back— app id, entity id, federation metadata URL, certificate
git clone https://github.com/gitopsmanager/gitopsmanager-identity-bootstrap.git
cd gitopsmanager-identity-bootstrap/entra/saml-sso
Sign in to the directory first. Both scripts take their Microsoft Graph token from the Azure CLI's session, so az login has to have been run in that shell as an account able to register applications in the tenant. This is separate from the AWS credentials the bootstrap needed — different cloud, different sign-in, and one does not stand in for the other. The bash version also needs curl; the PowerShell one uses Invoke-RestMethod and does not.
Run it from the shell holding the environment variables you pasted out of the Terraform tile — that is where it reads the account, region and Cognito details it needs. A fresh shell has none of them and the script stops on the first one it cannot find.
Run once per installation, before or after the main bootstrap — it is a standalone script, not part of the Terraform install.
It registers the application with the Cognito reply URL as its redirect URI and the Cognito entity id as its identifier URI, then obtains its own machine-to-machine token and reports the results back to EKS Manager. The Cognito SAML identity provider is then configured for you; there is nothing to copy between portals by hand.
A .sh version exists alongside it for installations without PowerShell.
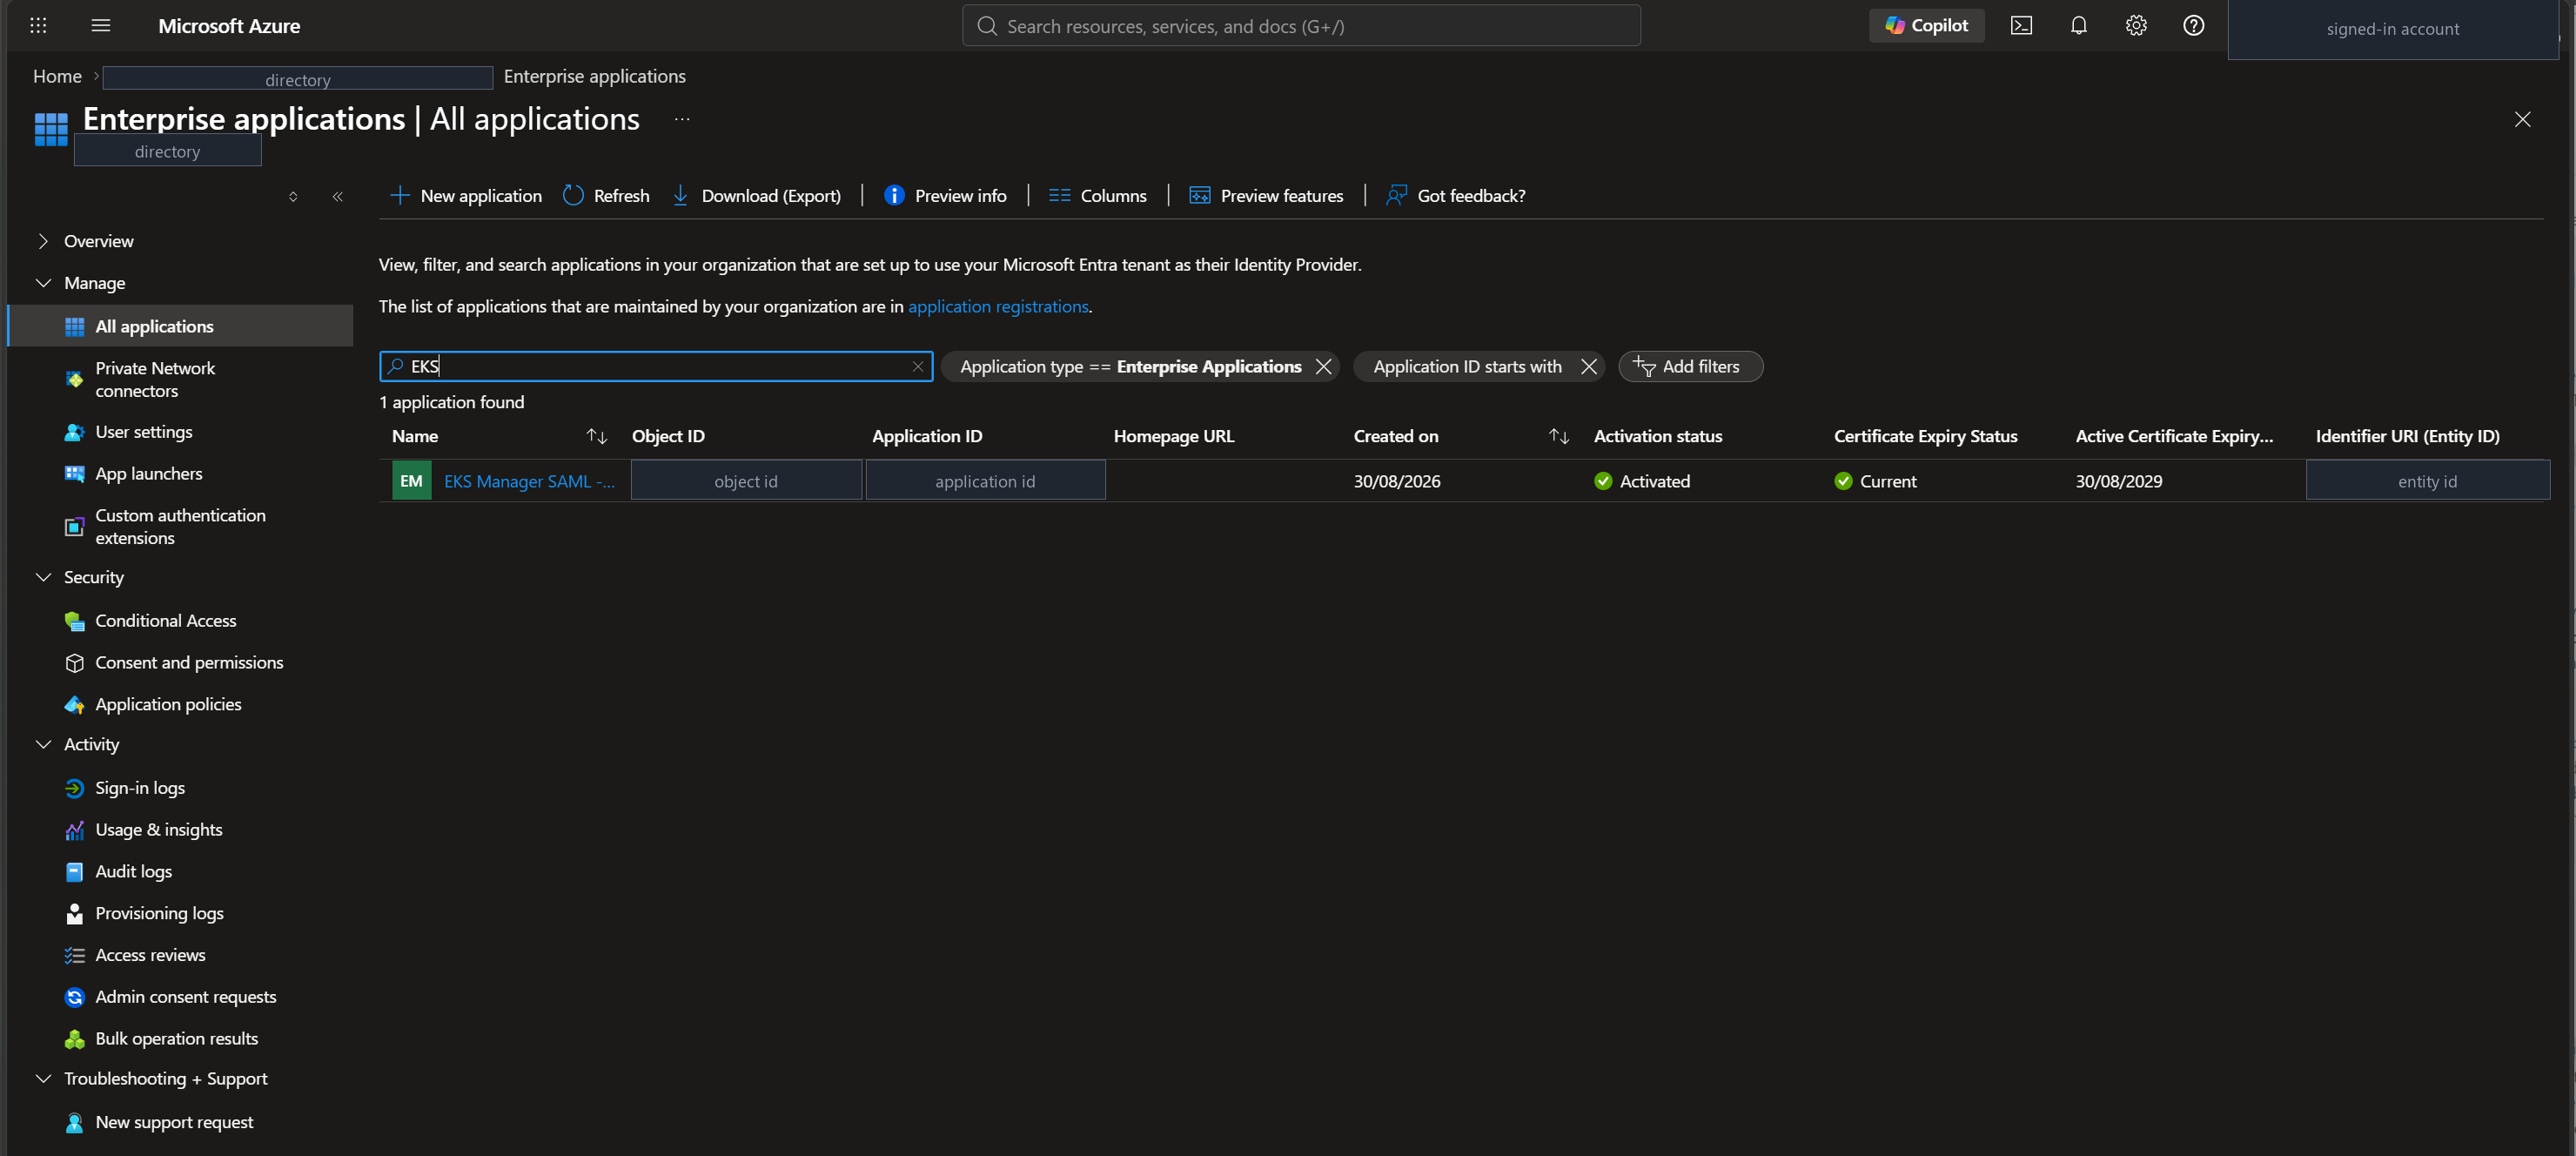
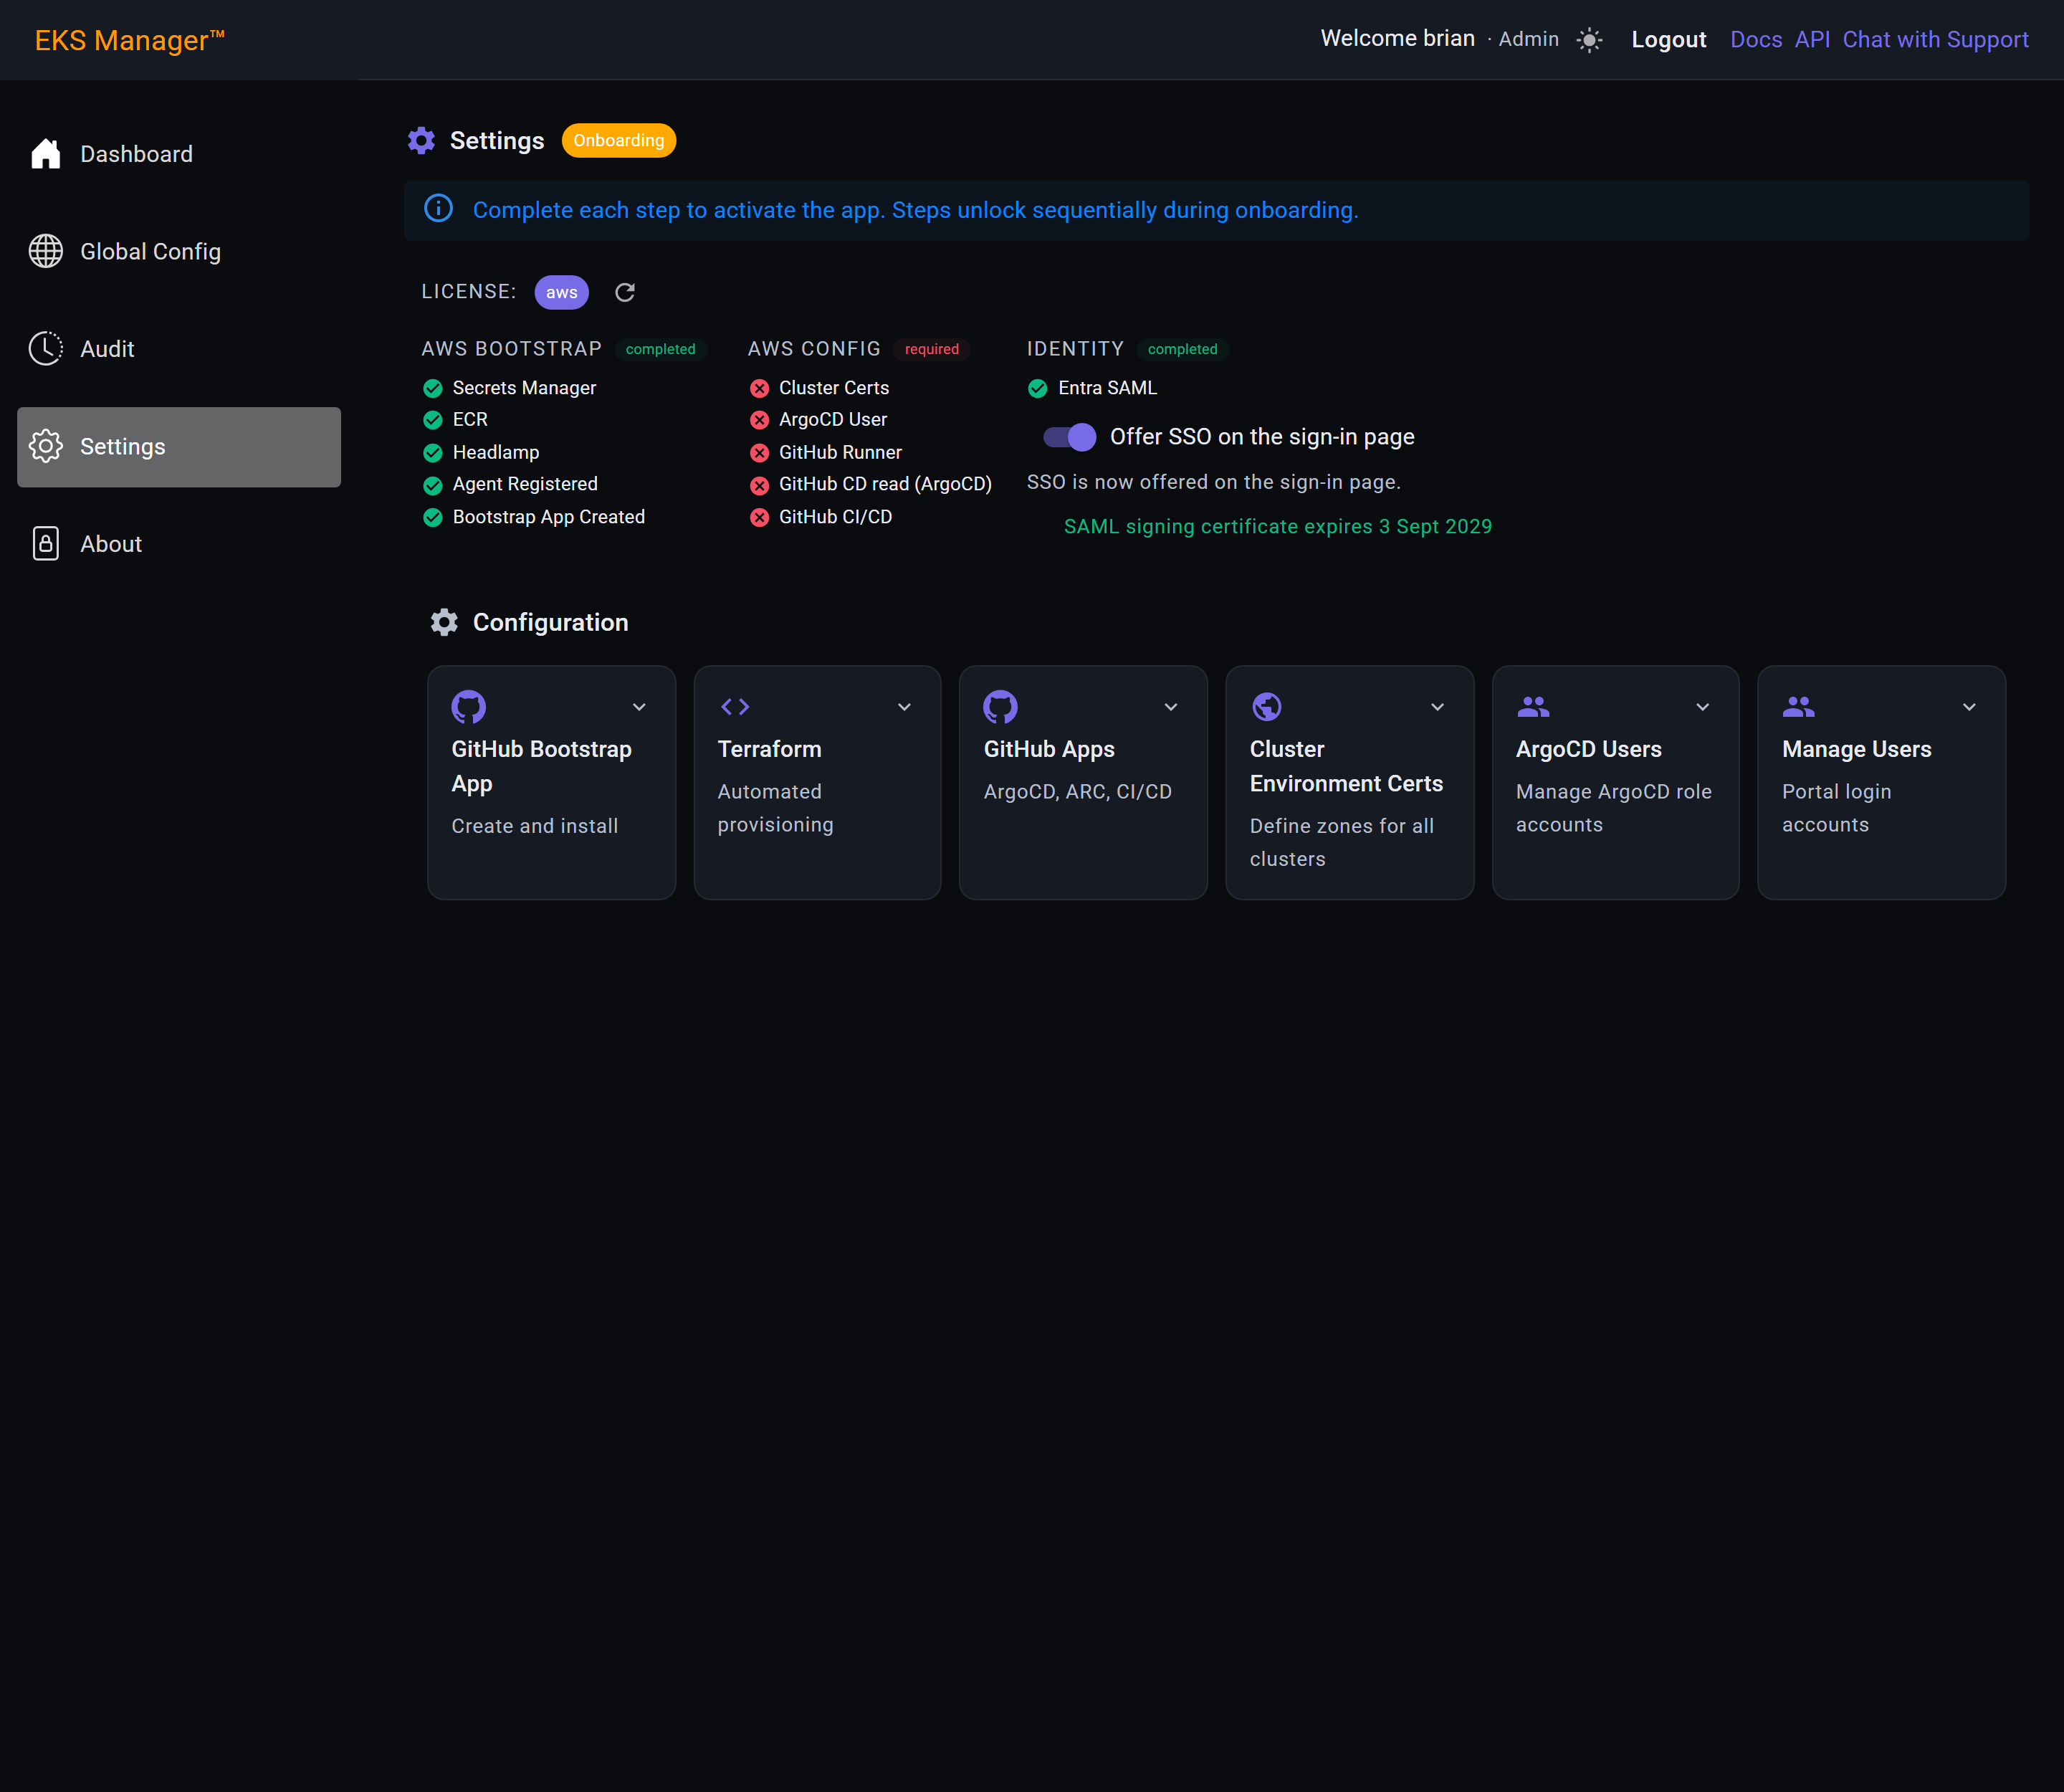
The application the script registers, as your directory shows it. Filter Enterprise applications by name and it is the only match: activated, with a current signing certificate and the Cognito entity id as its identifier URI.
The certificate expiry is on this row — three years out when the script creates it, and the same date EKS Manager shows in Settings. Two places, one fact; if they ever disagree, the directory is right and EKS Manager has not been told.
Its Single sign-on page will look wrong, and is not. For an application registered in your own tenant Entra renders the OpenID Connect view with no certificate list at all. The signing certificates are on the service principal, which is why this list can show an expiry that the blade cannot.
Worth knowing where this is before you need it: it is the page you return to when sign-in breaks, or when someone asks what EKS Manager holds in the tenant.
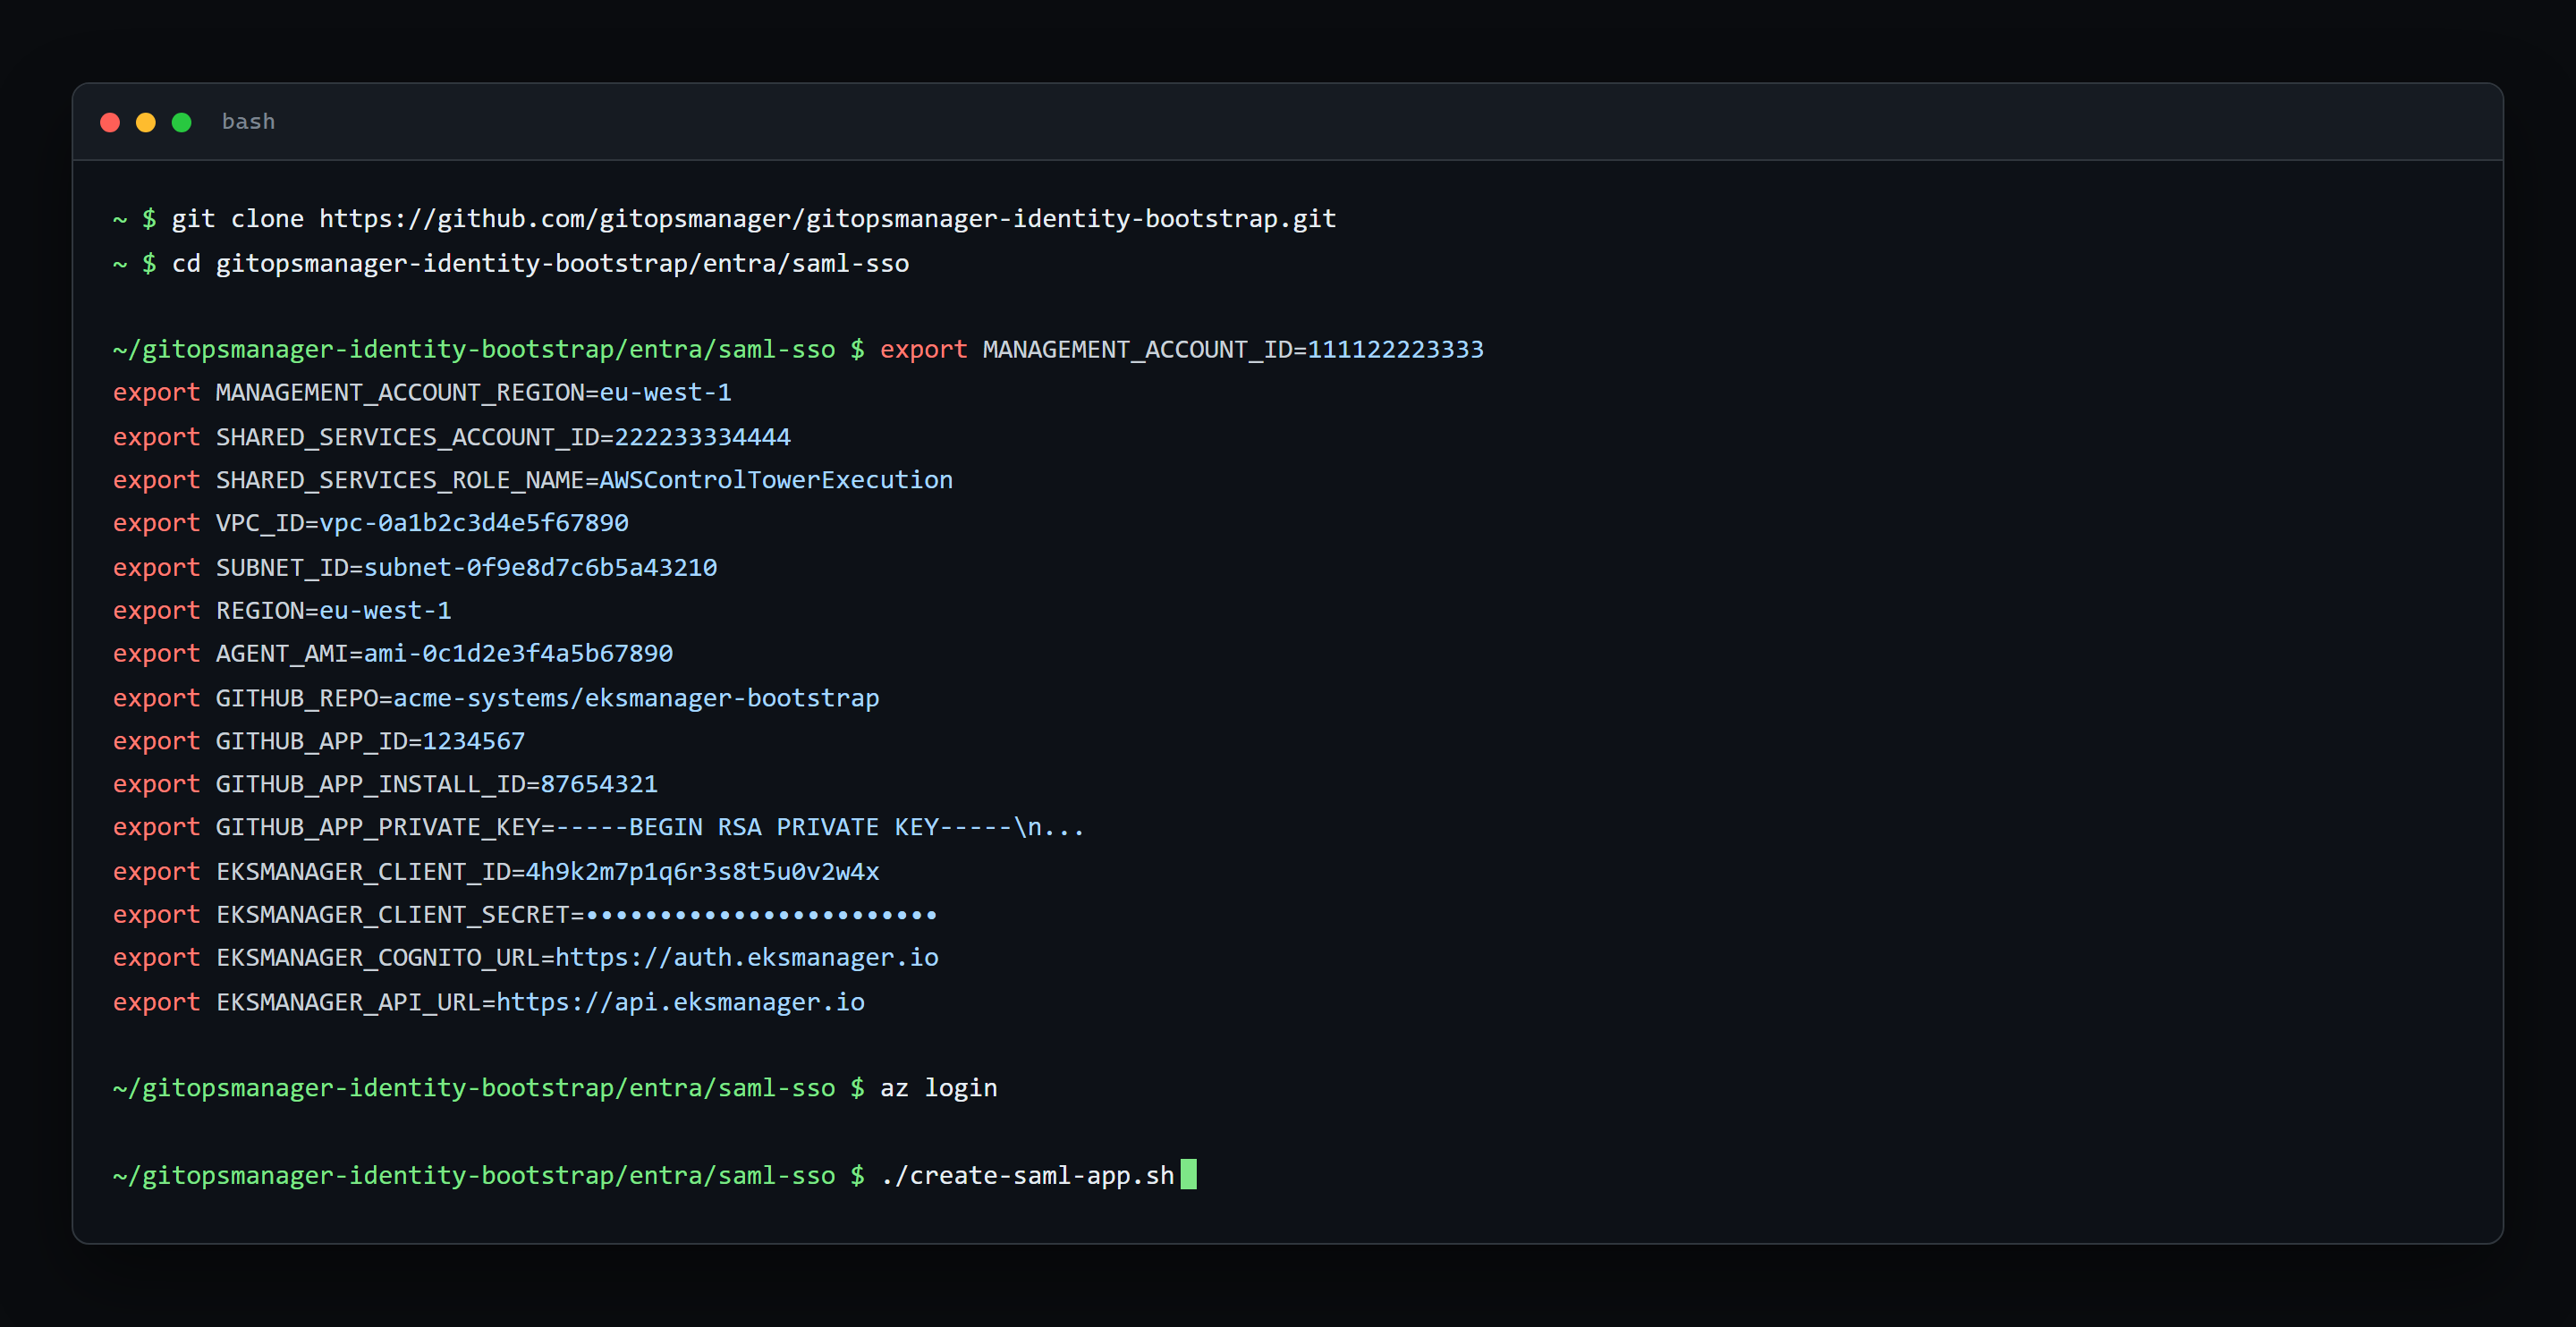
The same environment block as the pipeline setup. Not a second set of values — the identical paste from Settings → Terraform, which is the part nobody guesses because it was last used for something else.
One sign-in, and it is not AWS. az login as an account holding Cloud Application Administrator or higher — creating an app registration and a service principal is a directory-level act. The script reports its results back to EKS Manager over HTTPS using the EKSMANAGER_* values in the paste, so no AWS credentials are involved.
cd /c/git/gitopsmanager-identity-bootstrap/entra/saml-sso
az login
./create-saml-app.sh
It has to reach your API, and your API may not admit it. If the EKS Manager API sits behind an IP allowlist, run this from a host whose public address is already on it — the NAT Gateway address the bootstrap pipeline uses satisfies that. From a laptop on a home connection it fails at the last step, having already created the application.
Nothing is stored in the script or written to disk. Closing the terminal clears the environment, client secret included.
The same run in PowerShell — same clone, same environment, same two sign-ins. Windows needs neither WSL nor Git Bash for this.
One sign-in, and it is not AWS. az login as an account holding Cloud Application Administrator or higher — creating an app registration and a service principal is a directory-level act. The script reports its results back to EKS Manager over HTTPS using the EKSMANAGER_* values in the paste, so no AWS credentials are involved.
cd C:\git\gitopsmanager-identity-bootstrap\entra\saml-sso
az login
.\create-saml-app.ps1
It has to reach your API, and your API may not admit it. If the EKS Manager API sits behind an IP allowlist, run this from a host whose public address is already on it — the NAT Gateway address the bootstrap pipeline uses satisfies that. From a laptop on a home connection it fails at the last step, having already created the application.
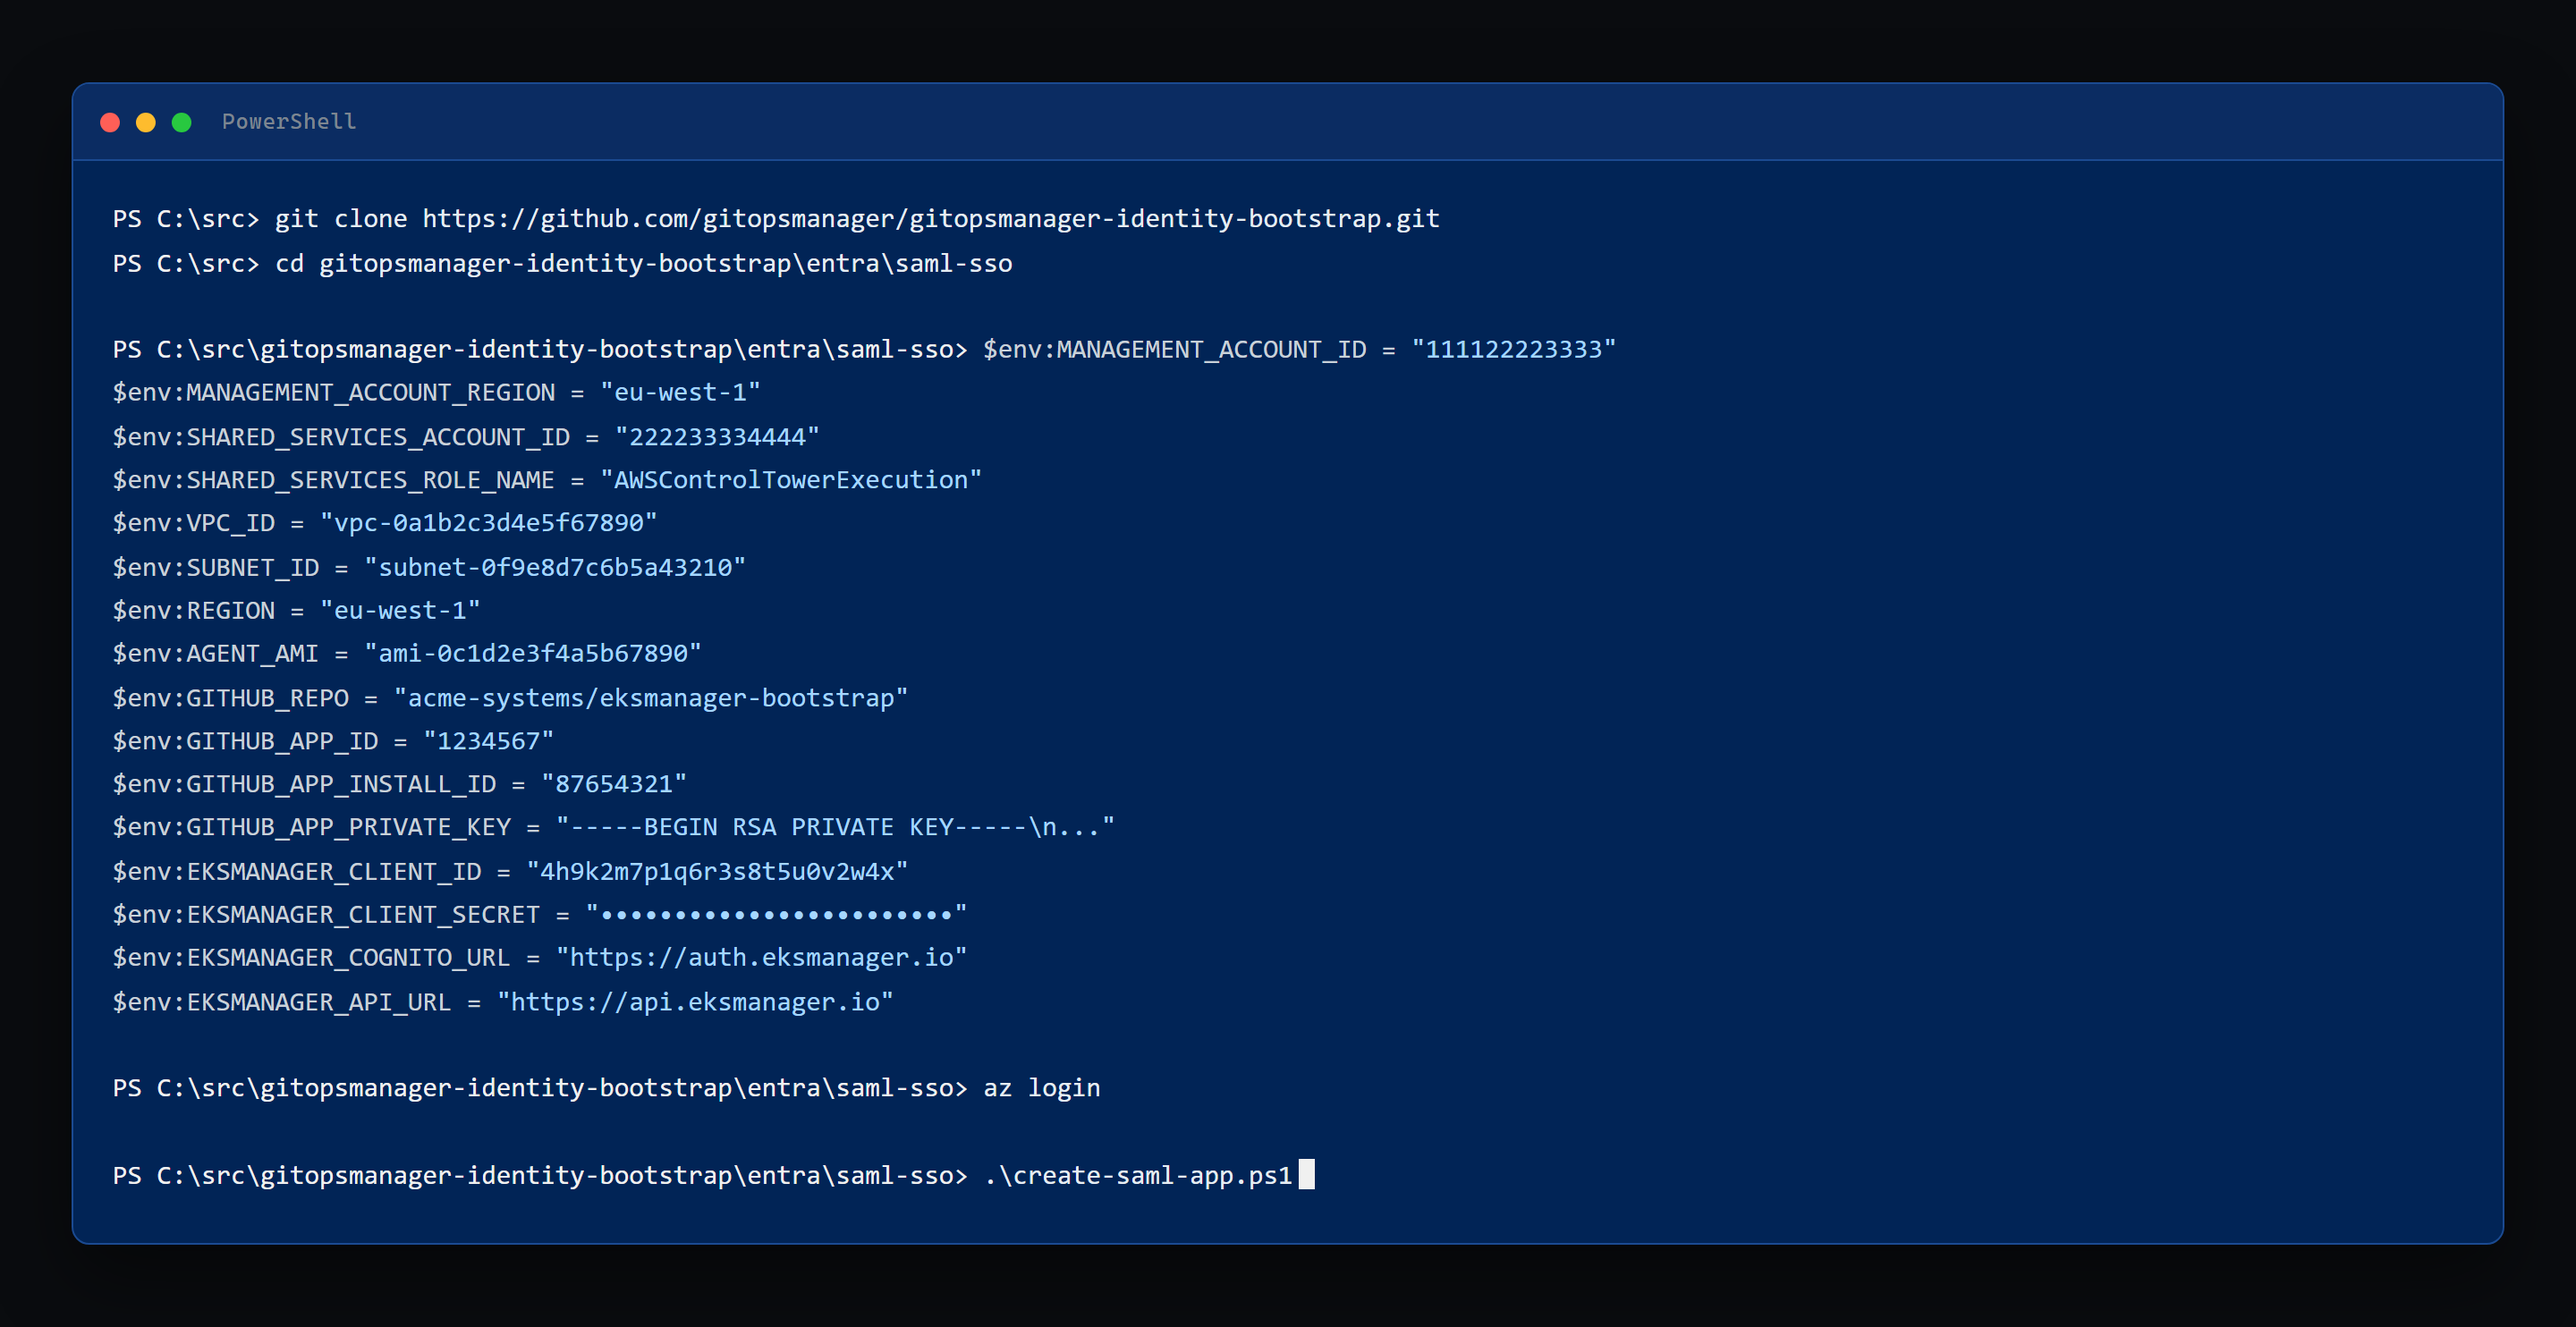
Until the SAML application exists the switch is inert and says so. It is the script reporting back — app id, entity id, metadata URL and certificate — that turns Entra SAML green and makes the switch usable. Nothing here is typed in by hand.
So the order is: paste the environment variables from the Terraform tile, run create-saml-app.ps1, and come back to this switch.
Switching it on adds the identity provider to the sign-in page. Existing local accounts keep working — this offers SSO, it does not withdraw the other route, which matters for the break-glass account.
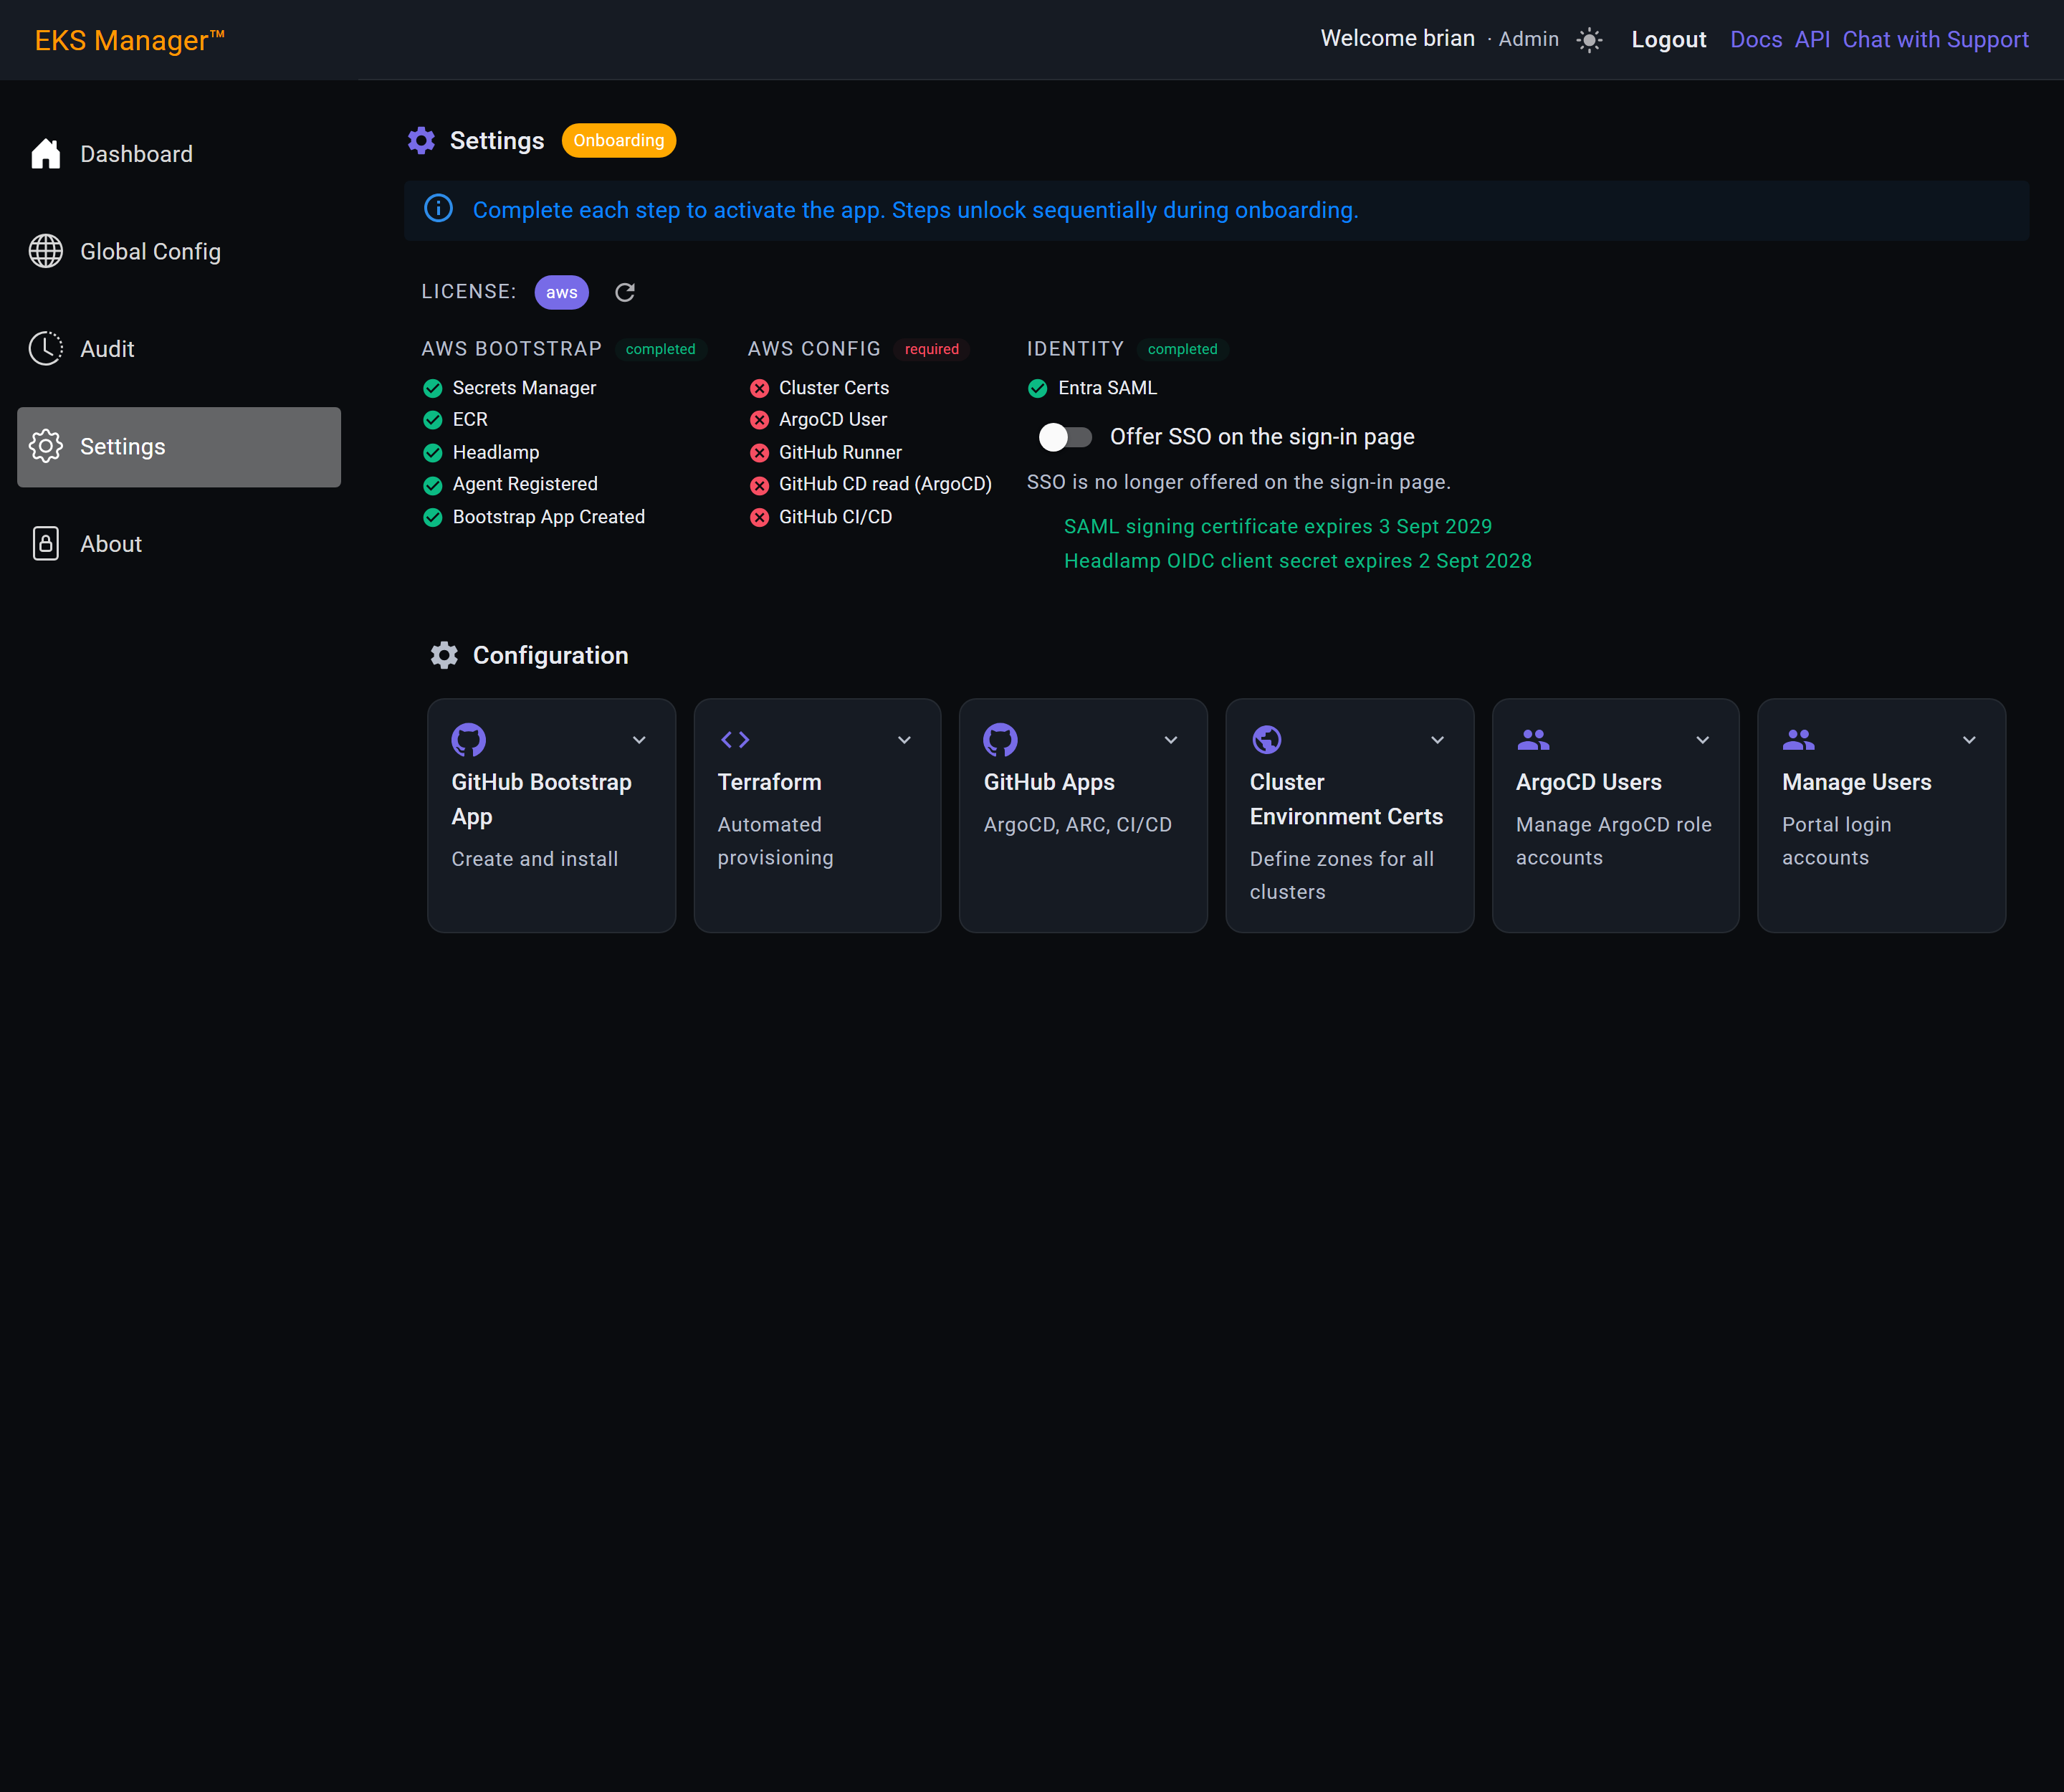
The two credentials run on different clocks, and both dates are here, under the switch. The SAML signing certificate is issued for three years, the Headlamp client secrets for two. The SAML signing certificate is the first; the Headlamp OIDC client secret joins it once that script has run, and stays absent until it has. Green means more than thirty days remain, and it is what you should expect to see for almost the whole life of an installation.
They turn amber inside thirty days and red once gone, at which point sign-in fails for everyone at once — so the colour changing is the warning. Rotating either one is covered under Credential expiry, further on.
Renewing the certificate
The signing certificate is issued for three years and EKS Manager turns the row amber thirty days out. Entra sends nothing of its own, so that row is the whole warning.
Renewal is the same command again. Same directory, same az login, no extra argument. Inside the thirty days there is no longer a certificate the script will reuse, so it issues a replacement, names it the active signing key, and reports the new date — the row goes green, three years out.
Bash
cd /c/git/gitopsmanager-identity-bootstrap/entra/saml-sso
az login
./create-saml-app.sh
PowerShell
cd C:\git\gitopsmanager-identity-bootstrap\entra\saml-sso
az login
.\create-saml-app.ps1
Outside the window the same run finds a usable certificate and reuses it, changing nothing. That is what makes just run it again safe advice: too early is a no-op rather than a surprise rotation.
The old certificate stays, and that is fine. The application ends up advertising both in its federation metadata — the active one signs, the others are accepted and unused. At one every three years it stays a handful over a decade. There is nothing to delete and no cleanup step.
No cluster is involved. This certificate is the dashboard's sign-in; nothing in a cluster reads it, and nobody is signed out while it happens.
Headlamp sign-in
create-headlamp-app.ps1Creates— two Entra applications and their client secretsStores them in— Key Vault, Secrets Manager, or both
git clone https://github.com/gitopsmanager/gitopsmanager-identity-bootstrap.git
cd gitopsmanager-identity-bootstrap/entra/headlamp-oidc
Sign in to the directory first. Both scripts take their Microsoft Graph token from the Azure CLI's session, so az login has to have been run in that shell as an account able to register applications in the tenant. This is separate from the AWS credentials the bootstrap needed — different cloud, different sign-in, and one does not stand in for the other.
The same clone as the SAML script, a different directory beside it — and the same requirement to run it where the pasted environment variables are.
Two applications rather than one: headlamp signs users in, and gitopsmanager-headlamp-patch-url registers redirect URIs as clusters are added — nobody signs in with the second, it exists so a new cluster's callback is registered without a person editing the application.
Which script to run is decided by your estate, not your preference. The PowerShell version writes to Key Vault and suits an Azure or hybrid customer; the shell version writes to Secrets Manager only and suits an AWS customer with Microsoft 365 and no Azure subscription.
That second case is more common than it sounds: buying Microsoft 365 creates an Entra tenant, not an Azure subscription. An organisation running workloads on AWS and email on Microsoft has a directory to authenticate against and no Azure resources at all — so there is no Key Vault to write to.
Both applications, created by one run and visible together: headlamp, which signs users in, and gitopsmanager-headlamp-patch-url, which registers redirect URIs as clusters are added.
The second one surprises people. Nobody signs in with it, it appears to do nothing, and it holds a client secret of its own that expires on the same clock as the first — so it needs rotating even though nothing seems to use it. Deleting it because it looks redundant breaks cluster enrolment, not sign-in, which is a hard fault to trace back here.
Neither shows a certificate expiry, because neither uses one: these authenticate with client secrets, and a secret's expiry lives on the application's Certificates & secrets page rather than in this list.
One store is required, and for EKS Manager that is AWS. --enable-aws writes the two client secrets into Secrets Manager and is all an EKS Manager installation needs — no Azure vault, no vault permissions, nothing in Azure but the two application registrations themselves. --key-vault <name> exists for an Azure or hybrid customer. Pass neither and it stops: it will not create applications whose secrets it has nowhere to put.
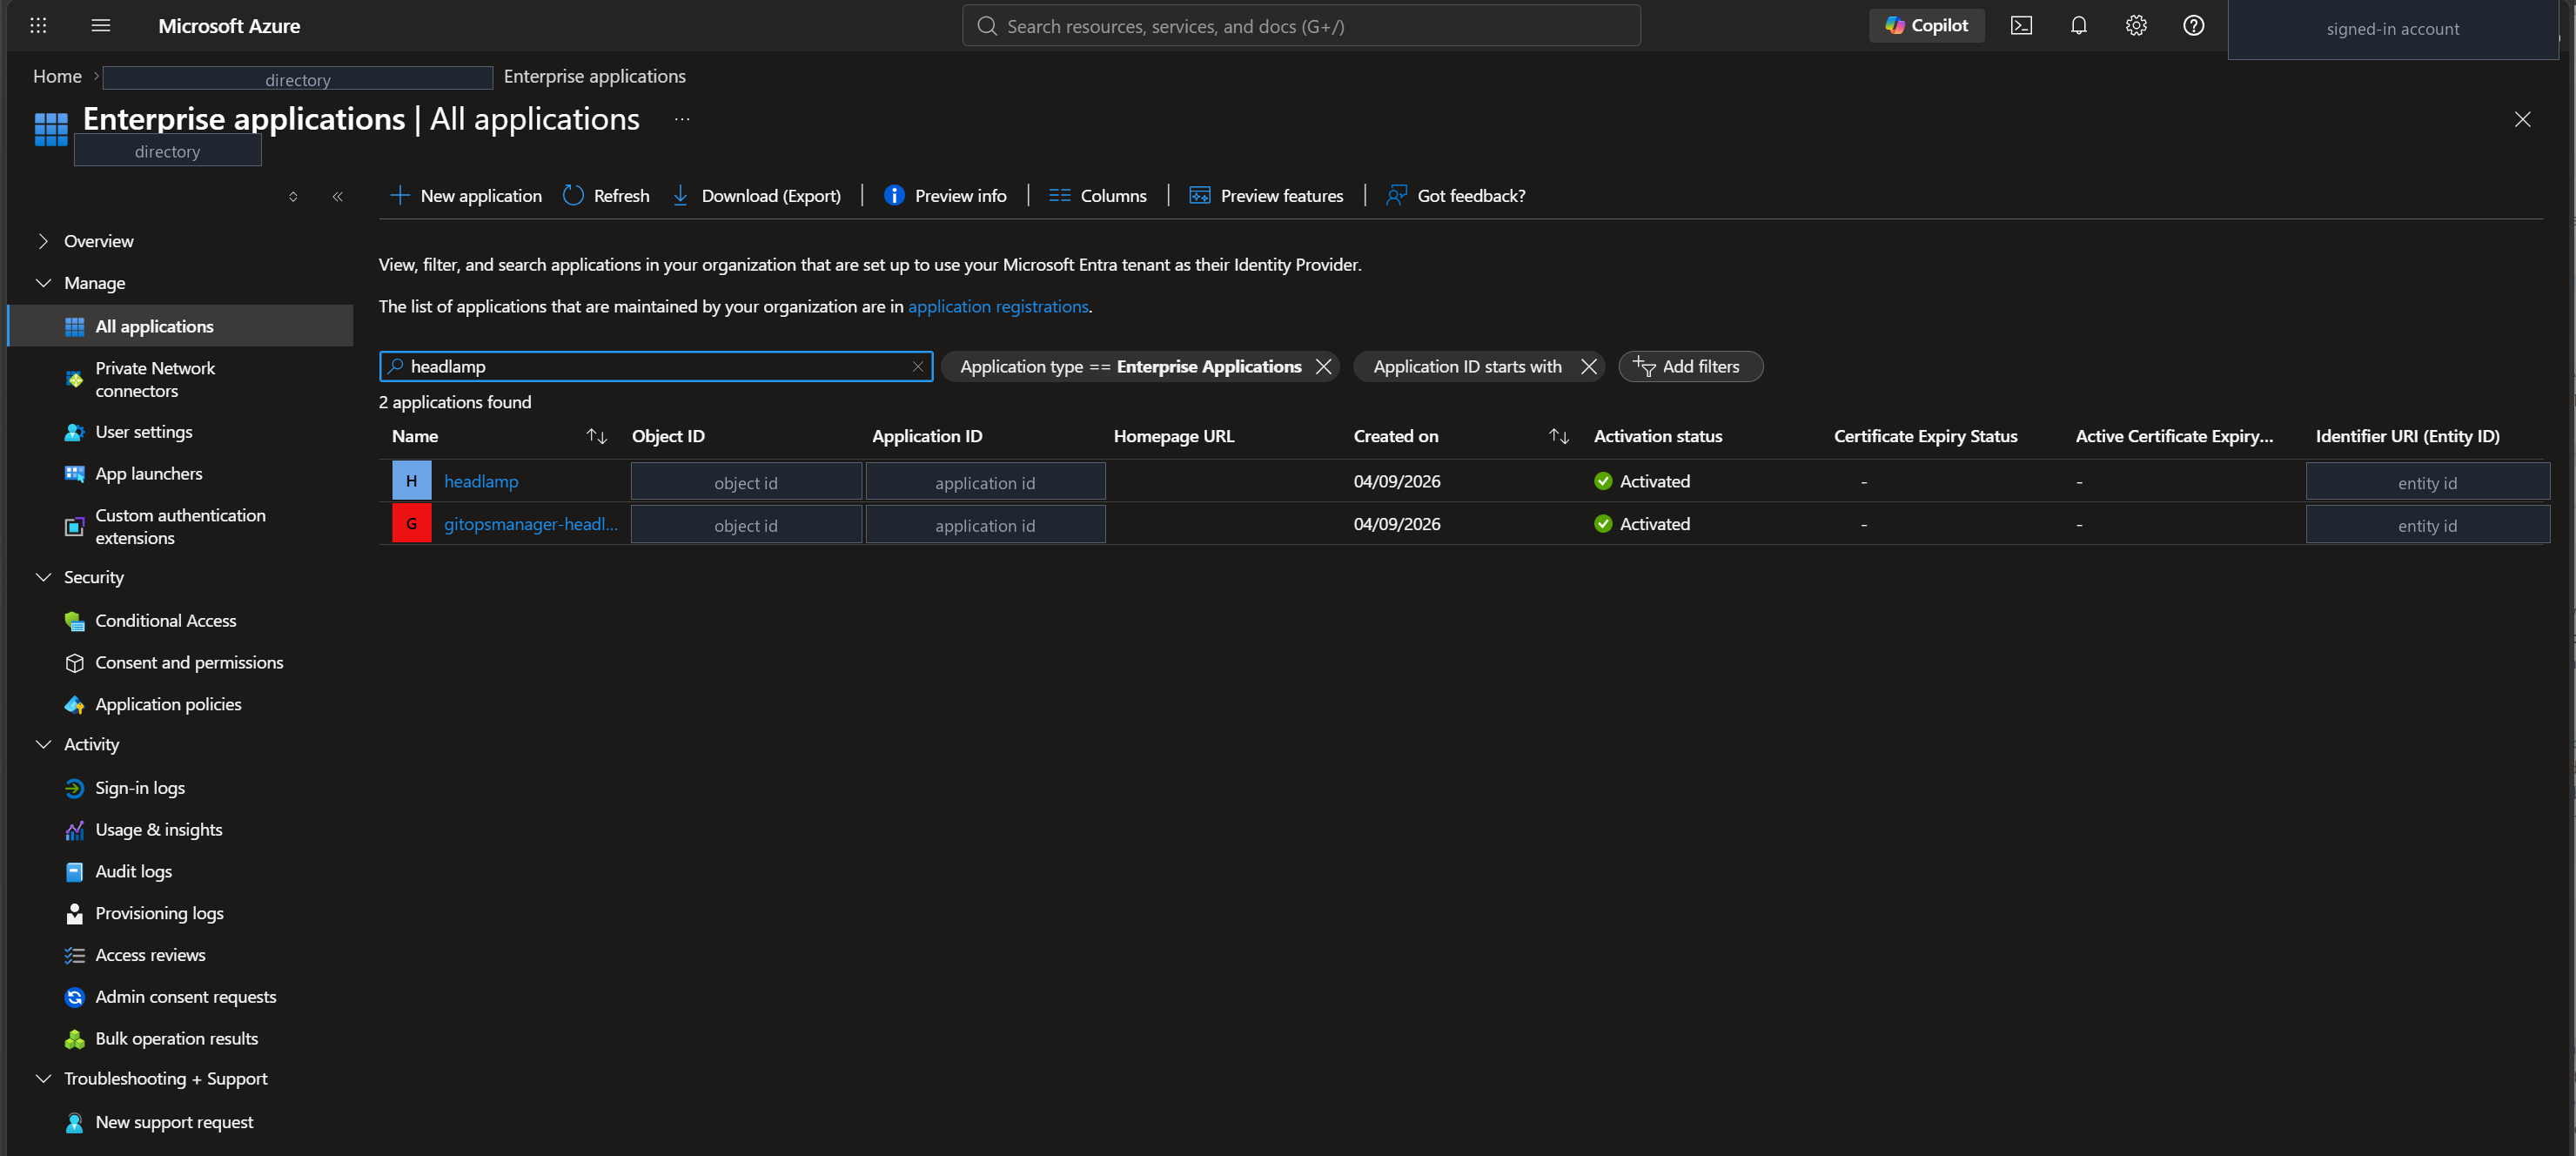
The same shell, the same environment, the directory beside the first.
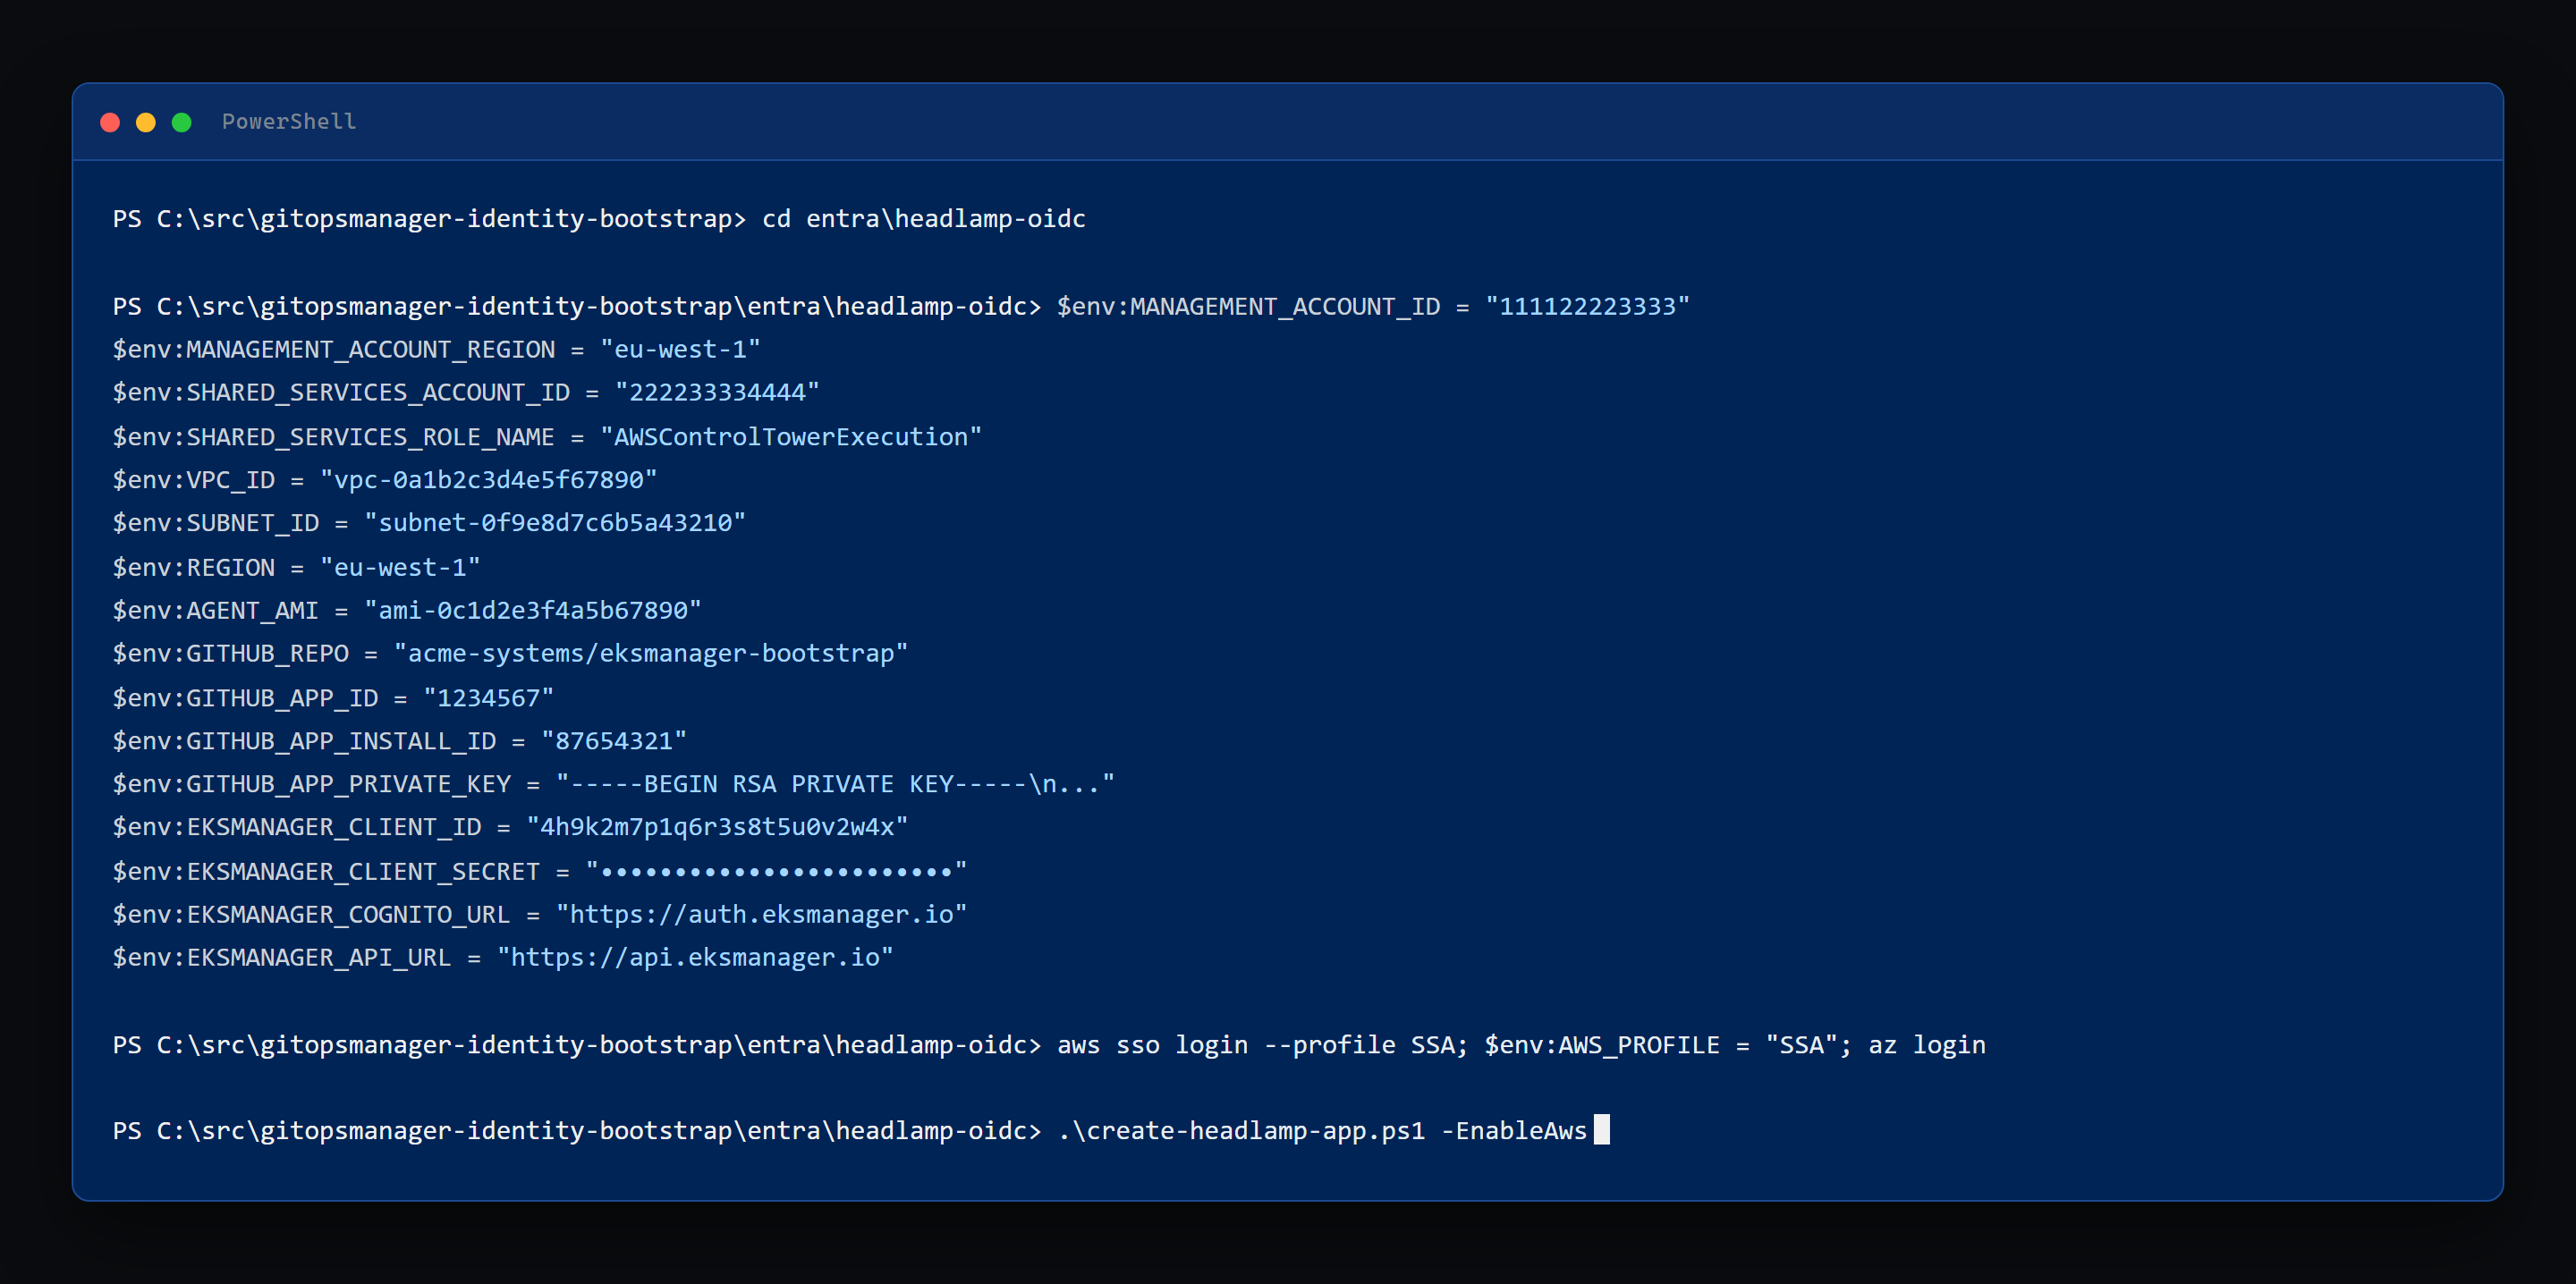
Which sign-ins you need depends on the flags. az login always, for Entra. --enable-aws writes the secrets into Secrets Manager and needs AWS credentials for the shared services account — not the management one the pipeline setup wanted. That is the whole of it on an EKS Manager installation.
cd /c/git/gitopsmanager-identity-bootstrap/entra/headlamp-oidc

# the directory, always
az login

# and shared services, only with --enable-aws
aws sso login --profile SSA
export AWS_PROFILE=SSA

# or the three variables instead of a profile
export AWS_ACCESS_KEY_ID=...
export AWS_SECRET_ACCESS_KEY=...
export AWS_SESSION_TOKEN=...

./create-headlamp-app.sh --enable-aws
az login is still required either way. The Entra applications are created whichever store you choose, so the directory sign-in is not optional even on an AWS-only installation.
It proves it can write before it creates anything. The preflight puts a throwaway secret into Secrets Manager and force-deletes it, so a missing secretsmanager or KMS permission fails while nothing exists yet — rather than after two Entra applications have been registered and their secrets have nowhere to go.
It checks the account rather than trusting you. It calls sts get-caller-identity, compares the answer with the shared services id from your paste, and stops if they differ — naming what you are signed in to and what it expected. Then it writes and deletes a throwaway secret, so a missing permission fails before two Entra applications exist rather than after.
One store is required, and for EKS Manager that is AWS. --enable-aws writes the two client secrets into Secrets Manager and is all an EKS Manager installation needs — no Azure vault, no vault permissions, nothing in Azure but the two application registrations themselves. --key-vault <name> exists for an Azure or hybrid customer. Pass neither and it stops: it will not create applications whose secrets it has nowhere to put.
It creates both applications in one run and reports both expiry dates back, which is why the two dates in Settings always move together.
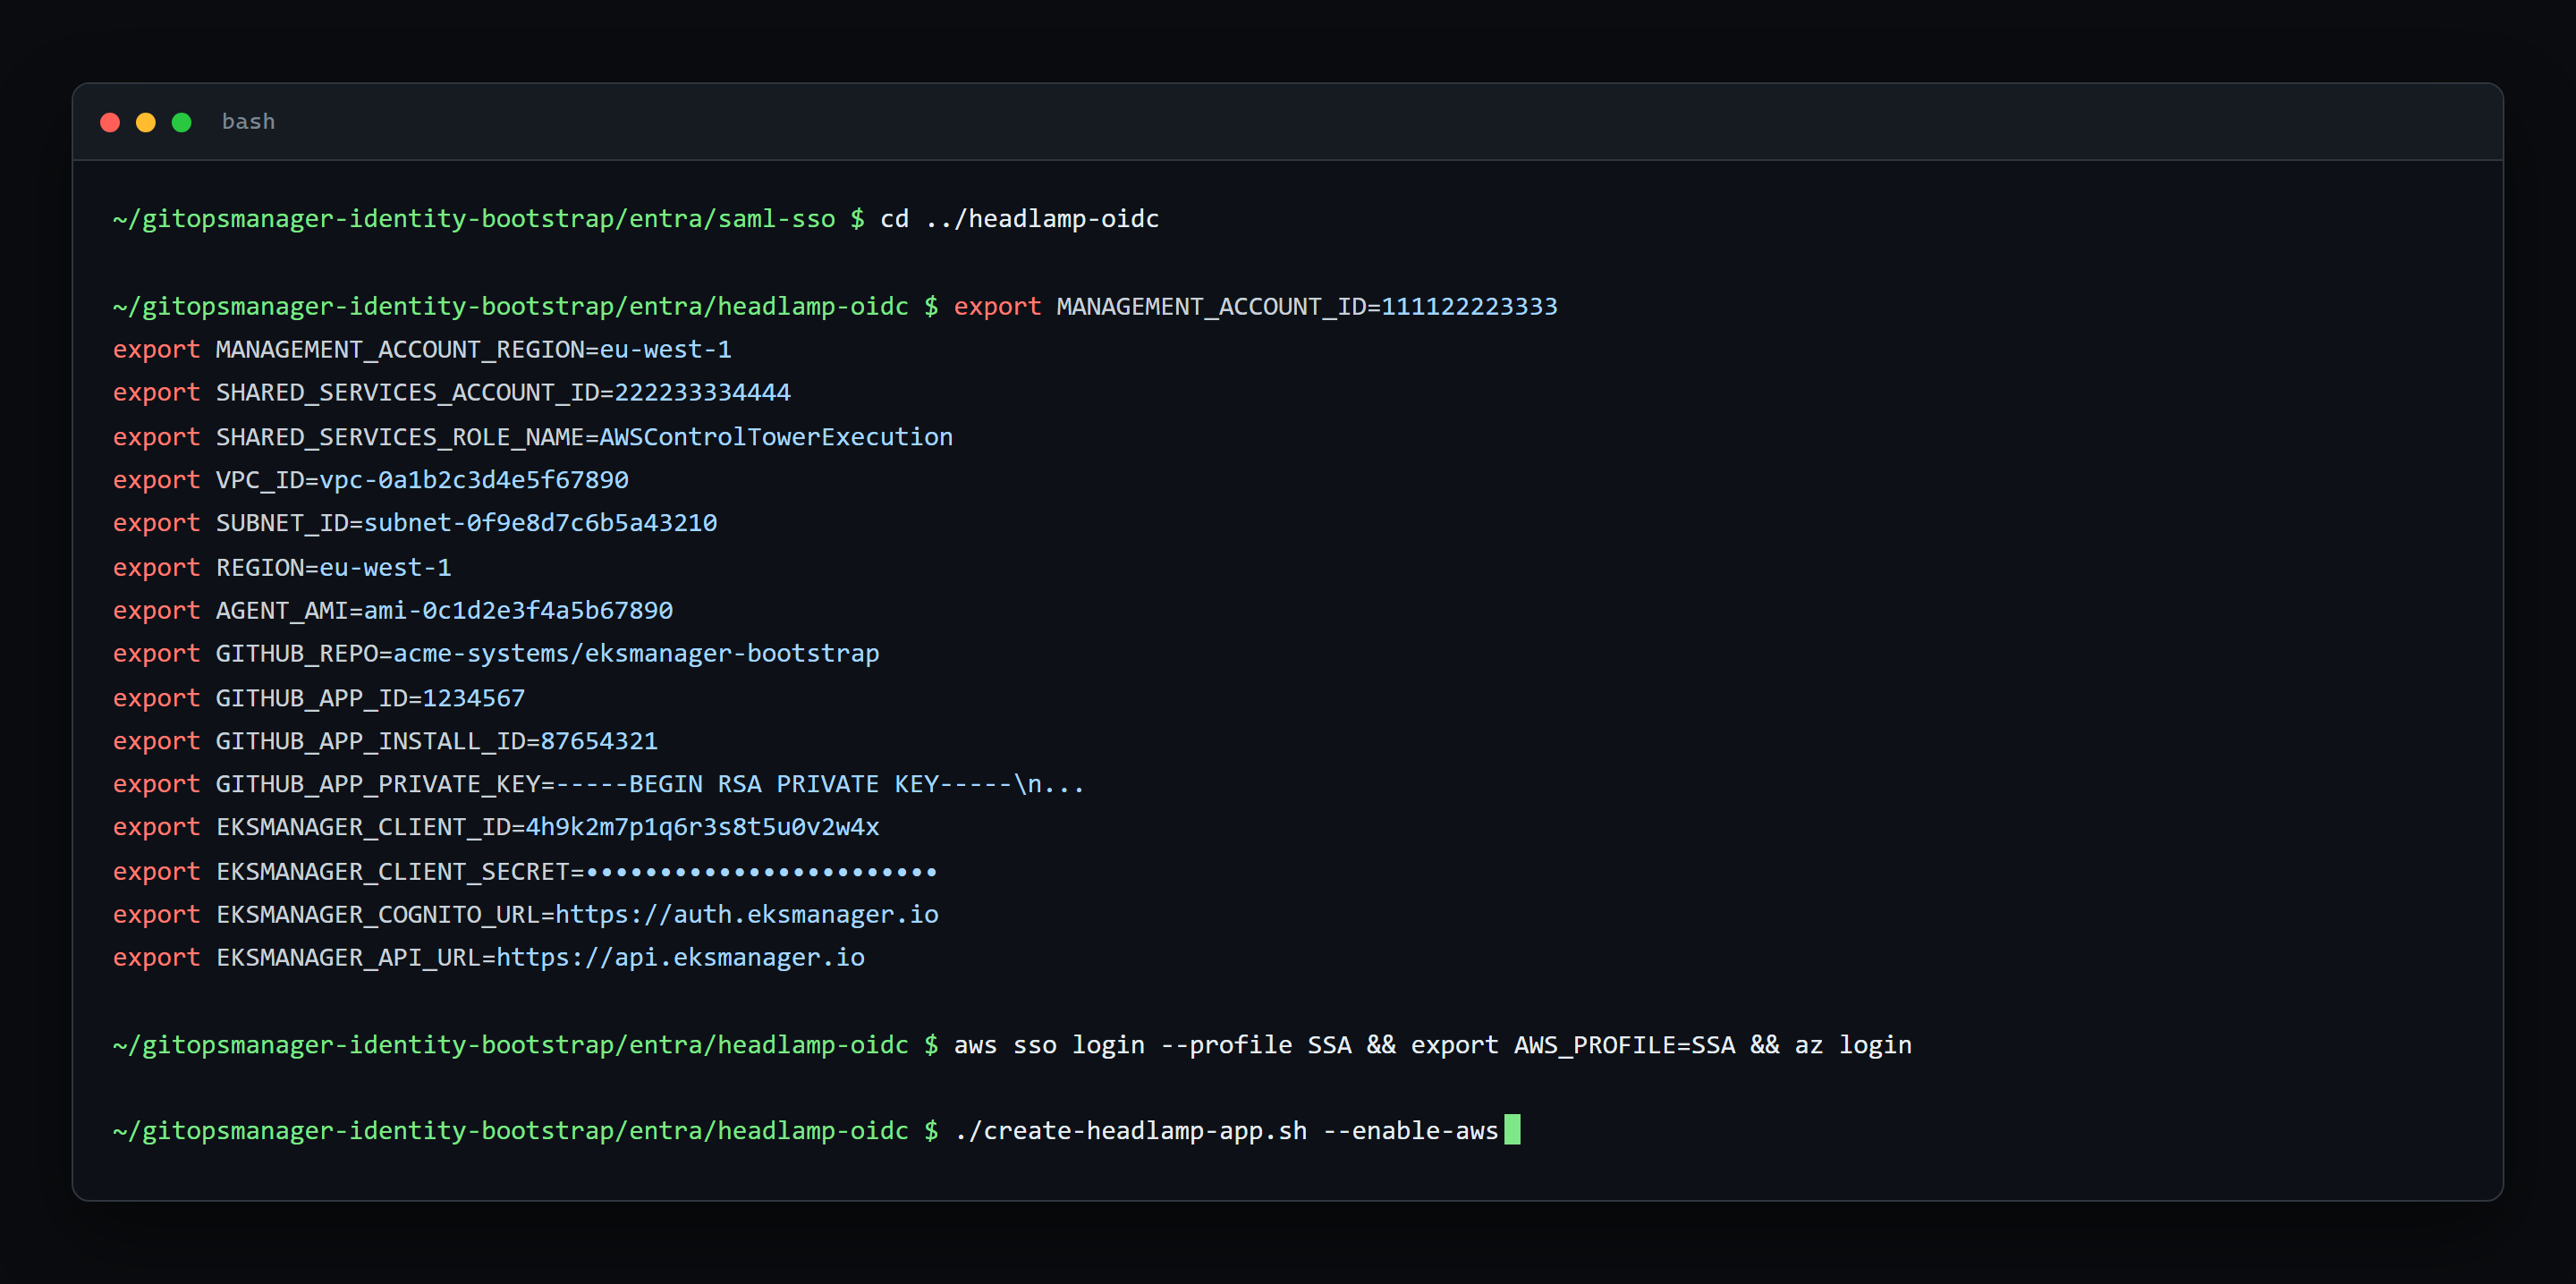
The same run in PowerShell — same clone, same environment, same two sign-ins. Windows needs neither WSL nor Git Bash for this.
Which sign-ins you need depends on the flags. az login always, for Entra. --enable-aws writes the secrets into Secrets Manager and needs AWS credentials for the shared services account — not the management one the pipeline setup wanted. That is the whole of it on an EKS Manager installation.
cd C:\git\gitopsmanager-identity-bootstrap\entra\headlamp-oidc

# the directory, always
az login

# and shared services, only with -EnableAws
aws sso login --profile SSA
$env:AWS_PROFILE = "SSA"

# or the three variables instead of a profile
$env:AWS_ACCESS_KEY_ID = "..."
$env:AWS_SECRET_ACCESS_KEY = "..."
$env:AWS_SESSION_TOKEN = "..."

.\create-headlamp-app.ps1 -EnableAws
az login is still required either way. The Entra applications are created whichever store you choose, so the directory sign-in is not optional even on an AWS-only installation.
One store is required, and for EKS Manager that is AWS. --enable-aws writes the two client secrets into Secrets Manager and is all an EKS Manager installation needs — no Azure vault, no vault permissions, nothing in Azure but the two application registrations themselves. --key-vault <name> exists for an Azure or hybrid customer. Pass neither and it stops: it will not create applications whose secrets it has nowhere to put.
It proves it can write before it creates anything. The preflight puts a throwaway secret into Secrets Manager and force-deletes it, so a missing secretsmanager or KMS permission fails while nothing exists yet — rather than after two Entra applications have been registered and their secrets have nowhere to go.
It checks the account rather than trusting you. It calls sts get-caller-identity, compares the answer with the shared services id from your paste, and stops if they differ — naming what you are signed in to and what it expected. Then it writes and deletes a throwaway secret, so a missing permission fails before two Entra applications exist rather than after.
Renewing the secrets
Headlamp is the harder one, and the trap is that the obvious move looks like it worked.
An ordinary re-run at thirty days does nothing. The script prefers the copy already in the store, so it reads the old secret back, writes the same manifest, and reports the same date. Nothing fails. The only symptom is a date that did not move.
Pass --renew — -Renew in PowerShell. It ignores the stored copies and mints a new secret for both applications, then writes those over the stores. Give it the same store arguments you installed with: it writes only to the stores you enable, and one left out keeps a secret that has stopped working.
Bash
cd /c/git/gitopsmanager-identity-bootstrap/entra/headlamp-oidc
aws sso login --profile SSA && export AWS_PROFILE=SSA && az login
./create-headlamp-app.sh --enable-aws --renew
PowerShell
cd C:\git\gitopsmanager-identity-bootstrap\entra\headlamp-oidc
aws sso login --profile SSA; $env:AWS_PROFILE = "SSA"; az login
.\create-headlamp-app.ps1 -EnableAws -Renew
It takes effect the moment it runs. The old secrets stop working immediately, so from here until a cluster is refreshed, Headlamp sign-in fails there. Sessions already open carry on; new sign-ins do not. Renew when you can walk the clusters straight afterwards.
The new secret is in the store; every cluster still holds the old one. Run the Headlamp task against each cluster to close the gap.
The step that matters is HeadlampCheckOIDCSecret. It reads the secret from the store — /EKSManagerBootstrap/headlamp-oidc in Secrets Manager on AWS, global-headlamp-oidc in the Key Vault on Azure — and applies it into the headlamp namespace. Let the whole task run, or pause it and run just that step; the rest re-applies a deployment that has not changed.
It restarts Headlamp for you when the secret is different. The pods take the client secret as an environment variable, which is fixed when a container starts, so a rewritten secret would otherwise be invisible to whatever is already running. The step compares what the cluster holds against what it is about to apply and rolls the deployment only when they differ — so an ordinary re-run leaves a working dashboard alone, and a rotation replaces the pods.
Order matters and nothing enforces it. Refresh a cluster before renewing and you have copied the secret you are about to invalidate. Skip a cluster afterwards and it stays broken quietly — the dates on this page describe the two Entra applications, not what any individual cluster is holding.
Credential expiry
With the second script reported, the Headlamp row joins the SAML one and the Identity group is complete.
Two credentials on different clocks, one place either date is visible. The signing certificate runs three years, the Headlamp secrets two. Green means more than thirty days remain, which is what you should expect to see for almost the whole life of an installation. They turn amber inside thirty days and red once gone.
Neither date is anything you type in. Each script reports its own, and re-running a script is what moves them.
Treat EKS Manager as the only warning you will get.
Entra emails about SAML signing certificates and says nothing at all about application client secrets. When a Headlamp secret lapses, sign-in fails on every cluster simultaneously, with no warning and no recent change to point at.
The certificate email is not dependable either. It needs notification addresses on the application, and Microsoft documents that when those are set programmatically an administrator must open the application's single sign-on blade in the portal once before the emails fire — and for an application registered in your own tenant that blade is not reachable. The certificate is there and working; the portal has nowhere to show it.
That gap is what these scripts close: each reports its expiry dates back, and Settings shows both — green while more than thirty days remain, amber inside thirty, red once gone — and raises a notification when the page loads.
Renew from the amber, not from the failure — and the two are not renewed the same way. The certificate rotates by re-running the script, and costs nothing while it happens. The Headlamp secrets need --renew and then every cluster refreshed, with sign-in down in between. Both procedures are a few slides back, under Renewing the certificate and Renewing the secrets.
Cluster Environment Certs
This is the zone list, and it comes from hosted-zones.json in your private bootstrap repository — not from anything typed here. Editing that file and letting its workflow run is what changes this table.
Each row is one environment: the subdomain its cluster hostnames live under, the secret holding that zone's certificate, when the certificate expires, and the wildcard it covers.
Required before upgrading. A core stack upgrade installs components that terminate TLS using these certificates, so a missing or expired zone stops the upgrade rather than producing a cluster serving a bad certificate.
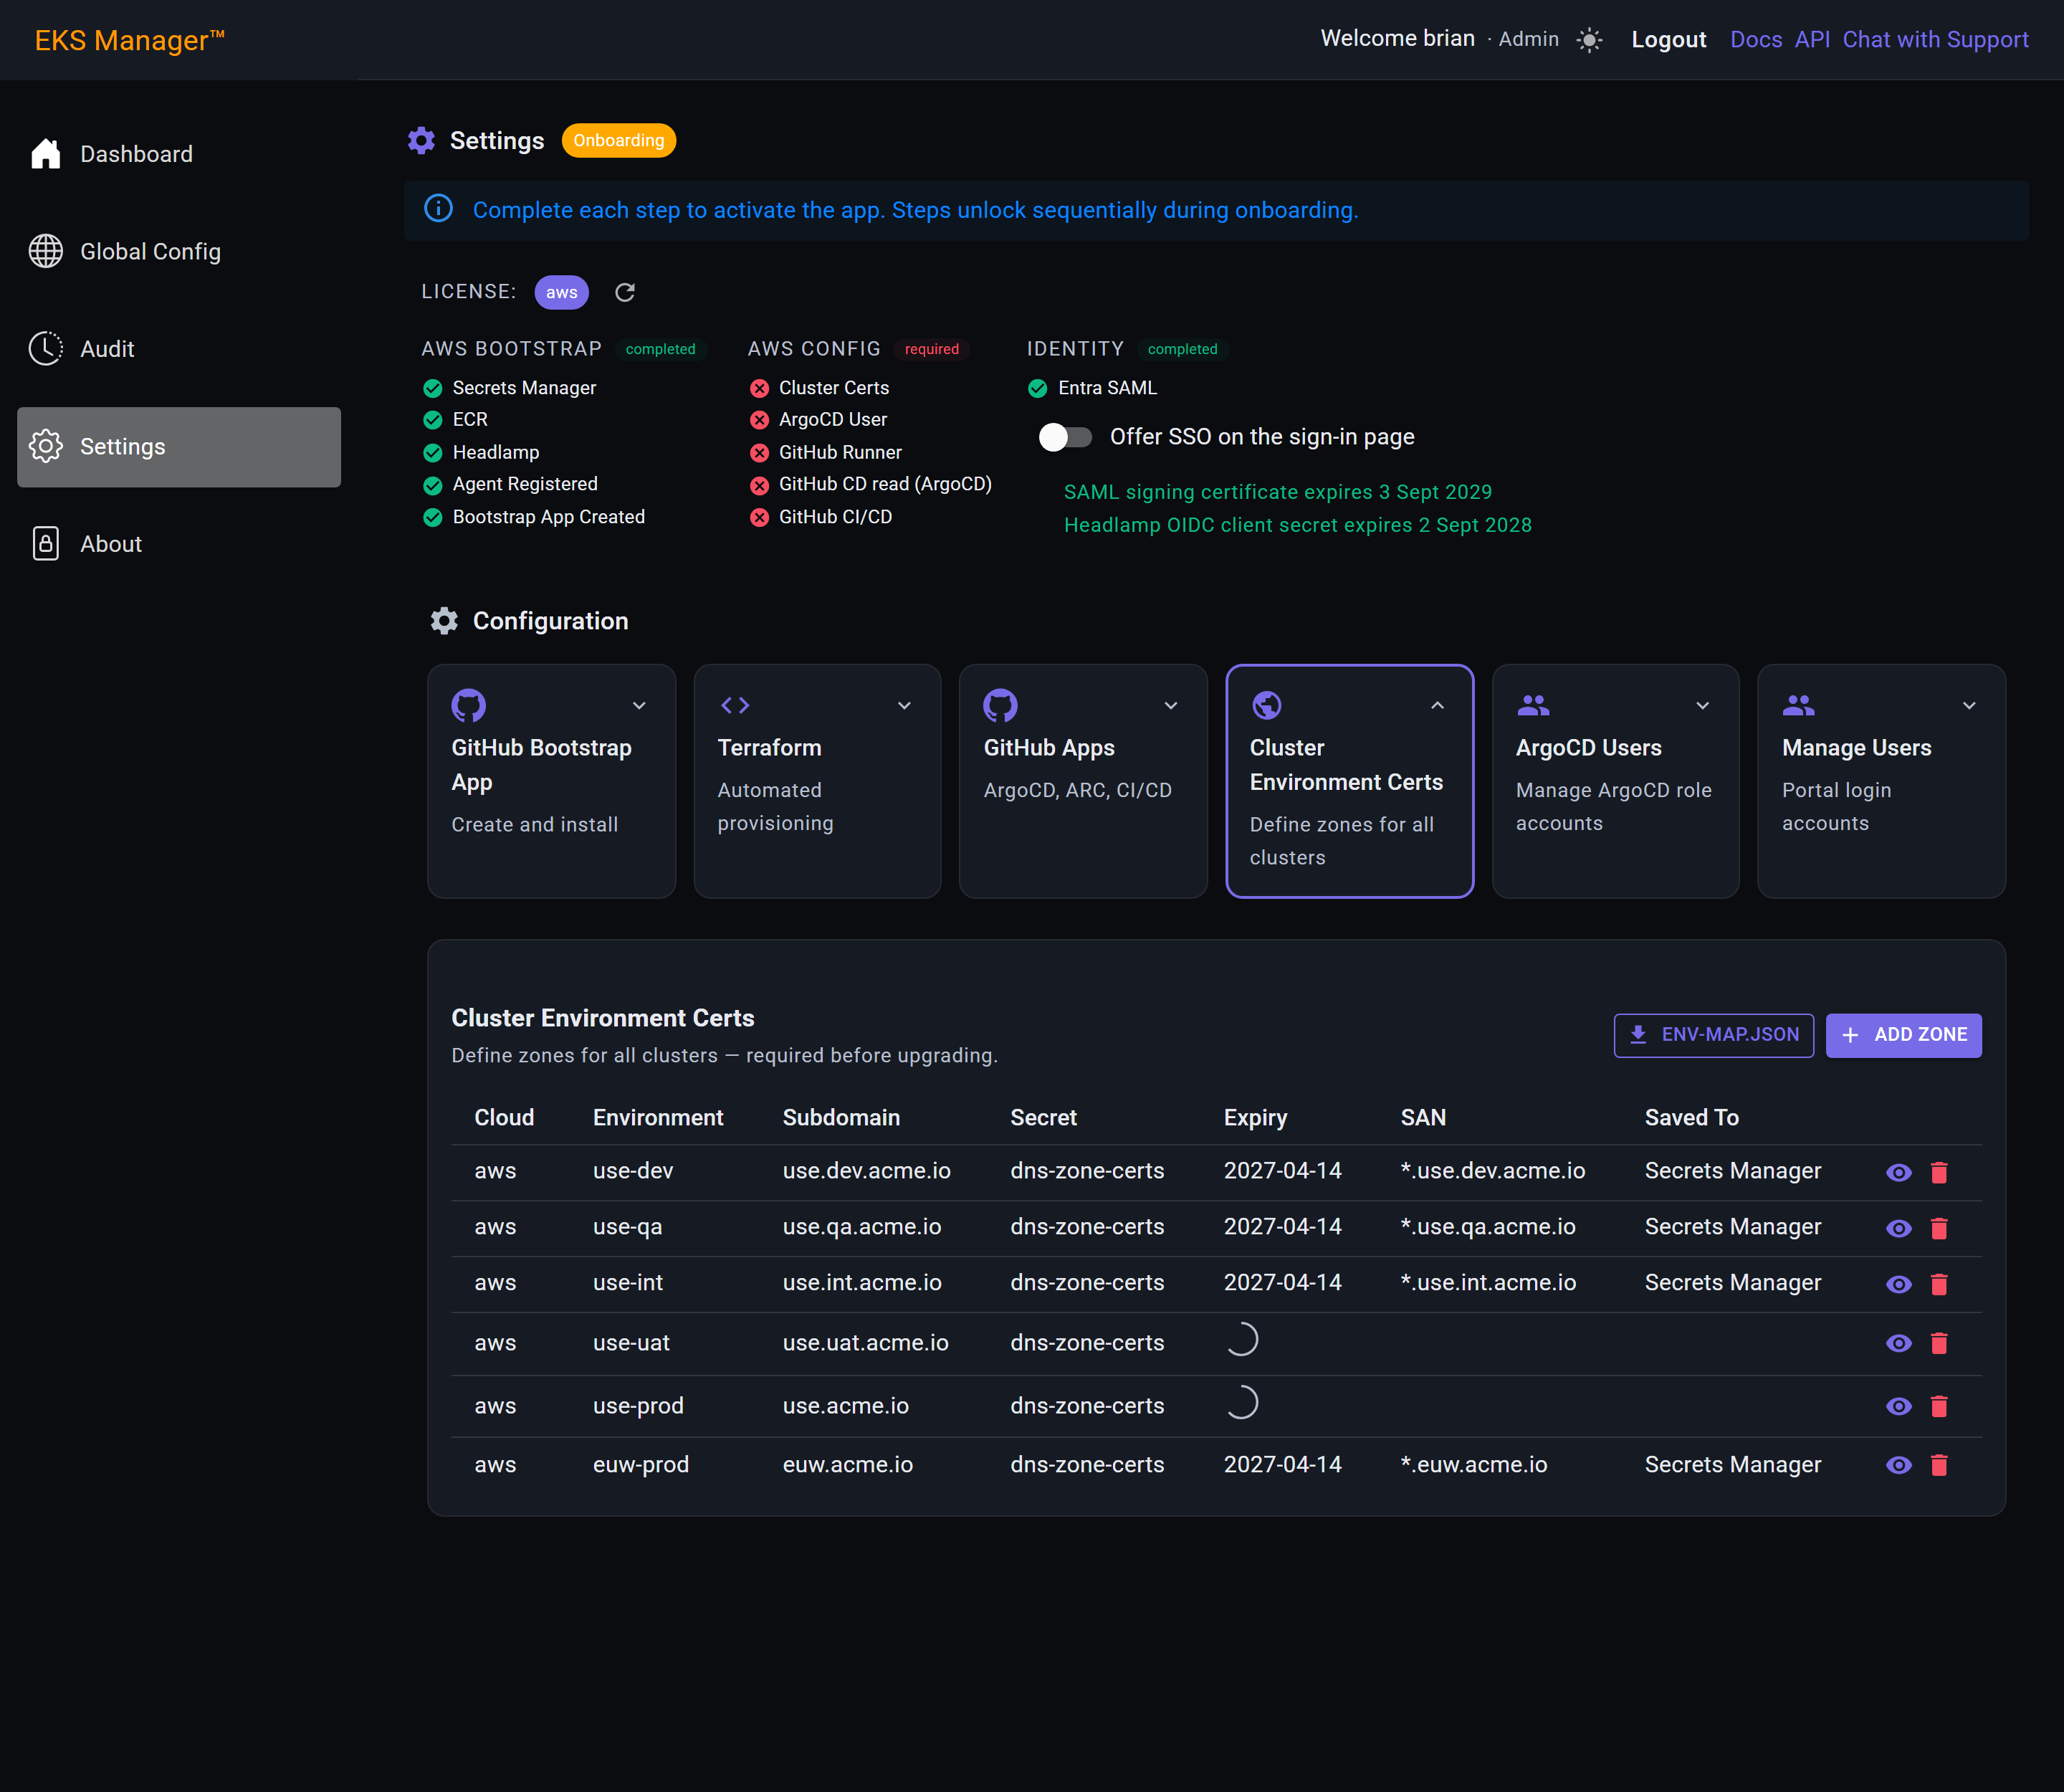
env-map.jsonBeside Add Zone is a download, and it is easy to walk past — it is the only control on this page that has nothing to do with certificates.
It is how the estate on this page reaches your deployment pipelines. The next two slides are what it does and why you would press it.
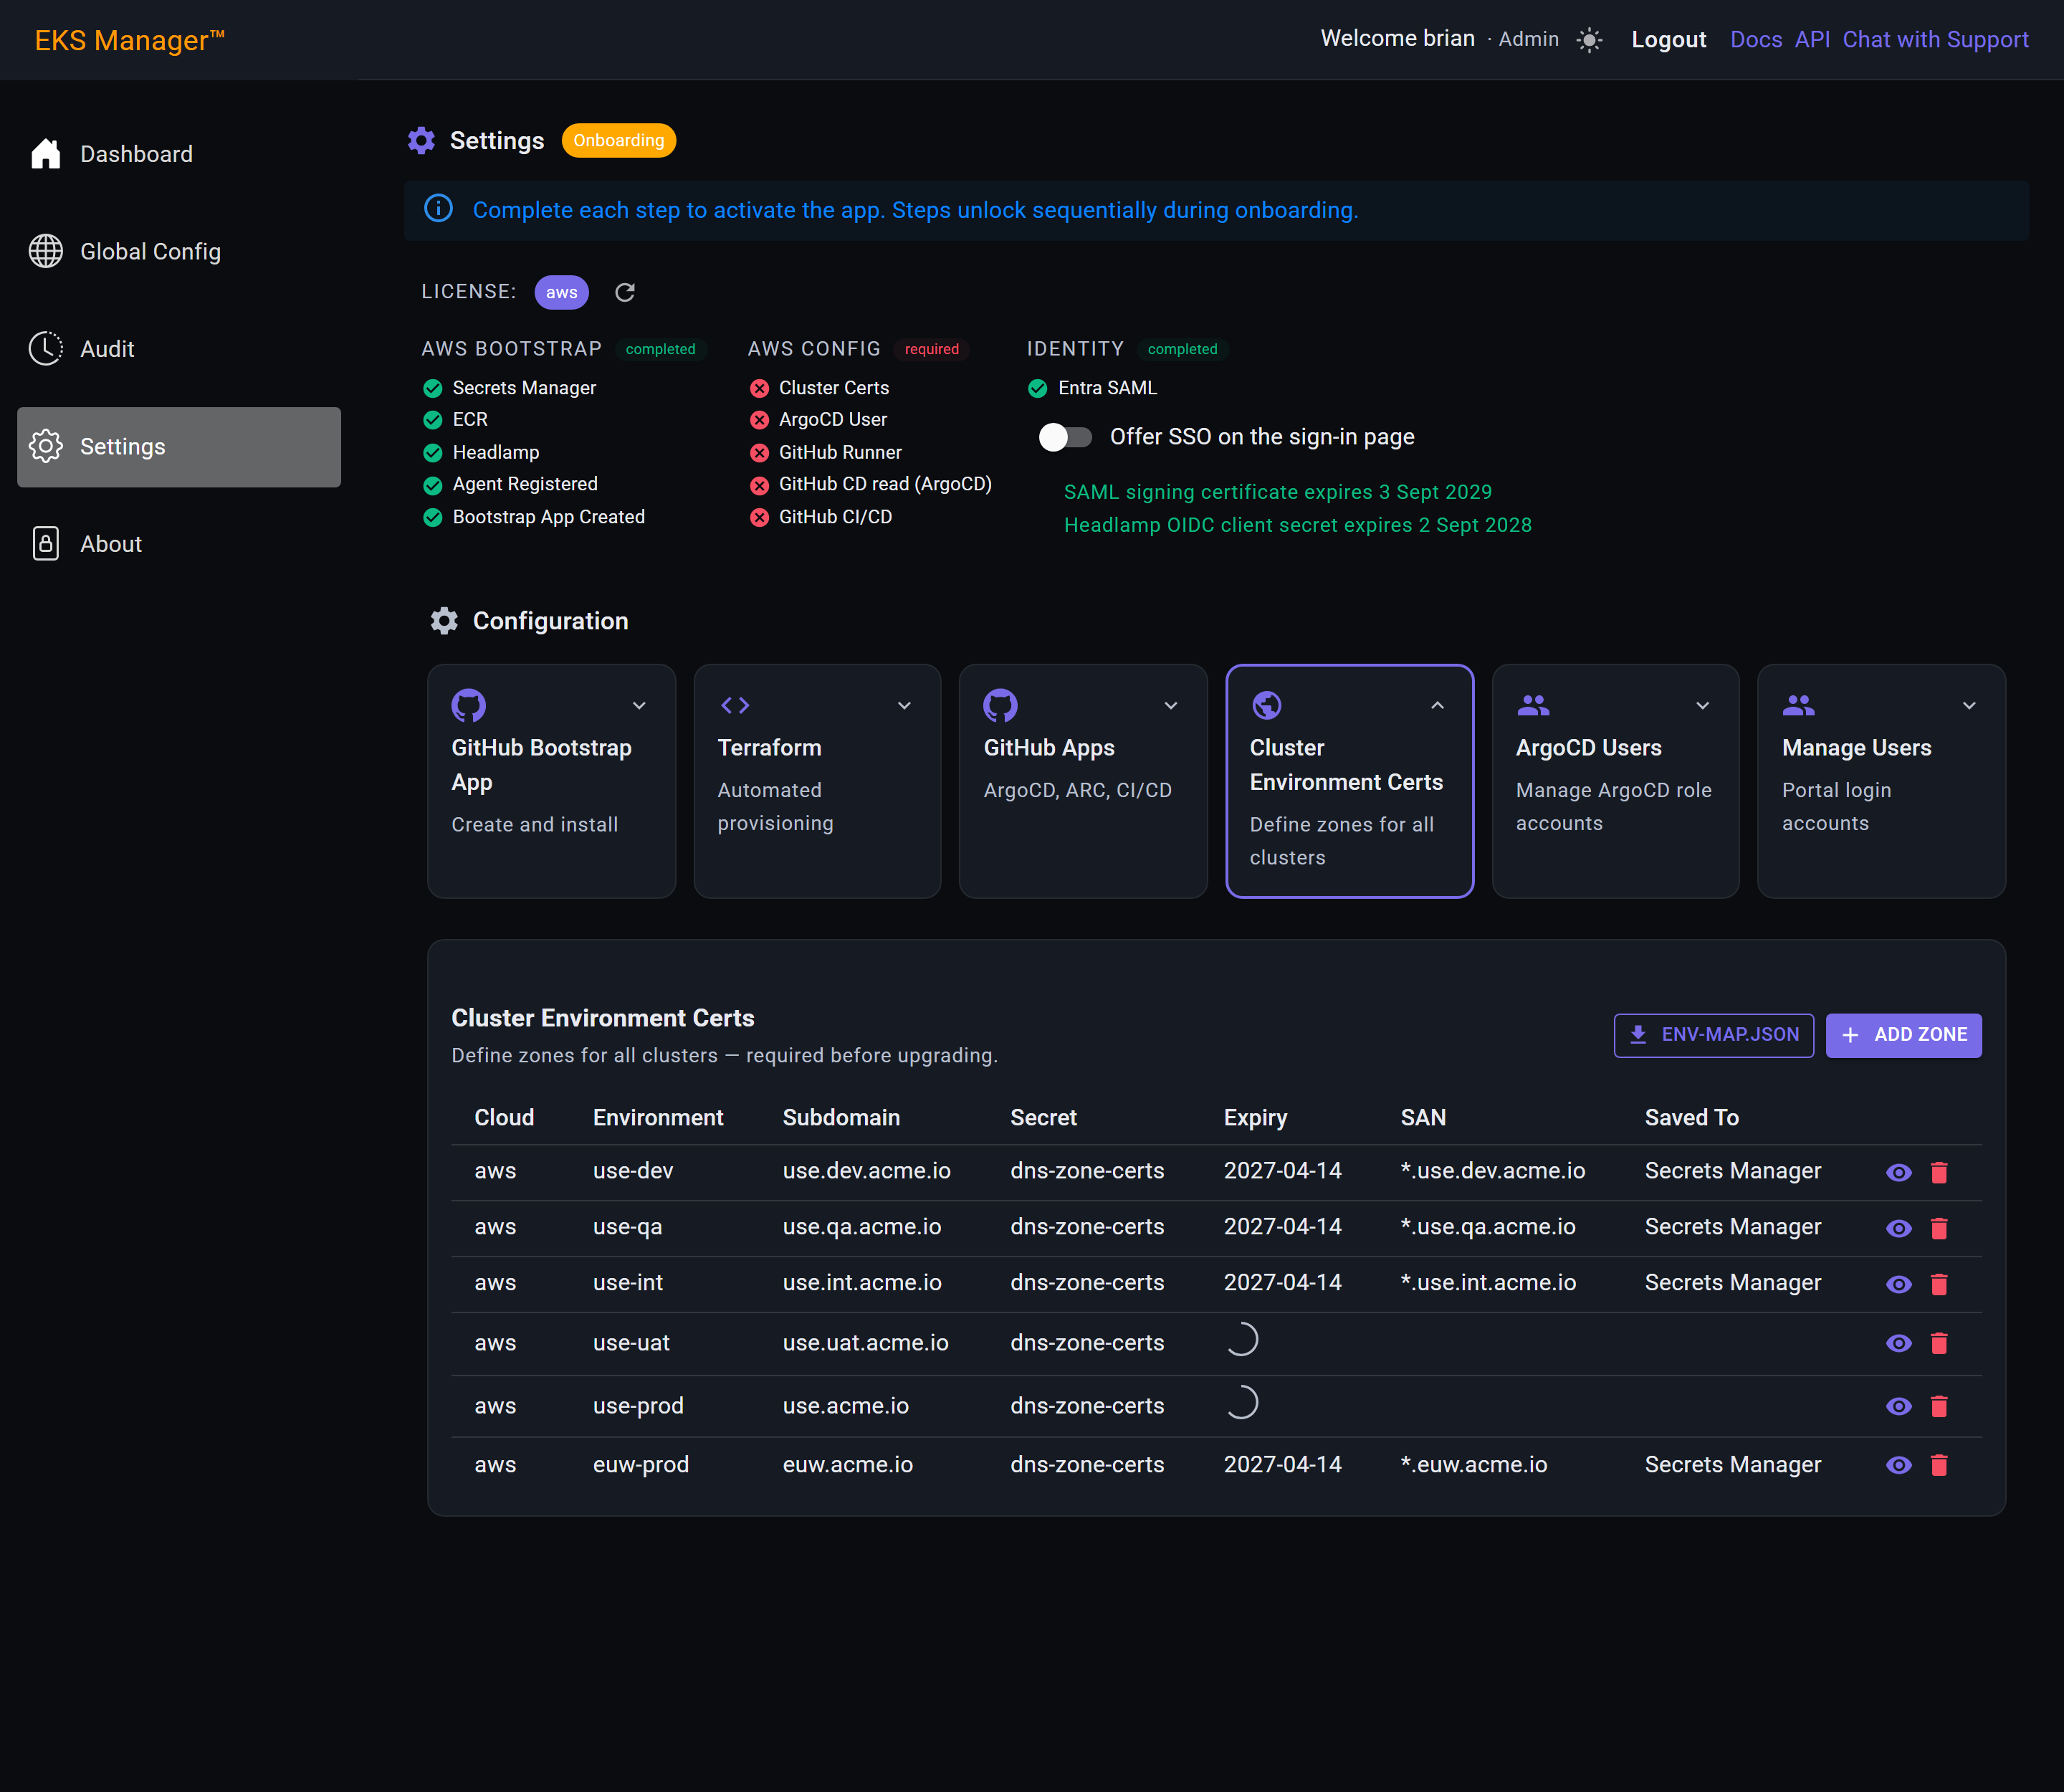
Above the table is env-map.json. It is the map your deployment pipelines read to answer one question: given an environment name, which cluster does this deploy to, and where does it pull images from?
It is built from what is on this page — the zones, their clusters and their registries — so it is a rendering of your estate rather than a file to maintain. Nothing here is typed into it.
{
  "dev": {
    "cluster_count": 1,
    "clusters": [
      { "cluster": "use-dev",
        "dns_zone": "dev.aws.acme.com",
        "container_registry": "123456789012.dkr.ecr.eu-west-1.amazonaws.com" }
    ]
  }
}
One entry per environment, each listing its clusters. The environment name is the join: a workflow says deploy to dev, and this is what turns that into a cluster, a DNS zone and a registry. An environment with one cluster resolves on its own; one with several needs the workflow to name which.
The consumer is the open-source deployment workflow, gitopsmanager/k8s-deploy — its Environment Map section is the reference for the format and for how a cluster is resolved.
It downloads the file, which is the copy you paste into a workflow as its env_map input — the preferred way to supply it, because the run then carries the map it used.
And it sends the same map to your runners. The agent walks every cluster in the accounts it manages, finds each runner namespace, and writes the map there as a ConfigMap named env-map. A self-hosted runner picks it up as ENV_MAP, which is the fallback k8s-deploy uses when a workflow supplies no input — so a pipeline that names no map still resolves.
It is already kept current. Saving a zone, or deleting one, distributes the map again on its own. The button is for when you want the file in your hand, or want the runners updated now rather than at the next change.
Only runner namespaces are touched. The agent matches the namespaces the runner scale sets live in and skips the controller's own, so nothing outside the runners sees this and no application namespace is written to.
The SAN column is what each certificate actually covers — *.use.dev.acme.io and nothing above it. One wildcard per zone, so a new hostname in an existing environment needs no certificate work at all.
Saved To is where the agent collects it from. On AWS that is Secrets Manager in the account that owns the zone; the agent reads it and installs it into the cluster.
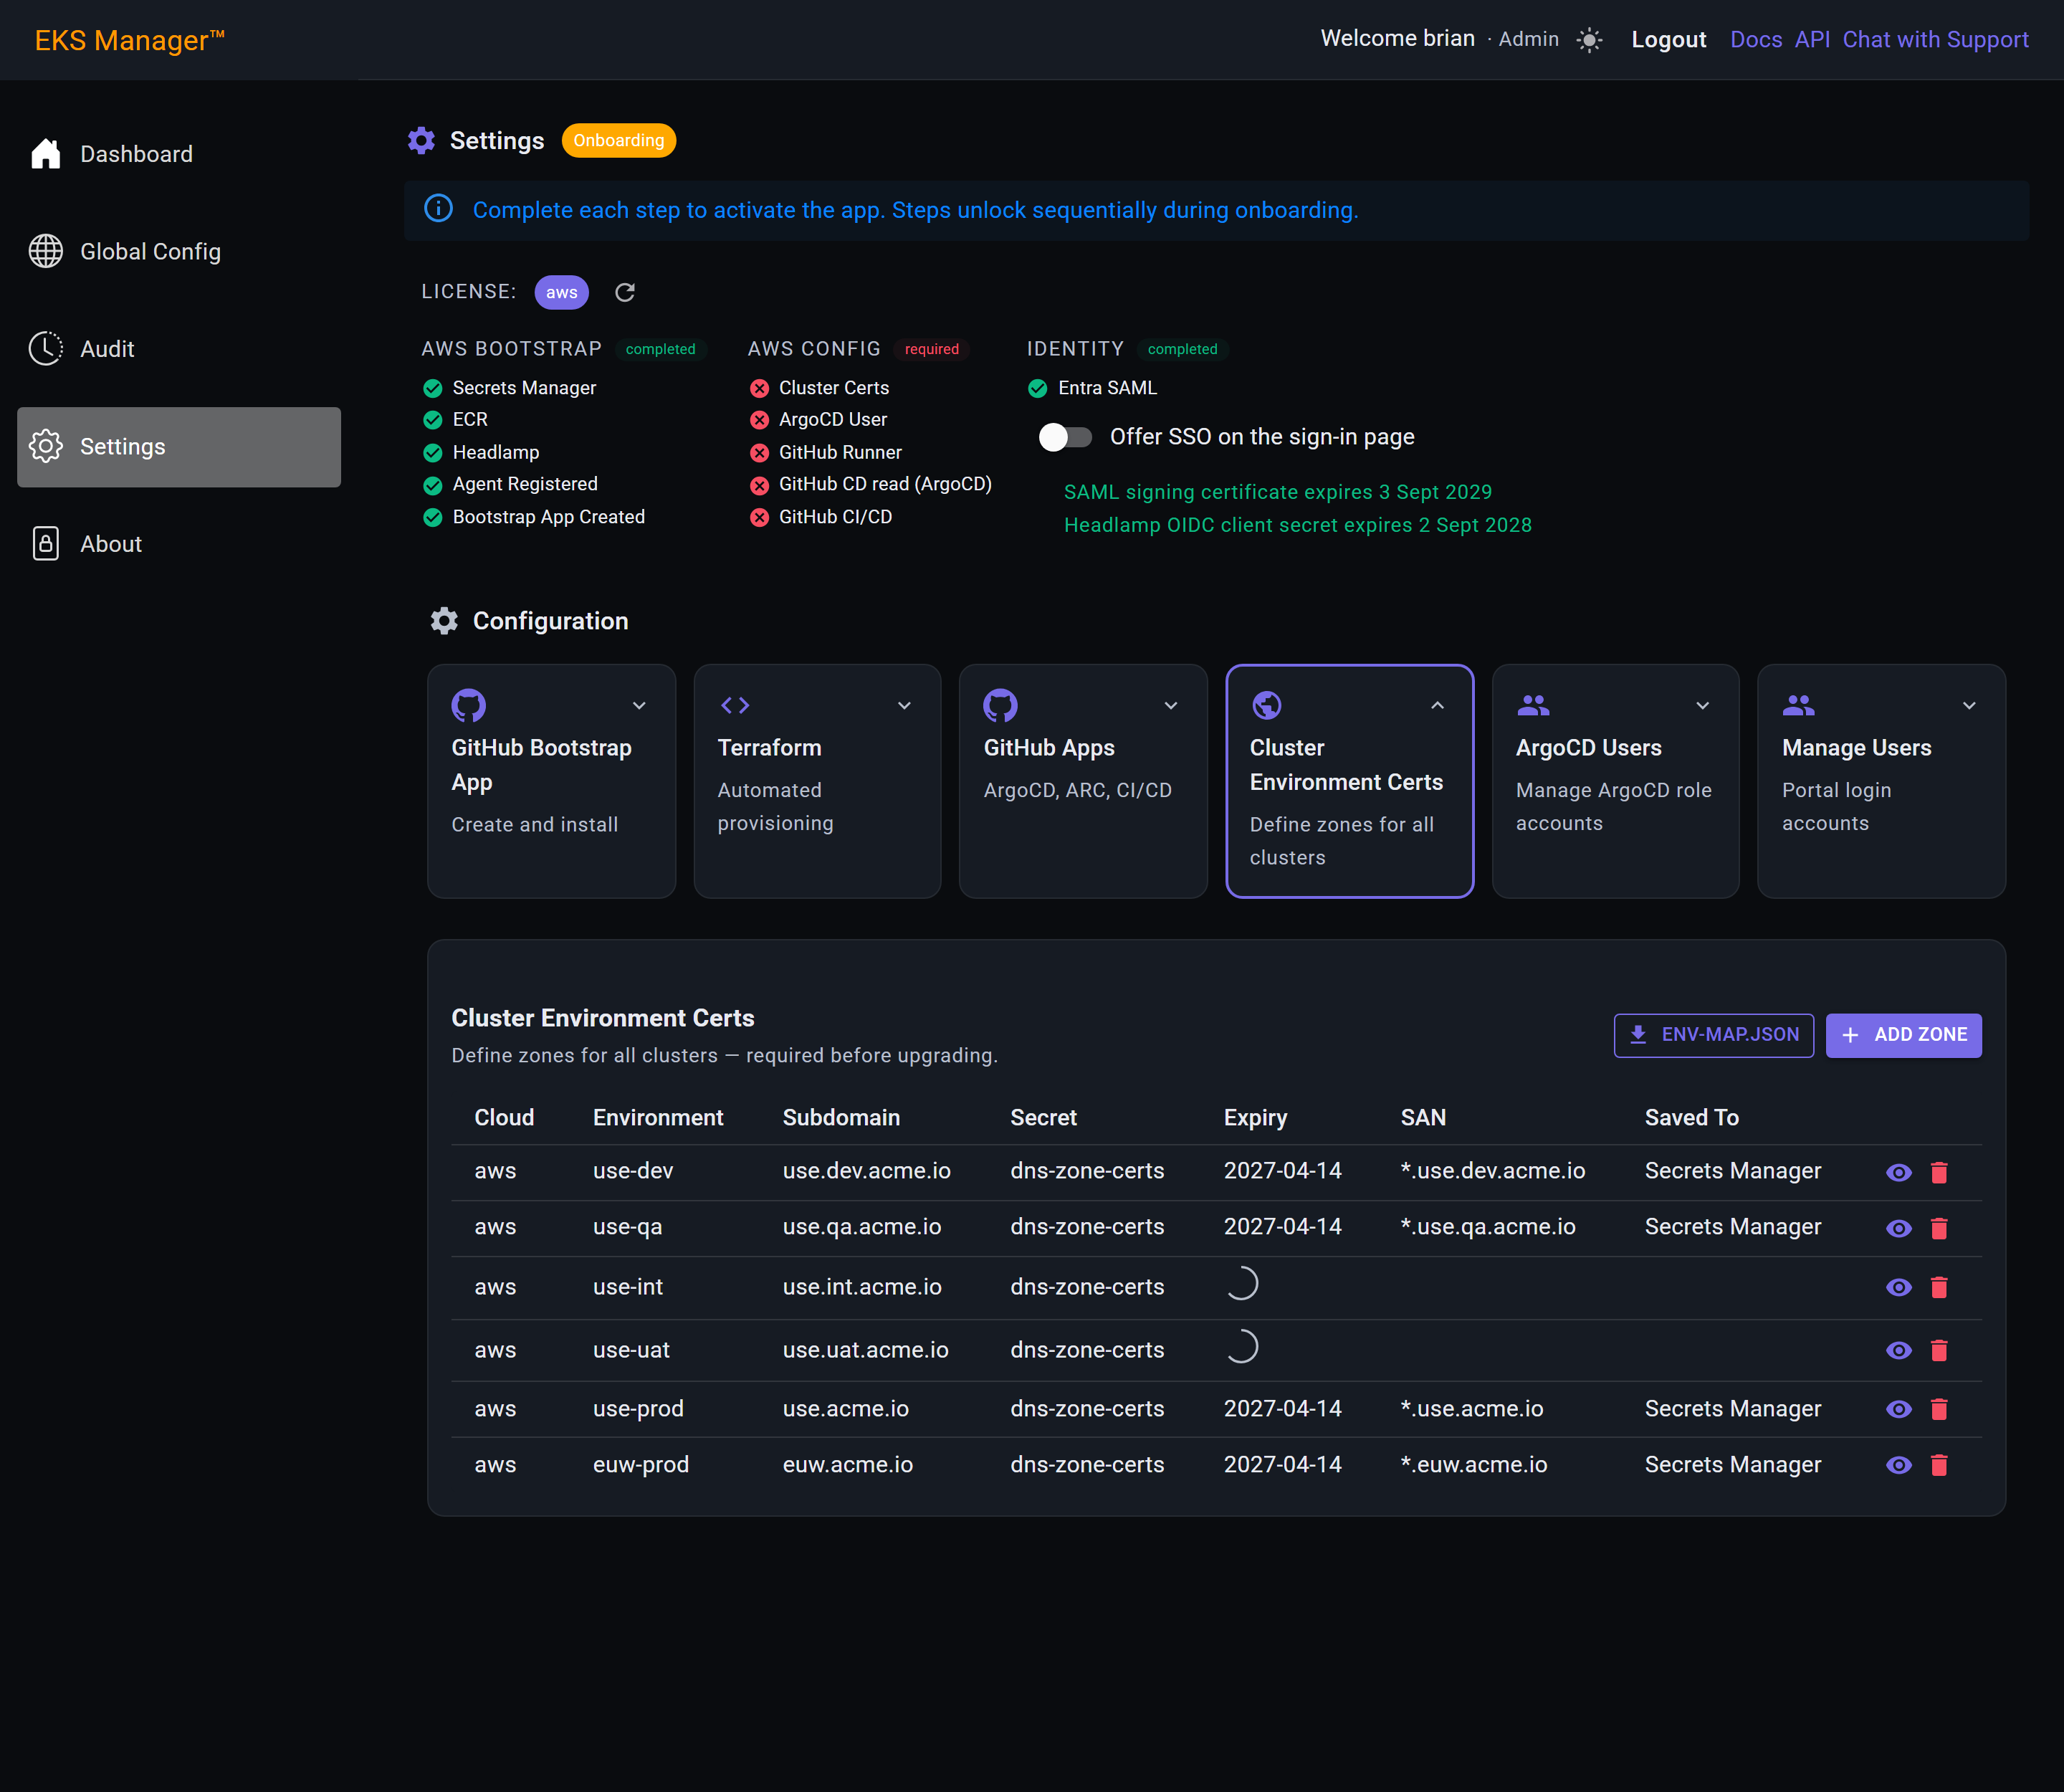
The Expiry column is worth reading and not worth acting on. A separate Let's Encrypt pipeline issues each certificate by DNS-01 and renews it, driven by an EventBridge rule rather than by anyone remembering.
The rule runs weekly, but a certificate is only replaced once it is old enough to need it: Let's Encrypt issues for ninety days, and renewal happens after sixty. So most weekly runs find nothing to do, which is the intended behaviour rather than a sign the schedule is not working.
The same pipeline also runs when lets-encrypt.zip is uploaded, which is how a newly added zone gets its first certificate. Two triggers, one pipeline: the upload for new zones, the schedule for existing ones.
A date more than thirty days out therefore needs no attention at all. One inside thirty days that has stopped moving is the thing to look at, and it usually means the certificate role in that account has lost its trust relationship.
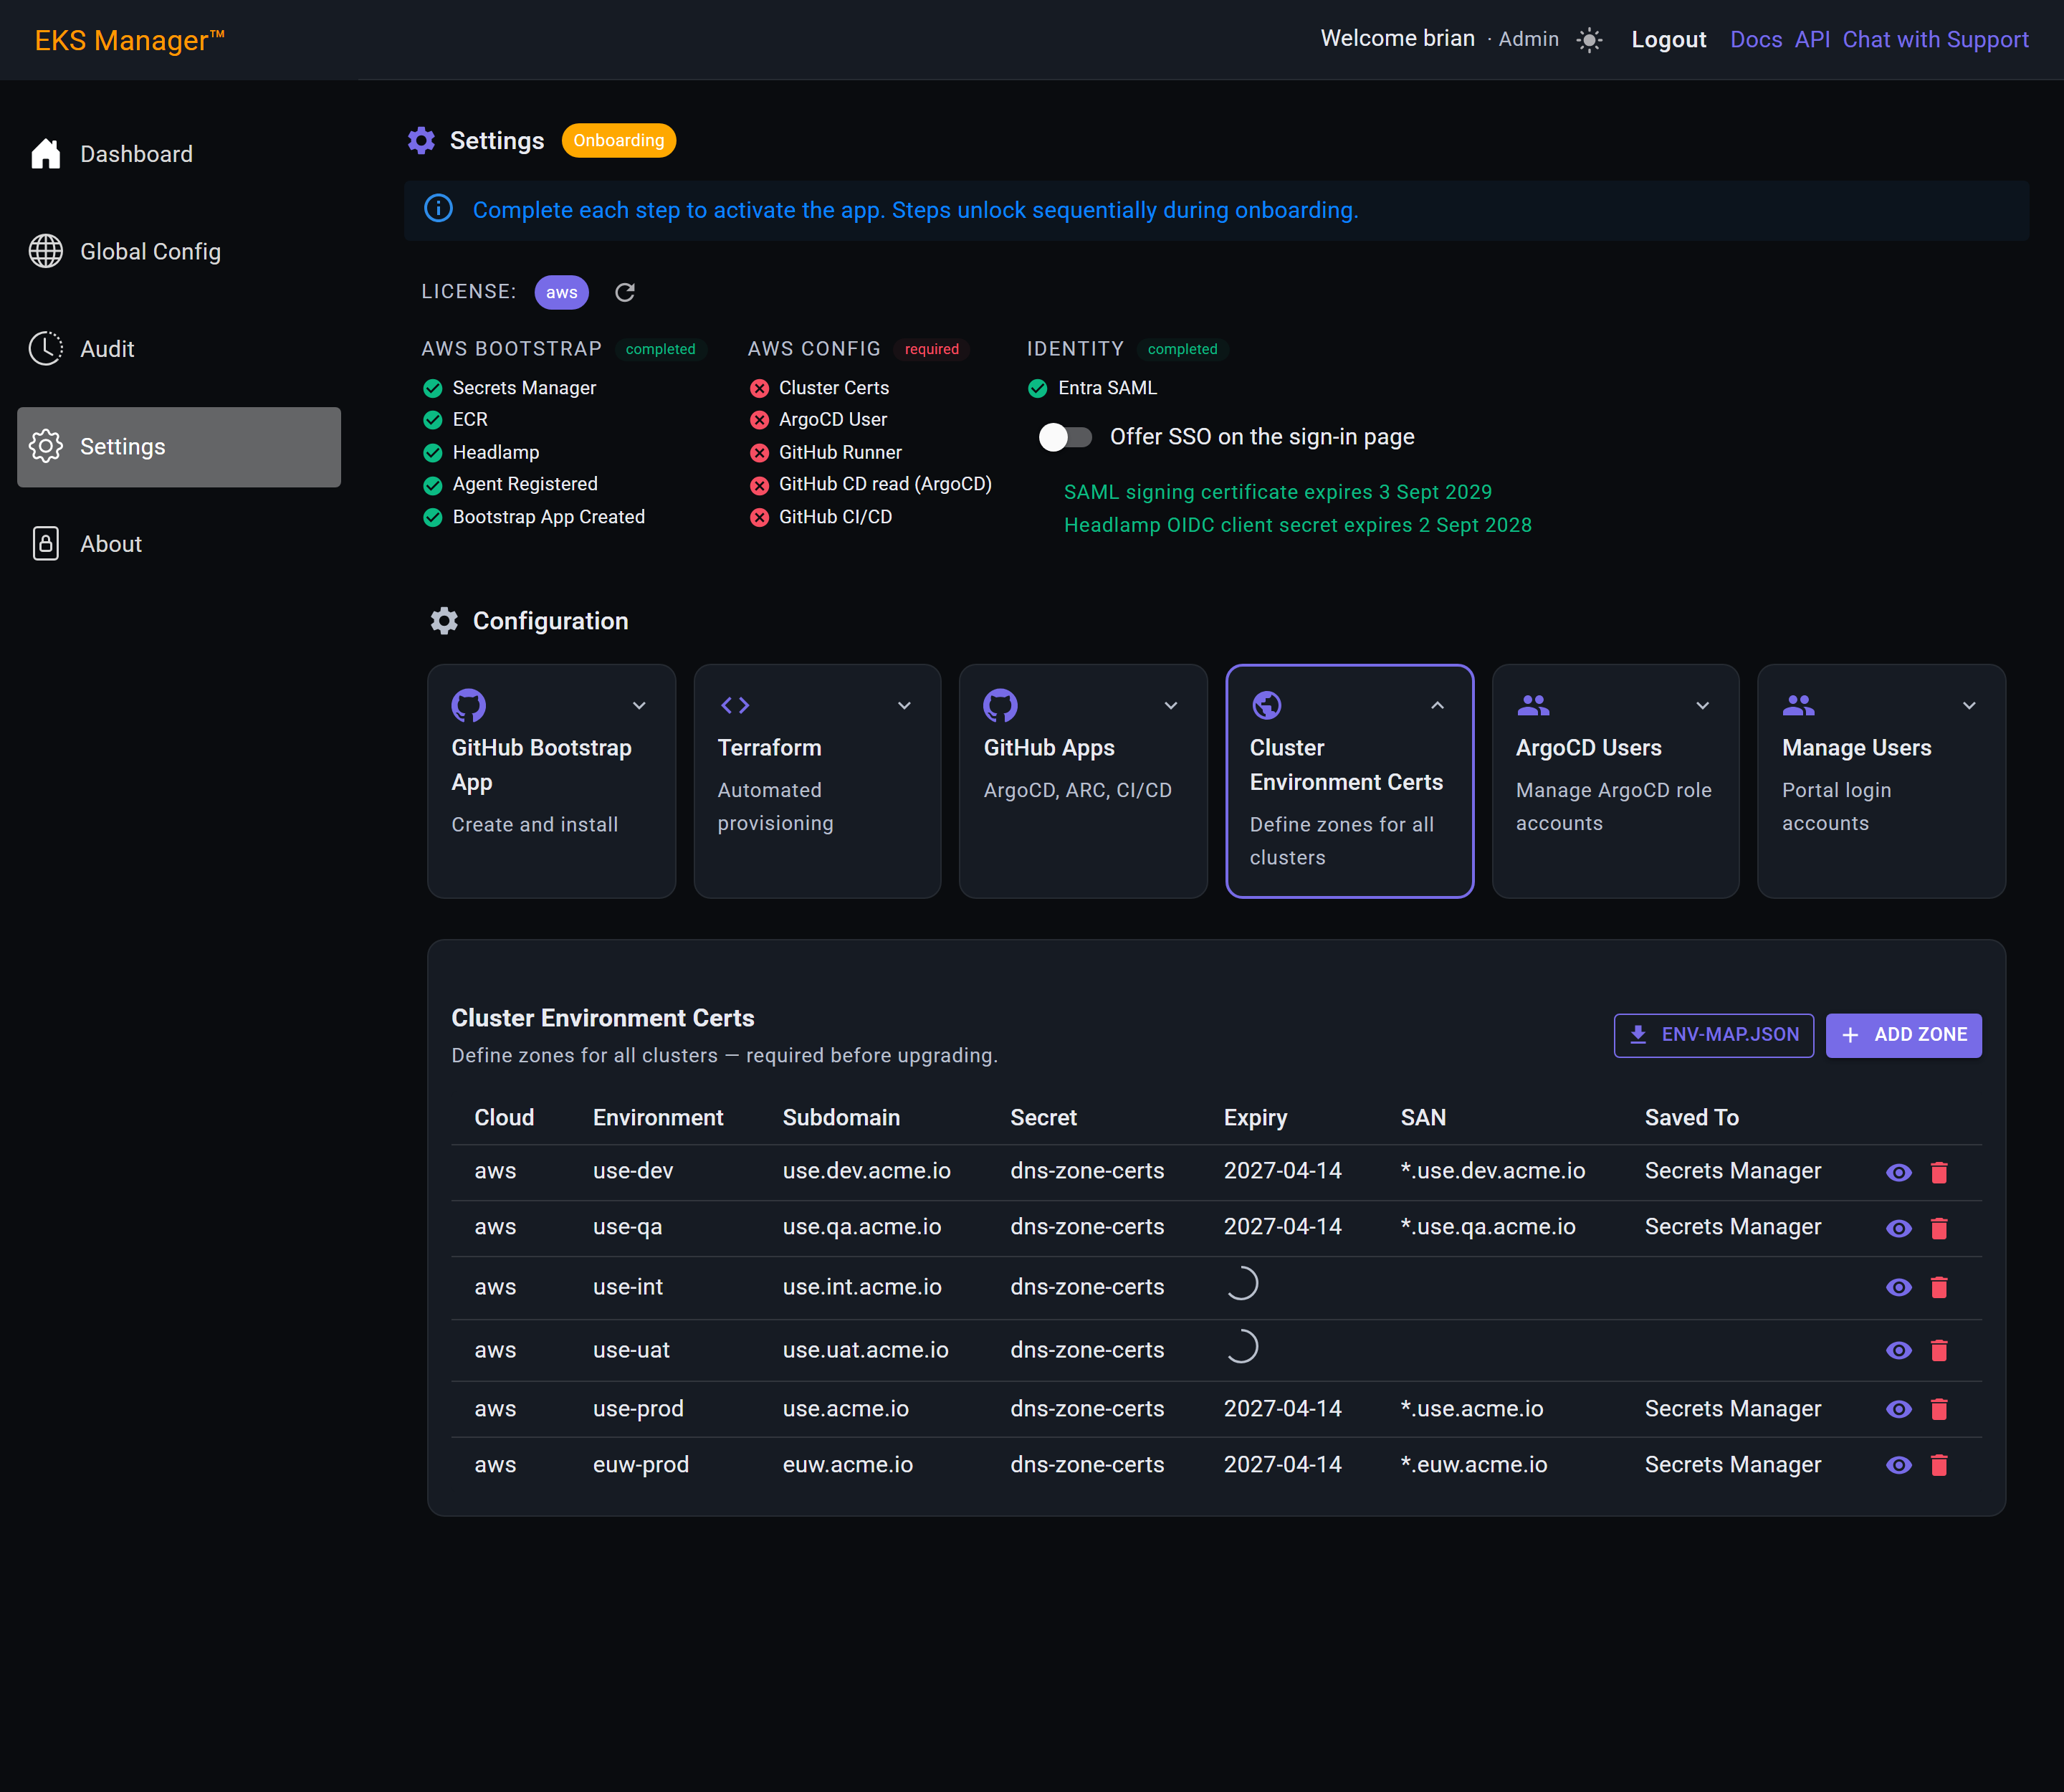
On AWS, zones are not added from here. You create the public and private hosted zones yourself, then add the entry to hosted-zones.json in your private bootstrap repository — zone names, the account that owns them, and the two role ARNs.
Order matters. Push hosted-zones.json first, so its sync workflow grants the certificate pipeline permission to assume that zone's role, and only then run the Let's Encrypt workflow. The other way round fails, because the permission does not exist yet.
Add Zone predates that file and remains for older installations. env-map.json is a different thing again: it maps environments to clusters and to the container registry, and it is read by the CI/CD runners rather than by anything to do with certificates.
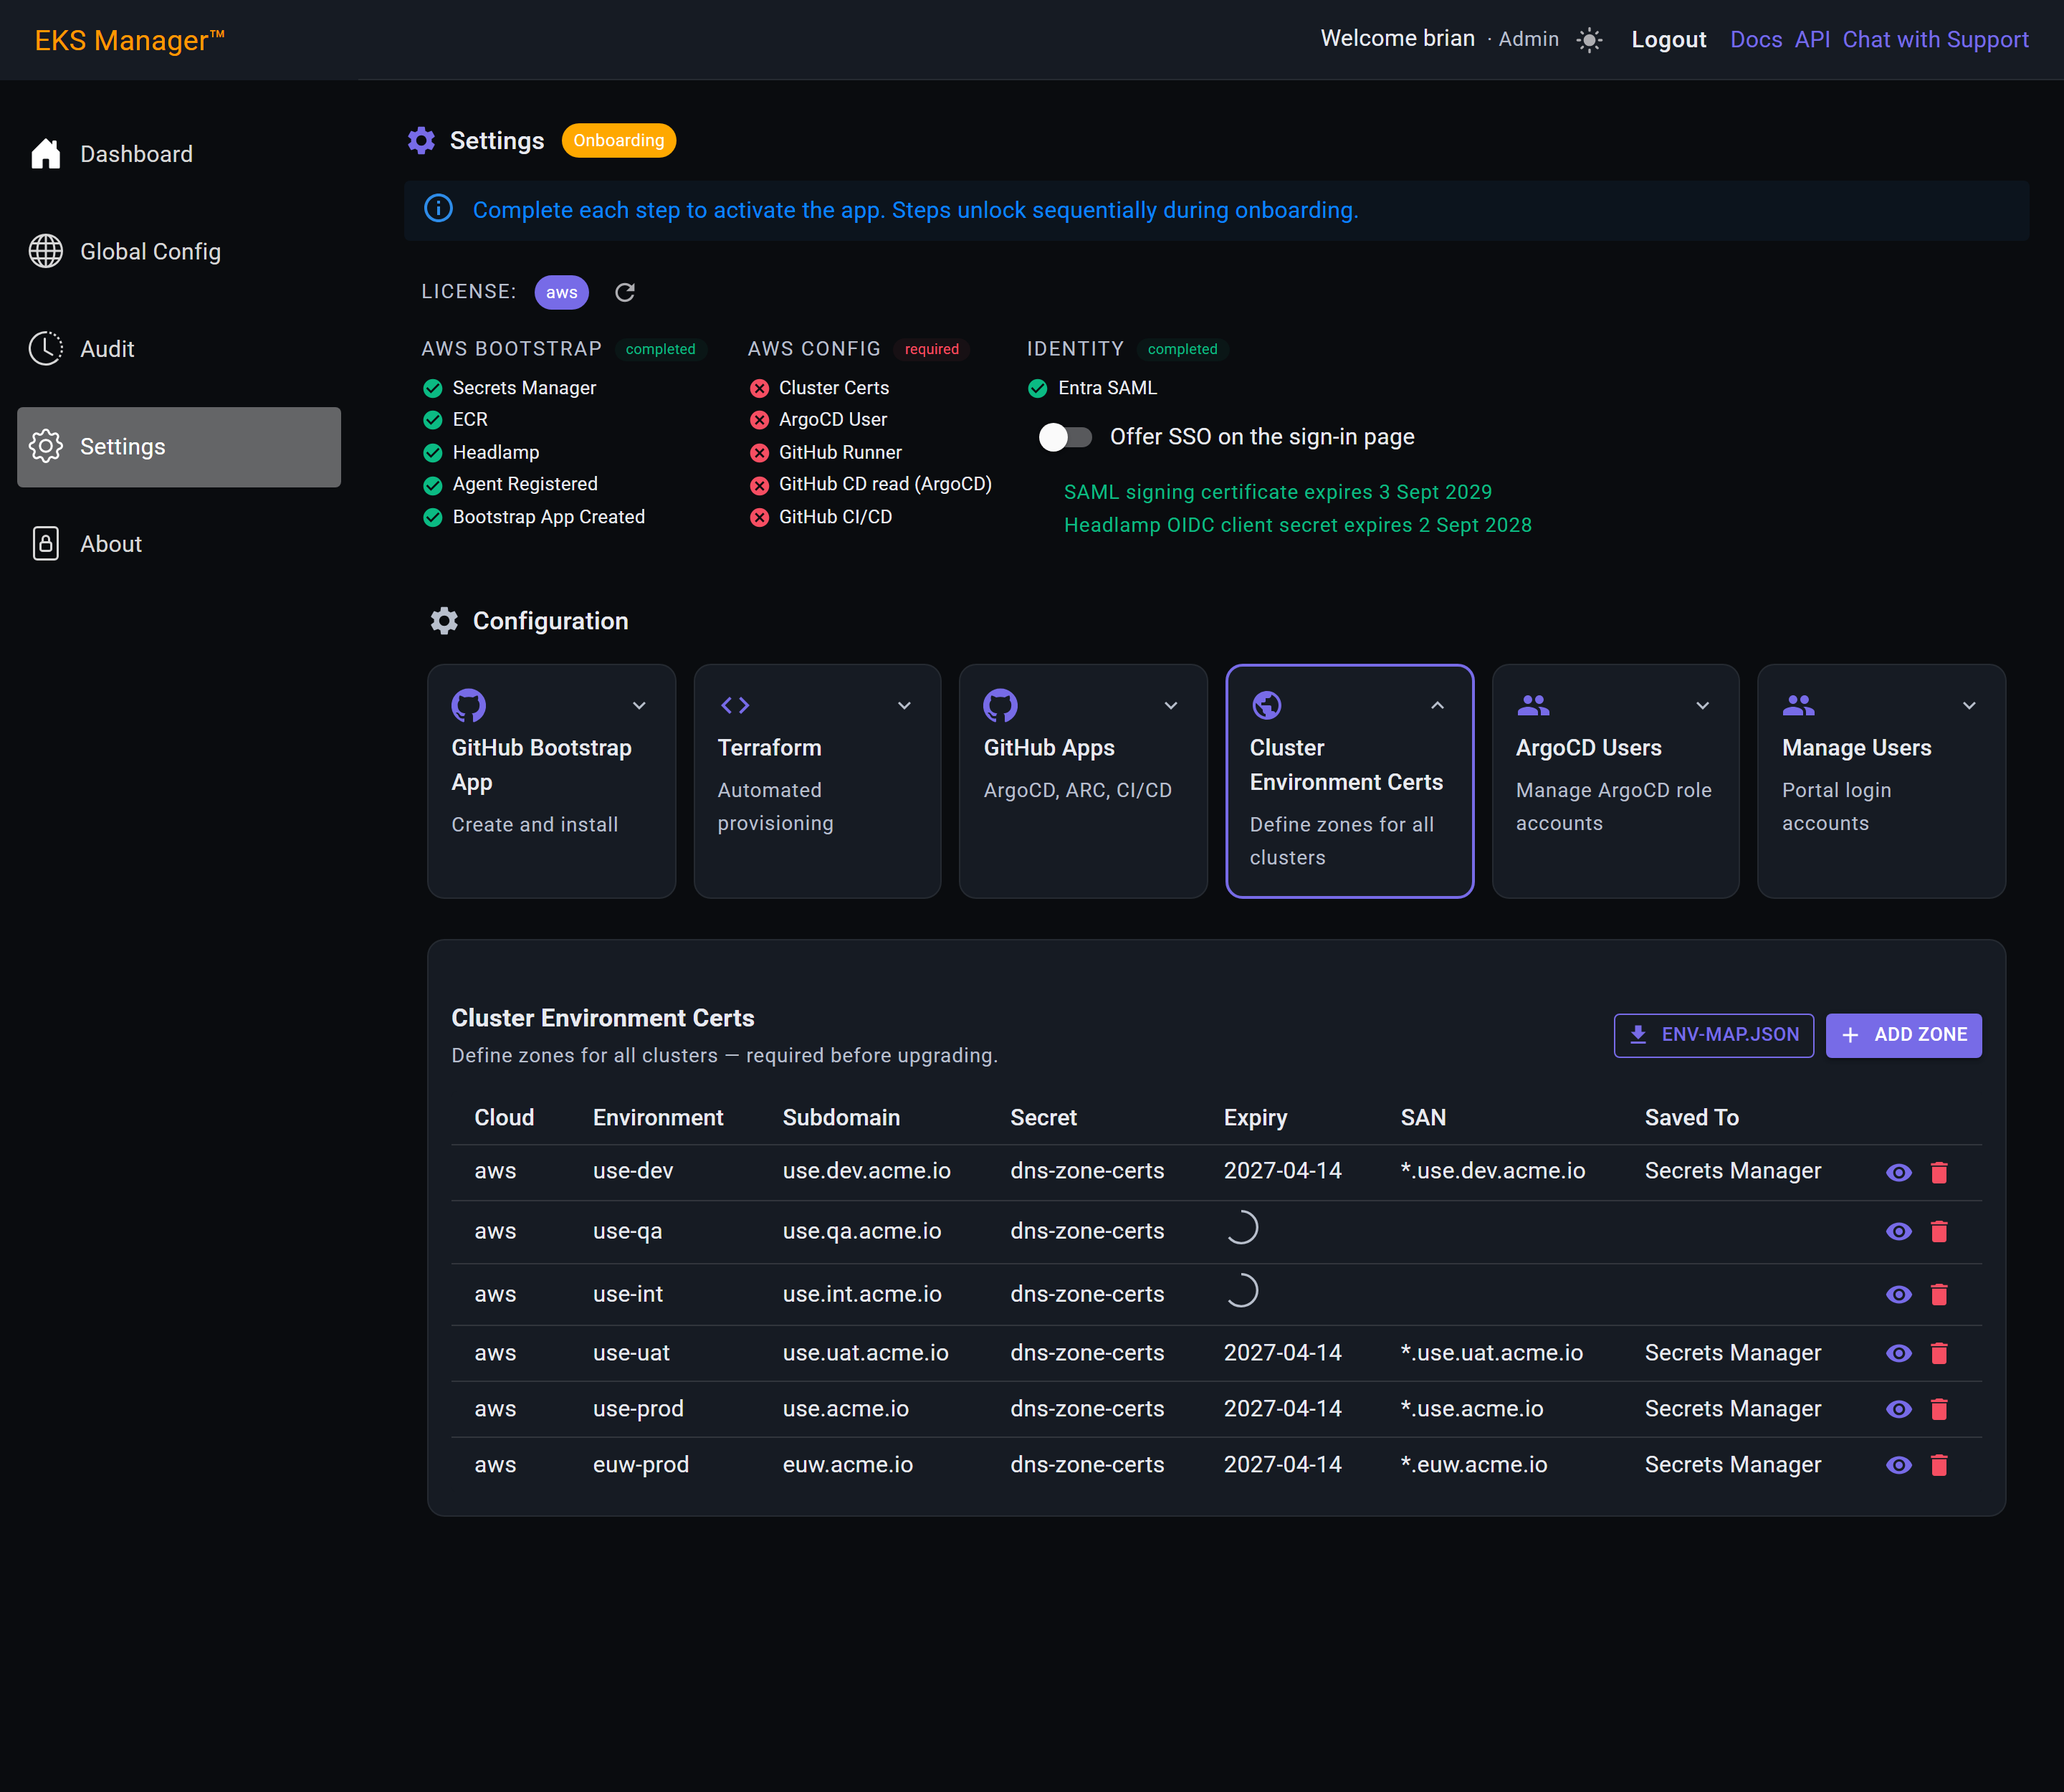
Each environment has two hosted zones, and they are not interchangeable.
The public zone is where Let's Encrypt reads the DNS-01 challenge. Issuing a certificate means writing a TXT record there and letting Let's Encrypt resolve it from the internet, so it has to be genuinely public and genuinely delegated from your parent domain.
The private zone is what makes a cluster's internal load balancer reachable by name from inside the VPC. It answers only through the resolver of a VPC associated with it — which is why the shared services VPC has to be associated with each one, or the agent resolves nothing and falls through to public DNS.
The certificate covers the same wildcard either way. What differs is who can resolve the name it is presented for.
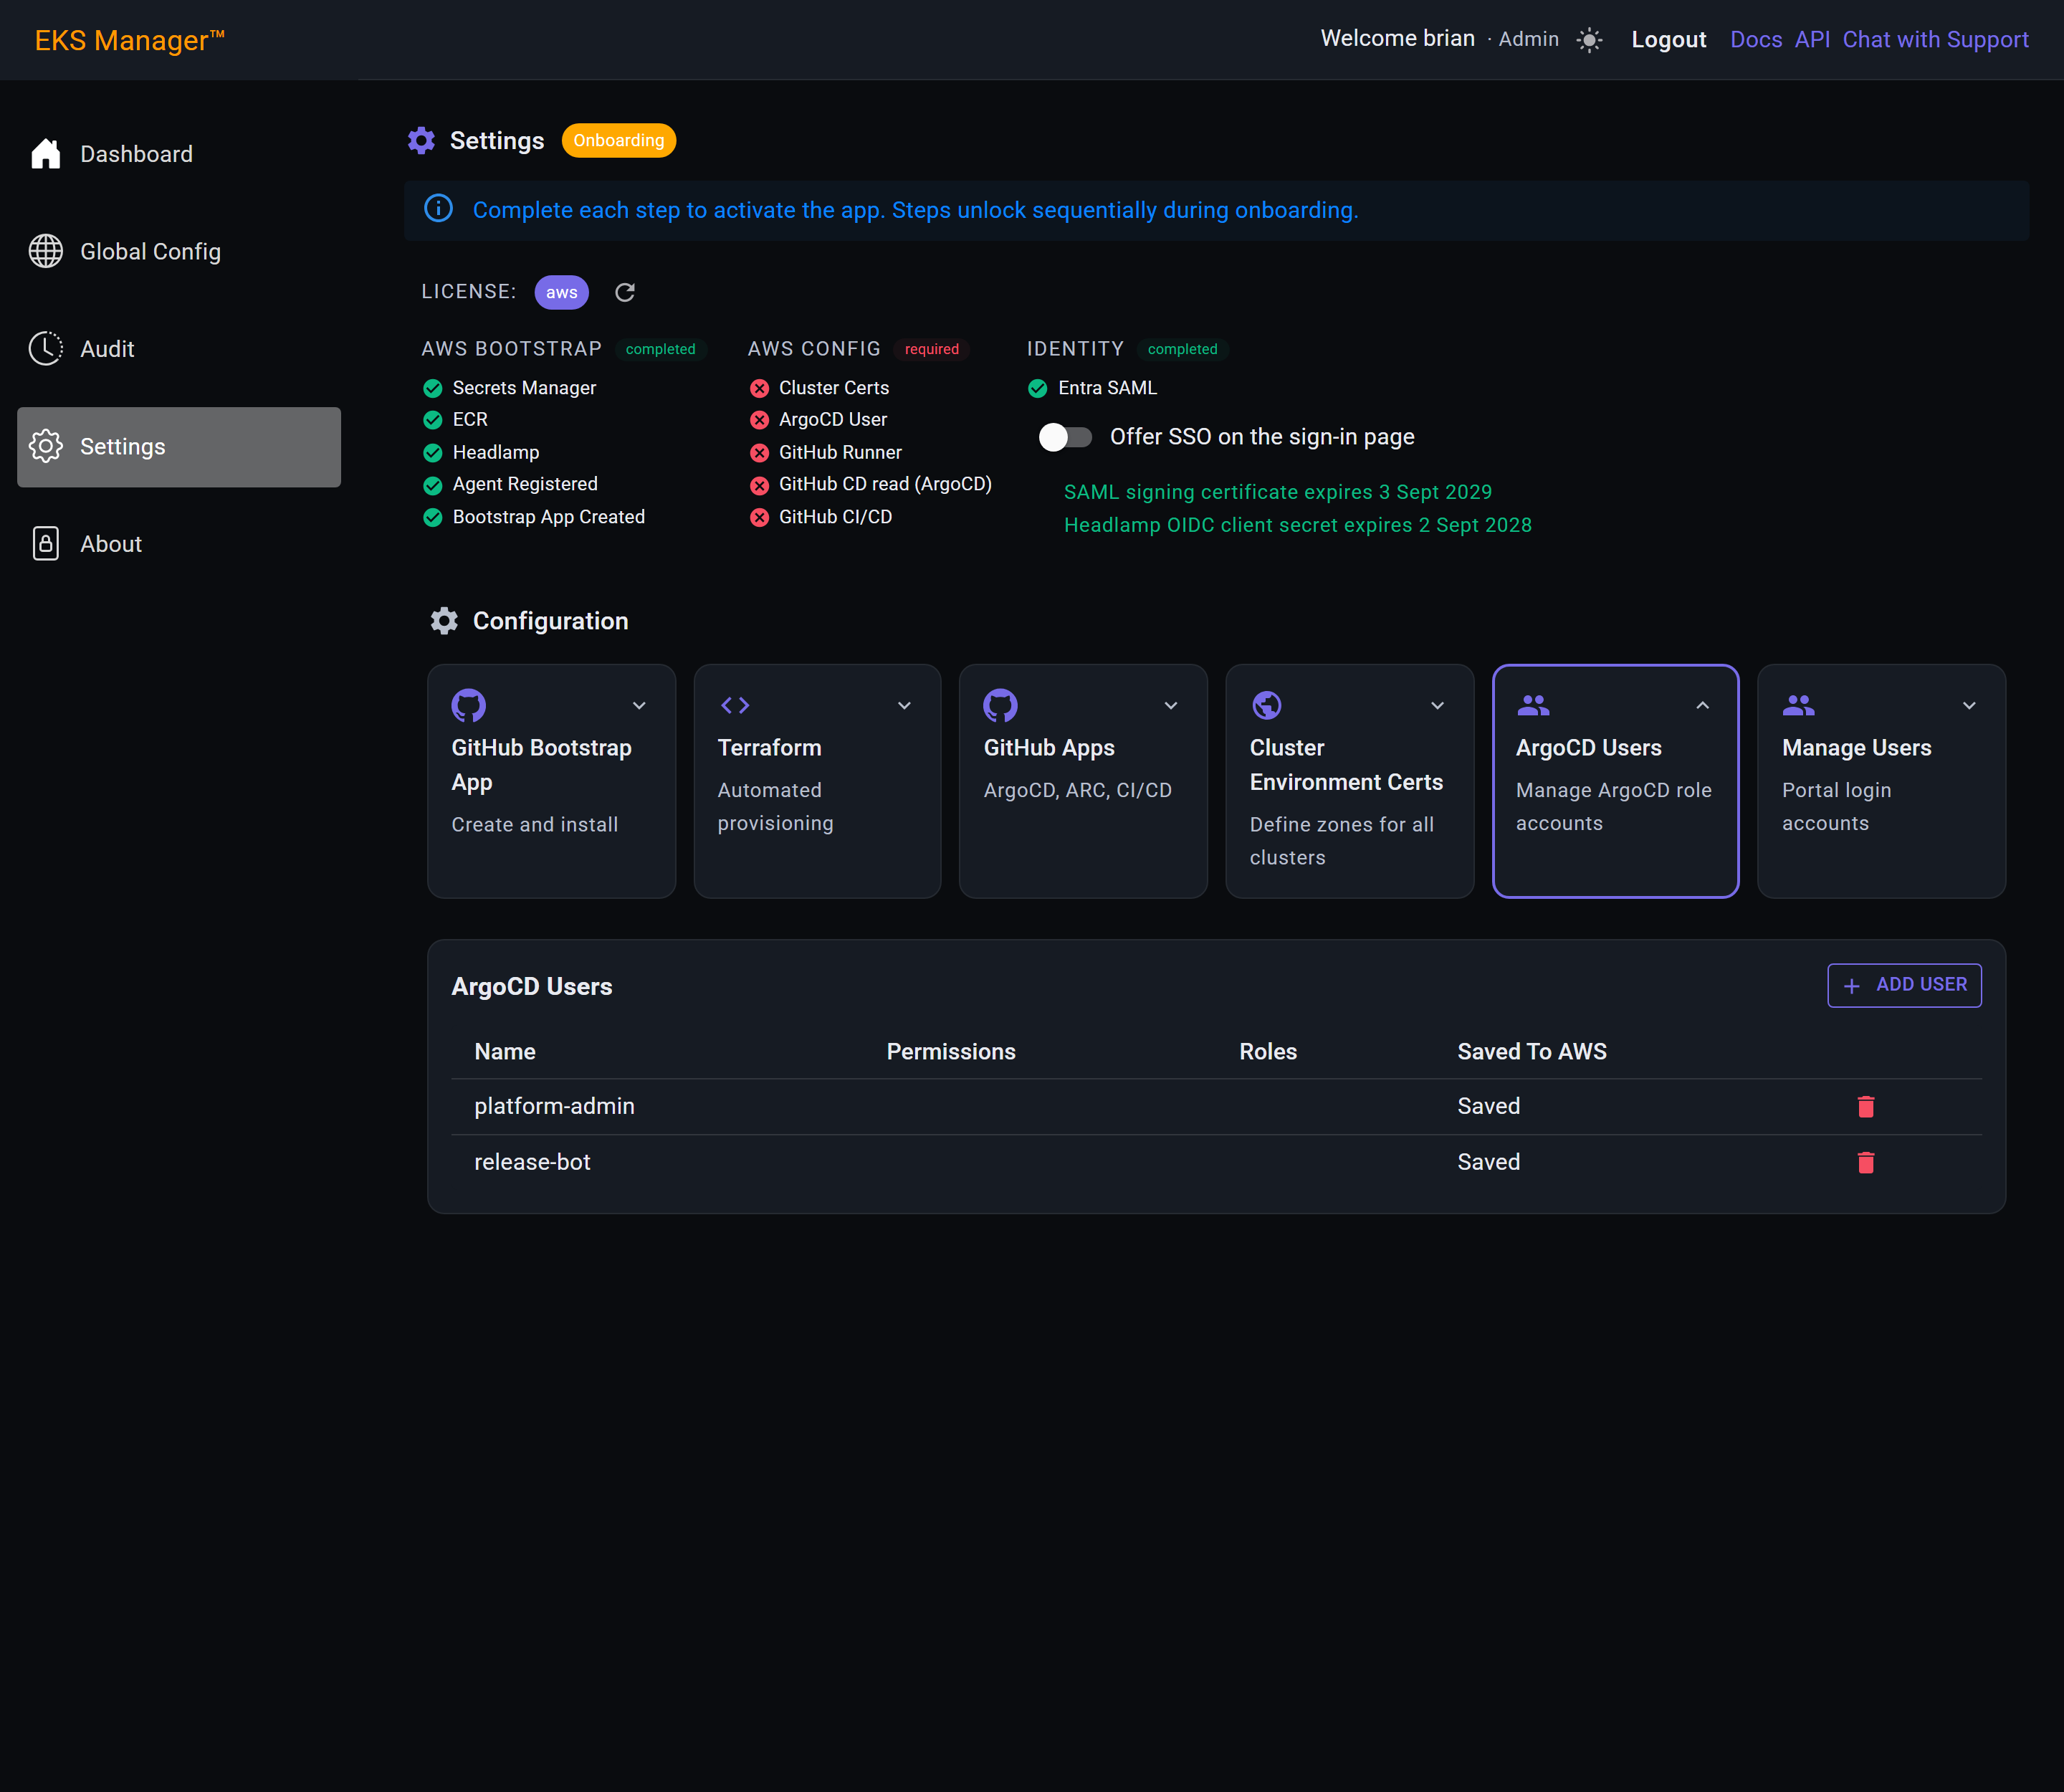
ArgoCD Users
These are not people. They are ArgoCD role accounts — the credentials a pipeline or a person uses against ArgoCD itself, quite separate from who can sign in to EKS Manager.
Saved To says where each one's credentials were written. On AWS that is Secrets Manager in the shared services account, which is also where the agent reads them from when it configures ArgoCD on a cluster.
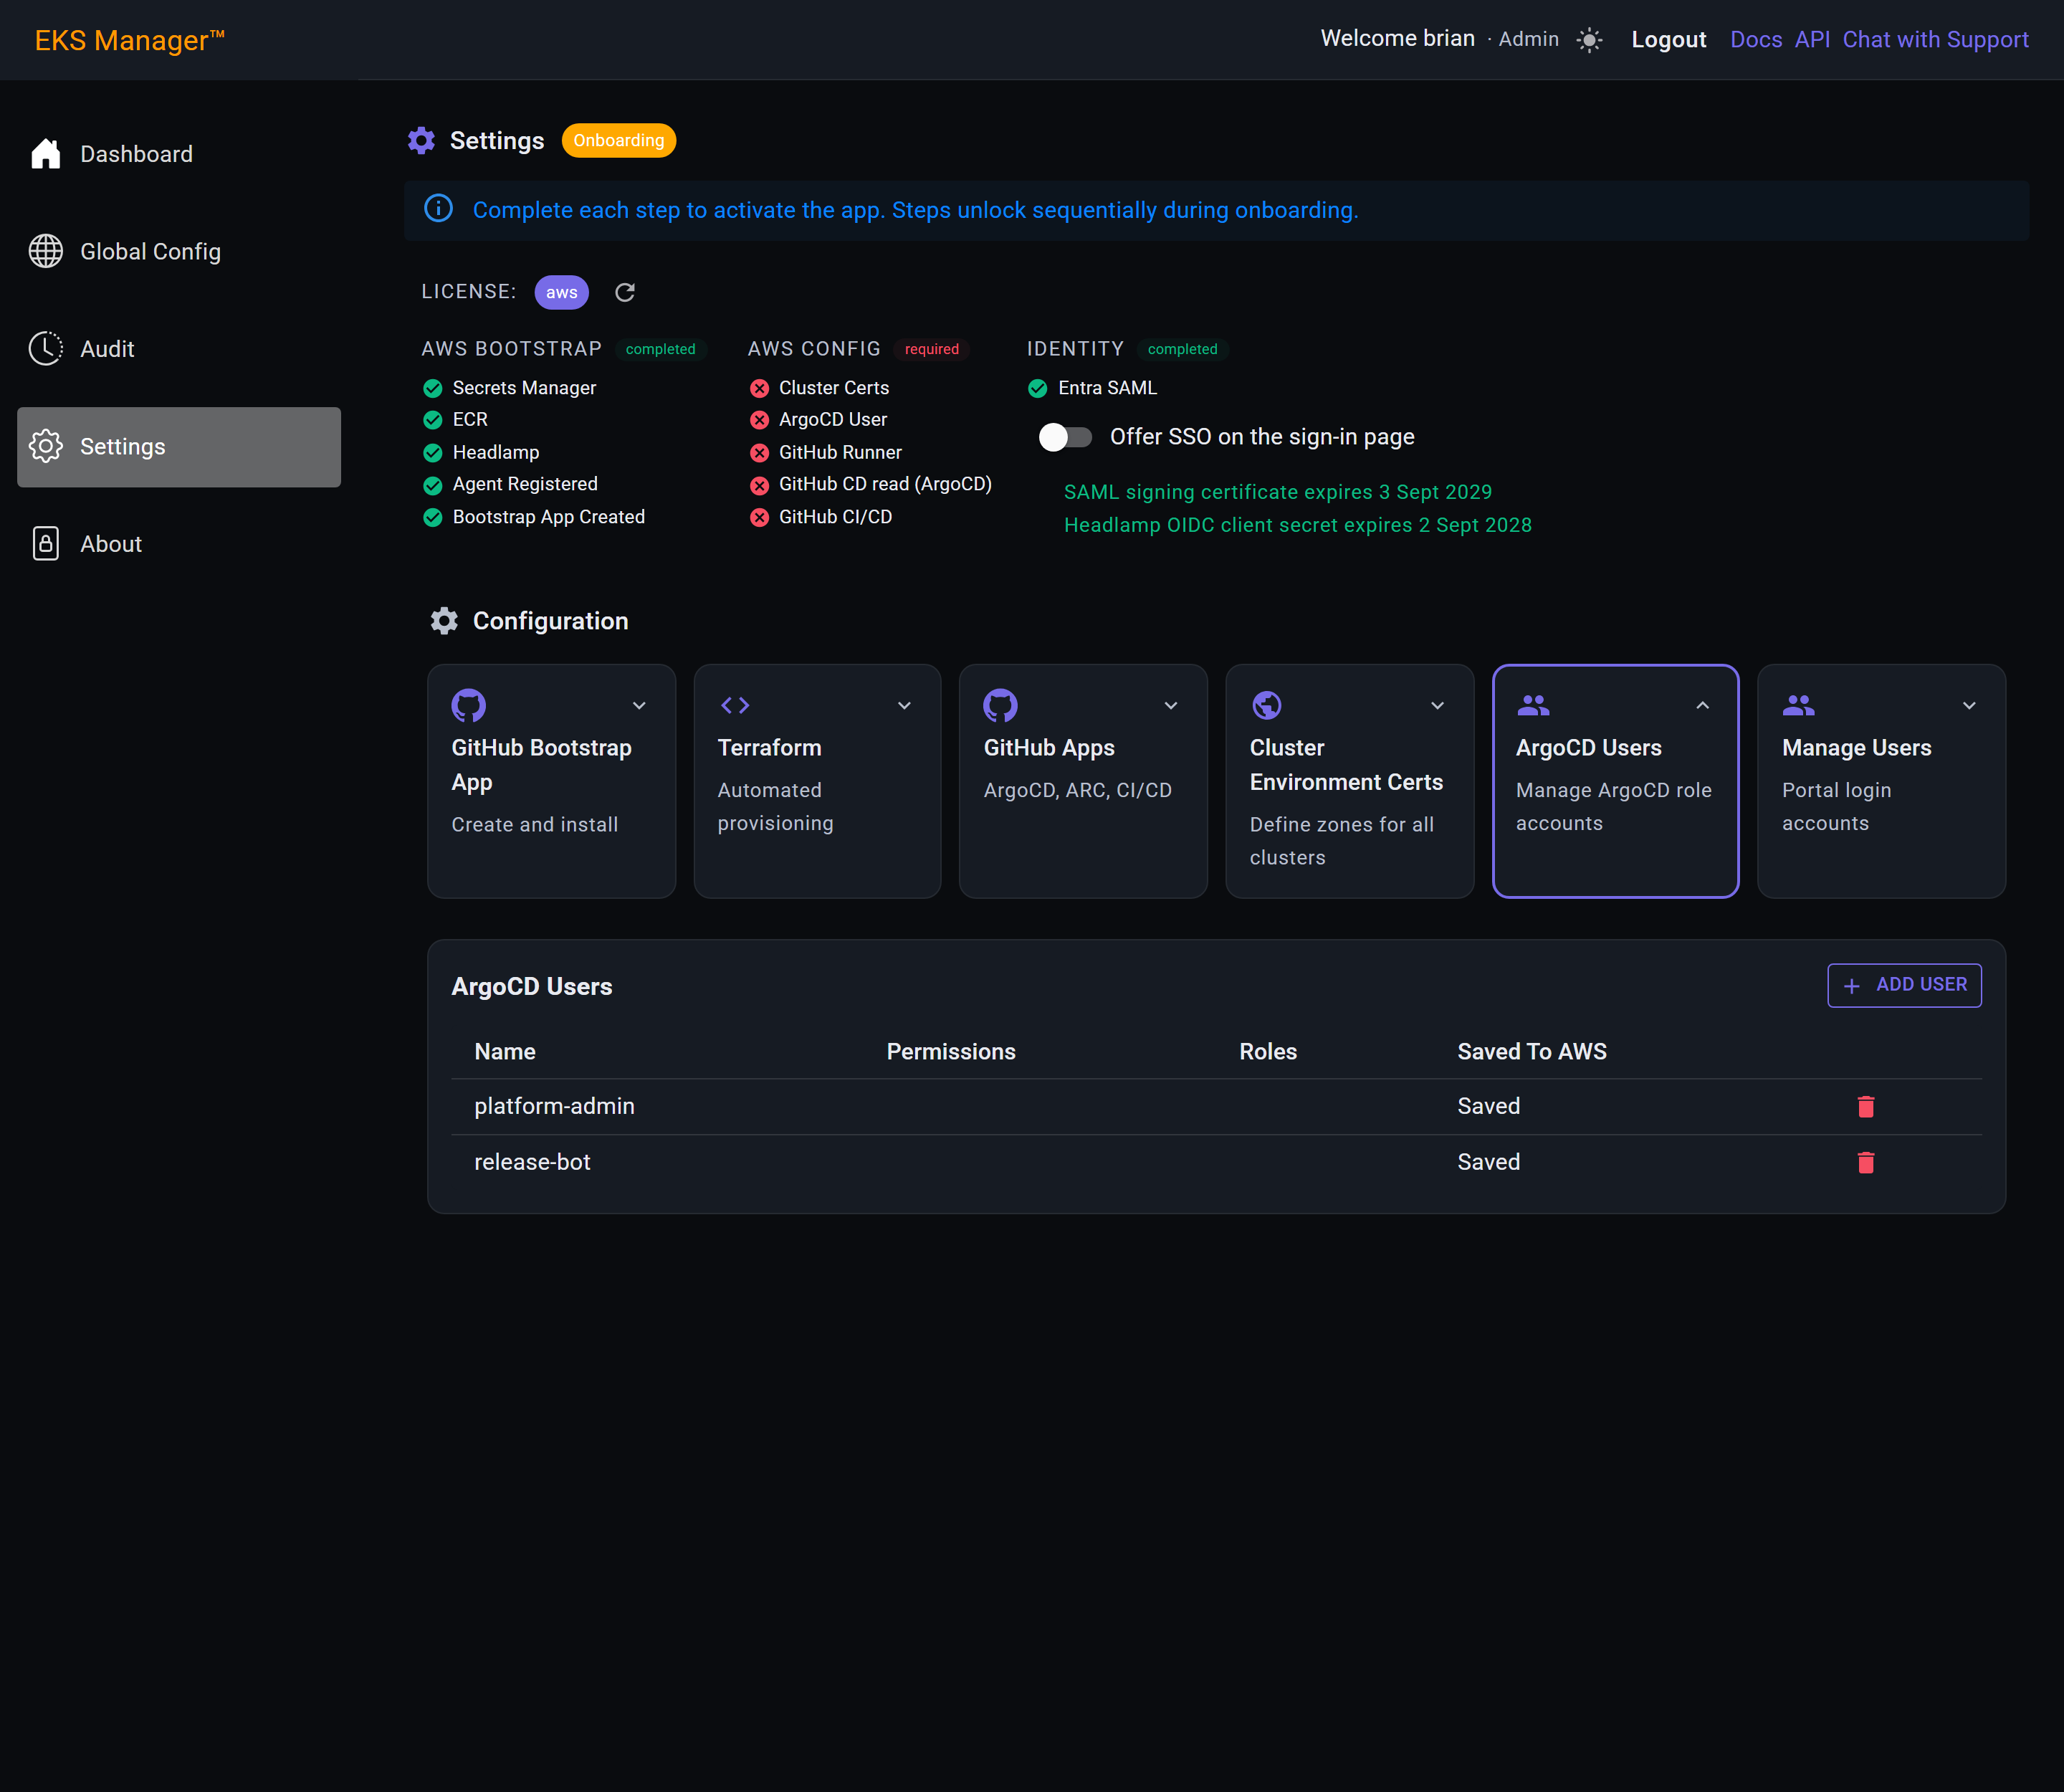
Add User opens a panel on the right. Nothing is created until it is saved, so opening it to see what it asks for is safe.
Have in mind before you start what this account is for — a build pipeline, a release job — because that decides both of the choices on the next screen.
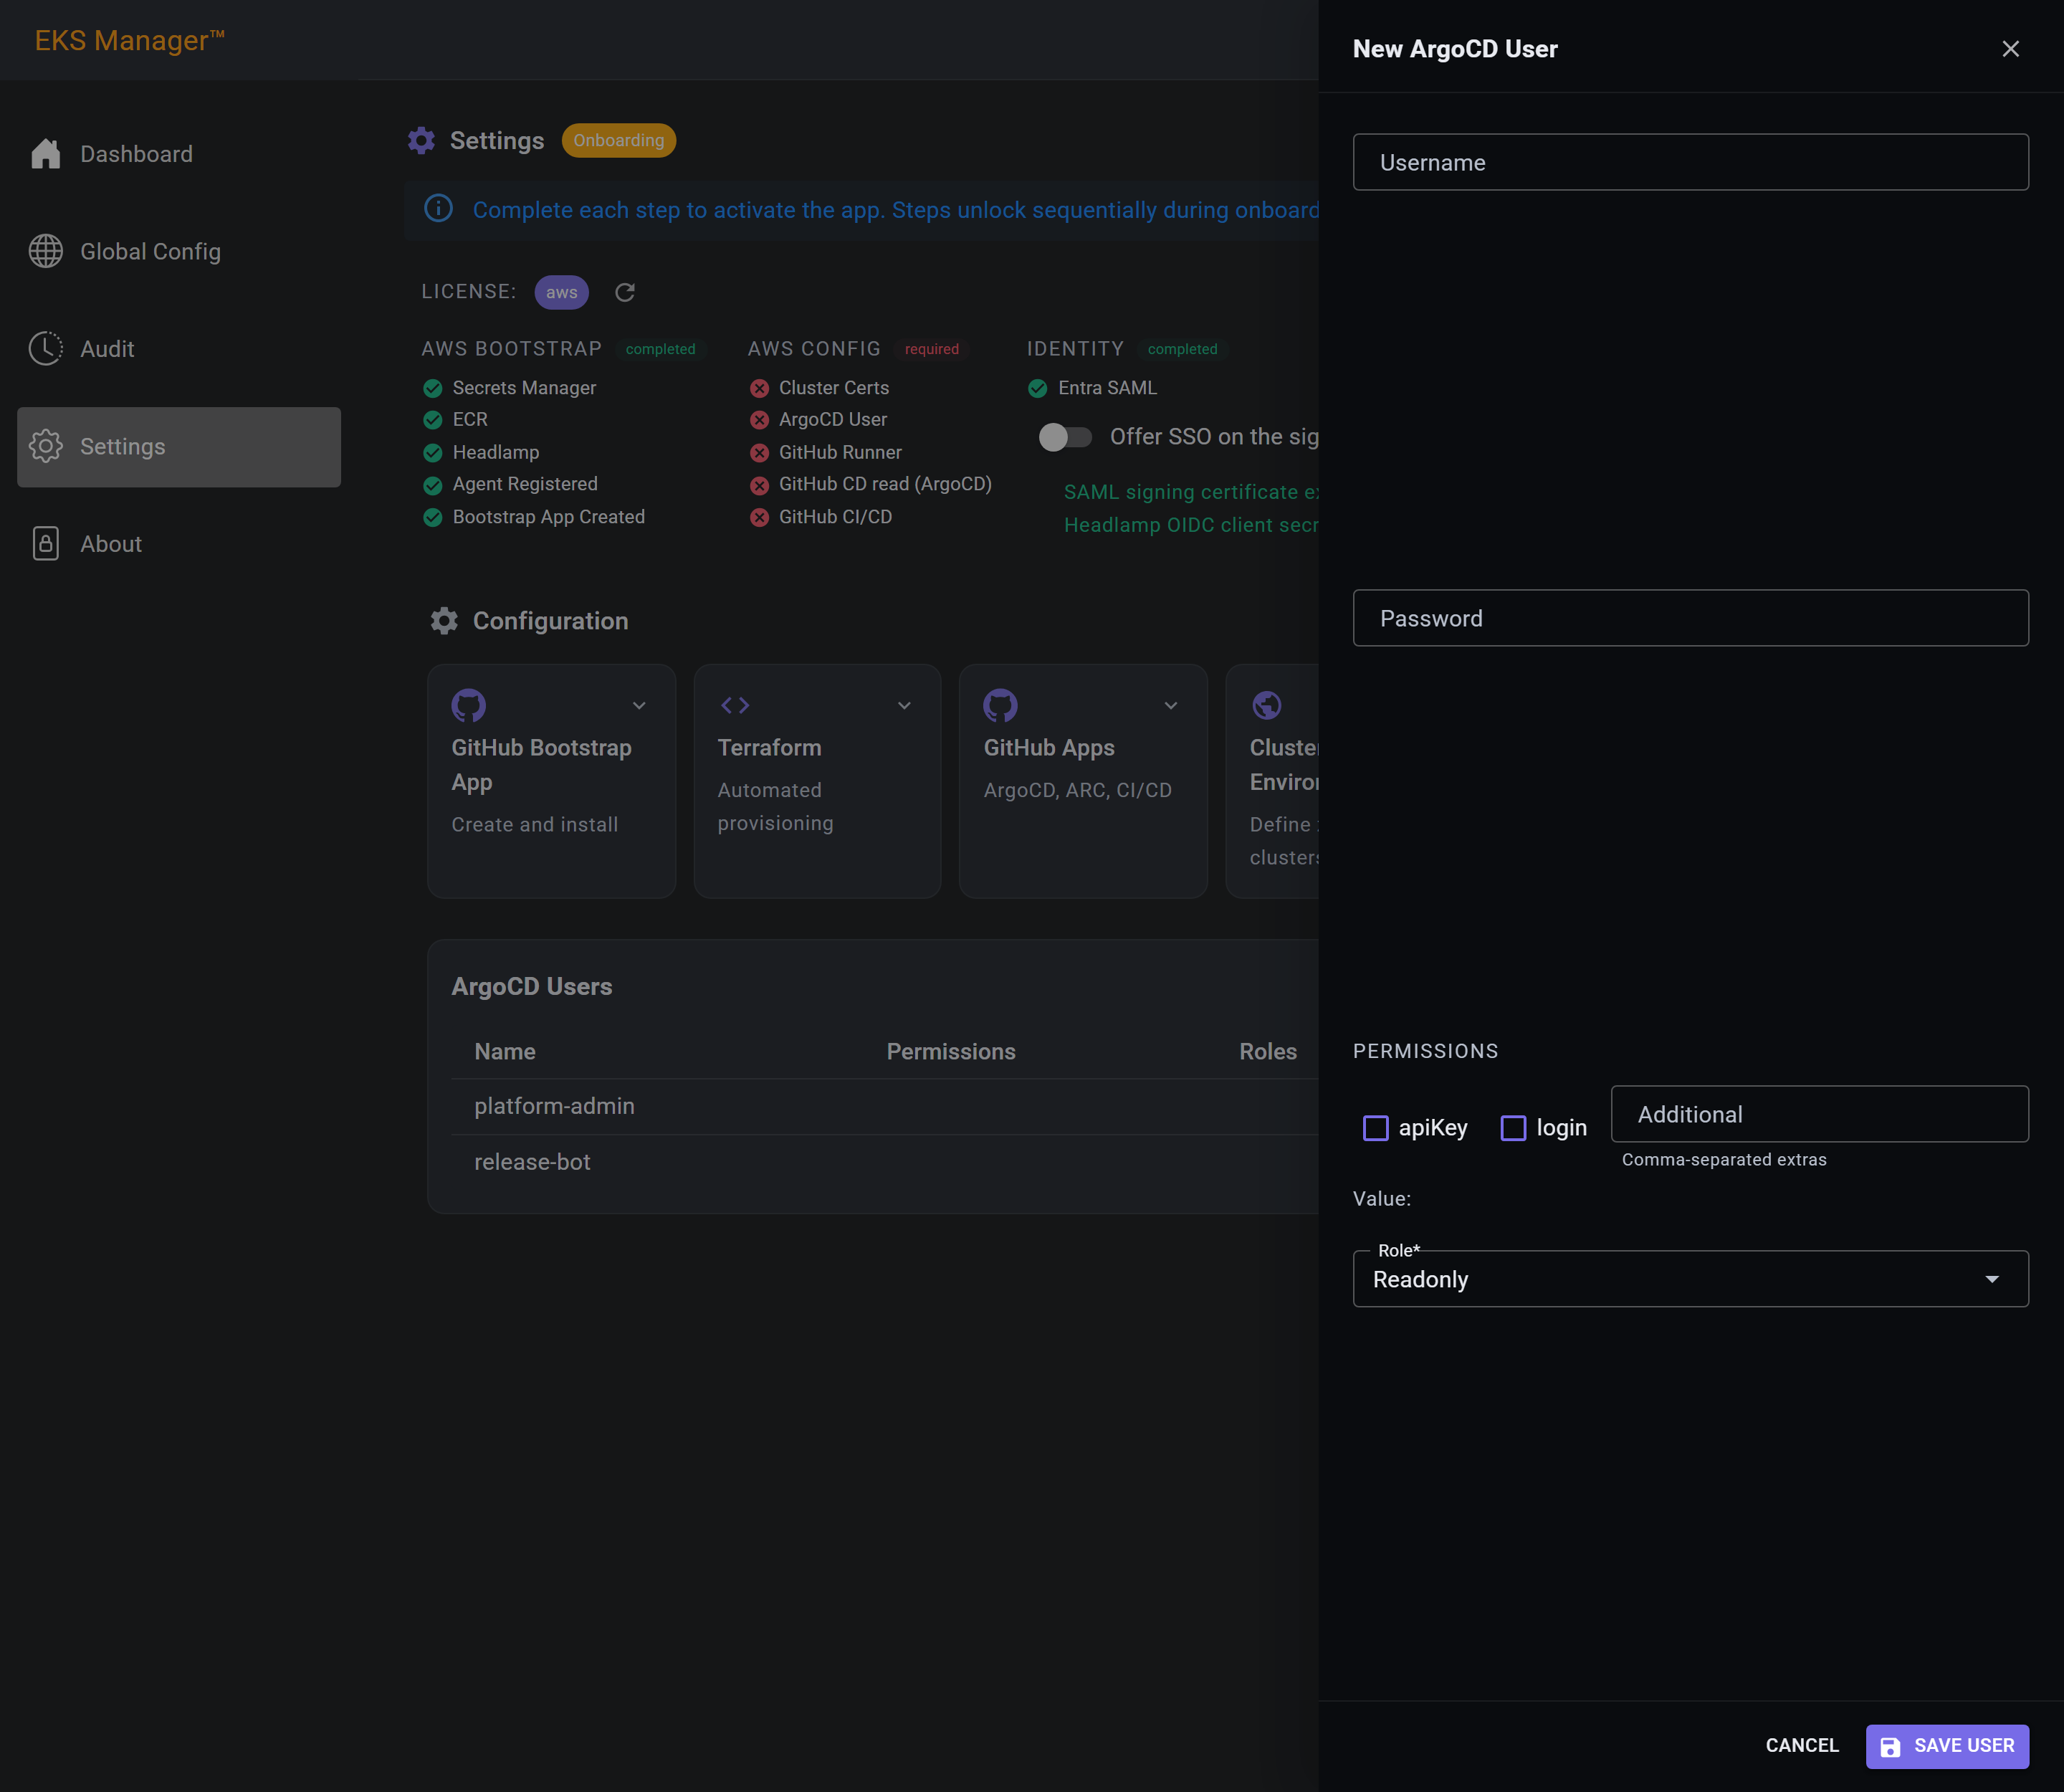
A username, a password of between eight and thirty-two characters, and what the account may do.
Treat these as machine accounts. People should not be getting personal ArgoCD logins from here — human access wants governing through your directory, where joining and leaving a team changes it. What belongs here is the pipeline's identity.
They are created on every cluster. One entry is not one cluster's account; it exists on all of them. So the usual shape is a single deployment account with permissions appropriate to every cluster it will touch. A pipeline that needs to be powerful on one cluster and read-only on another is a change to your CI/CD to use a different account per ArgoCD, not something this page can express.
apiKey lets it mint tokens for automation; login lets it sign in to the ArgoCD UI. They are independent, and a pipeline usually wants the first and not the second — a leaked token then cannot be used to log in and look around.
Role is what it can do once in. Readonly is the right default, and the one to keep unless something genuinely needs to change applications.
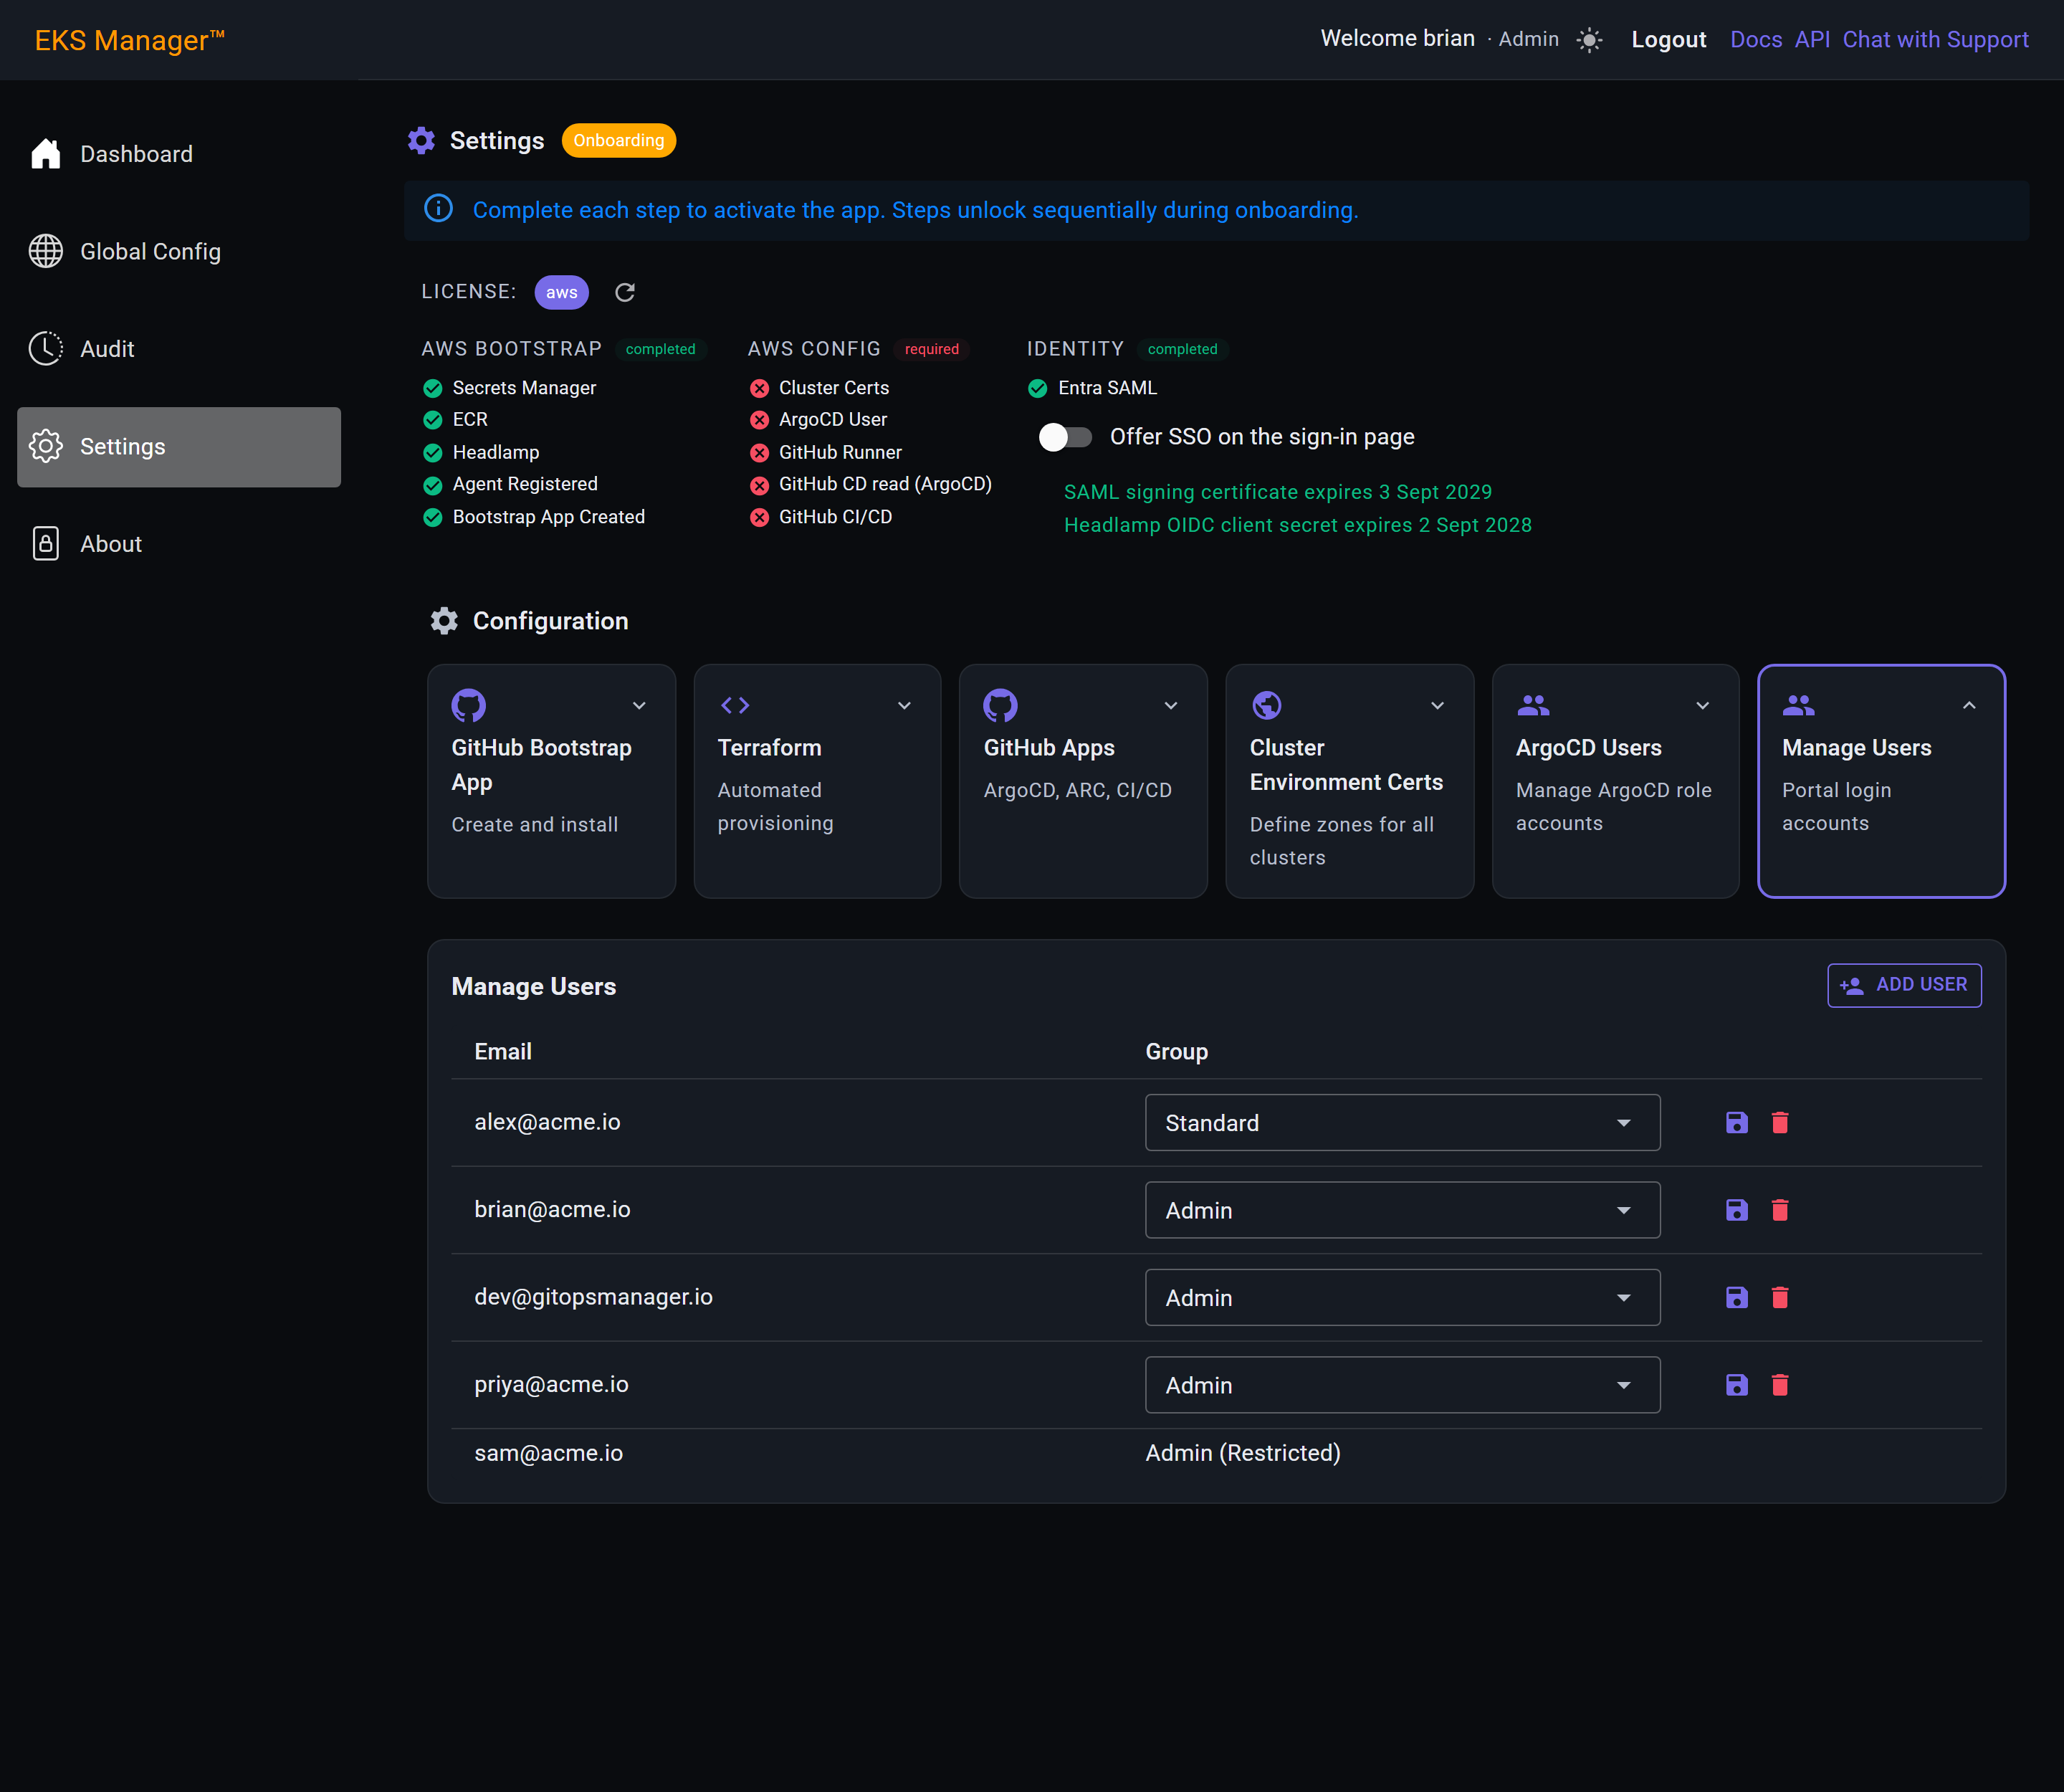
Manage Users
Manage Users is the portal's own account list — who can open this application at all.
The Group column is the whole of the authorisation model, and it has two values. Admin can do everything, including creating clusters and reaching this page. Standard is everyone else: the product still works for them, but the parts that change infrastructure refuse.
Standard is the default for a new account, which is the right way round — somebody added in a hurry gets the lesser of the two.
Once SSO is configured these accounts stop being how most people arrive. Sign-in federates to your directory, and this list is what says which group each of those people lands in.
Add User opens the panel. As with the ArgoCD accounts, nothing exists until it is saved.
This is also where an account is removed. Deleting a row is how you take someone's access away — there is no disabled state in between.
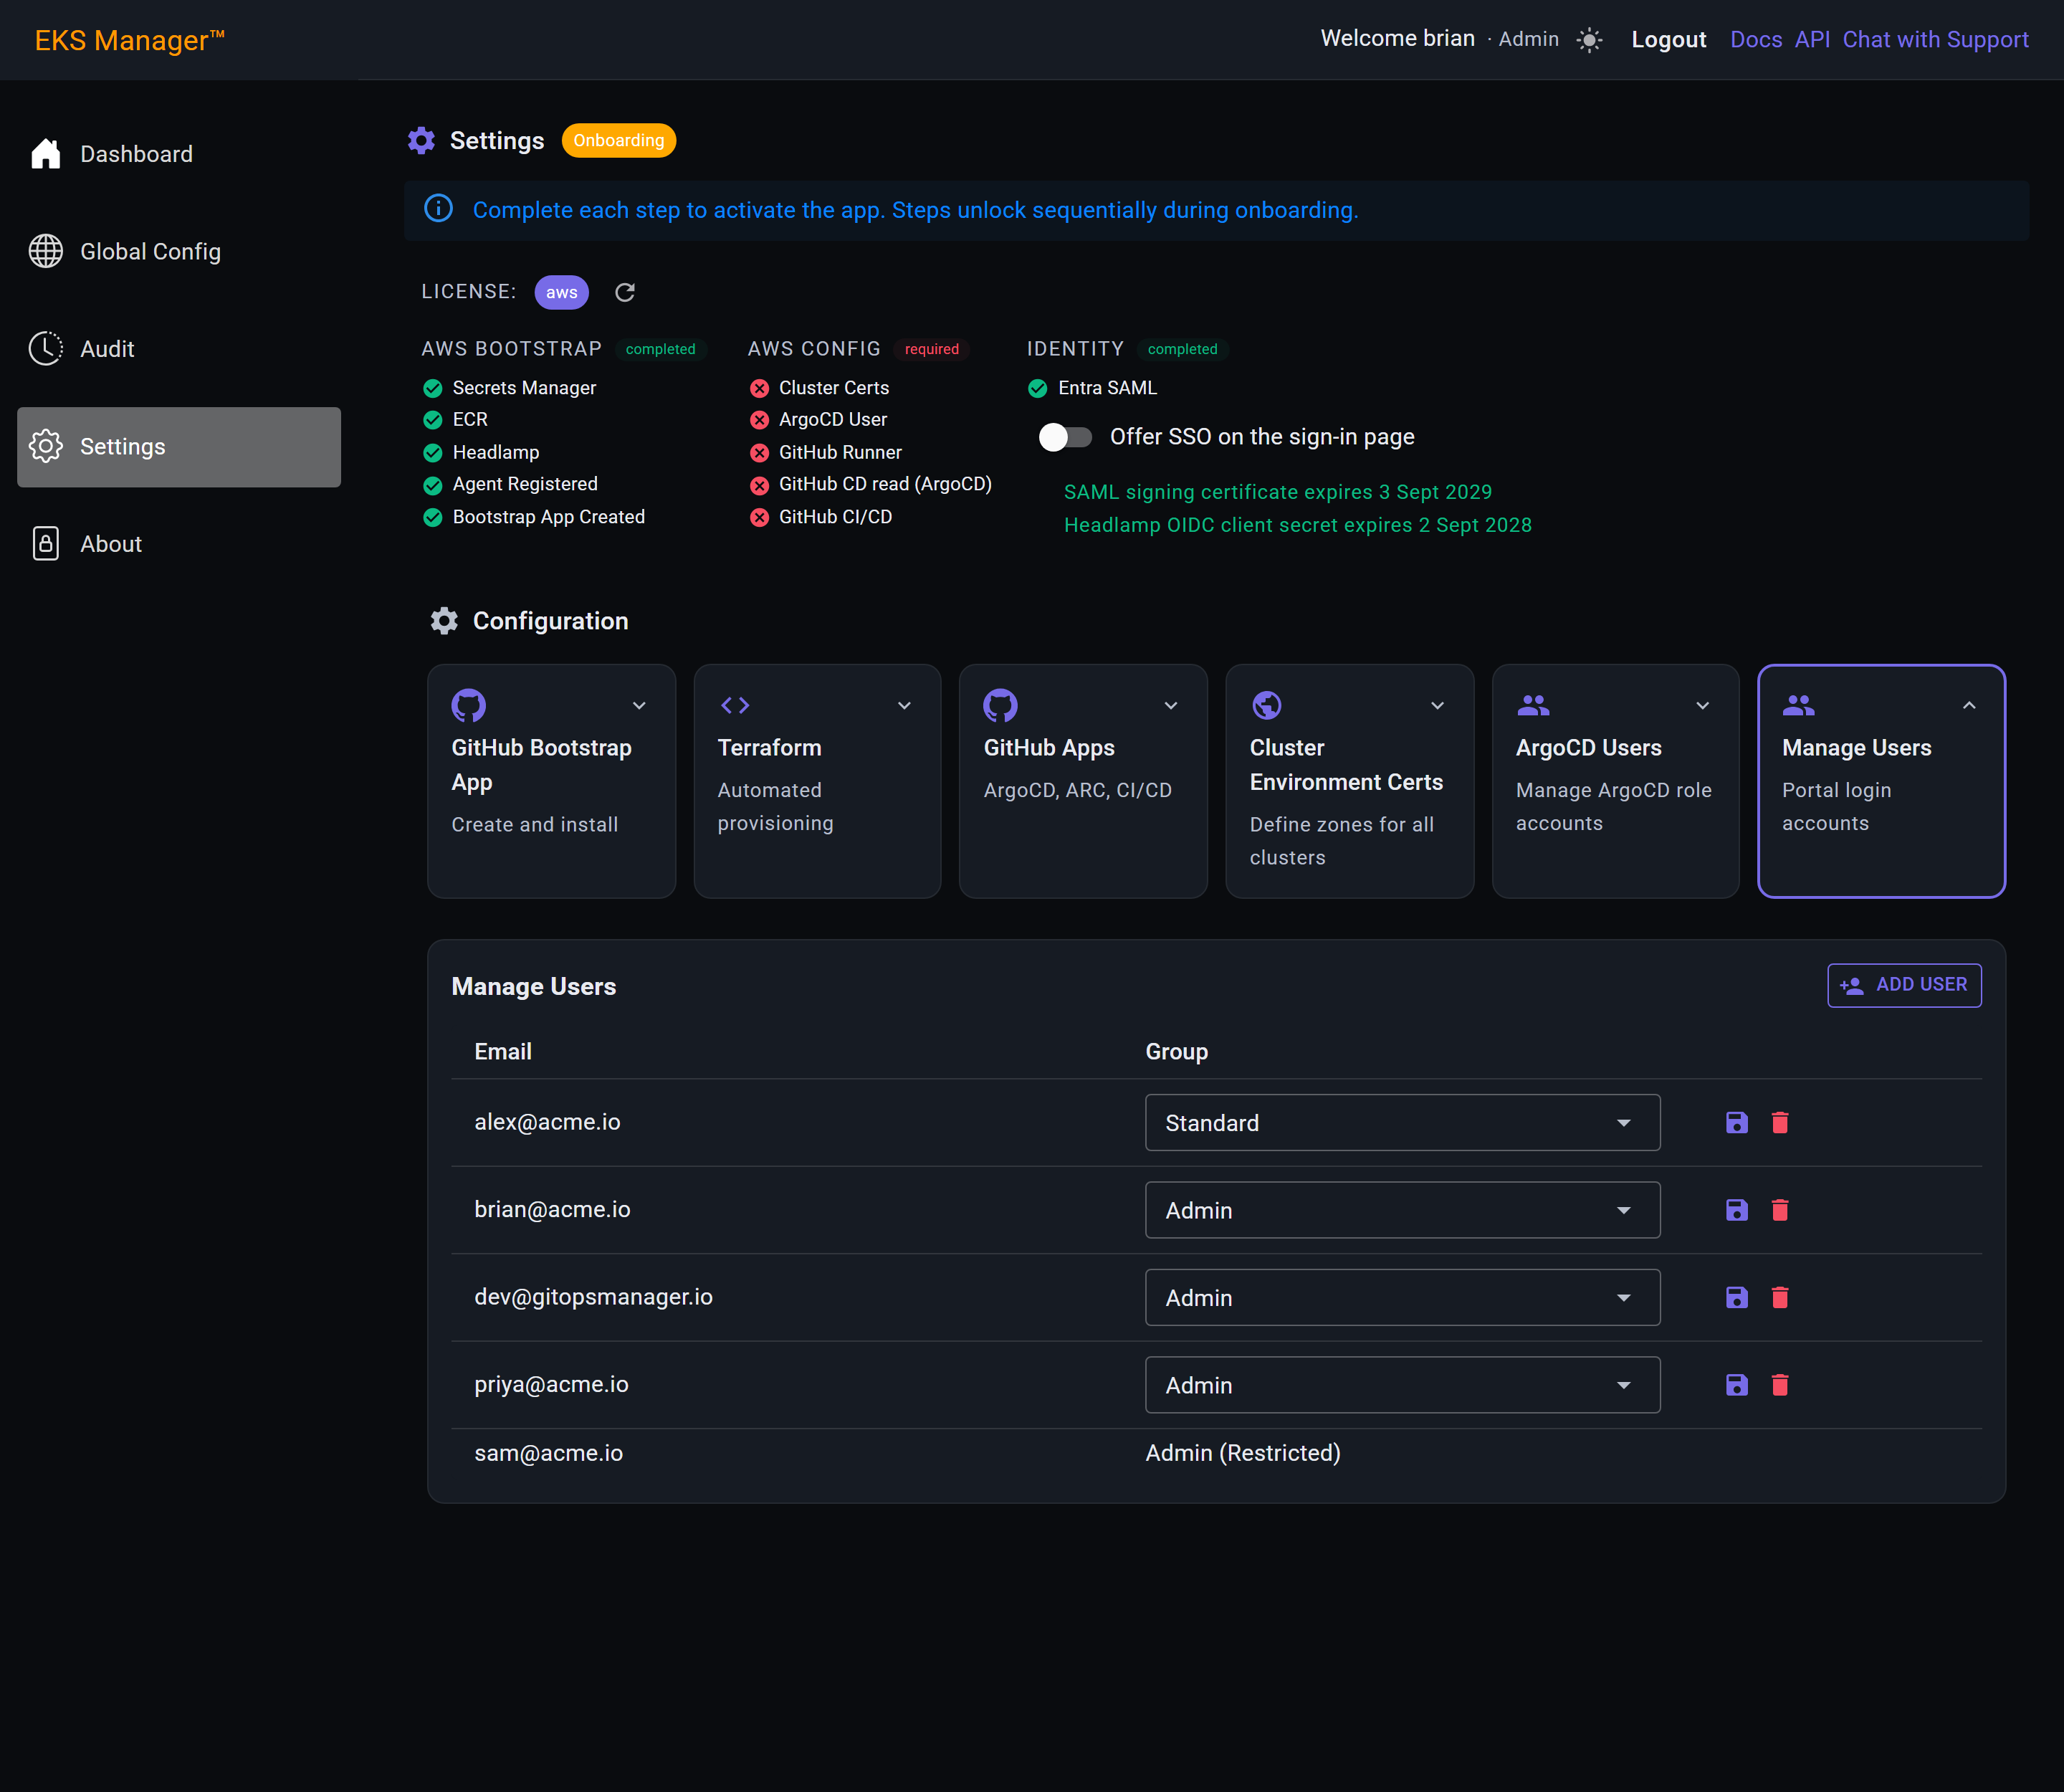
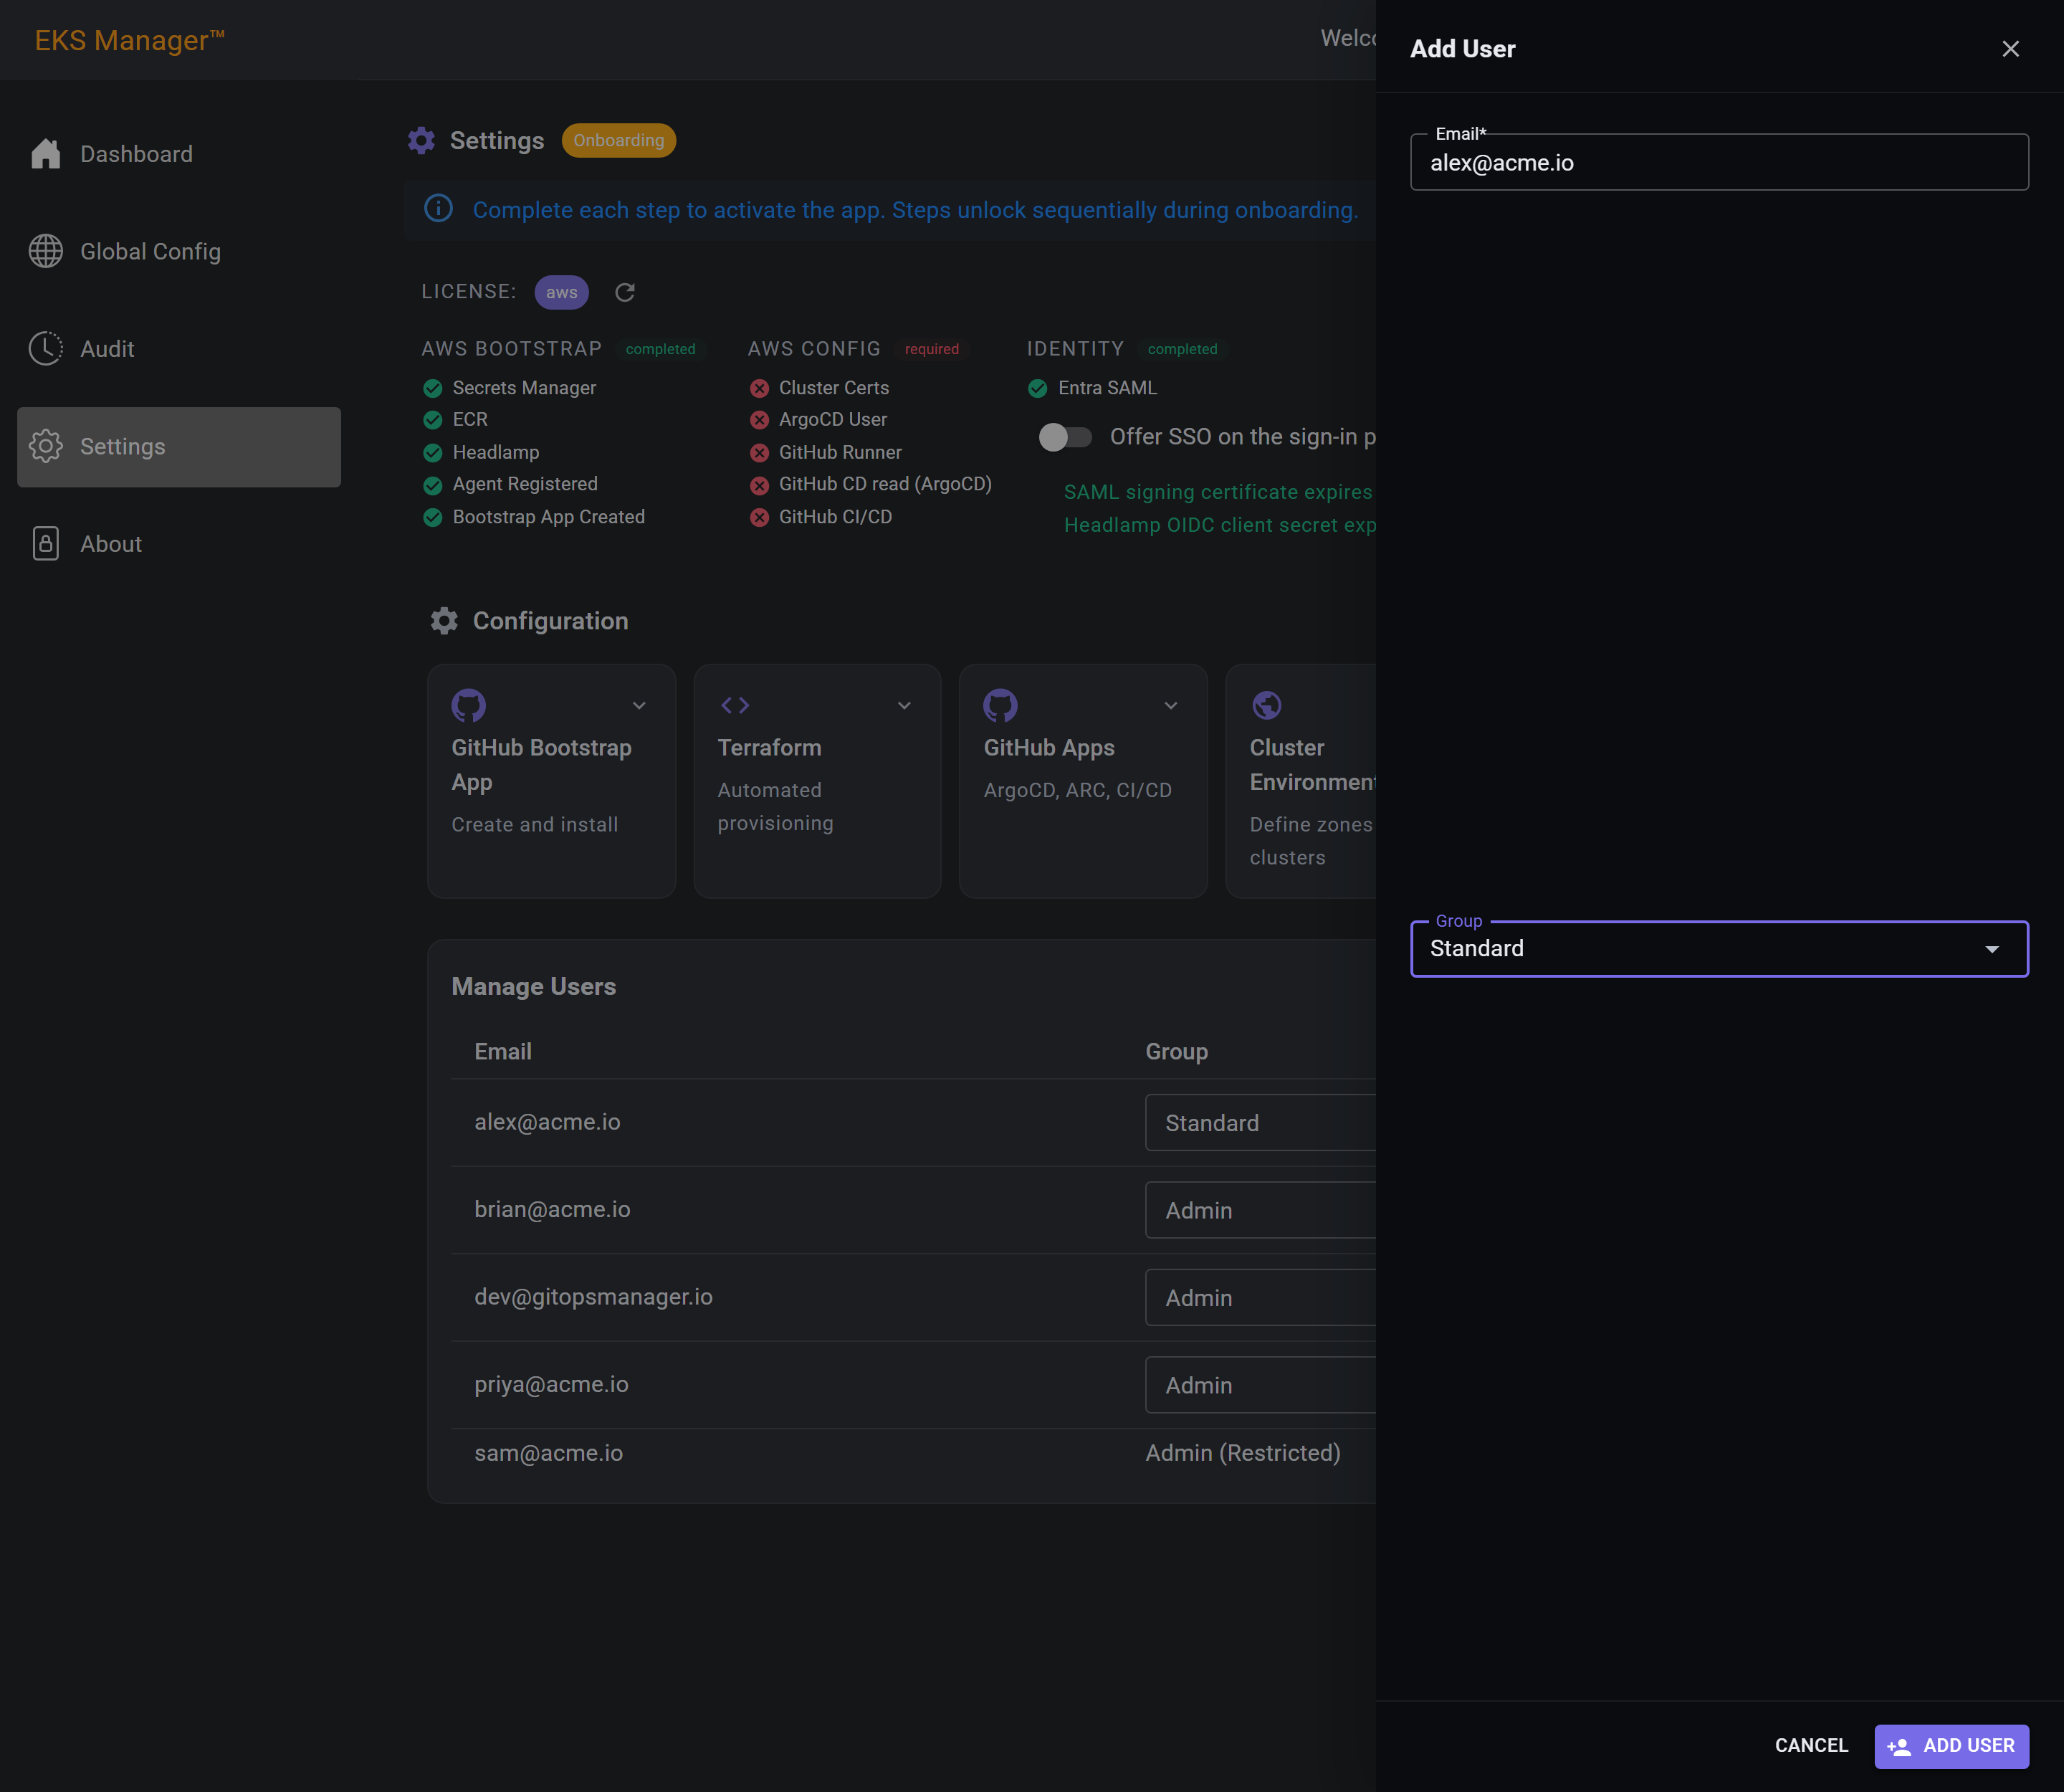
An email address and a group. Two fields, because that is the entire decision: who, and at what level.
Use the address your directory knows them by. When SSO signs them in, that address is what matches them to this row — a different one leaves them arriving as a person the product has never heard of.
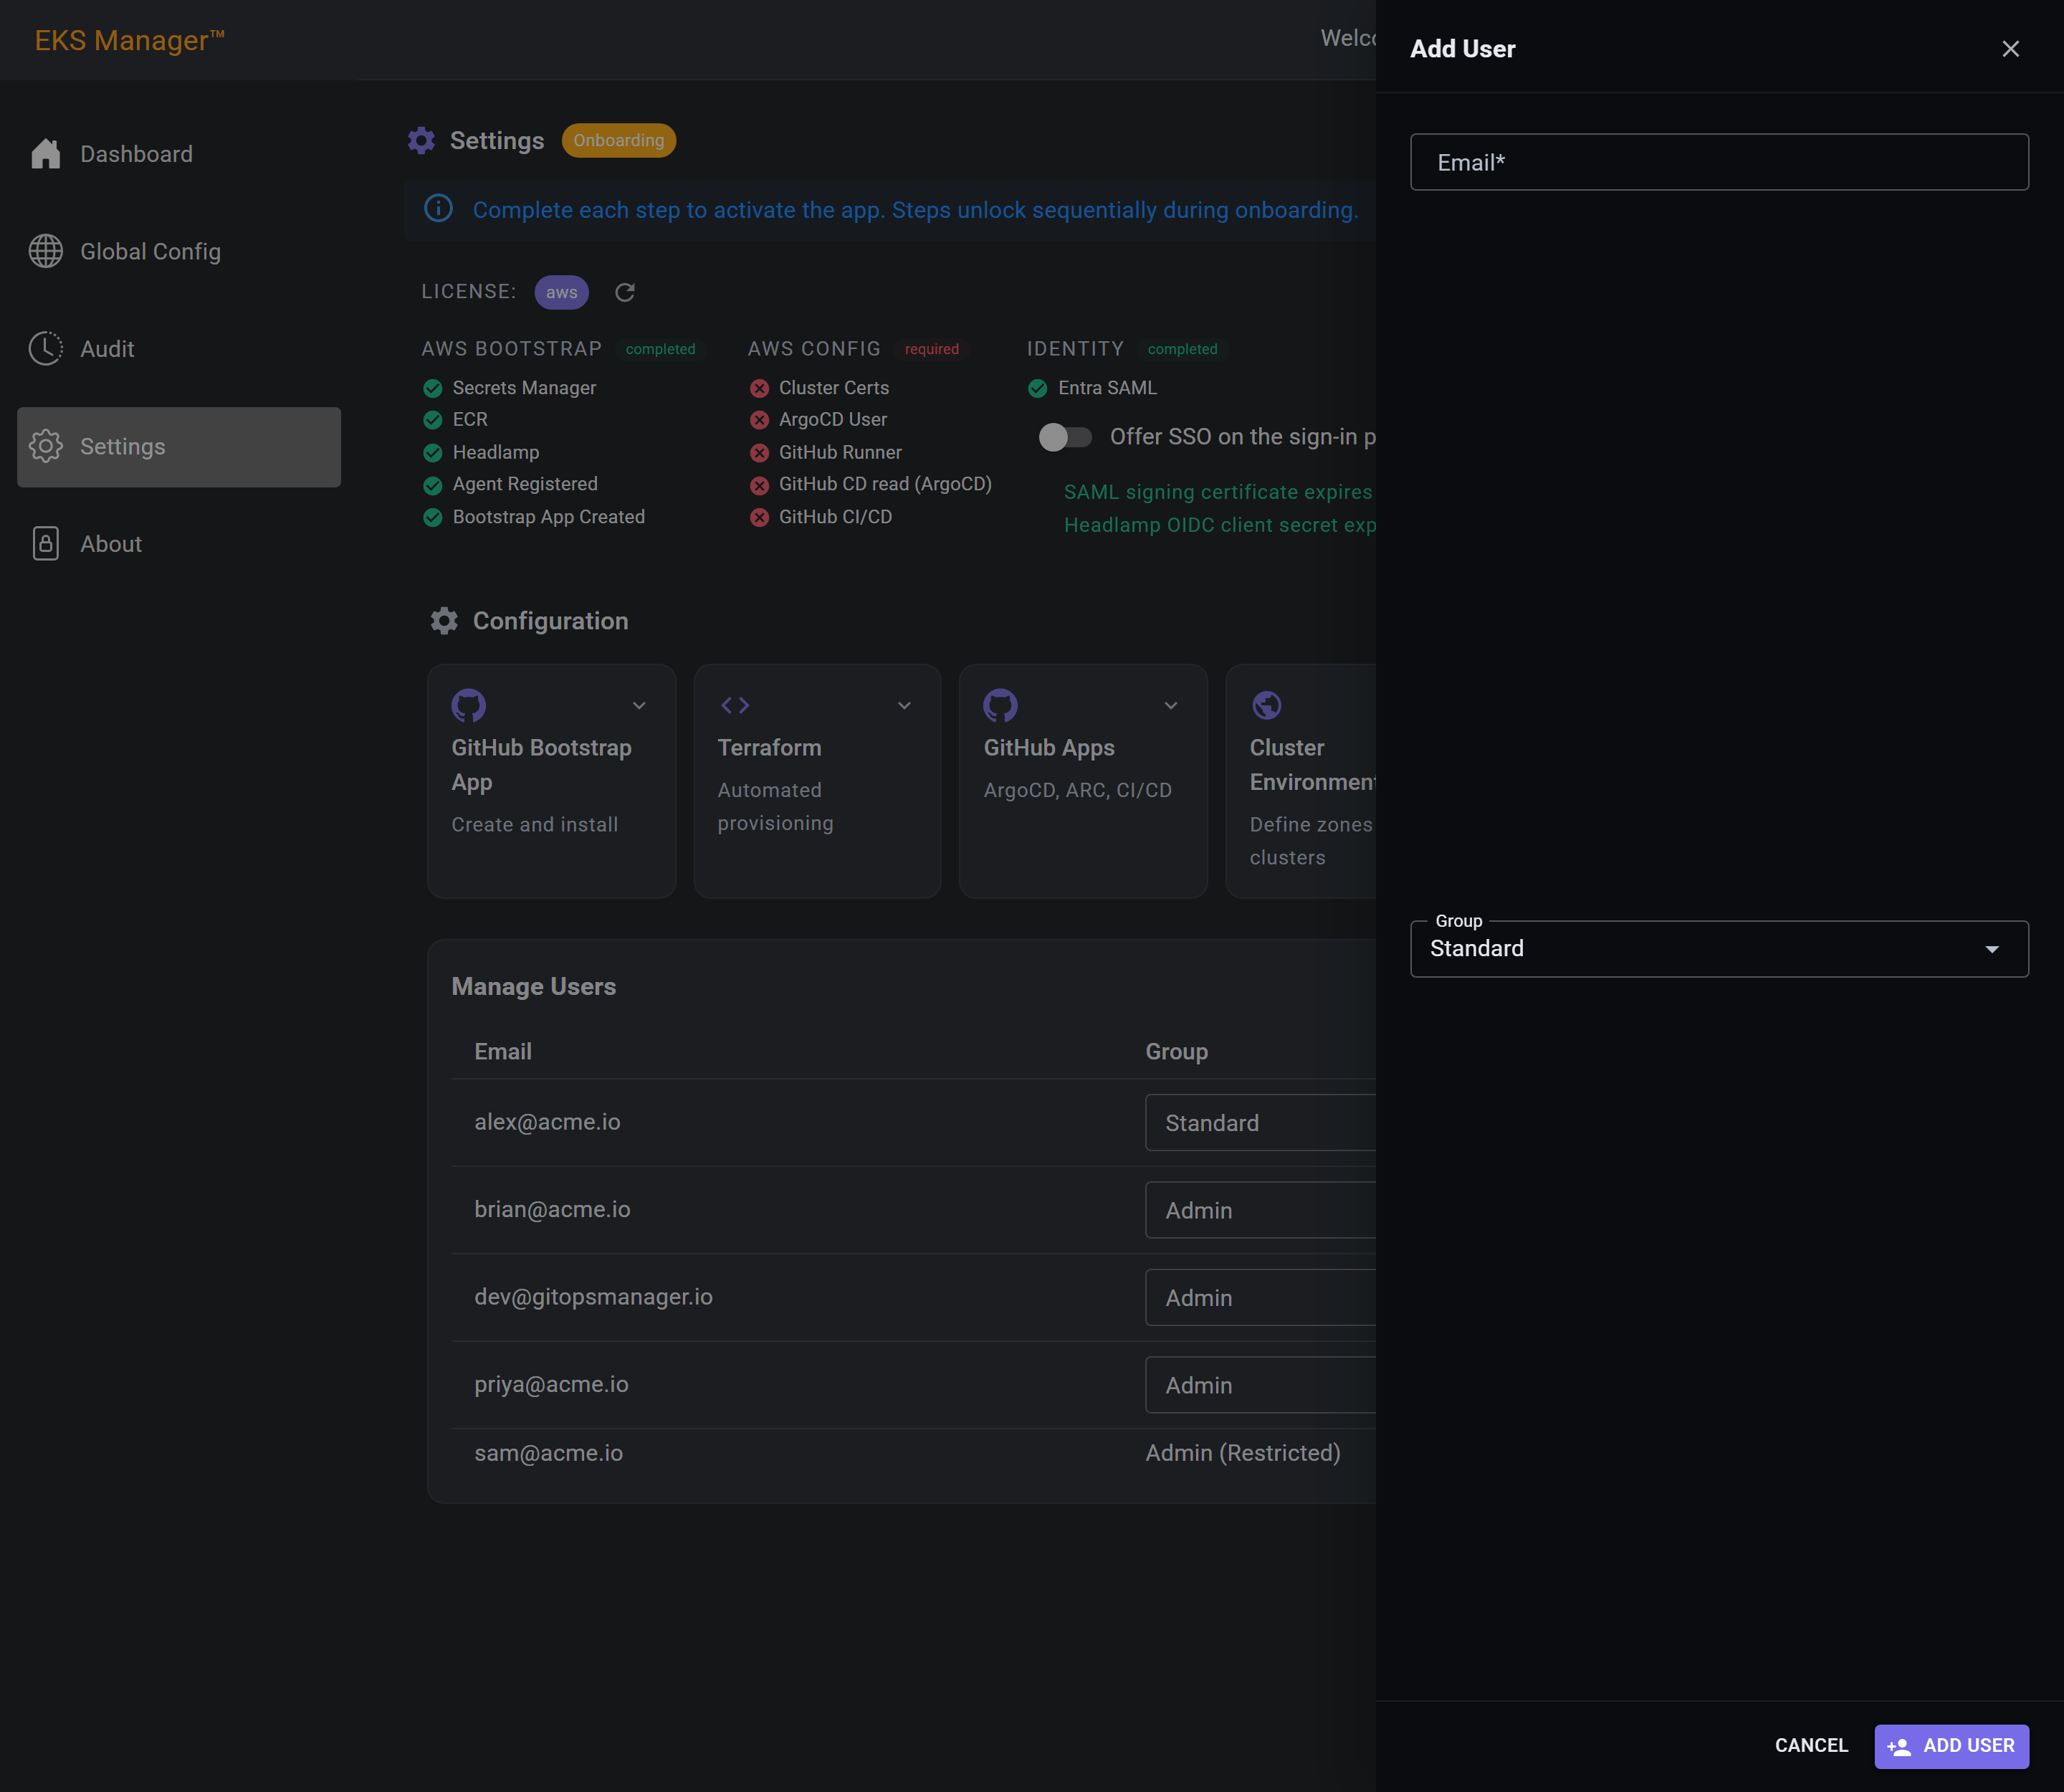
An email address and a group. Nothing else — there is no password to set, because there is no password: this account signs in through Cognito, or through your directory once SSO is on.
Standard is the default, and it is the right default. A Standard user manages what already exists — secrets, namespaces, the clusters they are given — and cannot create a cluster or reach this page. Admin can do both.
The group can be changed later from the list without removing the account.
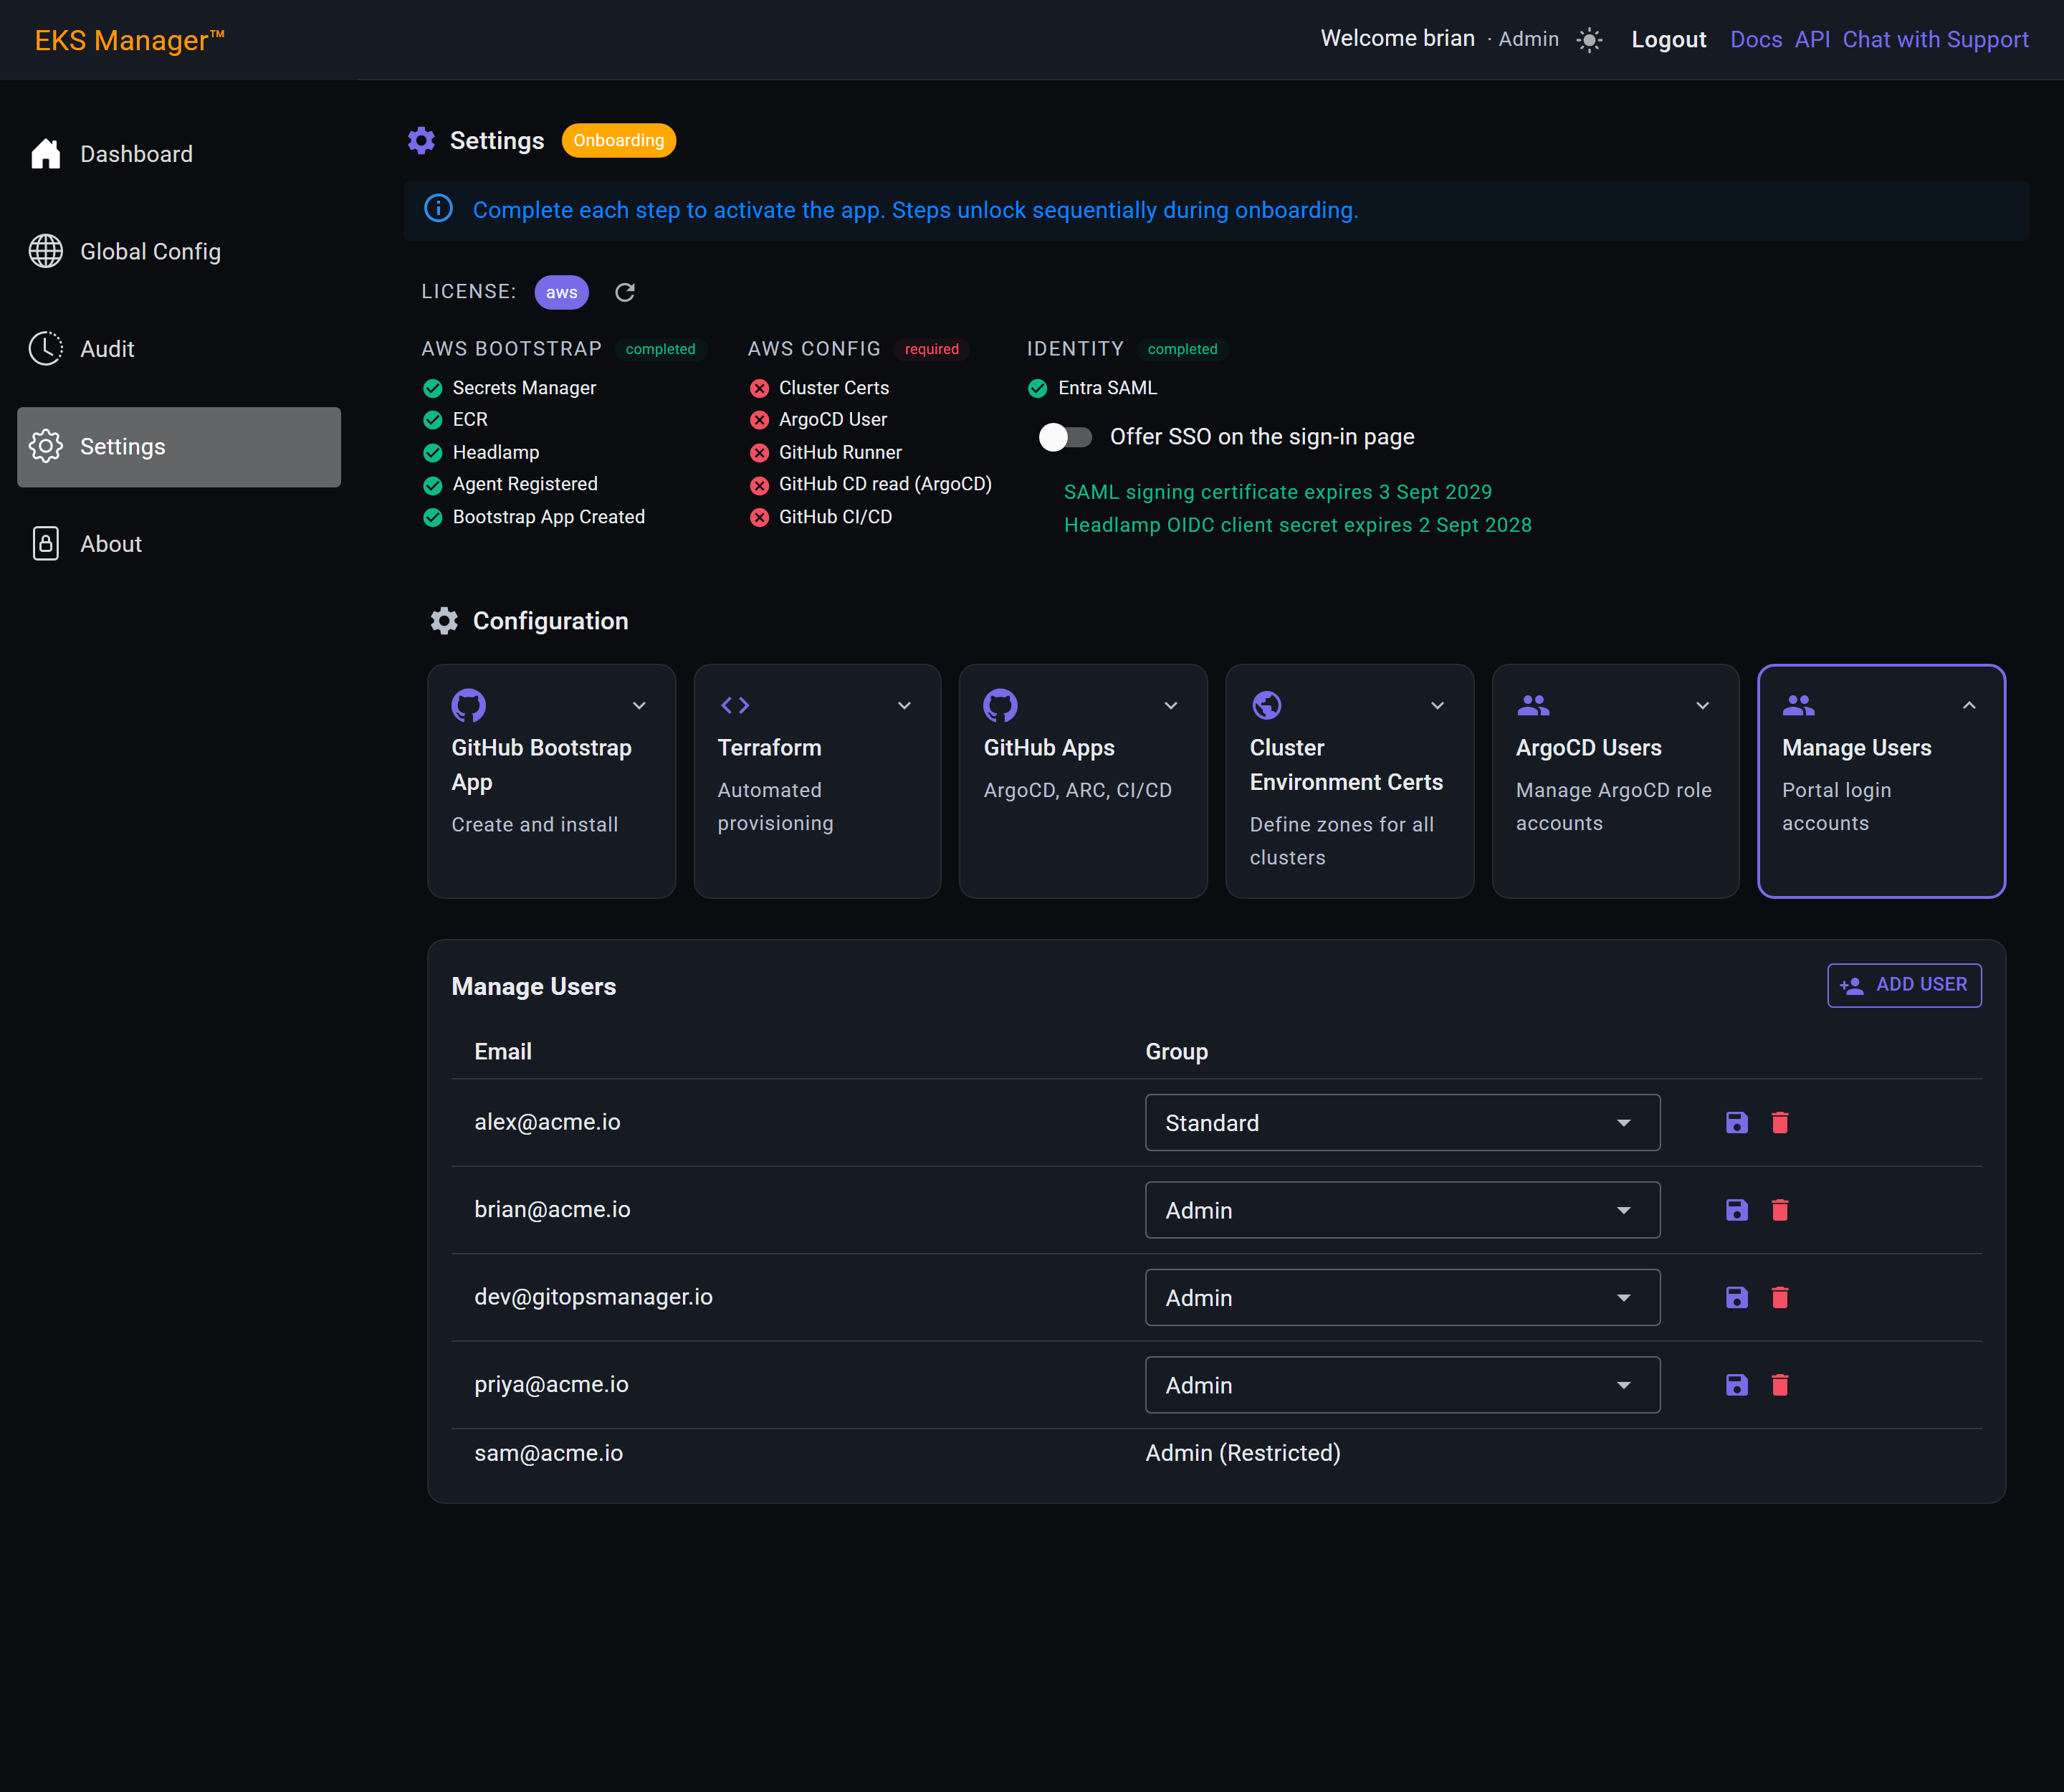
The drawer closes, a notification confirms it, and the account is in the list with the group it was given.
They can sign in immediately. Nothing is sent to them — no invitation, no email — so whoever adds the account is the one who has to tell them it exists.
This list is also where a group is changed or an account removed. Both take effect on the person's next sign-in rather than immediately, so removing someone does not end a session they already have open.
Workflows
These workflows live in your own private copy of eksmanager-bootstrap — the repository created during Quick Install and cloned into your GitHub organisation. They are not run by us and not run from anywhere you do not control. The links in this chapter point at the public template each was copied from; the ones that actually run are yours, in your organisation, alongside your clusters.json, hosted-zones.json and prefix-groups.json.
Nothing here runs on a server you manage either. Three CodeBuild projects do the work, and all three are S3-sourced: they have no GitHub connection at all. They read a zip from a bucket.
The six GitHub Actions workflows in your copy of eksmanager-bootstrap produce those zips and put them in the buckets. They authenticate to AWS with OIDC, so no long-lived credential is stored in the repository.
Between the two sits EventBridge, whose rules are the only thing that turns an upload into a build. Each bucket emits an Object Created event, a rule matches the key, and the rule starts the build. Nothing polls, and nothing is triggered from GitHub directly.
So there are only ever three questions when something did not happen: did the workflow run, did the zip land under the key the rule matches, and did the build fail. In that order — and the first two are answered in your own repository.
The workflows are in your repository from the moment it is created, and they will all fail if you run one now. Three things have to happen first, in this order.
1. The prerequisites. The accounts, the VPC and subnet, the hosted zones and their two roles — Prerequisites lists them. Nothing below can create them for you, because they live where your organisation decides they live.
2. The private repository and the Bootstrap App. GitHub Bootstrap App covers it: you create the repository, the App is installed against it, and the App is what later writes to it on your behalf.
3. setup-pipeline, run once. Terraform generates the environment block; the script builds everything these workflows talk to — the three S3 buckets, the CodeBuild projects, the EventBridge rules, and the OIDC role the workflows authenticate with. It also sets AWS_ROLE_ARN, AWS_REGION and S3_BUCKET as repository variables, which is how a workflow reaches AWS with no stored key.
Then Publish bootstrap pipeline (bootstrap.yml) is the first one to run, and it is what actually installs the product. Run it before step 3 and it fails on a bucket that does not exist; run it before step 2 and there are no repository variables to authenticate with. Both look like workflow faults and neither is.
bootstrap.ymlWorkflow file— bootstrap.ymlTrigger— Manual — run it from the Actions tabUploads—eksmanager-bootstrap.zipS3 bucket—eksmanager-bootstrap-<shared services id>EventBridge rule—bootstrap_zip_uploaded, matching Object Created on that keyCodeBuild project—eksmanager-bootstrap
Applies the root Terraform module in your shared services account: the agent instance, the ECR repository, the config bucket, the SSM parameters the agent reads, the Secrets Manager entries, the CloudFormation StackSet that puts EKSManagerAdminRole into every account in your enrolled OU, and the Organizations delegated-admin registration.
It applies immediately. There is no plan-then-approve step between the upload and the change, so the approval gate is merging to main.
add-cluster-network.ymlWorkflow file— add-cluster-network.ymlTrigger— Manual or by EKS Manager — dispatched with a cluster name, by hand or by the product when it creates oneReads—clusters.jsonandprefix-groups.jsonUploads—add-cluster.zipS3 bucket—eksmanager-prefix-lists-<shared services id>EventBridge rule—add_cluster_uploaded, which overrides the project's source at start timeCodeBuild project—eksmanager-prefix-lists
This is what attaches your predefined prefix lists to a cluster's security groups. Two files decide it. clusters.json gives each cluster its account, region, environment and two sets of security groups — nlb_sg_ids for the load balancer and eks_sg_ids for the cluster. prefix-groups.json maps an environment to the prefix lists it should allow, by name.
The build resolves those names to prefix list ids in the target account and region, then creates one security group ingress rule per security group and prefix list pair. So dev allowing corp_vpn and azure_cluster_cidrs means both lists attached to both the NLB and the EKS security groups of every dev cluster.
The prefix lists themselves are not created here. They must already exist in each target account and region, provisioned however you like. This pipeline resolves them by name and attaches them — which is also why a renamed list breaks the build rather than silently allowing nothing.
EKS Manager dispatches this workflow itself when it creates a cluster, passing the cluster name as an input rather than working it out by diffing clusters.json — diffing breaks down on deletions and on commits touching several clusters. It asks for the workflow by file name, which makes this the one workflow whose file you cannot rename in your copy: rename it and cluster creation fails at the dispatch, with a 404 that names nothing.
remove-cluster-network.ymlWorkflow file— remove-cluster-network.ymlTrigger— Manual — dispatched with account, region and cluster nameUploads—add-cluster.zip— the same key as aboveS3 bucket—eksmanager-prefix-lists-<shared services id>EventBridge rule—add_cluster_uploaded— the same rule, so no second trigger was neededCodeBuild project—eksmanager-prefix-lists
The mirror image: the same Terraform module with destroy baked into the generated buildspec instead of apply. Same key, same rule, same project — no second trigger was needed.
Its inputs are given directly rather than read from clusters.json, so it works whether the entry is still there, was removed first, or was never added. It removes exactly that one cluster's security group rules and nothing else.
lets-encrypt.ymlWorkflow file— lets-encrypt.ymlTrigger— Manual — run by hand for a new zone. The pipeline it publishes then renews on its own weekly, with no workflow runUploads—lets-encrypt.zipS3 bucket—eksmanager-lets-encrypt-<shared services id>EventBridge rules—artifact_uploadedon that key, andweekly_renewalon a scheduleCodeBuild project—eksmanager-lets-encrypt
Issues one wildcard certificate per hosted zone by DNS-01 and writes each into Secrets Manager, where the agent collects it. Two rules because it does two jobs: the upload is how a newly added zone gets its first certificate, the schedule is how existing ones are renewed.
Weekly, and deliberately not monthly. A certificate is only reissued once it is inside min_days_remaining — thirty days of ninety — so the first eligible run is around day sixty and a weekly cadence leaves roughly four attempts before expiry. At monthly intervals a single failed run would push the next attempt to expiry day itself.
It runs Friday morning UTC rather than at the weekend, so a renewal that fails surfaces while there is still someone to notice and several weeks of validity in hand. Most runs find nothing to do, and that is the intended behaviour.
sync-crt-mgr-arns.ymlFour of the six are dispatched by hand or by the product. The other two run themselves when a file changes, and neither uploads a zip or starts a build — each rewrites an IAM policy so that a later build will work.
Workflow file— sync-crt-mgr-arns.ymlTrigger— Automatic — a push tomaintouchinghosted-zones.jsonWrites— one inline policy onEKSManagerLetsEncryptRoleS3 bucket— none — it uploads nothingEventBridge rule— noneCodeBuild project— none — it starts no build
It reads the roles.cert_manager ARN out of every zone in the file and writes them into a named policy granting sts:AssumeRole on exactly those roles. That is what lets the certificate pipeline reach into each zone's account.
This is why order matters when adding a zone. Push the file first and let this run; only then run lets-encrypt.yml. The other way round, the permission does not exist yet and the build fails naming the role that refused.
sync-ecr-push-trust.ymlWorkflow file— sync-ecr-push-trust.ymlTrigger— Automatic — a push tomaintouchingclusters.jsonWrites— the ECR repository's trust policyS3 bucket— none — it uploads nothingEventBridge rule— noneCodeBuild project— none — it starts no build
It builds the list of per-cluster push roles from clusters.json and rewrites the registry's trust policy to match.
A cluster added there gains push access to ECR; a cluster removed loses it on the next run. Like the zone sync above it is main only, because it rewrites a live trust policy from whatever the triggering branch says: a feature branch that had dropped a cluster would revoke that cluster's push access until the next run on main put it back. That is a side effect of a git operation rather than of anything done in the product, which is worth knowing when you edit that file for some other reason.
GitHub App Installation
EKS Manager uses several GitHub Apps rather than one, because they need different permissions against different repositories. The App that writes your deployment manifests has no business reading anything else, and the App that registers runners needs organisation-level rights the others must not have.
Each is created from a manifest the product supplies and approved by an organisation administrator. The permission set is fixed by that manifest — you are not choosing it, you are agreeing to it, so it is worth reading first. That is what this chapter is for.
All four are installed from Settings. The organisation can differ per App if your repositories live in more than one; most installations use the same one throughout.
The first App, and the one everything else waits on. It works against your private copy of the bootstrap repository and nothing else.
metadata: read— the baseline every App needscontents: write— clone the bootstrap in, and push to it lateractions: write— start the workflows that upload each zipactions_variables: write— set the role ARN, region and bucket the workflows useworkflows: write— the clone includes .github/workflows, so writing them is part of writing the repository
It cannot create the repository. That needs administration, which this App is deliberately not given — which is why the first step asks you to create the repository yourself and then tick to say you have.
What it writes, after the clone: the three repository variables, so the workflows can reach AWS by OIDC with no stored key. Then, in normal use, clusters.json when a cluster is created, and the pinned Terraform variables. Those pushes are what start the pipelines — a commit to clusters.json triggers the ECR trust sync, and the cluster registration workflow is dispatched by name.
Read access to your continuous-deployment repository, so ArgoCD can sync manifests from it onto your clusters. Stored as global-cd-repo-secret.
metadata: read— the baselinecontents: read— read the manifests to sync
Two permissions, both read. This is the smallest of the four by a wide margin, and it should stay that way: ArgoCD's job is to apply what is in the repository, never to change it. Anything that writes to that repository does so with the CI/CD App below, which is the whole reason these are separate.
Registers the self-hosted runners with your organisation, so the runner sets deployed into a cluster appear in your organisation's runner list and can be targeted by a workflow.
administration: write— register runner scale sets — an organisation-level rightorganization_self_hosted_runners: write— manage those runners once registeredactions: read— see the jobs waiting for a runnerchecks: read— report status backmetadata: read— the baseline
This is the broadest of the four, and the only one with administration. That is inherent to what it does: registering a runner against an organisation is an organisation-level act. Worth knowing when you approve it, and worth keeping to an organisation whose repositories you are content to have runners for.
The credential the open-source GitOps Manager actions use. This is the one App that writes to your continuous-deployment repository.
metadata: read— the baselinecontents: write— commit the rendered manifestspull_requests: write— open and merge the pull request that carries themactions: read— read workflow statechecks: read— read check results before merging
It writes through a pull request rather than straight to the branch: the commit goes to a temporary branch, a pull request is opened, squash-merged with backoff and retry, and the branch deleted. So the repository's history stays readable and its protections still apply.
The actions that authenticate with this App are open source and separate from the product, so what they do with that write access can be read rather than taken on trust. The ones that matter:
Multicloud Build builds images and pushes them to ECR or ACR, using Buildx Bake for parallel multi-image builds against a BuildKit sidecar on the self-hosted runner.
K8s Deploy is where the write permission is used. It renders manifests with Jinja2-style templating and Kustomize, commits the result into your continuous-deployment repository, and then drives the ArgoCD REST API to create, sync and validate the applications.
ArgoCD Manage Applications handles the ArgoCD side of that: authenticate, connect, create, sync, delete, and wait for the sync to finish.
Load Environment Config reads the environment map to pick the target cluster and export the paths and identities the later steps need — the same env-map the product generates.
Auto Commit Squash Merge is the mechanism behind the pull request: temporary branch, pull request, squash merge with retry and backoff, branch deleted.
Restore Cluster rebuilds a cluster's configuration, optionally from another cluster, and redeploys every ArgoCD application in parallel.
Everything above is what the manifest asks for. This is where an organisation administrator sees it — and it is on the install screen, not when the App is created. Creating an App from a manifest shows only its name.
GitHub summarises. The five permissions this App asks for arrive as two lines, and contents appears as “code”. That is the same access described more briefly, not a different set — worth knowing before comparing this screen against the sections above and concluding they disagree.
What is not summarised is the repository scope, which is chosen on this screen and is the part worth being deliberate about.
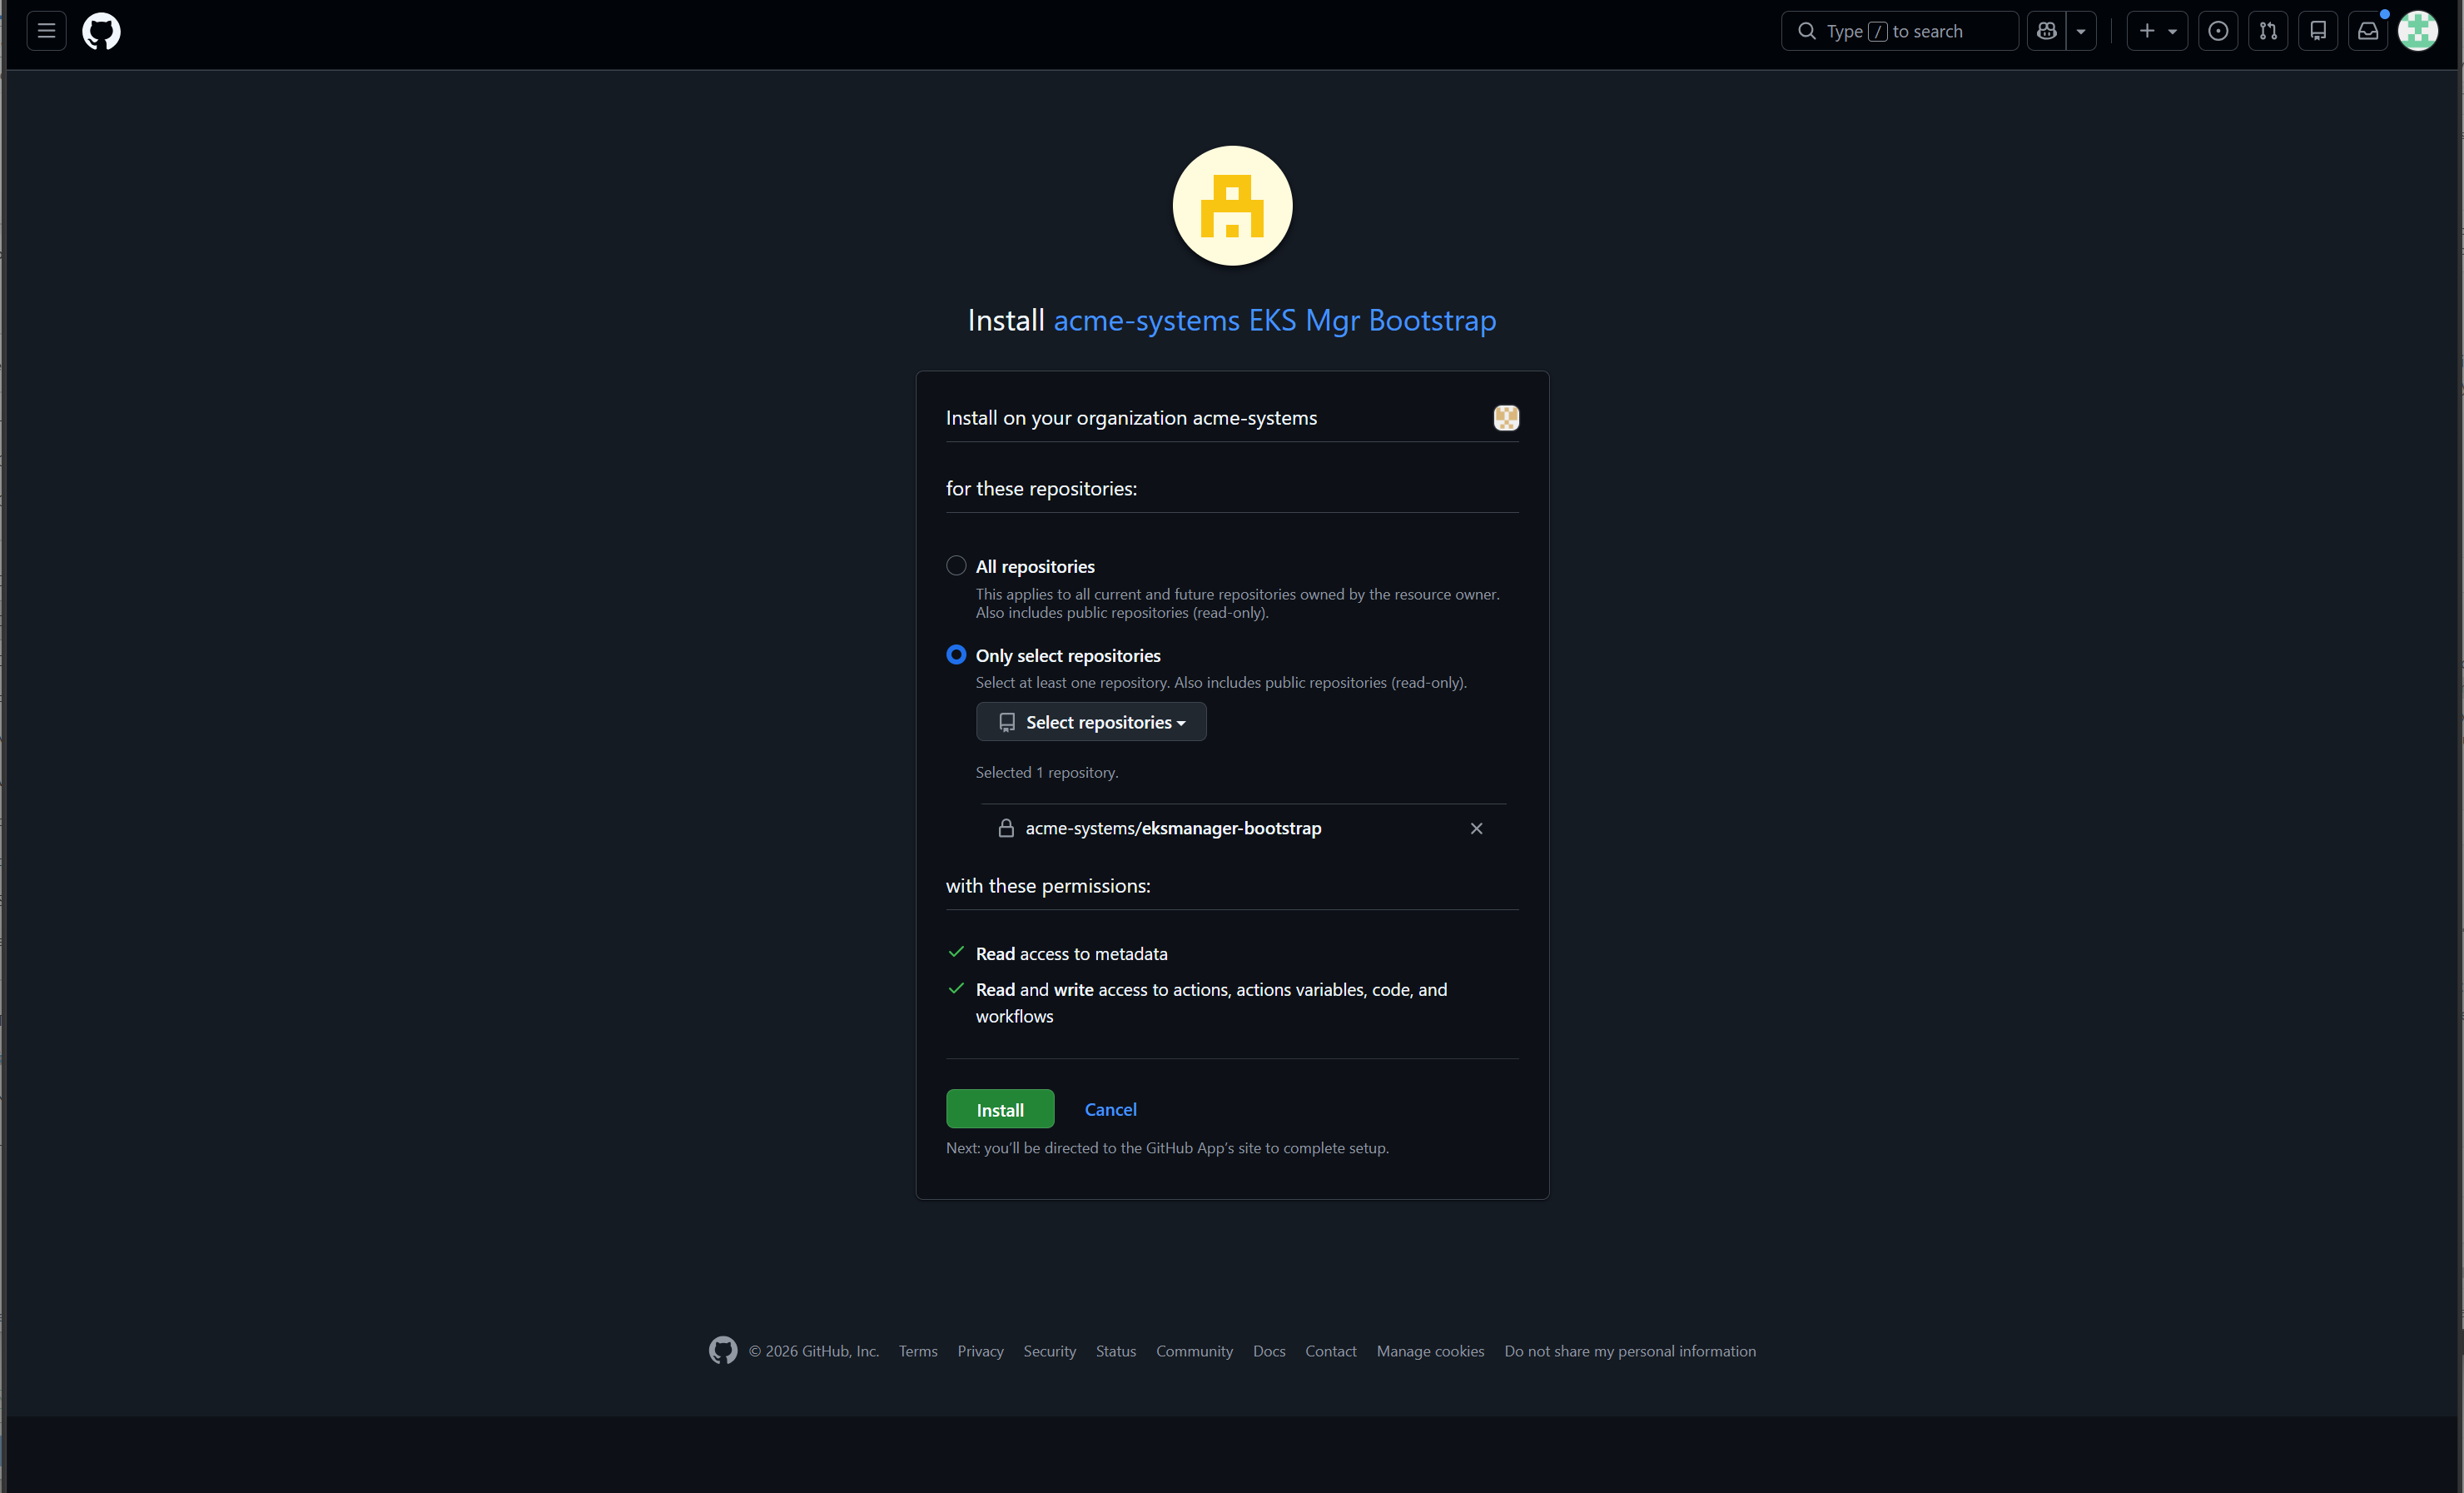
The App above asked for five permissions and GitHub summarised them in two lines. This is the ArgoCD App's screen, in the same place in the same flow.
One line, and the word is read. No write access to anything, on one repository, and that repository is the continuous-deployment one rather than the bootstrap.
That is the whole argument for four Apps rather than one. ArgoCD applies what is in the repository and can never change it; if these were a single App, this screen would show the union of everything all four need, and every one of them would hold it.
The third screen in the same flow, and the one worth reading slowly. Read and write access to administration and organization self hosted runners — the only one of the four that writes anything at the organisation level.
That is inherent to the job rather than a generous manifest: registering a runner scale set against an organisation is an organisation-level act, and there is no narrower permission that does it.
All repositories is selected here, and that is defensible. It is the opposite of the advice two chapters back, for a reason worth understanding: what this App manages is the organisation's runners, not any one repository's contents. Scoping it to a single repository would narrow nothing that matters, because the organisation-level permission is granted either way.
So the rule is not never All repositories. It is that the scope should match what the App does — one repository for an App that works on one repository, and the organisation for an App whose whole job is organisation-wide.
Three screens so far: ArgoCD's single read line, Bootstrap's two, ARC's organisation-level write. This is the fourth.
It is the only App that writes to your deployment repository, and it does so through a pull request rather than straight to the branch — which is why it asks for pull request write as well as contents write.
Scoped to the continuous-deployment repository alone, like ArgoCD. The difference between them is not what they can see but what they can change.
Container Registry
This installation assumes a single ECR registry, in the shared services account, that every cluster can pull from. Not one per cluster, not one per account — one.
It is created by the bootstrap alongside the agent and the config bucket, and it is the same registry whichever account or region a cluster ends up in. Clusters are granted pull access to it as they are enrolled.
That shape is deliberate. An image built once is an image that has been scanned once, signed once and promoted once — and the thing that differs between environments is which tag they run, not which registry they pull from.
Because there is one registry, the tag is what separates environments. The same repository holds the image that dev is running and the image that production is running; the deployment manifests differ by tag, and nothing else moves between them.
So promoting a build is retagging a known artefact, not rebuilding one. The image production runs is bit-for-bit the image that passed in dev, which is the whole point of the arrangement — a rebuild for production is a different artefact however identical the source.
It also means a cluster's access is coarse by design: pull from the registry, and the tag it pulls is decided by what has been deployed to it, not by what it is permitted to see.
You do not create repositories by hand. Multicloud Build, the open-source action that builds and pushes images, ensures the repository exists on first push and creates it if it does not — signing the call itself rather than shelling out to the AWS CLI.
The practical effect is that a new service needs no registry setup at all. Its first successful build creates the repository it pushes to, named after the image.
The same action does the equivalent on Azure for ACR, so a pipeline moving between clouds does not change shape.
The consequence worth knowing: a typo in an image name creates a repository rather than failing. If a build succeeds and nothing can find the image, an unexpected repository in the registry is the first place to look.
Push access is granted per cluster and maintained from your private copy of eksmanager-bootstrap: the registry's trust policy is rewritten from clusters.json whenever that file changes, so a cluster added there gains push access and a cluster removed loses it on the next run.
Pull access is what every enrolled cluster has, and is what the core stack relies on to start.
Tearing down removes the registry and everything in it. The bootstrap module's destroy path empties the repository first, because the registry is created without force-delete and a plain destroy would otherwise fail on a non-empty one. There is no recovery from that beyond rebuilding the images, so it is worth knowing before running a teardown against anything you care about.
A build that runs outside a managed cluster has no cluster identity to push with: a workflow on a GitHub-hosted runner, or one in a cluster in a different cloud from the registry. Those authenticate with GitHub OIDC instead. GitHub issues a signed token for the run, AWS exchanges it for temporary credentials, and no access key or secret is stored in the repository, the organisation or the runner.
It is off unless you turn it on. Add github-orgs-for-oidc-ecr-push.json to your private copy of eksmanager-bootstrap naming the GitHub organisations allowed to push, and the registry's trust policy is rewritten to include them the same way it is rewritten from clusters.json — one document, both sources, on every change.
Each organisation is named by its immutable numeric id as well as its name, and pushes are anchored to a branch. The id is what keeps the grant attached to that organisation if it is ever renamed; the branch is what stops a pull request, including one opened from a fork, from pushing images.
Roles and Permissions
Everything EKS Manager runs in your estate is deployed by the bootstrap you run yourself, in your own accounts. Nothing is installed by subscribing, and nothing is installed by us.
In the shared services account: the agent EC2 instance and its instance profile, one ECR registry, the configuration and log buckets, the KMS key that encrypts them, the Secrets Manager entries and SSM parameters the agent reads, the CodeBuild projects and EventBridge rules that make up the pipeline, the GitHub OIDC provider used to upload releases, and the security groups for the build container and the agent.
In the management account: the CloudFormation StackSet that deploys EKSManagerAdminRole, the Identity Center permission sets, and the delegated administrator registration the agent needs to read your organisation's structure.
In each account you enrol: EKSManagerAdminRole alone, deployed by that StackSet. Accounts that join an enrolled organisational unit later receive it automatically.
The agent runs under an instance profile attached to its EC2 instance, EKSManagerAgentRole. It does not hold AdministratorAccess. Its permissions are an explicit allow list, scoped to named resources rather than to services.
It may read the EKS Manager configuration and log buckets, read and write secrets under the EKS Manager namespace, use the EKS Manager KMS key, read its own configuration parameters, read AWS Organizations metadata, and write its own CloudWatch logs. Parameter writes are denied. The only AWS managed policy attached to it is AmazonSSMManagedInstanceCore, which is what lets you reach the instance through Session Manager without opening a port.
Work in the accounts you have enrolled is not done with this role. For that it assumes EKSManagerAdminRole in the target account, so the agent's own permissions stay small wherever your estate grows.
EKSManagerAdminRole is the role that does the work in an enrolled account, and a StackSet puts an identical copy in every one of them. It holds no AdministratorAccess either.
Its grants are scoped per service, to the services EKS Manager operates: EKS, EC2, VPC, Route 53, ACM, Secrets Manager, KMS, ECR, Auto Scaling and Elastic Load Balancing.
On top of those grants sit deny statements that apply regardless of what else is granted: deleting EKS clusters, destructive EC2 actions, creating IAM roles without the required permissions boundary or tampering with that boundary, creating or modifying IAM resources outside the EKS Manager naming prefix, attaching AWS managed policies outside an approved list, creating IAM users or long-lived access keys, reading or writing secrets outside the EKS Manager namespace, destructive KMS actions including key deletion, destructive ECR actions, removing the resource tags EKS Manager relies on, and any action outside the AWS Regions you have approved.
Permissions are granted per service and per resource rather than as a broad grant with exclusions, so a permission added in error cannot re-enable a denied action.
EKS Manager creates IAM roles of its own as it works — for Pod Identity, for node groups, for the platform components in each cluster. Every one of them is created with a permissions boundary attached, and the boundary is what caps what those roles can ever do, whatever policy is attached to them afterwards.
Creating a role without that boundary is denied, and so is changing the boundary itself. The same deny statements also confine anything it creates to the EKS Manager naming prefix, so a role it makes cannot be mistaken for one of yours, and a role of yours cannot be modified by it.
Alongside that, a Service Control Policy applied at your organisational unit blocks billing access, organisation management and Cost Explorer for every role in those accounts, including EKSManagerAdminRole.
Both policies are published, and they are the files the installation deploys rather than a copy of them that can drift: the agent's policy at aws/modules/shared_services/agent-role-policy.json, and EKSManagerAdminRole at aws/modules/stackset/eksmanager-enable-account-stackset.yaml, in github.com/gitopsmanager/eksmanager-bootstrap.
What you review before installing is what runs. The bootstrap is Terraform you run yourself, from your own clone, with your own credentials, and every action it takes appears in CloudTrail in your own account.
GitOps Manager, S.L. keeps both policies published, and gives at least 30 days notice of any change that broadens what either role may do.
The agent connects outbound only, over TLS on port 443. There are no inbound rules to open, no VPN, and no standing credentials held on our side. Cluster secrets you enter are relayed to the agent and written to Secrets Manager in your own account.
Removal is the same Terraform, in two steps, both run by you: set DESTROY_MODE=true on the eksmanager-bootstrap CodeBuild project and start a build, which removes the agent, its role and instance profile, the registry, the buckets, the secrets and parameters, the StackSet and every role it deployed; then run setup-pipeline.sh --destroy (or setup-pipeline.ps1 -Destroy) to remove the pipeline itself.
Both steps are needed. They hold separate Terraform state, and neither performs the other. Note what stops with the second one: where EKS Manager has been issuing and renewing wildcard certificates for your hosted zones, that renewal goes with it. The certificates themselves stay in your own Secrets Manager and remain valid until they expire, so arrange your own renewal before then if the clusters carry on serving traffic.
Dashboard
The Dashboard is the landing page and the list of every cluster this installation manages, across every account. It is the only page that shows them all at once.
One row per cluster. Everything else in this guide is reached from here — a row opens into the panel where a cluster is managed, and the button above the list creates a new one.
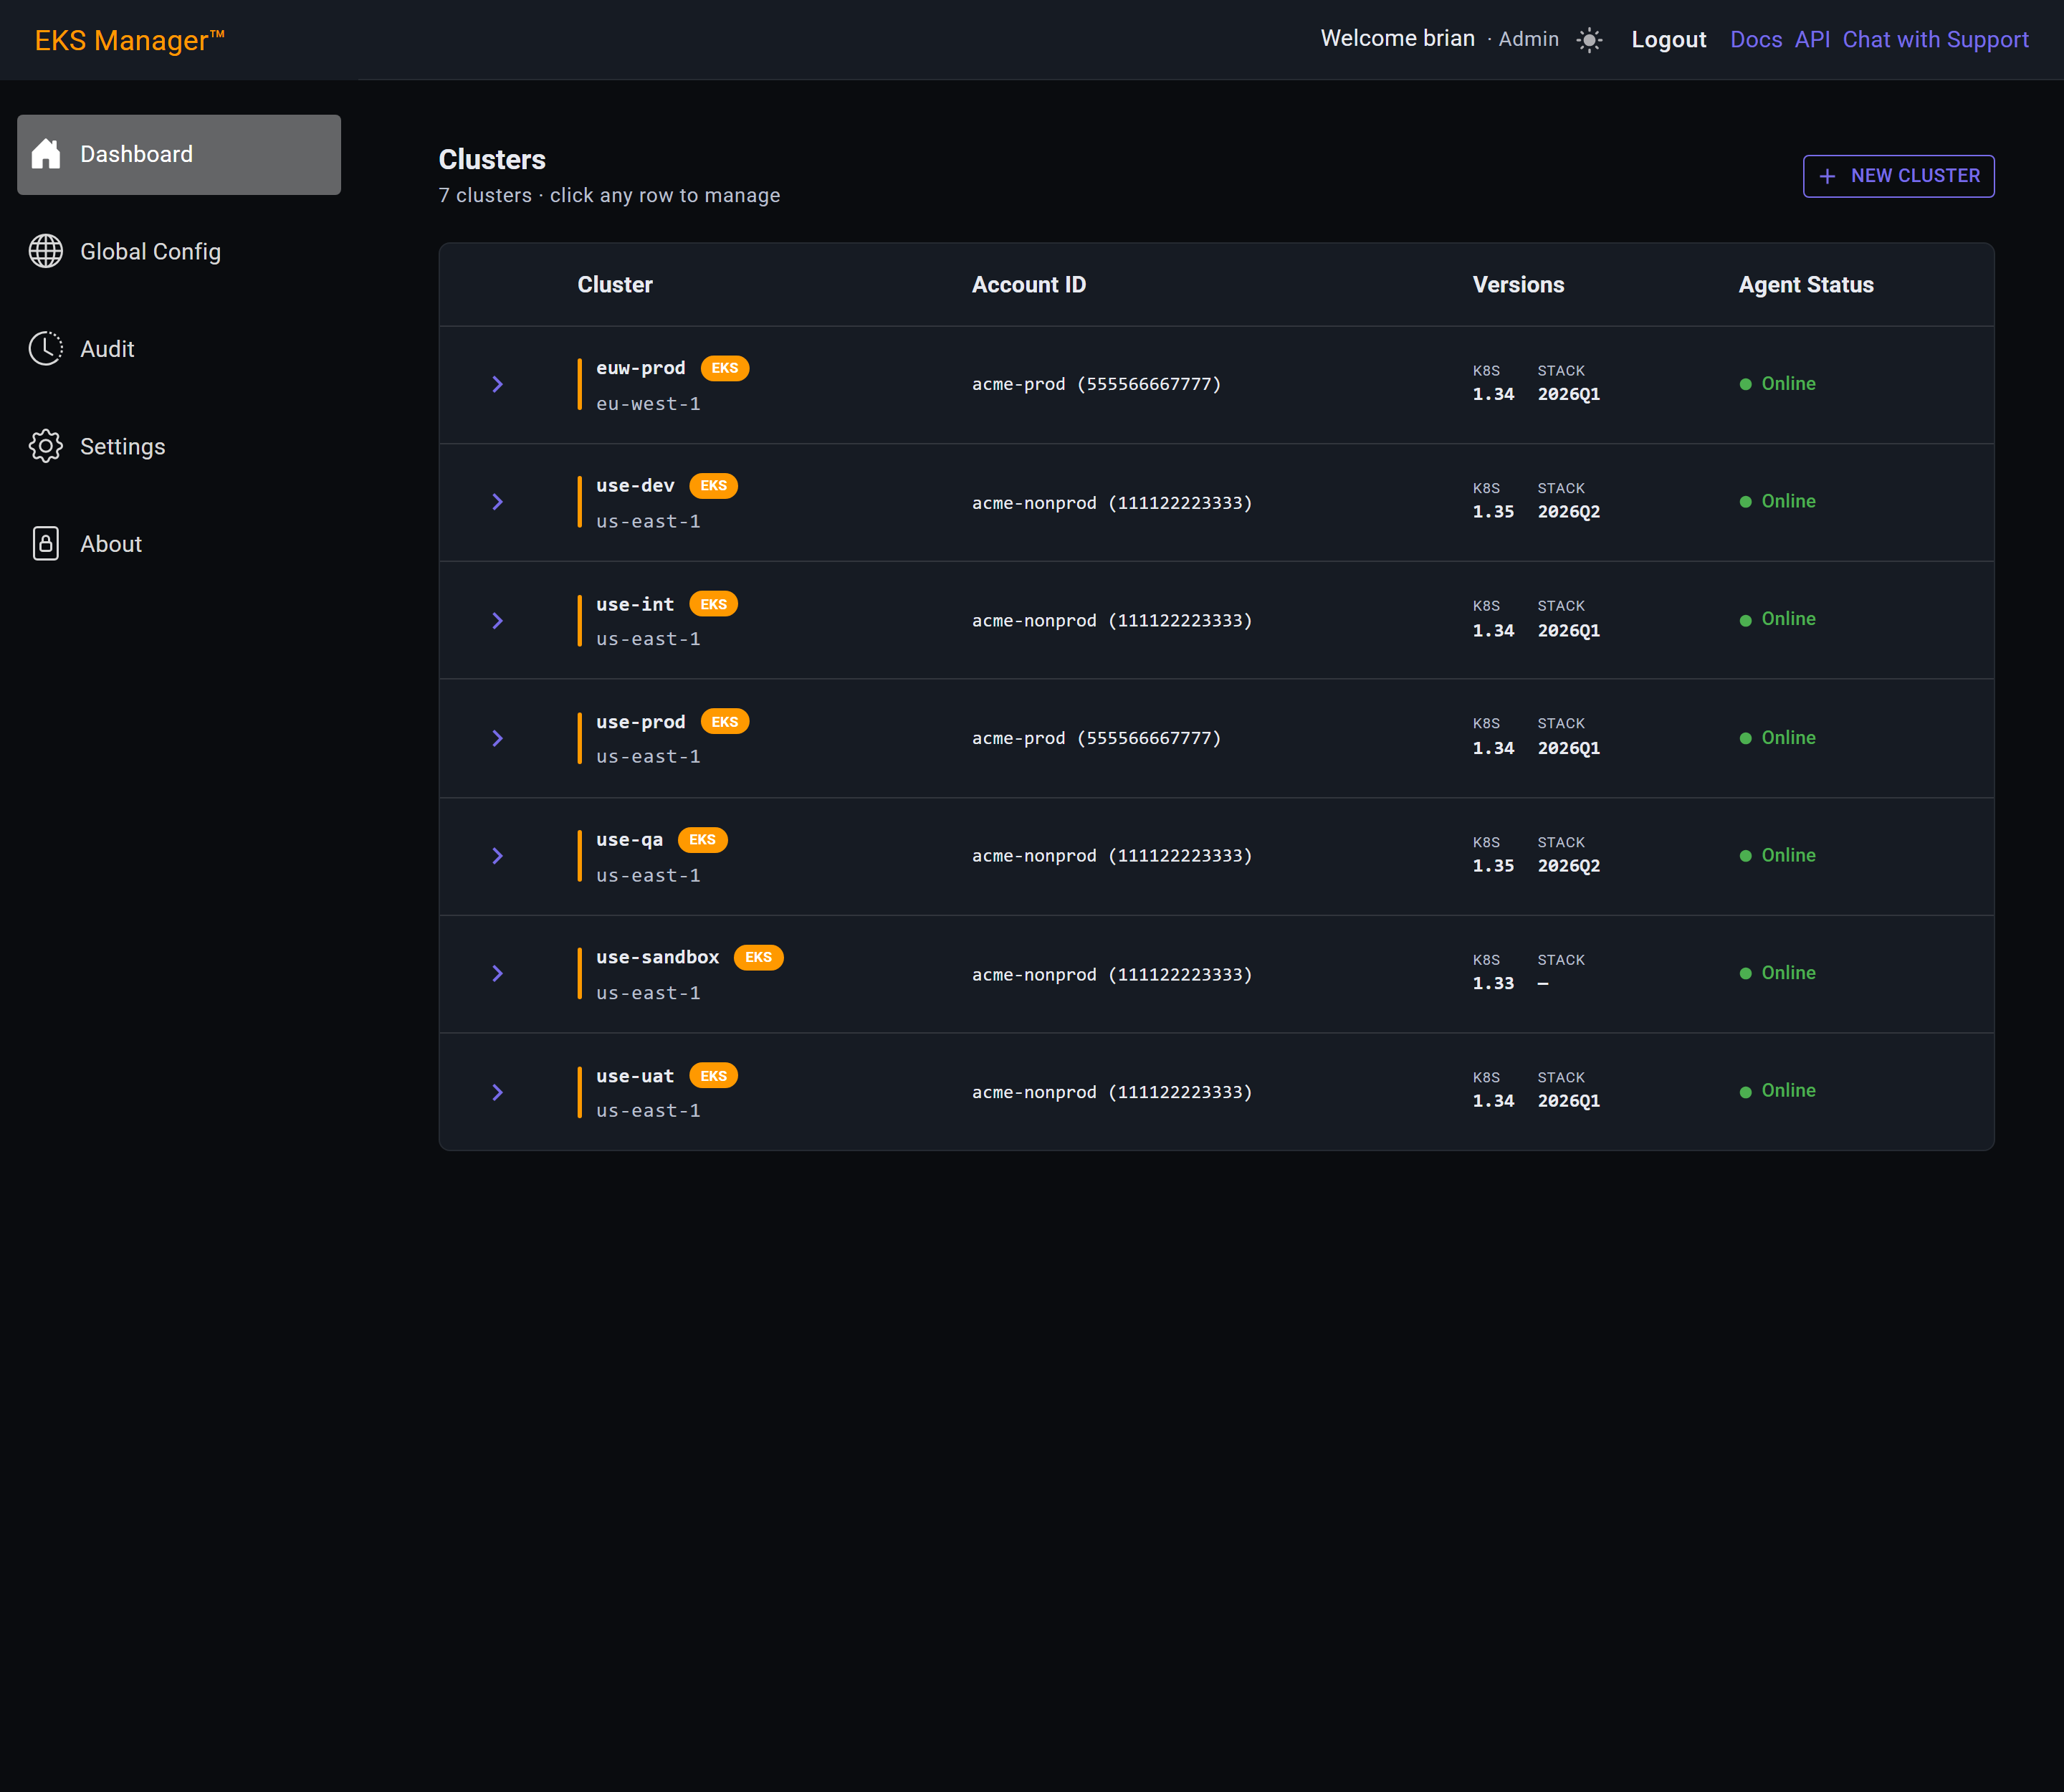
The name, the cloud it runs in and its region; the account it was built in, by name and number; the Kubernetes version and the core stack release; and whether its agent is reachable.
The account matters more than it looks. Clusters from several accounts sit in one list, so the name alone does not tell you whether you are looking at production.
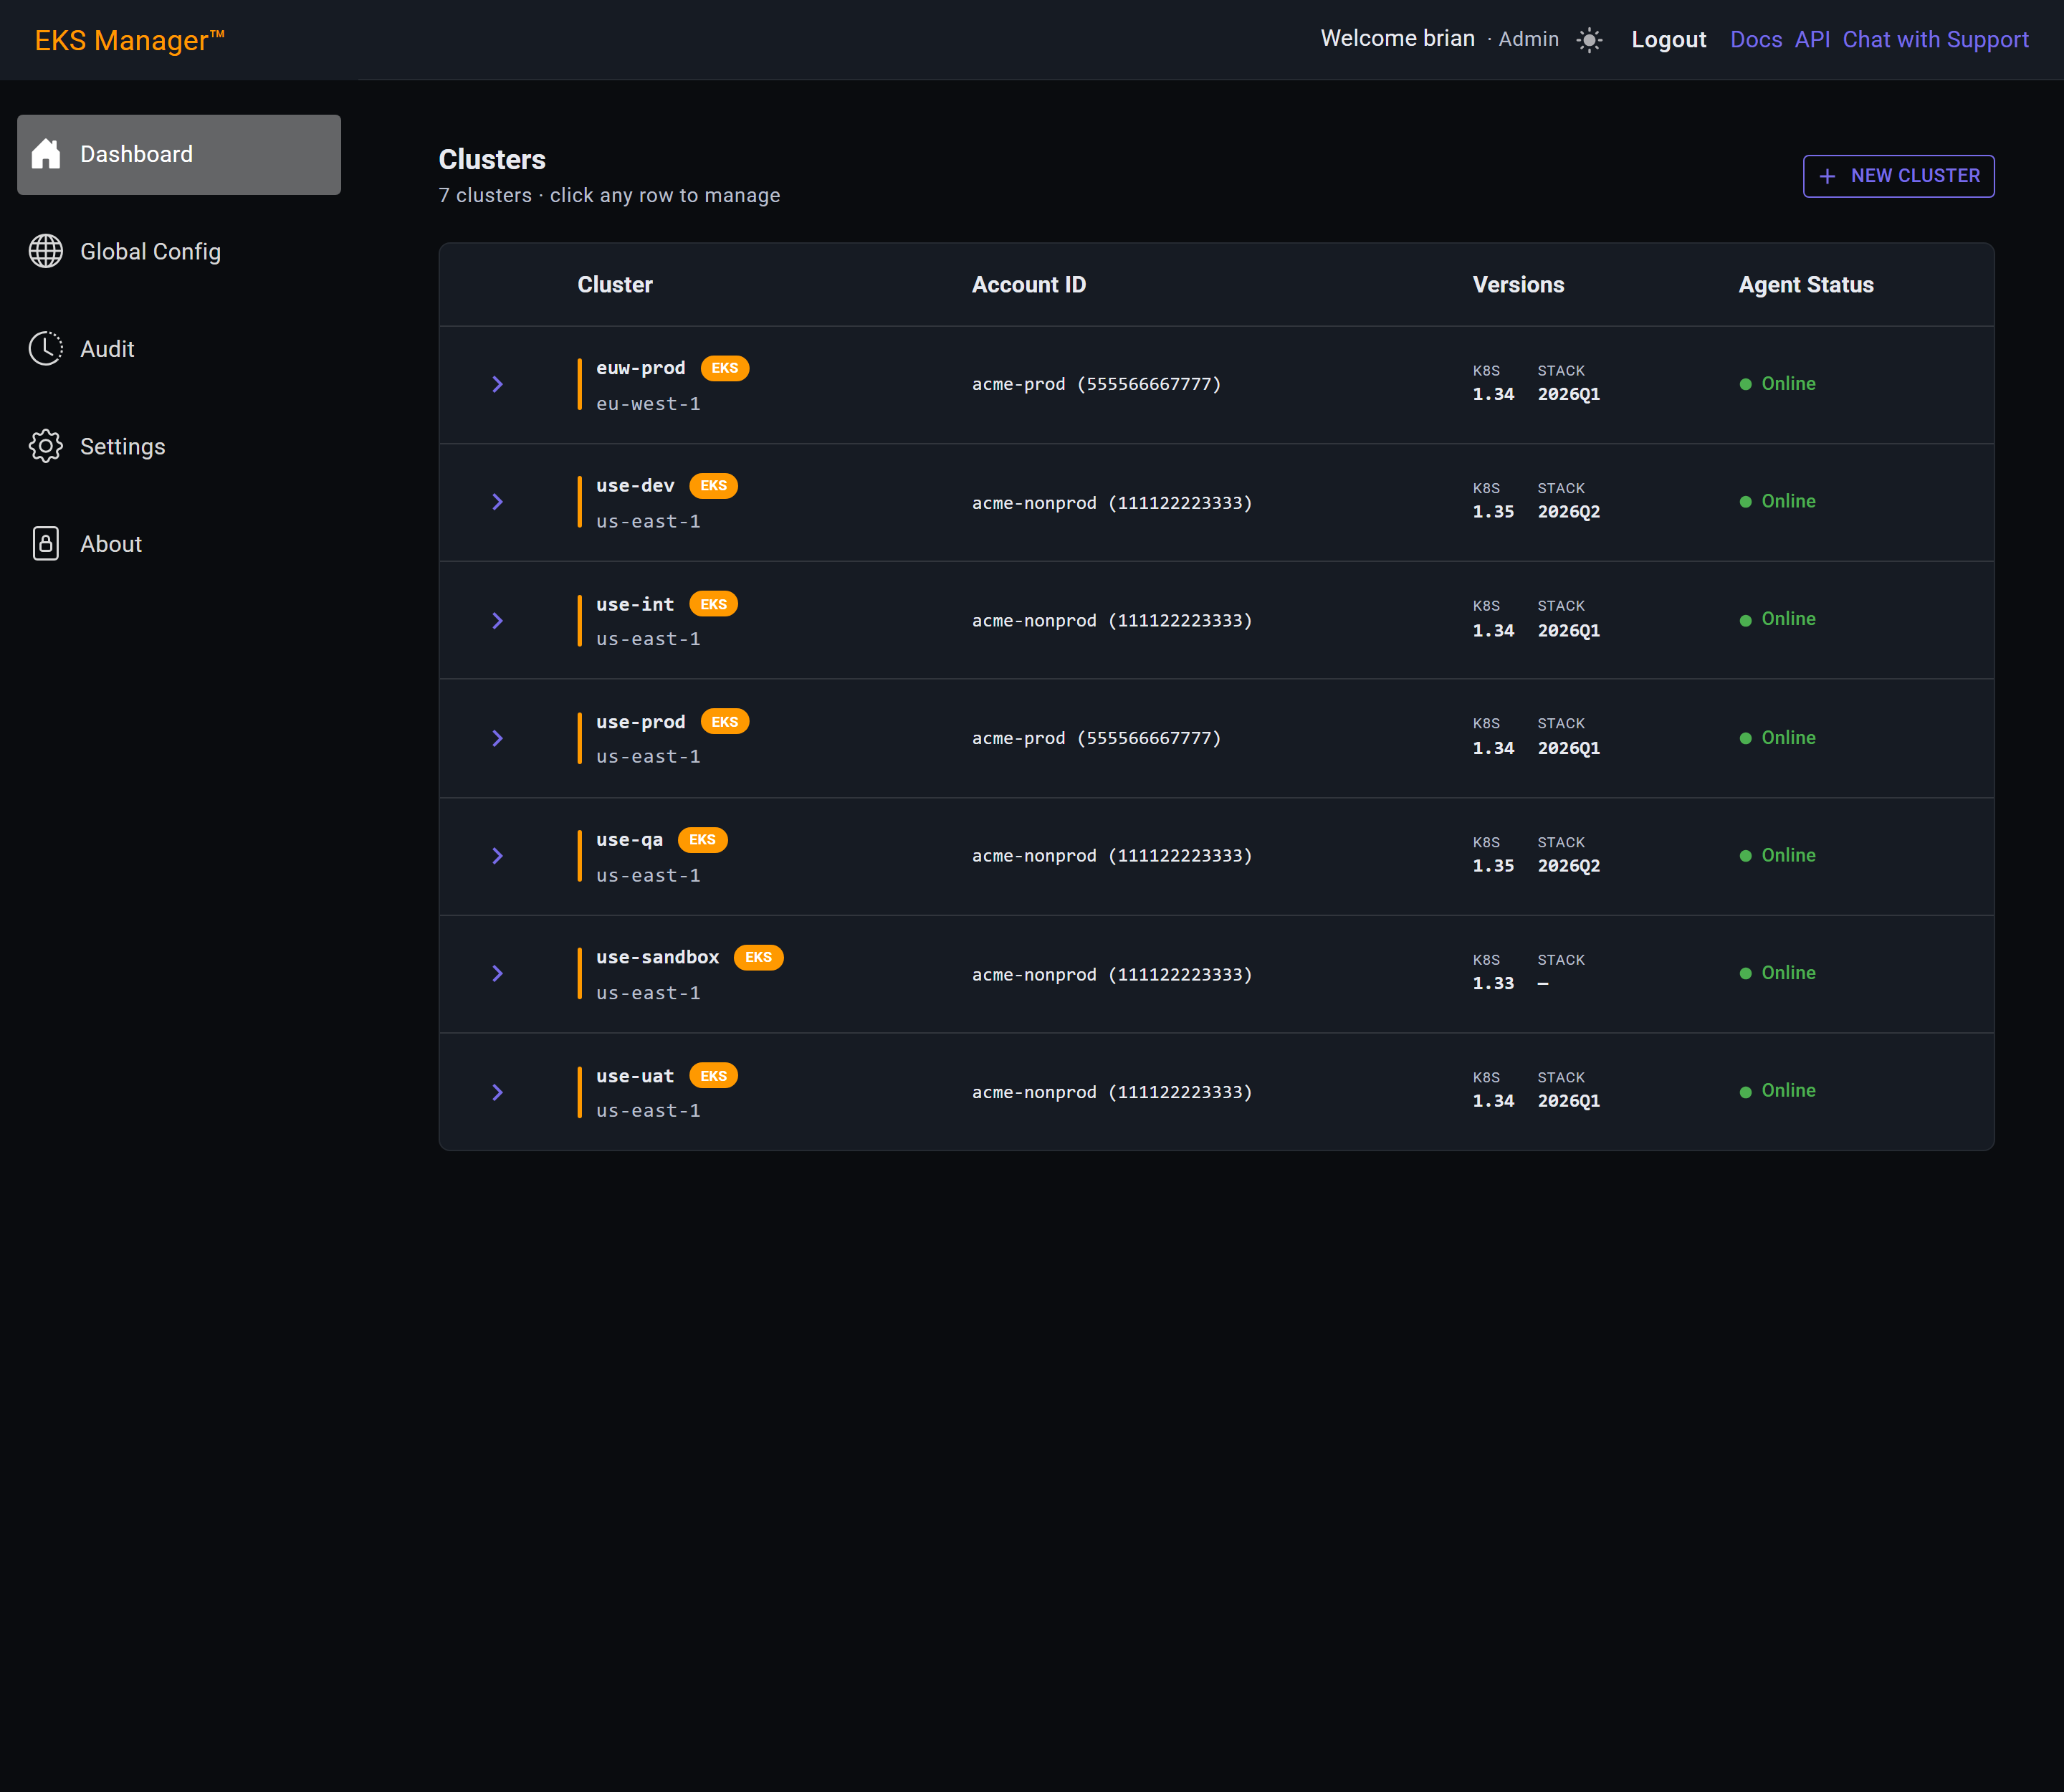
K8S is the Kubernetes version the cloud is running. STACK is the core stack release GitOps Manager installed on it.
This is the column to read down. A cluster on an older stack than its neighbours is the one that has missed an upgrade, and that is visible here before anything goes wrong — which is the whole reason the two versions sit on the list rather than inside the cluster.
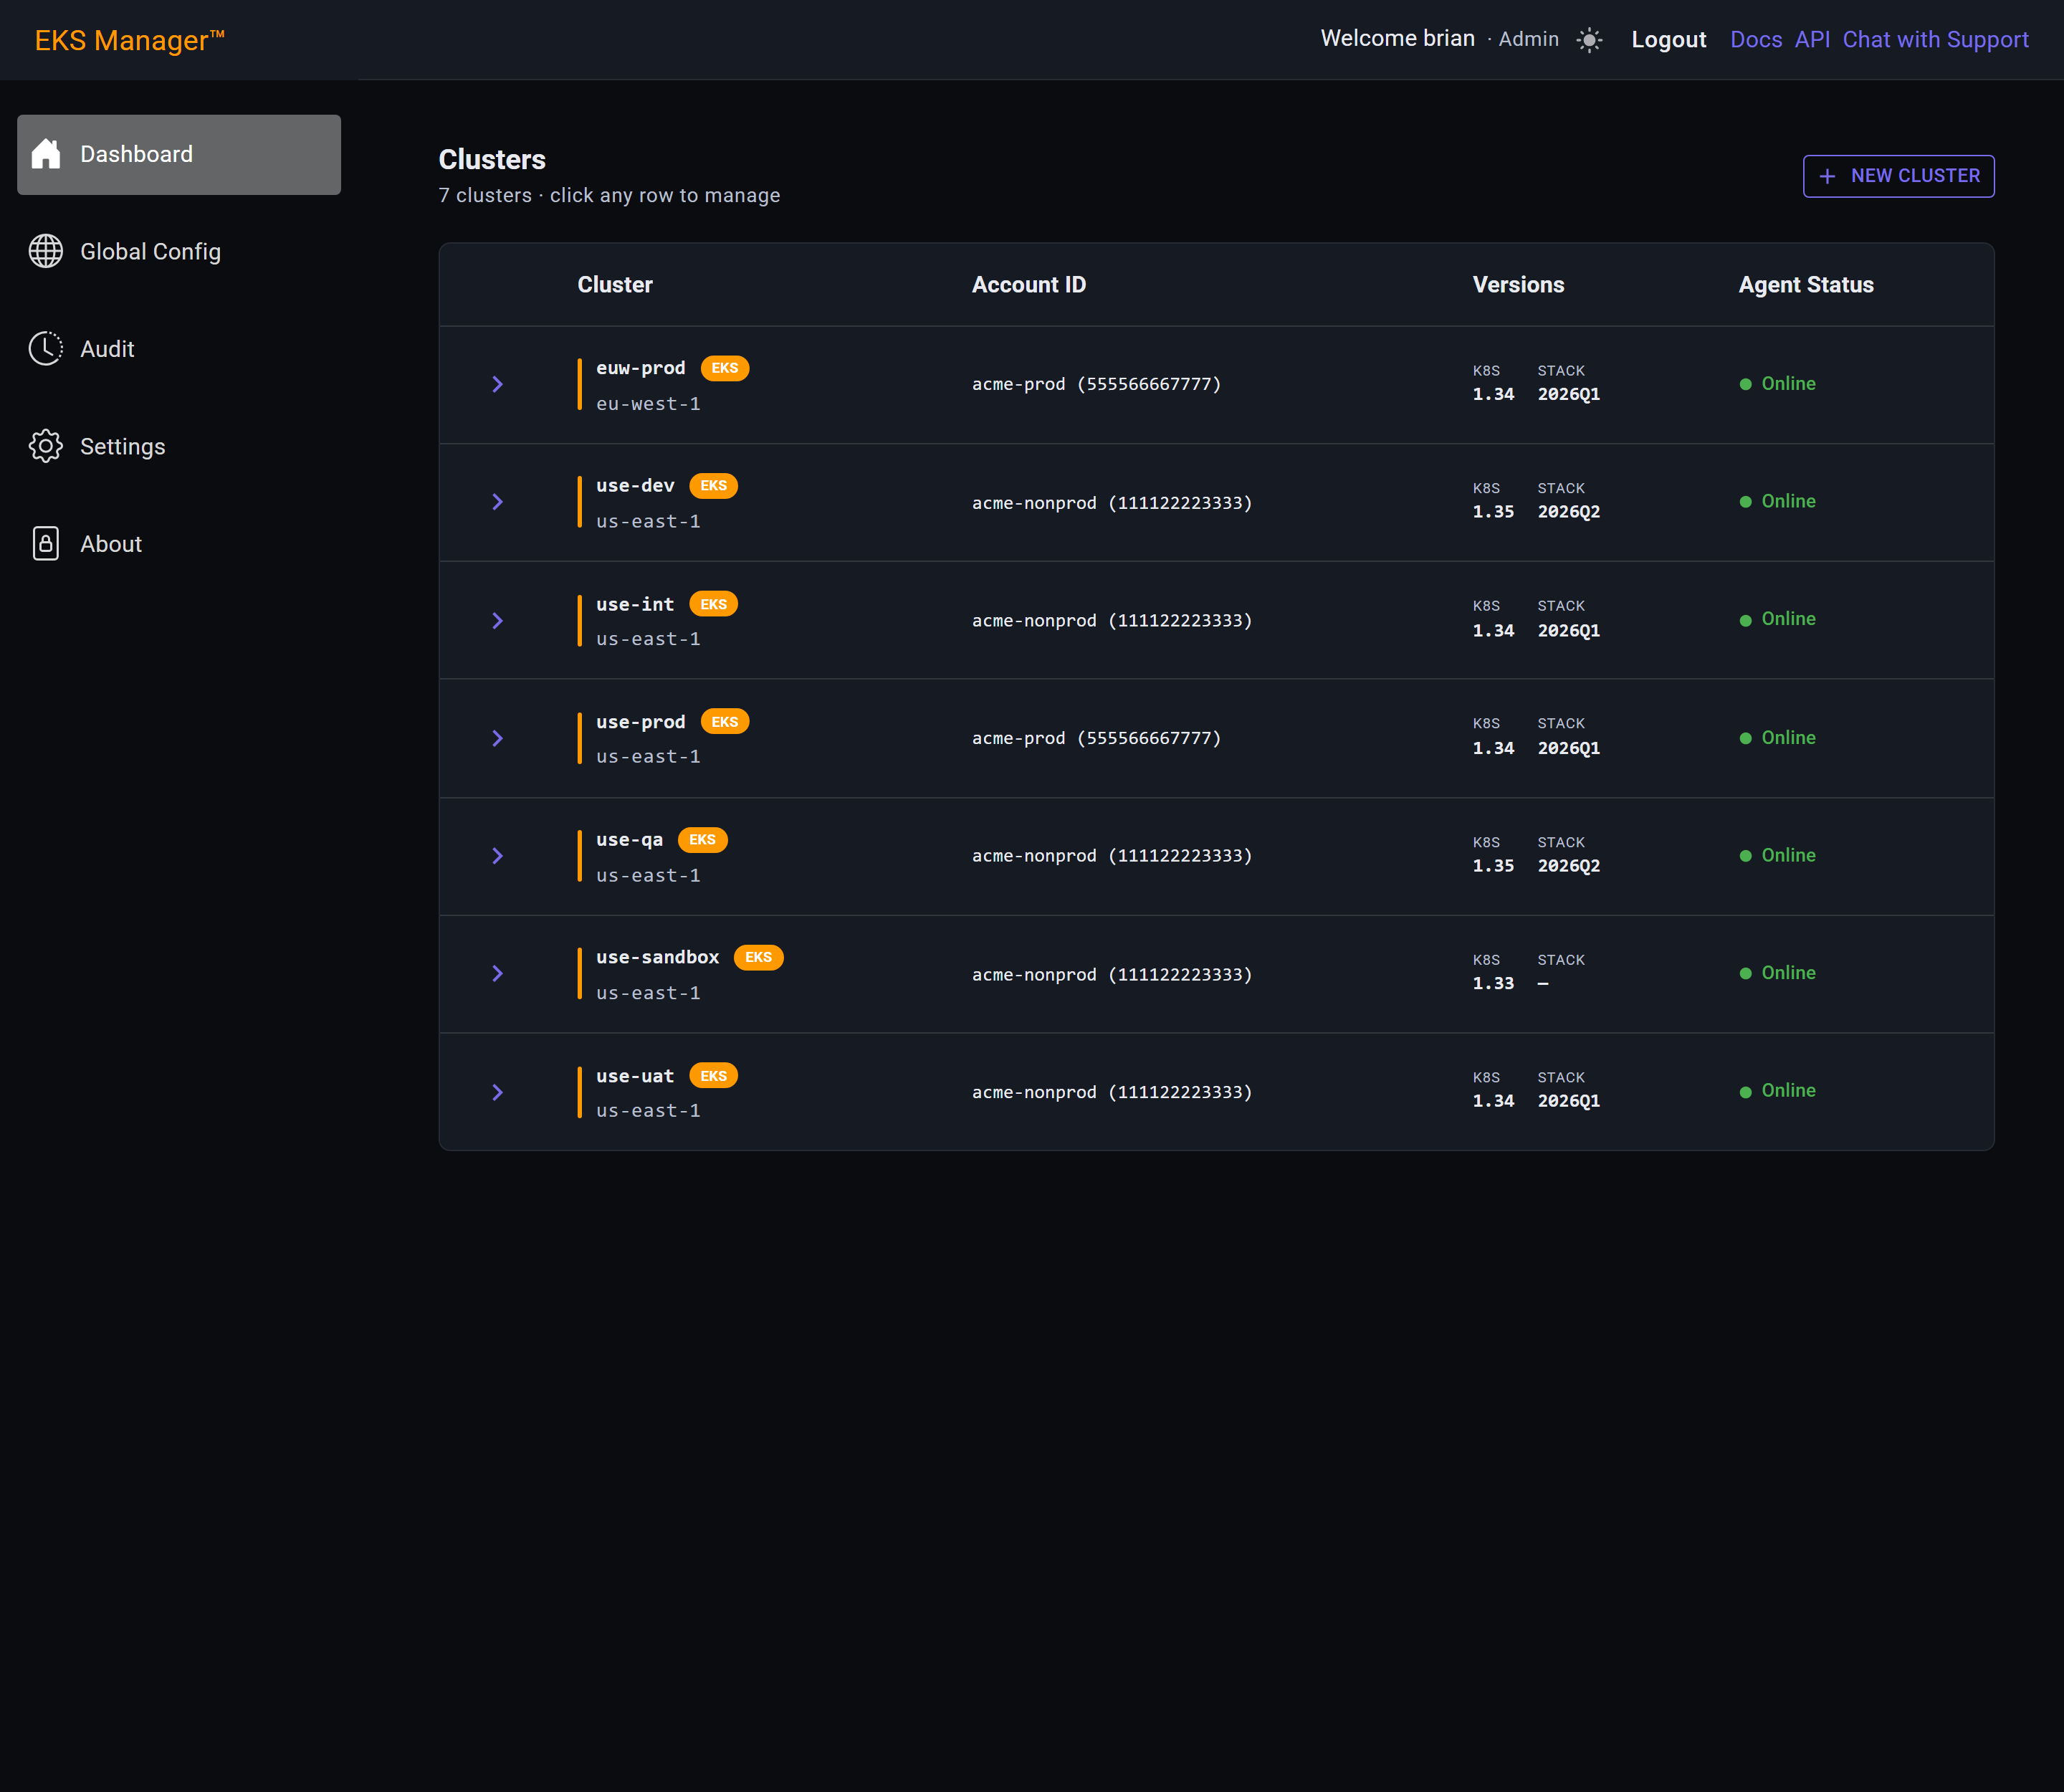
Every cluster runs an agent, and everything this application does to a cluster it does by asking that agent. Online, shown in green, means it has checked in recently.
It has to be green. If a cluster is not showing online, EKS Manager cannot manage it — nothing on this page or in the panel behind it will work for that cluster, and an upgrade or a deployment started against it will not arrive.
What that does not mean is that the cluster is down. Its workloads carry on running exactly as before; what has been lost is this application's ability to change anything on it. Get the agent back before trusting anything you see for that row.
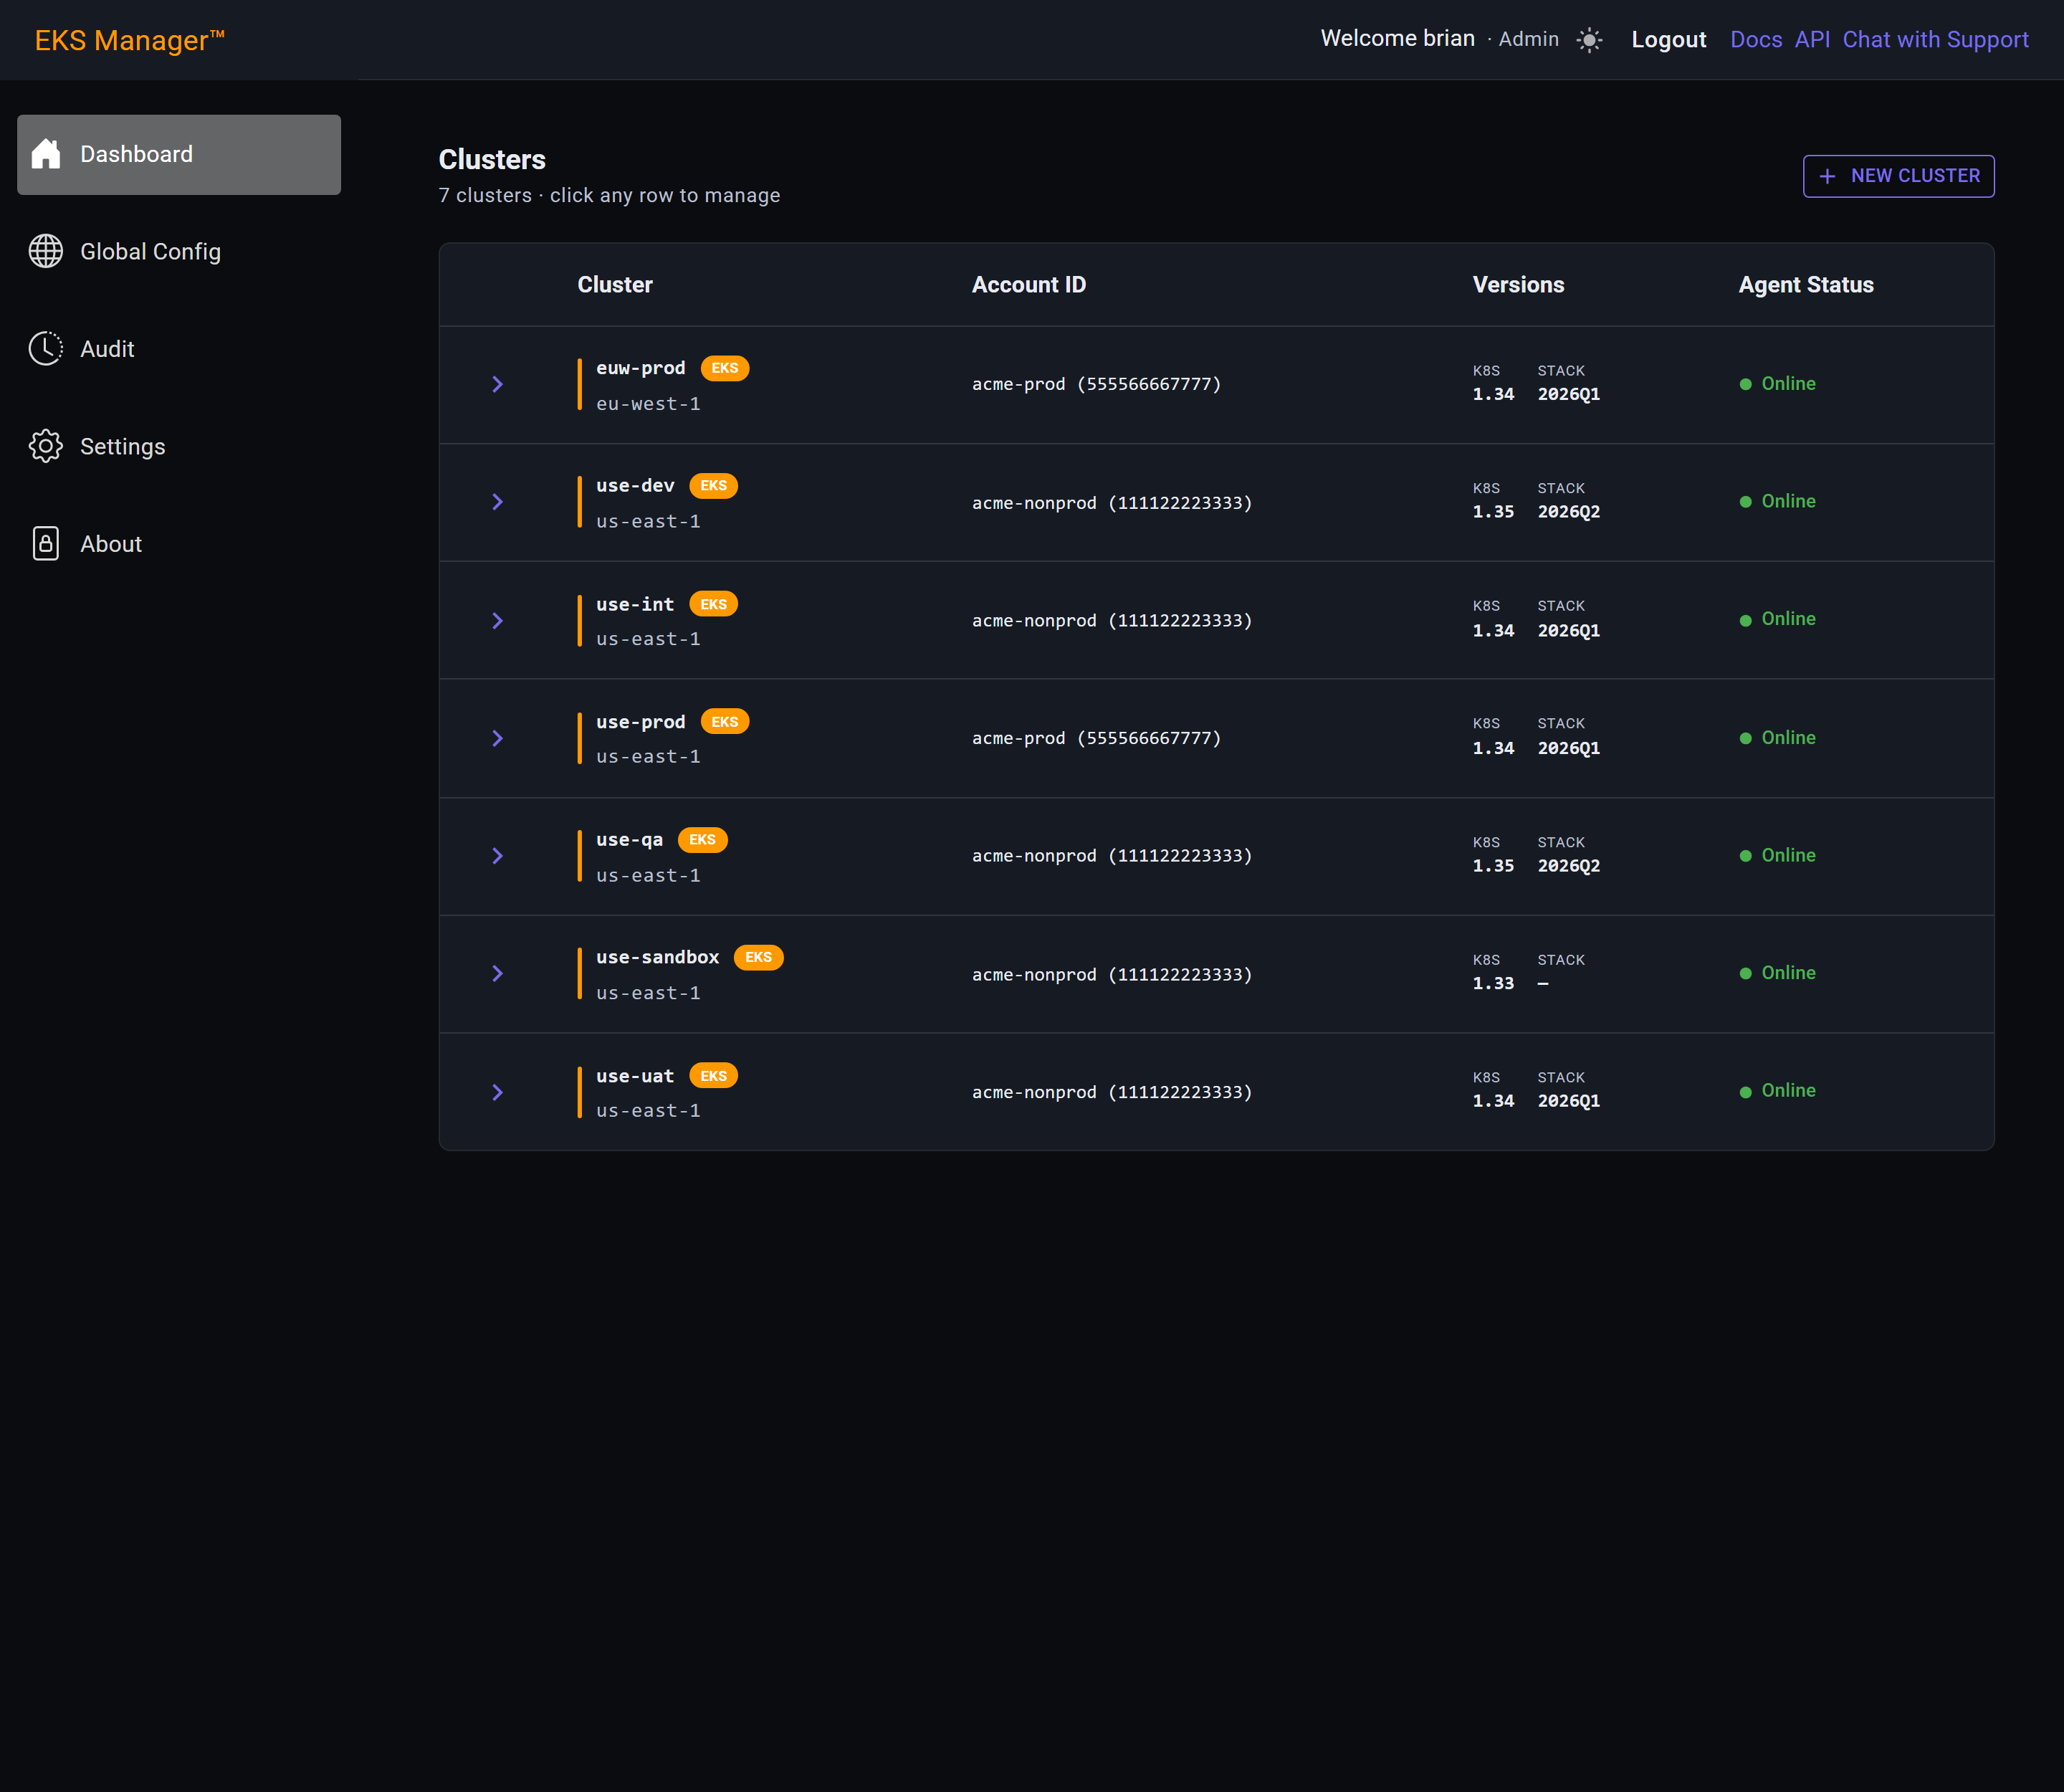
Clicking a row expands it in place into the management panel, without leaving the list. Closing it puts you back where you were.
That panel is the subject of Managing a Cluster. Everything specific to one cluster — its node groups, namespaces, identities, add-ons and upgrades — lives inside it.
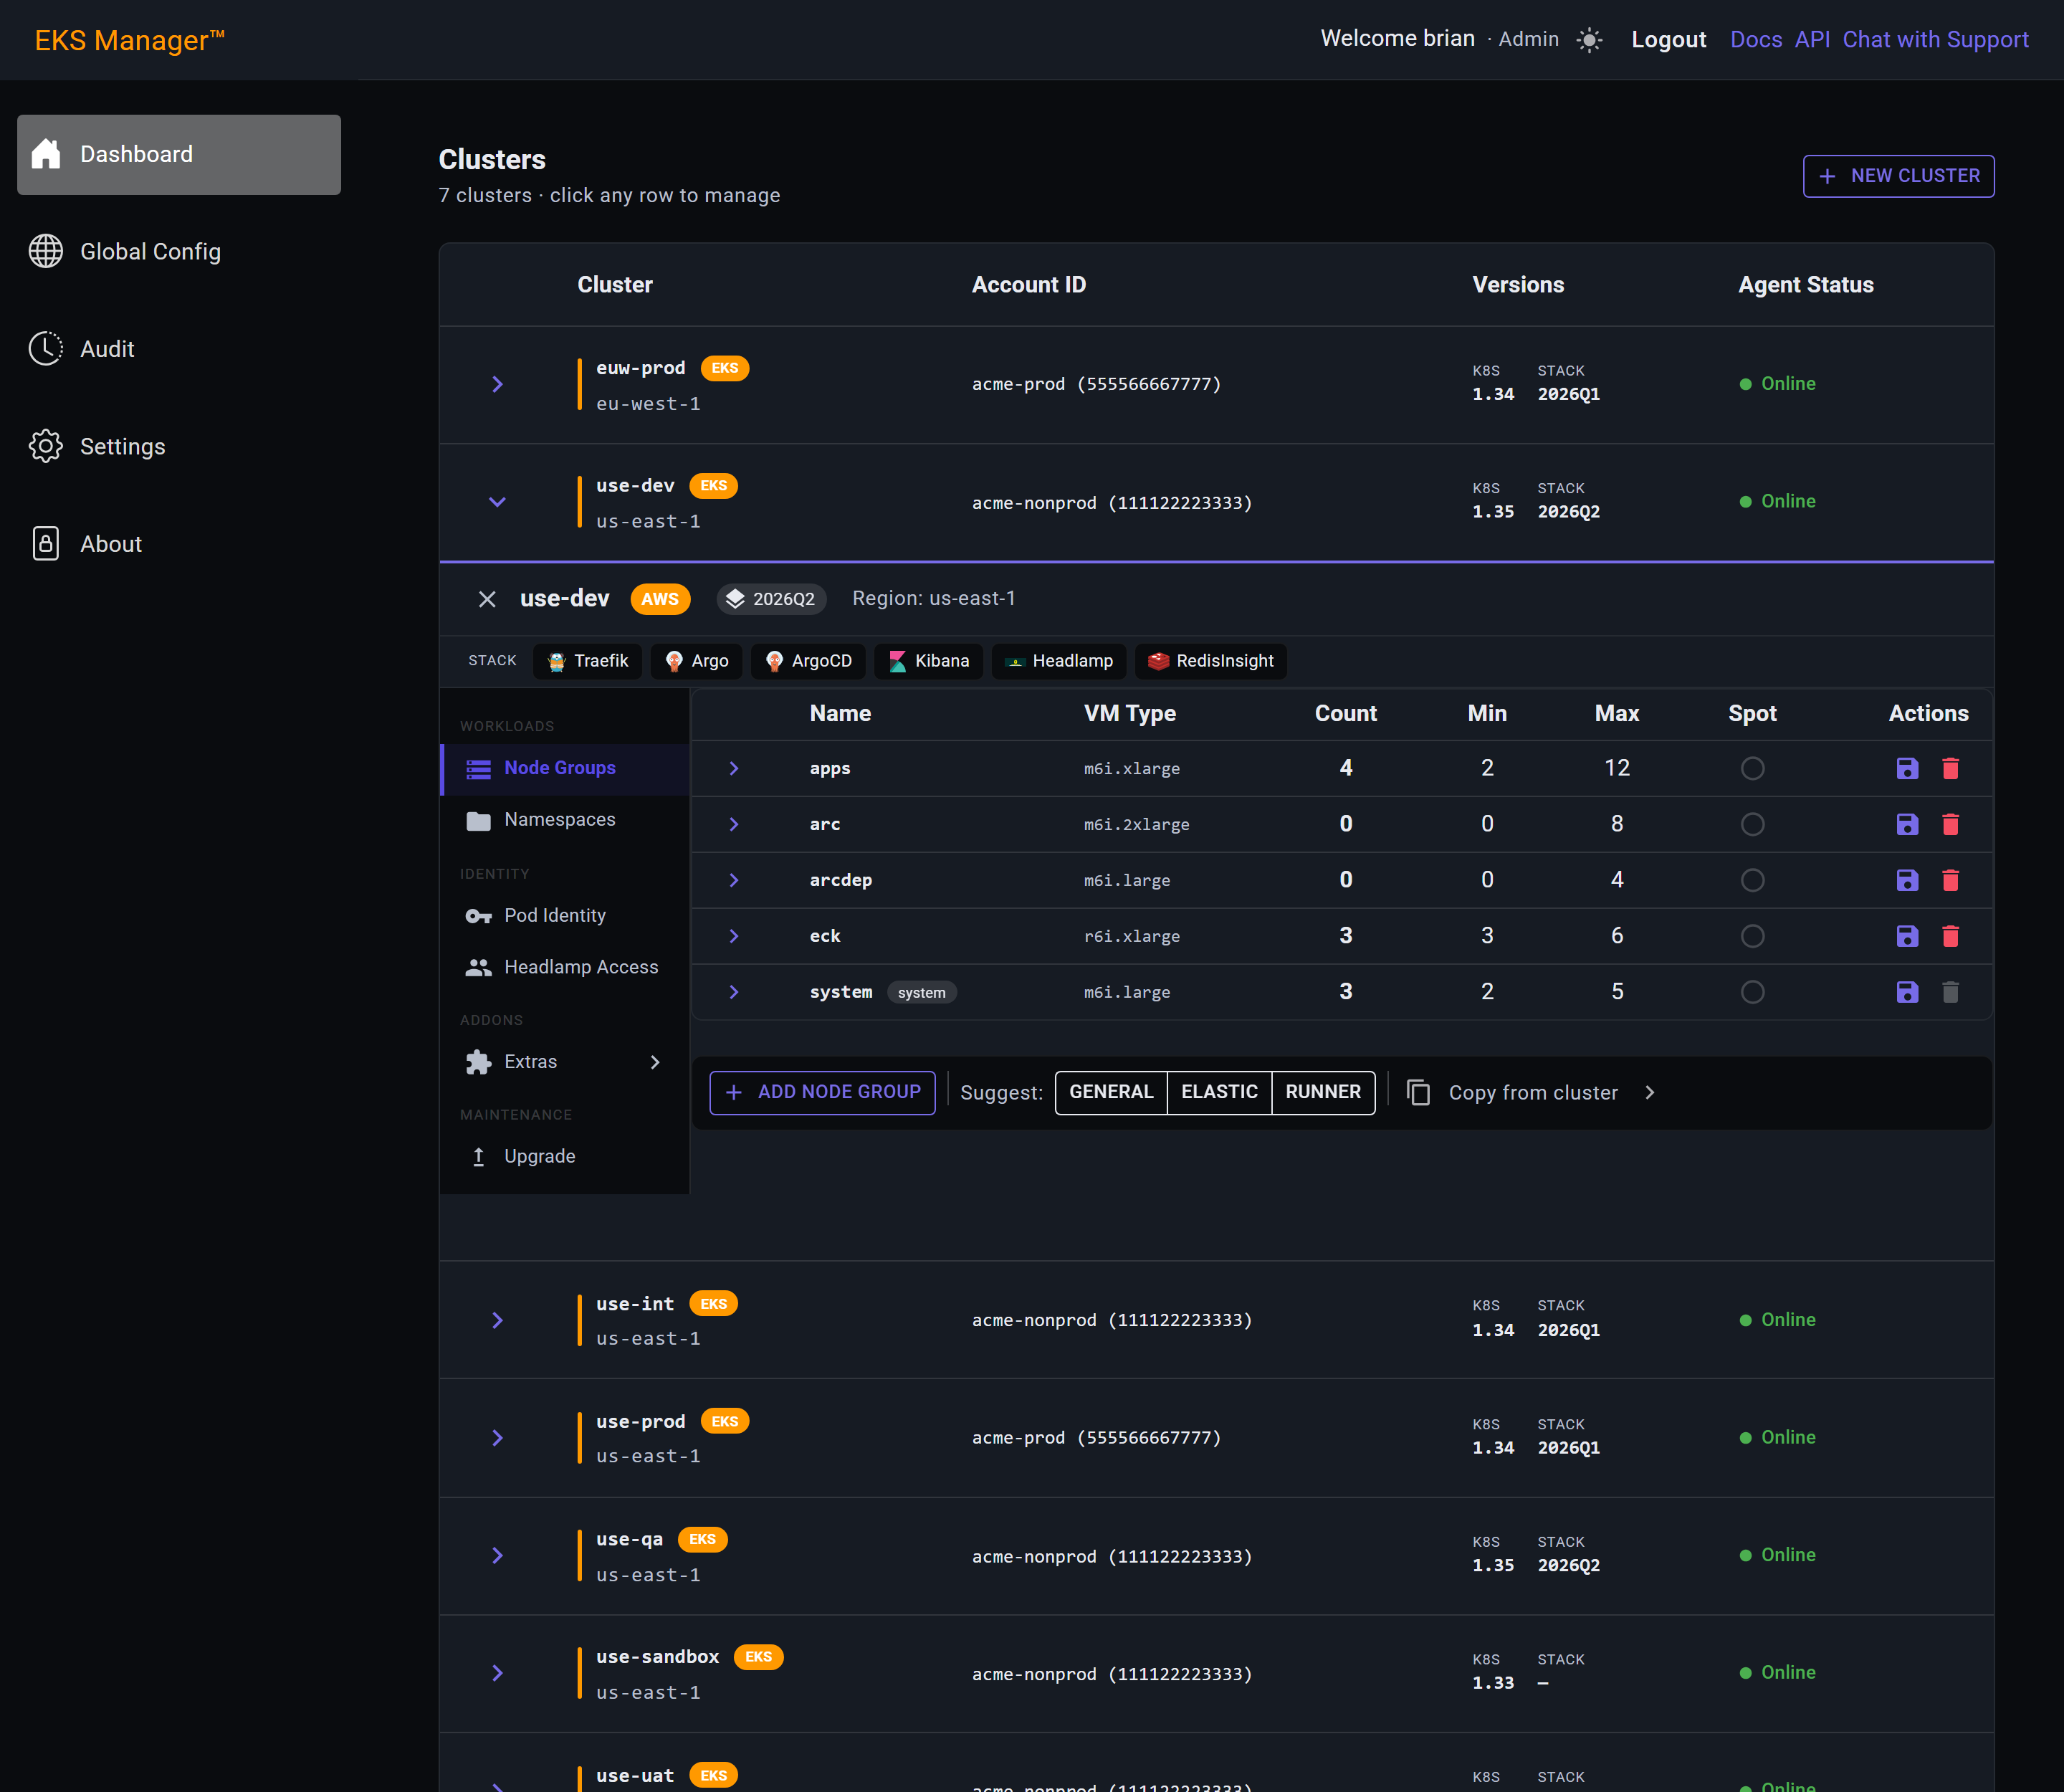
New Cluster opens the create form, covered in Creating a Cluster.
It needs the Admin group. A user without it sees the button and is refused when they press it, rather than the button being hidden — so if it does nothing, that is why.
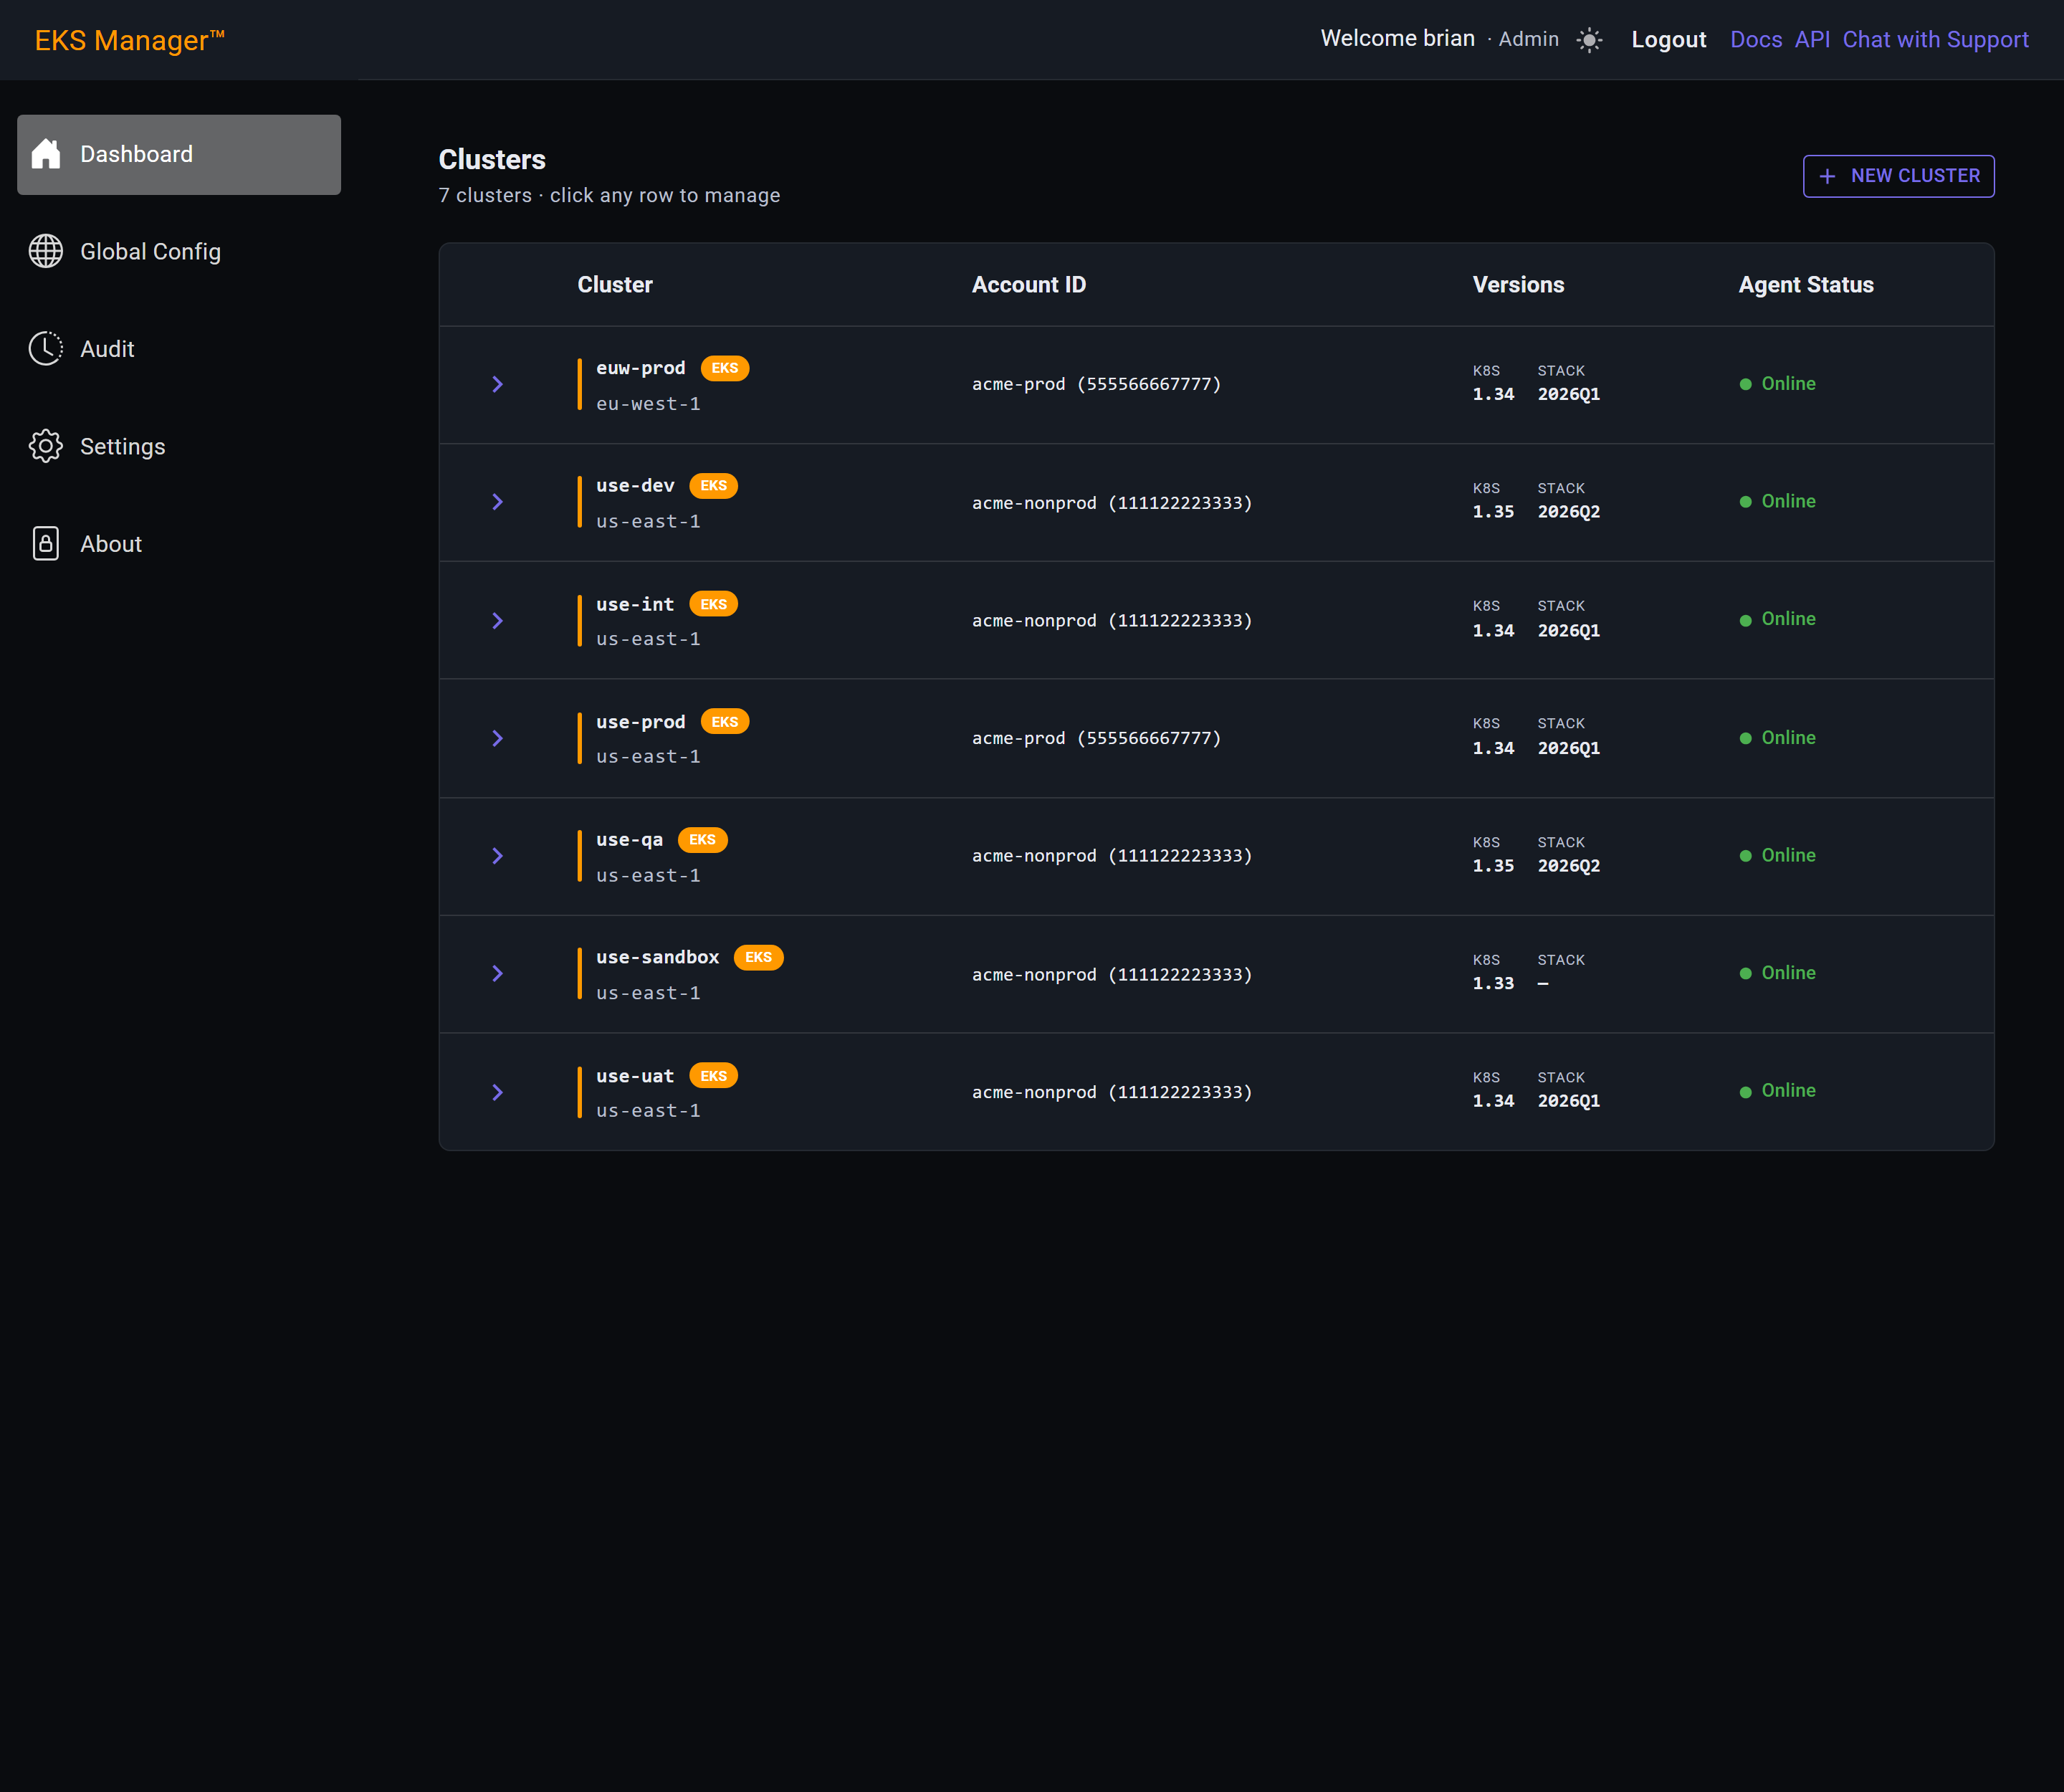
Continue with:
Creating a Cluster
Name the cluster, then open Environment.
The list holds one entry per DNS zone in your bootstrap repo. This choice comes first because it drives the three pickers below it: selecting a zone fixes the AWS account, which fixes the region, which fixes the subnets available. Until a zone is chosen those pickers are empty and say so.
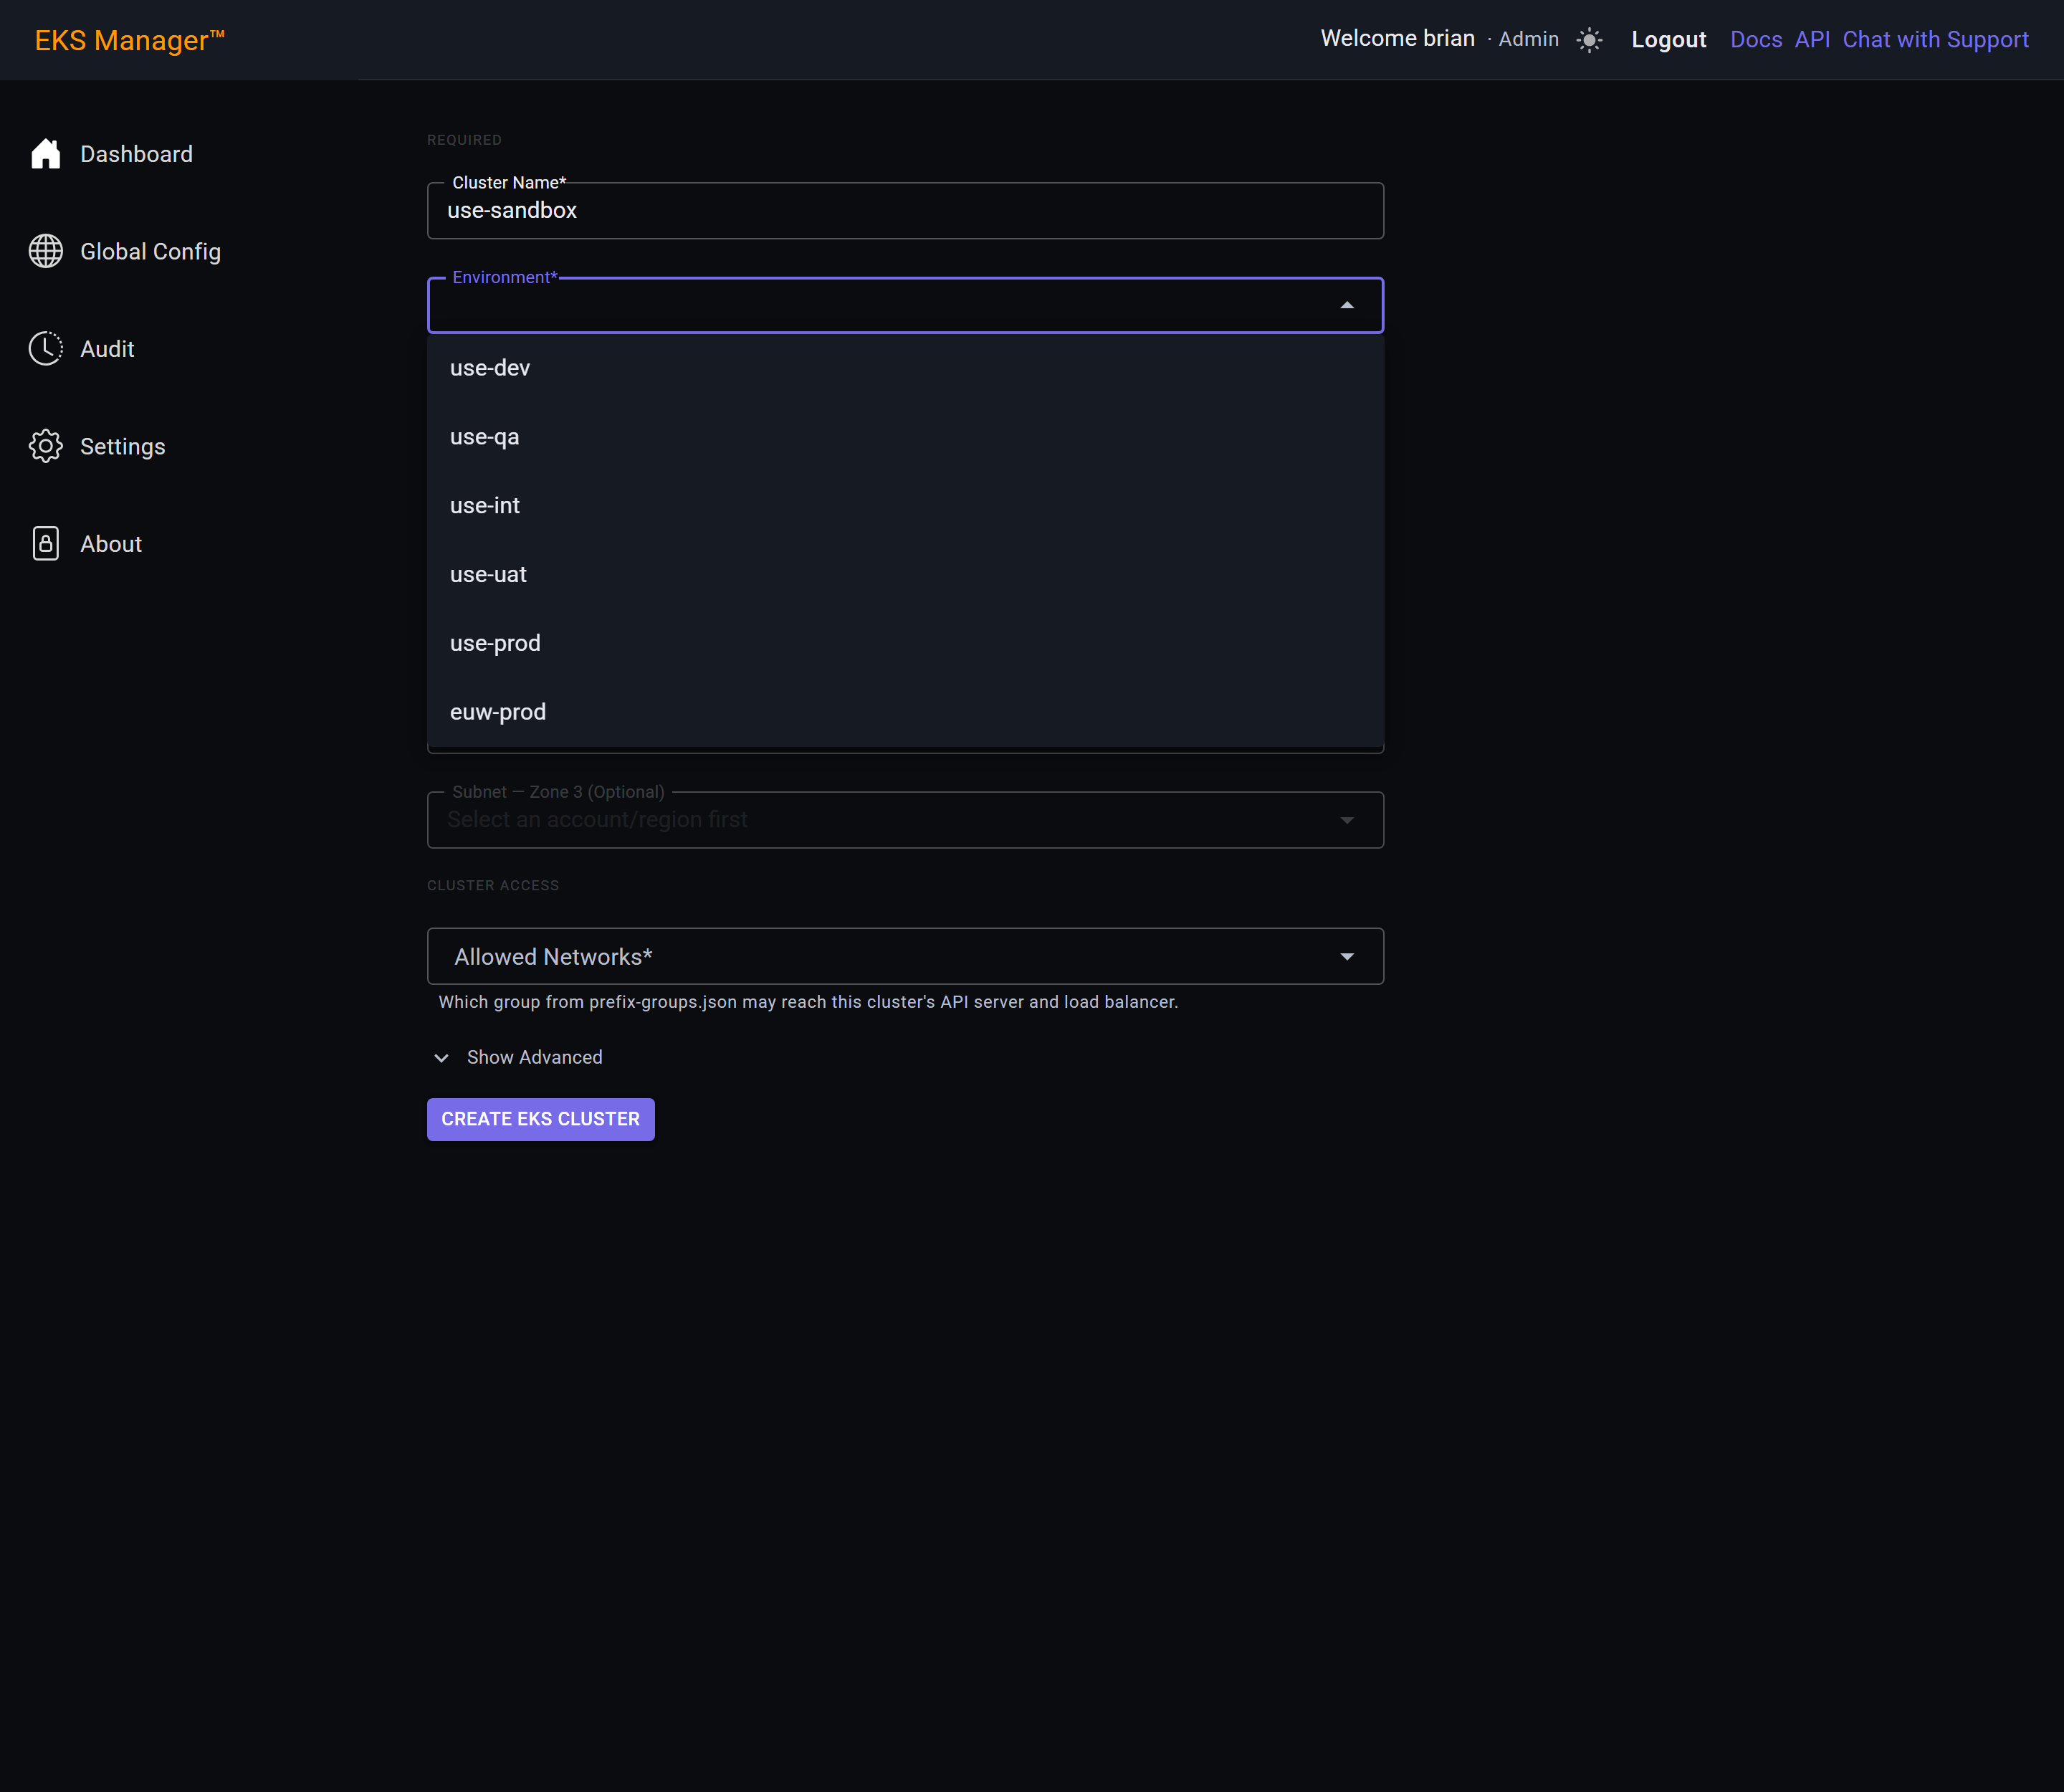
Choosing use-dev fills in AWS Account / Region — that zone belongs to one account, so there is nothing to choose — and populates the subnet pickers with only the subnets in that account and region.
Node groups belong in private subnets.
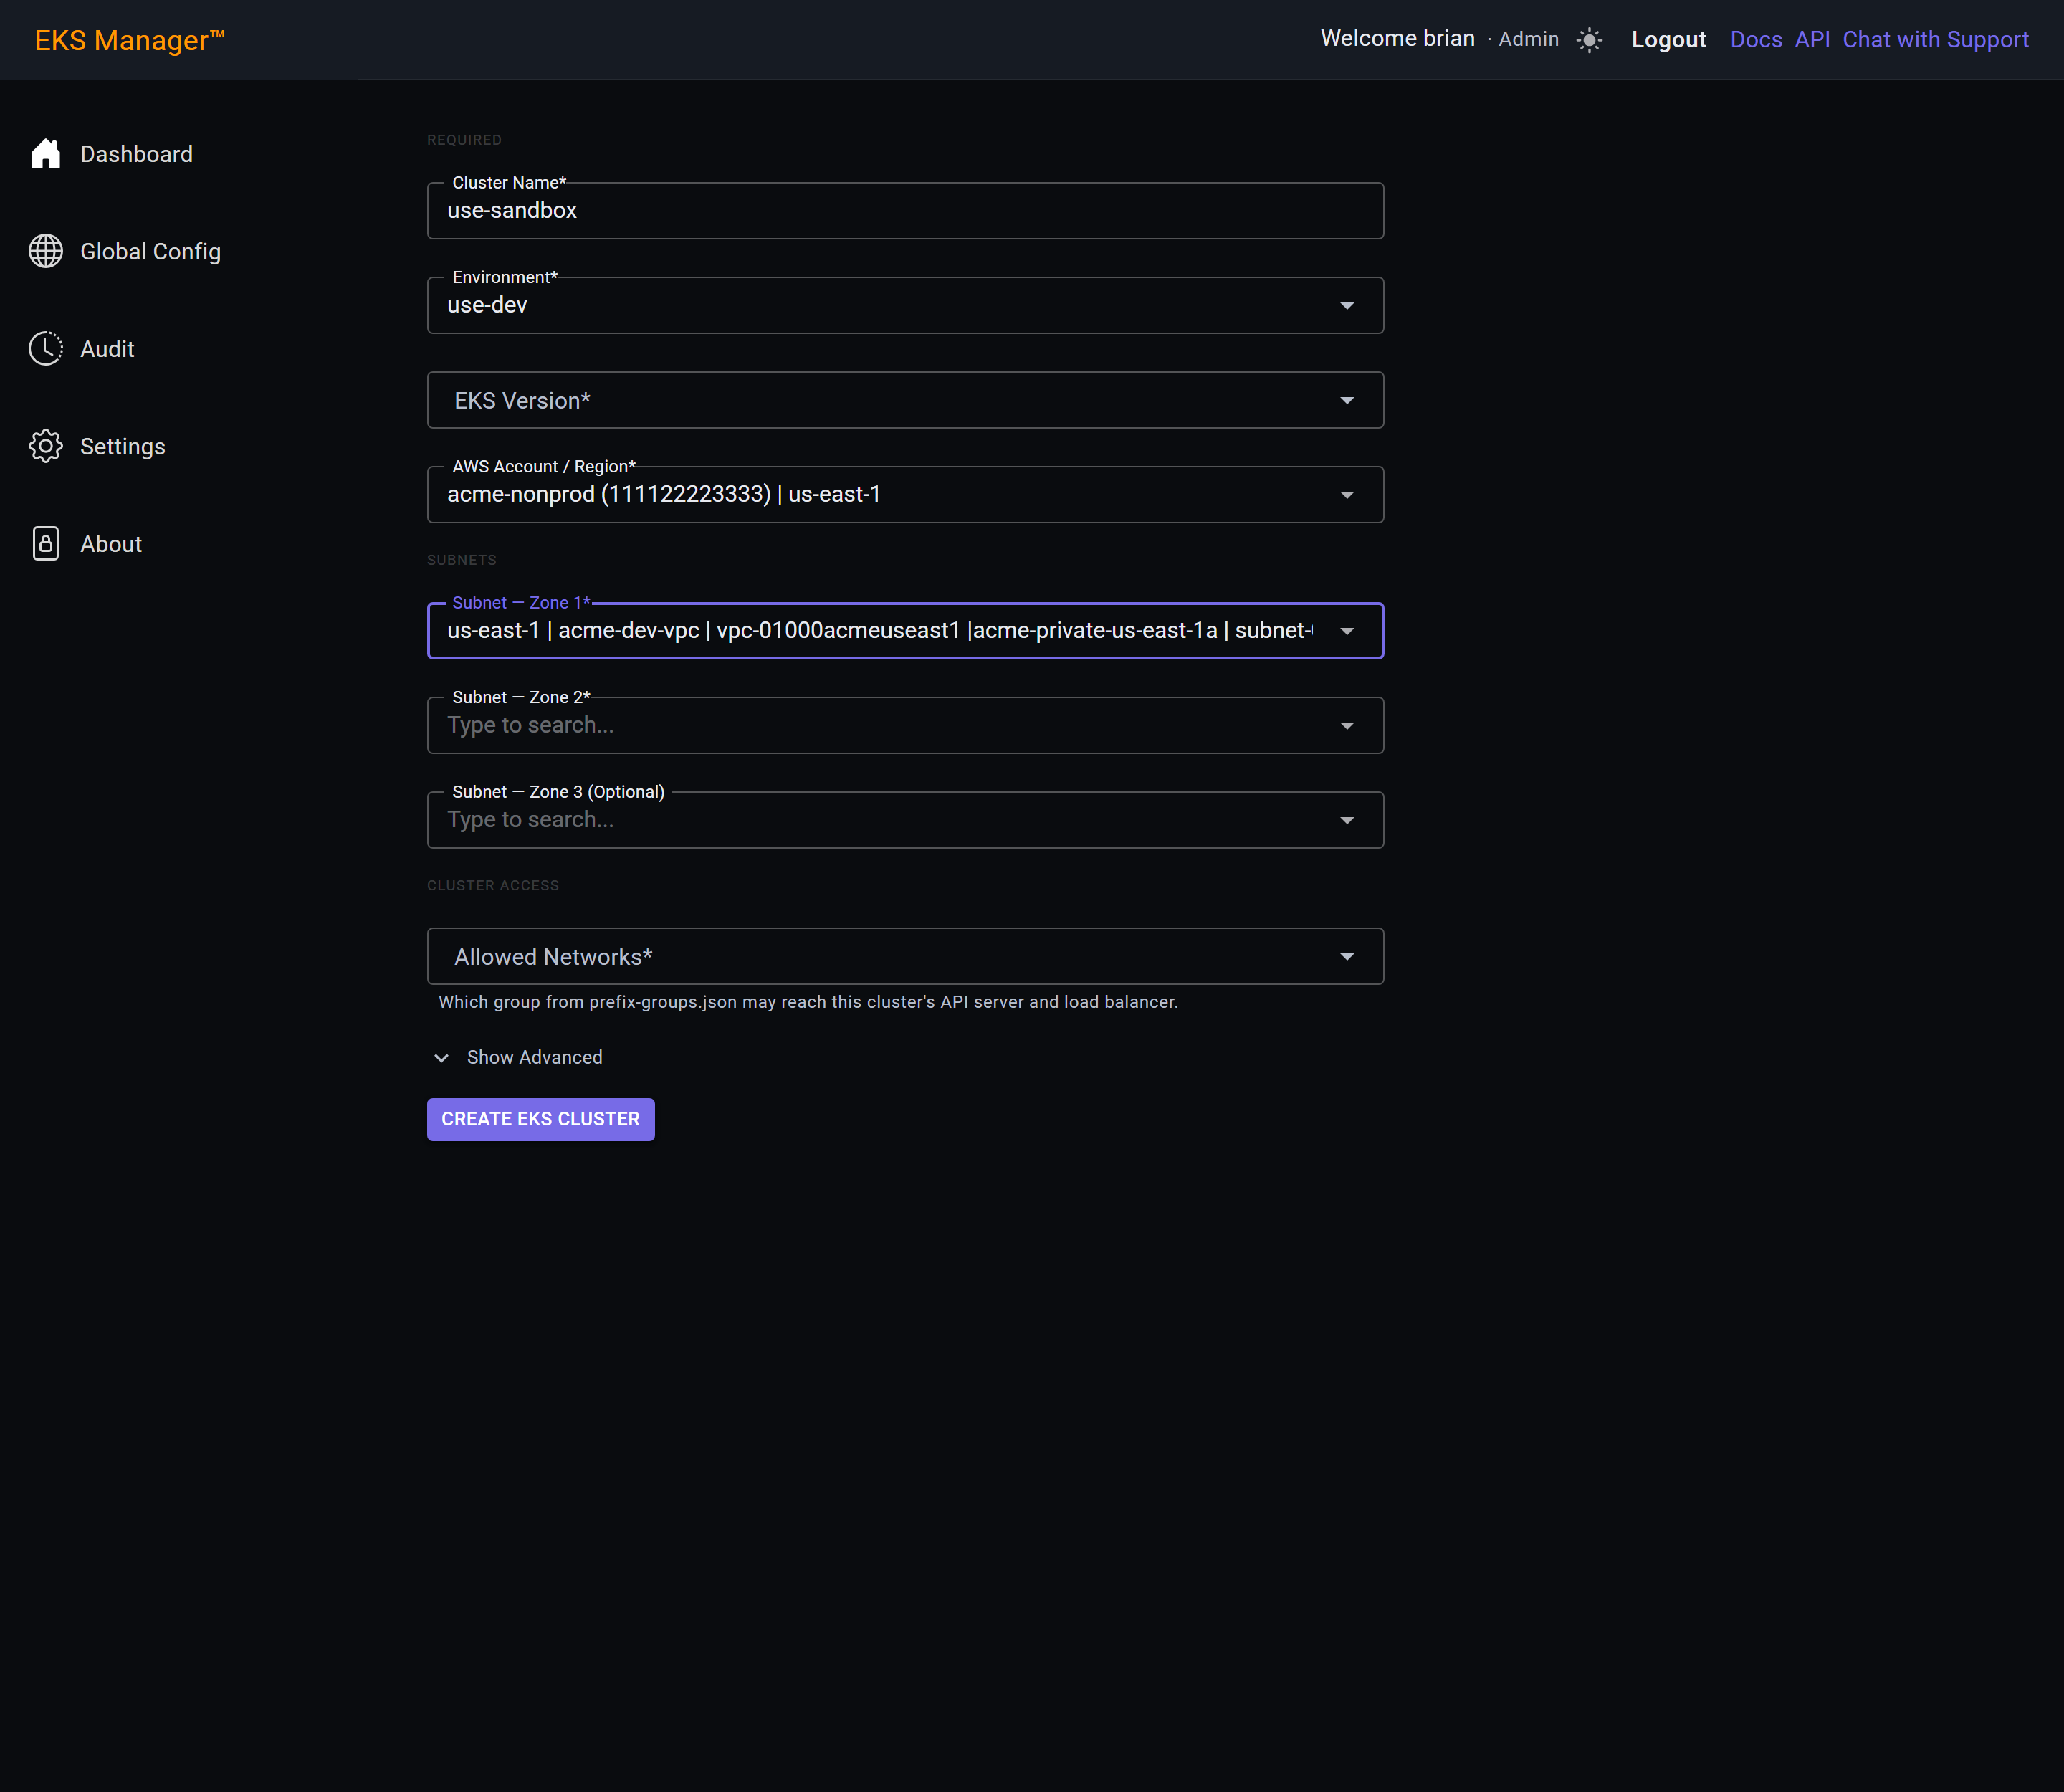
Account, region and subnets are now limited to the chosen environment. Allowed Networks picks the prefix-list group permitted to reach the cluster.
With everything set, press Create EKS Cluster.
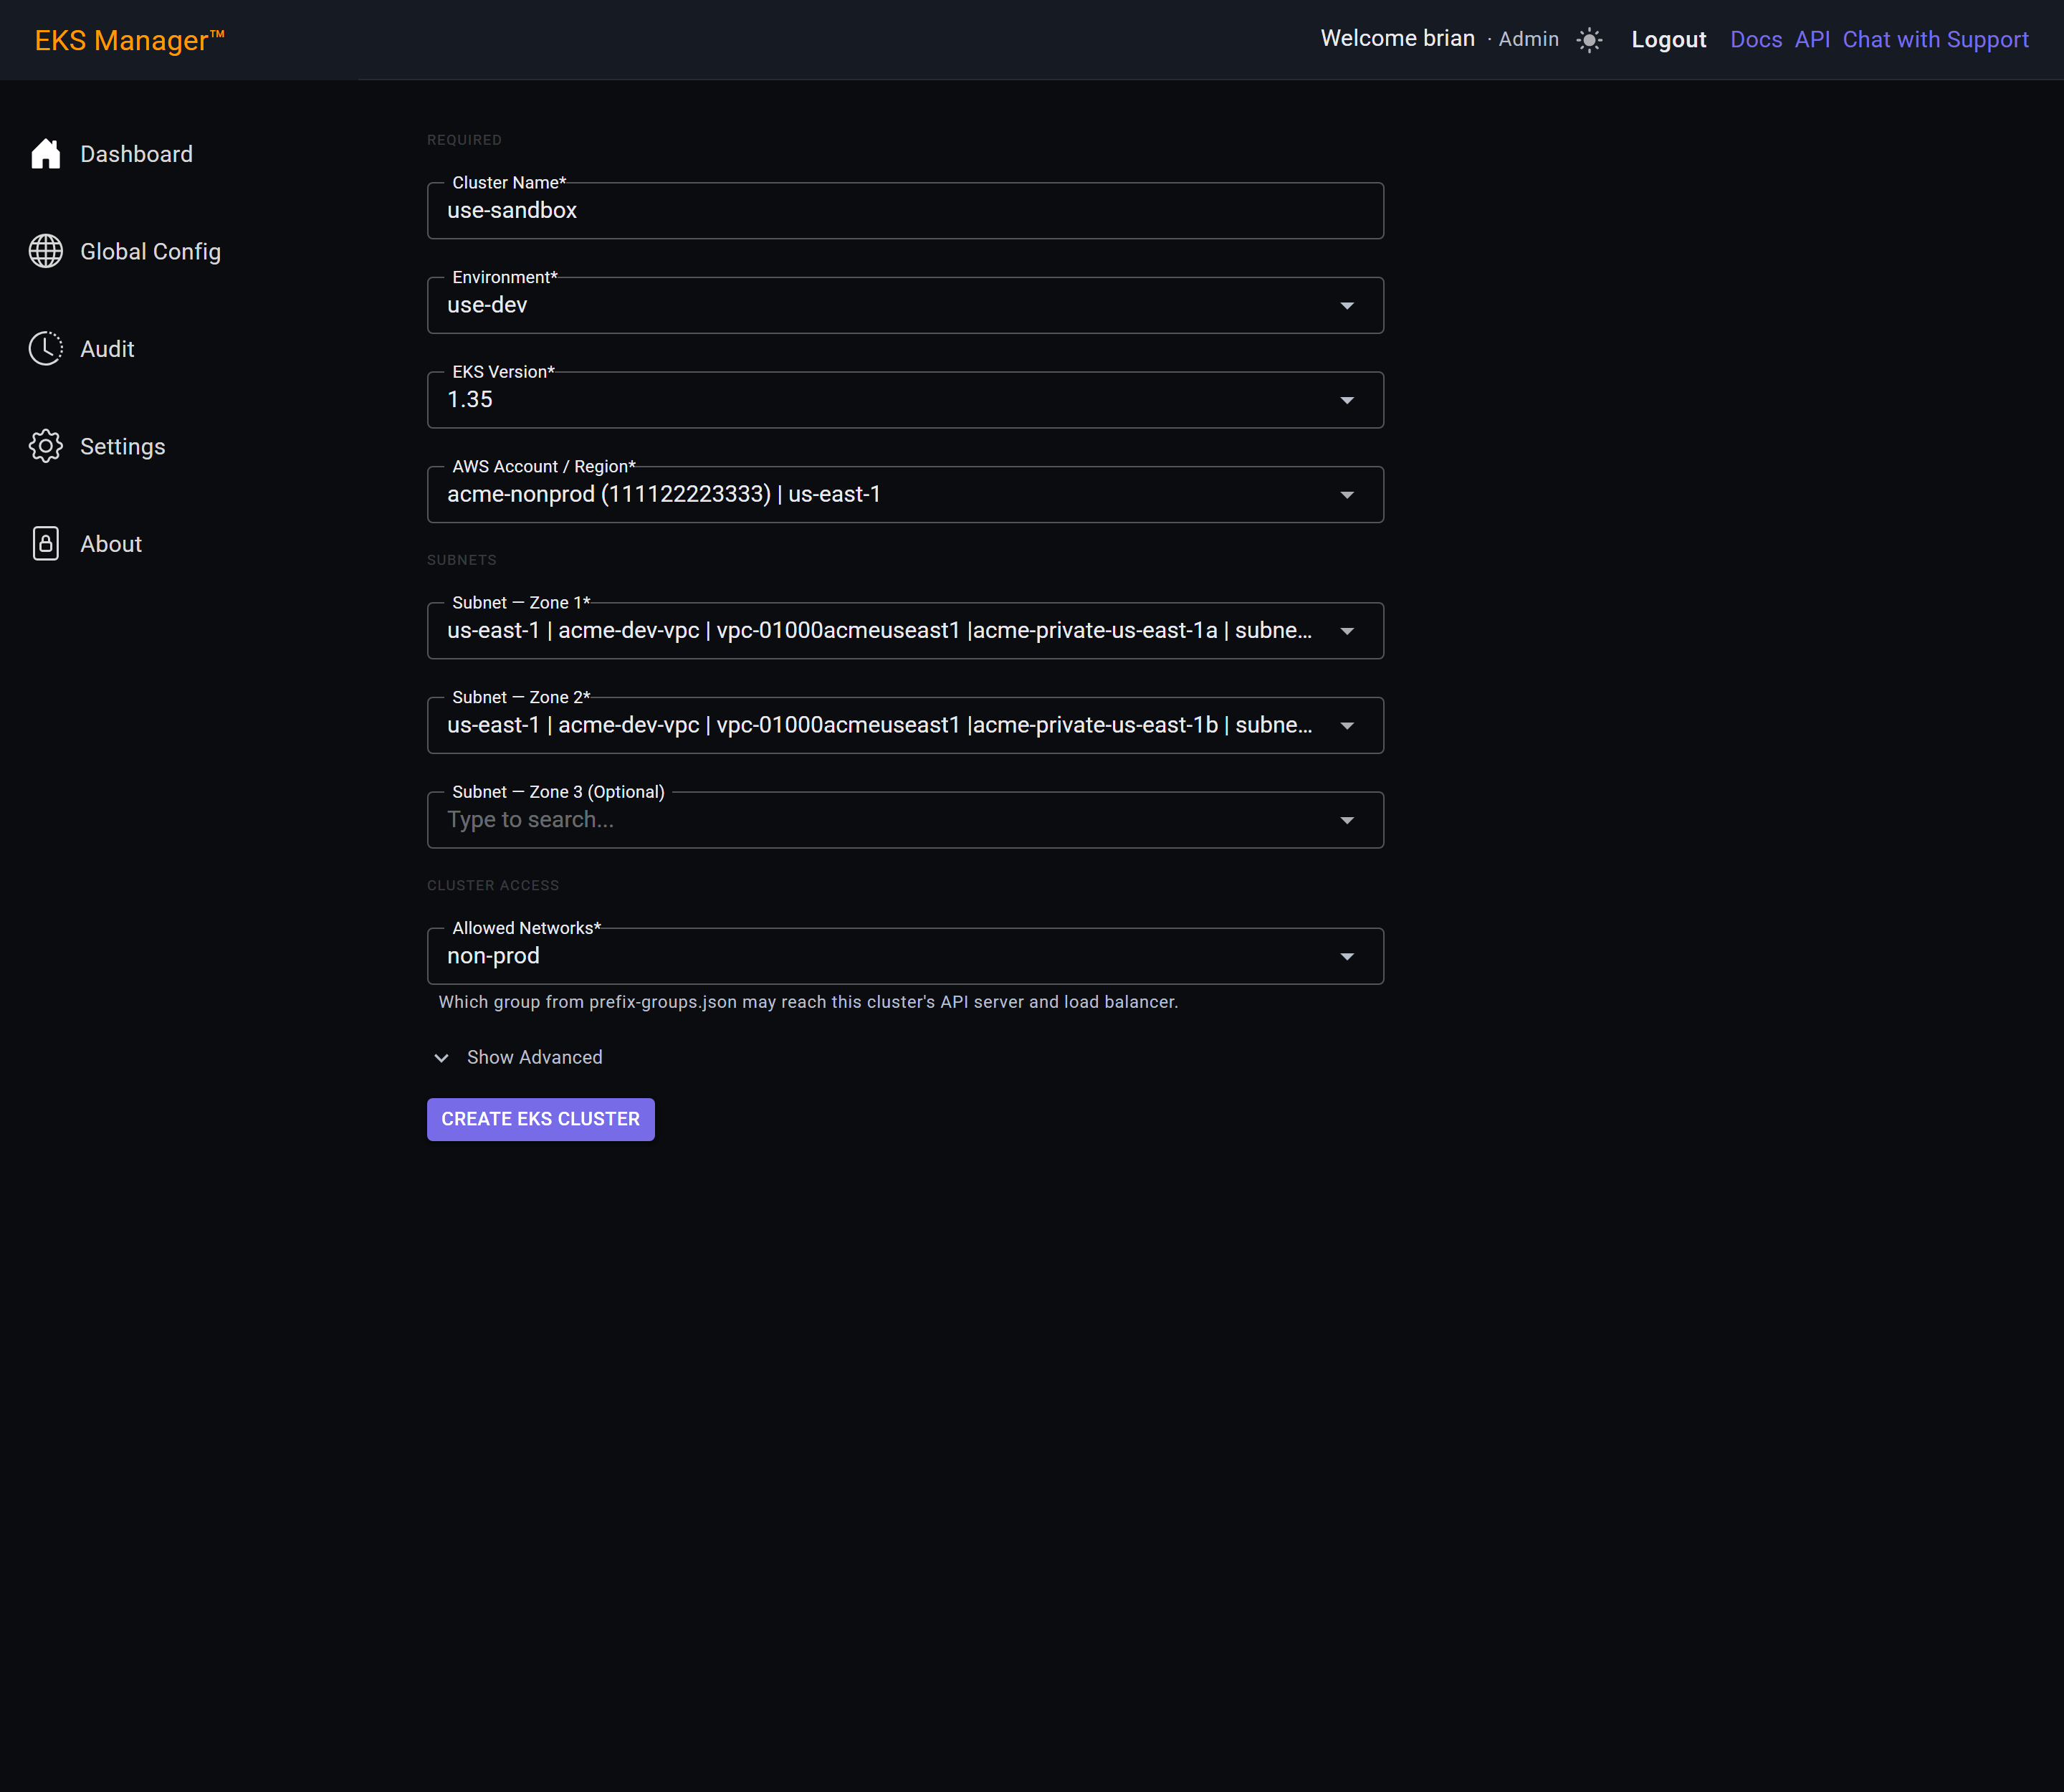
Validation passes and the request goes to the agent. Creating the cluster itself takes around 15 minutes.
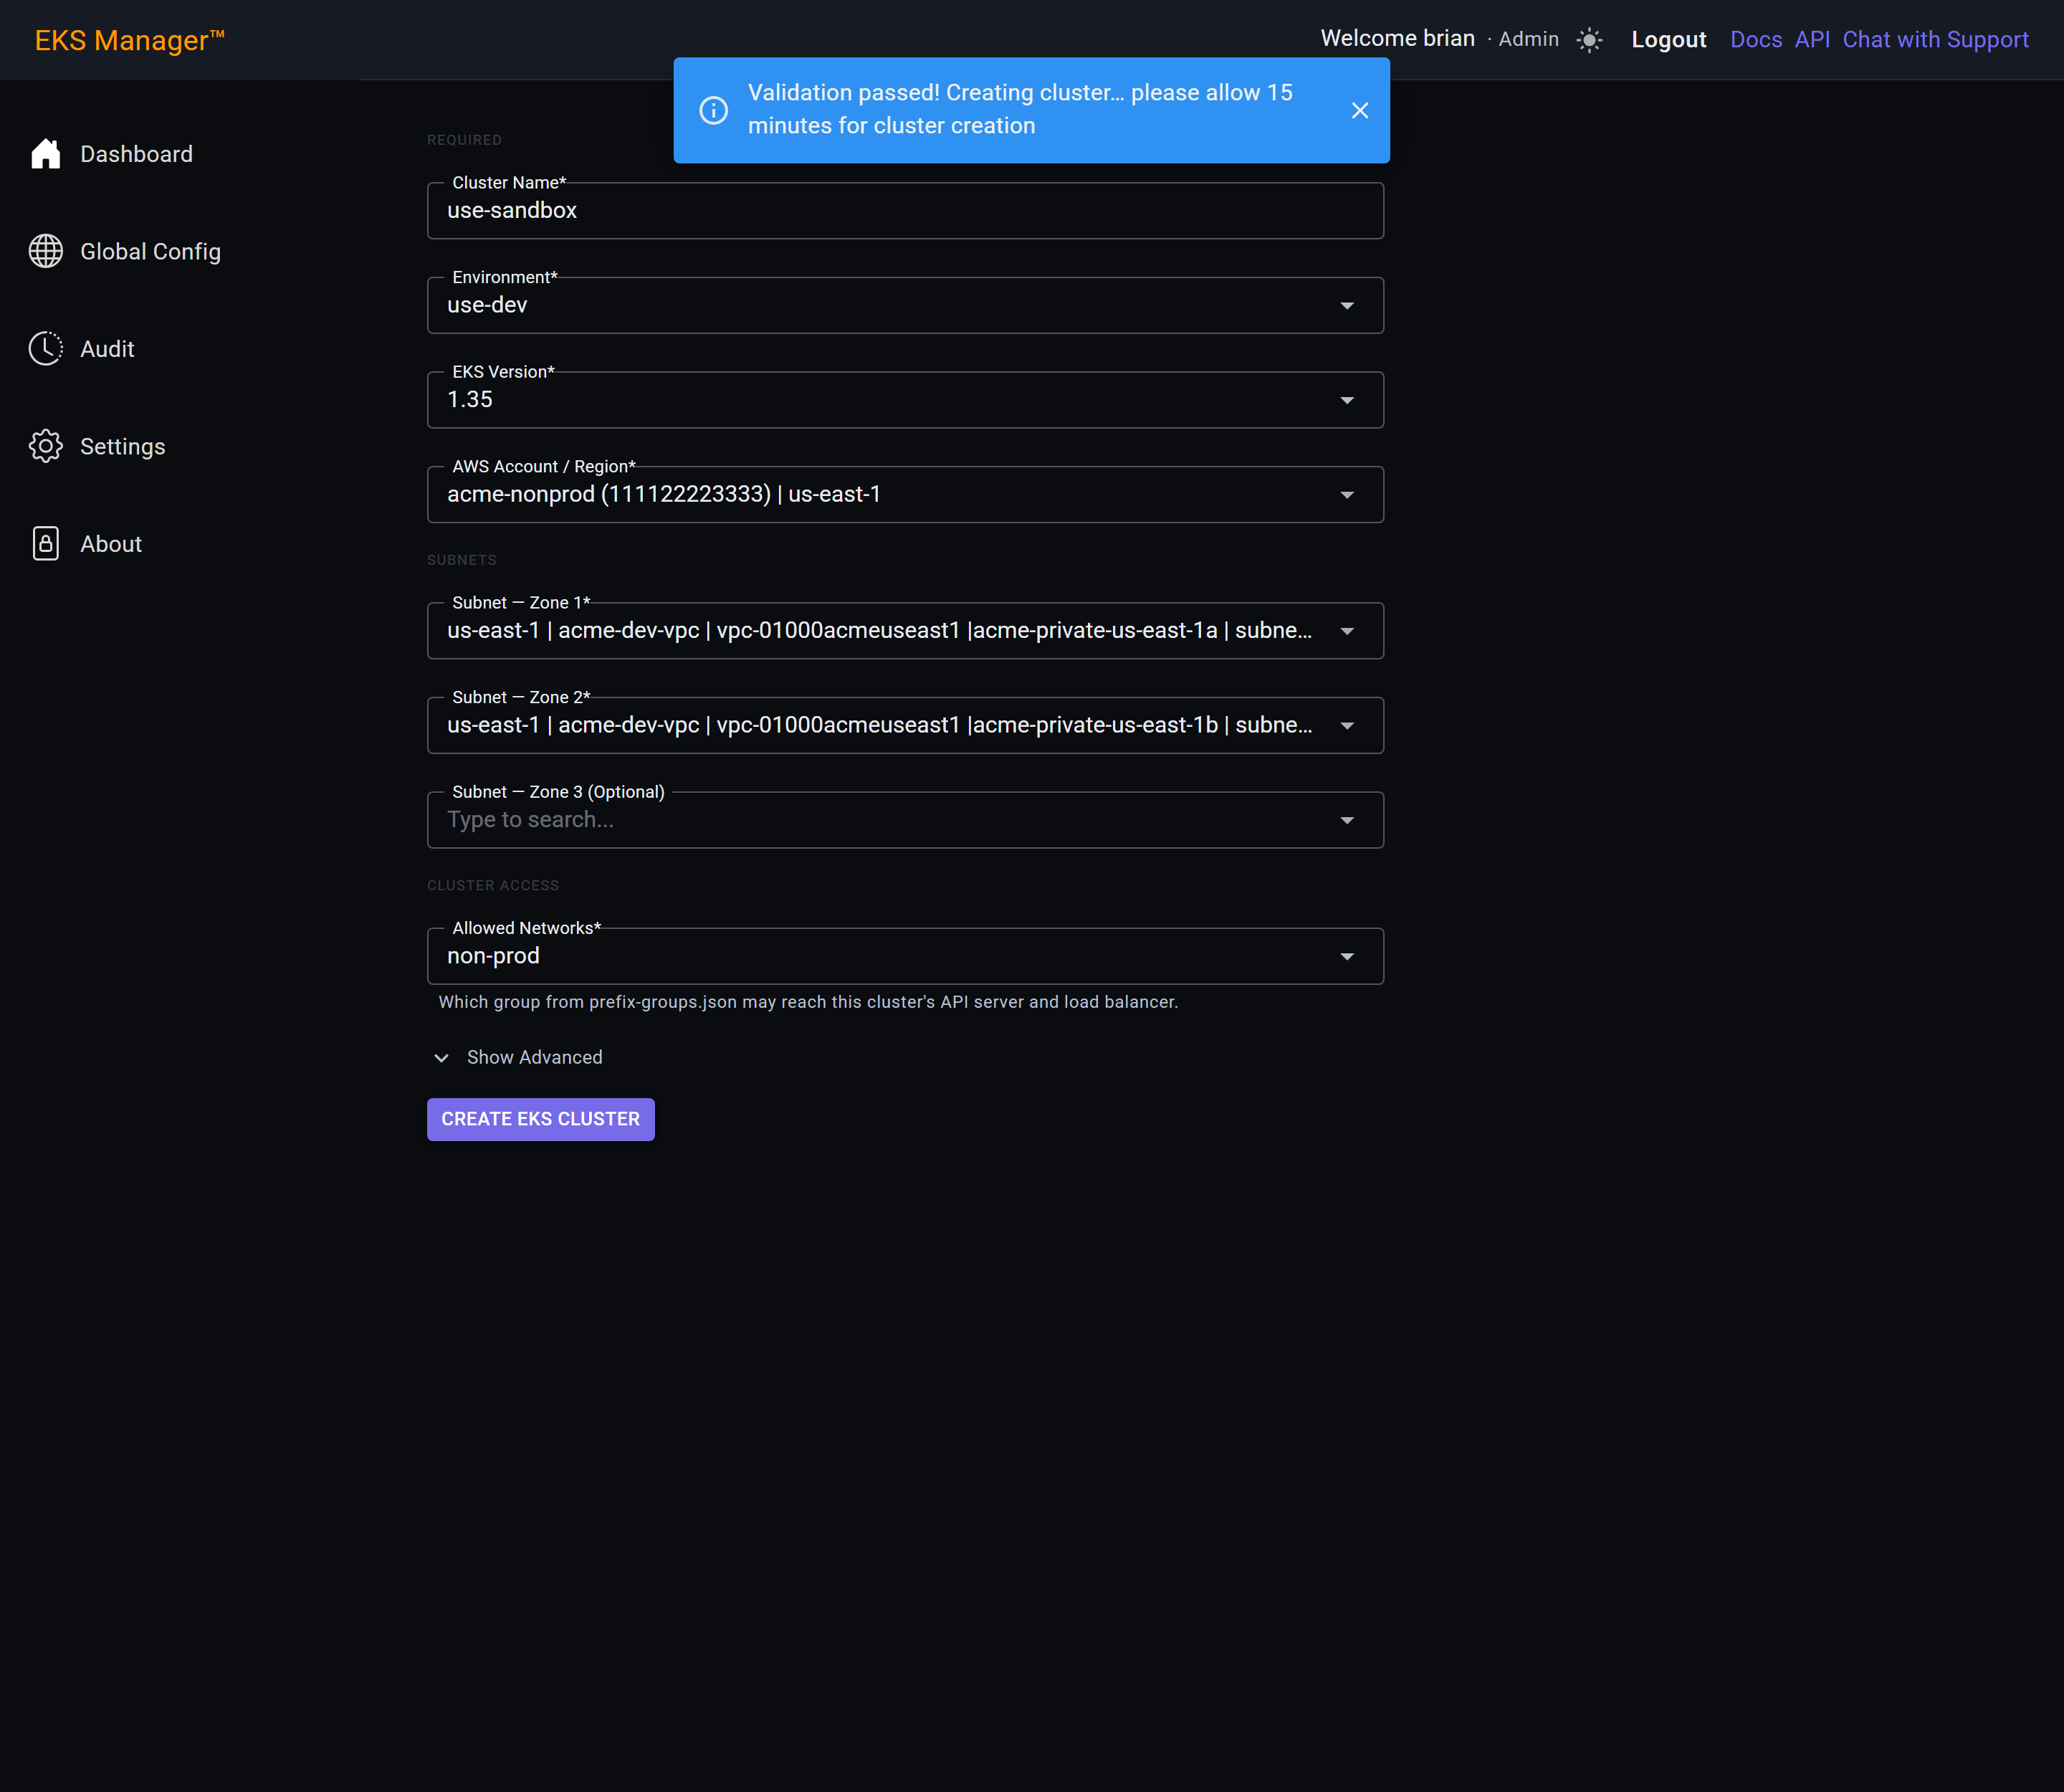
The cluster is created, and the dialog stays open to follow the second half of the job.
A GitHub workflow runs CodeBuild against your bootstrap repo to register the cluster and apply the Allowed Networks prefix lists — to the cluster's NLB security group, and to the EKS control plane security group on 443. View the workflow run opens it in GitHub.
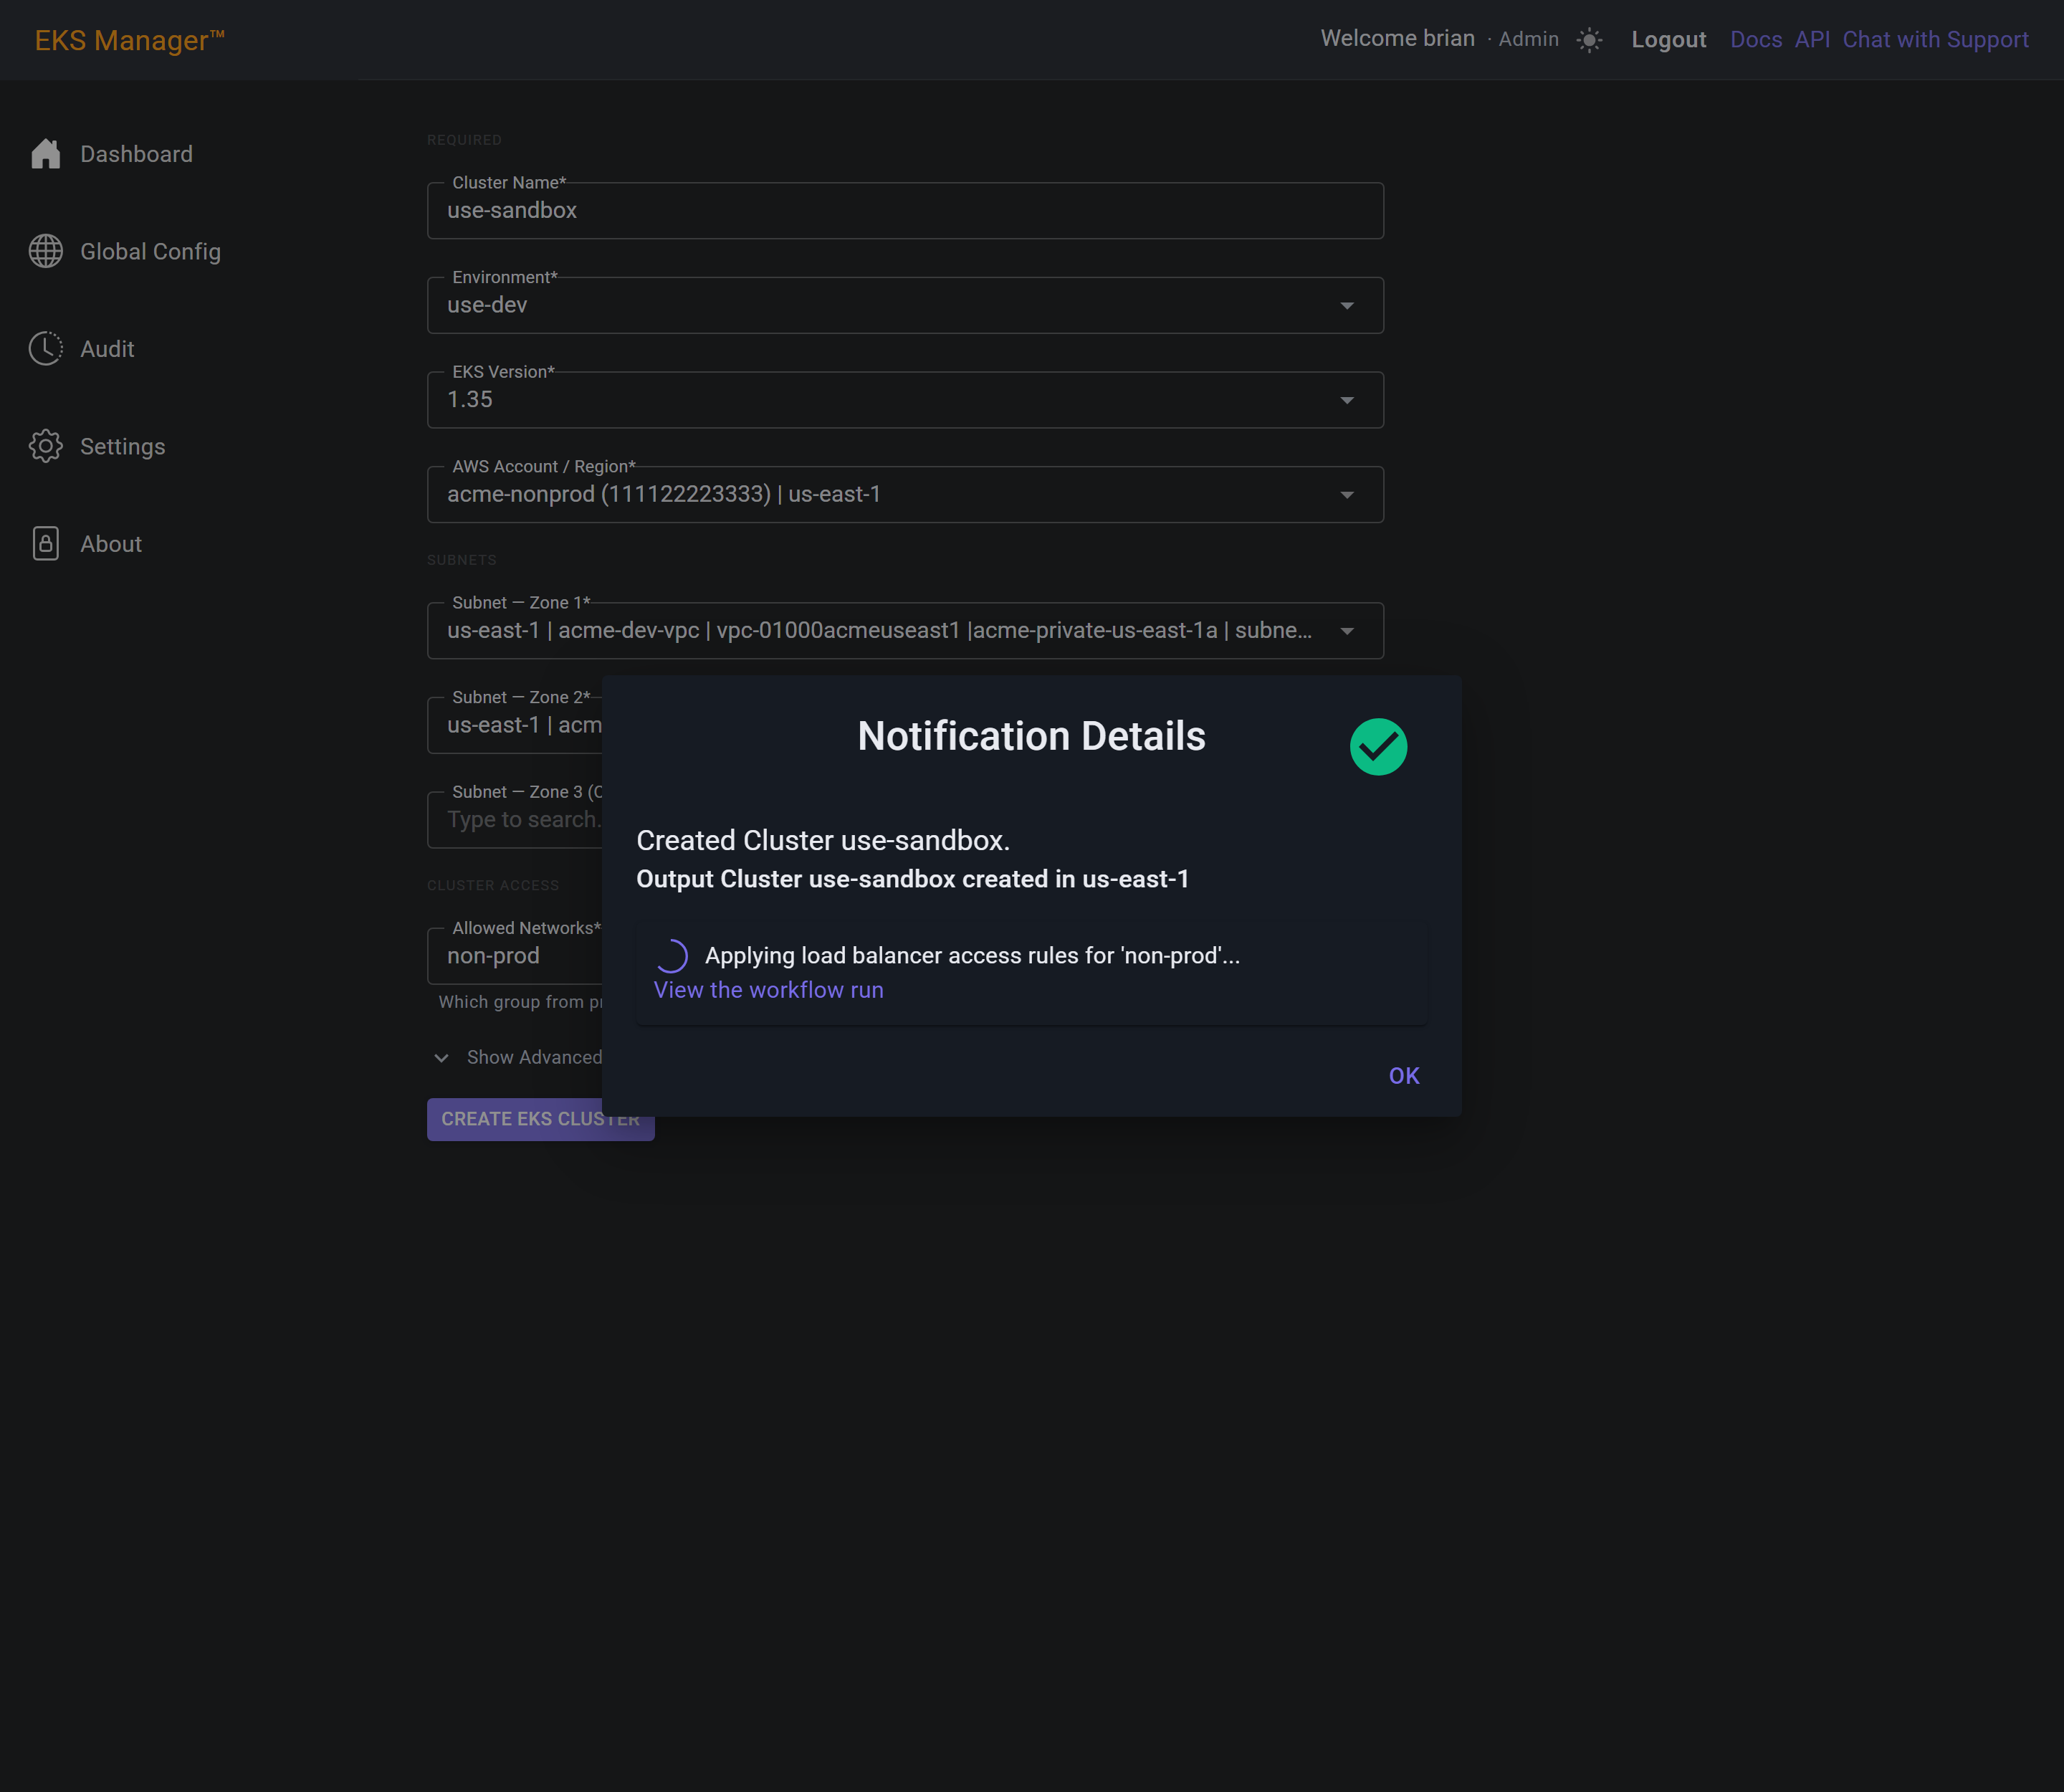
The build finishes and the rules are live. Only the prefix lists in the chosen group can now reach the cluster's load balancer and API server.
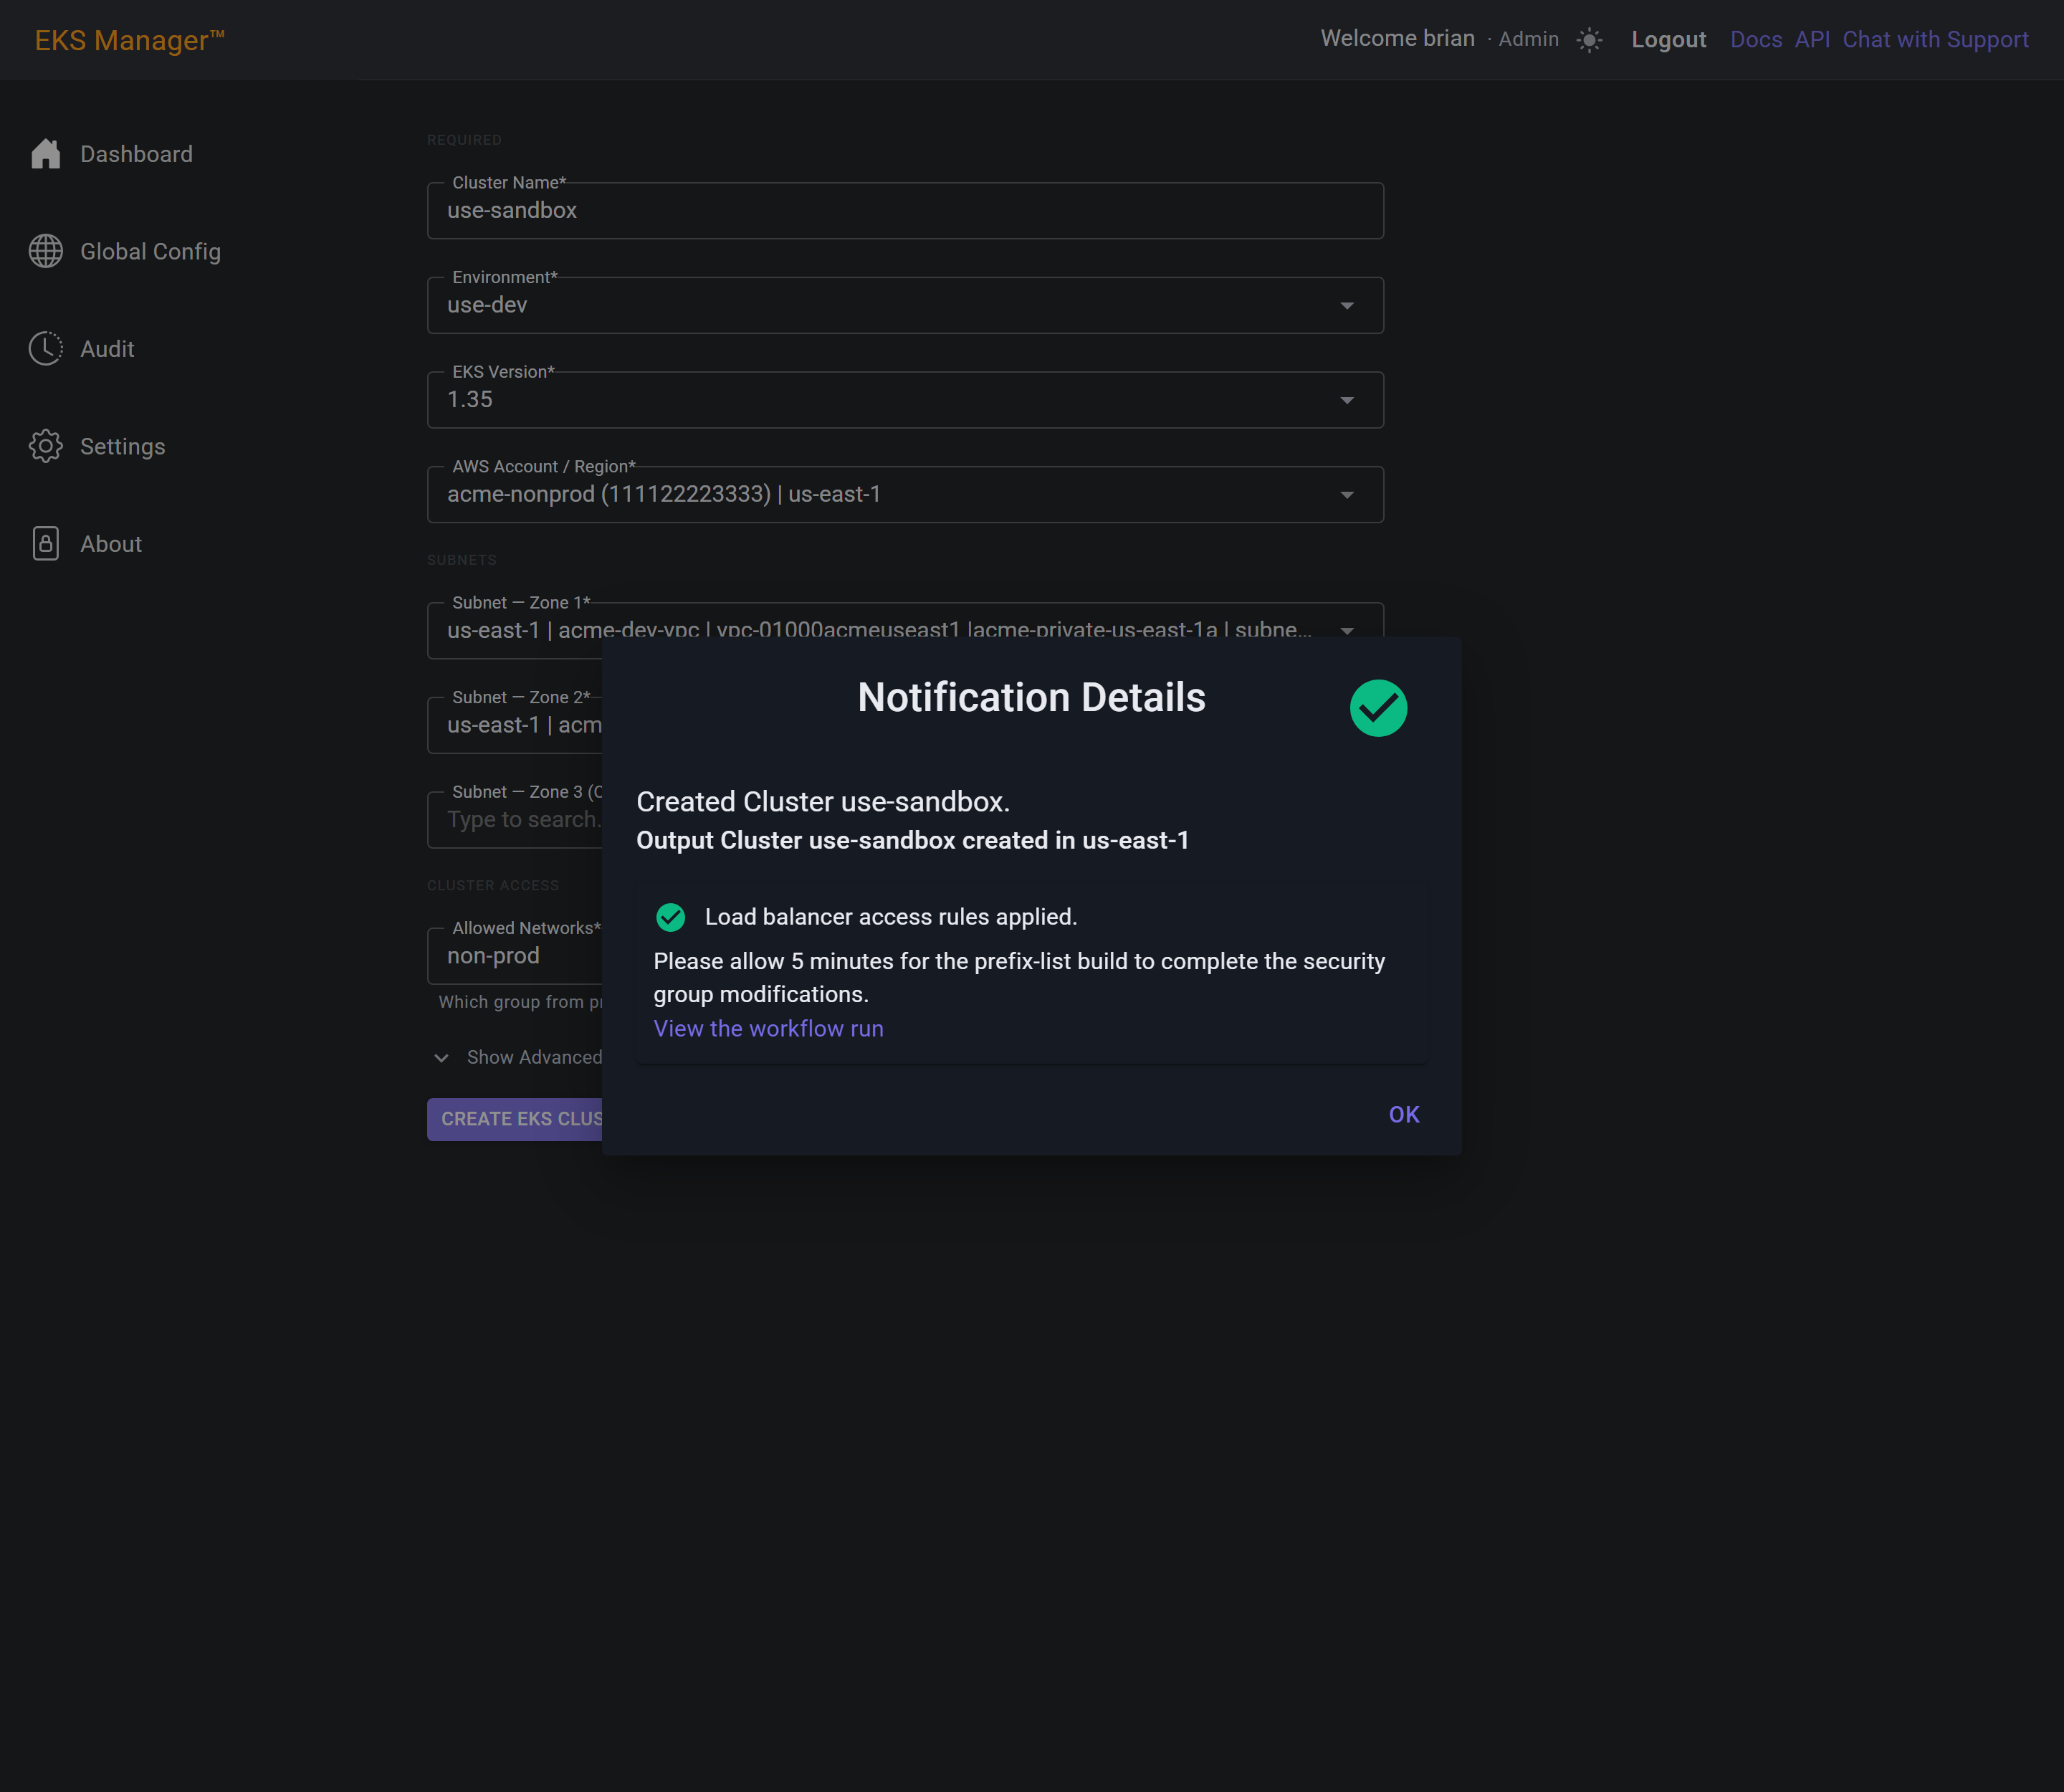
Pressing Create on an empty form marks every required field in red and tells you what is missing.
Nothing is submitted until they are all set.
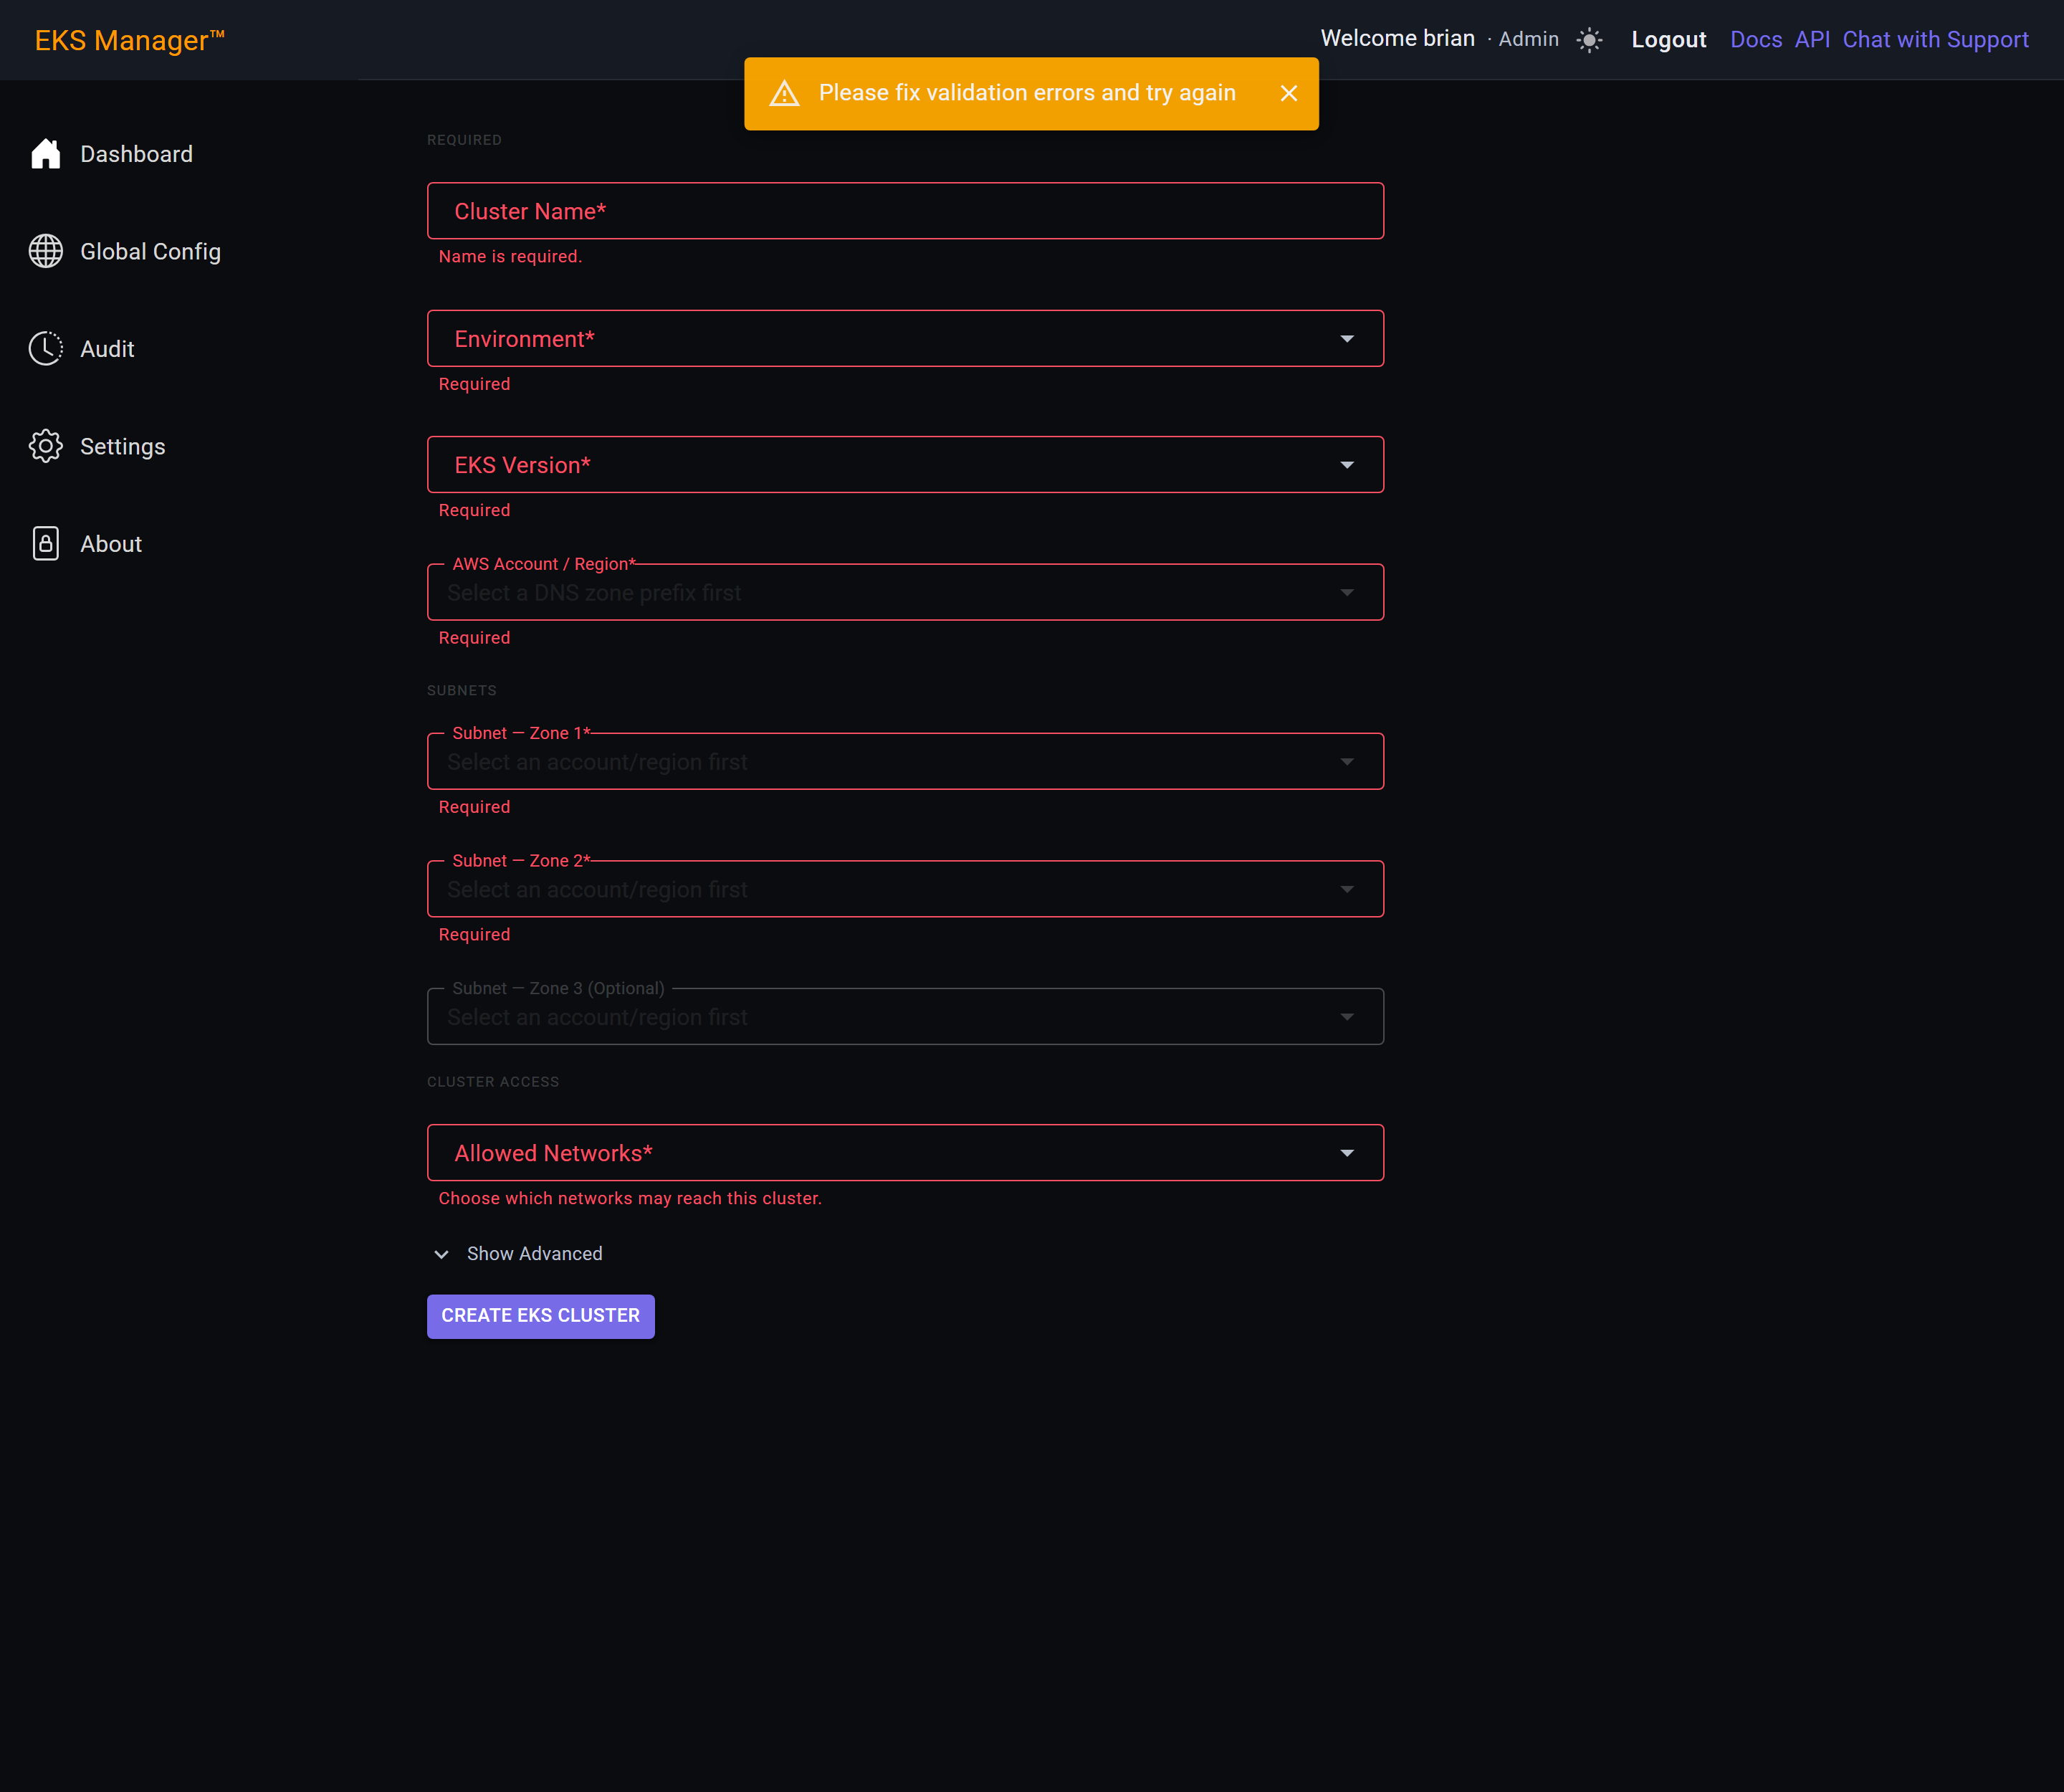
Managing a Cluster
Every cluster on the Dashboard opens in place. Find the one you want and click the > chevron at the start of its row.
Nothing navigates away — the panel expands beneath the row, and the rest of the list stays where it is.
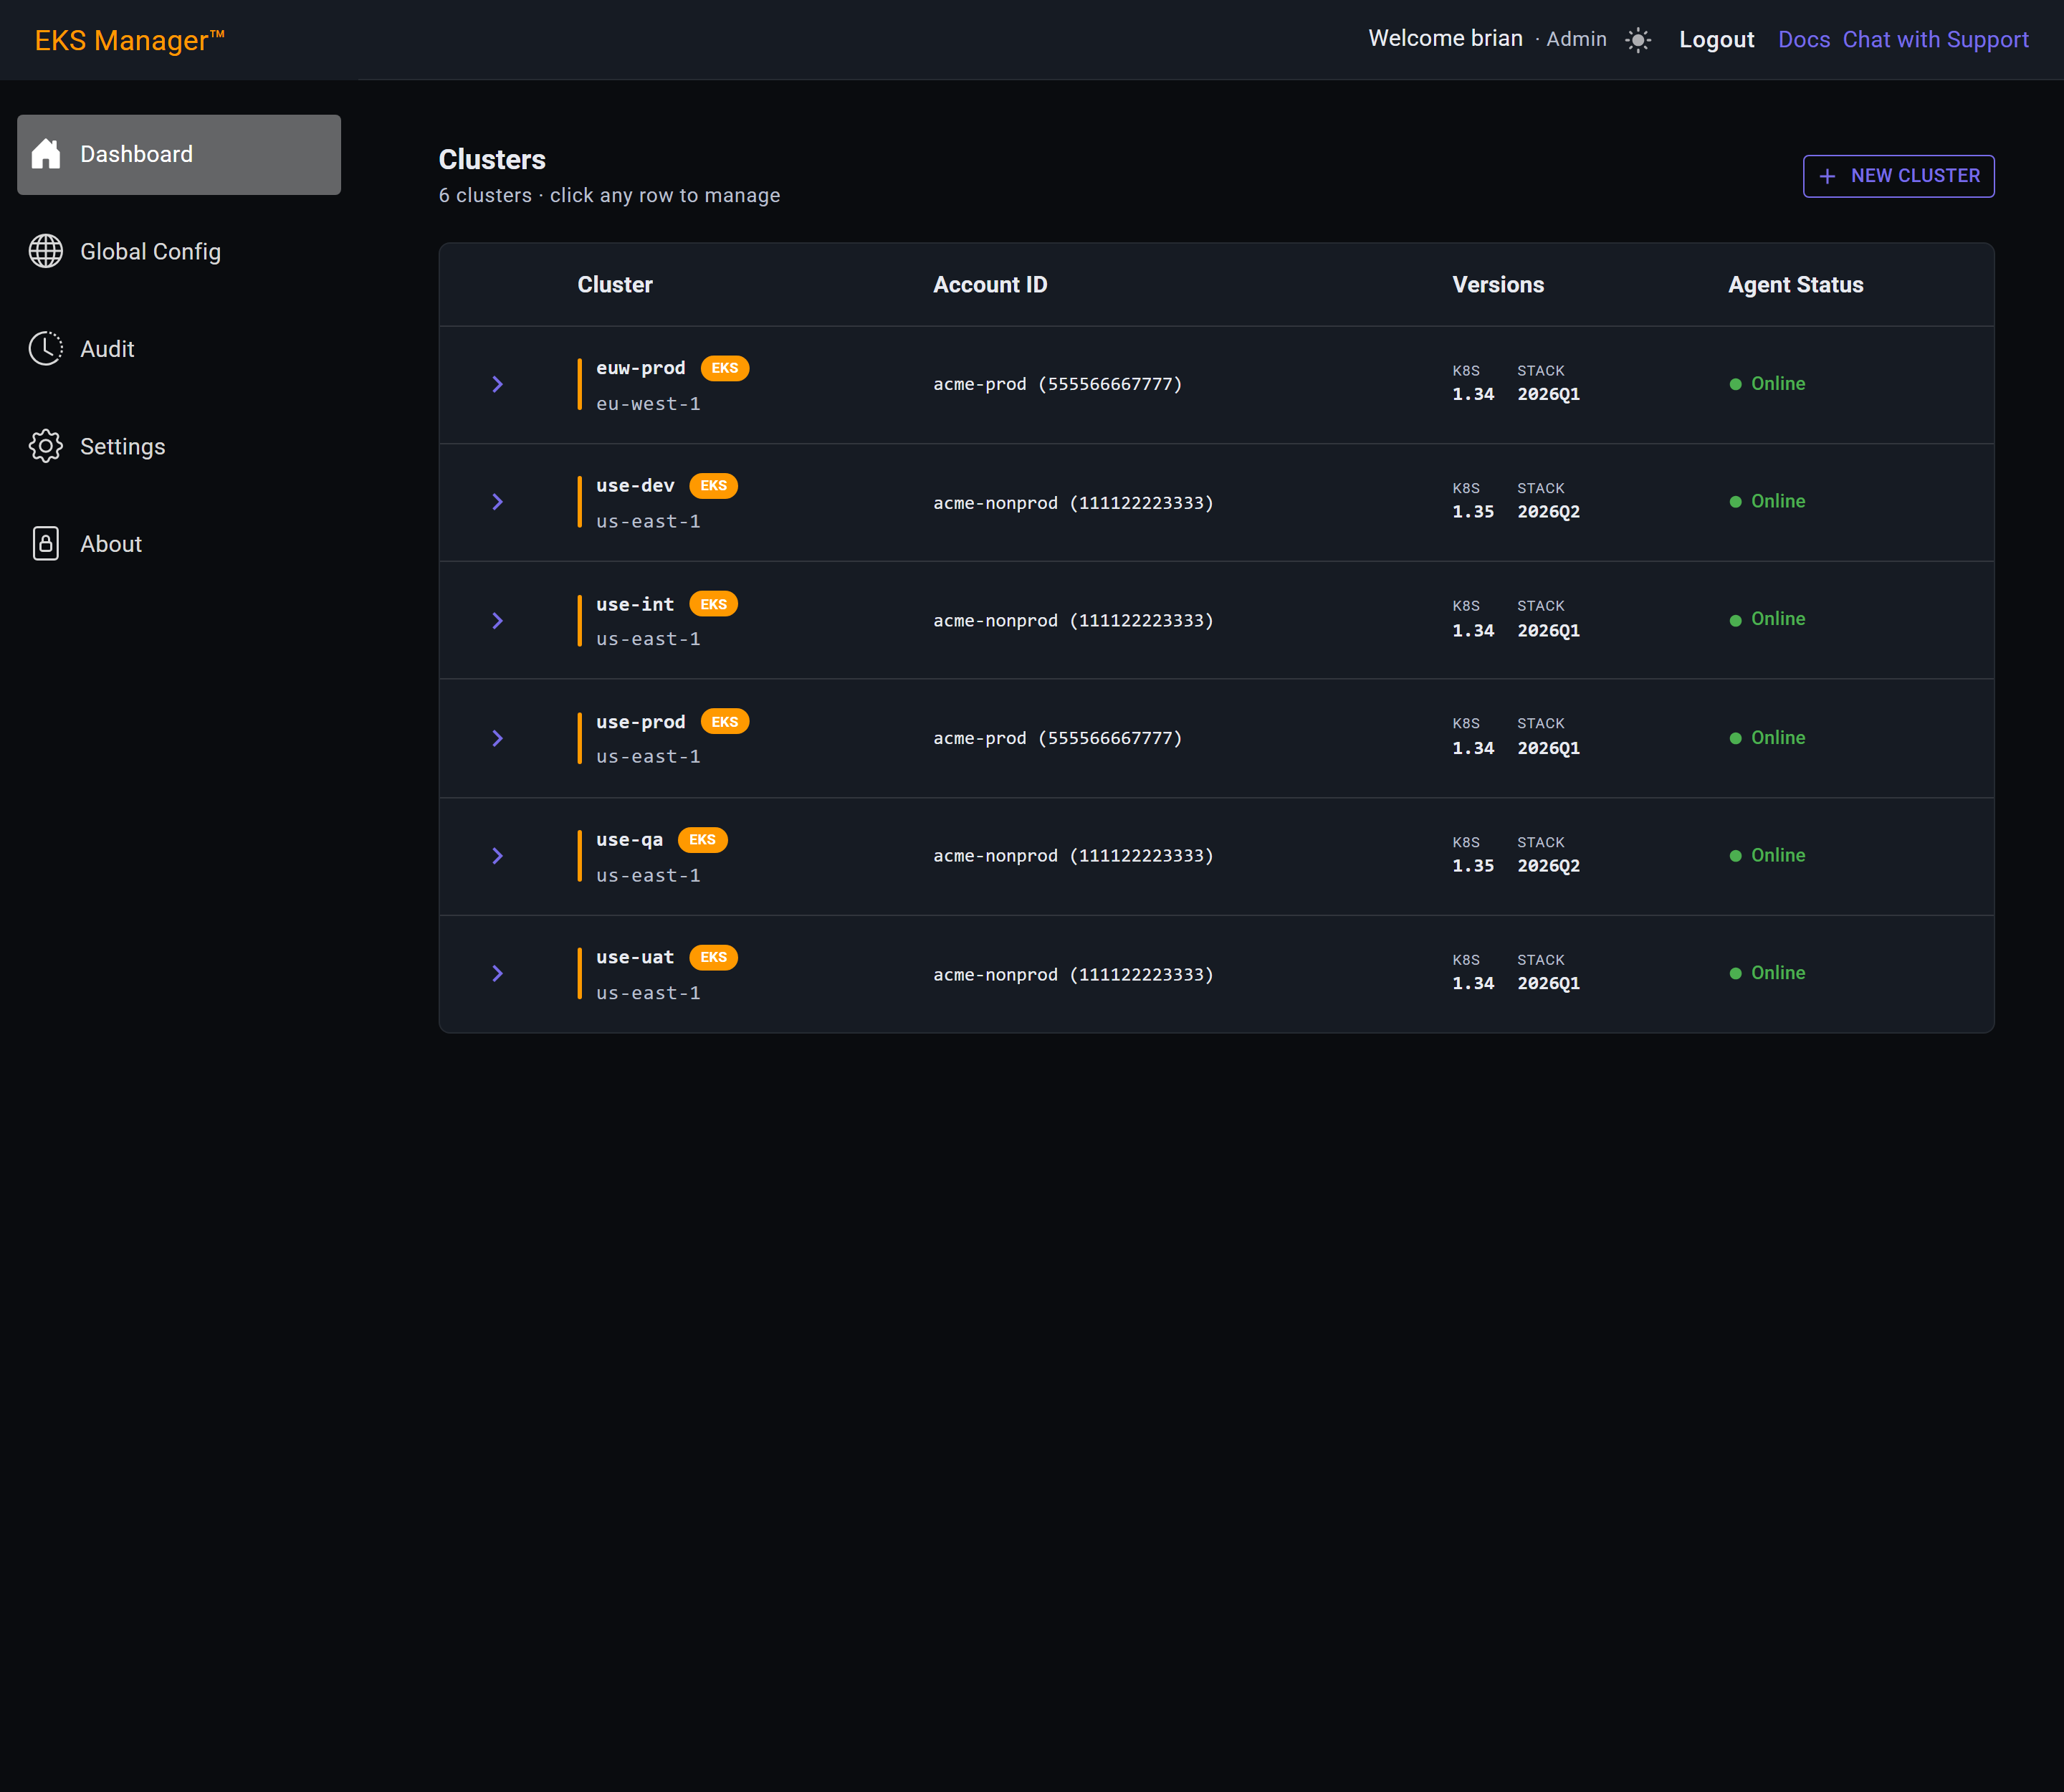
The panel opens in place, beneath the row. Everything about the cluster is in the sidebar: its workloads, its identity bindings, its add-ons and its upgrades.
It always opens on Node Groups — the cluster's compute — because that is what is asked for most often. Each section is covered below.
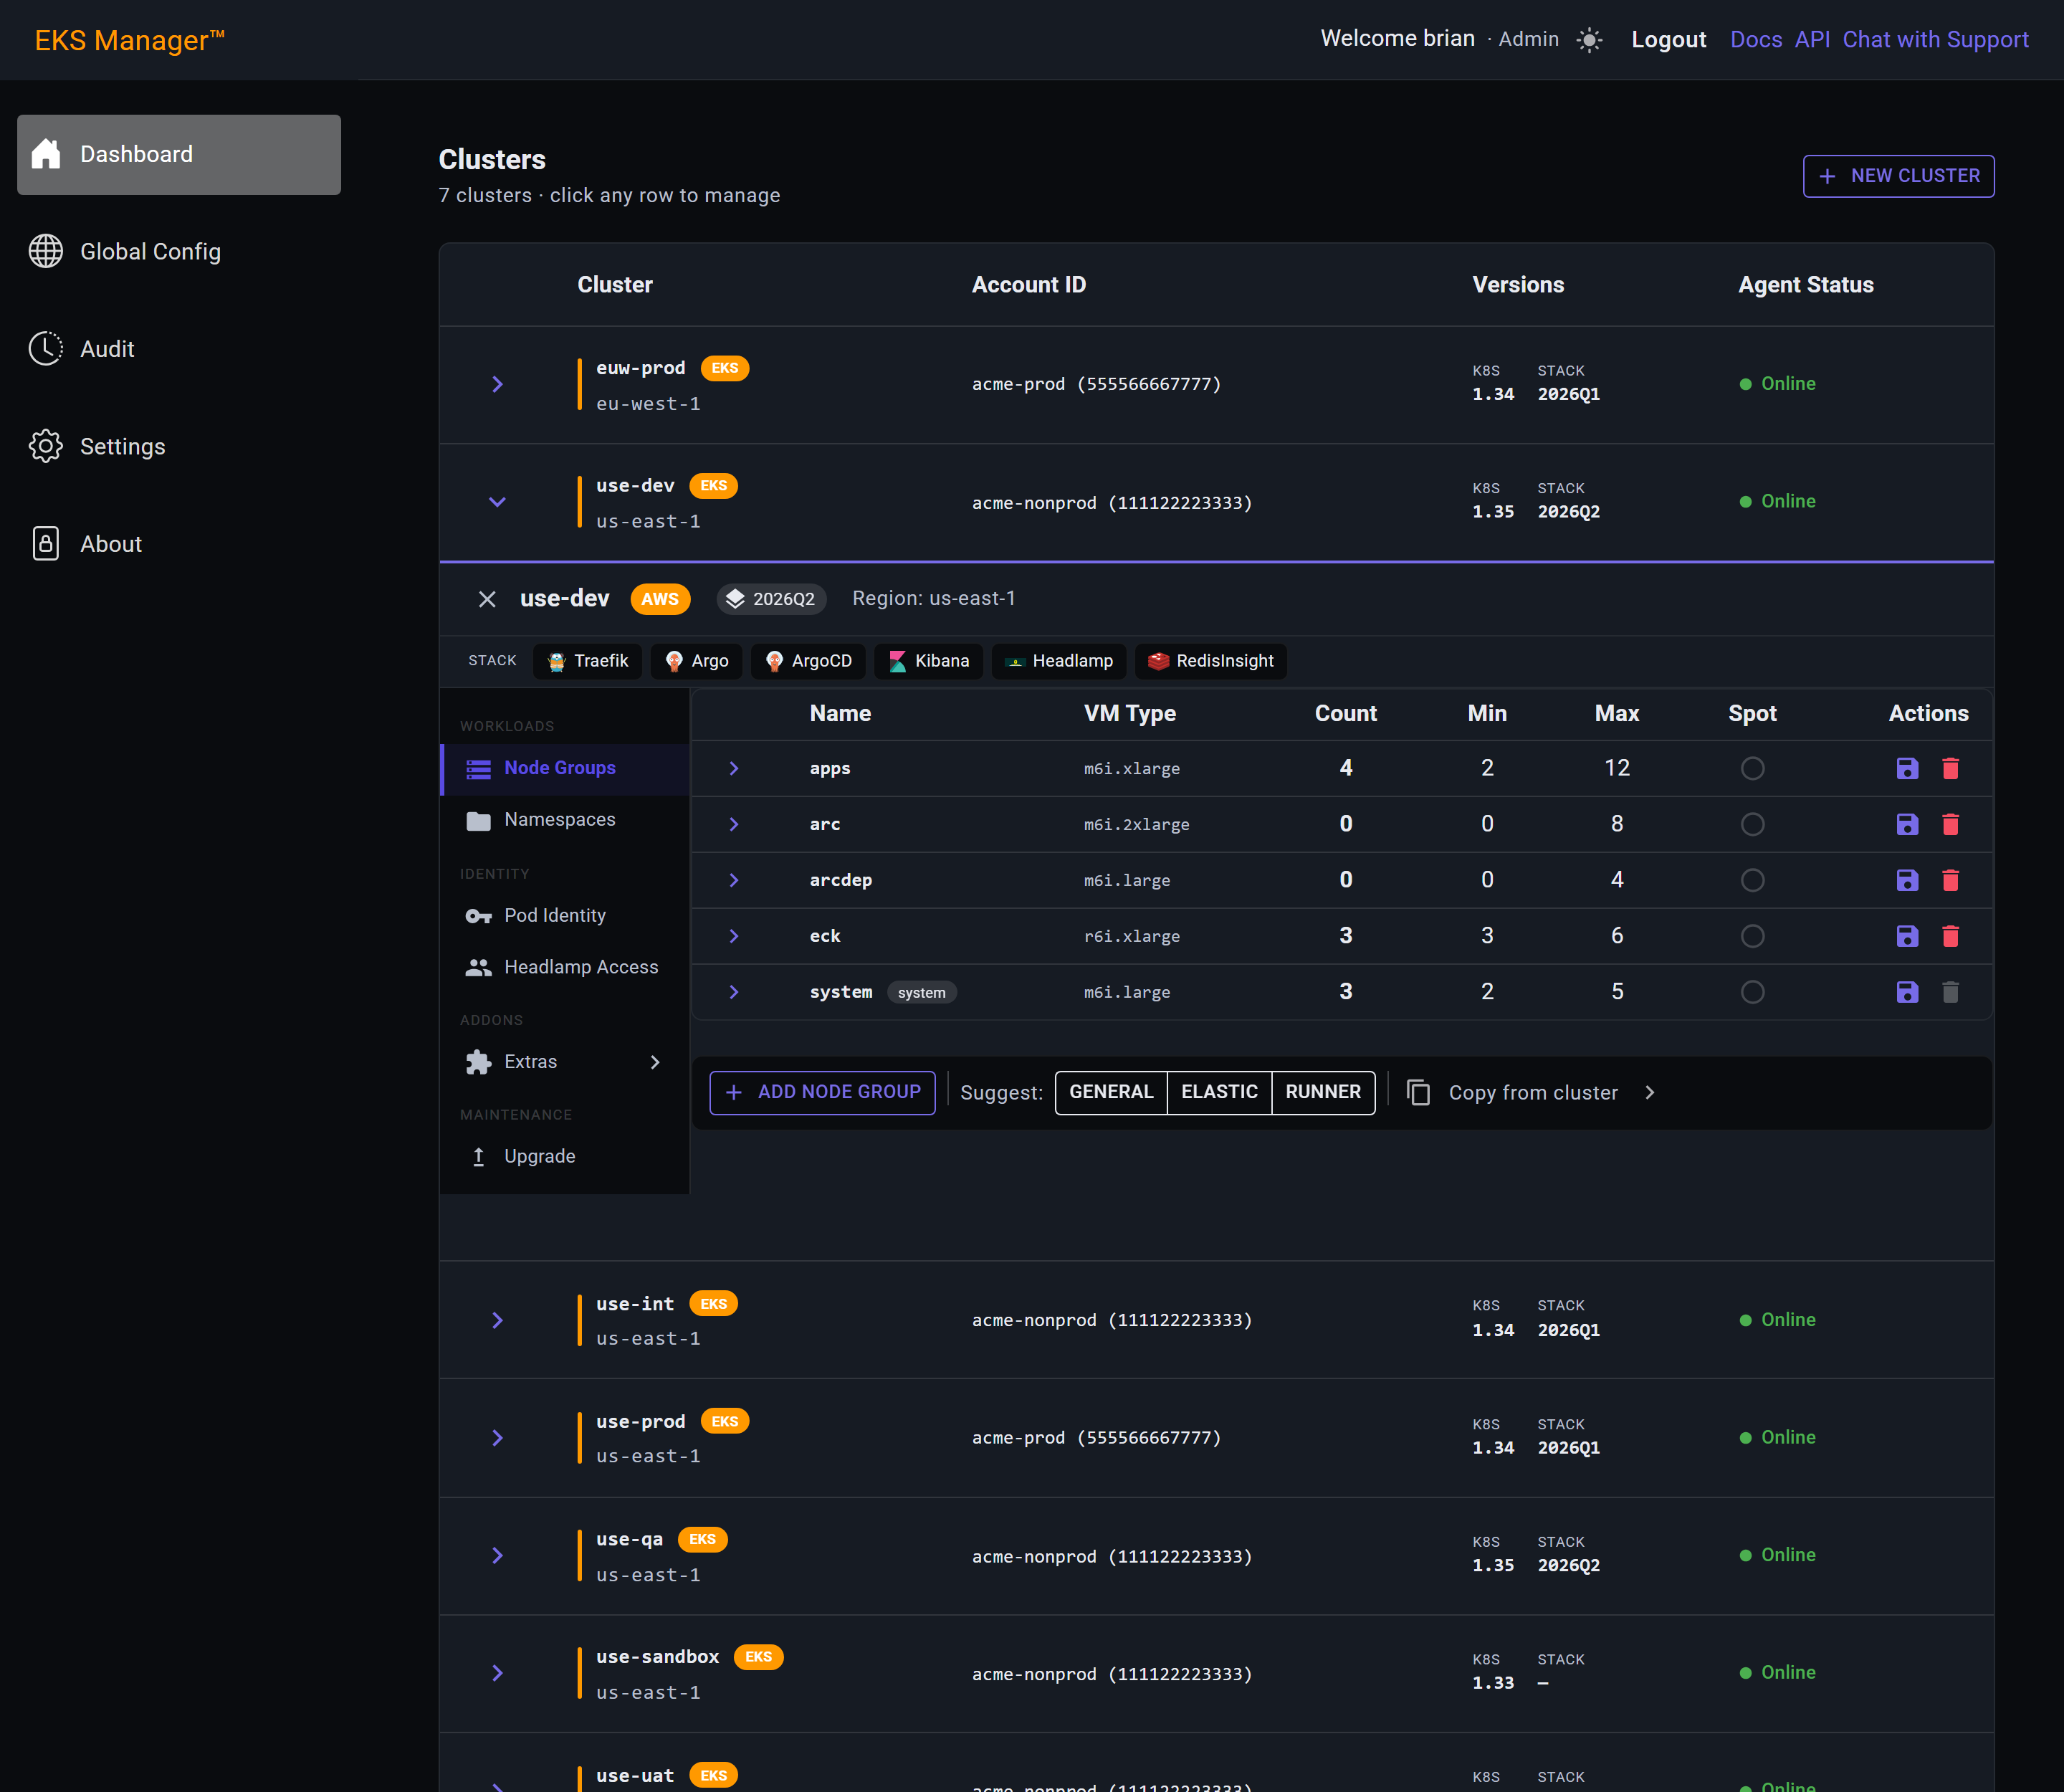
Continue with:
Core Stack
Every cluster runs the same core stack, and each tile is a link: Traefik for ingress, Argo and ArgoCD for workflows and continuous delivery, Kibana — the front end of the ECK Elasticsearch stack — for logs, Headlamp for cluster access, and RedisInsight.
Click a tool to open it in a new browser tab. The panel stays where it is, so you can open several and come back to it.
A tile is only a working link once that tool is installed on the cluster. On a cluster whose core stack has not been installed yet the tiles are disabled — install them from Upgrade, which deploys the stack and then keeps it current.
Each link is built from the cluster's own DNS zone — <cluster>-<namespace>-<service>.<zone>, so ArgoCD on use-dev is use-dev-argocd-argocd-web-ui.use.dev.acme.io. They resolve wherever the cluster runs, and are reachable only from the networks its Allowed Networks group permits.
External DNS and ECK run alongside without a console of their own: External DNS publishes each of these hostnames into the zone, and ECK operates the Elasticsearch behind Kibana. Both appear under Namespaces.
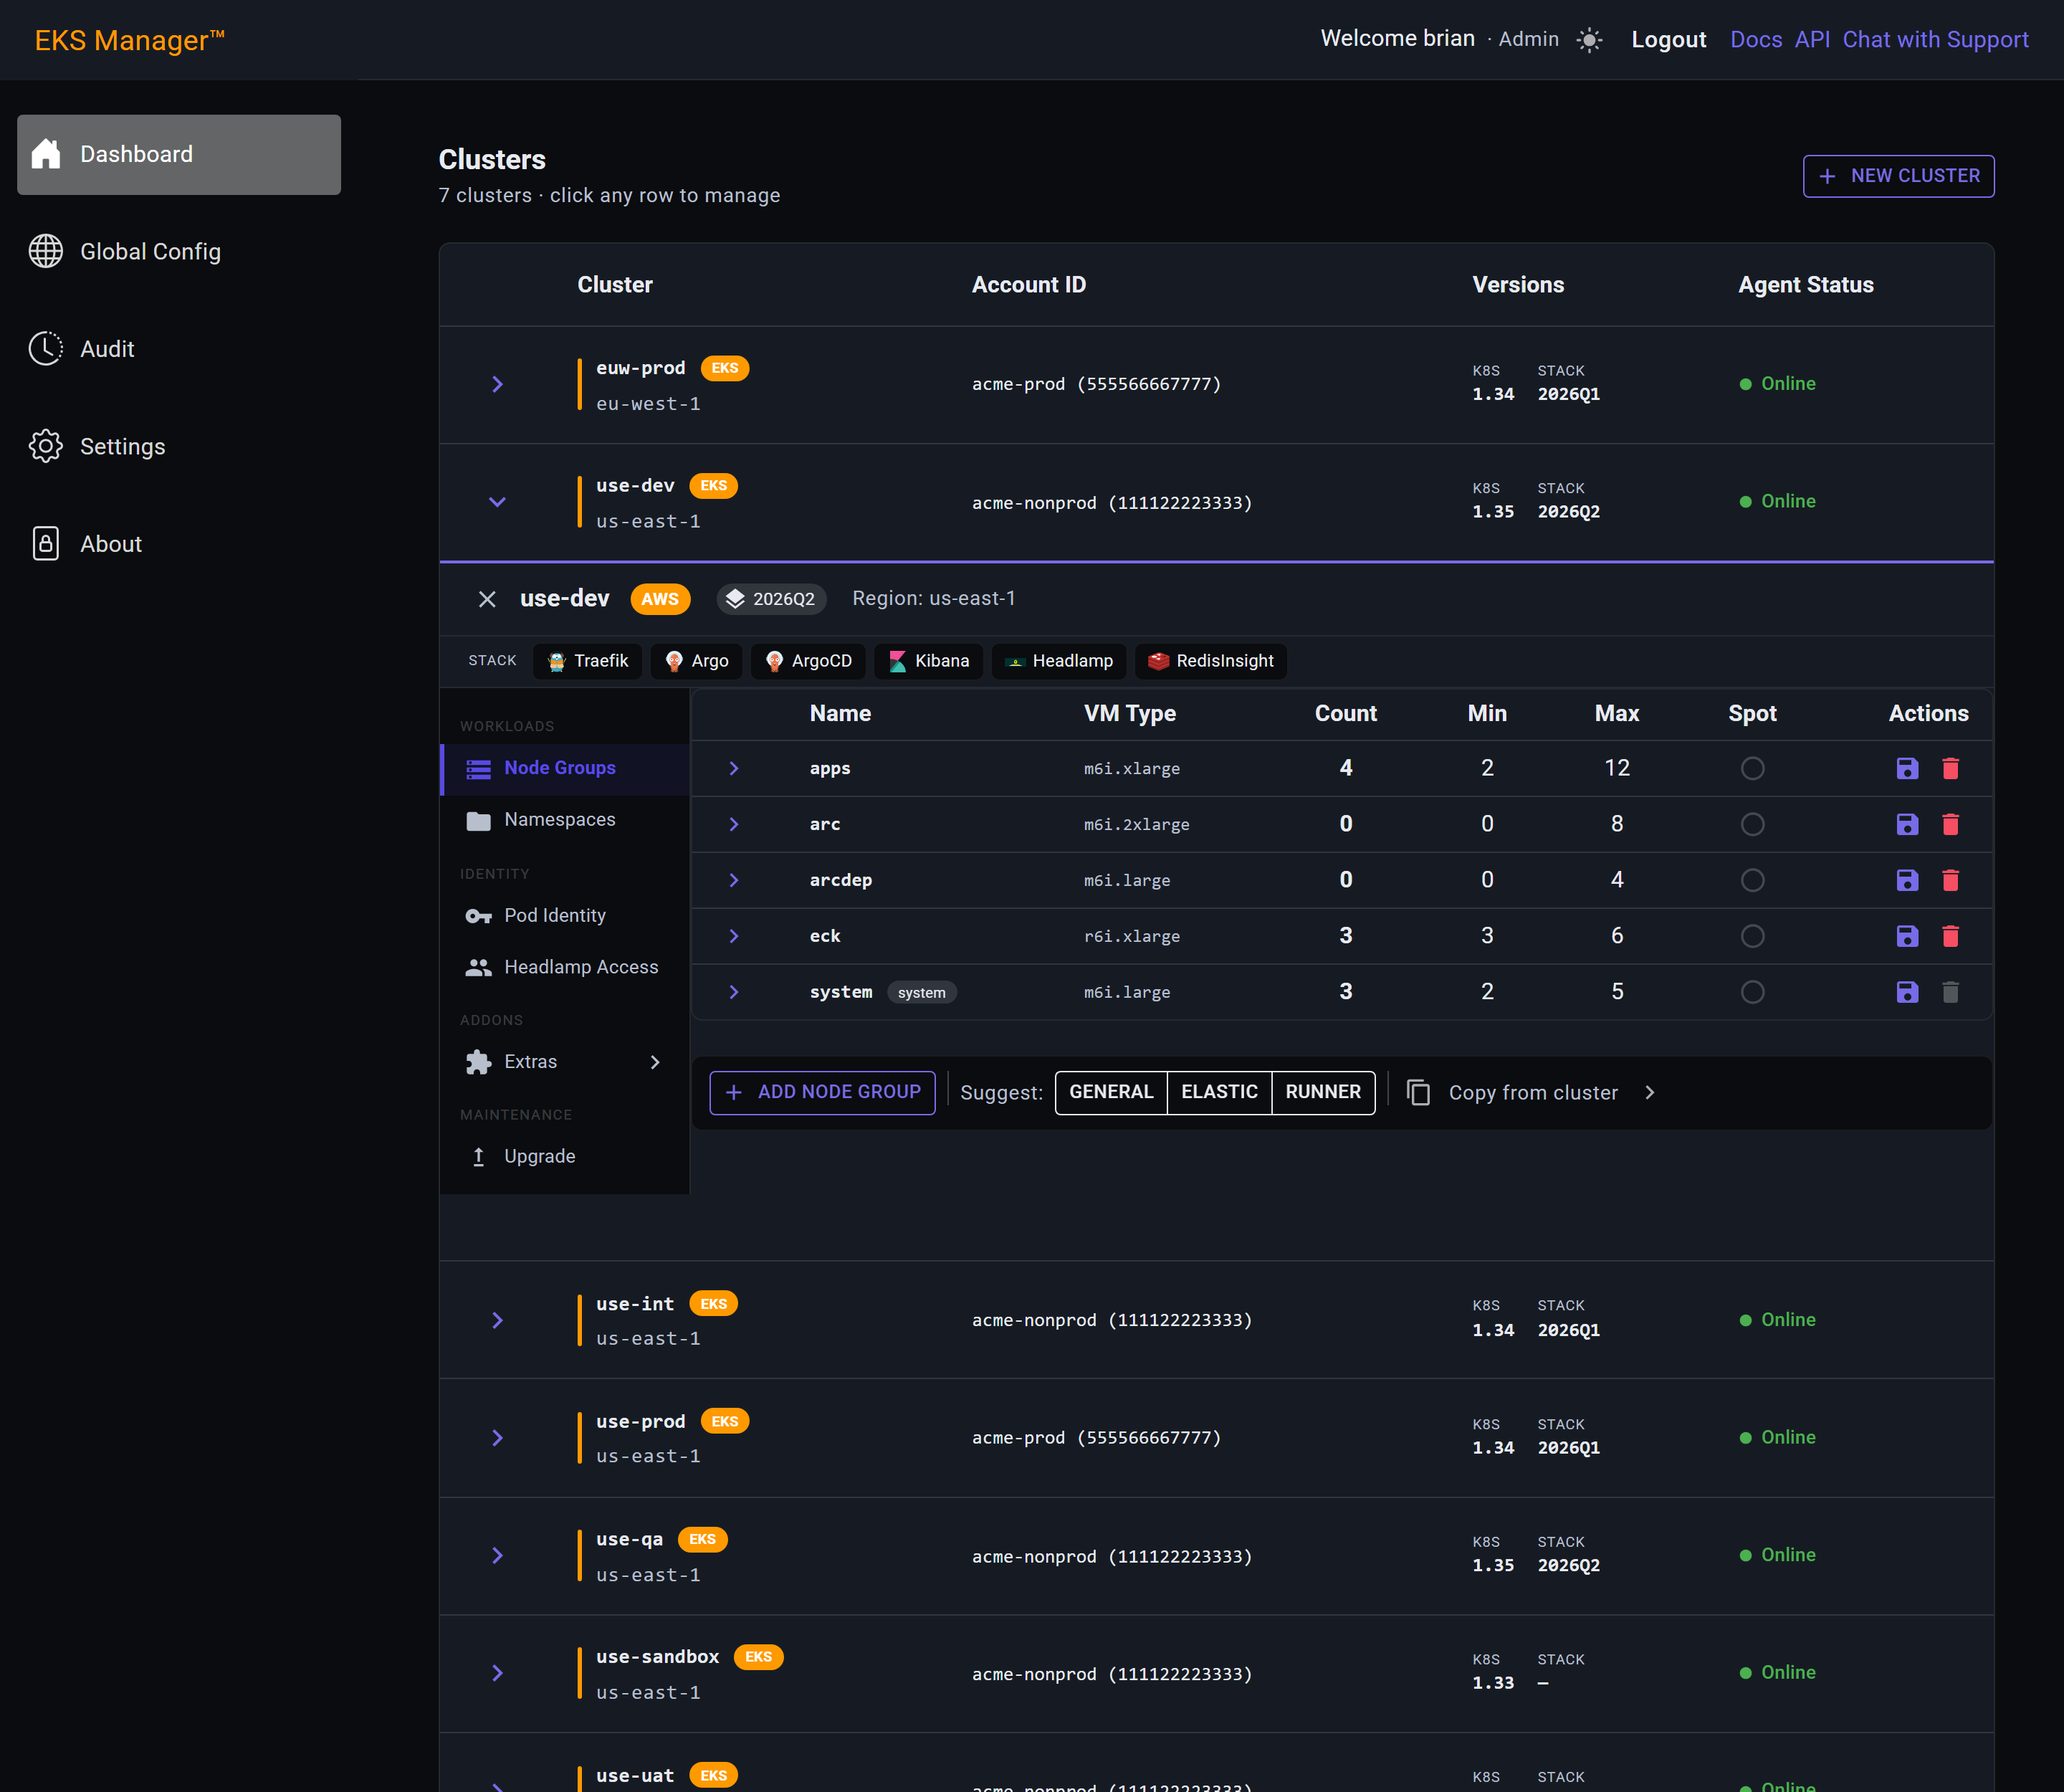
Managing Node Groups
The cluster's compute. Each row is a group: its VM type, how many nodes are running, and the range it may scale between. system marks the group the platform's own components run on.
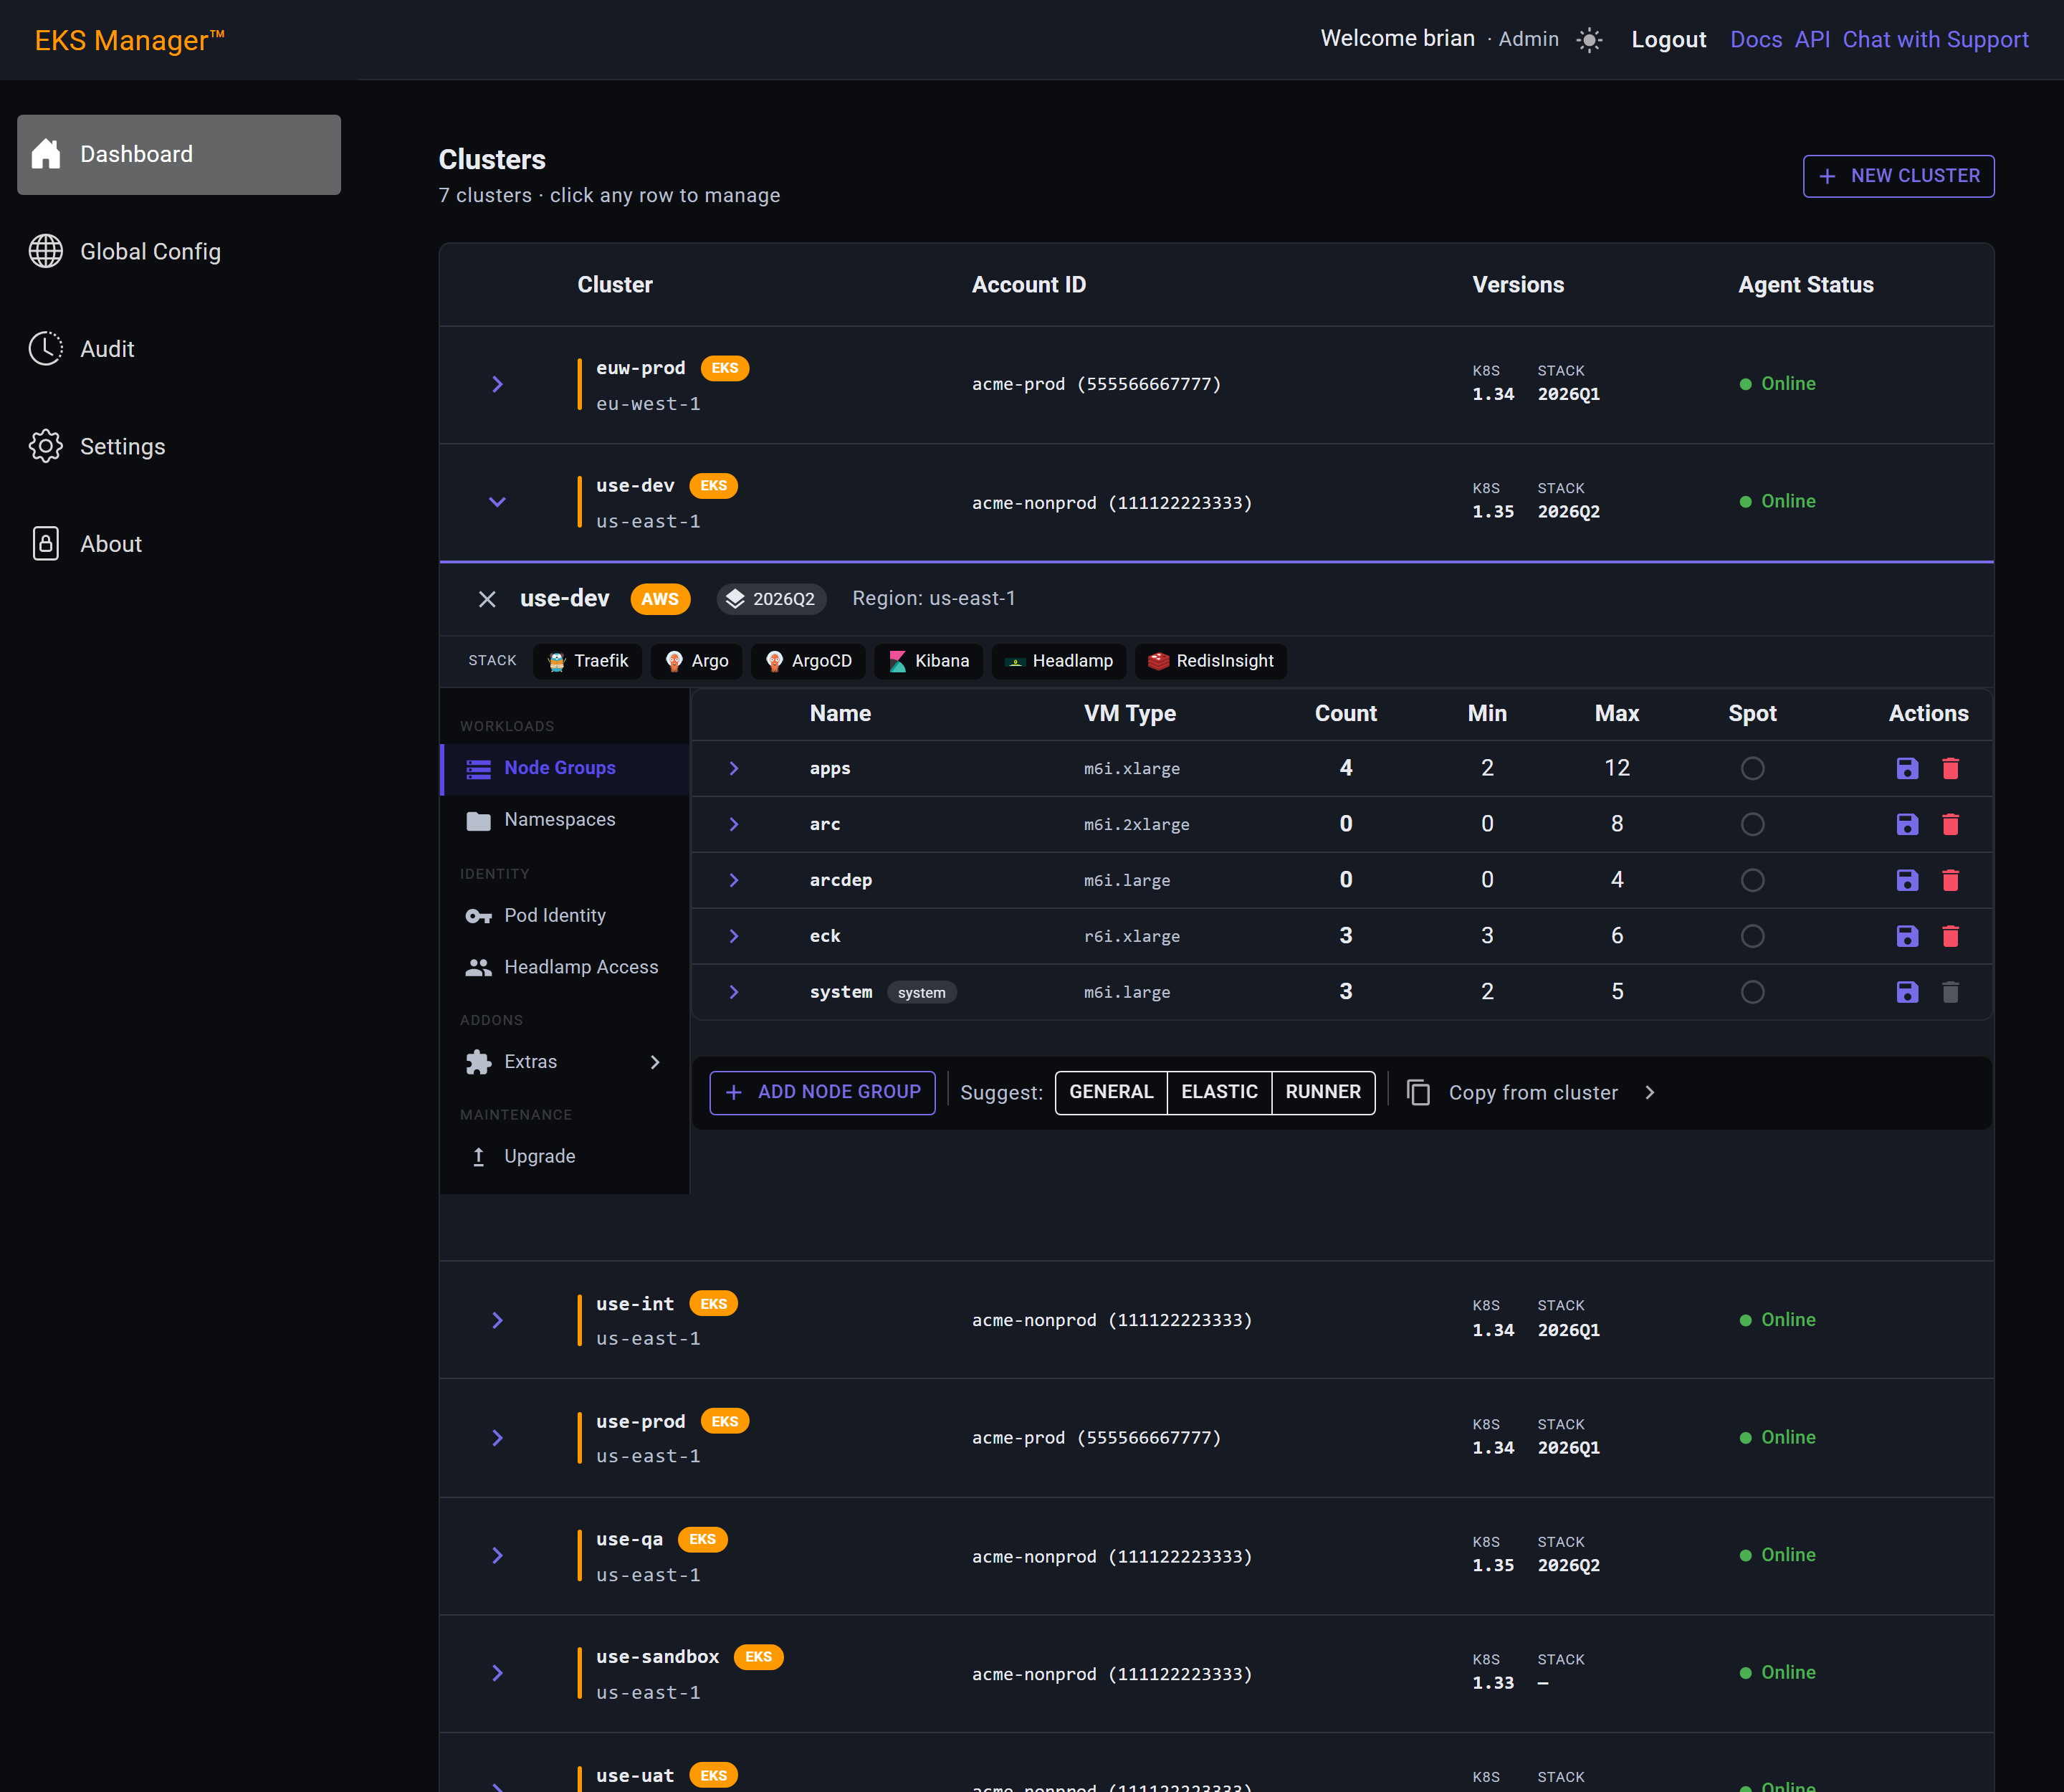
Groups are added in three ways, and all three put the group in a queue rather than creating it straight away. Nothing is built until you press Create All.
Add Node Group starts a blank row you fill in yourself. Suggest queues a group already shaped for a purpose. Copy from cluster takes one that already exists elsewhere.
Each is covered in turn below.
Add Node Group queues a blank row. It needs at least a name and a VM type before it can be created, and says so.
Create All stays disabled while any queued row is incomplete.
The queued row only shows a summary. Expand it with the chevron to reach the fields it needs.
A name and a VM type are the minimum. The scale range, disk, spot instances, and any extra labels or taints are all here too.
The name is not just a label on the row. It becomes the group's sku label and a matching sku=<name>:NoSchedule taint — so nothing schedules onto the group unless it asks for it by name.
Ticking System pool adds CriticalAddonsOnly=true:NoSchedule as well, which is how a group is reserved for the platform's own components.
Collapsed again, the row shows what it will create. The warnings are gone and Create All is available.
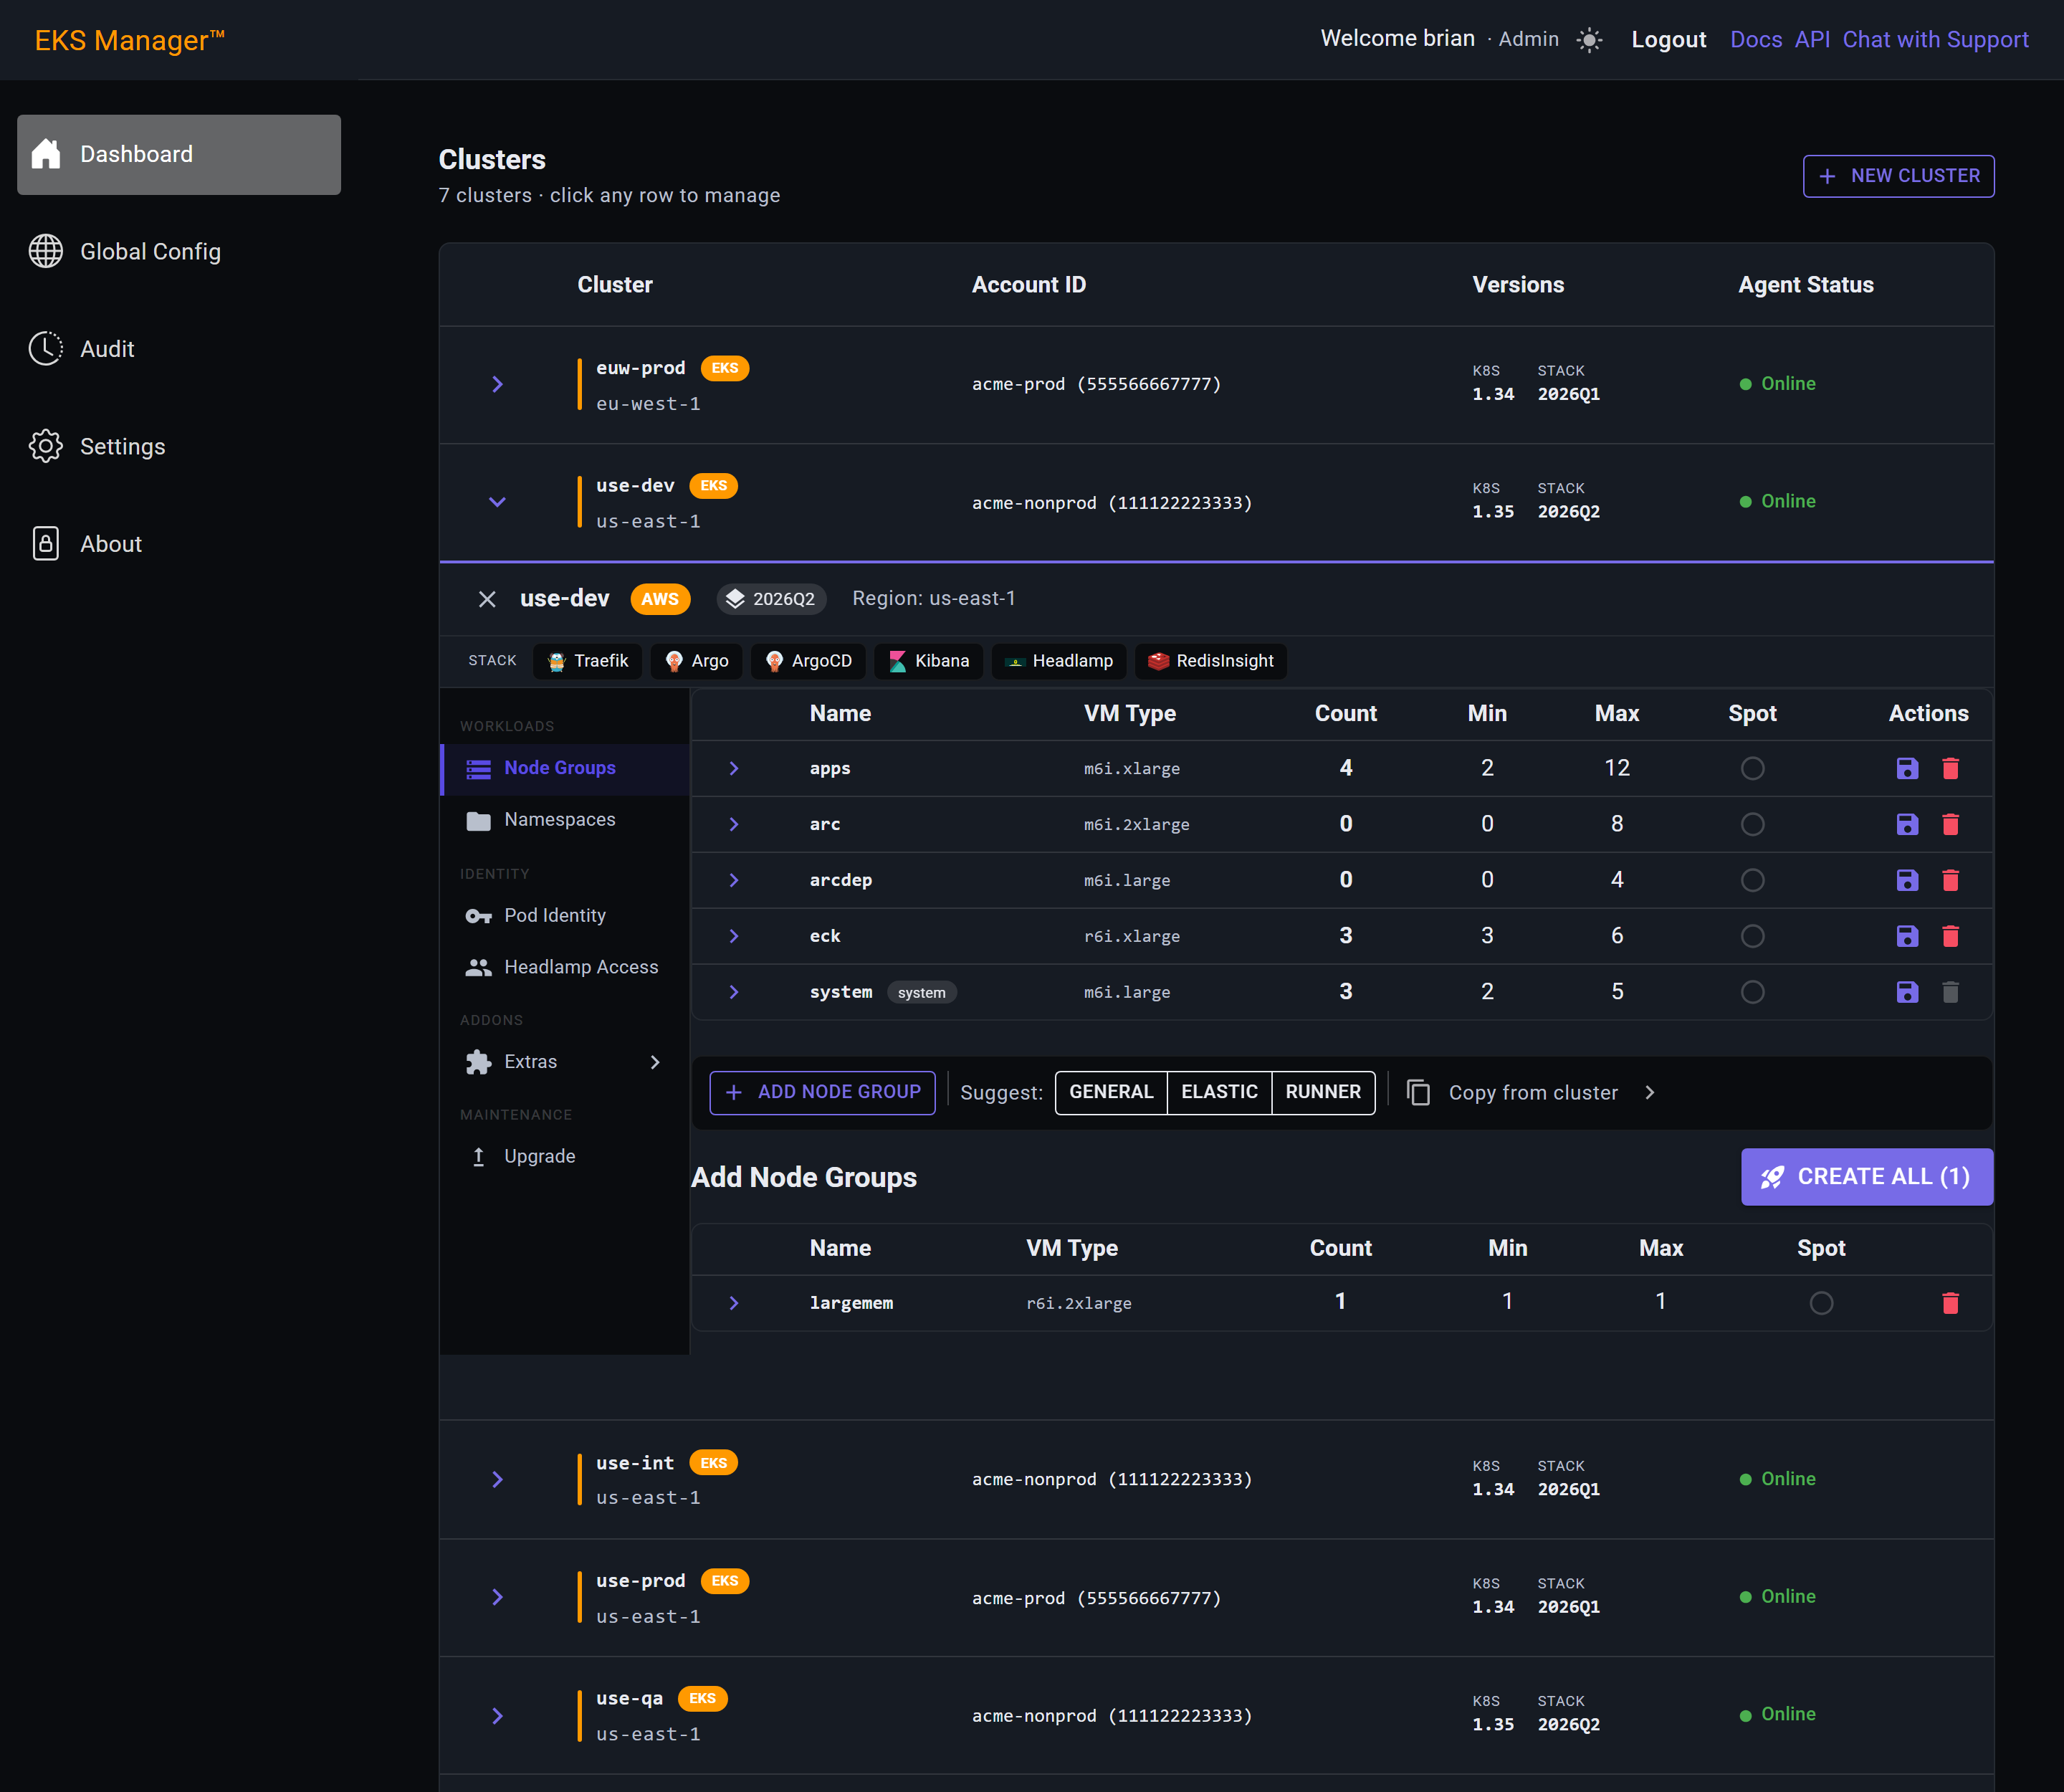
The Suggest buttons queue a group already shaped for a workload: General for ordinary work, Elastic for an ECK Elasticsearch node, Runner for CI/CD runners.
Elastic queues a complete row — named, typed and sized — so nothing is outstanding and it can be created as it stands. Expand it to change anything.
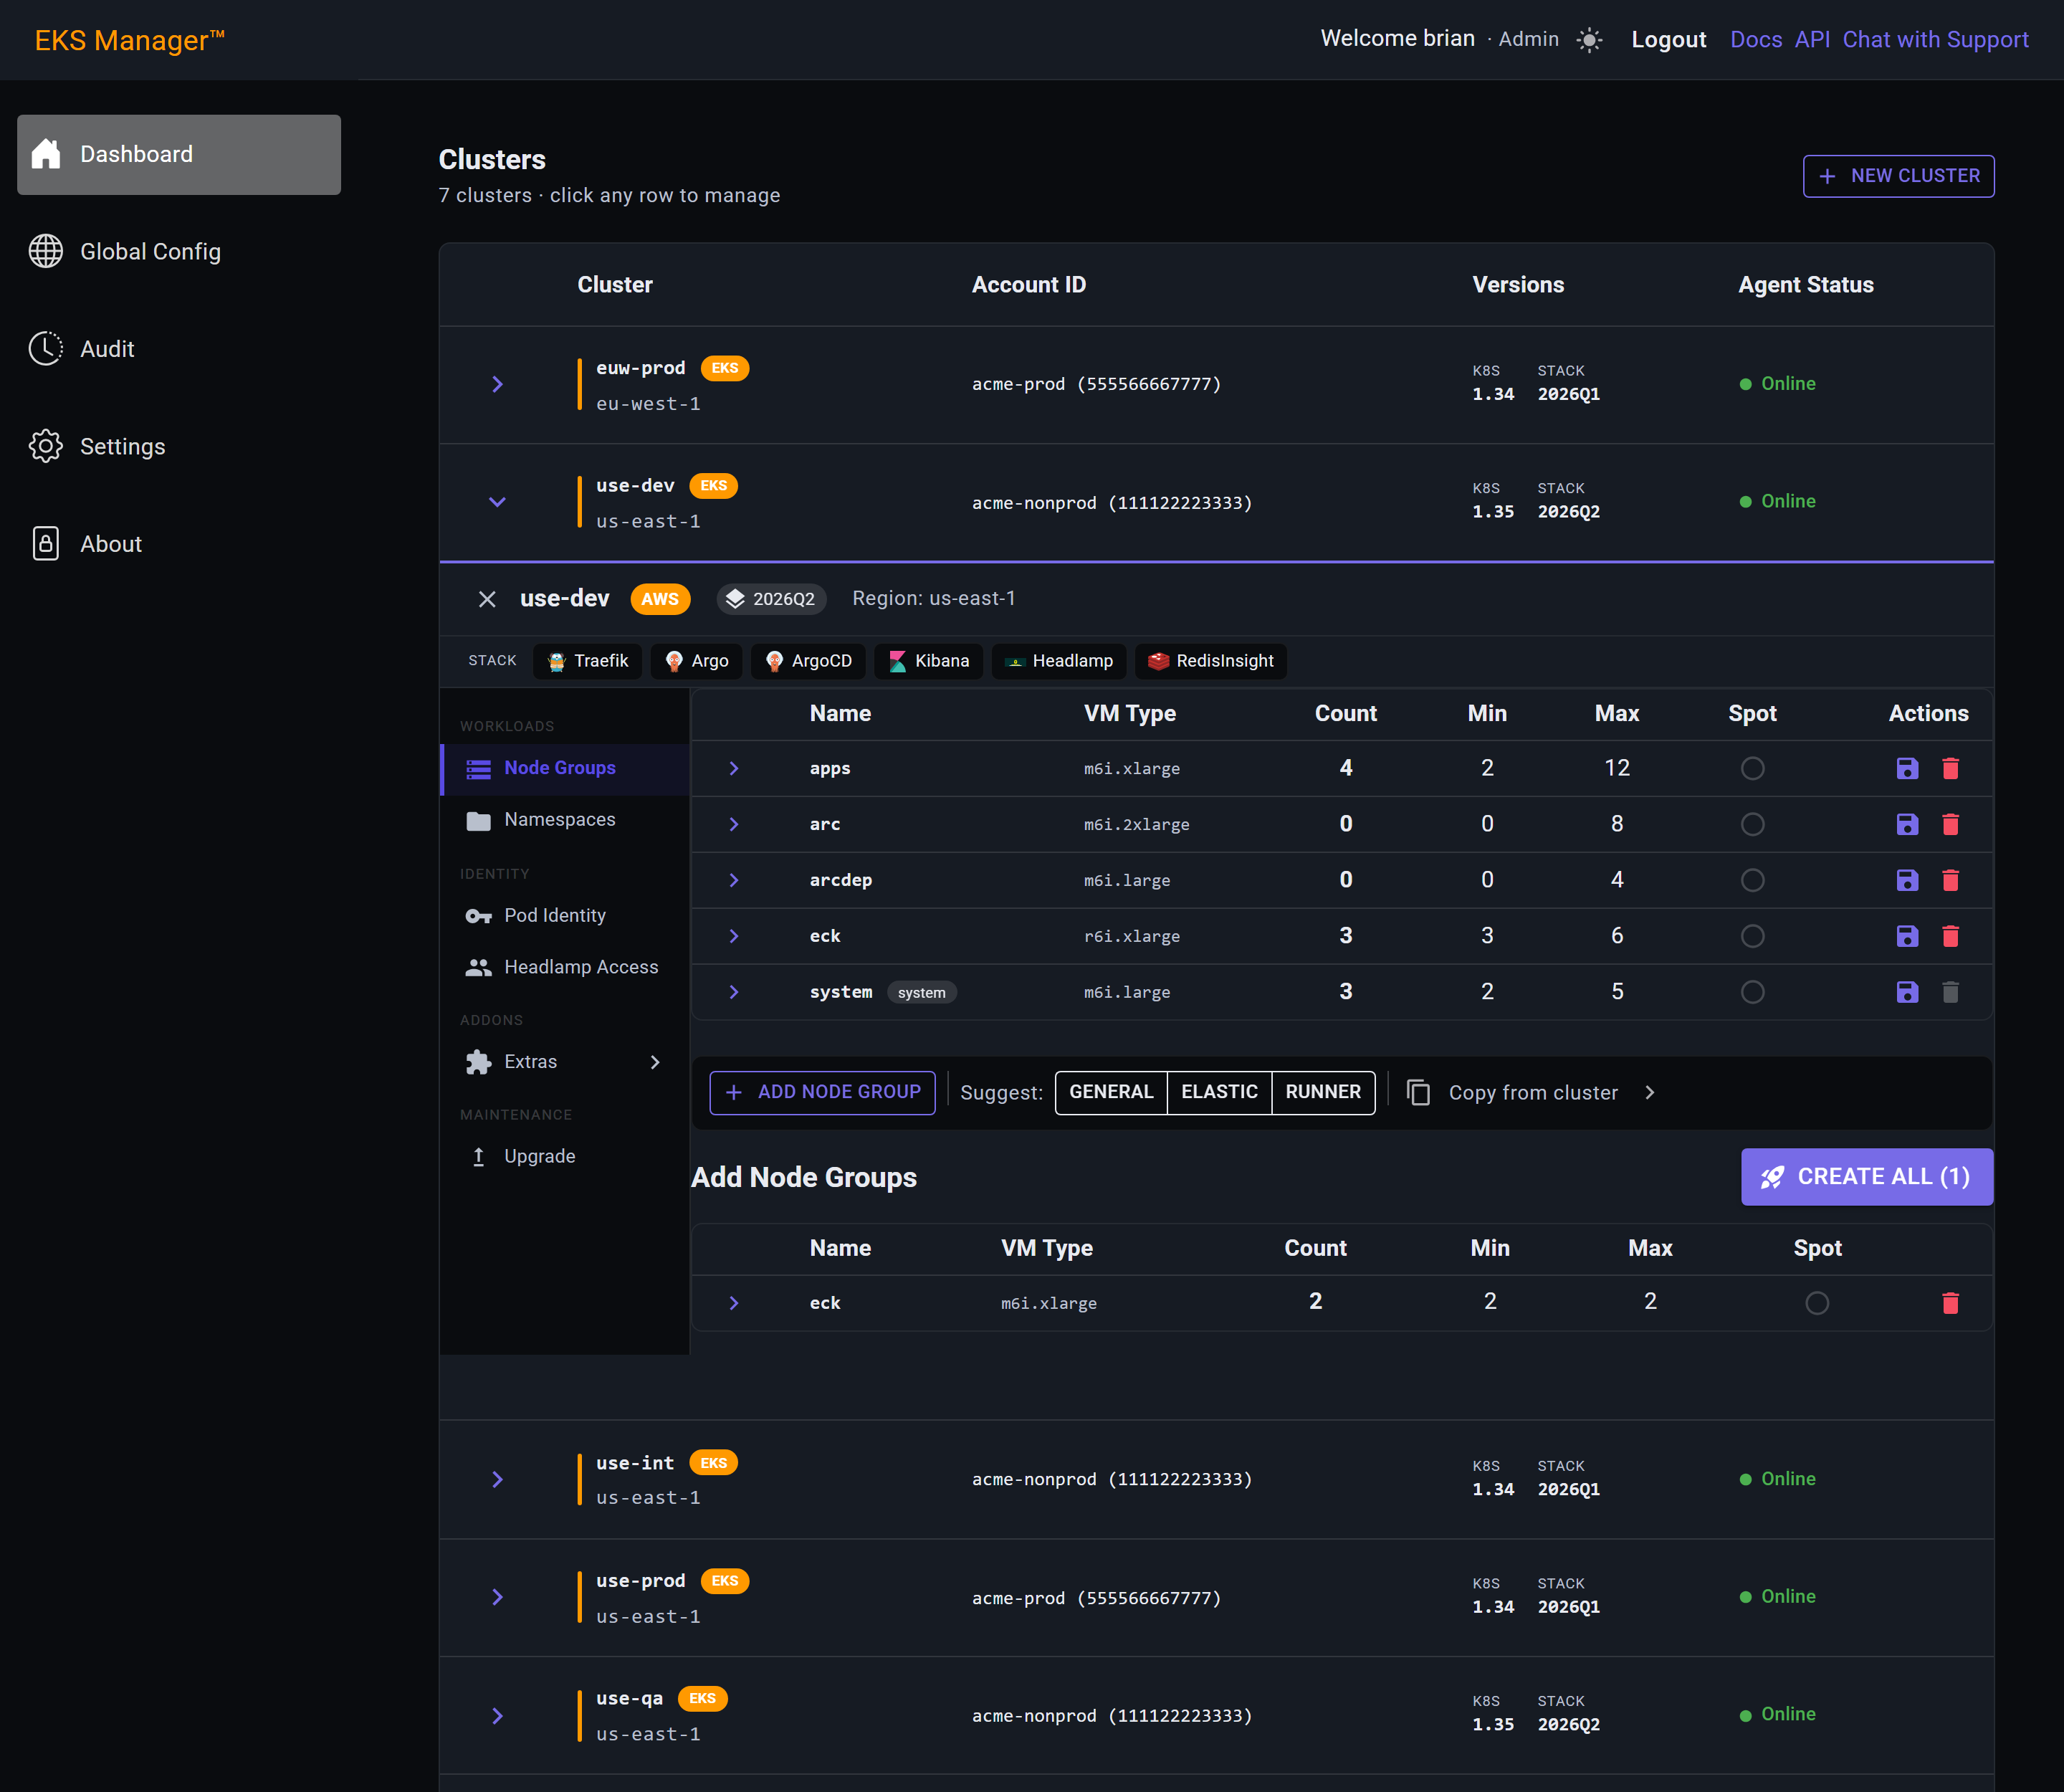
Copy from cluster opens the copy panel — the quickest way to give a cluster the same shape as one that already works.
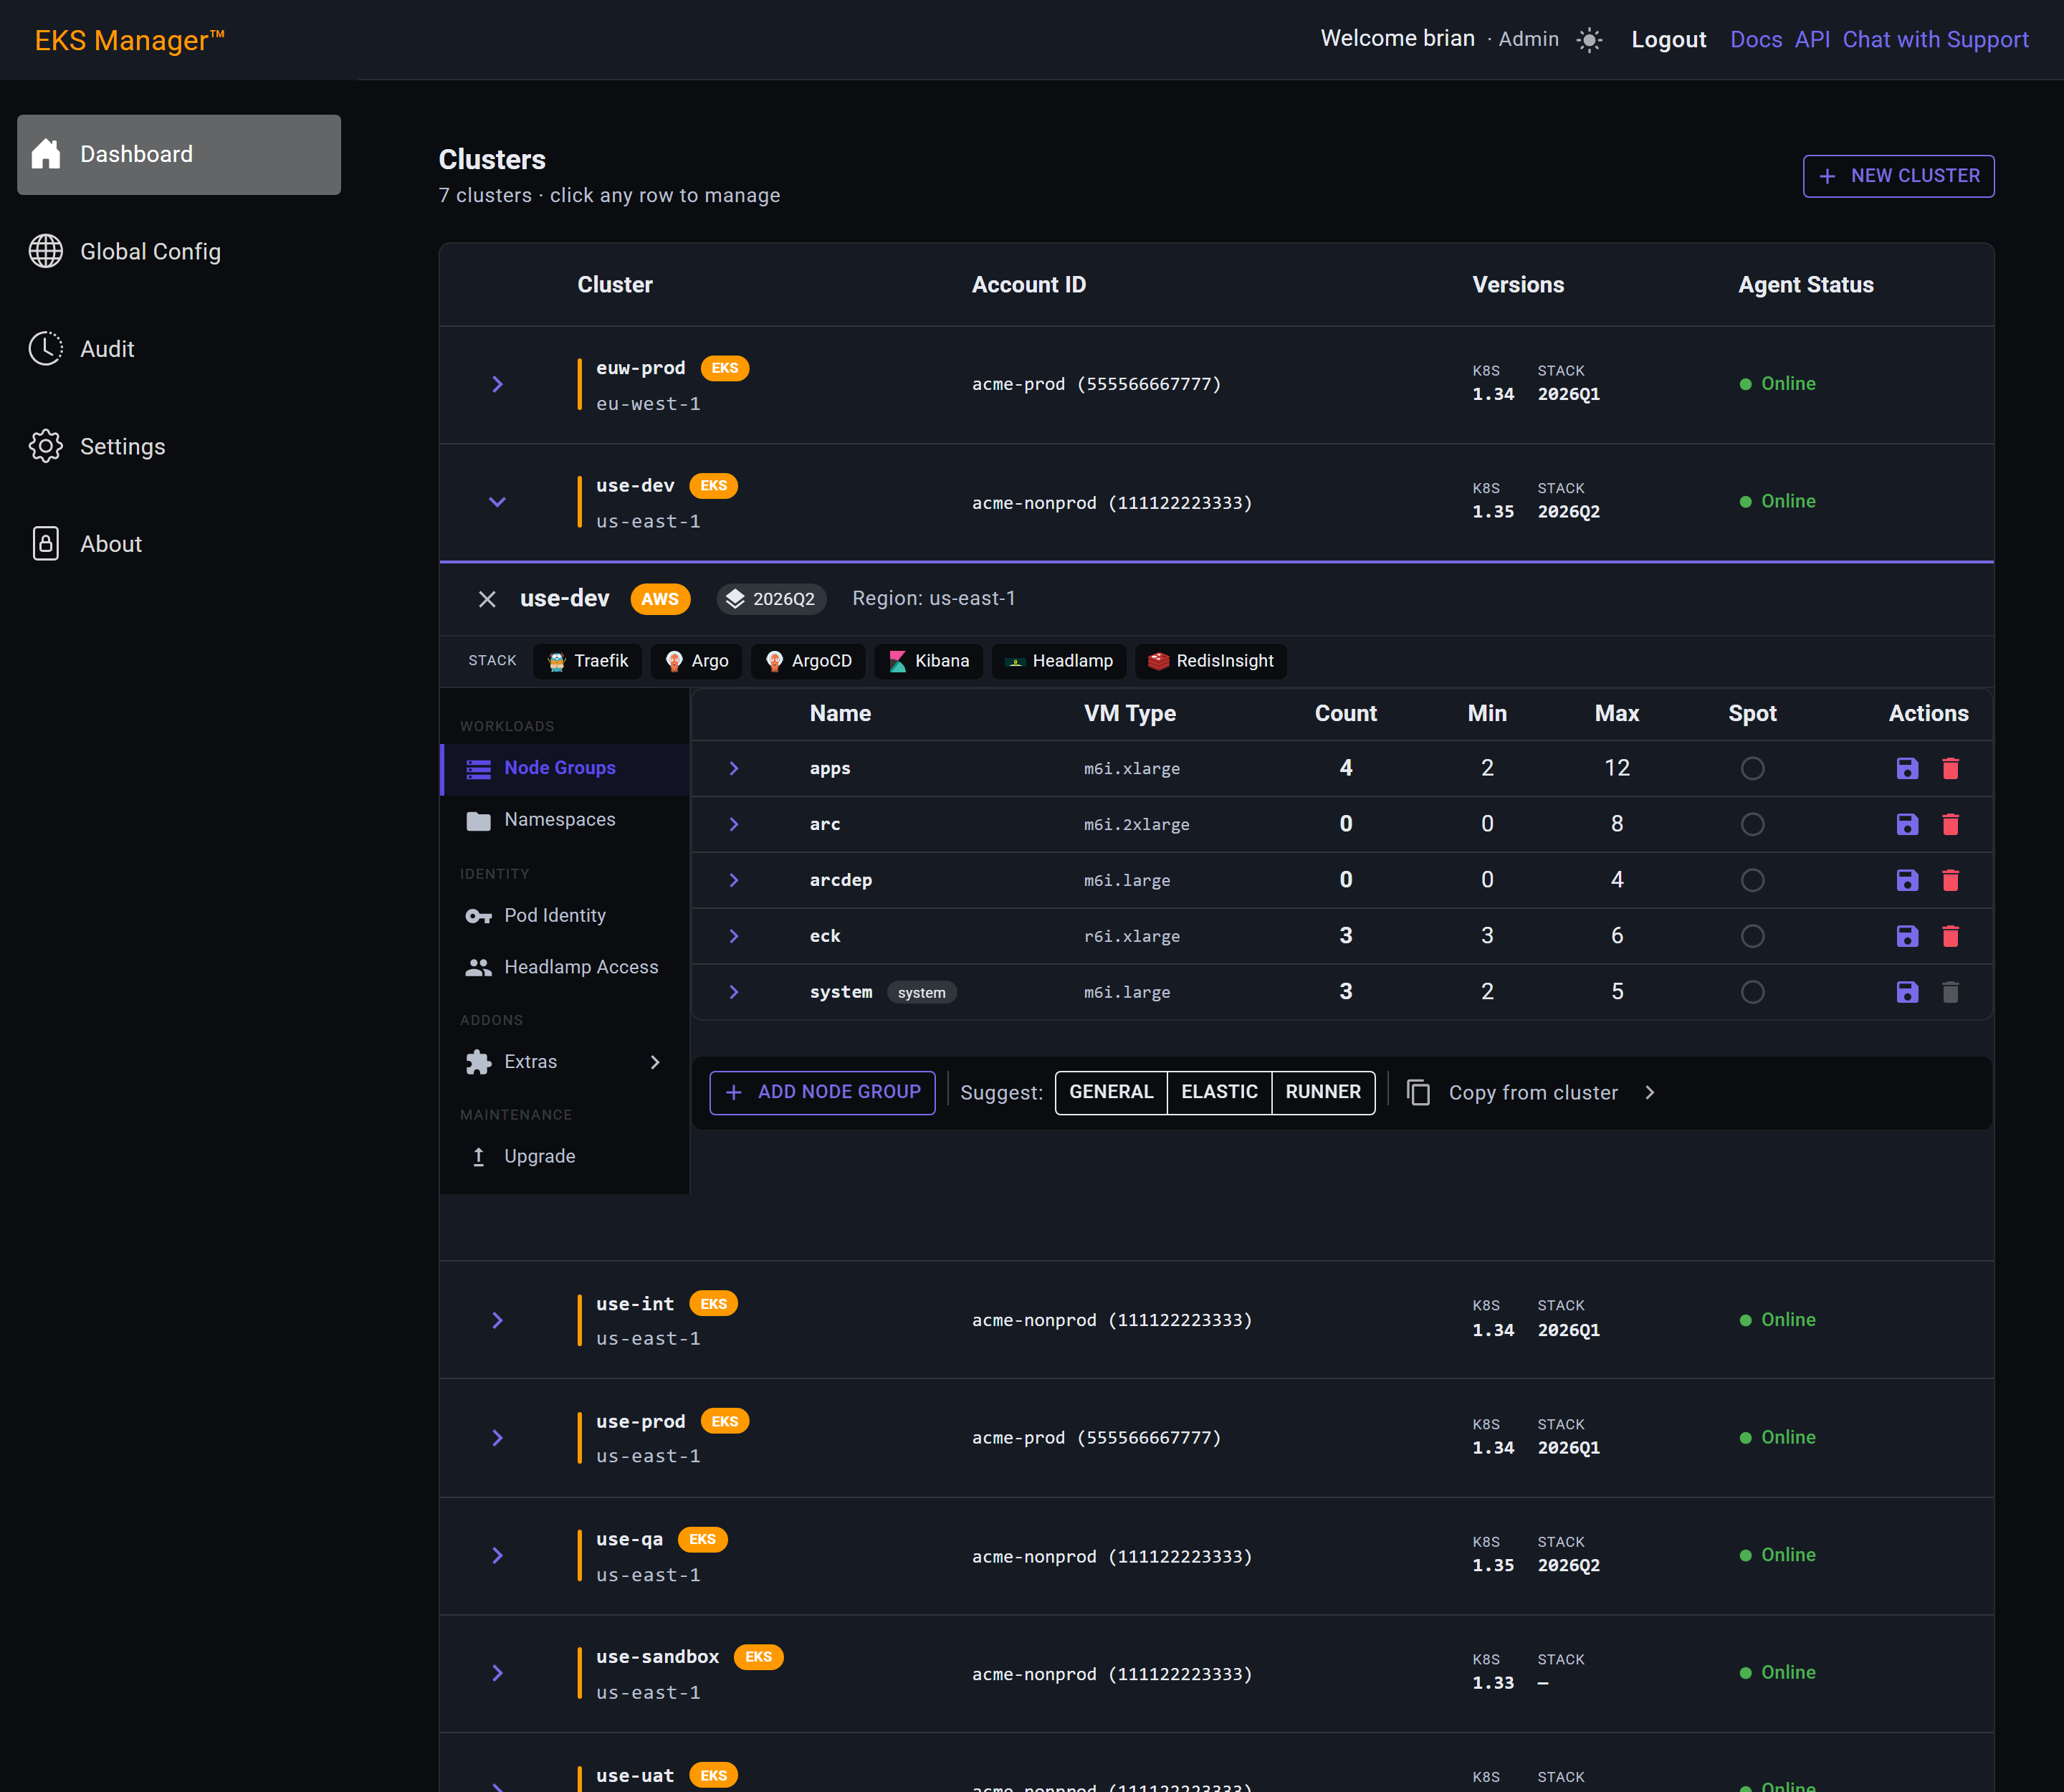
Only clusters on the same cloud are offered — a VM type from one cloud means nothing on the other.
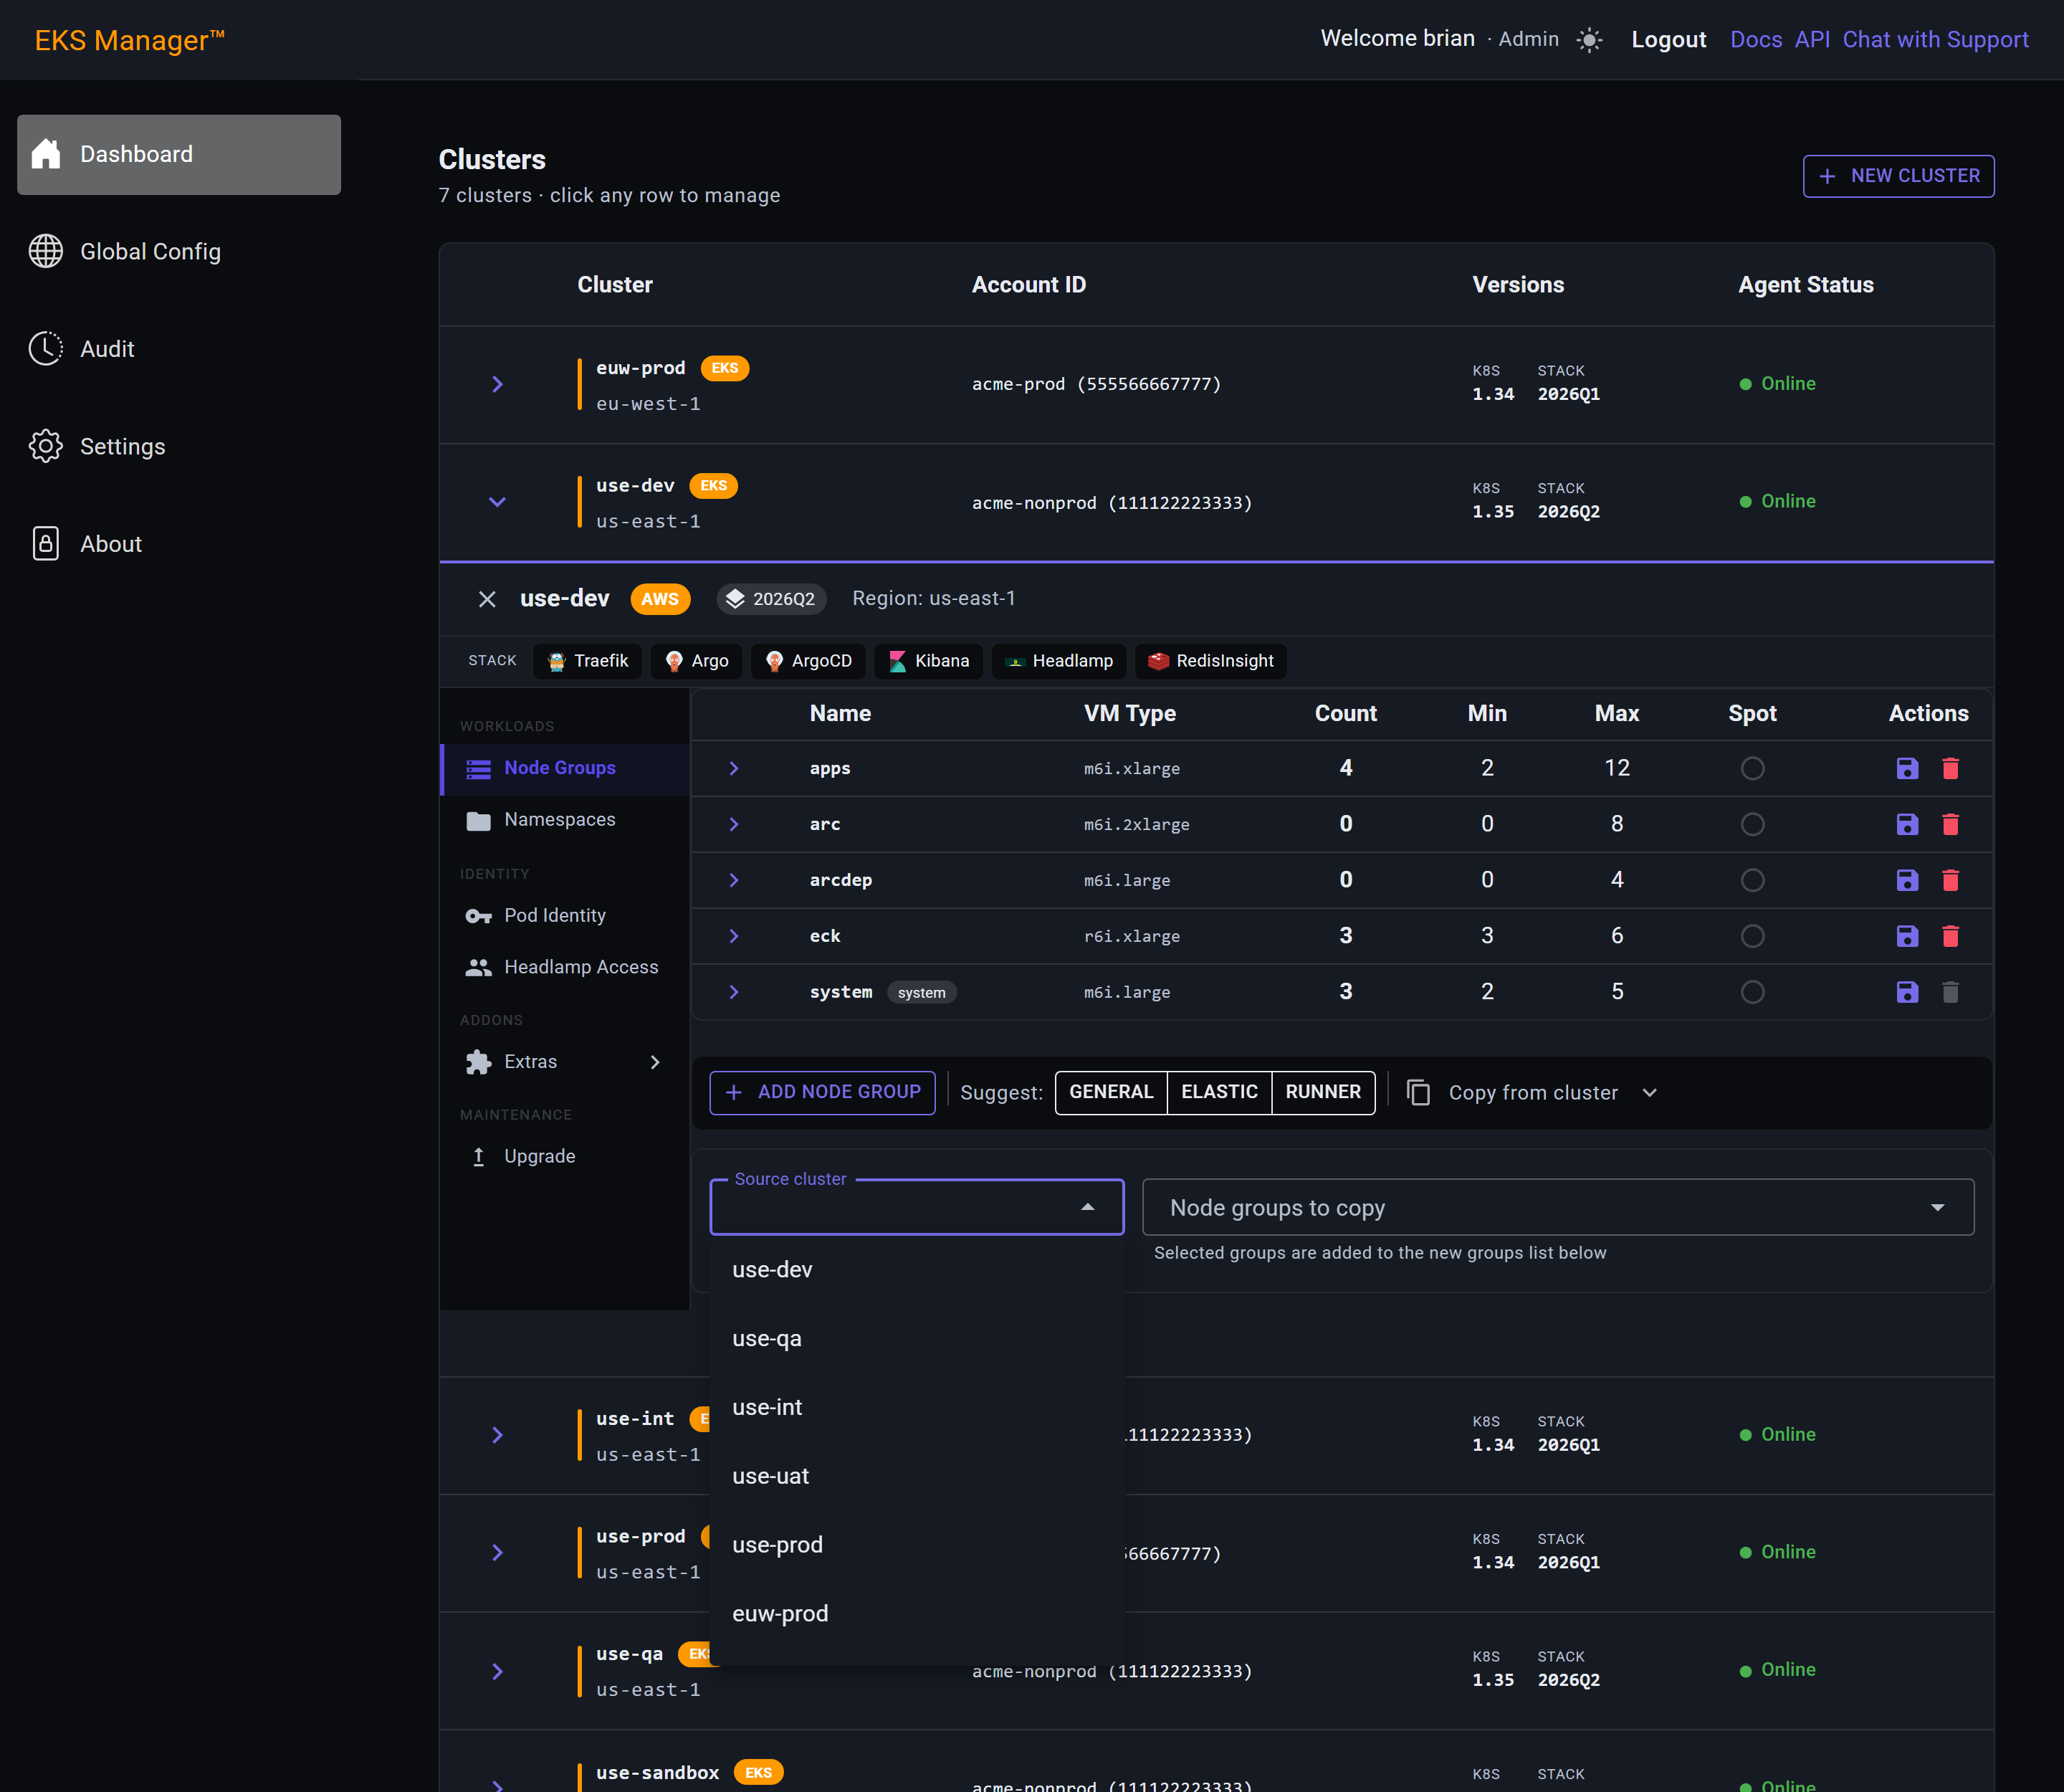
Then choose which of that cluster's groups to take. More than one can be selected.
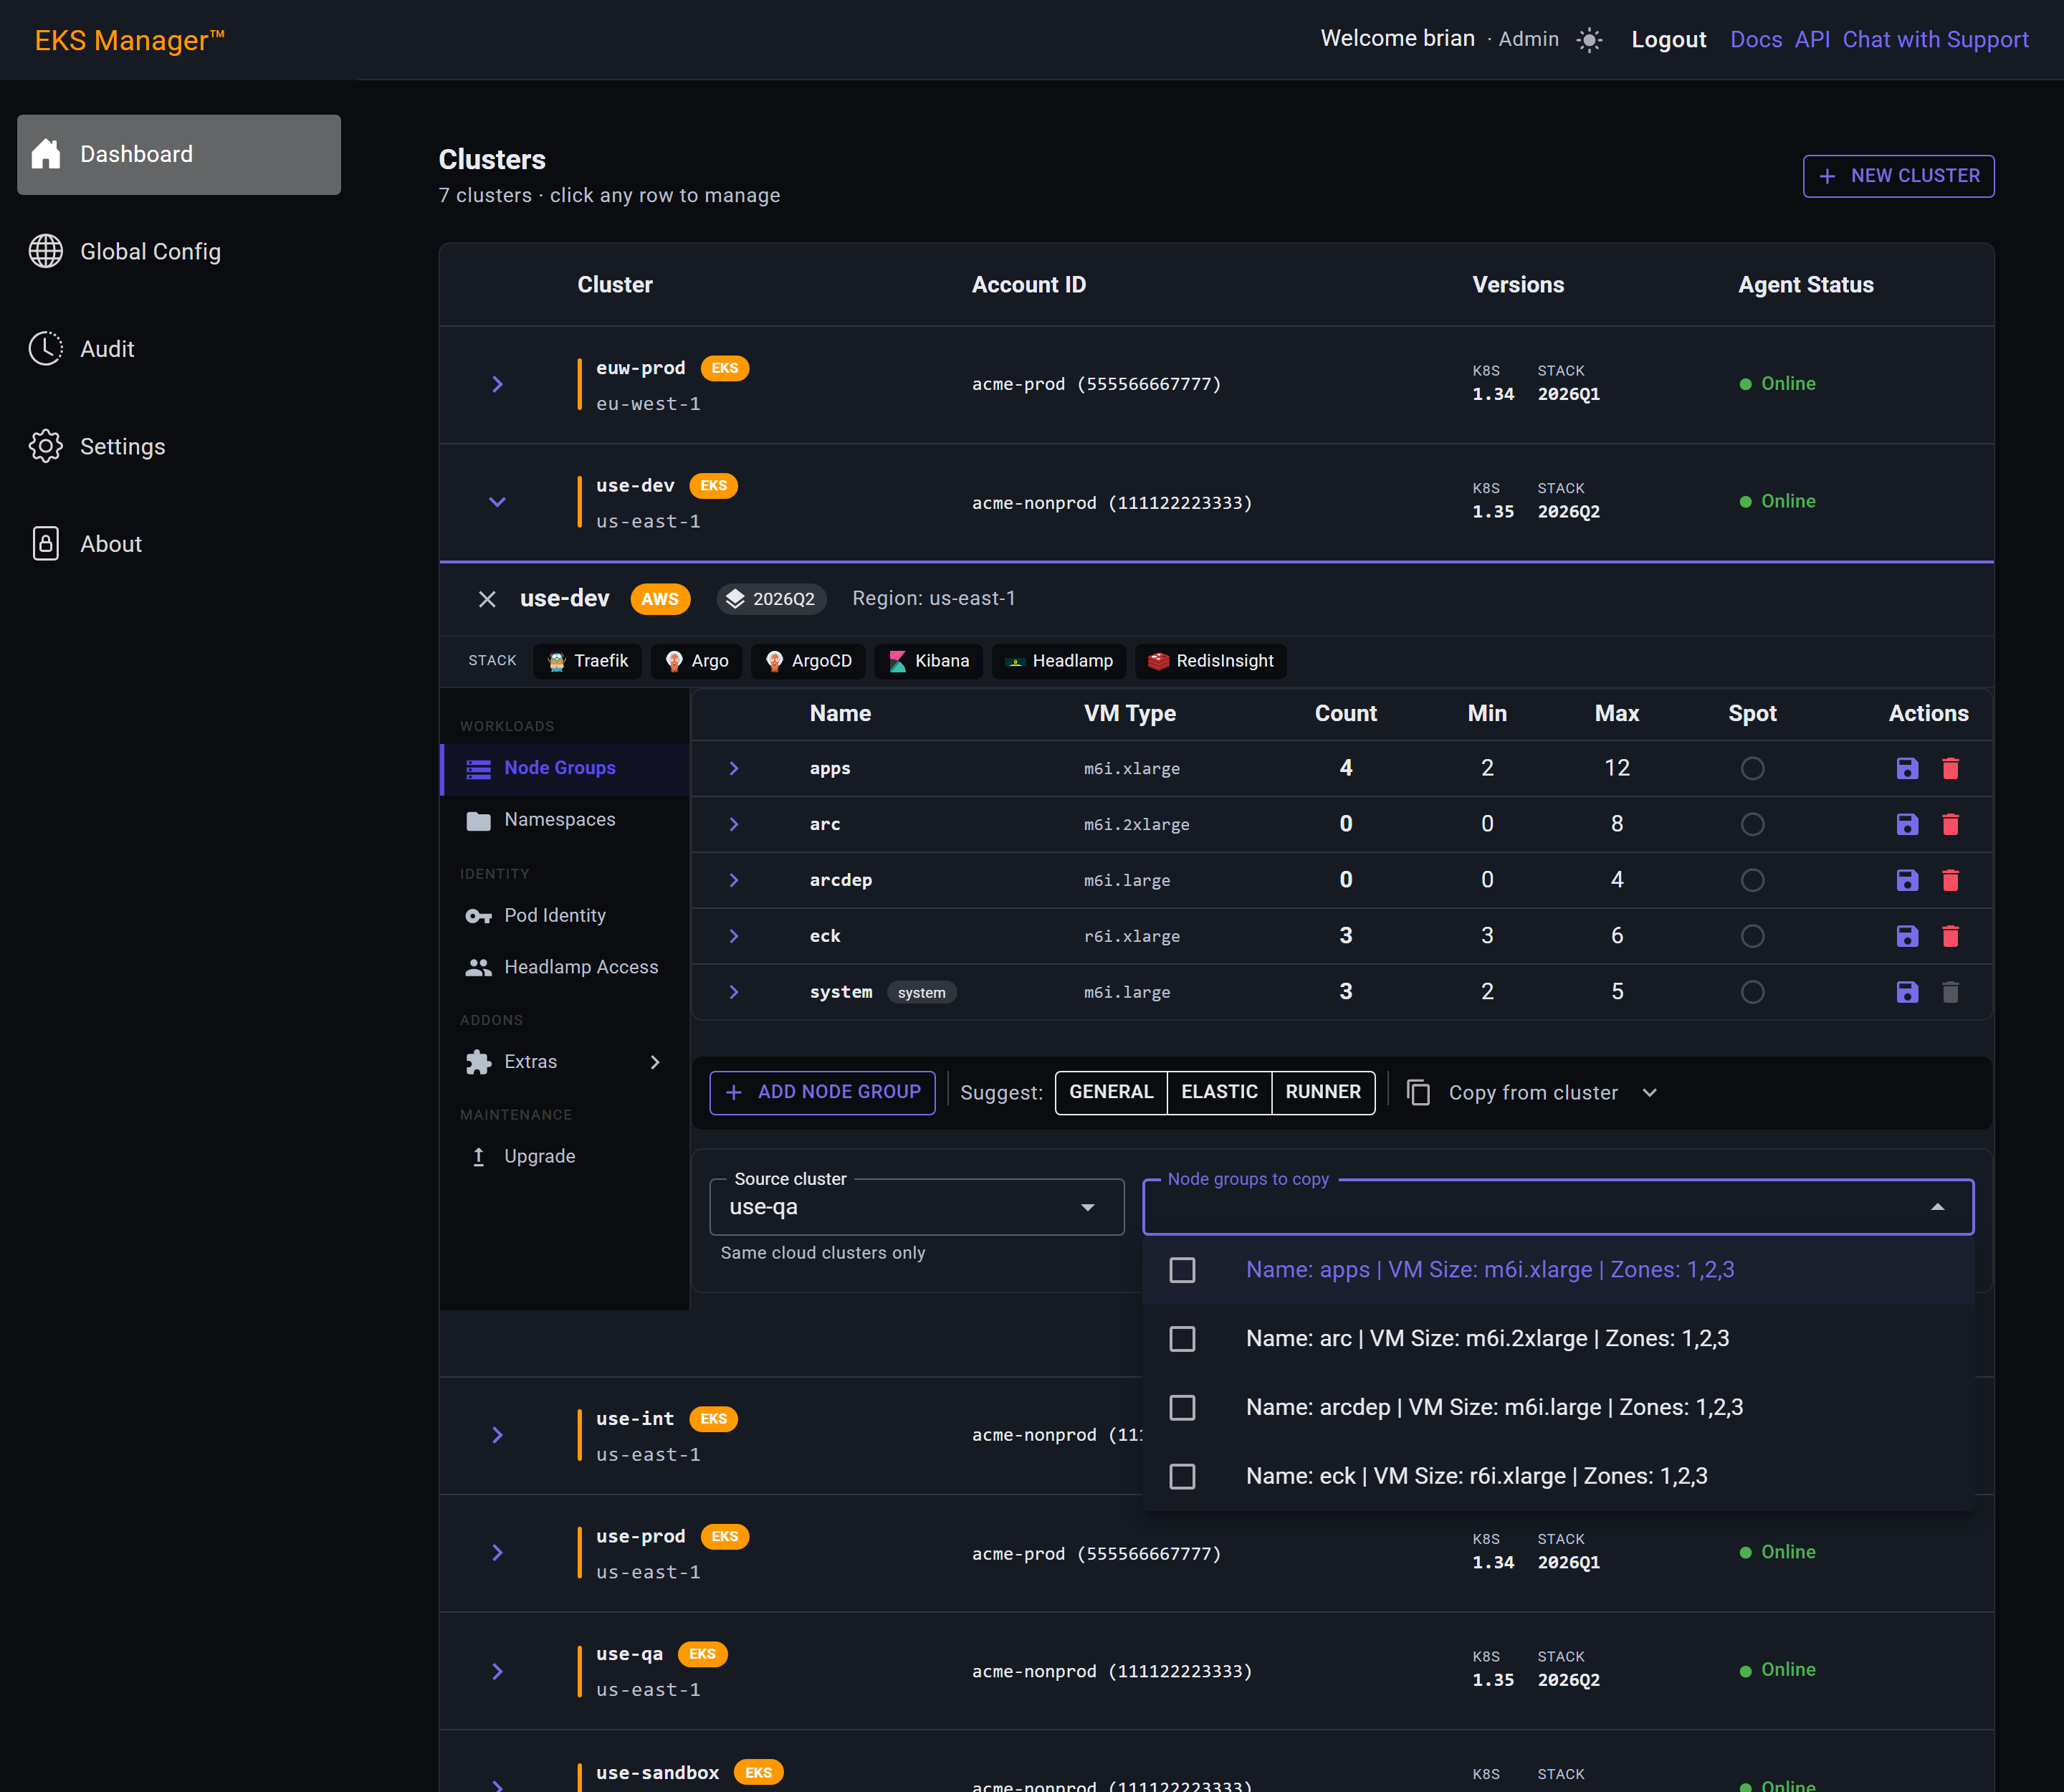
The chosen group is added to the queue below with the source cluster's settings, where it can still be edited before anything is created.
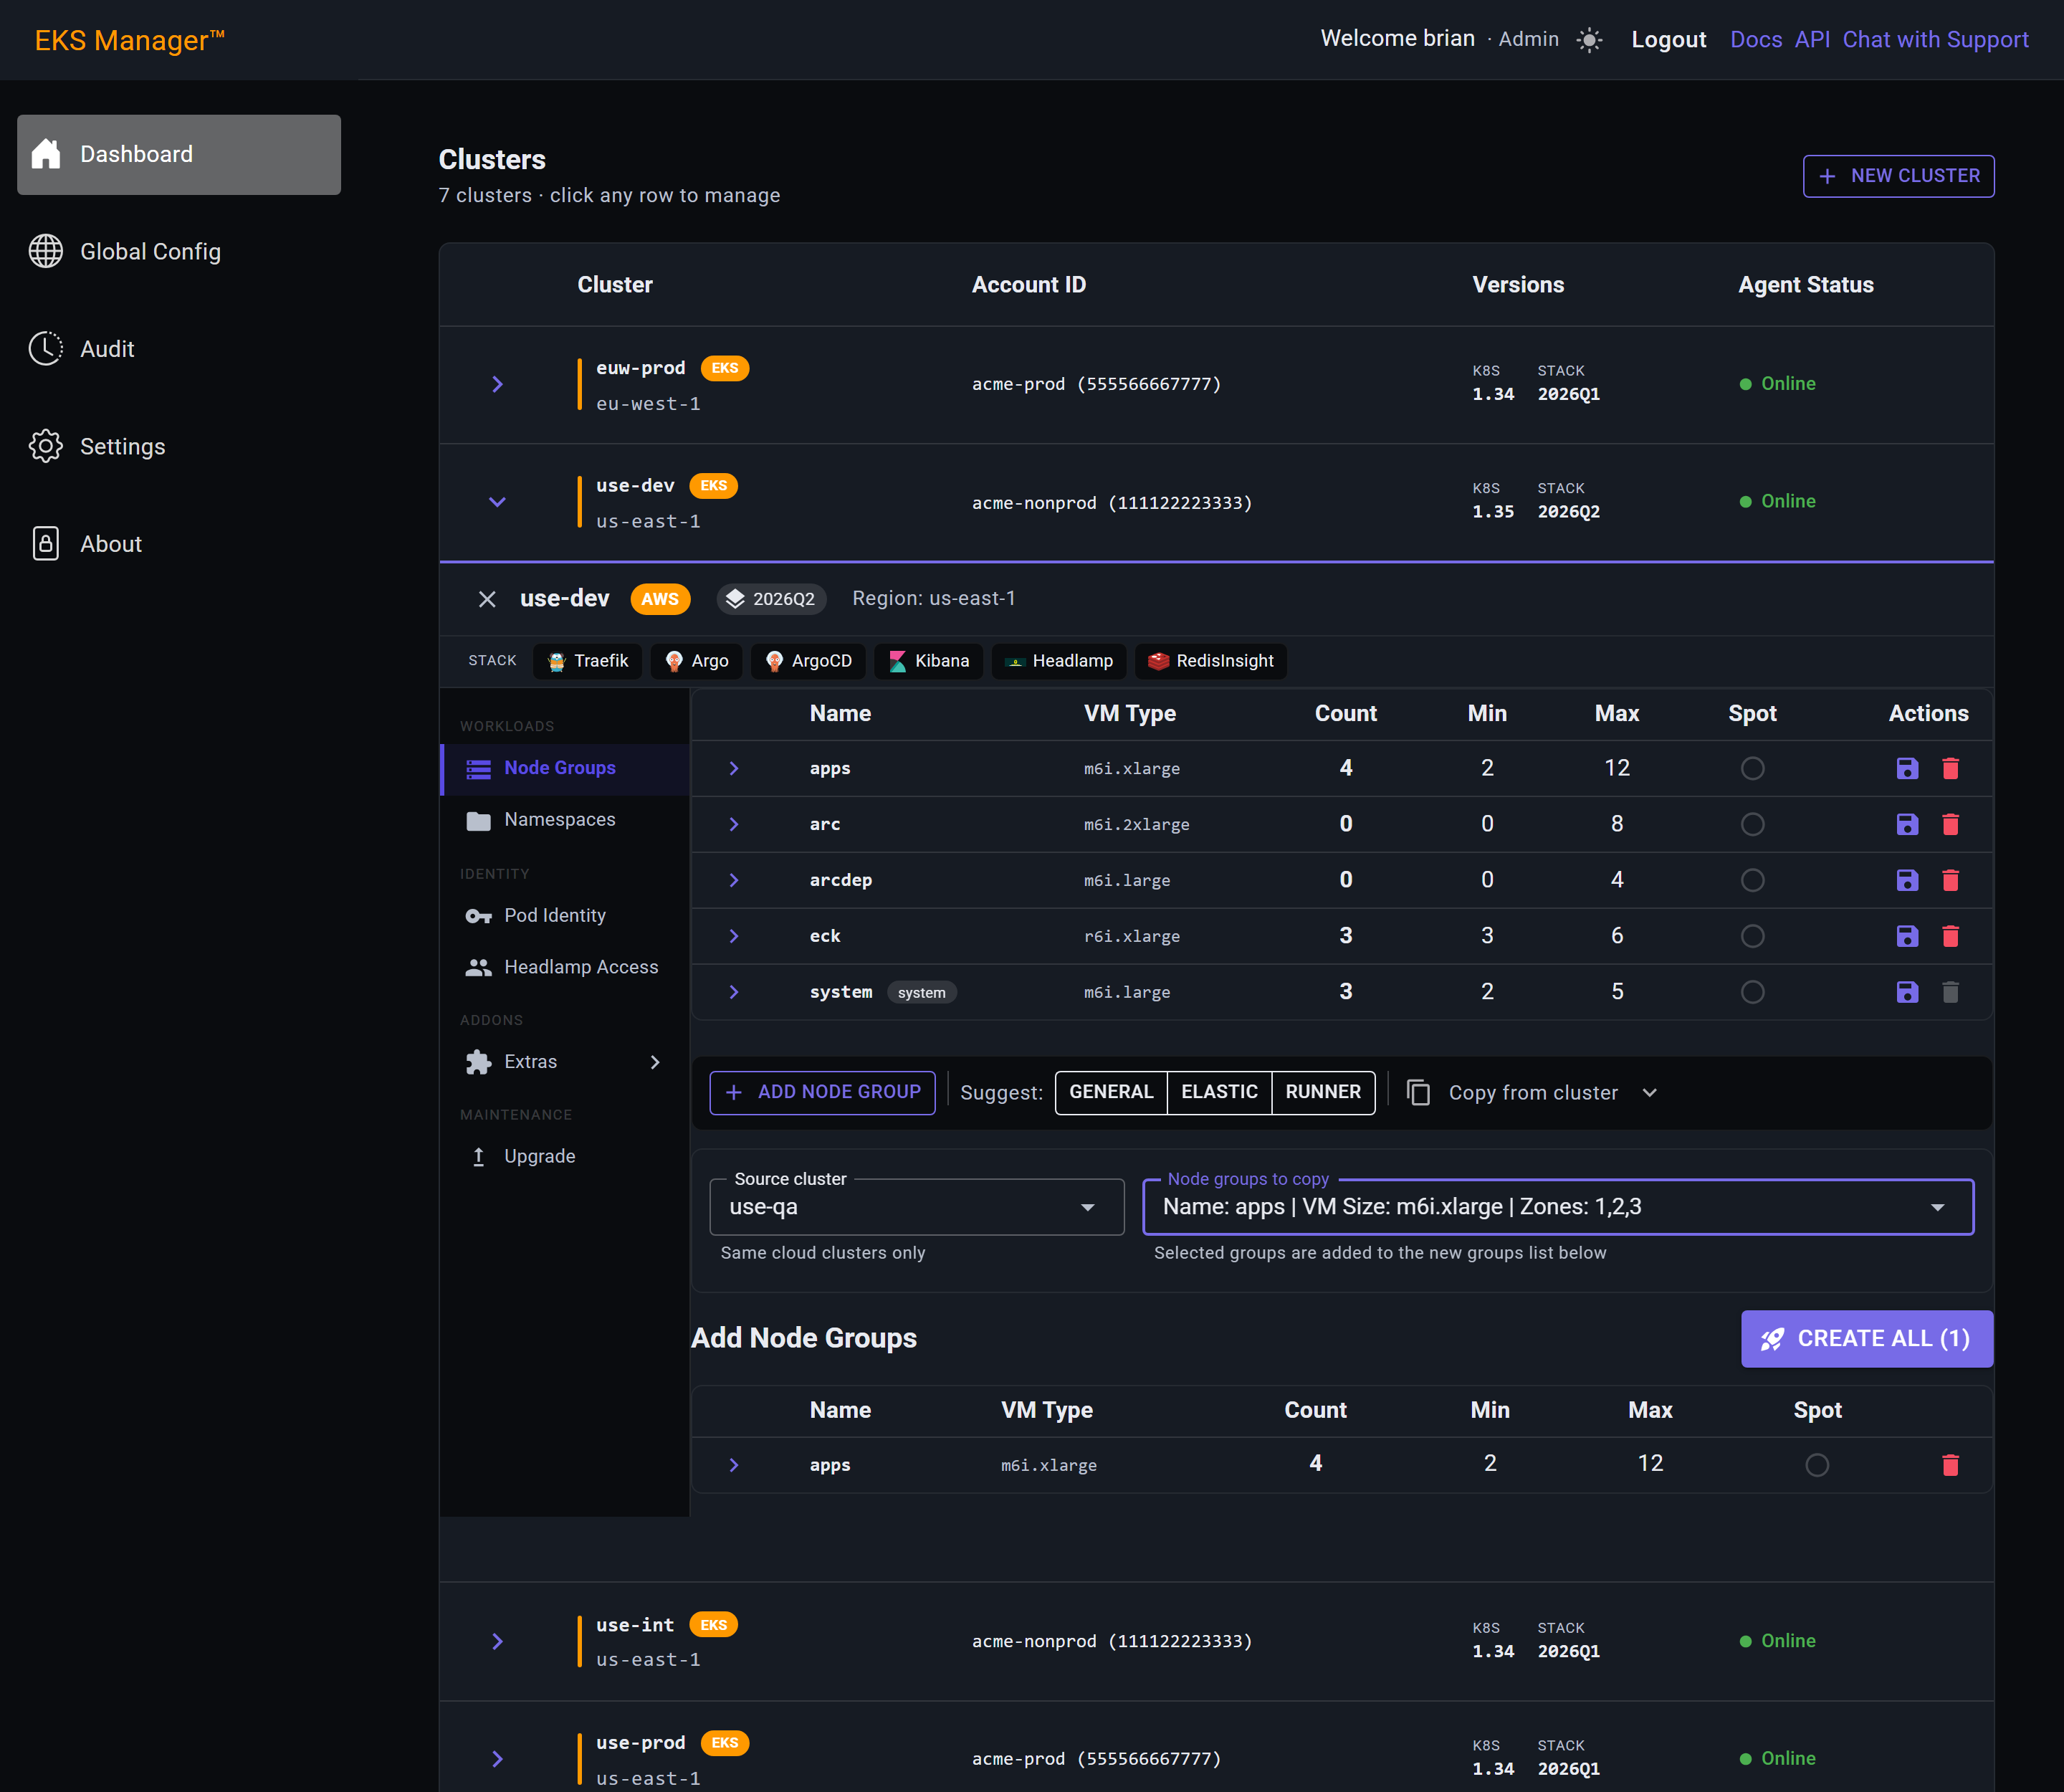
Once everything you want is queued — by hand, suggested, copied, or a mixture — Create All creates them together. The number on the button is how many are waiting.
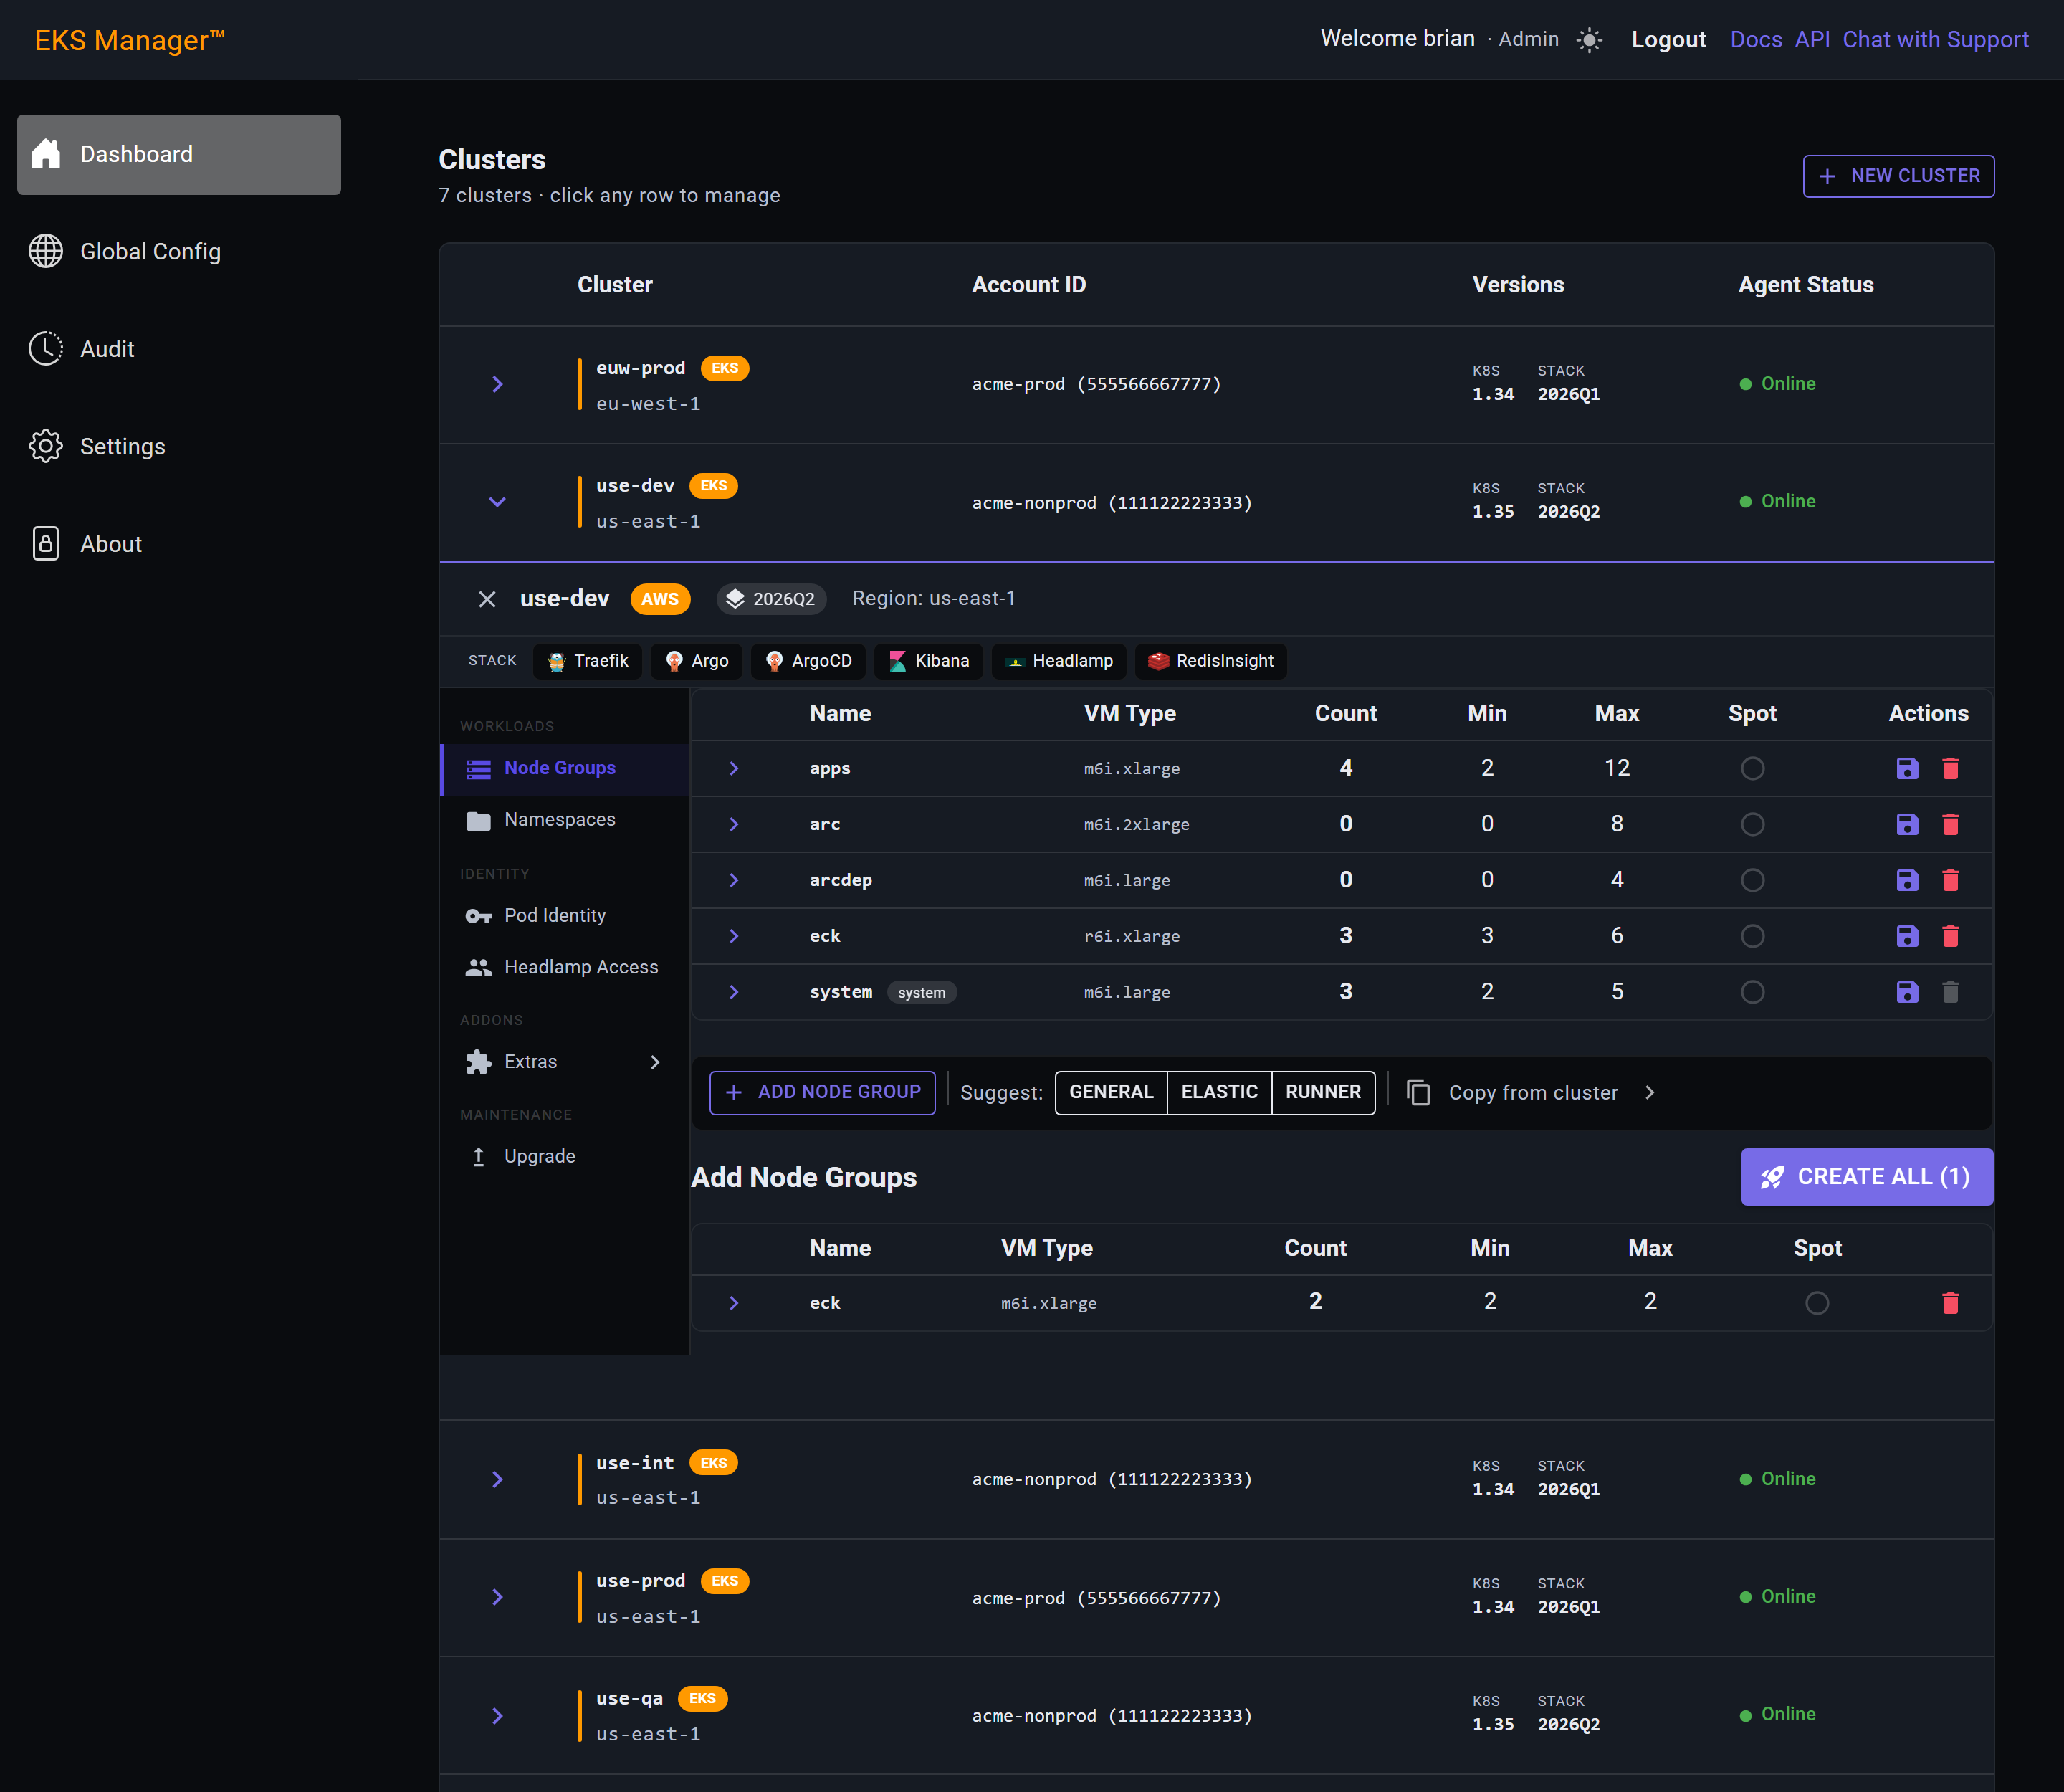
Before anything is created, the vCPU quota in the target account is checked against what the queued groups need — the limit, what is already in use, and what this request adds.
If there is not enough headroom you find out here, rather than from a half-created cluster.
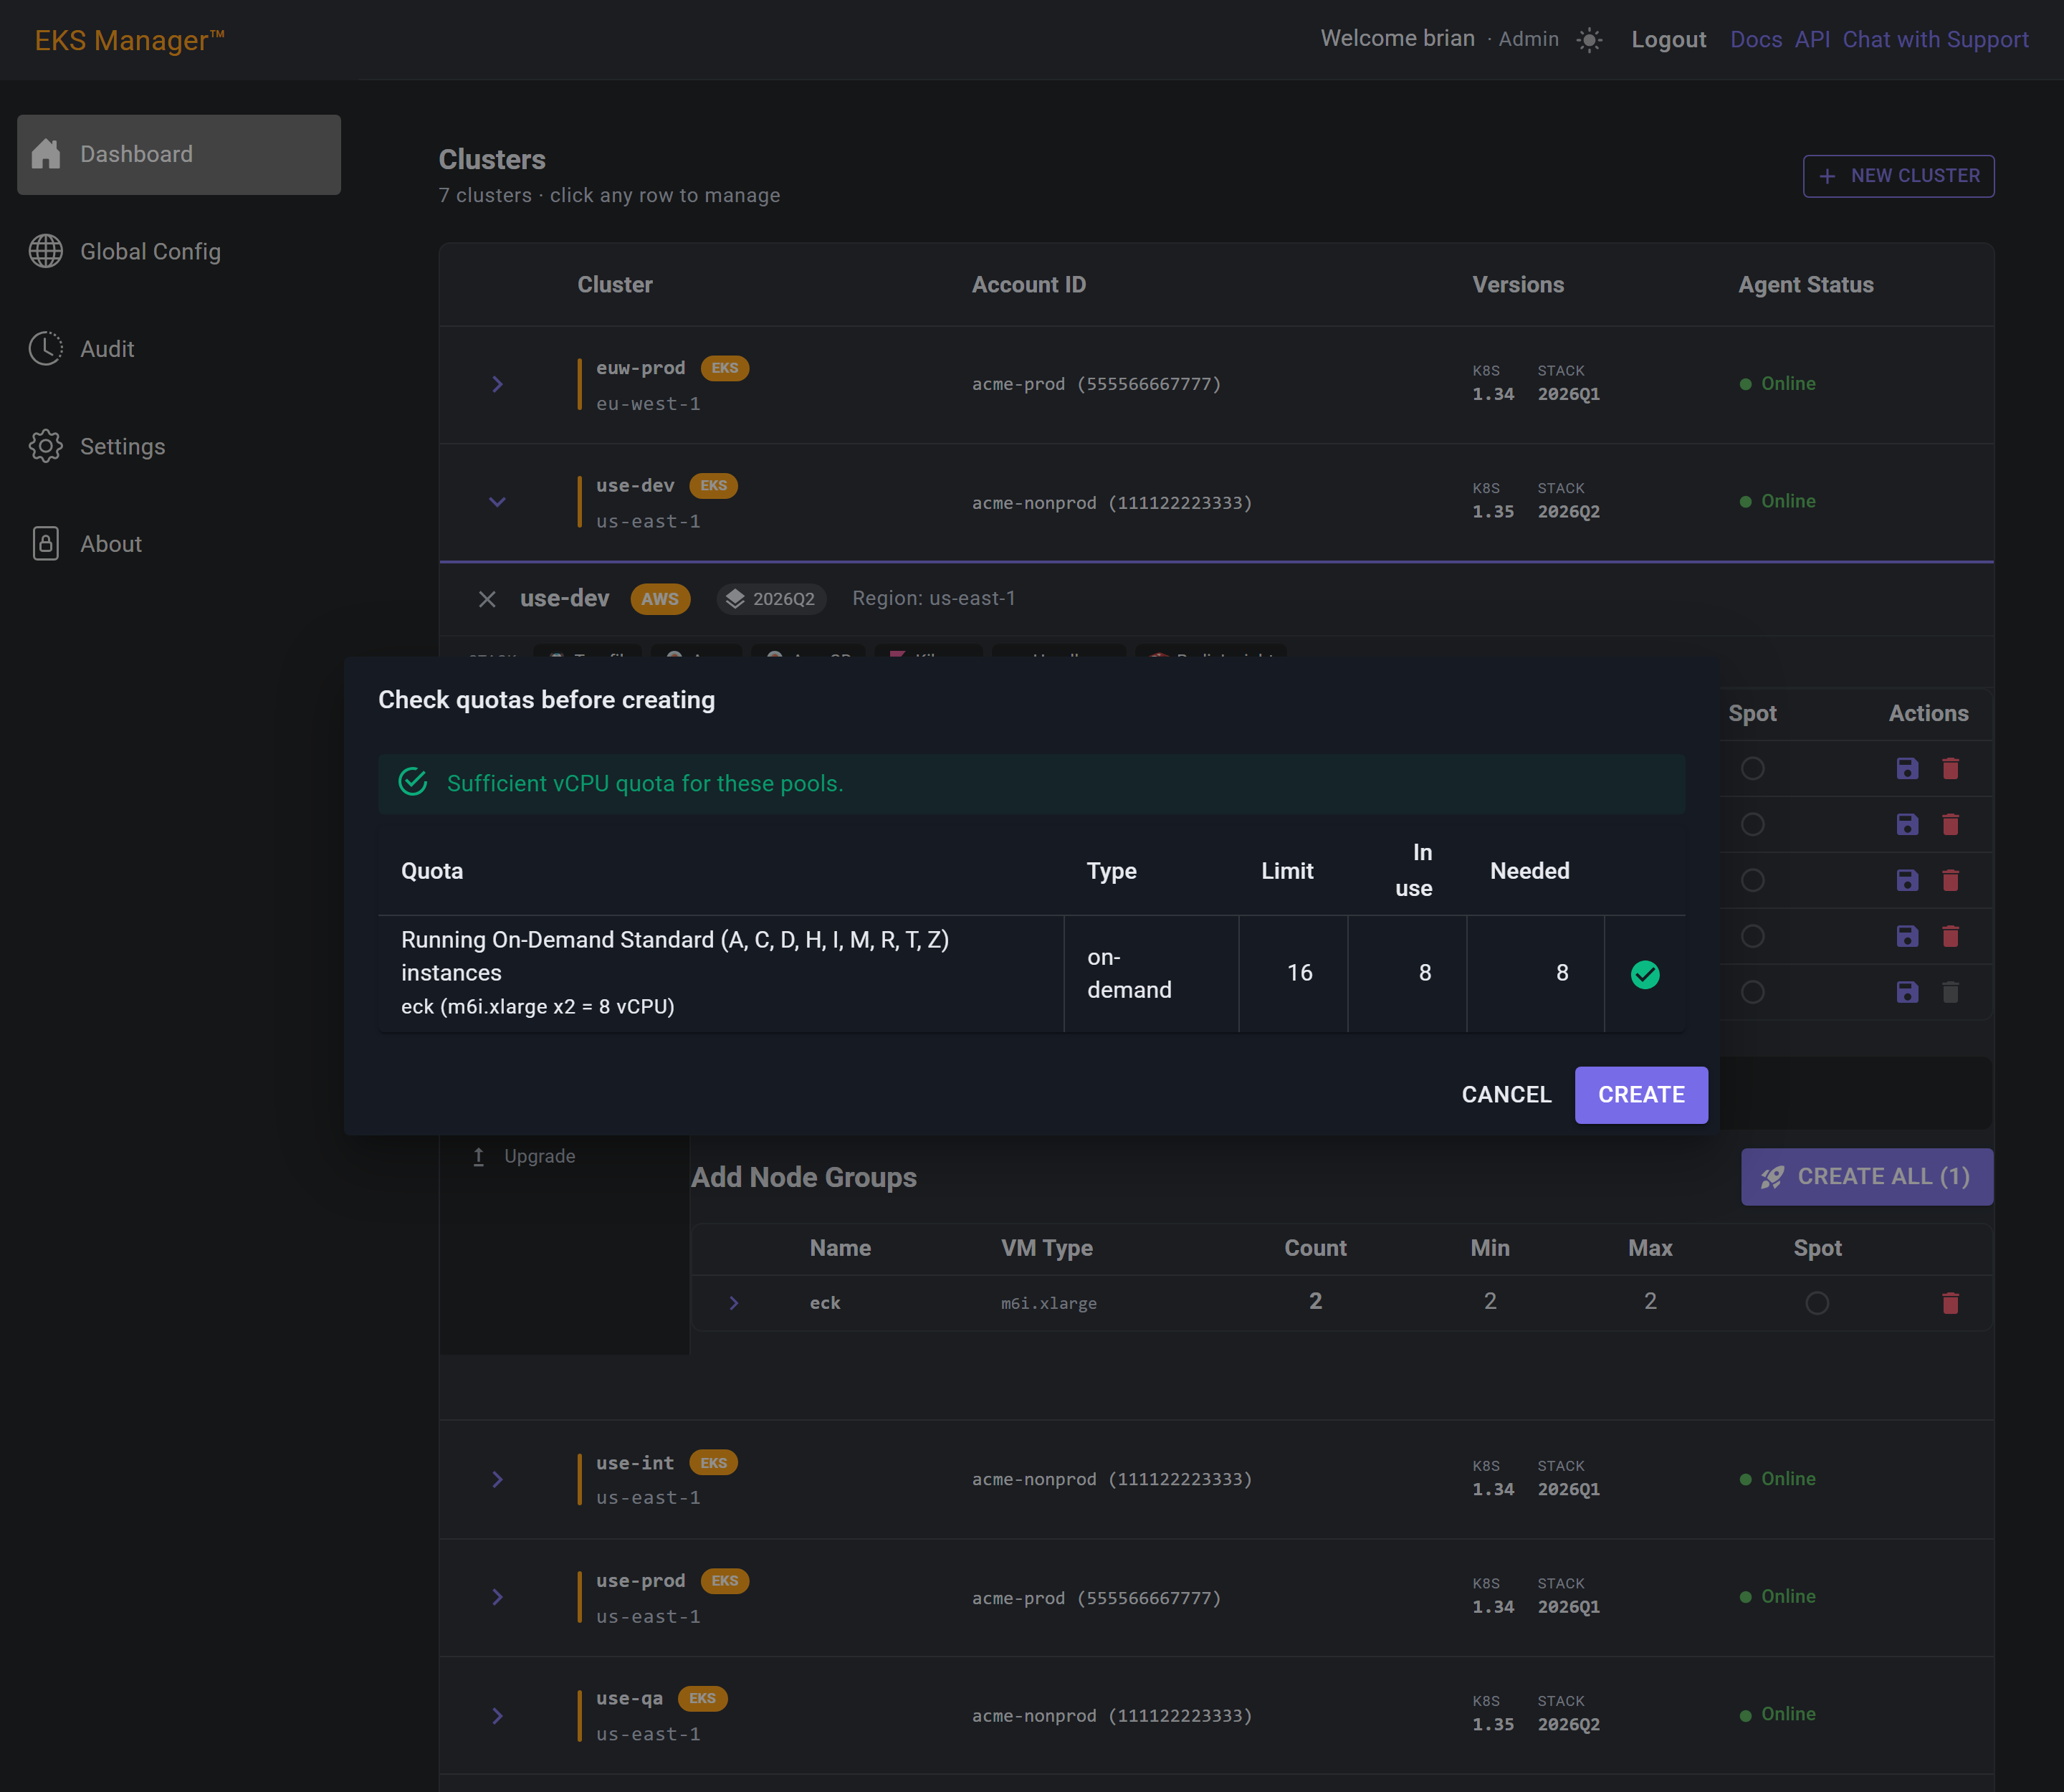
A notification confirms the group is being created. Allow about 15 minutes.
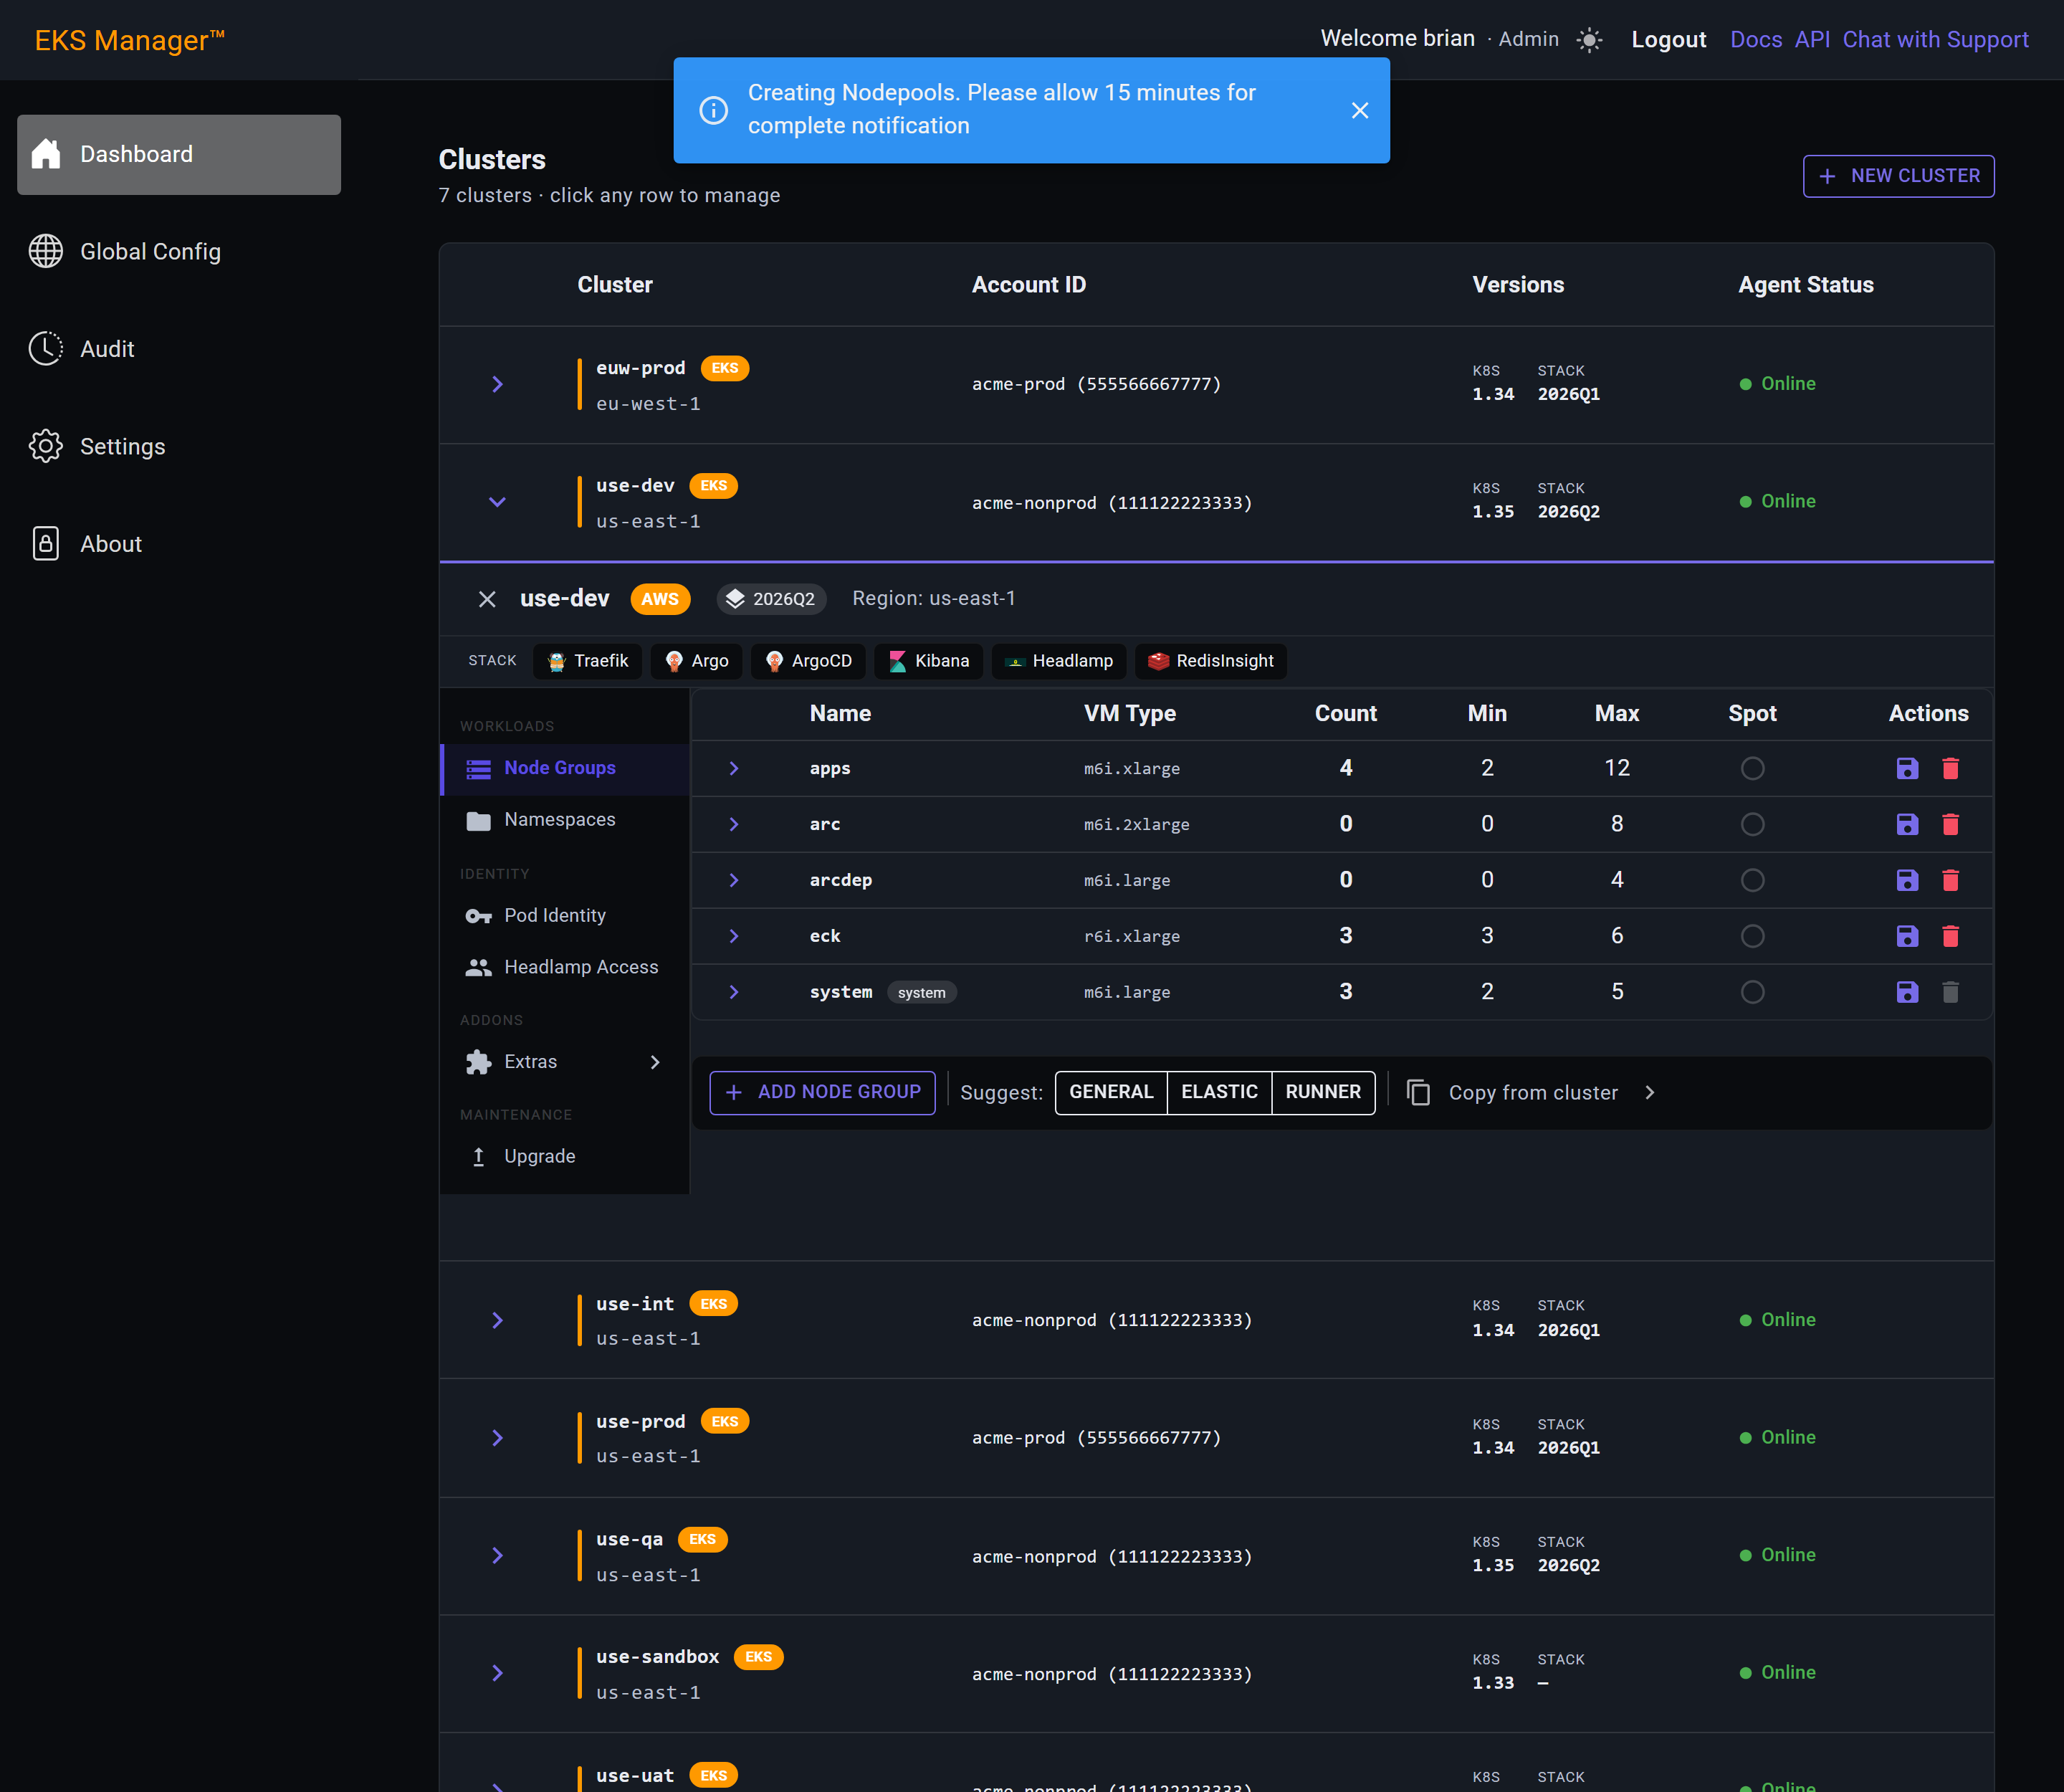
The results dialog reports each group as it finishes.
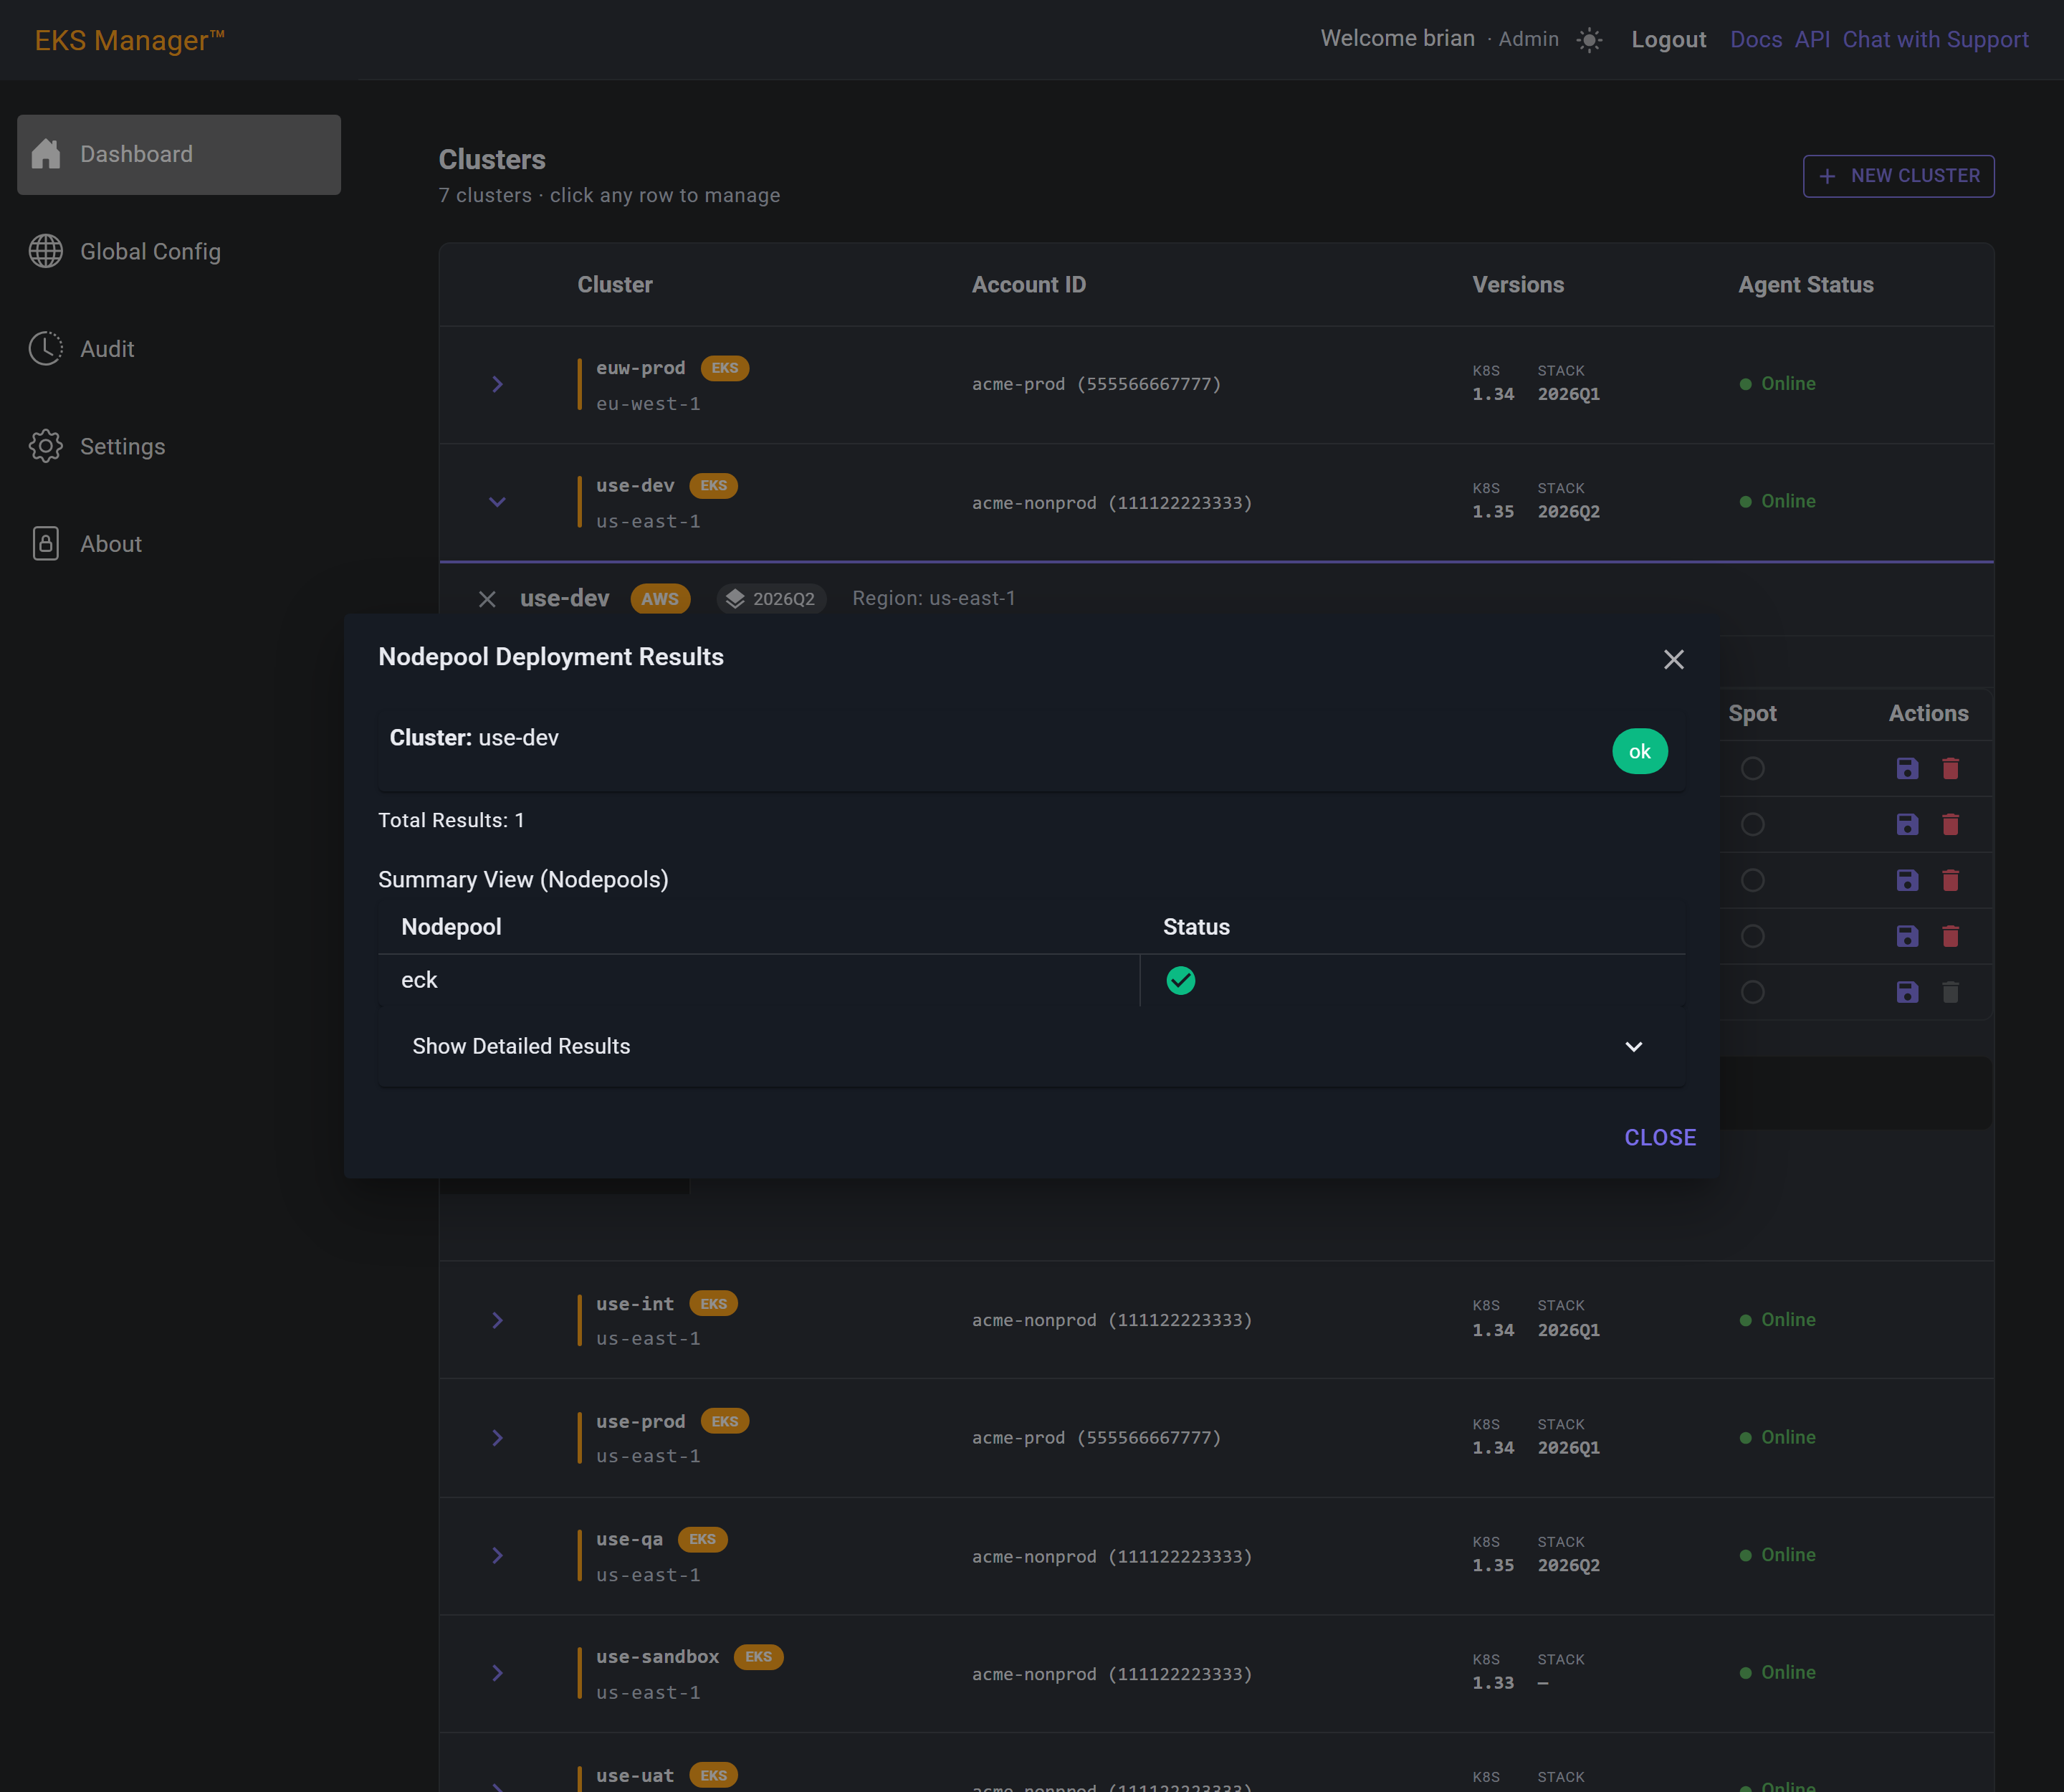
Once created, the group joins the cluster's node groups and behaves like any other — it can be scaled, edited or deleted from the same table.
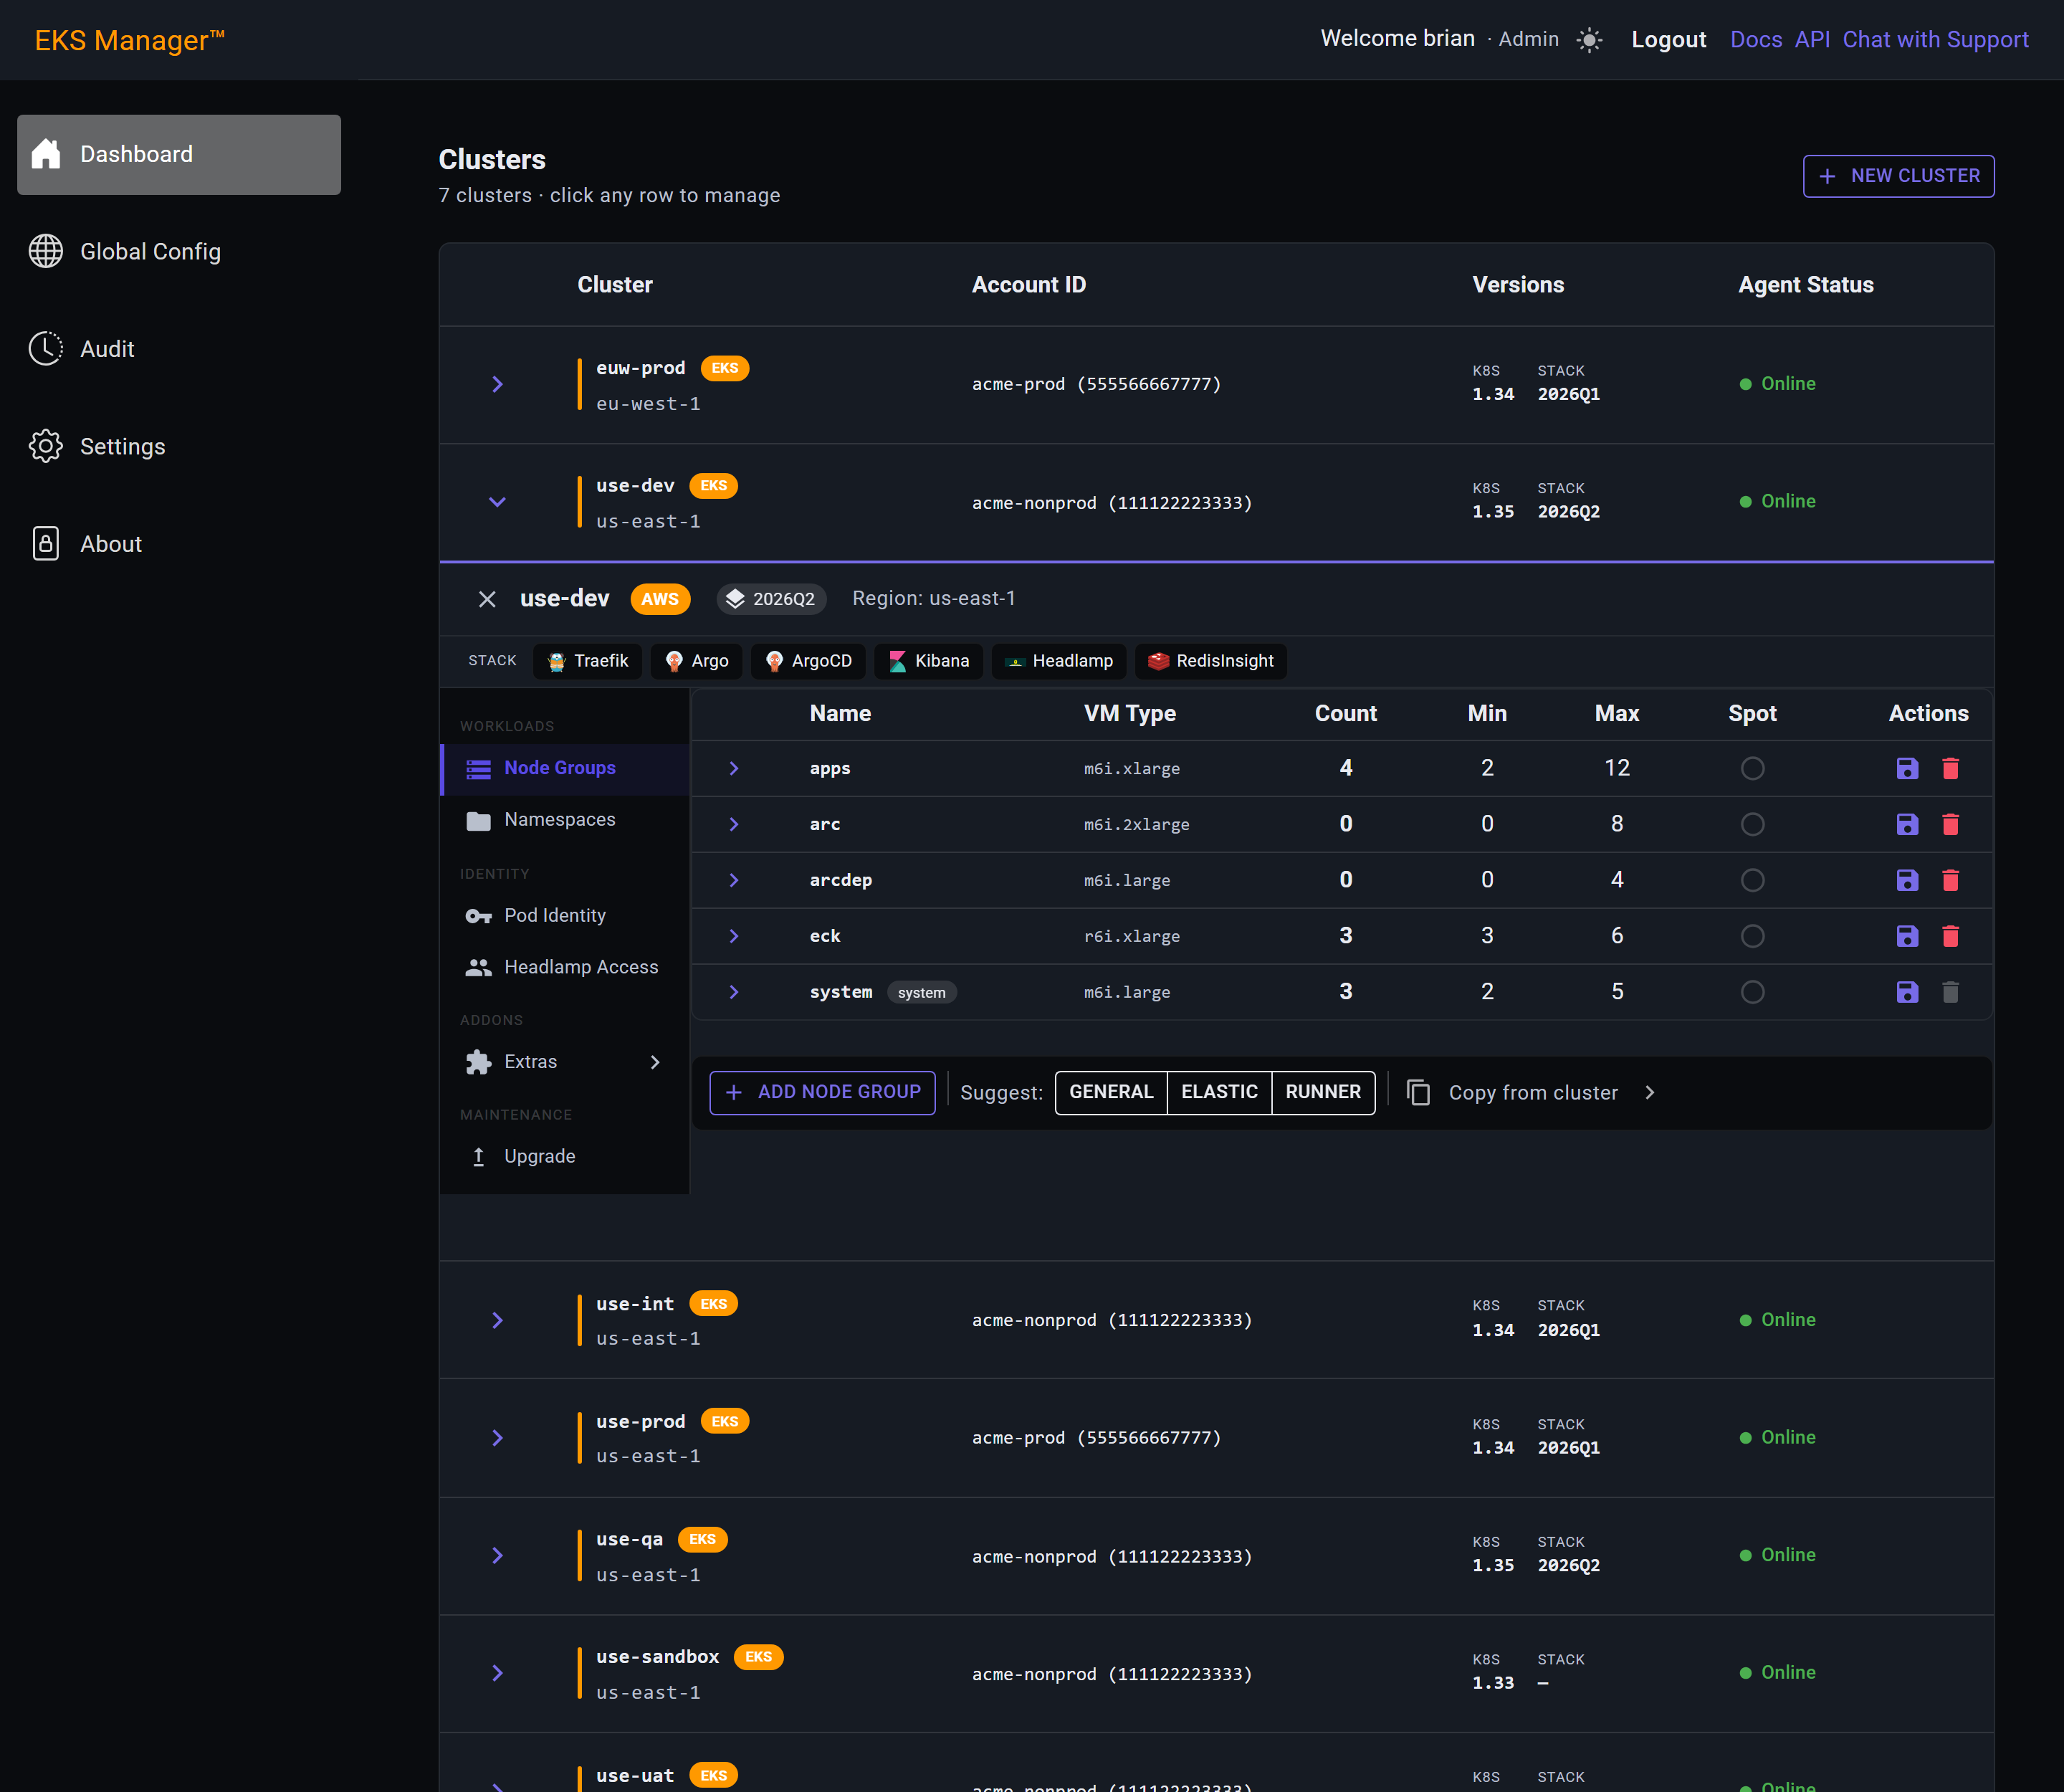
Namespaces
The namespaces deployed to this cluster.
system marks a namespace the platform owns. It is restricted, which means it cannot be deleted from here.
Global marks a namespace defined once under Global Config and deployed to every cluster. This screen adds a namespace to this cluster alone — use Global Config if you want it everywhere.
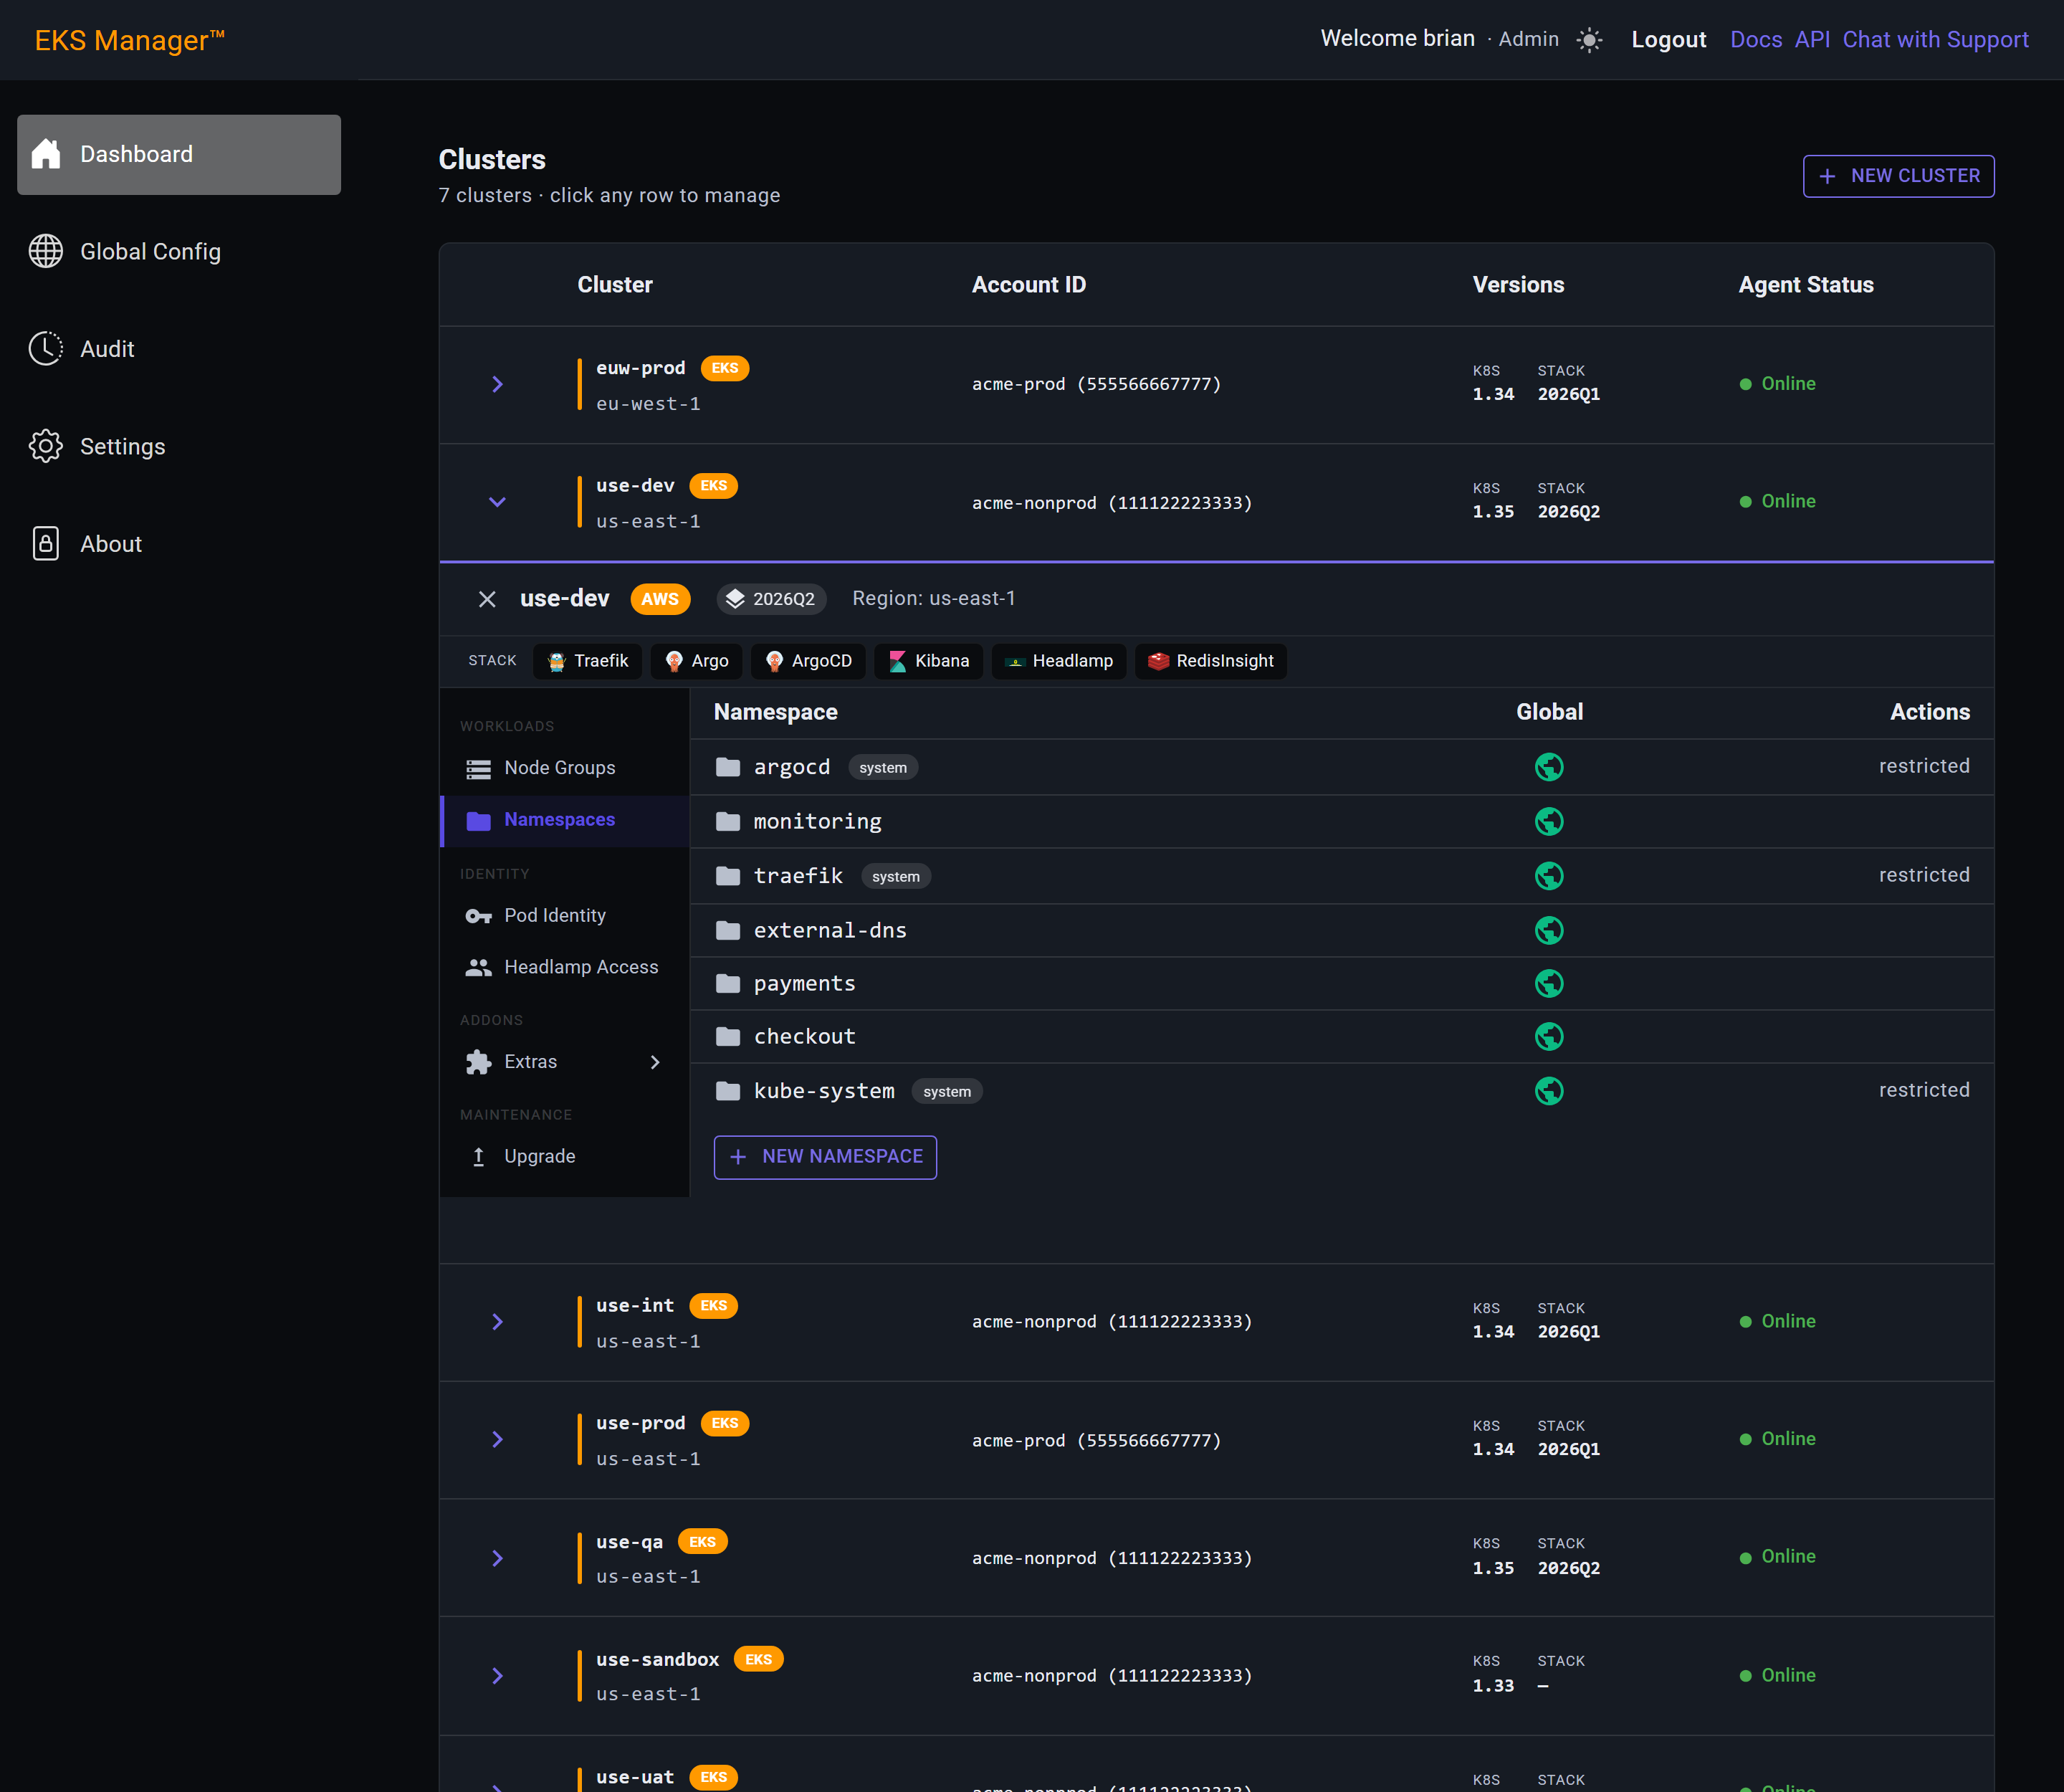
New Namespace opens an inline form. Names are lowercase letters, numbers and hyphens — the same rule Kubernetes itself applies.
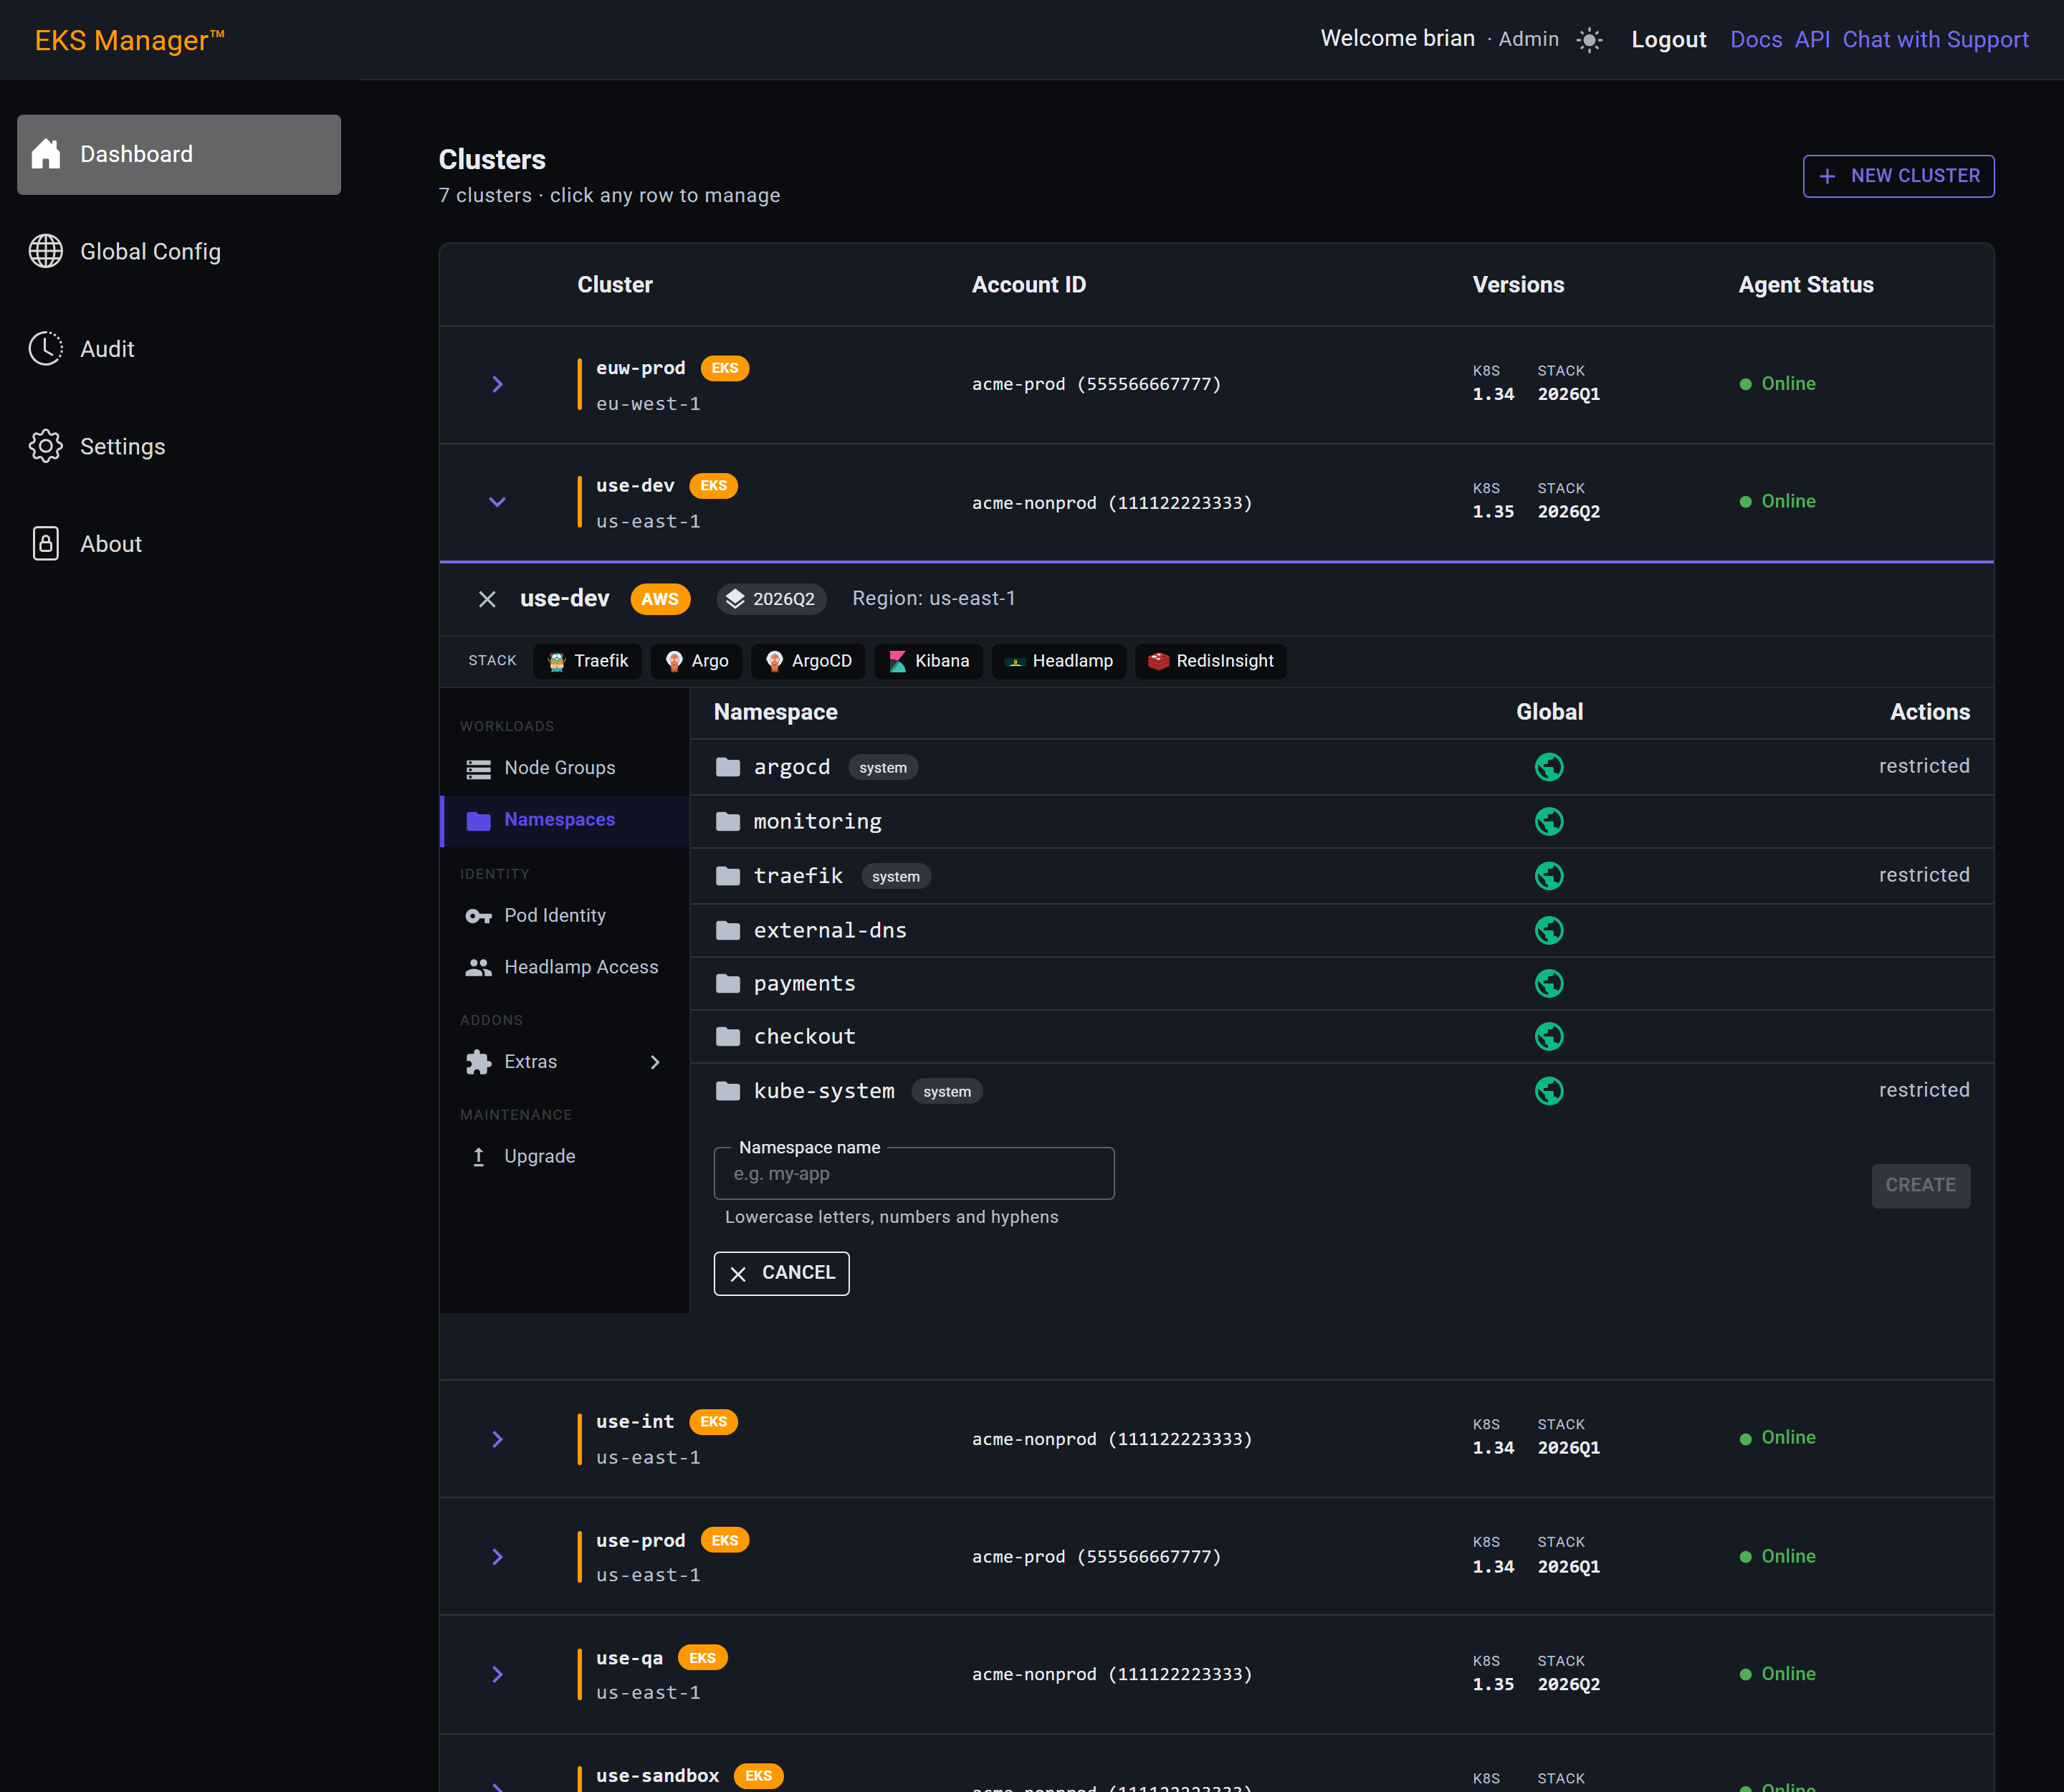
With a name entered, Create deploys the namespace to this cluster.
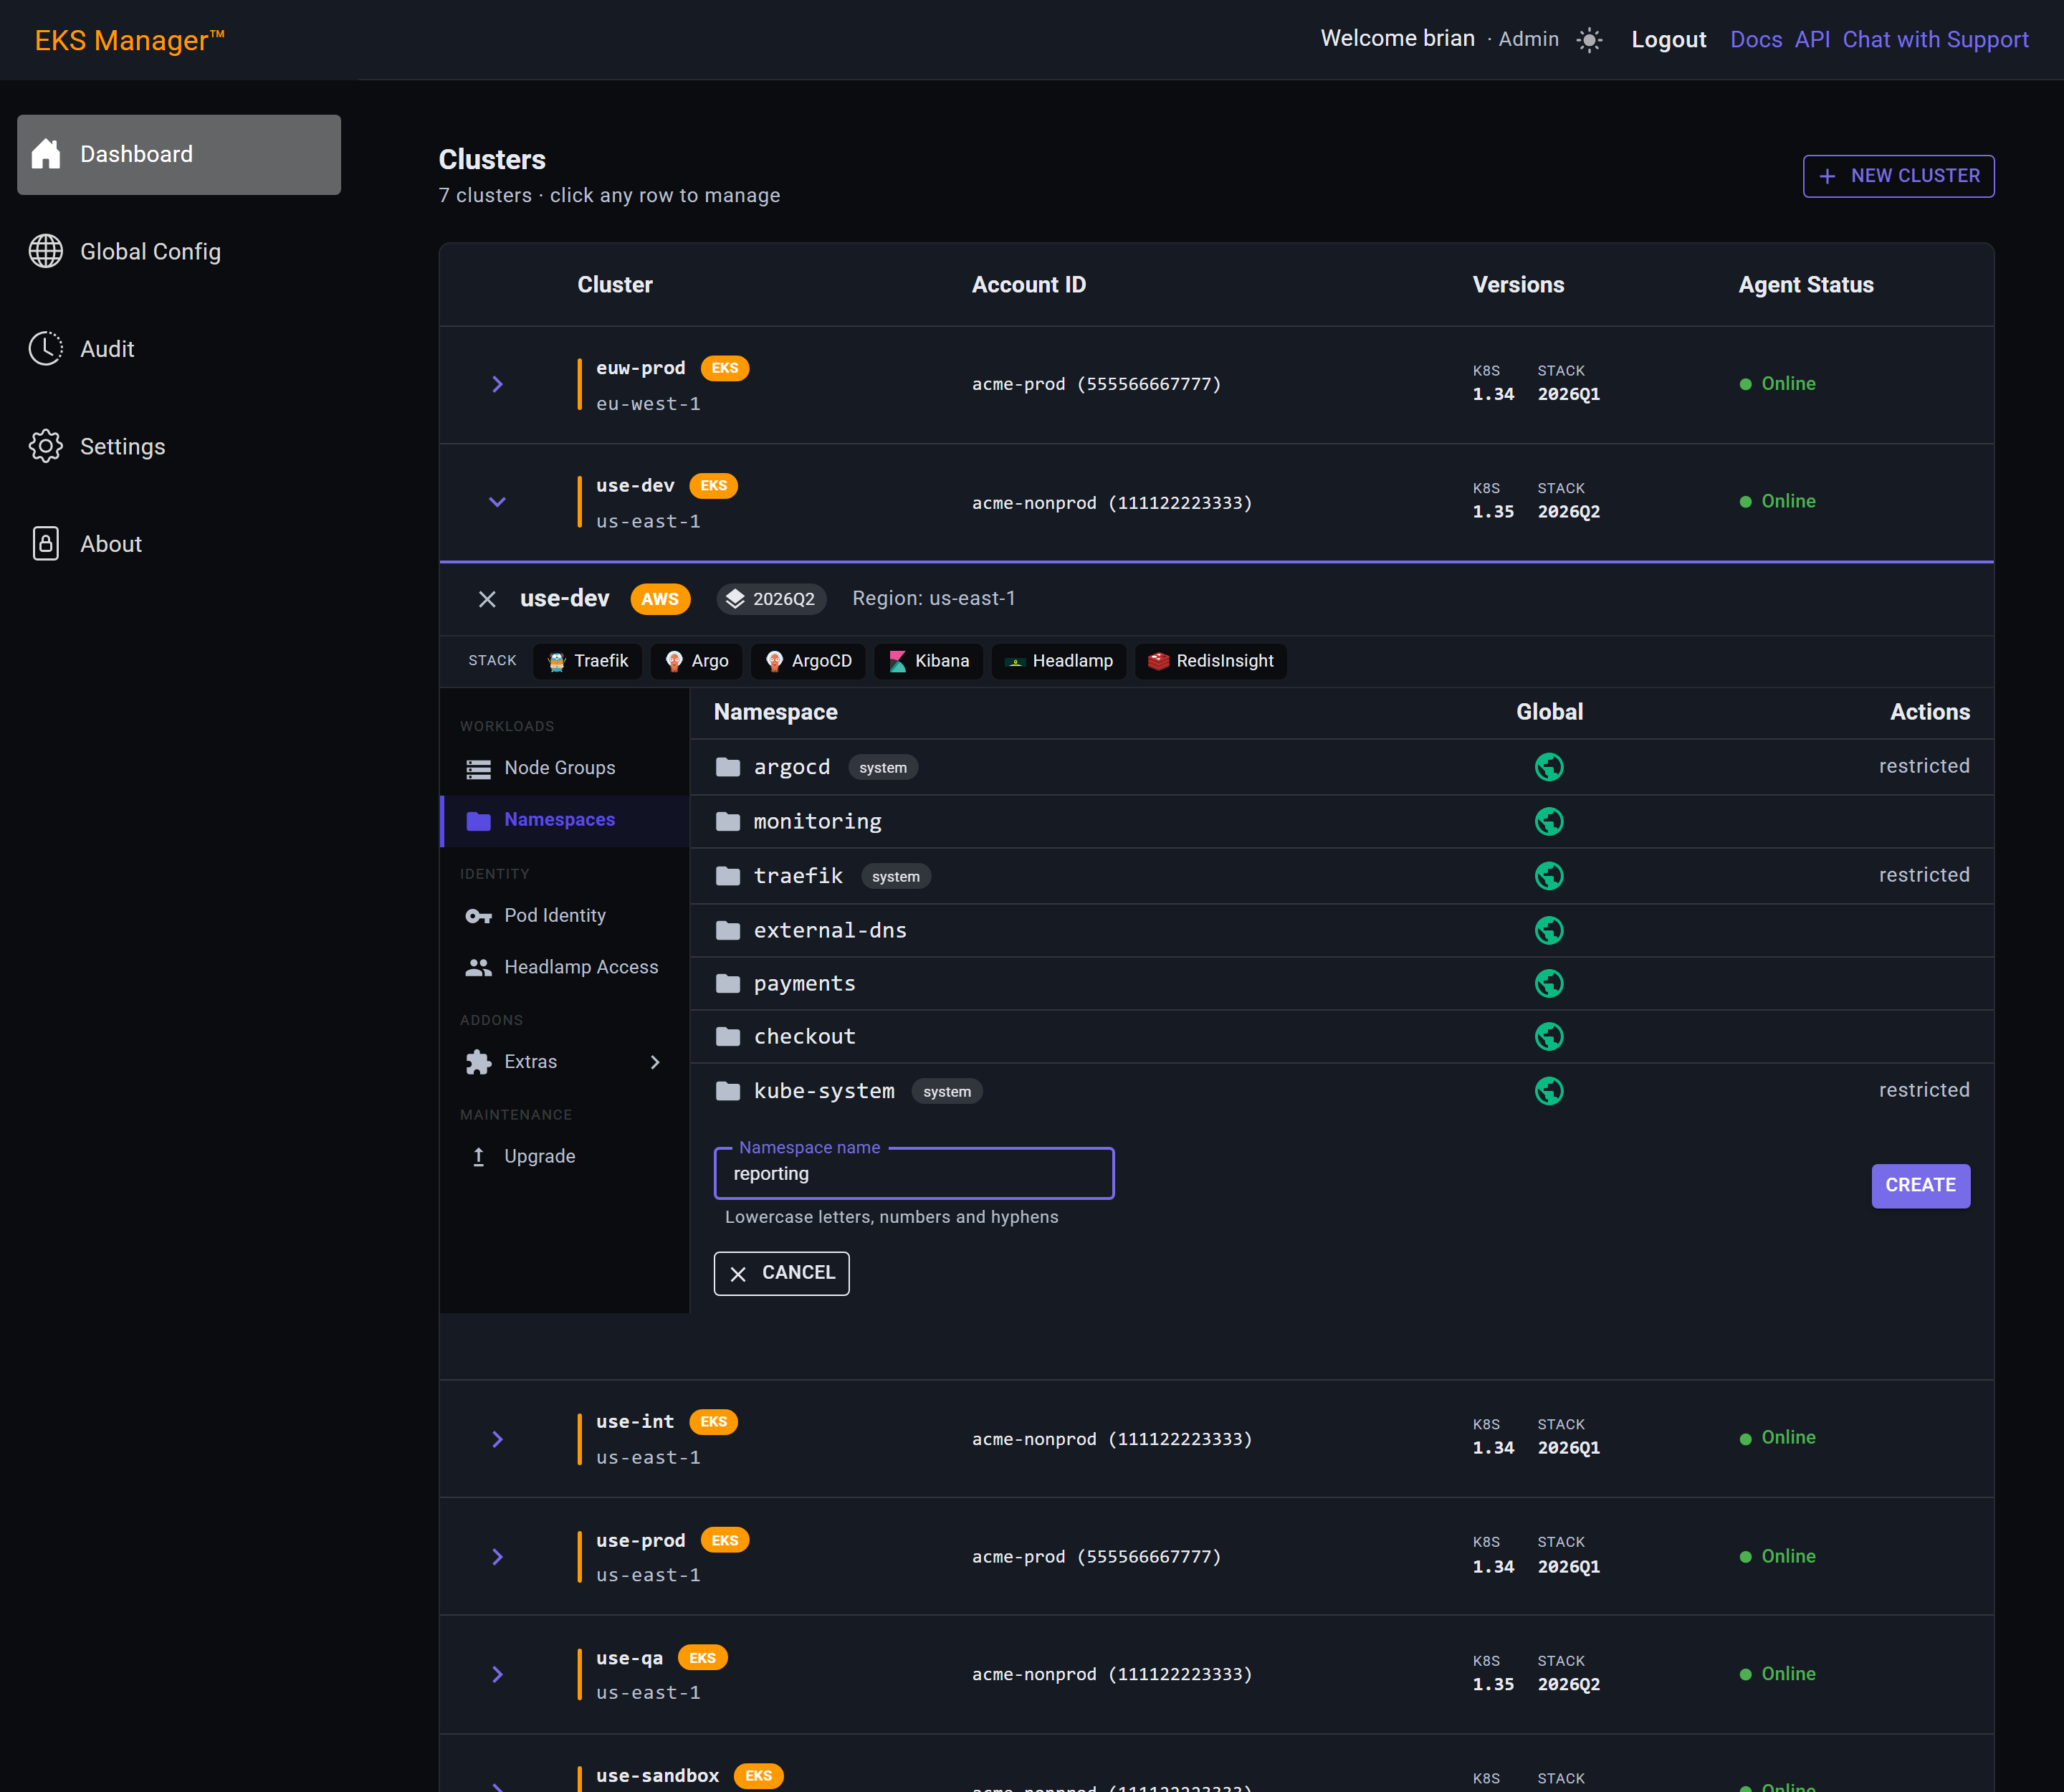
The namespace is created on the cluster and appears in the list. It carries no system or global marking, so it can be deleted again from here.
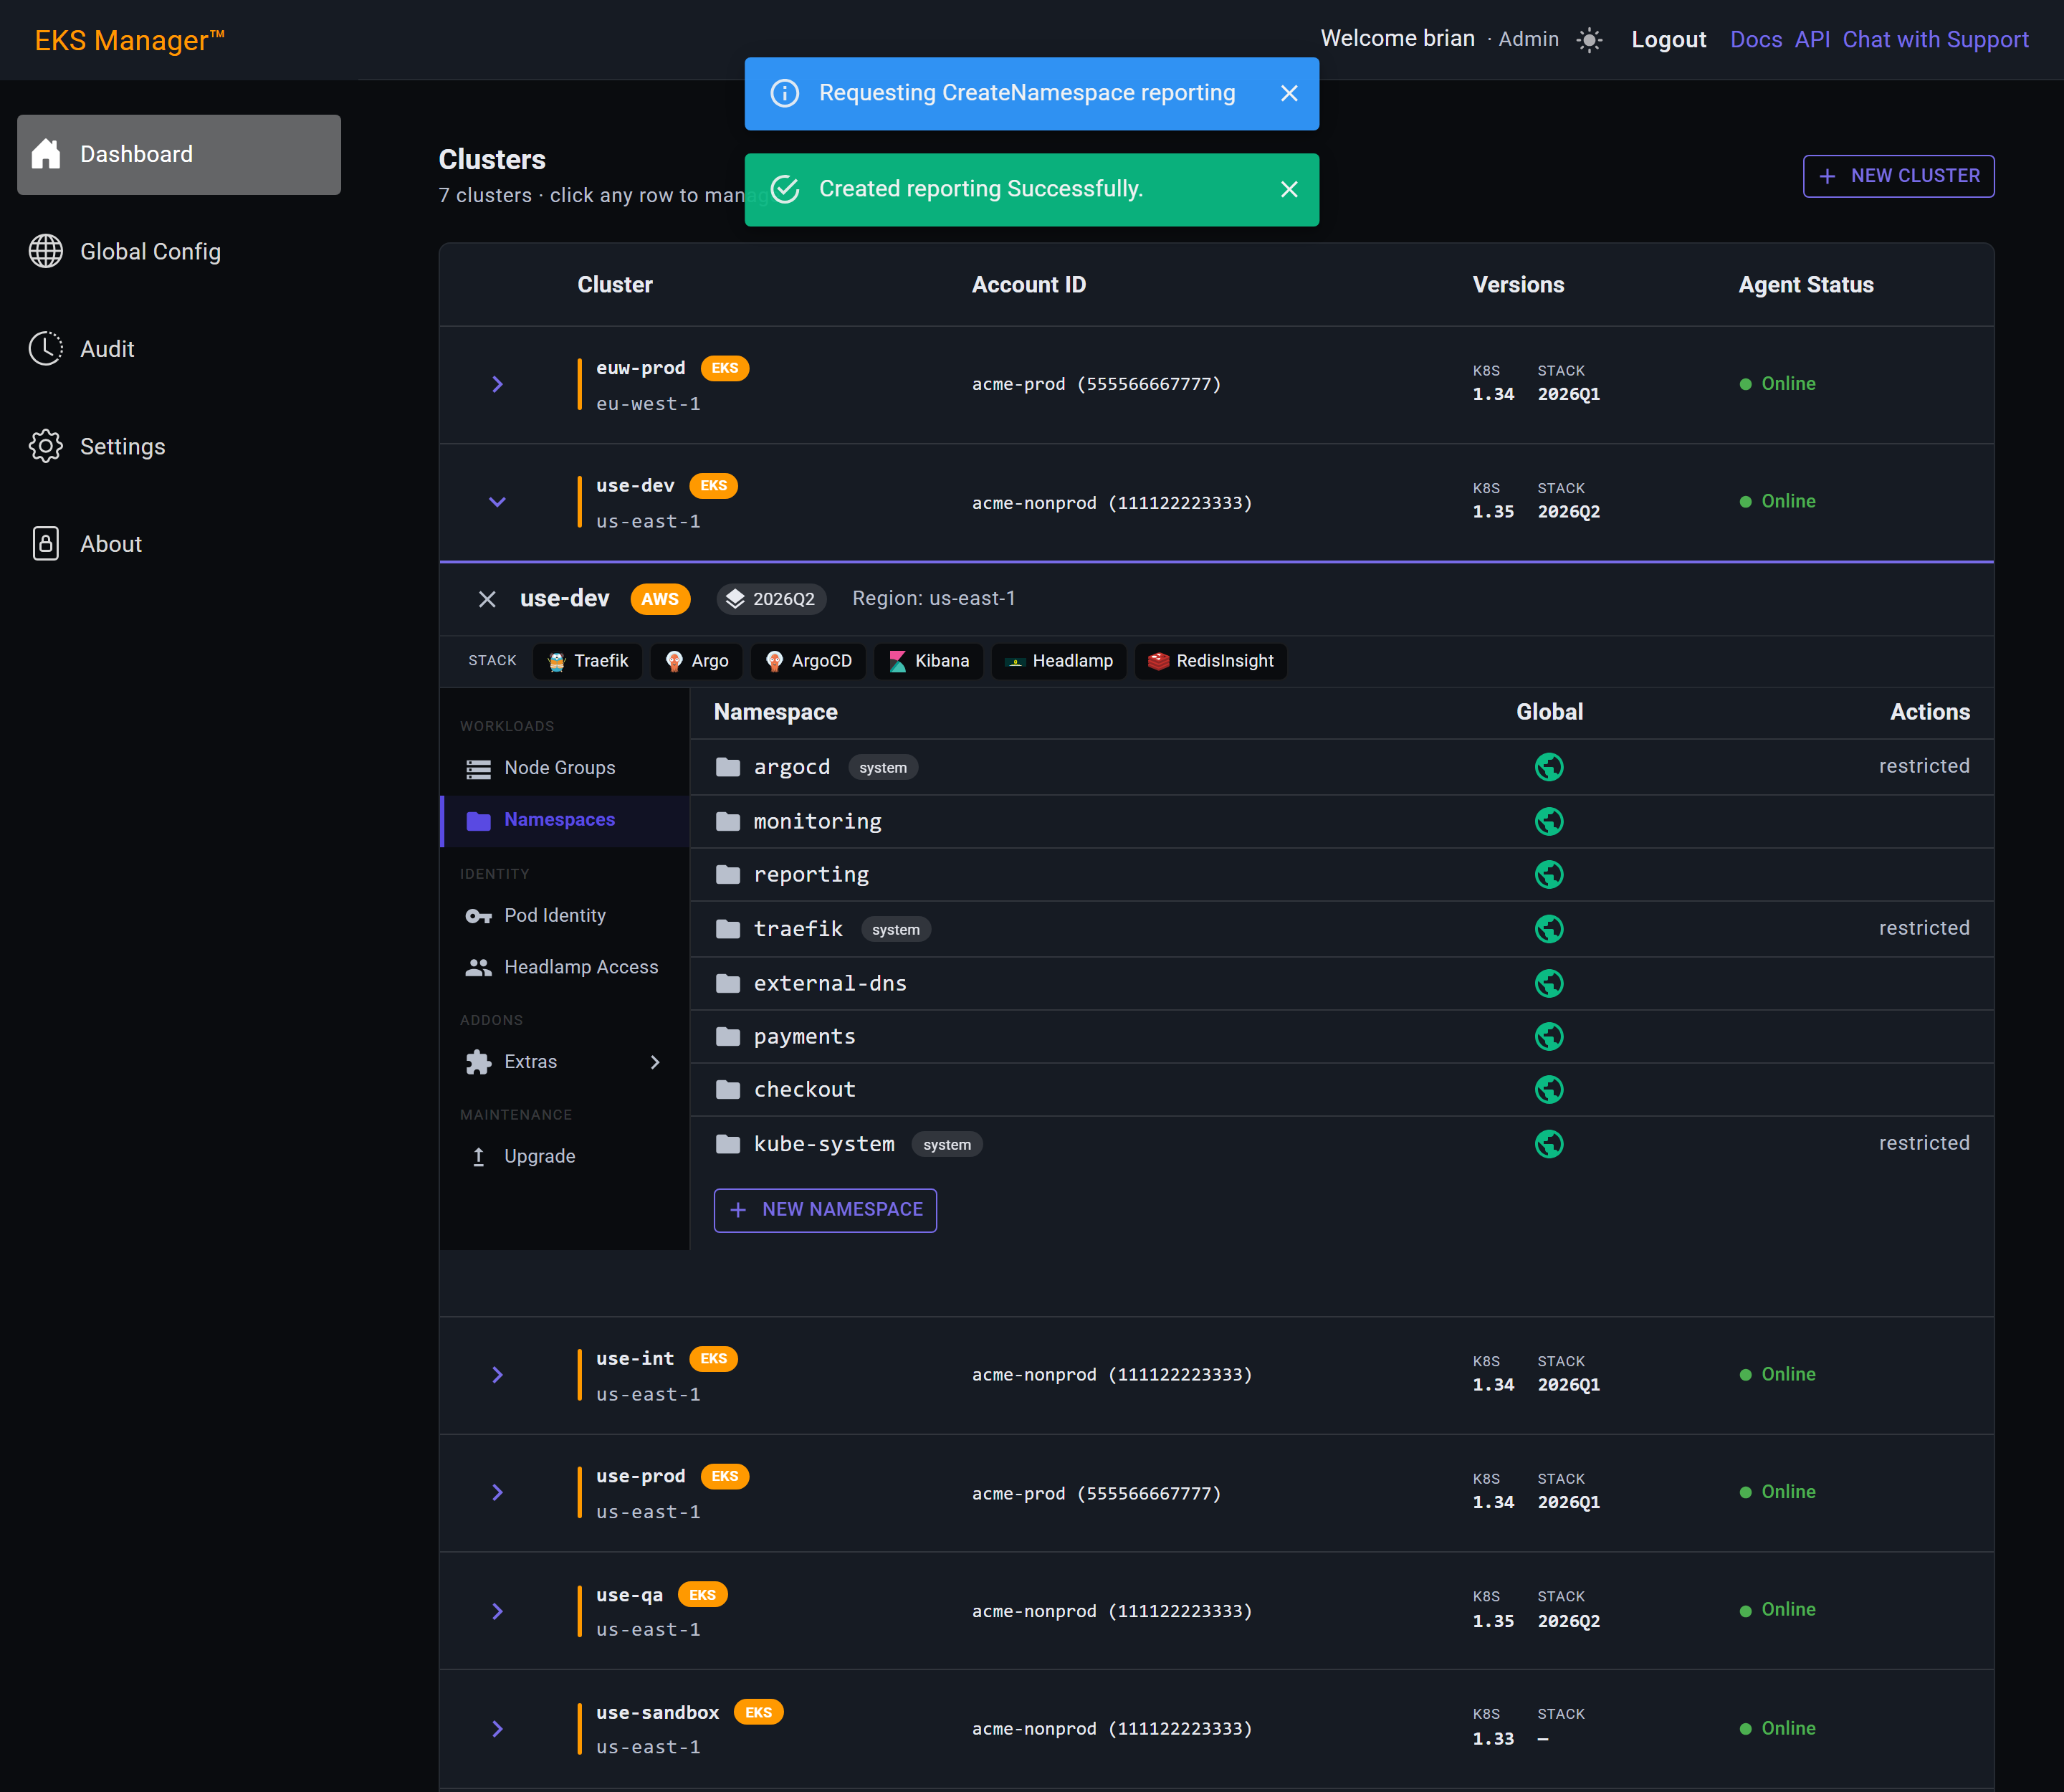
Pod Identity
Workload identity, one row per service account. Each row binds a Kubernetes service account to a cloud identity, which is what lets a pod call a AWS API without a credential stored anywhere in the cluster.
On AWS the binding is an EKS Pod Identity association between the service account and an IAM role. The pod gets temporary credentials from the EKS agent; nothing is mounted and nothing expires in a way you have to manage.
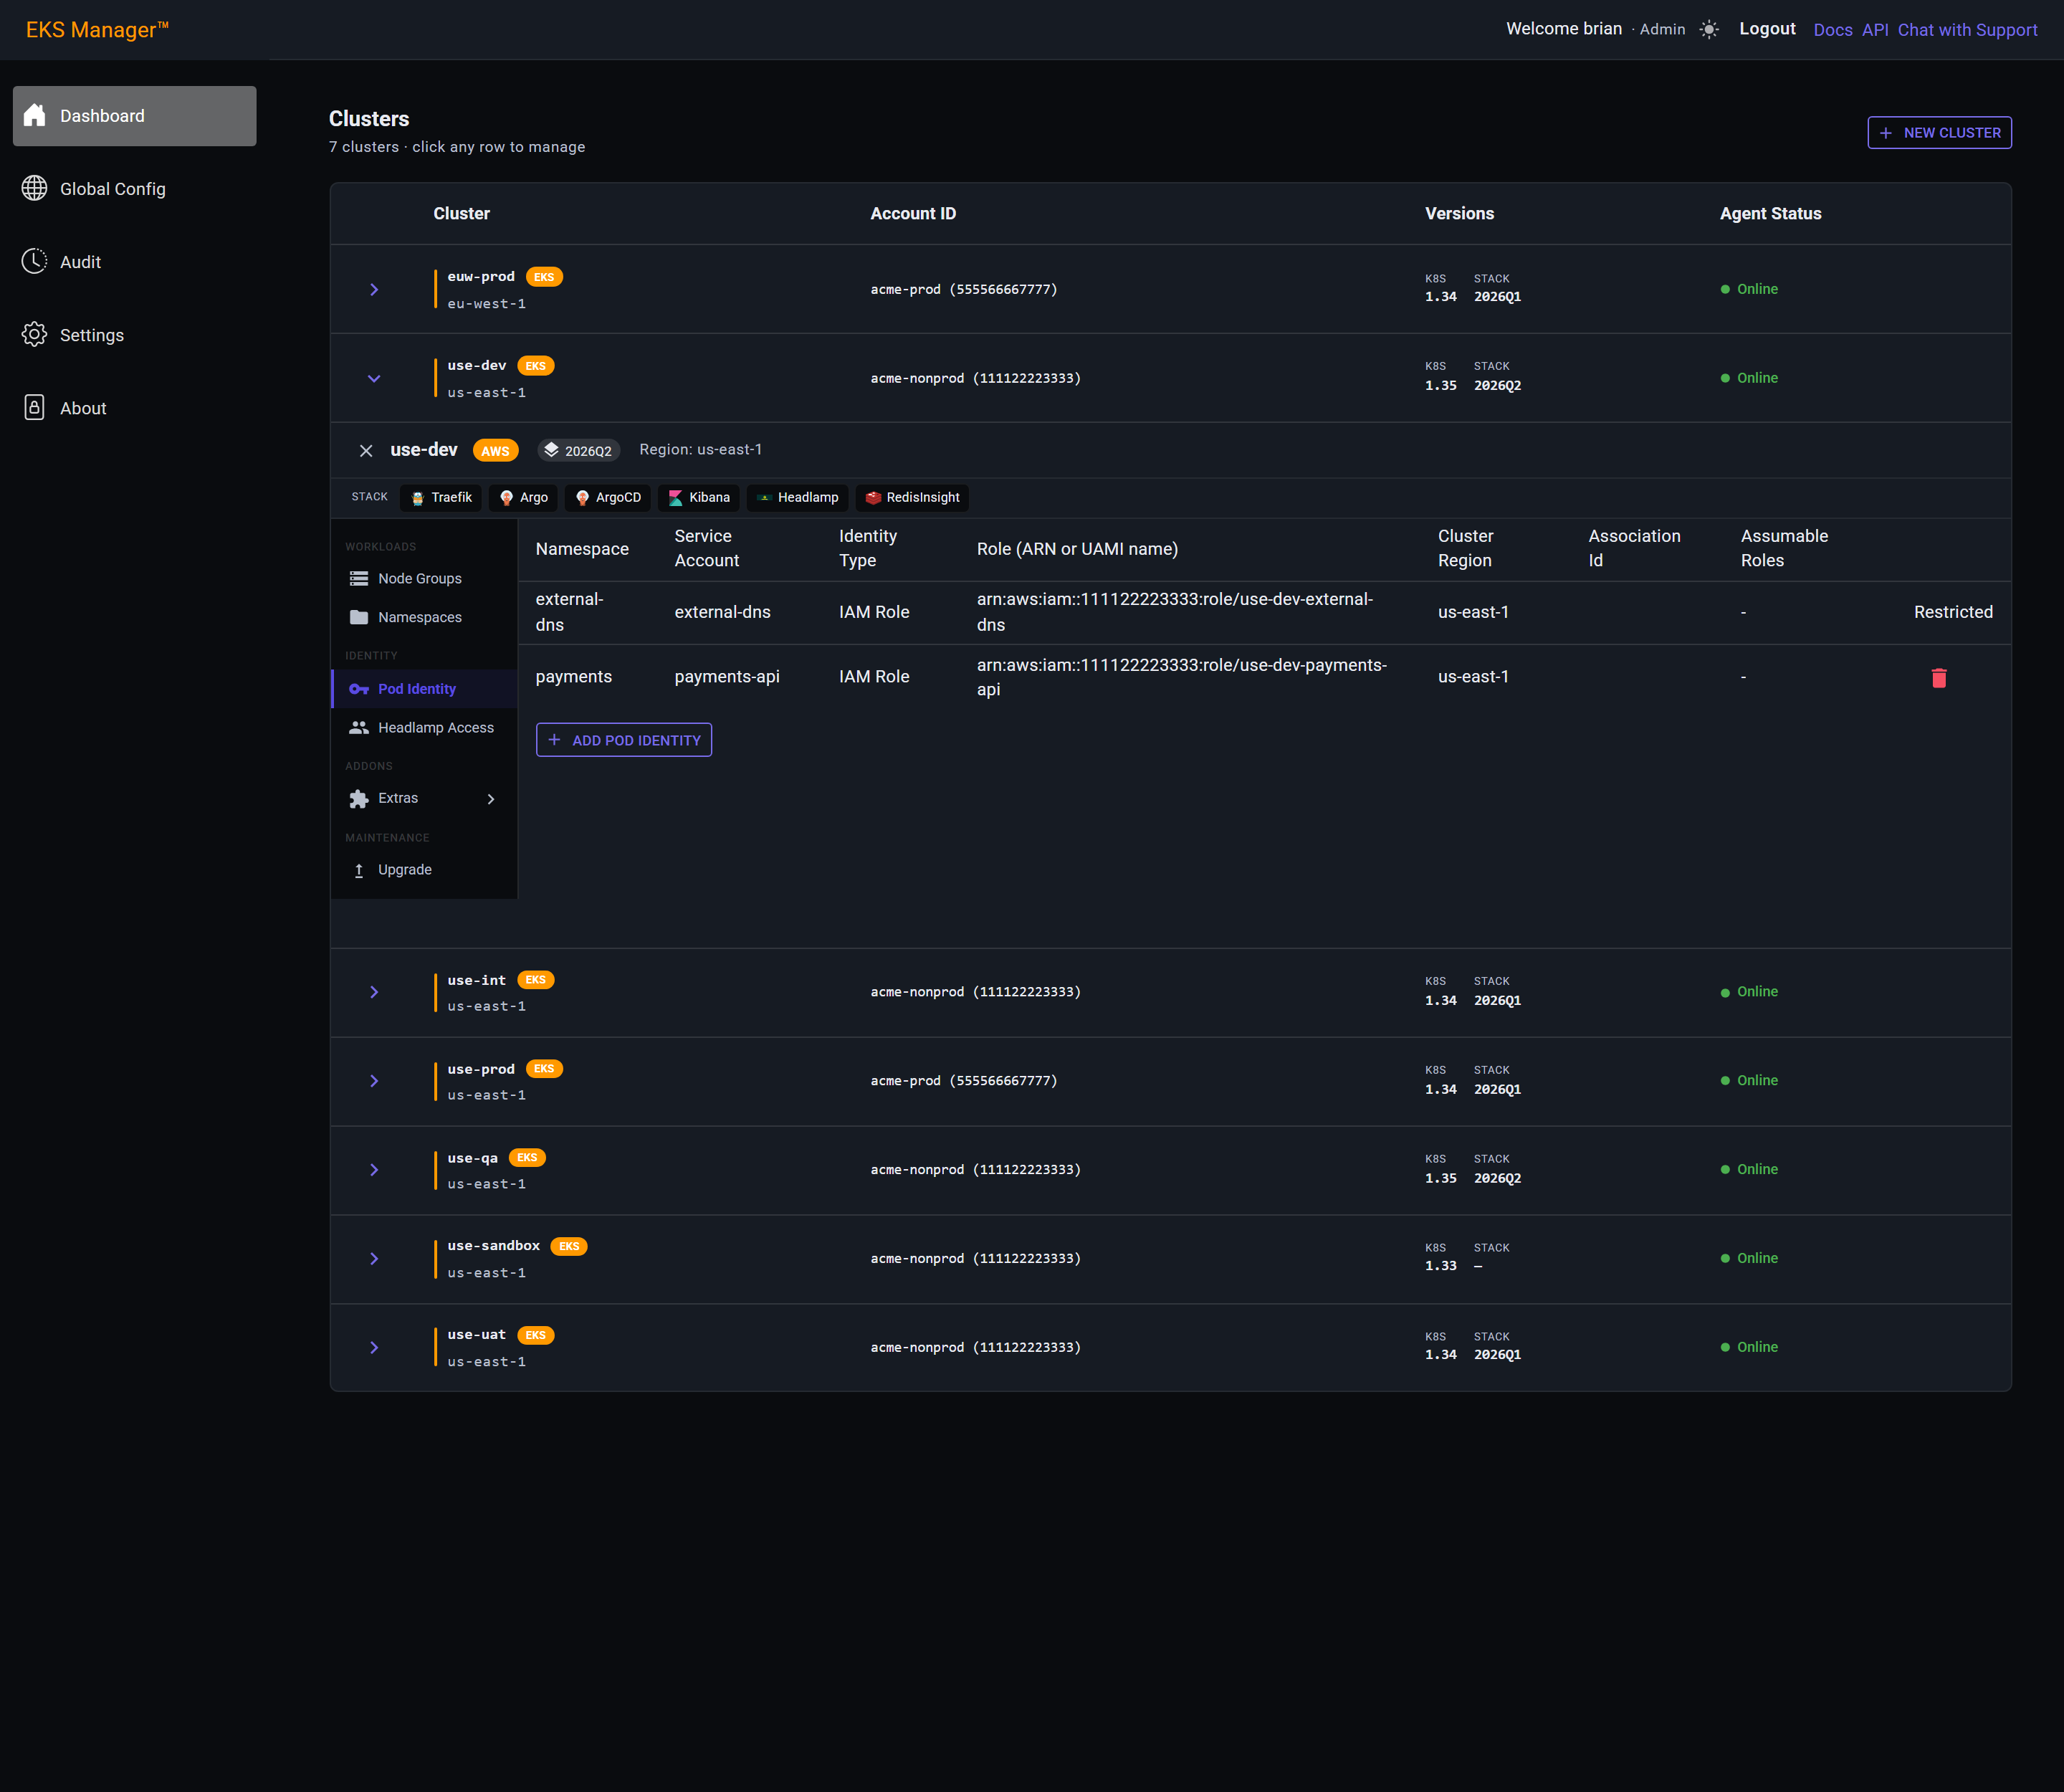
The core components get their identities when the cluster is built, and those rows are marked Restricted instead of carrying a delete button.
The reason is that deleting one fails quietly. The pod keeps running with no credentials and only breaks on its next call to the cloud API — a DNS record that stops updating, or a load balancer that never appears, with a healthy-looking pod behind it.
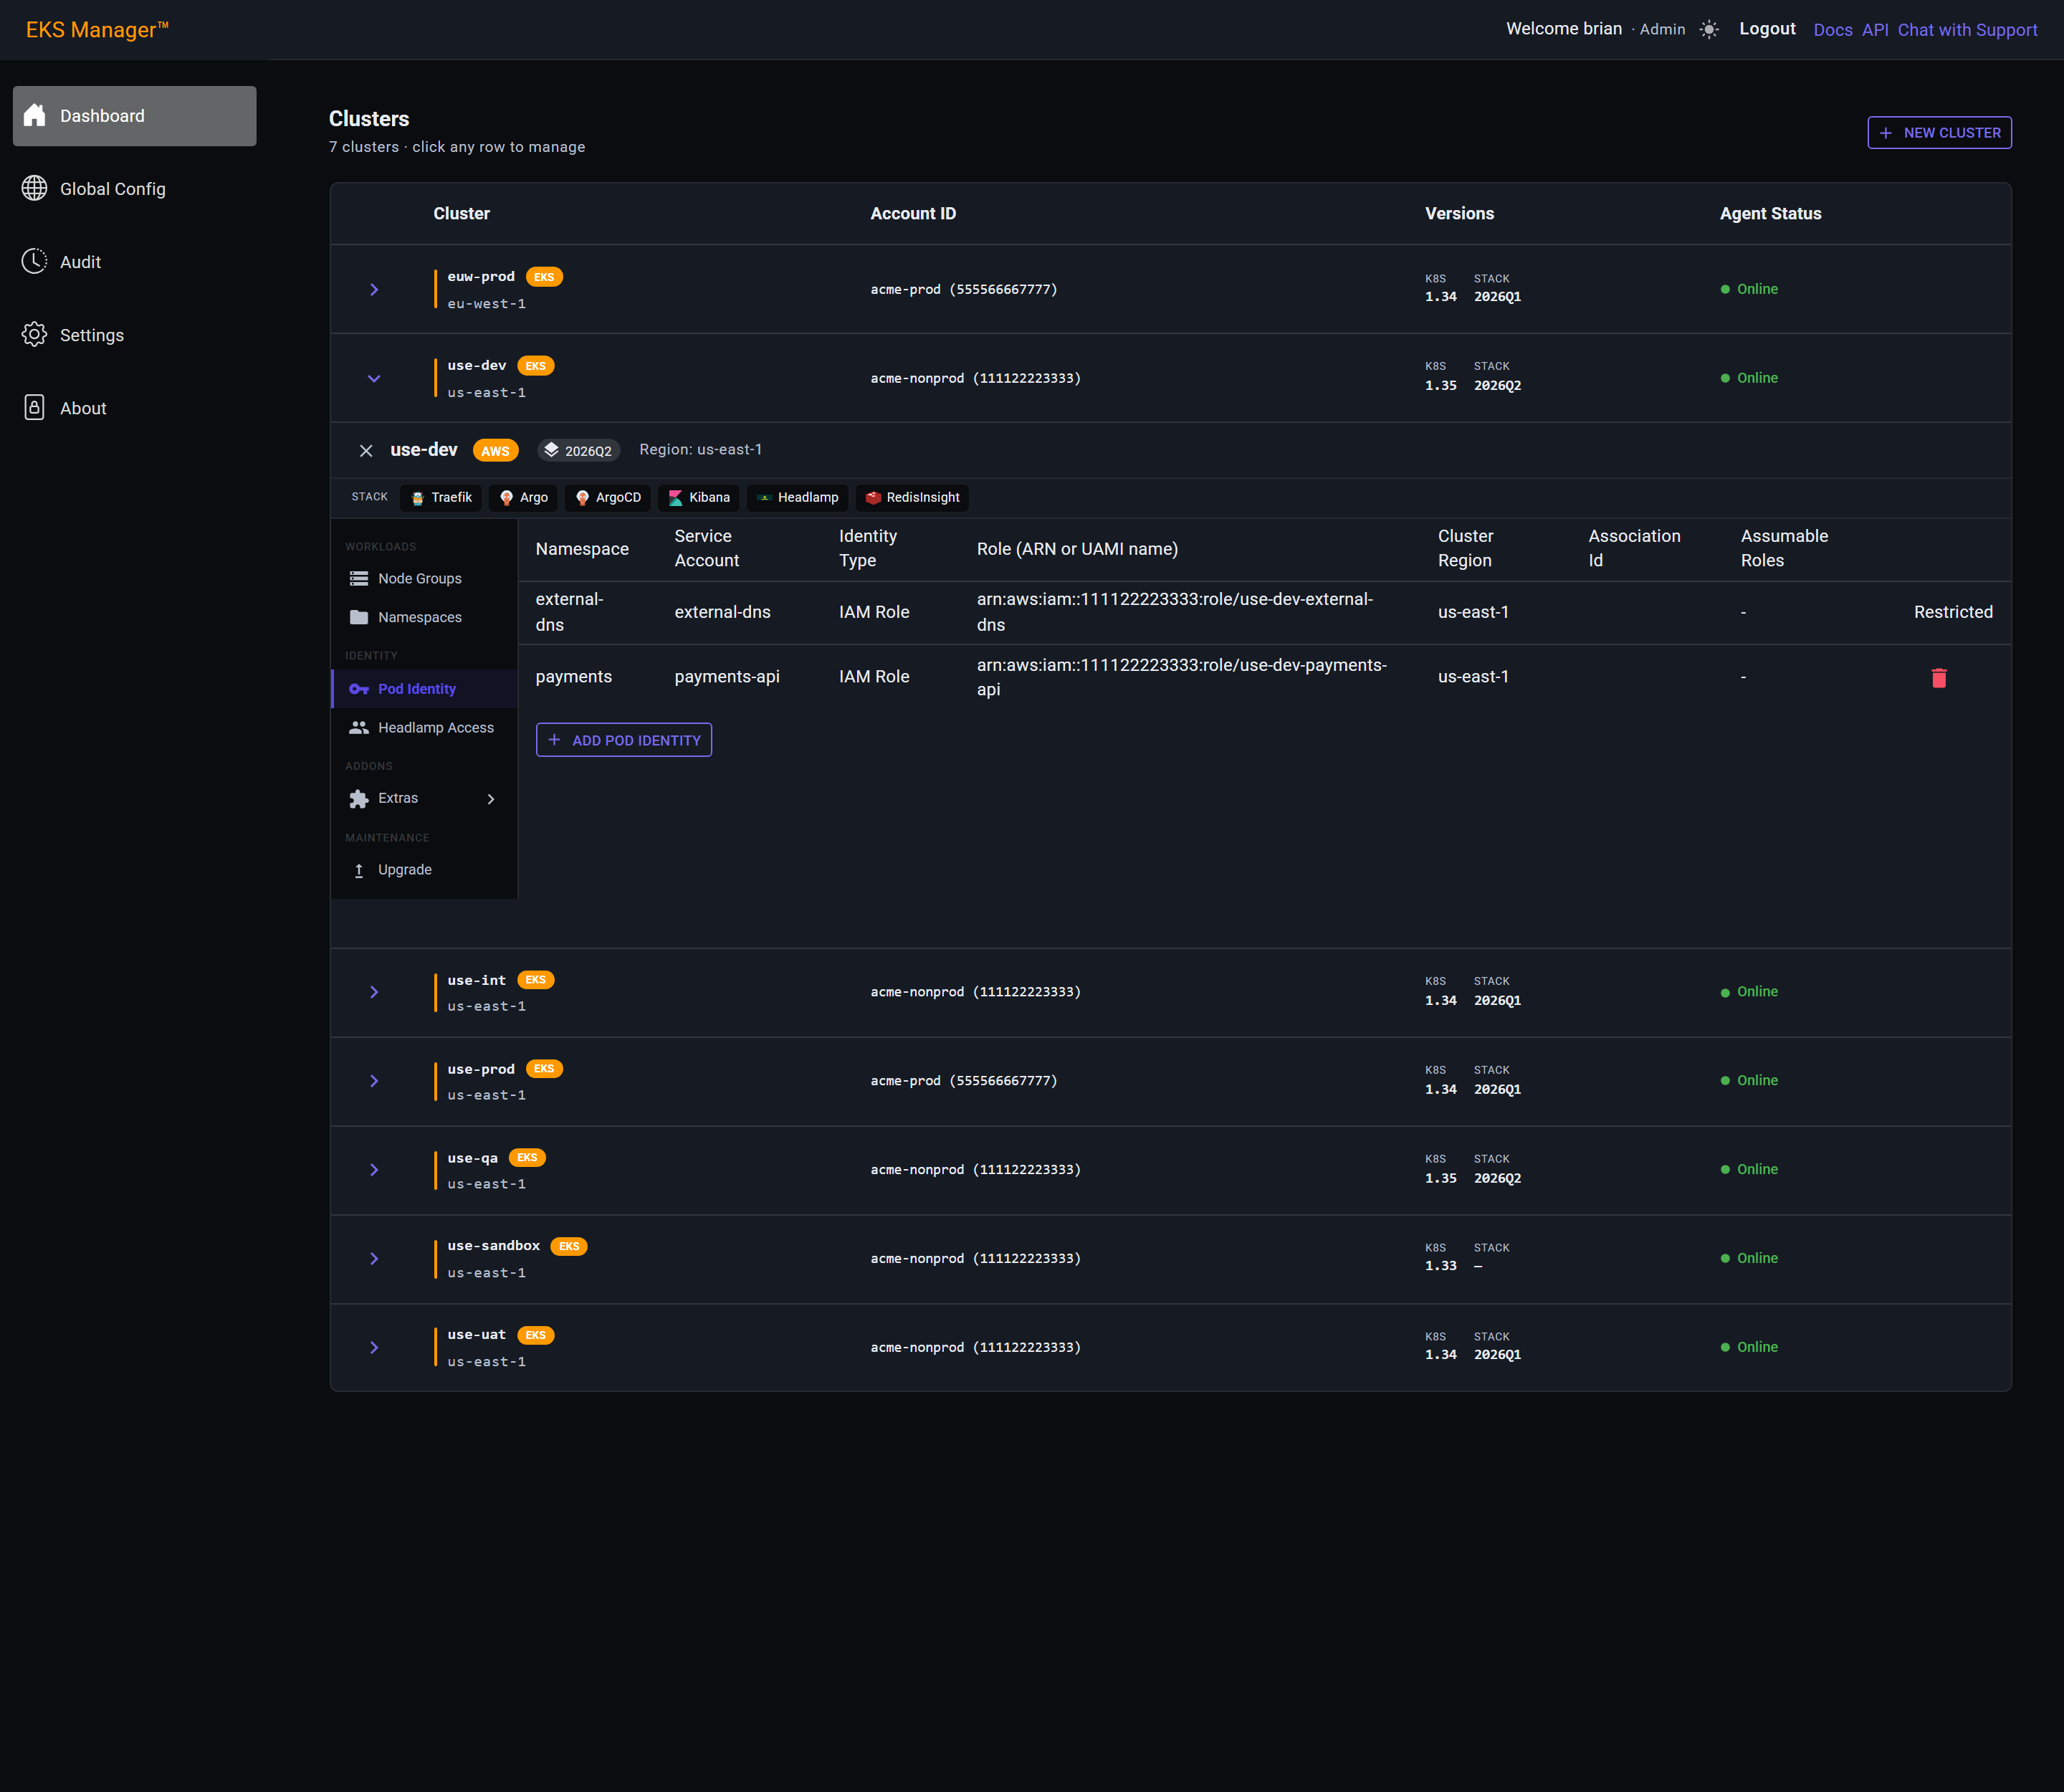
Add Pod Identity opens the form below the table. Nothing is created until you press Add, so opening it to look is safe.
The role does not get made here. Create the IAM role and attach its policies in AWS first — in the console, or in whatever Terraform owns your accounts — and give it a trust policy that lets EKS Pod Identity assume it. This page binds a role that already exists to a service account; it grants nothing on its own.
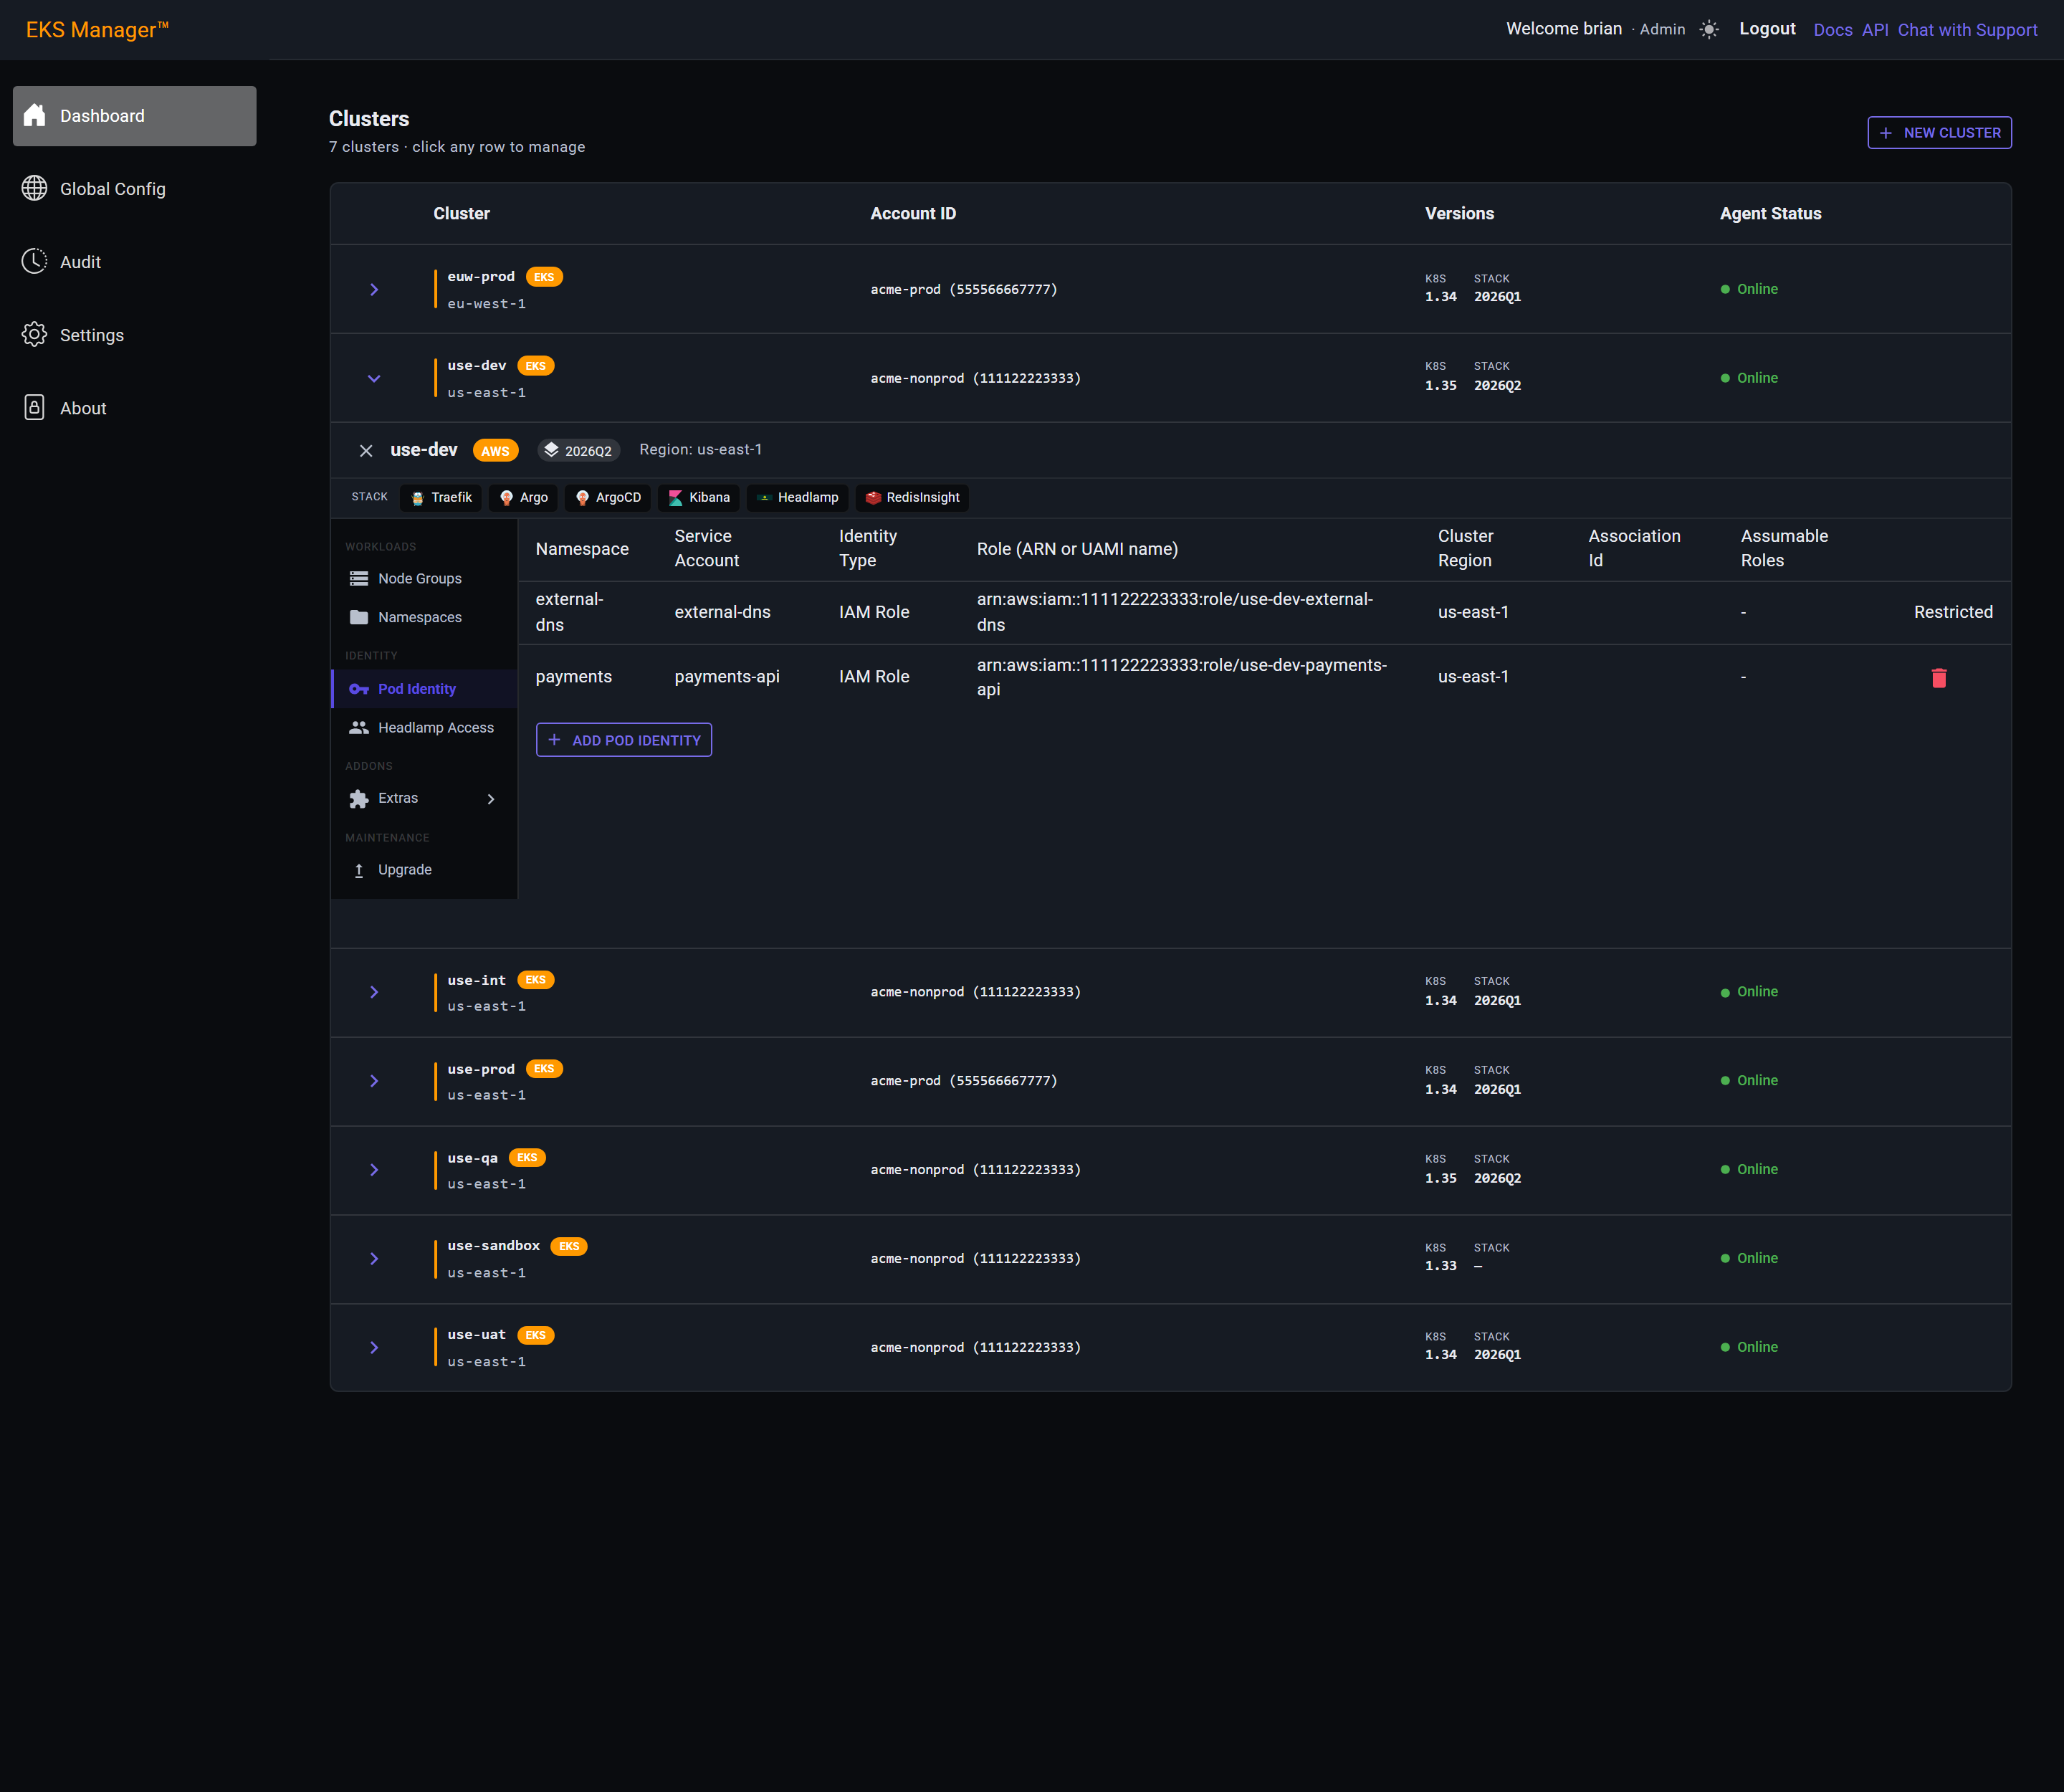
Pick the namespace first — the service account list follows from it.
Existing Service Account binds one that is already in the namespace. New Service Account takes a name and creates it, which is the usual case when the workload is being set up for the first time.
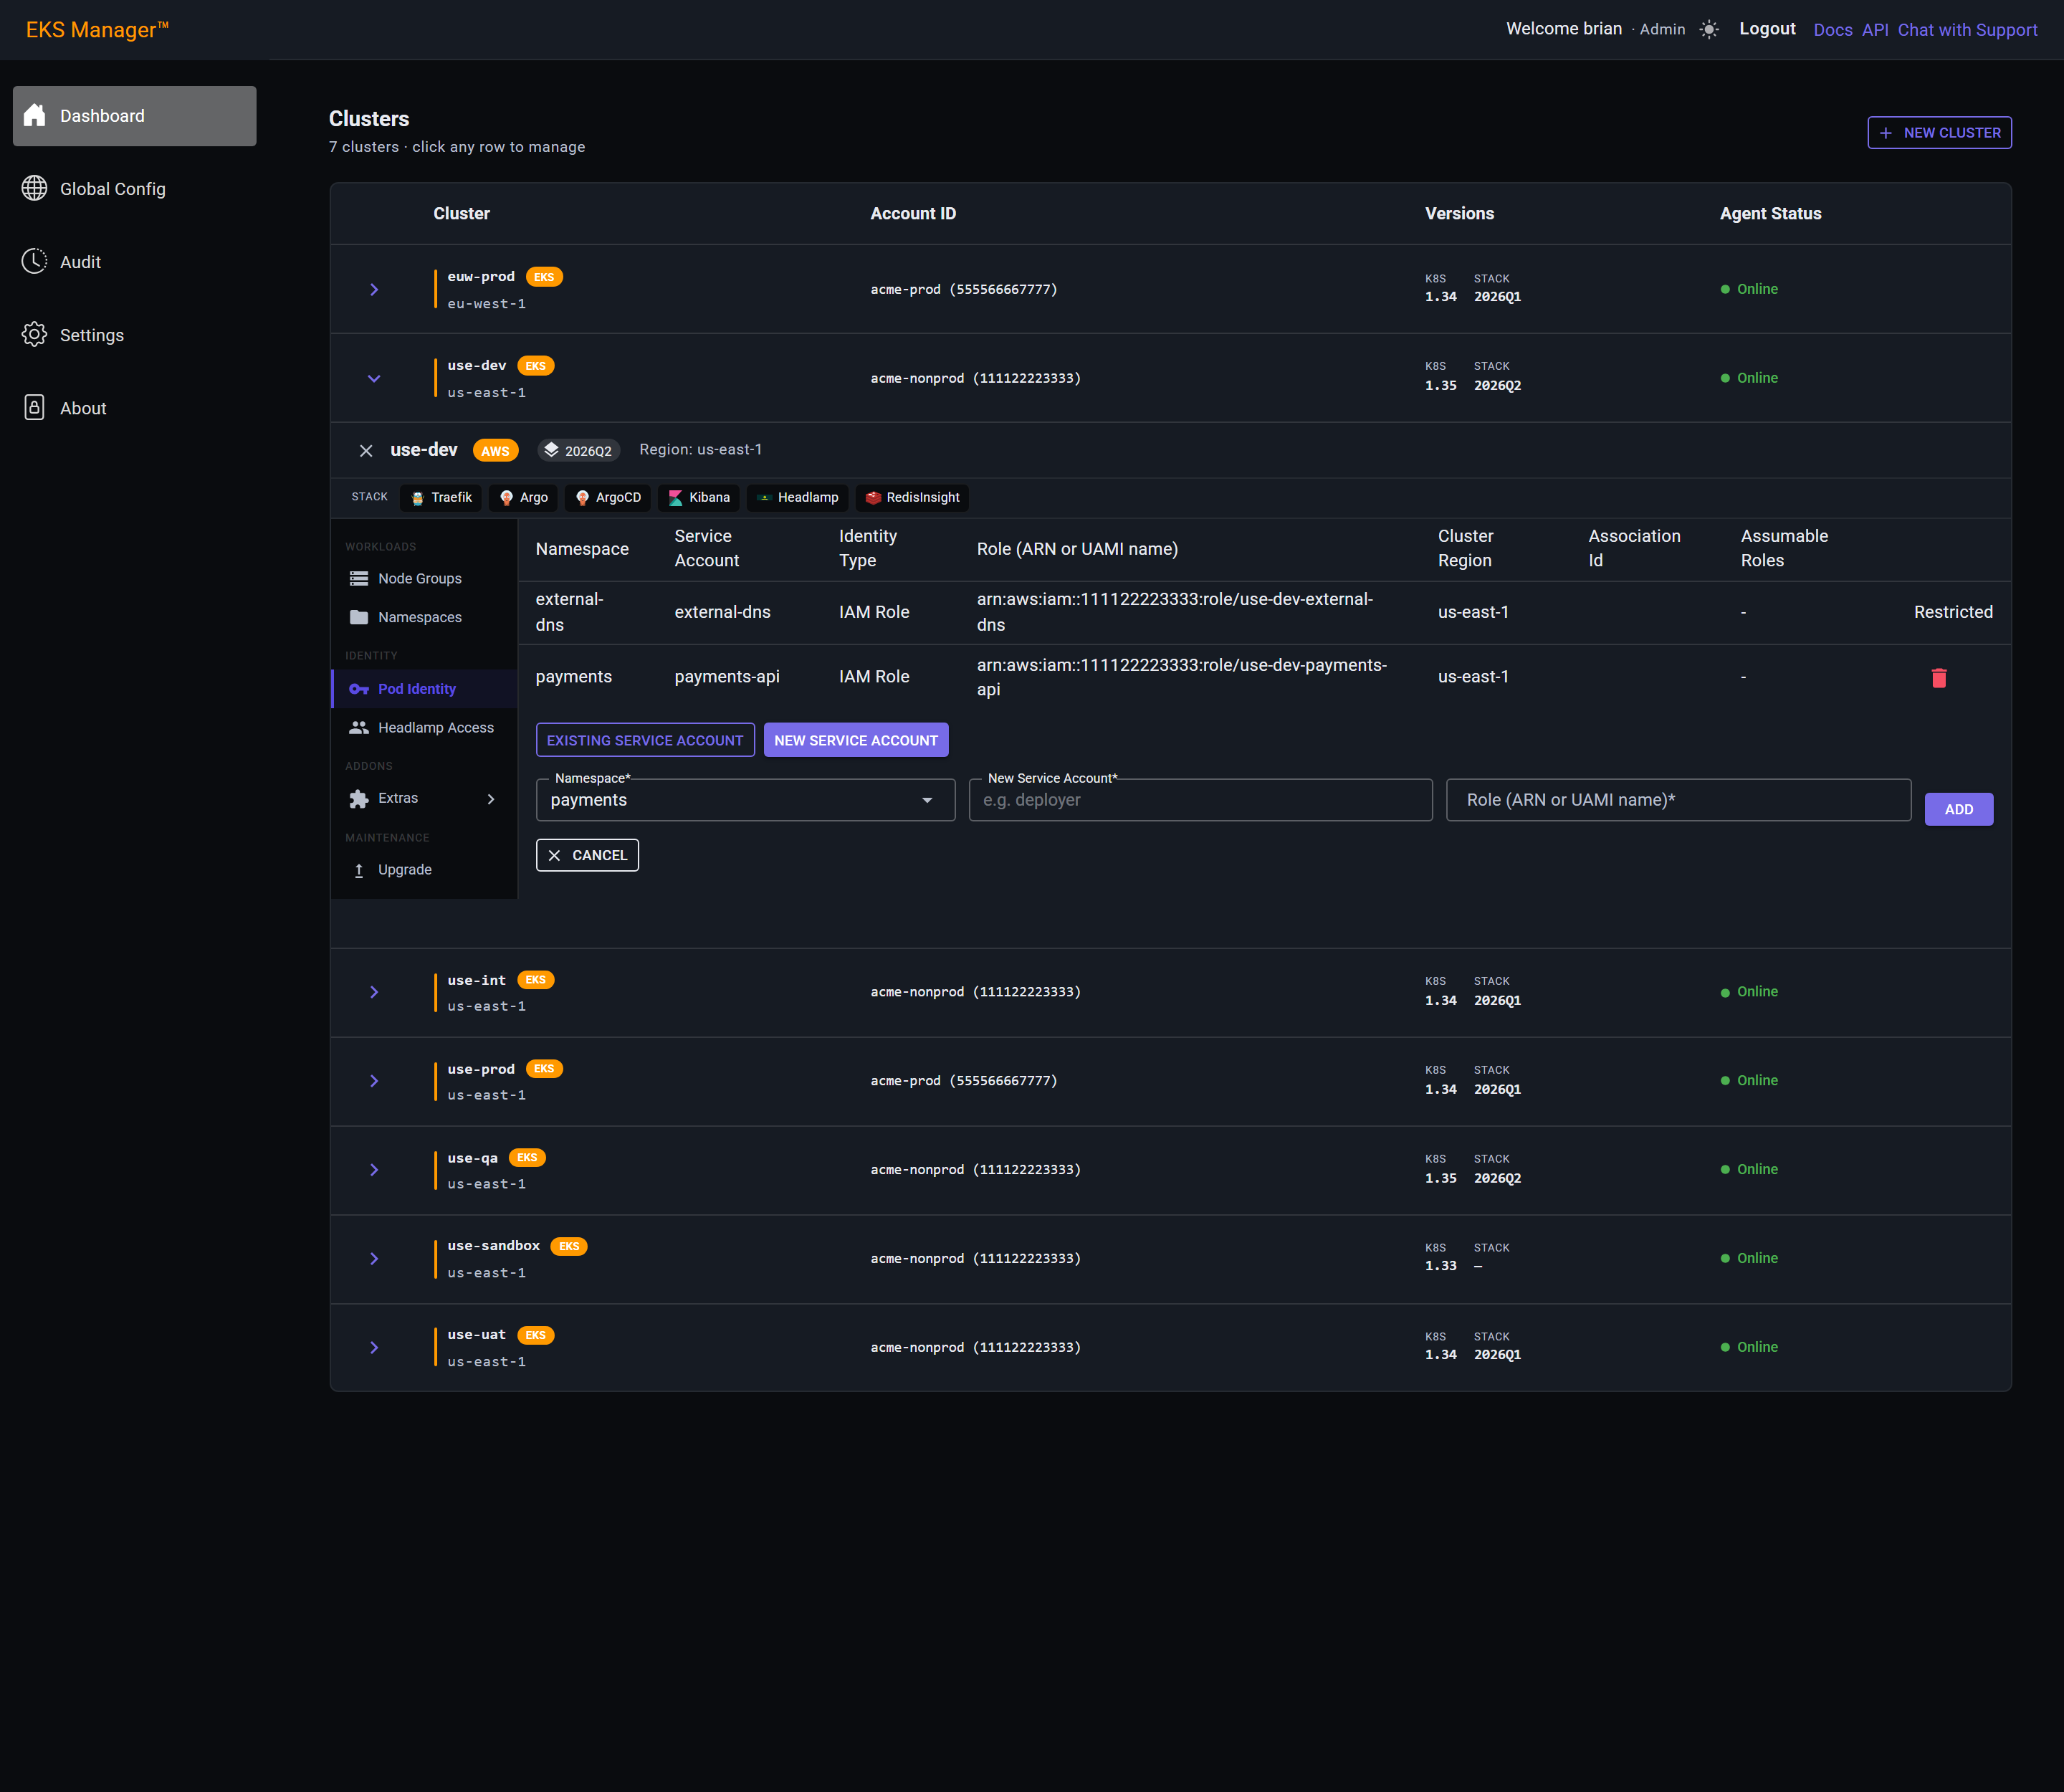
The role field takes the full ARN. Get it wrong and the association is still created — AWS does not check the role exists here — and the pod fails later with an error that points at the pod, not at this page.
Check it against the console before pressing Add. It is much cheaper to read twice than to debug from the pod's side.
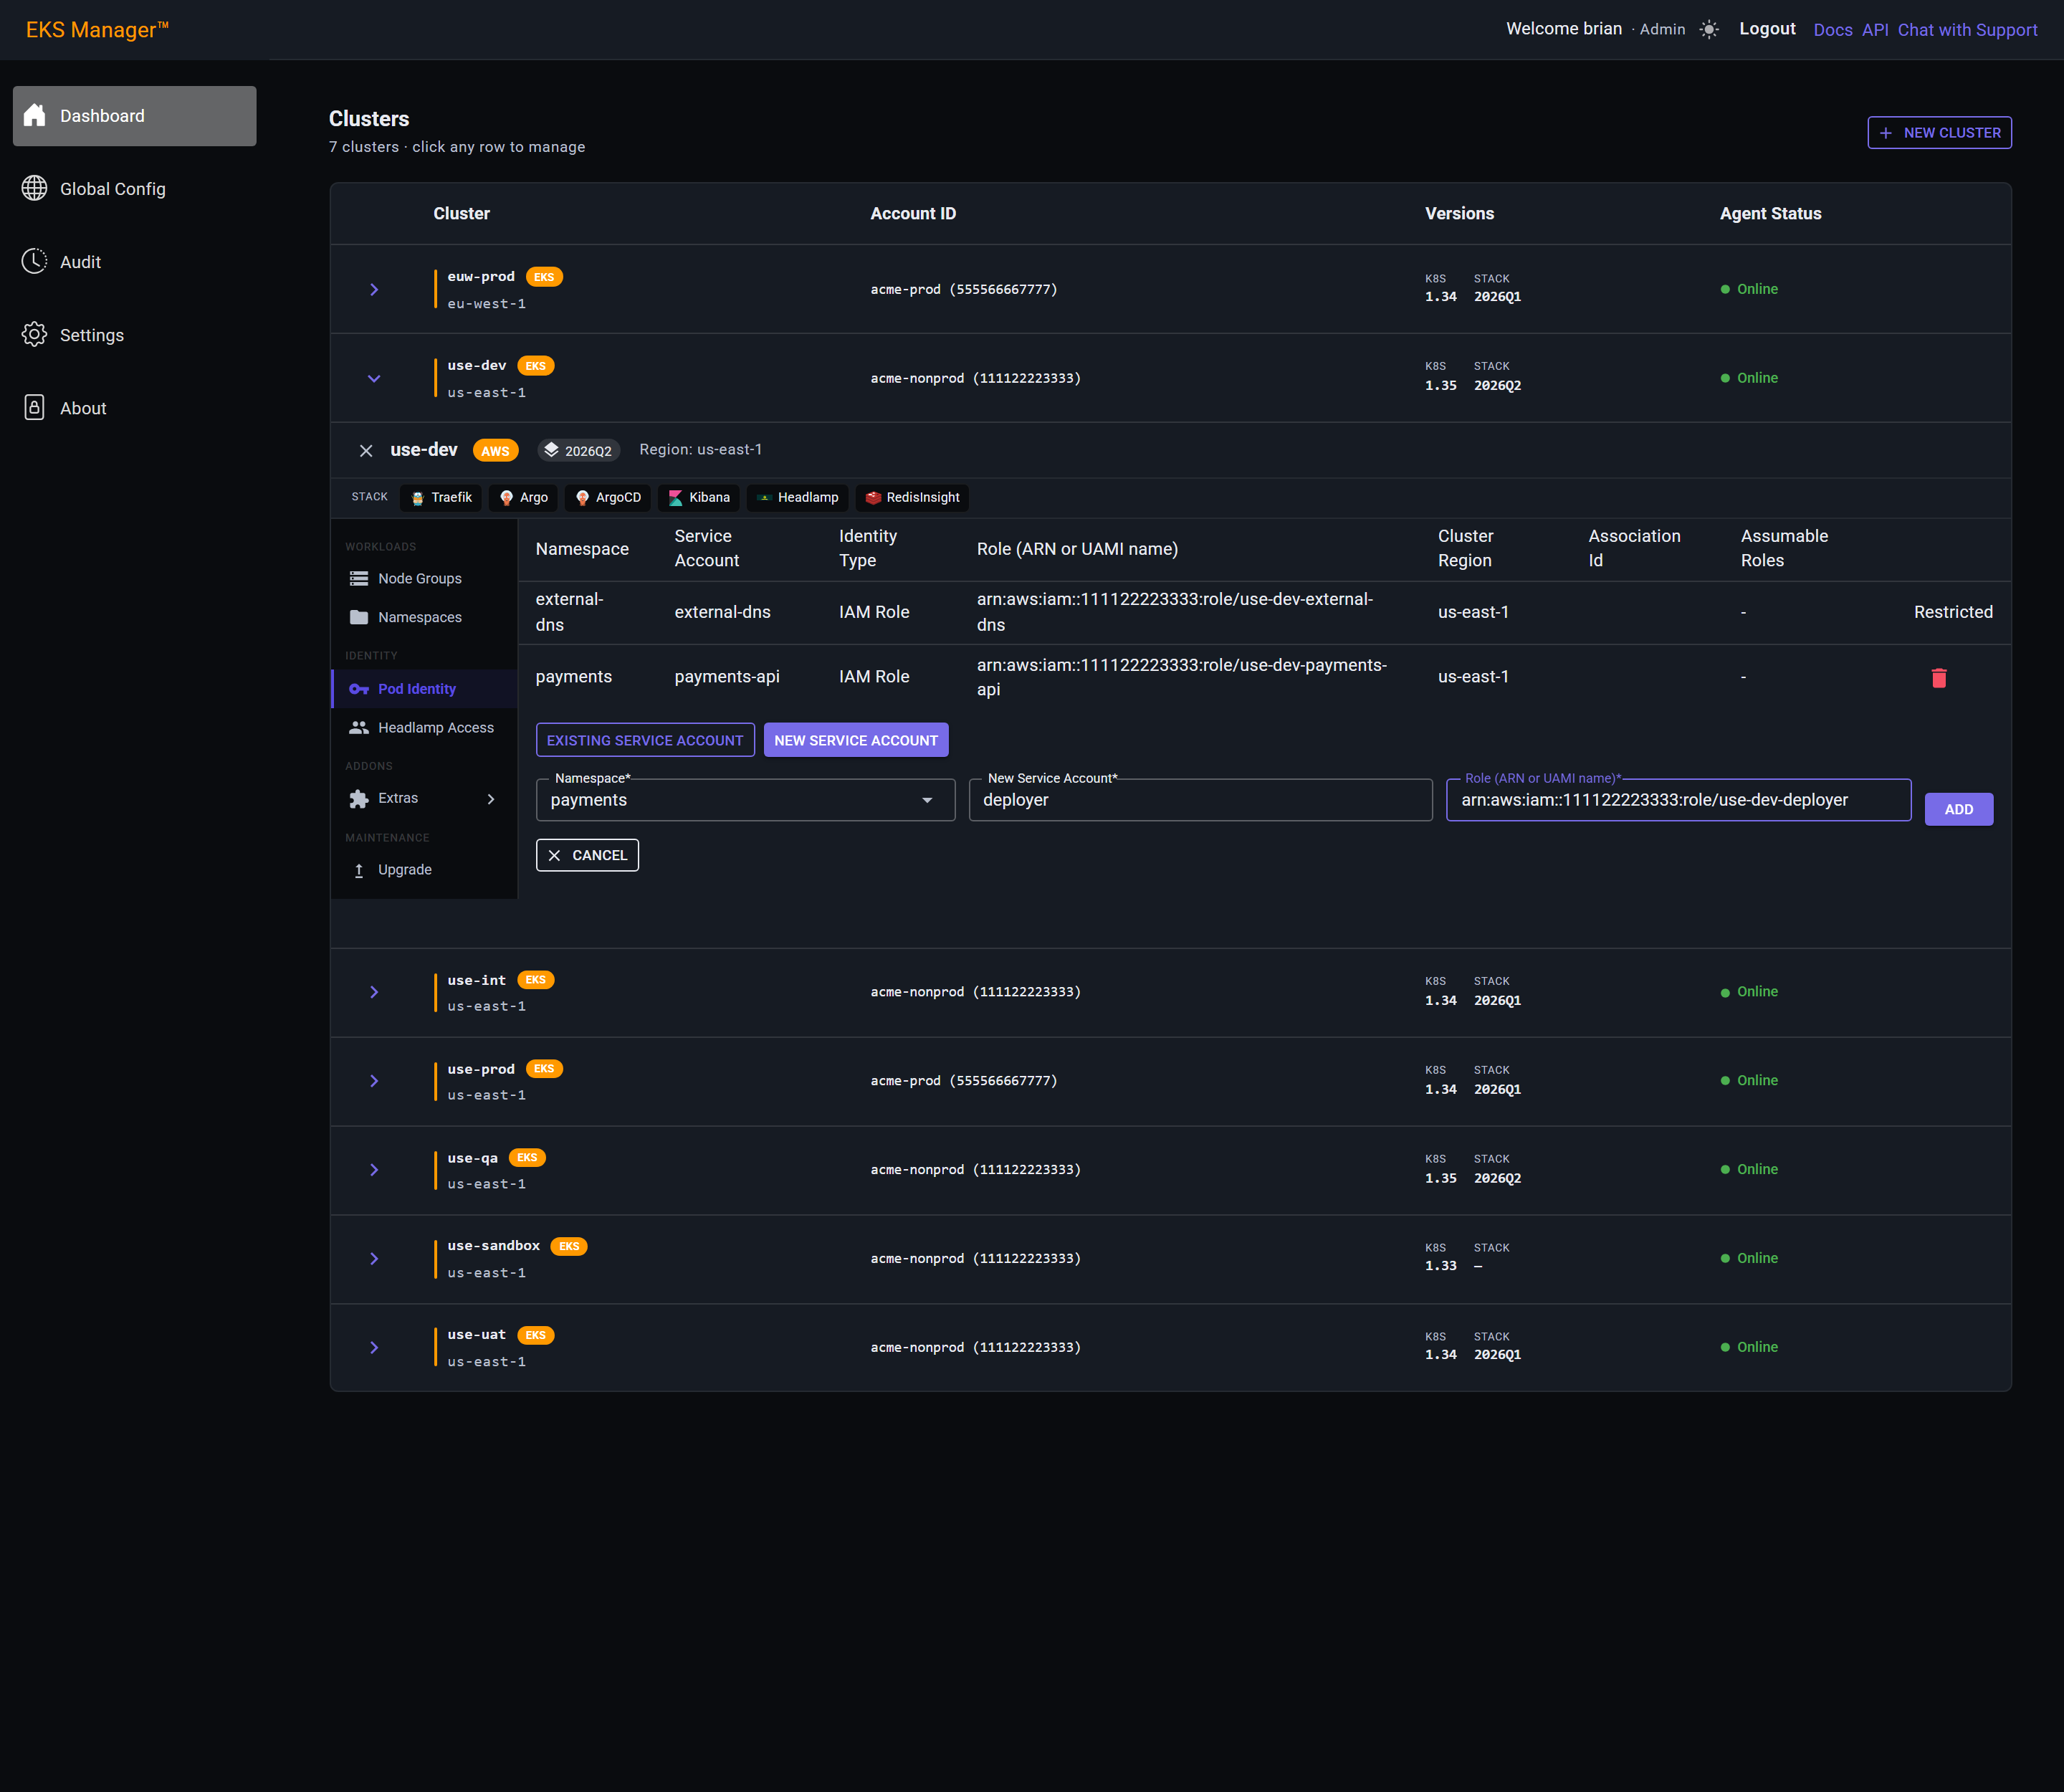
Nothing has been created yet. The form is filled in, and Add is what sends it to the agent.
This is the last point at which a wrong role ARN costs nothing. After this the association exists and removing it is another round trip.
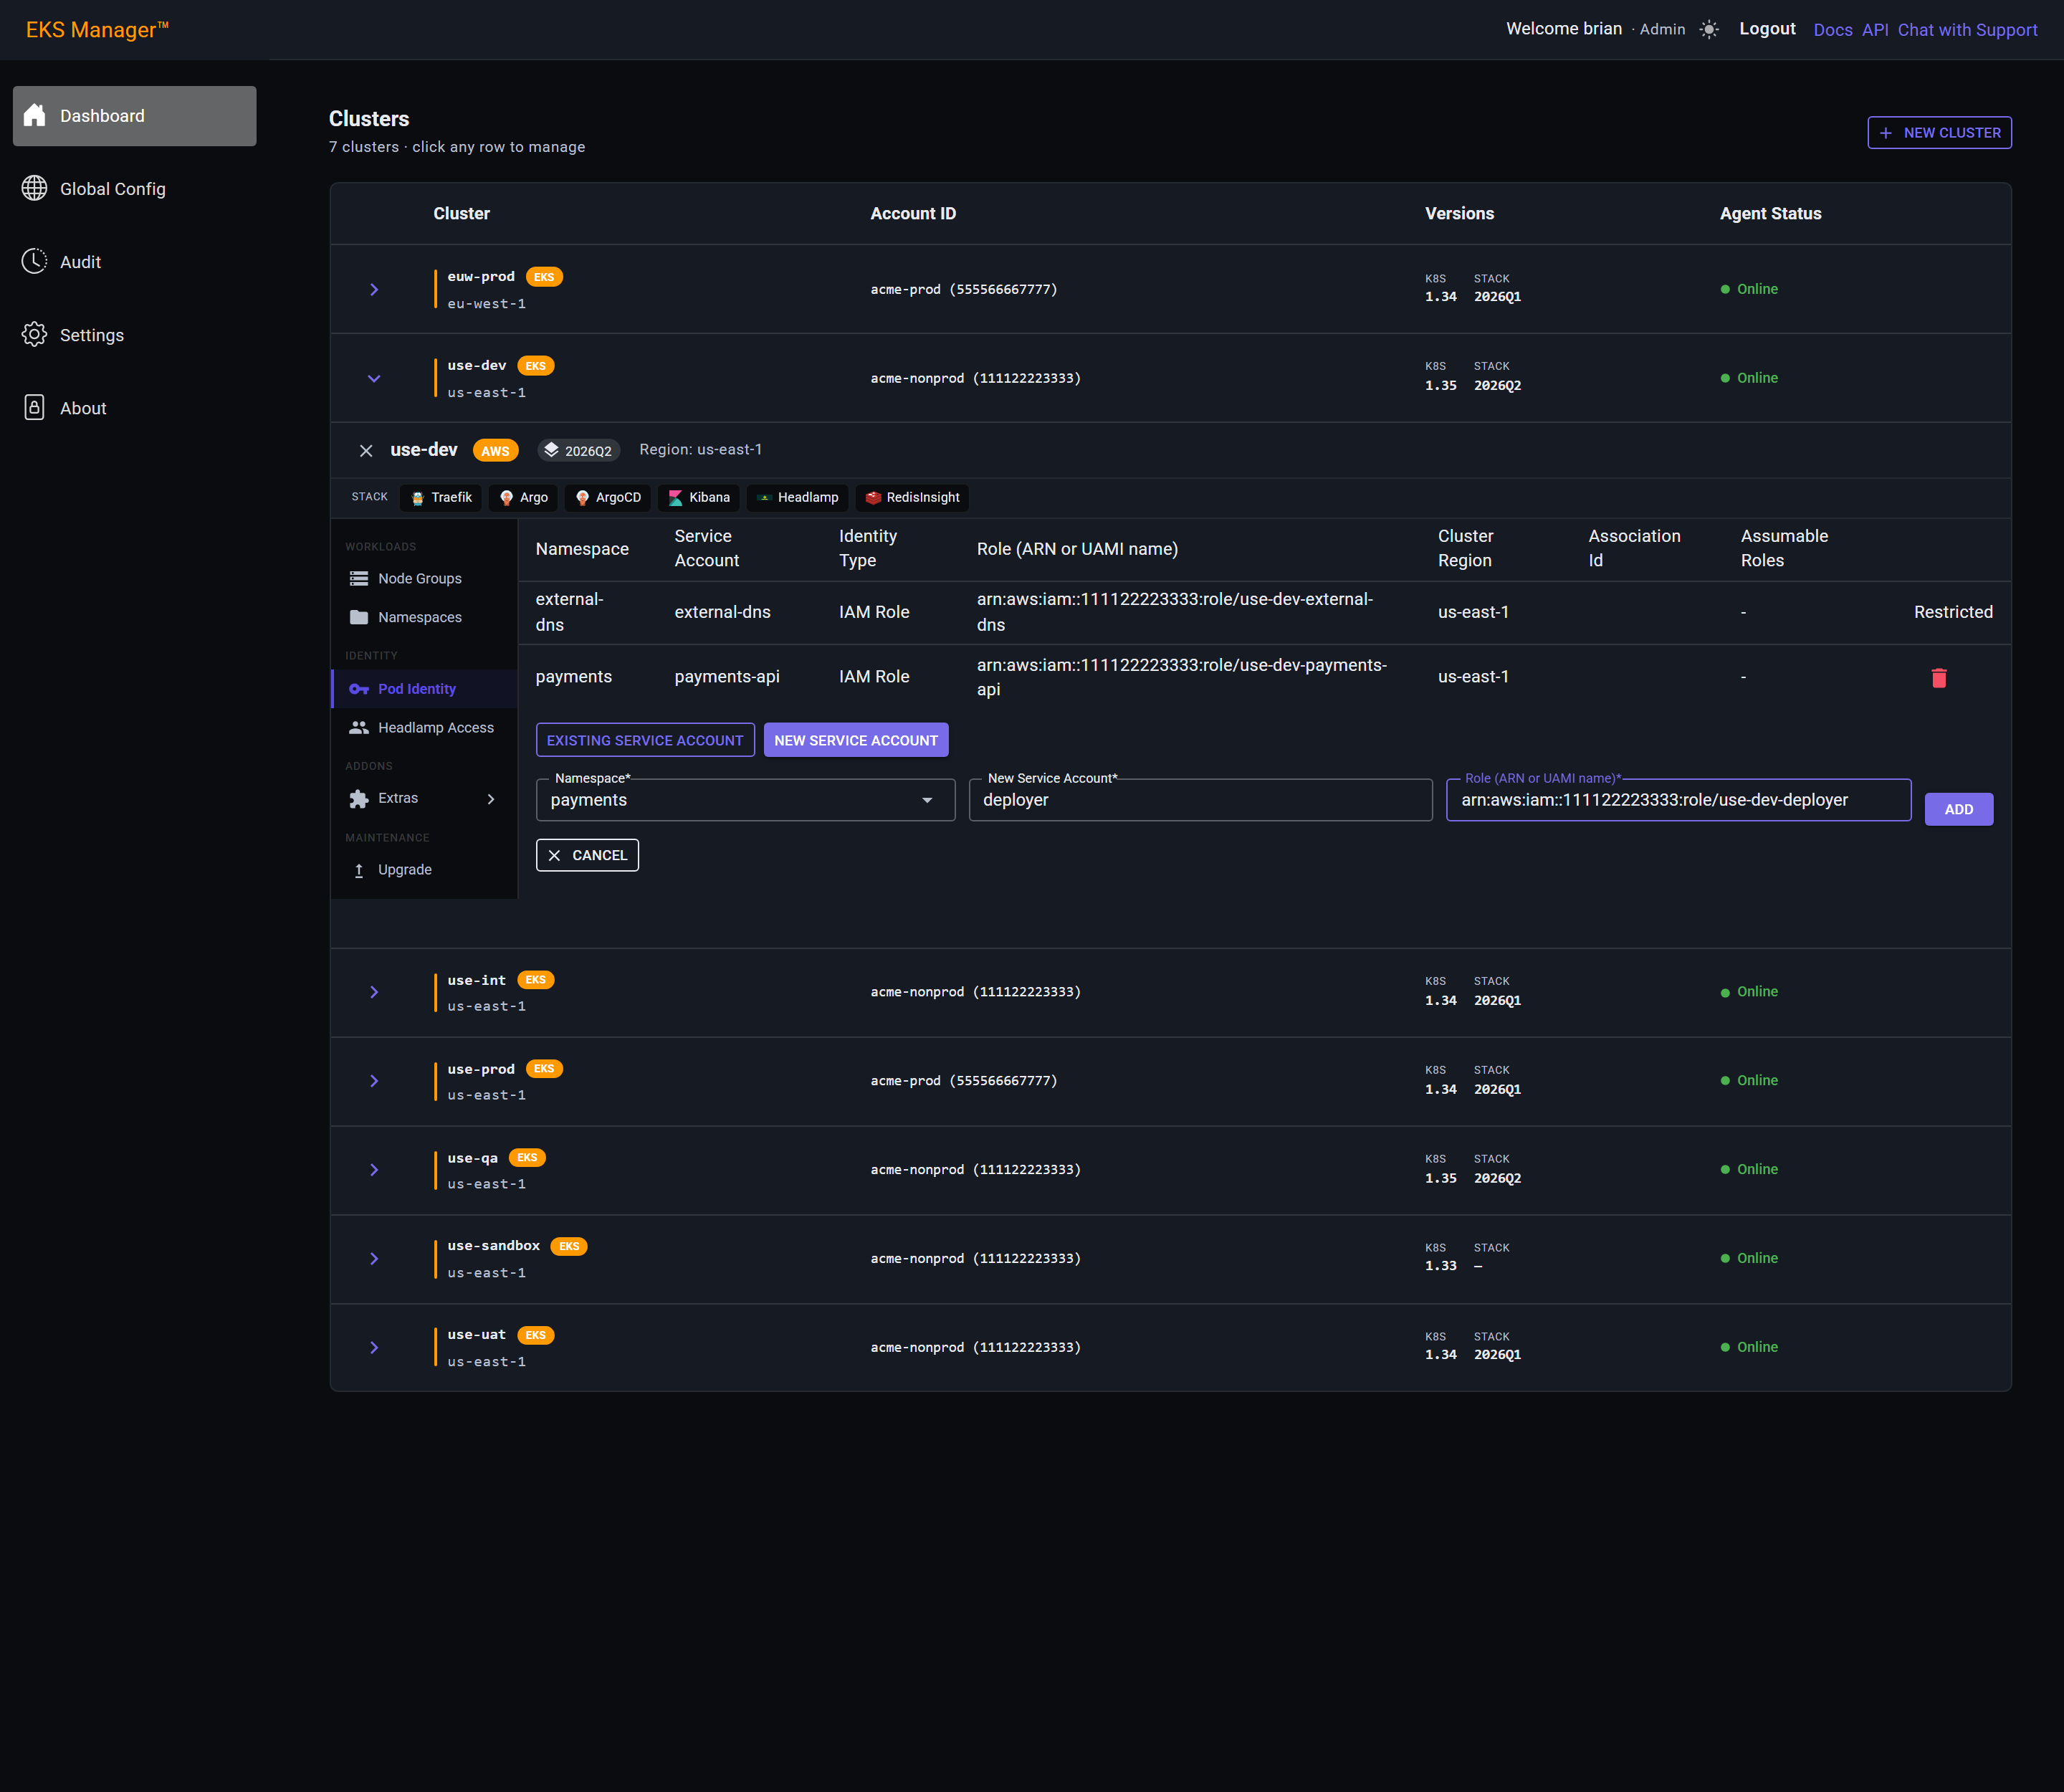
Add hands the request to the agent, which creates the association against the cloud and reports back. The confirmation names exactly what was asked for — namespace, service account and role ARN — and is worth reading before you move on.
Nothing has been created in the cluster at this point beyond the service account itself. The binding exists on the AWS side.
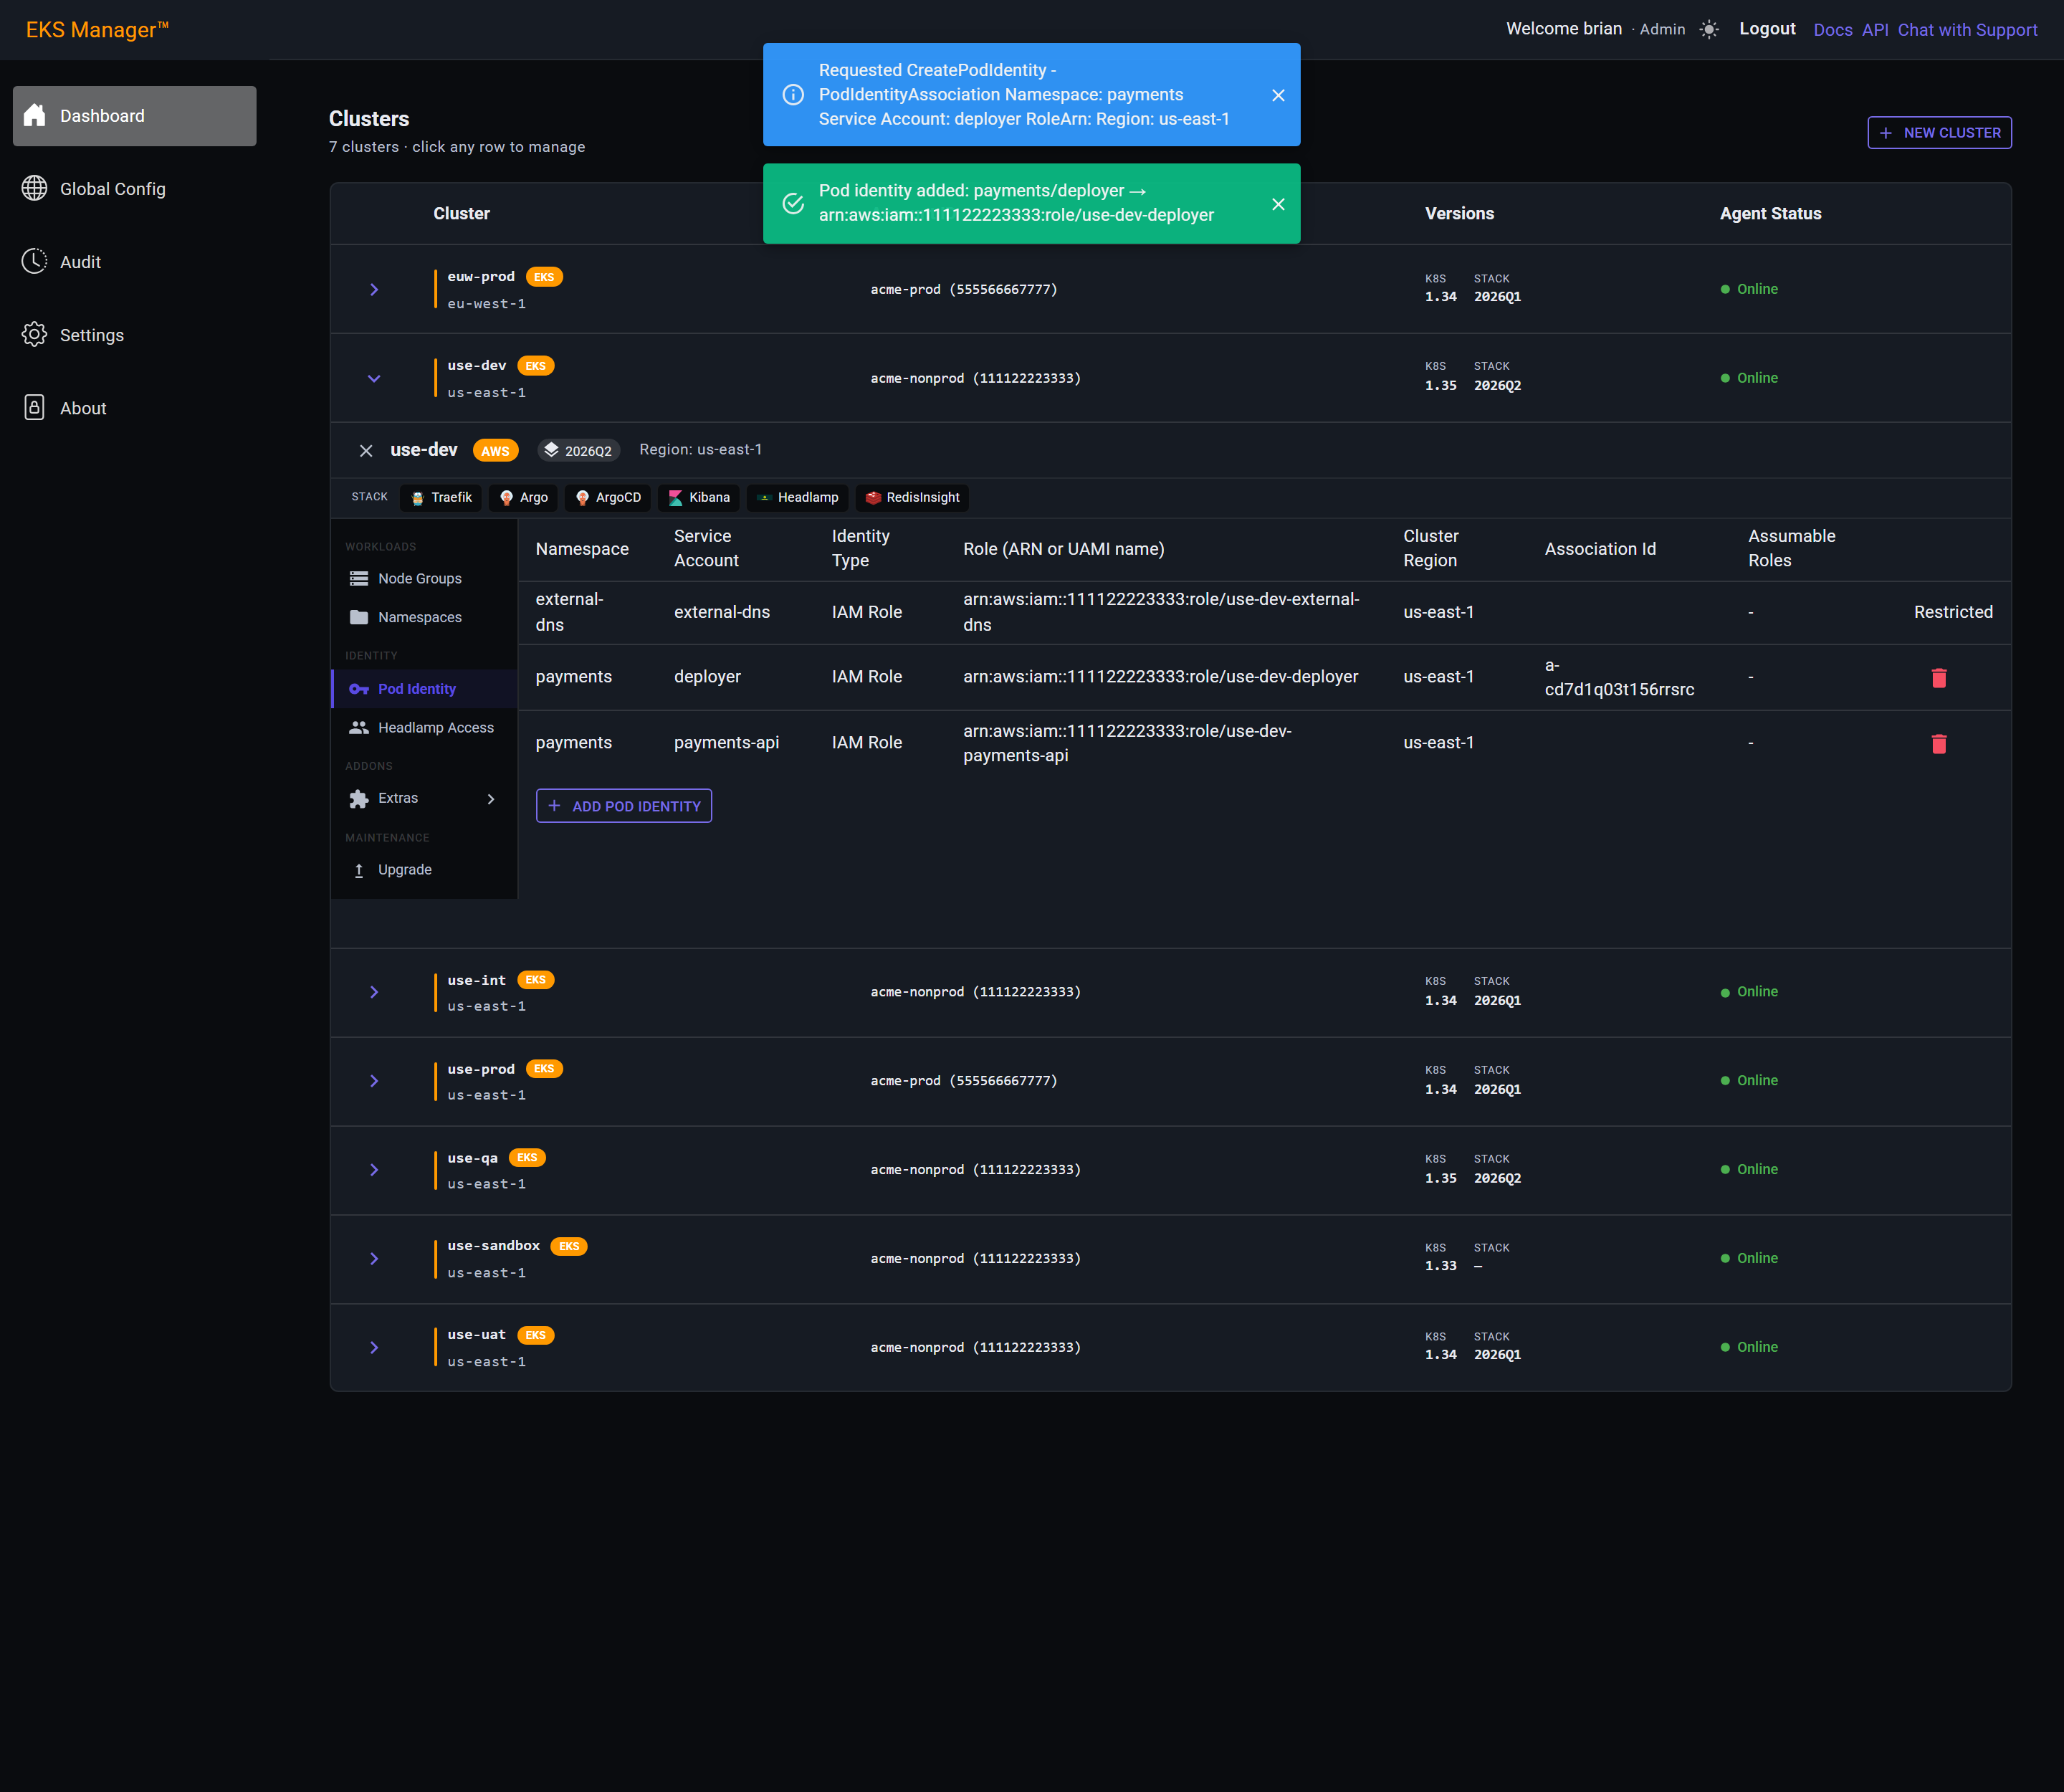
Cancel closes the form, and the table has already refreshed on its own. The new row carries the association id the cloud assigned it — that id is how you find this binding again from outside the application.
From here a pod in that namespace running as deployer can call the AWS API with no credential of its own. Nothing needs to be mounted into it.
Headlamp Access
Headlamp is the cluster dashboard. A new cluster grants access to no one, and this is what that looks like — the dashboard is deployed and running, and nobody can sign in to it.
Access is granted to a group, never to a person. Joining and leaving a team is then what changes who can see the cluster, rather than an edit on this page.
Add Assignment opens three fields. Nothing changes in the cluster until Add is pressed.
Have the group's object ID to hand before you start — it is a GUID from your identity provider, and the field will not accept a group's display name.
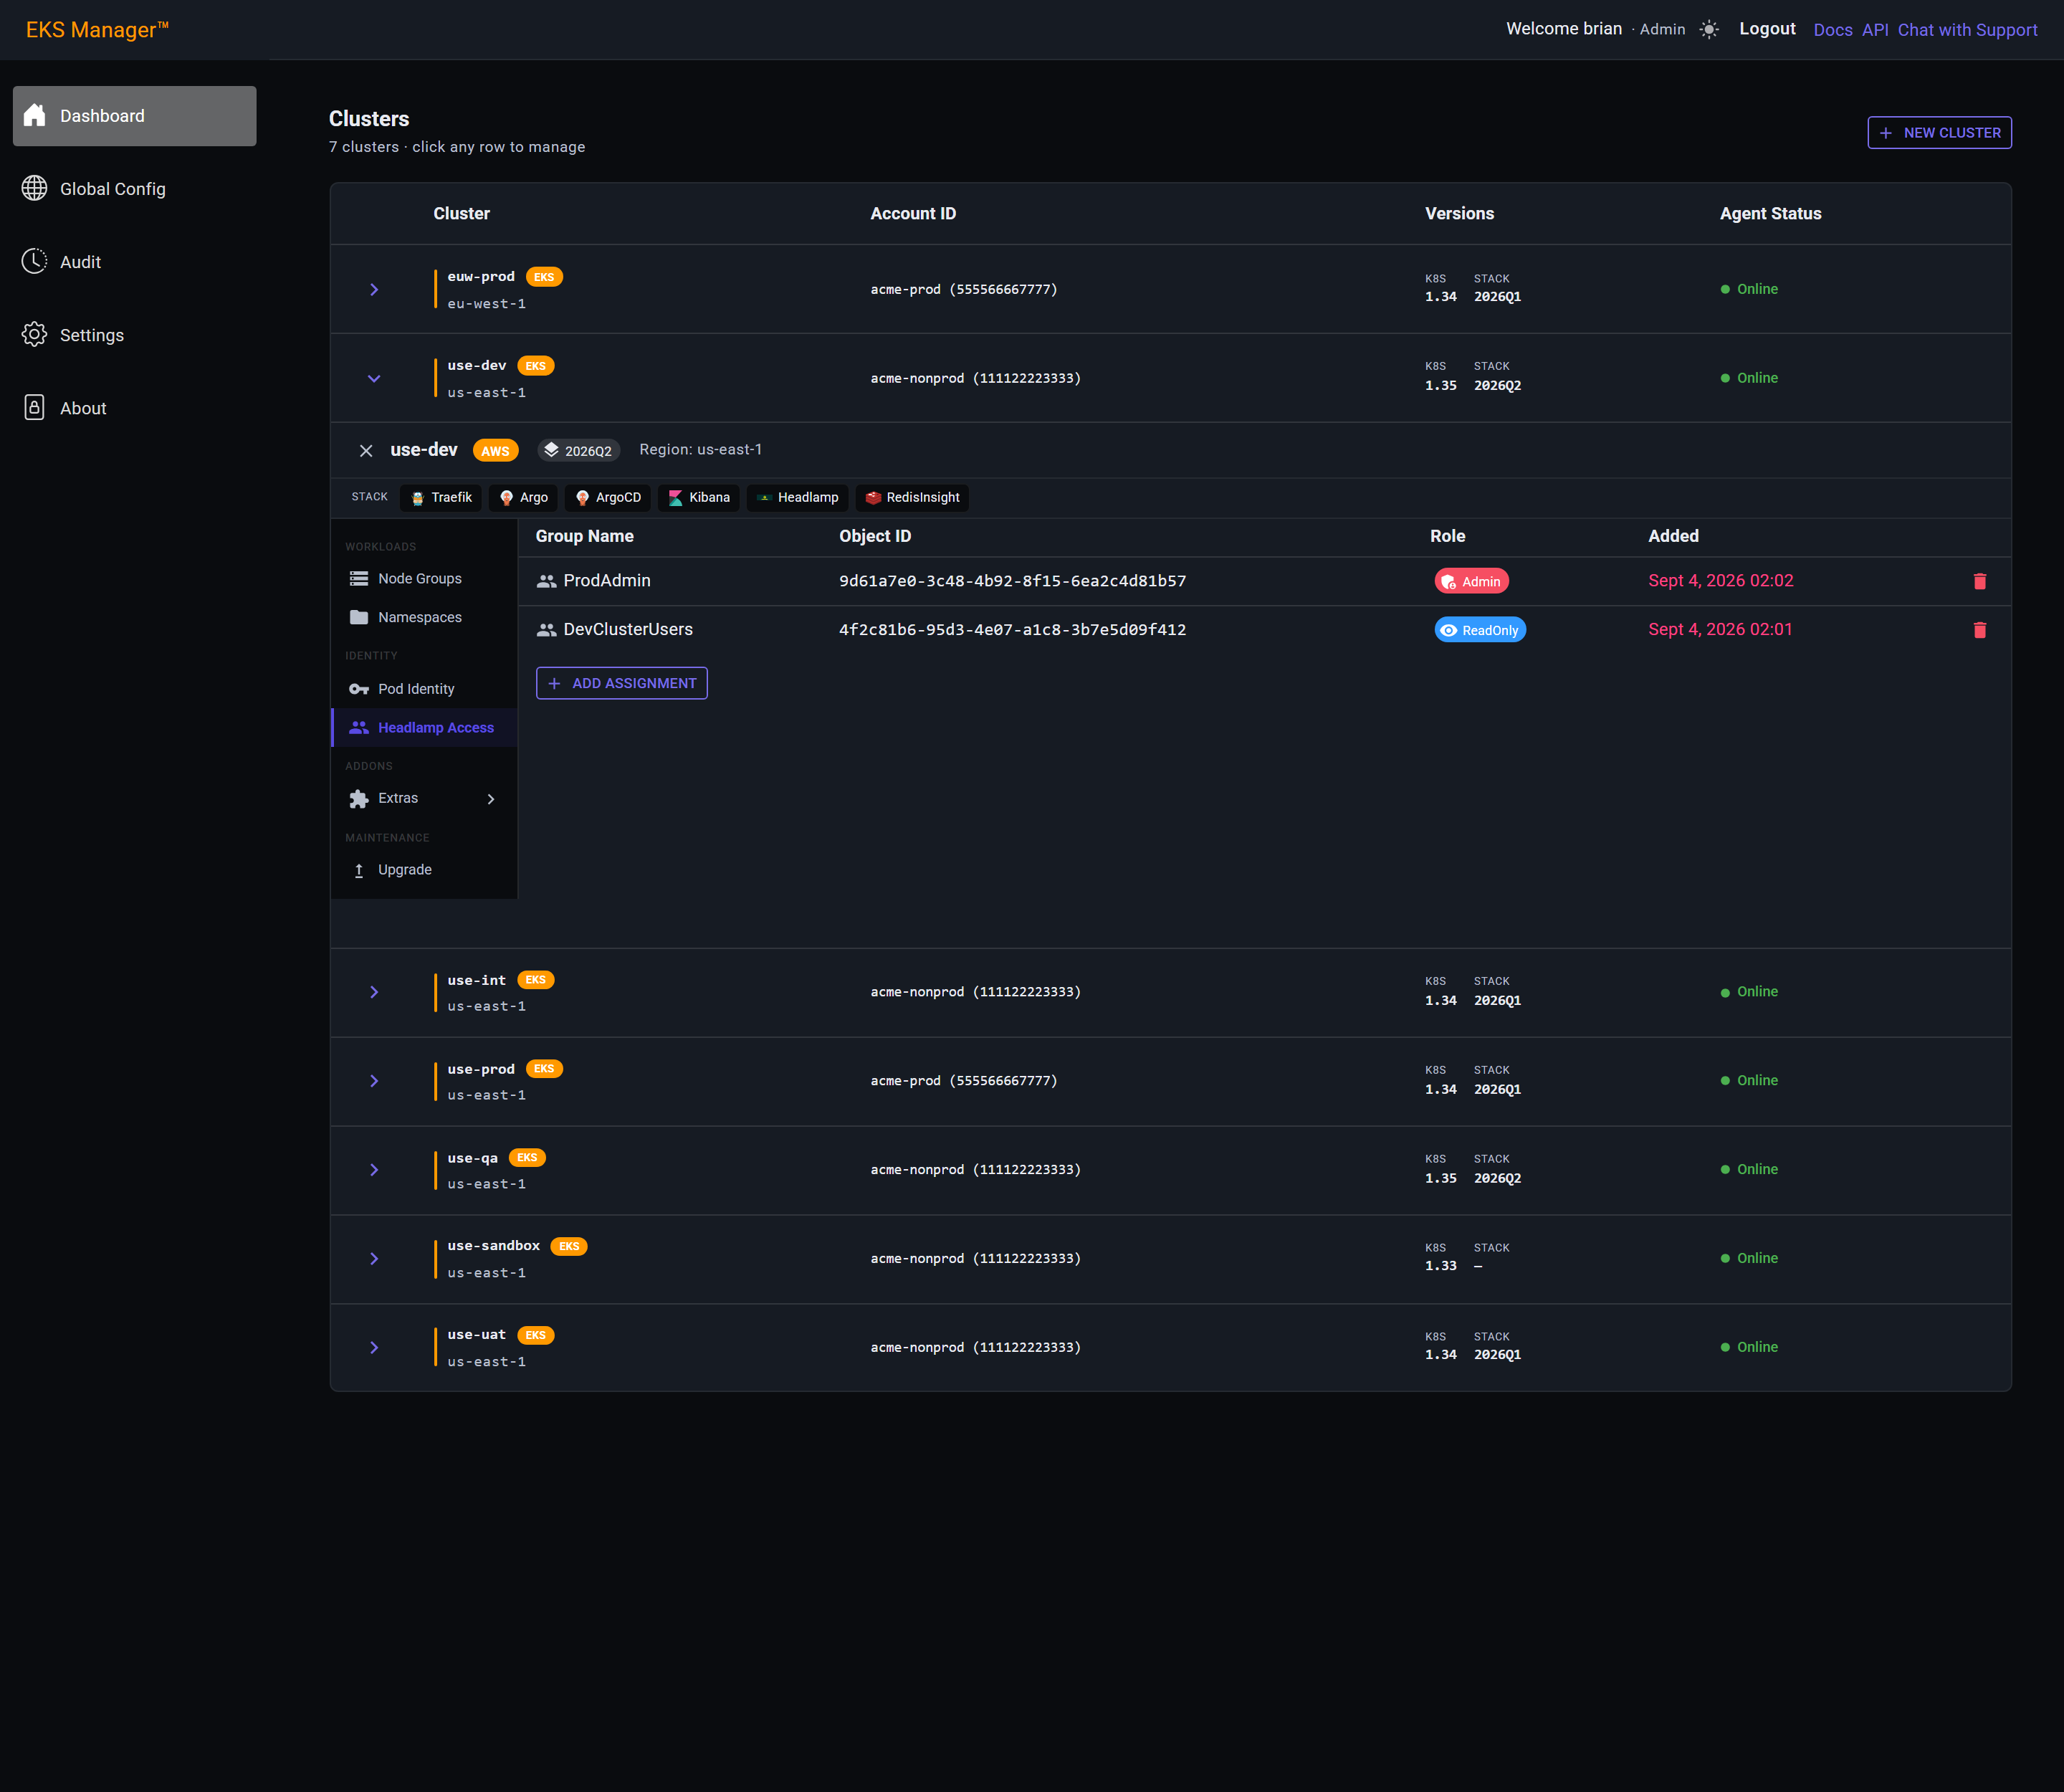
The object ID identifies the group; the name is only a label, so the table reads sensibly later. Get the name wrong and nothing breaks — get the object ID wrong and you have granted access to a different group entirely, quietly.
ReadOnly is the one to reach for by default. It is enough to see pods, logs and events, which is what most people asking for cluster access actually want.
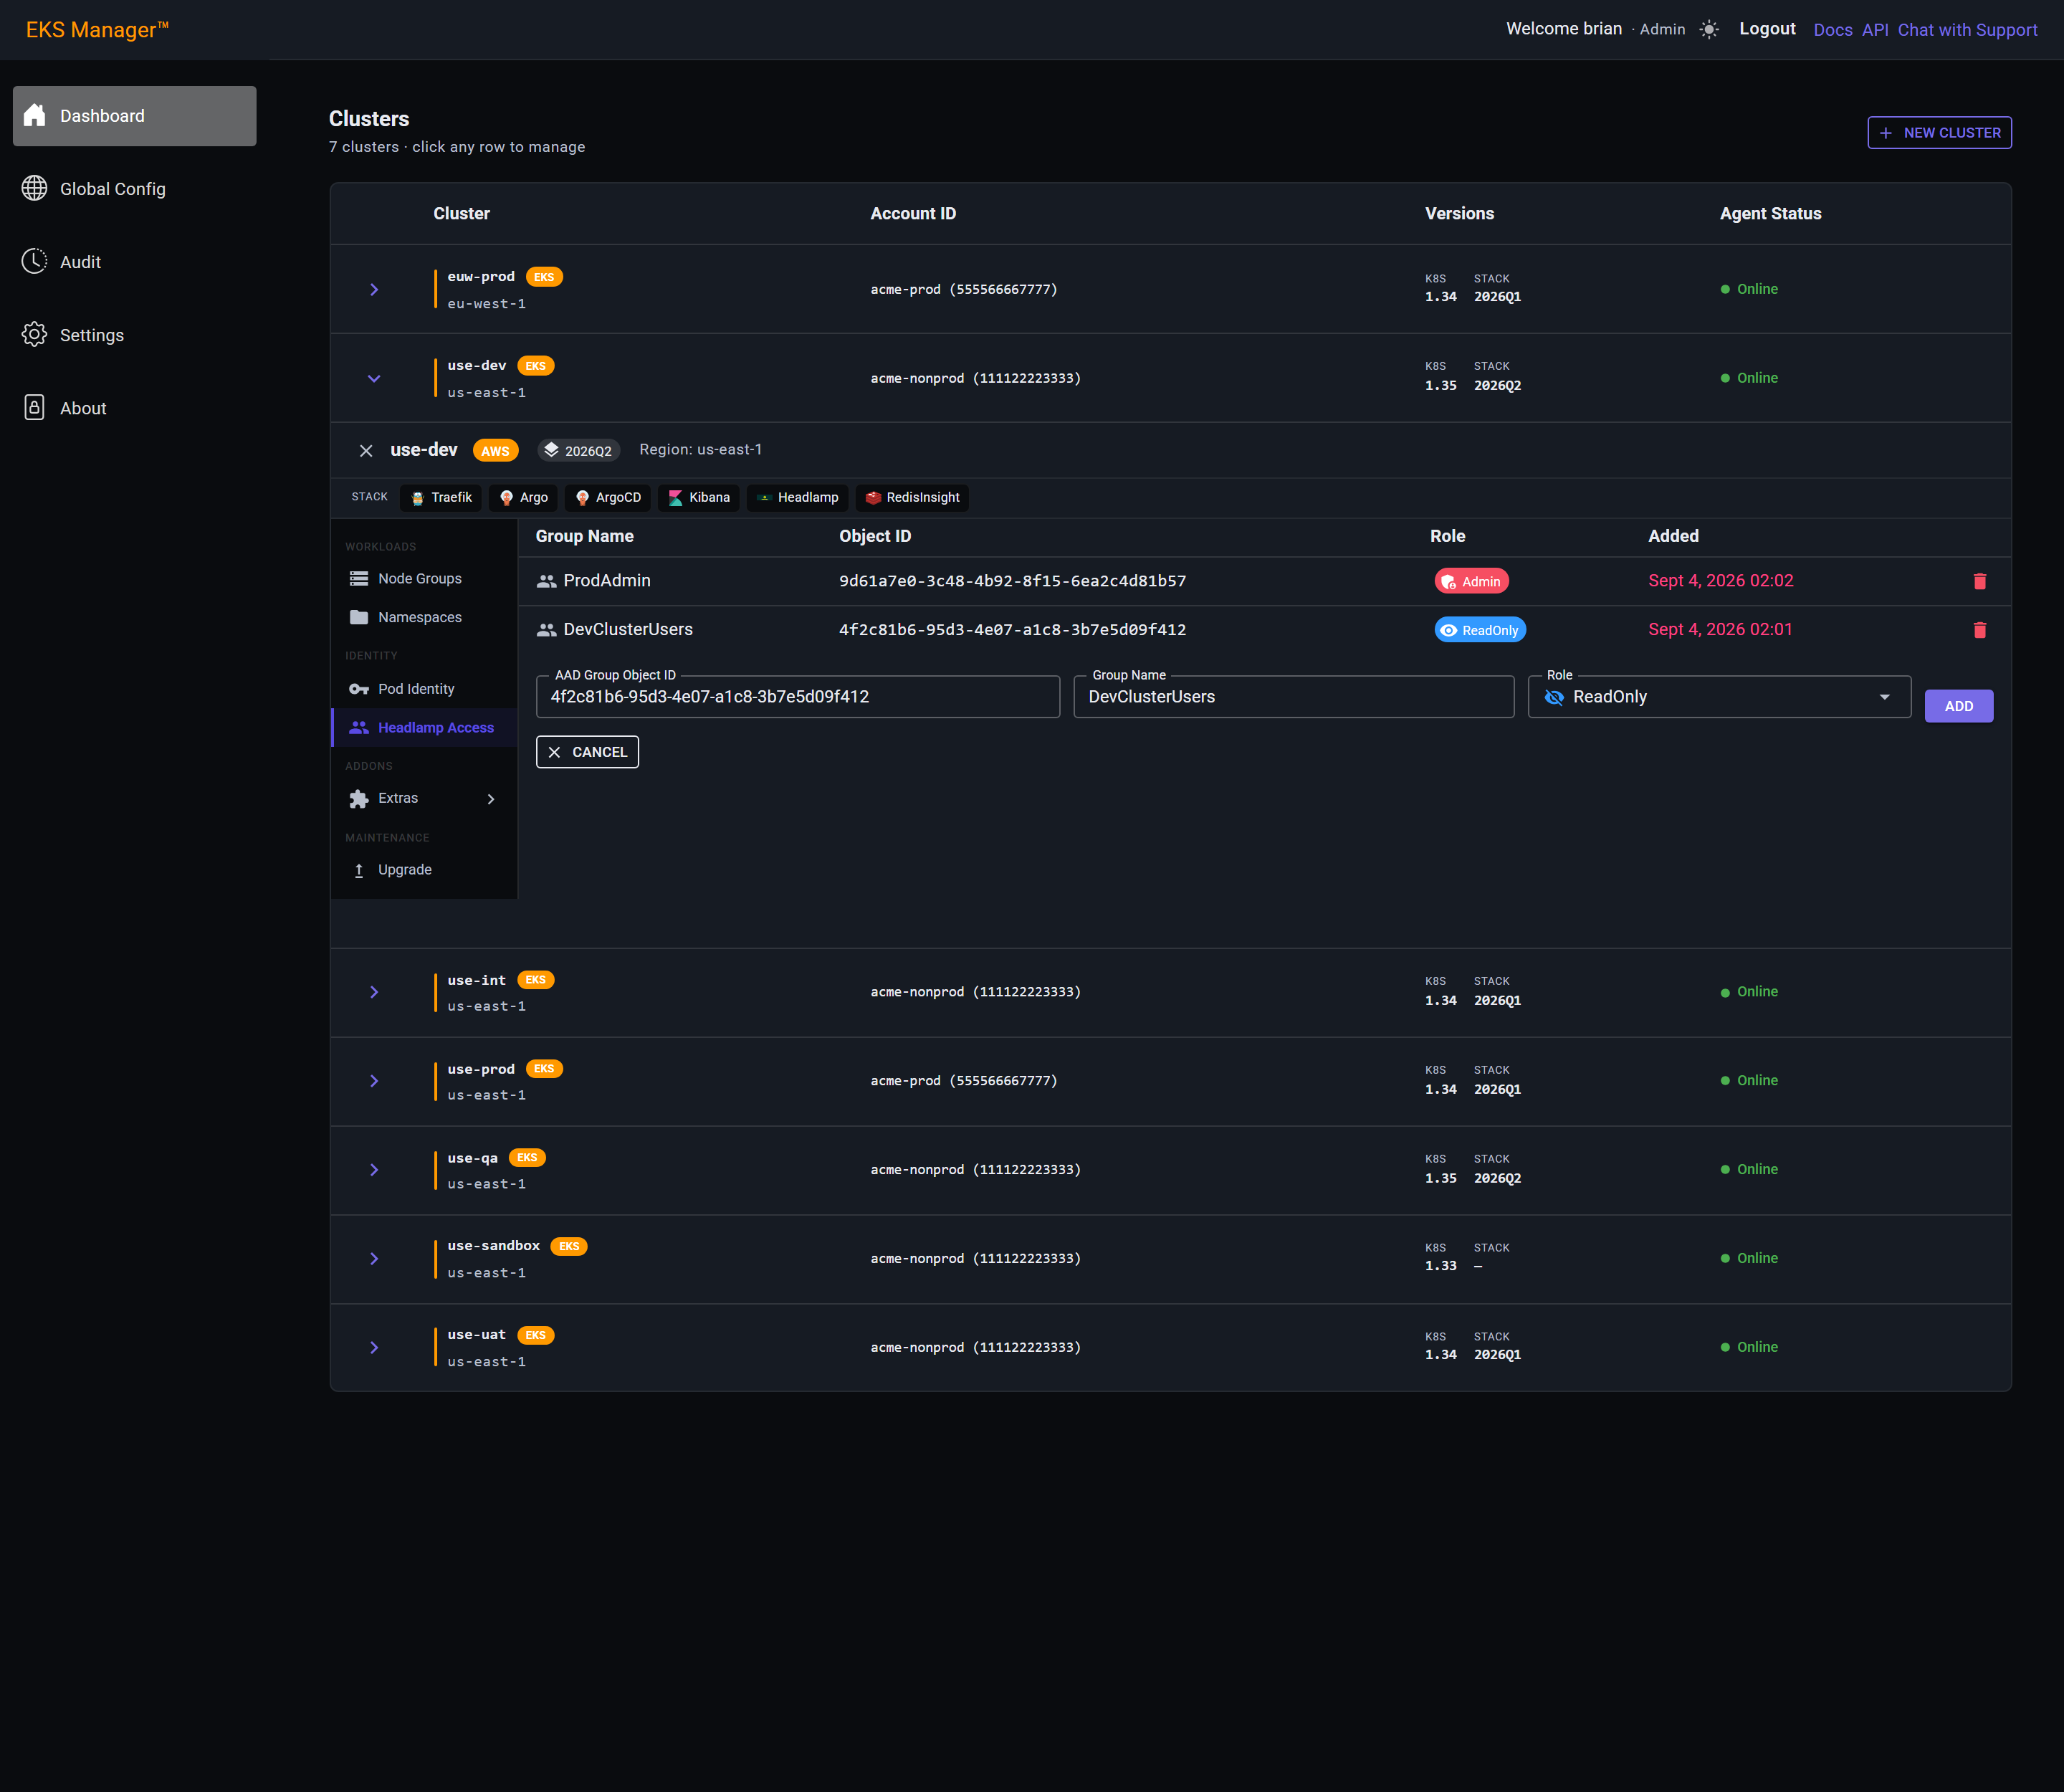
Nothing has changed in the cluster yet. Add is what writes the assignment and asks the agent to create the matching role binding.
Check the object ID one more time before pressing it. A wrong GUID here does not fail — it grants access to whichever group that GUID belongs to.
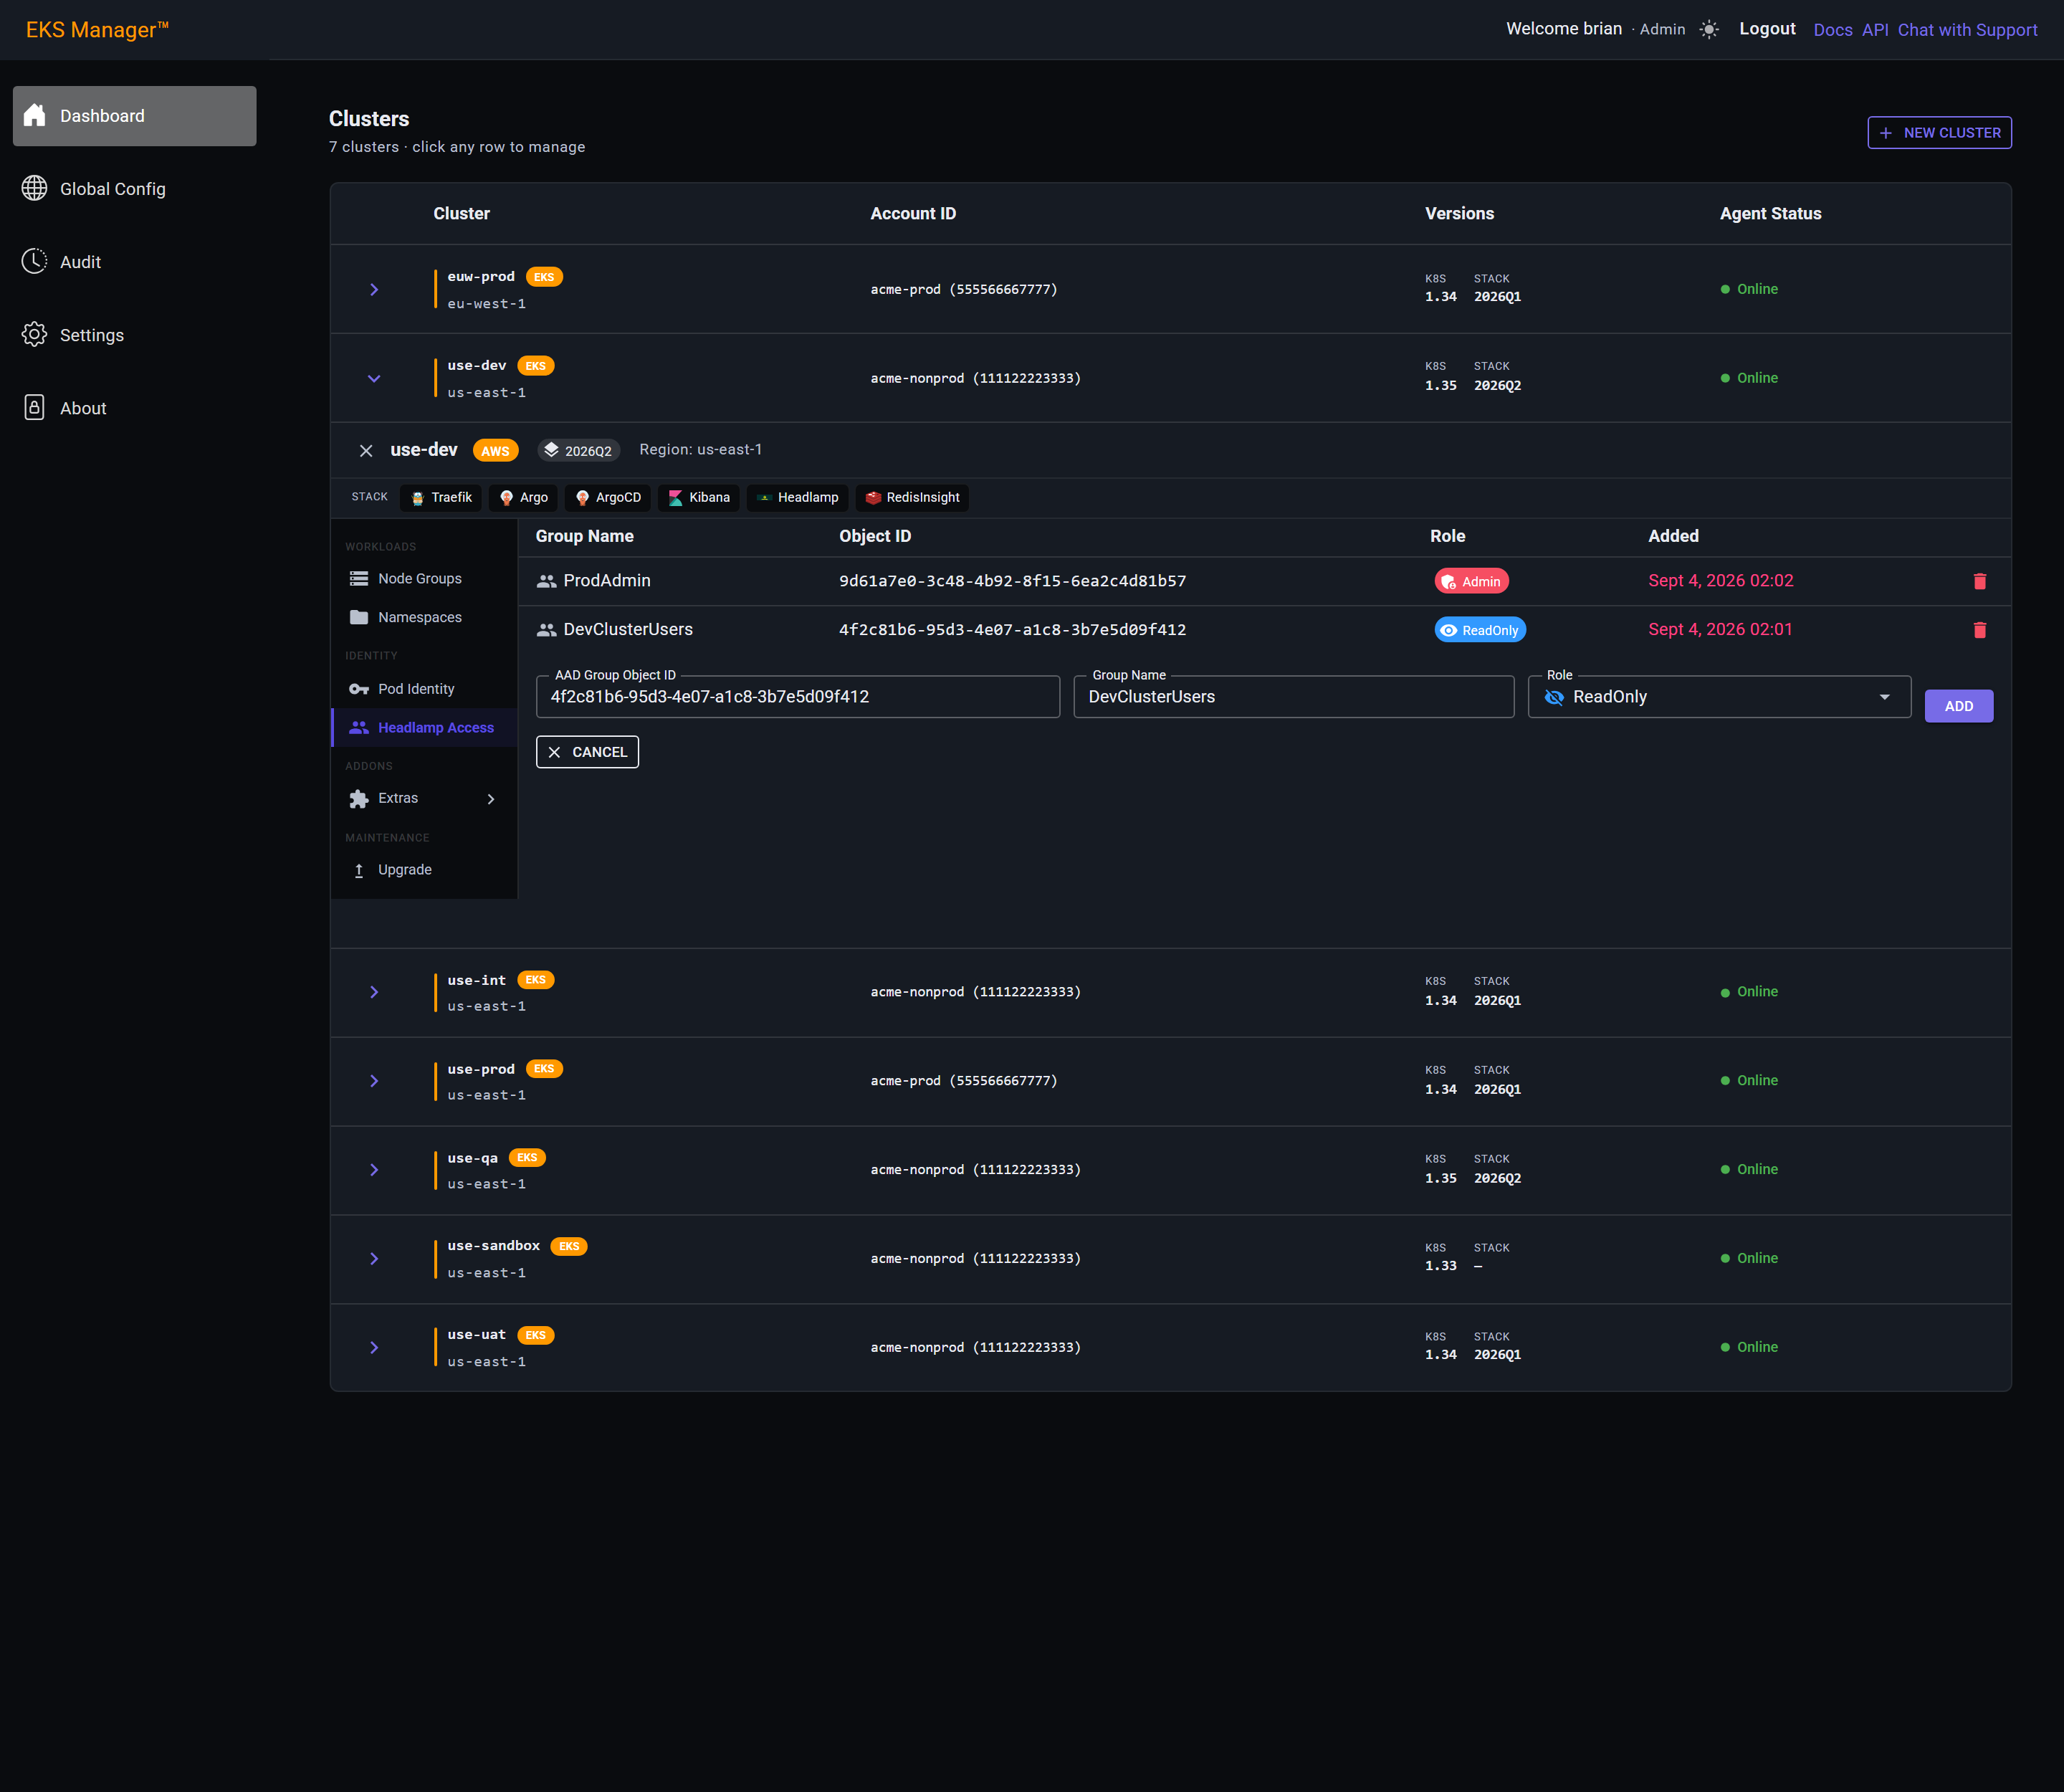
The agent creates the role binding in the cluster and confirms it by name. Anyone in that group can sign in to Headlamp from this point.
It is named in the confirmation on purpose — that is the moment to notice you have just granted the wrong group, while it is still one click to remove.
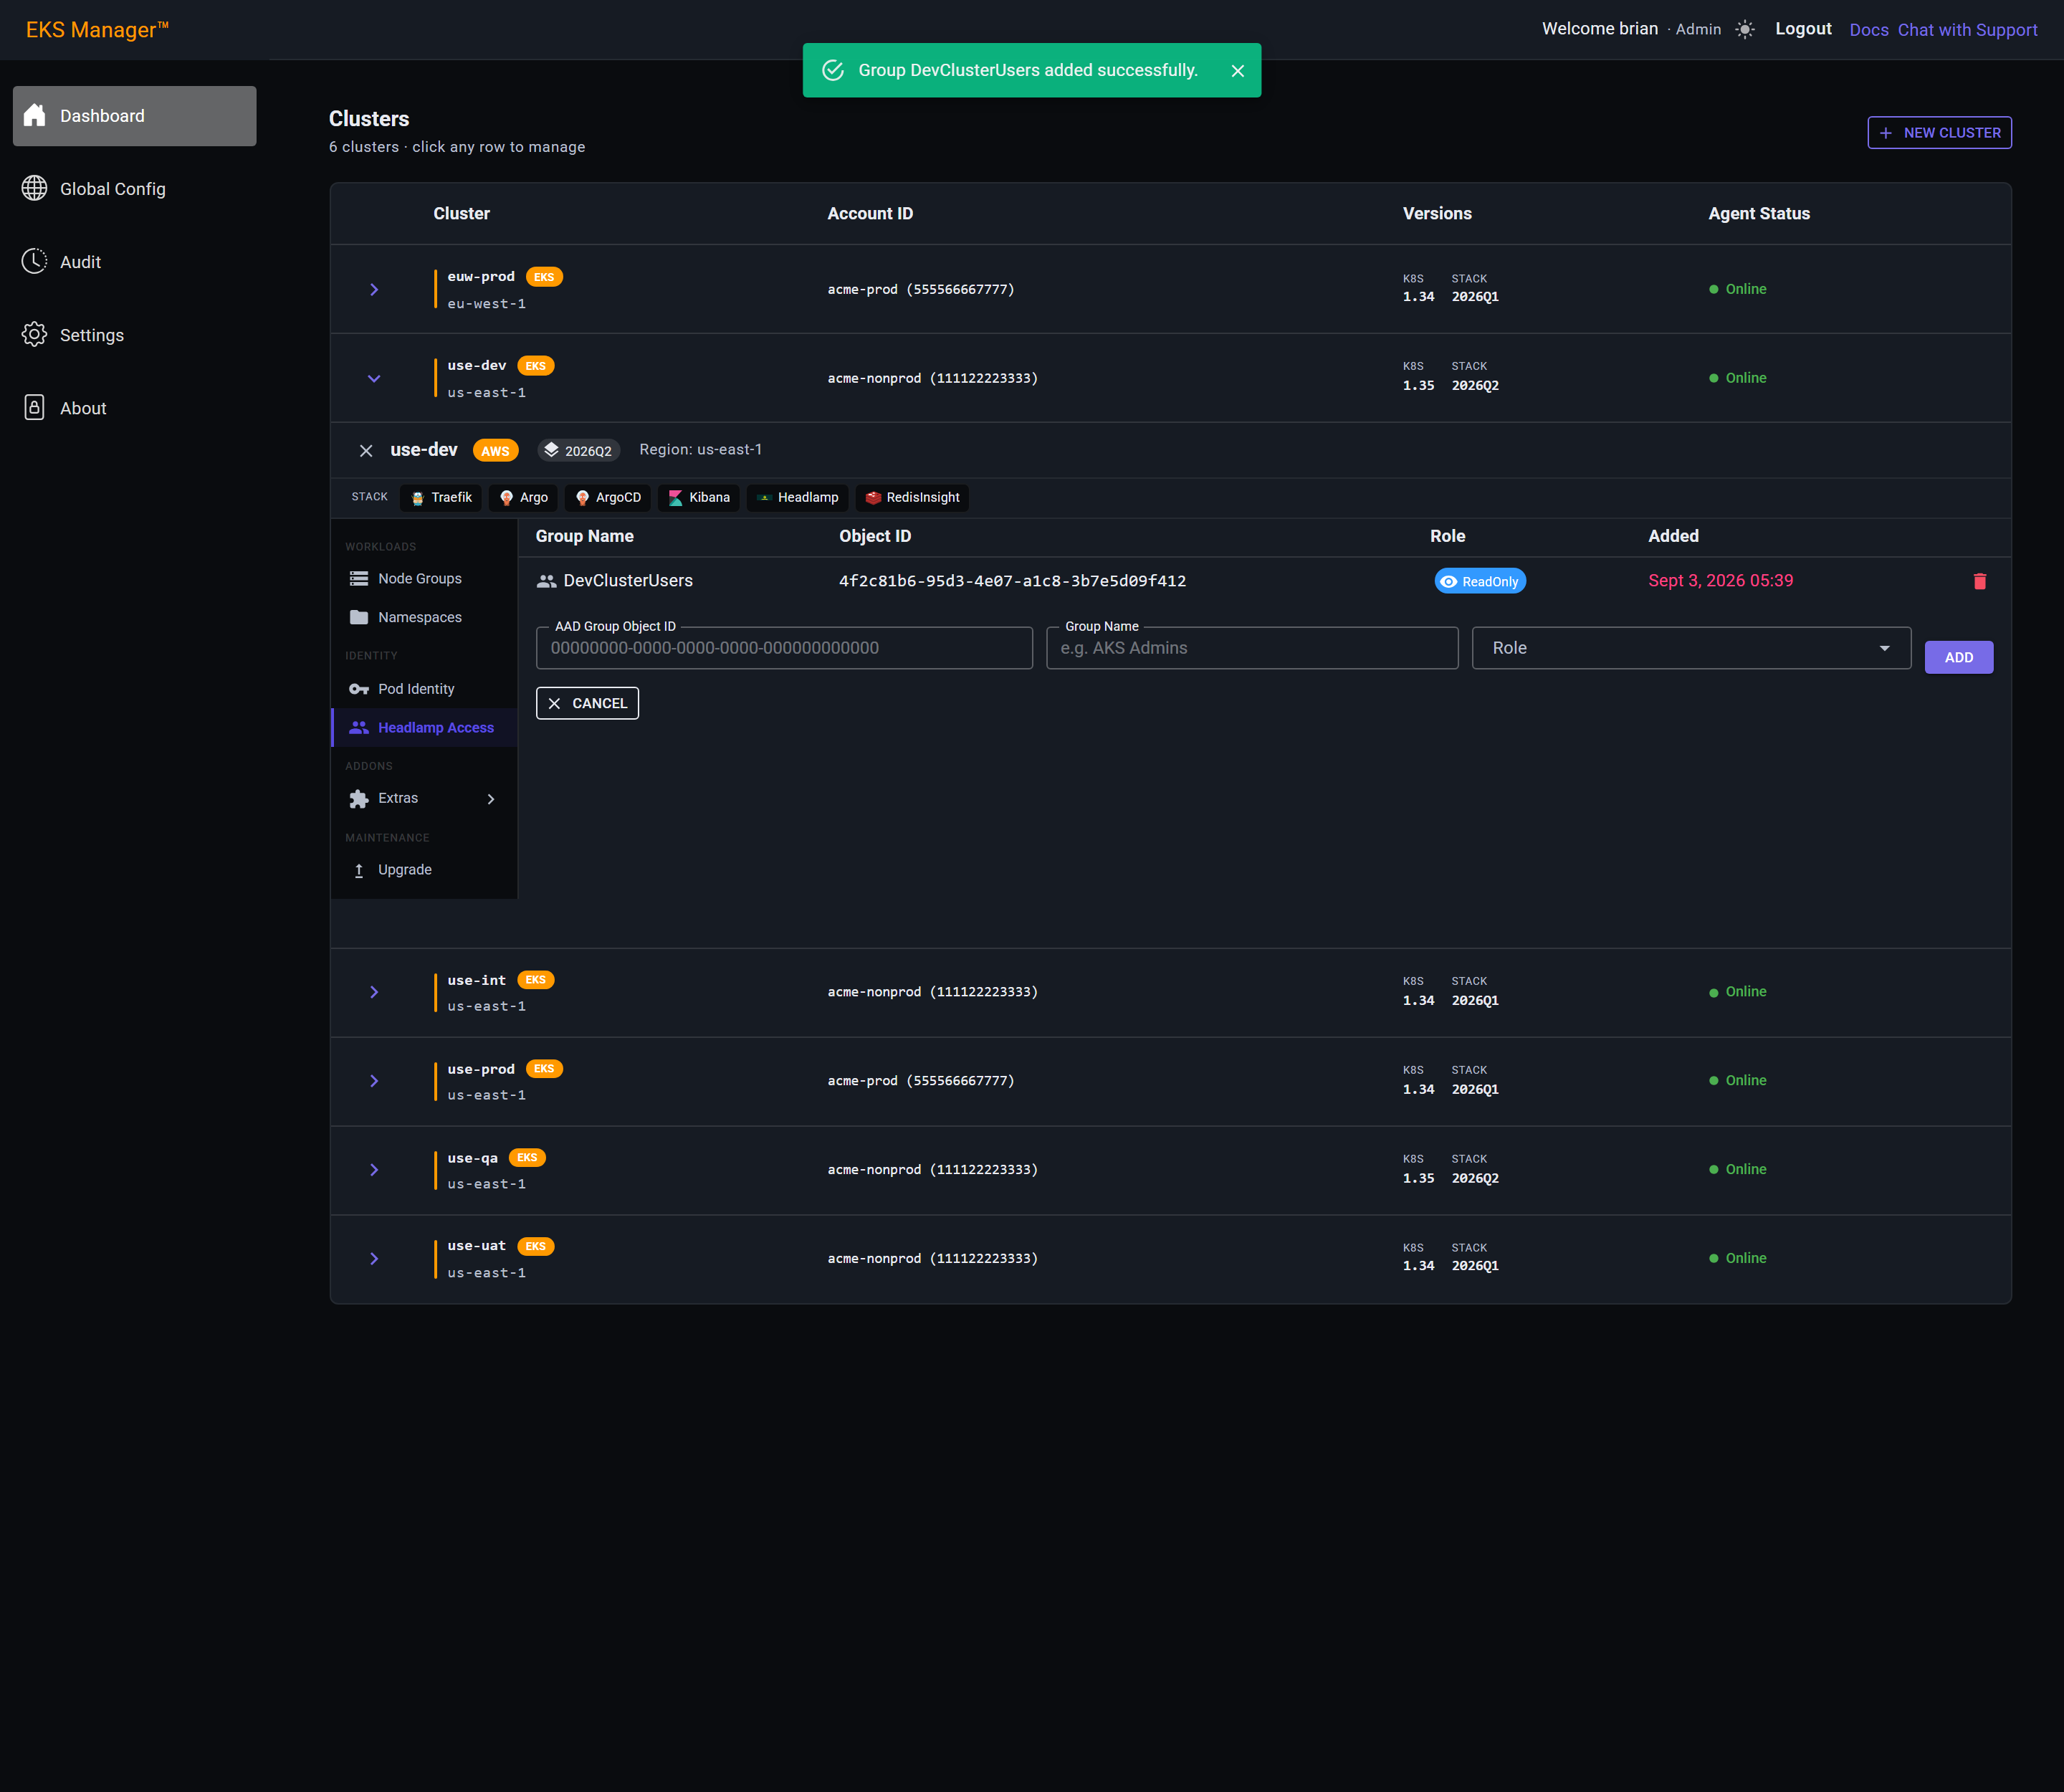
Add writes the assignment and asks the agent to create the matching role binding in the cluster. Anyone in that group can sign in from this point.
The row is the record: the group, its object ID, the role it was given and when. That last column is the one that matters when somebody asks later why an account could see a cluster.
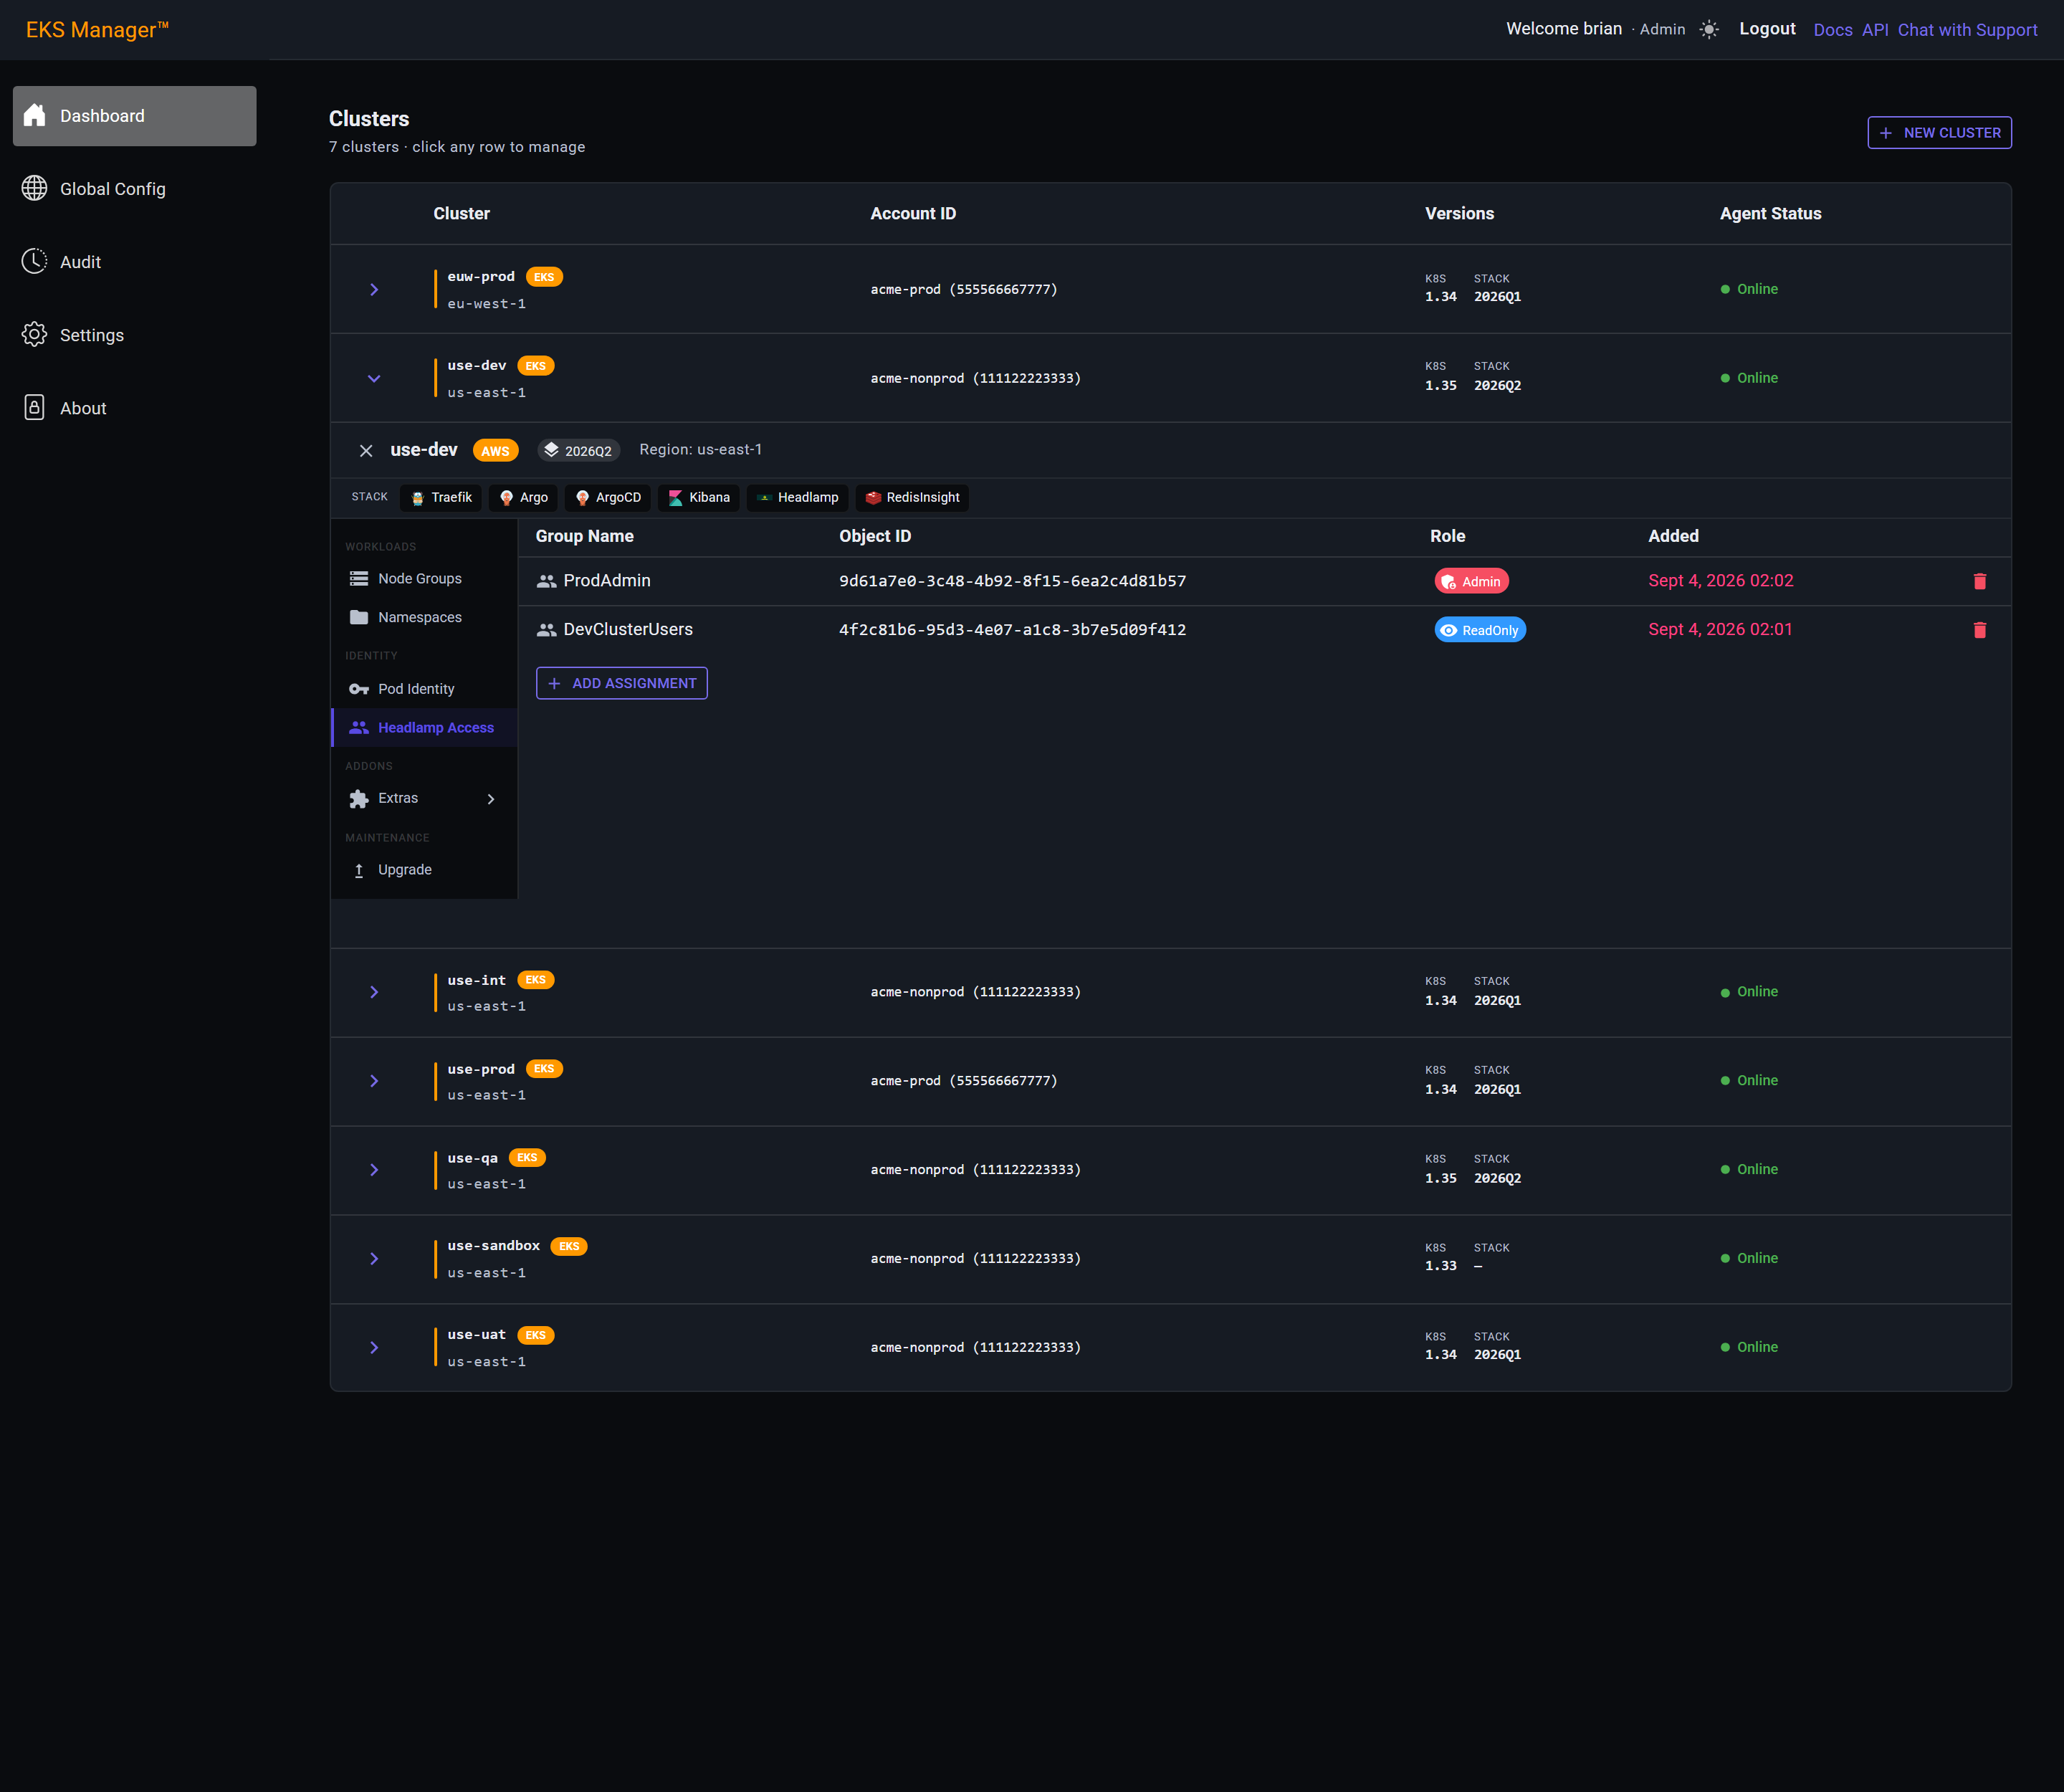
The same three fields, one different choice. Admin in Headlamp is real cluster admin — it can delete workloads, edit resources and read every secret in every namespace.
Keep this list short, and keep it to groups that already exist for that purpose. A group created to solve one afternoon's problem is one nobody remembers to empty.
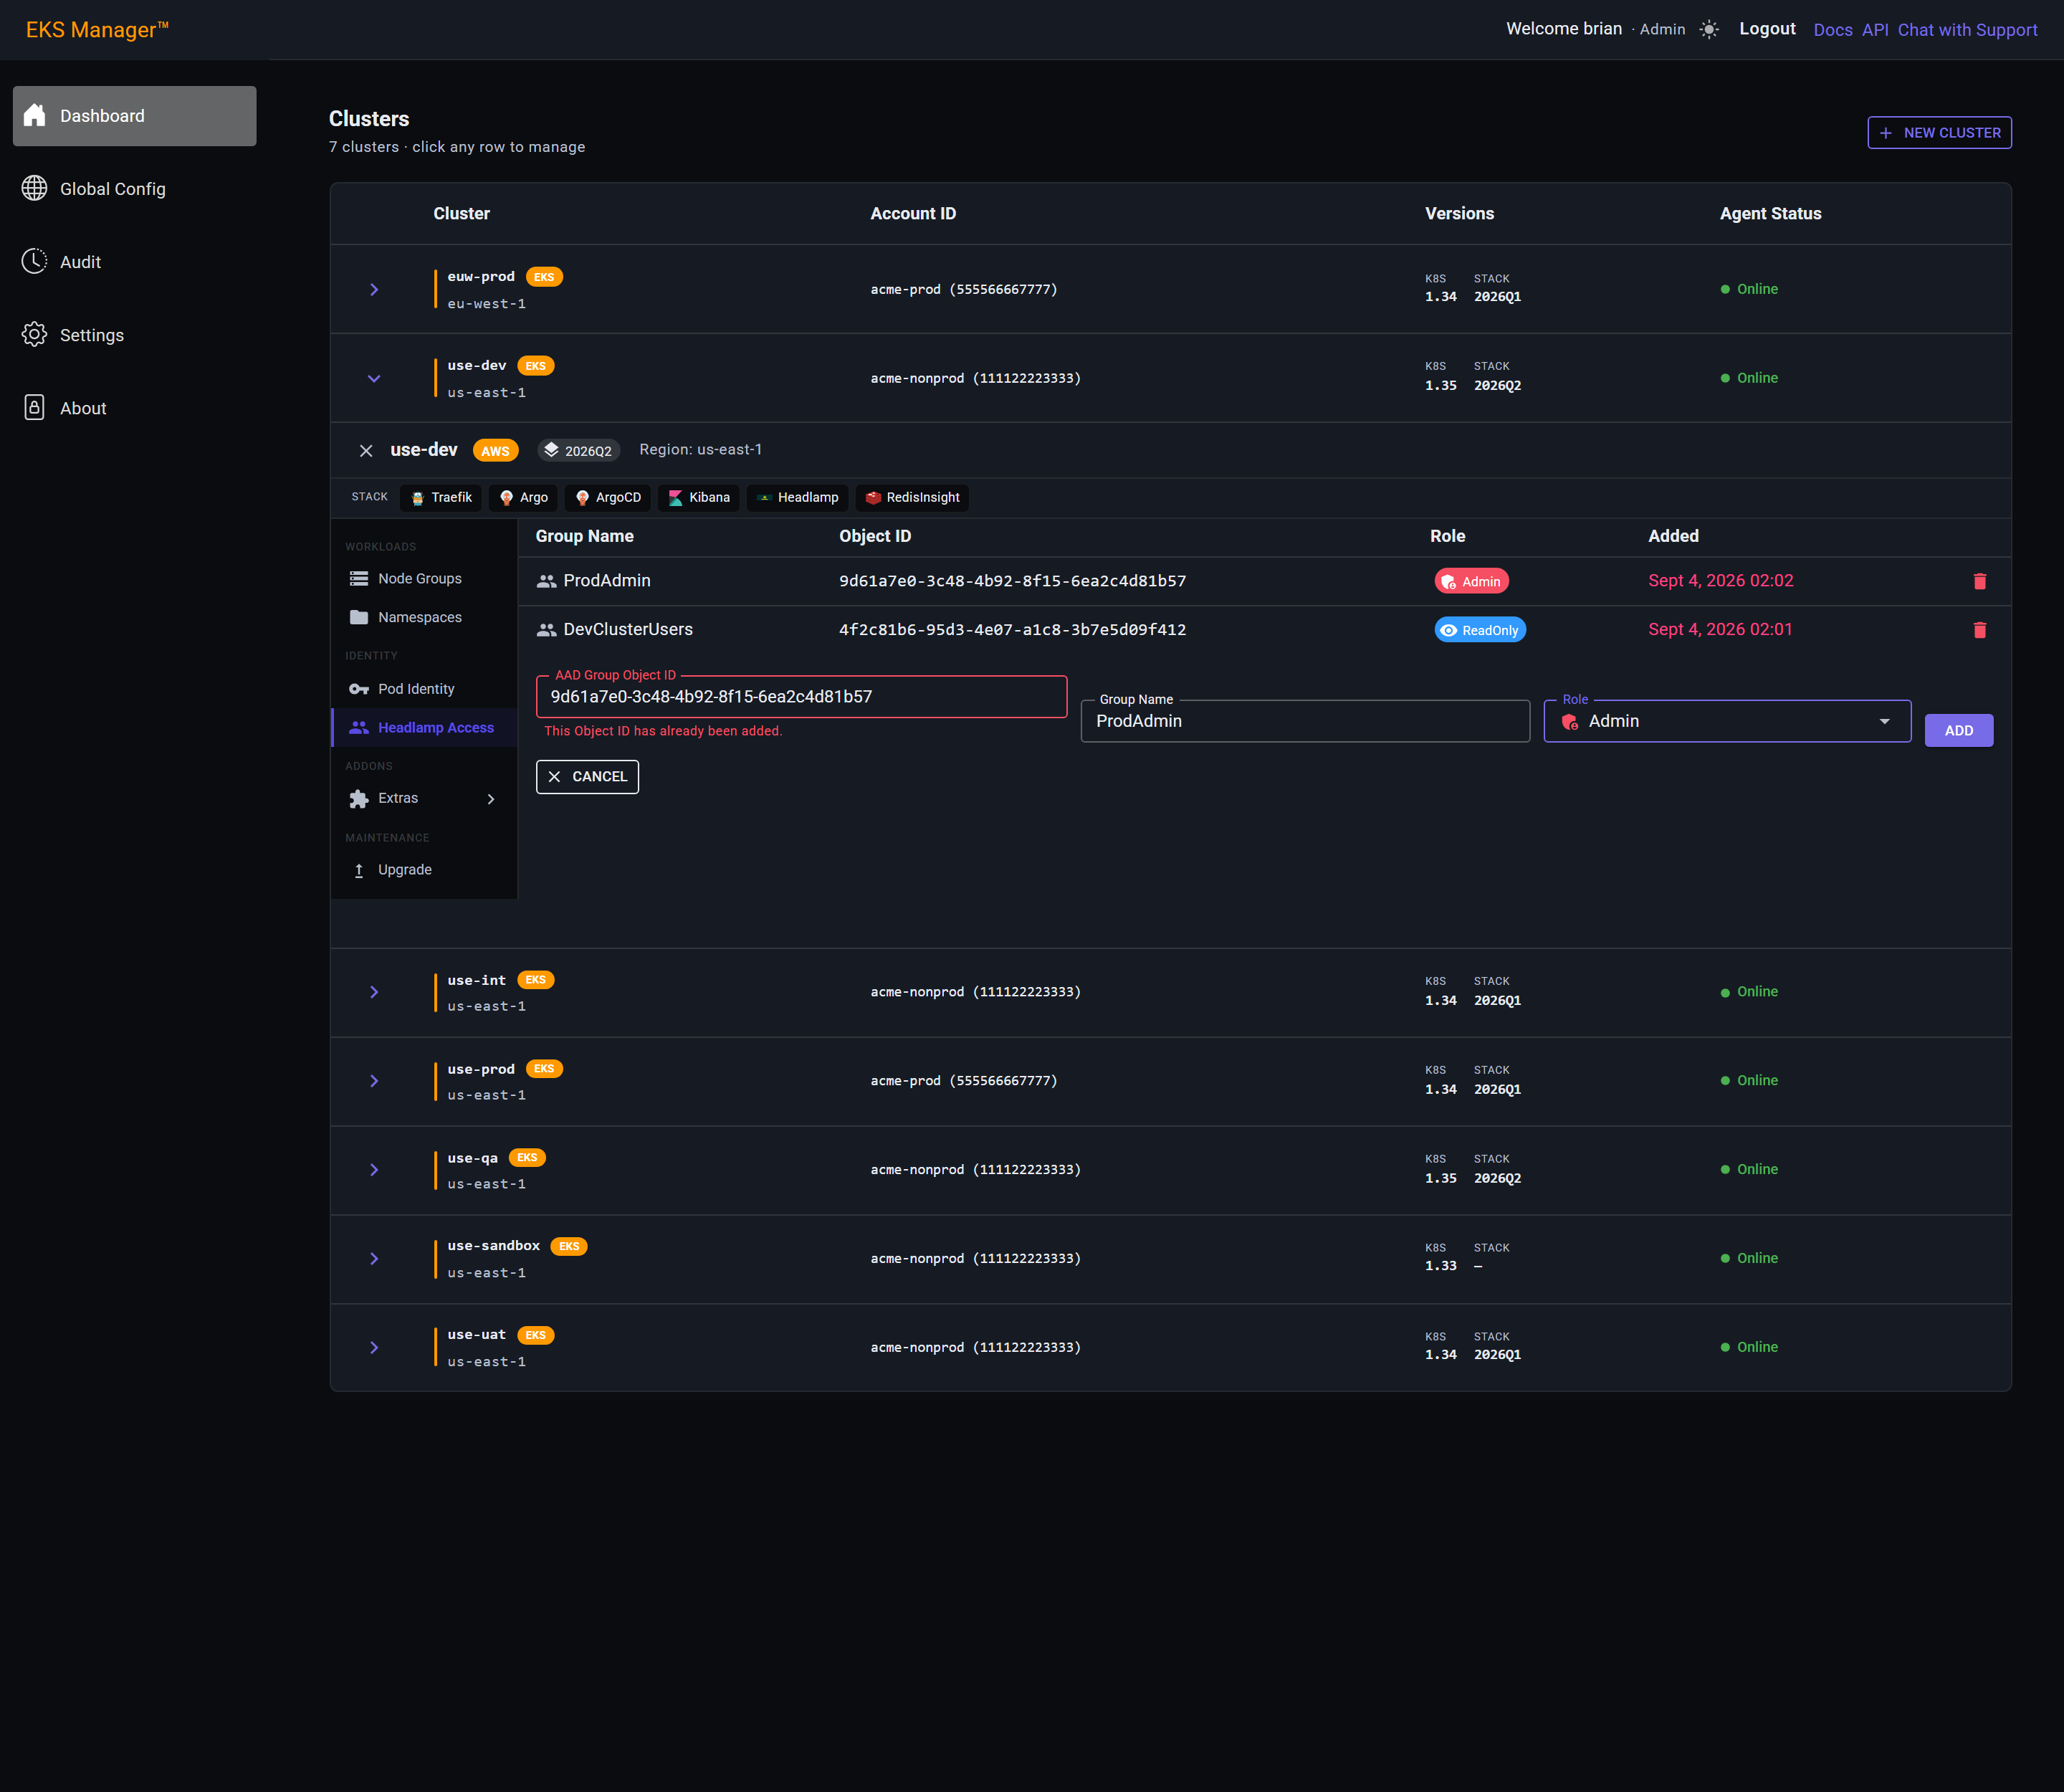
The finished list. One group can look at the cluster, the other can change it, and the chips say which is which without anyone having to read the row.
The bin at the end of a row removes the assignment and the role binding behind it. That takes effect at the next sign-in, so a session already open stays open.
SSO Access
SSO Access grants people access to the cluster itself — what kubectl can do, and what the EKS console will show them. It sits beside Headlamp Access because the two answer the same question for different front doors: Headlamp is the dashboard, this is the Kubernetes API.
Access is granted to an IAM Identity Center permission set, never to a person. Whoever can assume that permission set gets the access, and that is decided in Identity Center rather than here.
AWS only. Access entries are an EKS feature and permission sets are an Identity Center one; AKS maps directory groups to Kubernetes roles directly, so the section does not appear on an Azure cluster.
A permission set decides what someone may do in the AWS API. An access entry decides what they may do inside the cluster. They are independent, and granting one does not grant the other.
That matters when someone reports that nothing works. Cluster-admin here will not help a person whose permission set cannot reach EKS at all; and a permission set with full AWS administrator rights still sees nothing in a cluster with no access entry for it.
This section only sets the second of the two. The first is in Identity Center.
Identity Center provisions a permission set into each account as an IAM role named AWSReservedSSO_<name>_<hash>. The name is the same everywhere. The hash is different in every account.
So the same permission set is a different role, with a different ARN, in every account you run clusters in — and the ARN cannot be worked out from the account number and the name. It has to be looked up where the cluster lives.
That is what this section does for you. You choose a permission set by name; the right ARN for this cluster's account is resolved at the moment you assign it. The list shows only permission sets actually provisioned into that account, because anything else has no role here to point at.
Two directory groups assigned to the same permission set in the same account assume the same role. By the time the request reaches the cluster the group has been consumed, and EKS matches on the role — so those two groups cannot be told apart, and cannot be given different rights.
If you want developers and testers to differ inside the cluster, they need different permission sets. No arrangement of access entries can separate them otherwise, and the fix is upstream in Identity Center.
It follows that a permission set's name becomes its identity in Kubernetes. Names that describe the intended cluster role — rather than one broad administrator set shared by everyone — are what make this section useful.
The pulldown lists the permission sets IAM Identity Center has provisioned into this account, read from the account itself. The Control Tower ones appear alongside any your platform team has defined, and nothing here is created by EKS Manager.
A permission set missing from this list has not been assigned to this account in Identity Center yet. That is where to fix it, not here.
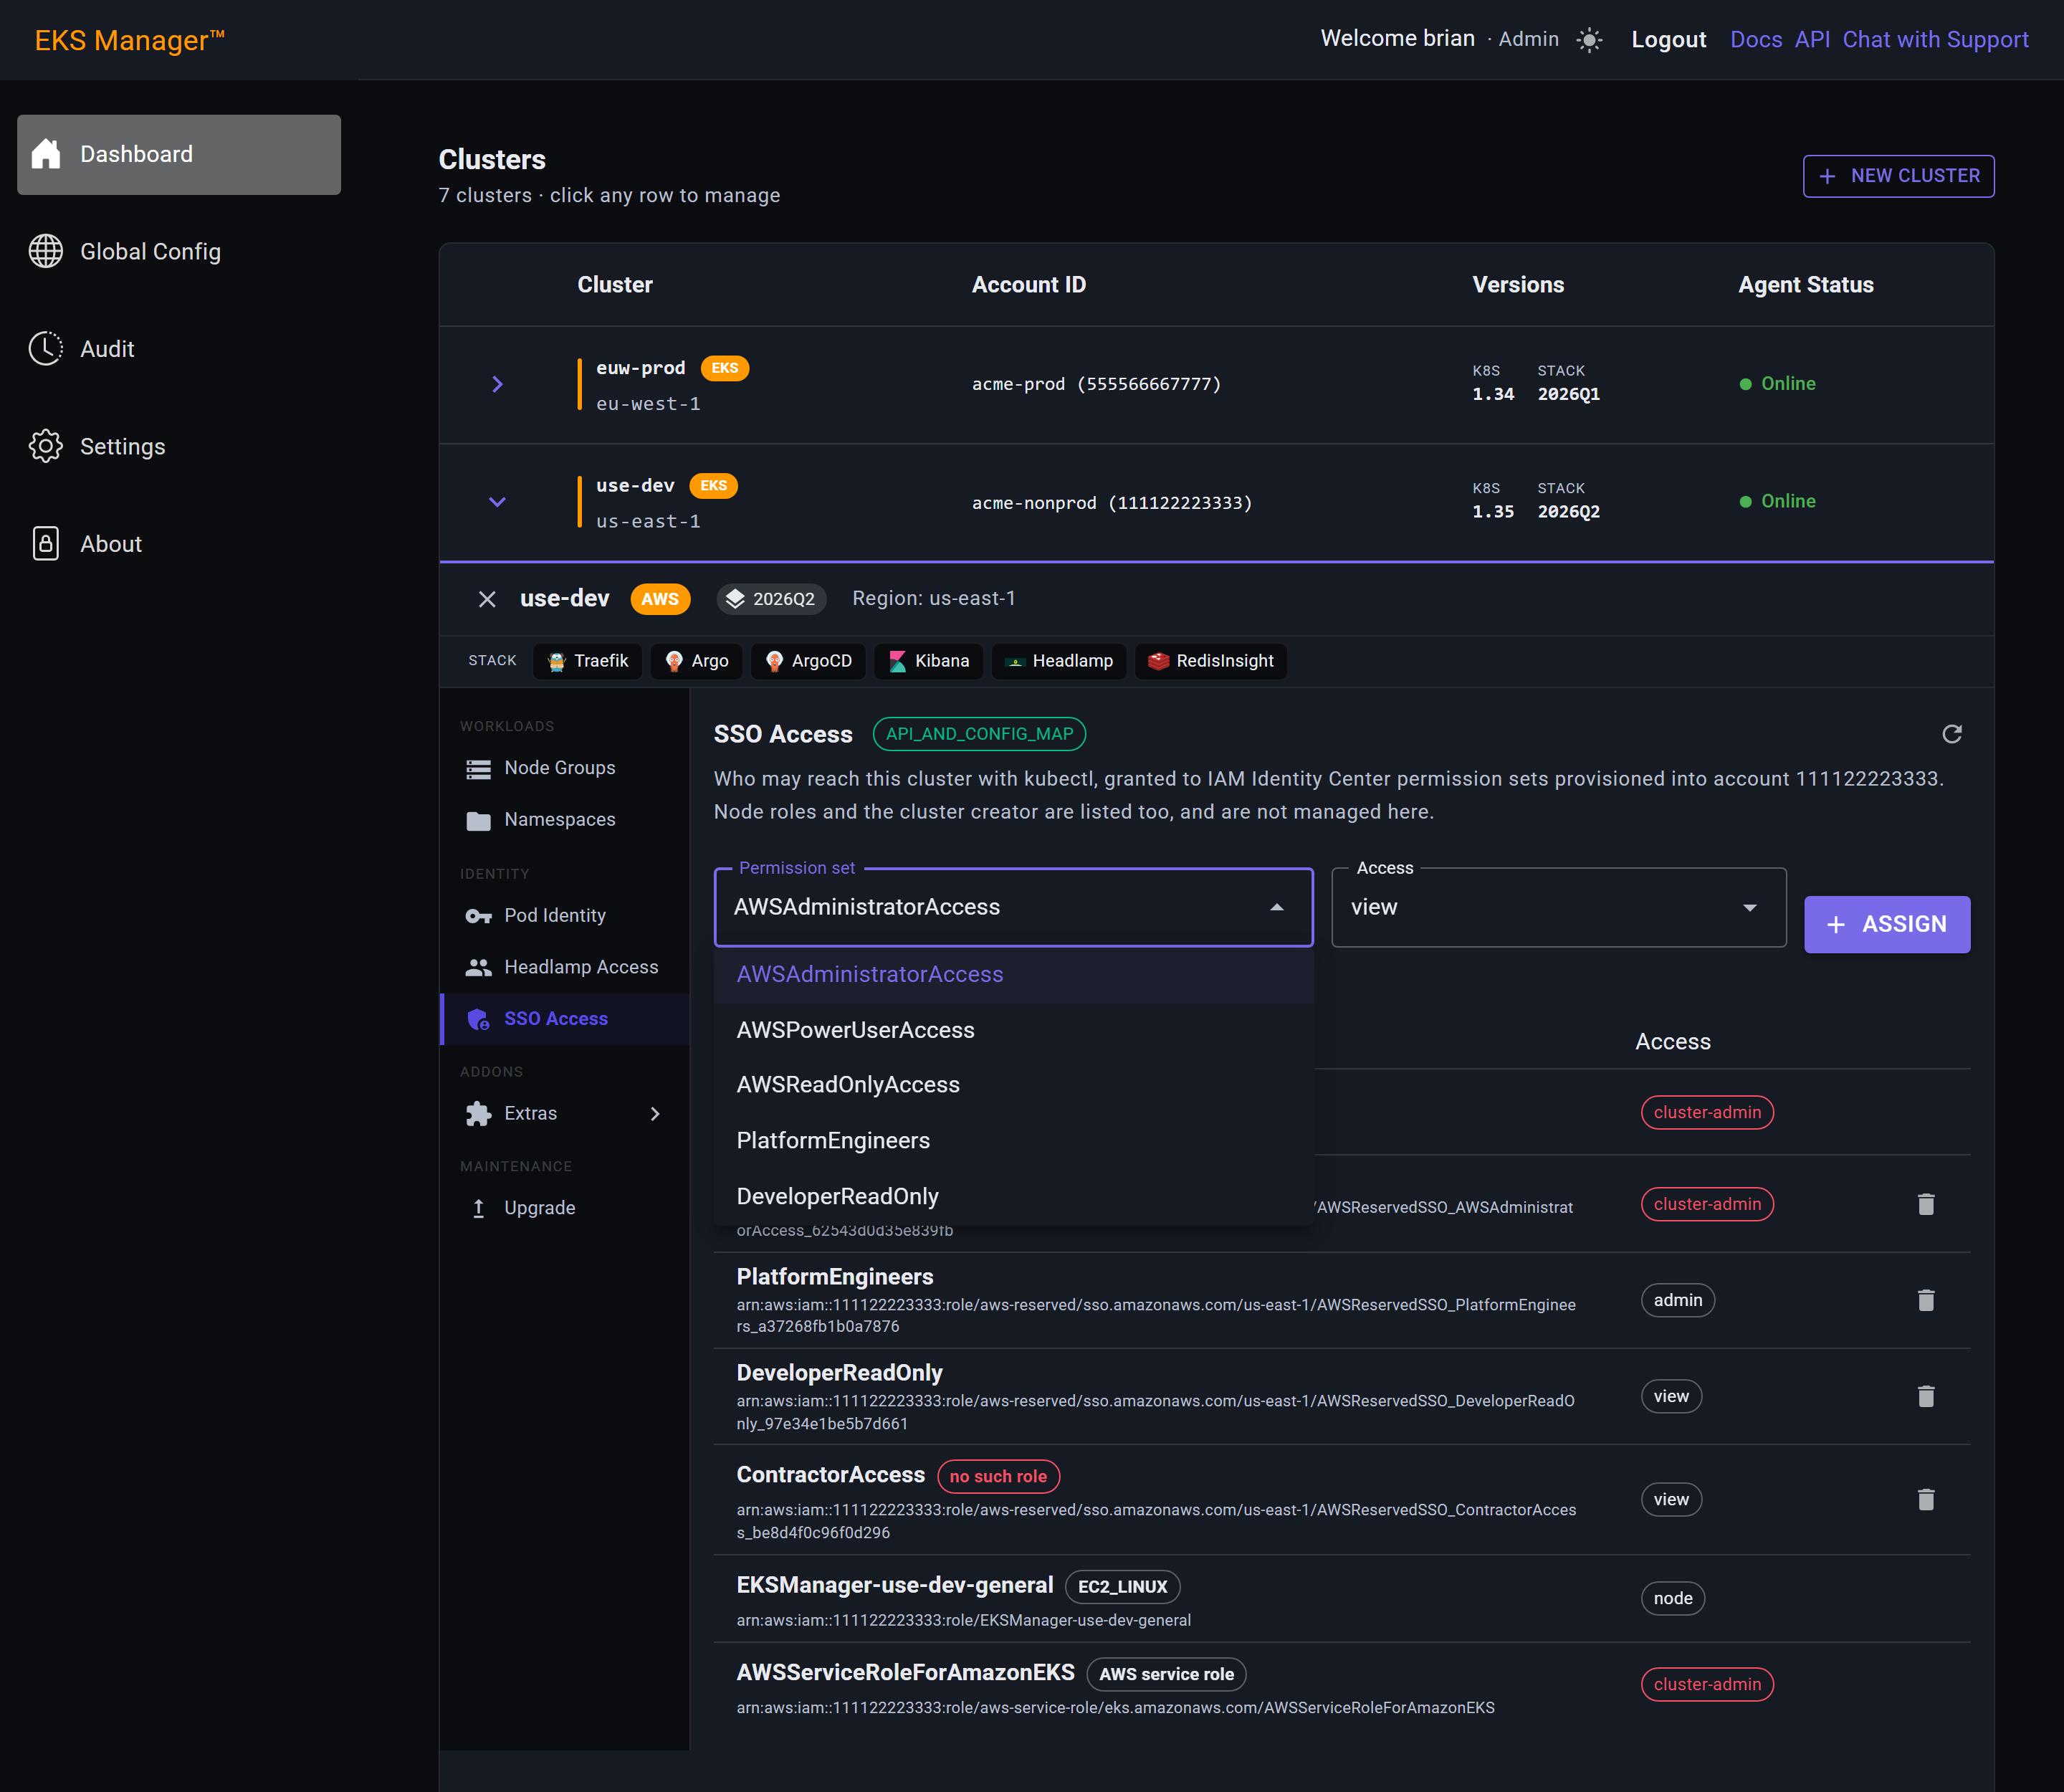
Everything that can reach the cluster, not only what you granted. Four kinds of row appear, and only the first two are yours to change:
Permission set— what you granted, with its access levelNo such role— an entry whose permission set has since been deprovisioned. The hash went with it, so the entry grants nothing and never will again. This is the one row worth deletingCluster creator— created by AWS when the cluster was built. Removing it is how you lock the product out of its own cluster, so it has no delete buttonEC2_LINUXand the like, orAWS service role— node roles and AWS's own service-linked role. These are how nodes join and how EKS runs; deleting them breaks the cluster, so they are read-only here
The full ARN is shown under each name because that is what you would search for in the AWS console or in CloudTrail. The name above it is the permission set the ARN belongs to.
Choose a permission set, choose an access level, and press Assign. The four levels are EKS access policies, managed by Amazon EKS rather than by IAM, whose permissions match the Kubernetes cluster roles of the same names:
cluster-admin— full control of the clusteradmin— full control of most resources, short of cluster-wide configurationedit— create and change workloadsview— read-only
Nothing is stored by EKS Manager. The cluster is the record, so this list is read back from it every time the section is opened — what you see is what the cluster says, not a copy that could drift from it. The consequence is that an agent must be connected for the section to show anything at all.
Access applies per cluster. Granting a permission set on one cluster grants nothing on another, including clusters in the same account.
The second pulldown is the Kubernetes side. The four levels are EKS access policies, and they are not IAM policies — they do not appear in the IAM console and their contents cannot be read through the IAM API. Amazon EKS manages them, and their permissions match the Kubernetes cluster roles of the same names.
cluster-admin is full control of the cluster. admin stops short of cluster-wide configuration, edit creates and changes workloads, and view reads without changing anything. Granting one attaches it to the access entry; it does not give the permission set any more IAM permission than it already had.
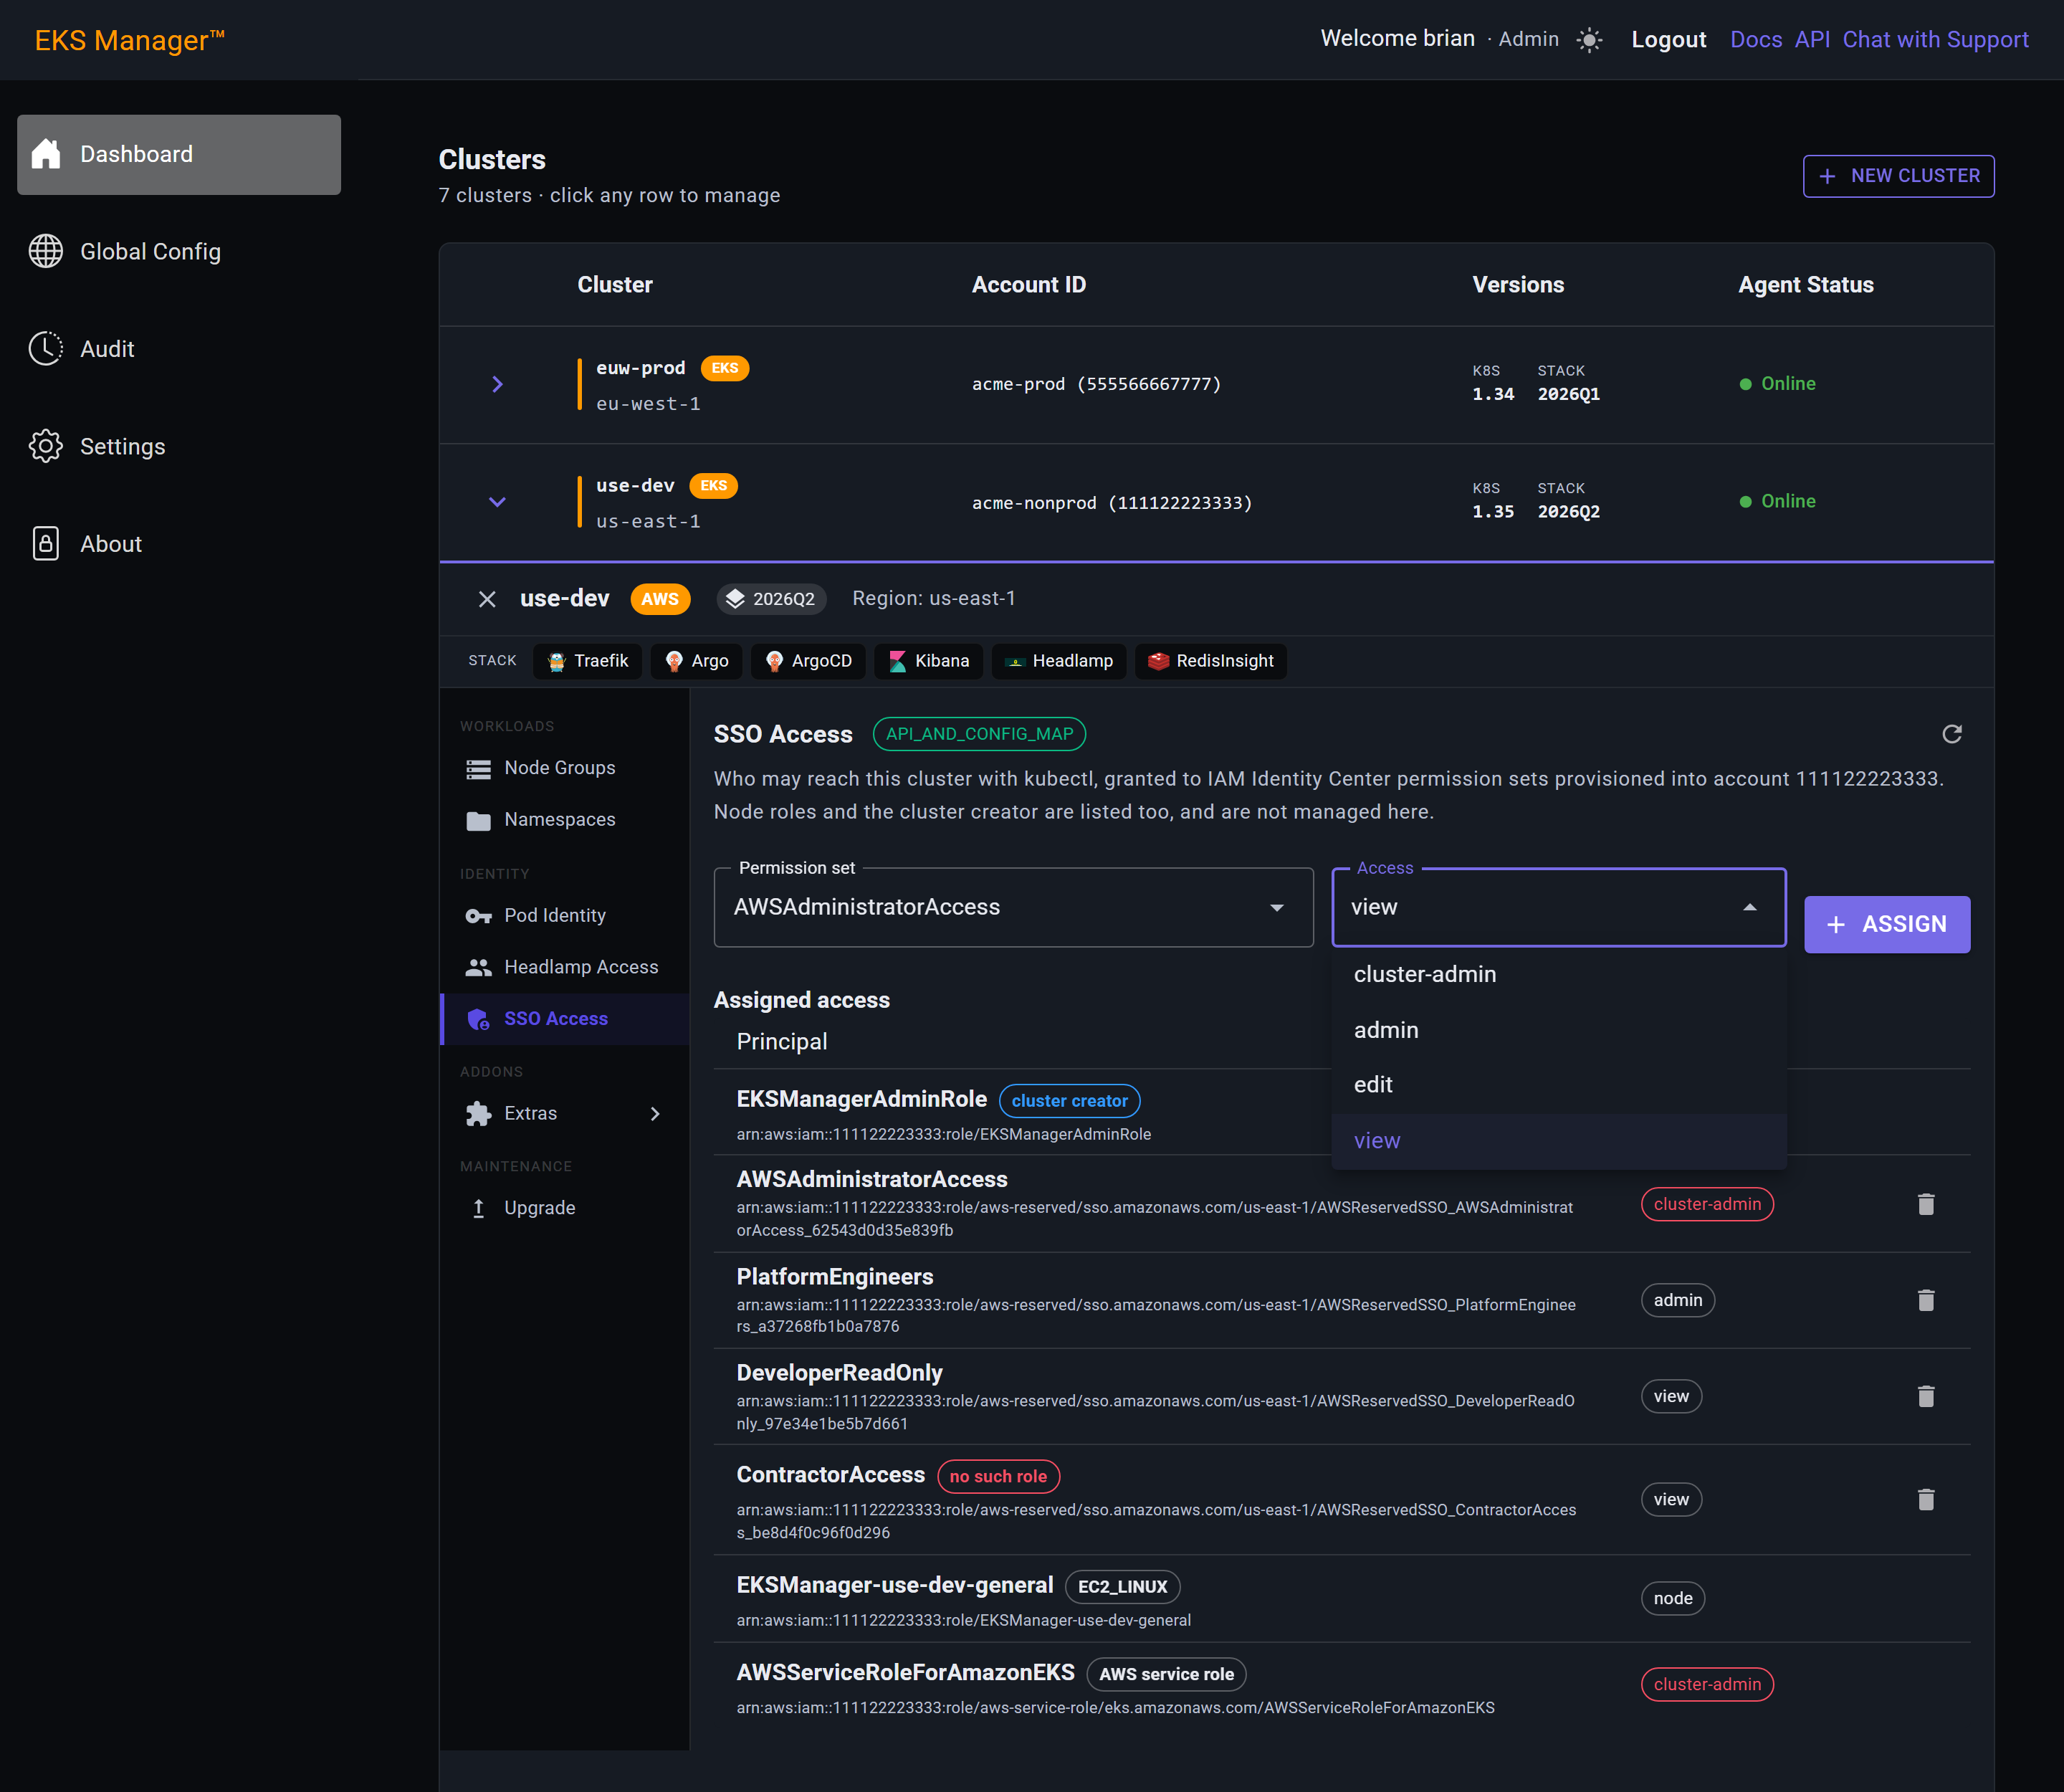
AWSAdministratorAccess at cluster-admin: the permission set on the left, the access level on the right, and nothing has happened yet. Pressing Assign writes the access entry to the cluster.
The list below refreshes from the cluster once it returns, so the new row appearing there is the cluster confirming it rather than the screen assuming it.
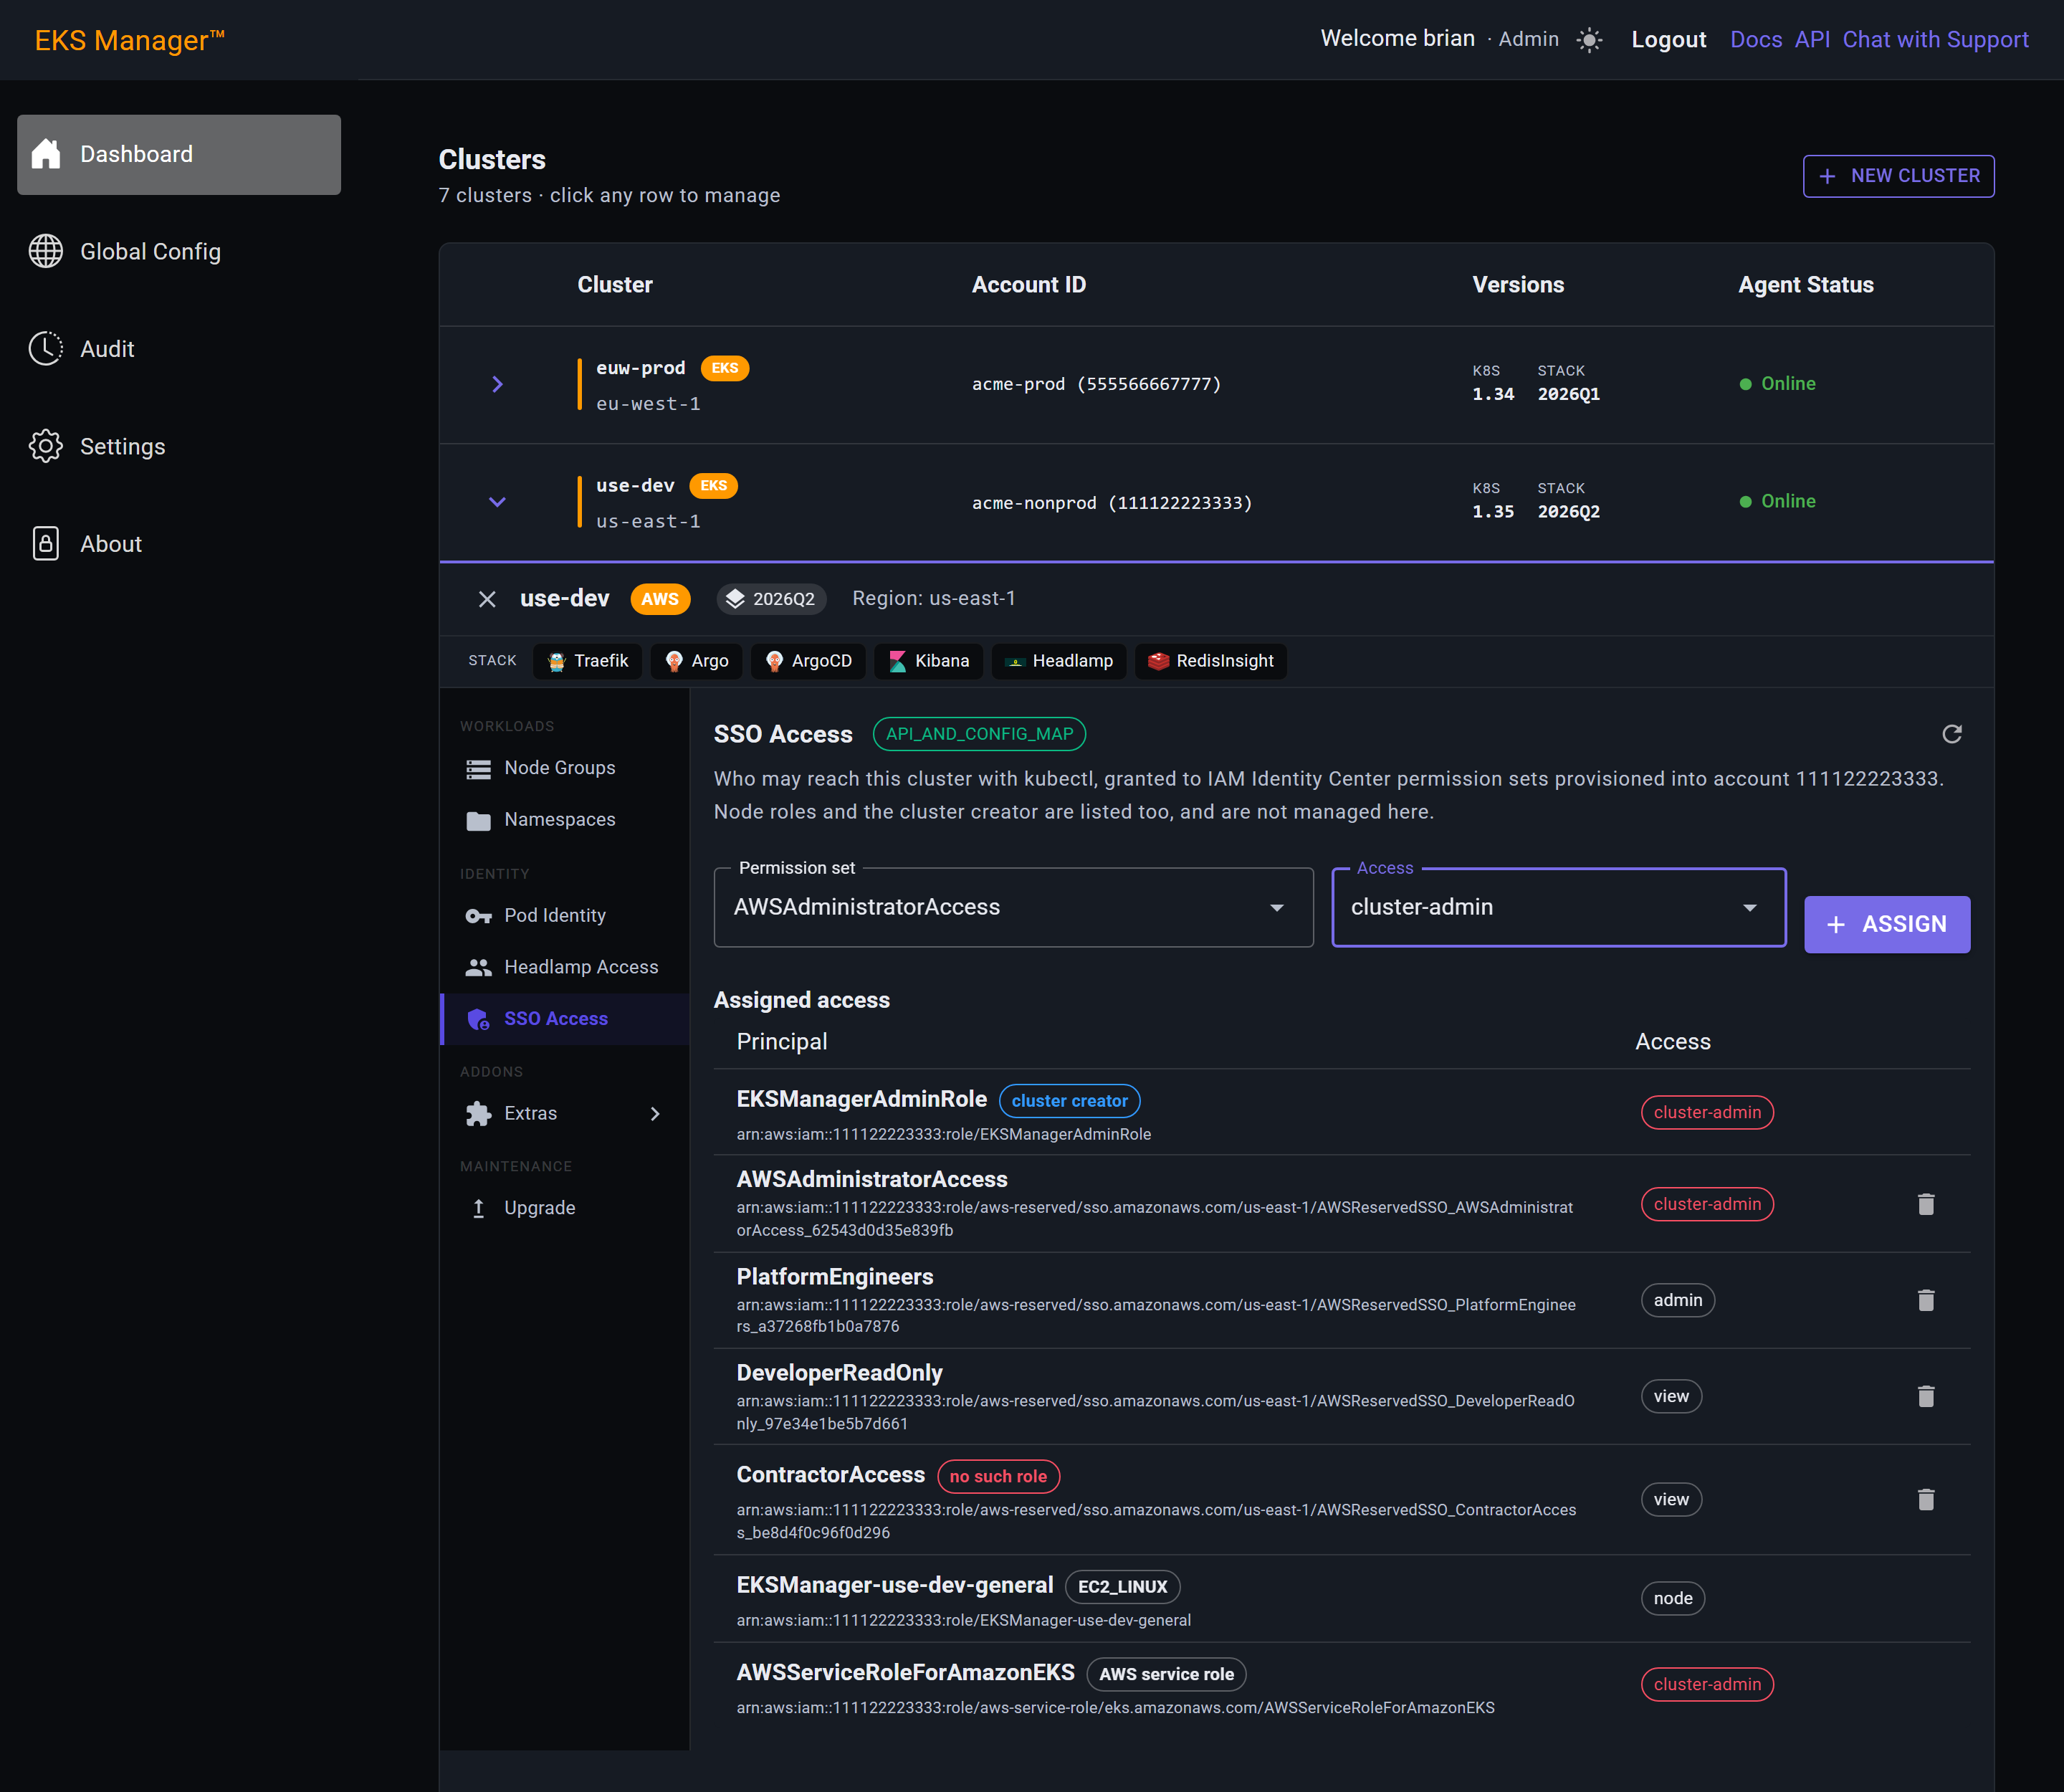
Check which role they are actually in. The AWS console shows the assumed role at the top right, reading AWSReservedSSO_<name>_<hash>/<user>. Clicking a different permission set in the access portal does not always replace a console session that is already open, so it is easy to be certain you are using one permission set while the browser is still holding another. A private window removes the doubt.
Reload the cluster page. An access entry takes effect immediately, but a console page opened before the grant can keep showing its earlier refusal.
Try kubectl. It talks to the cluster directly and skips the console entirely. If kubectl works and the console does not, the cluster is fine and the problem is the session or the browser.
Check the permission set still exists. Unassigning it from the account in Identity Center, or deleting it outright, deprovisions the role it had created. The access entry on the cluster outlives that role: the grant still lists here, and admits nobody. It is shown as no such role, and it is the one row worth deleting — re-assigning the permission set creates a new role with a new hash, so the old entry never becomes valid again and the grant has to be made afresh.
ContractorAccess is the case above, on screen. The entry is intact and the level still reads view, but the role it names no longer exists, so it admits nobody.
Everything else in the list is working normally: an ordinary grant, the cluster creator, a node role and AWS's own service-linked role. Only the row marked no such role is doing nothing.
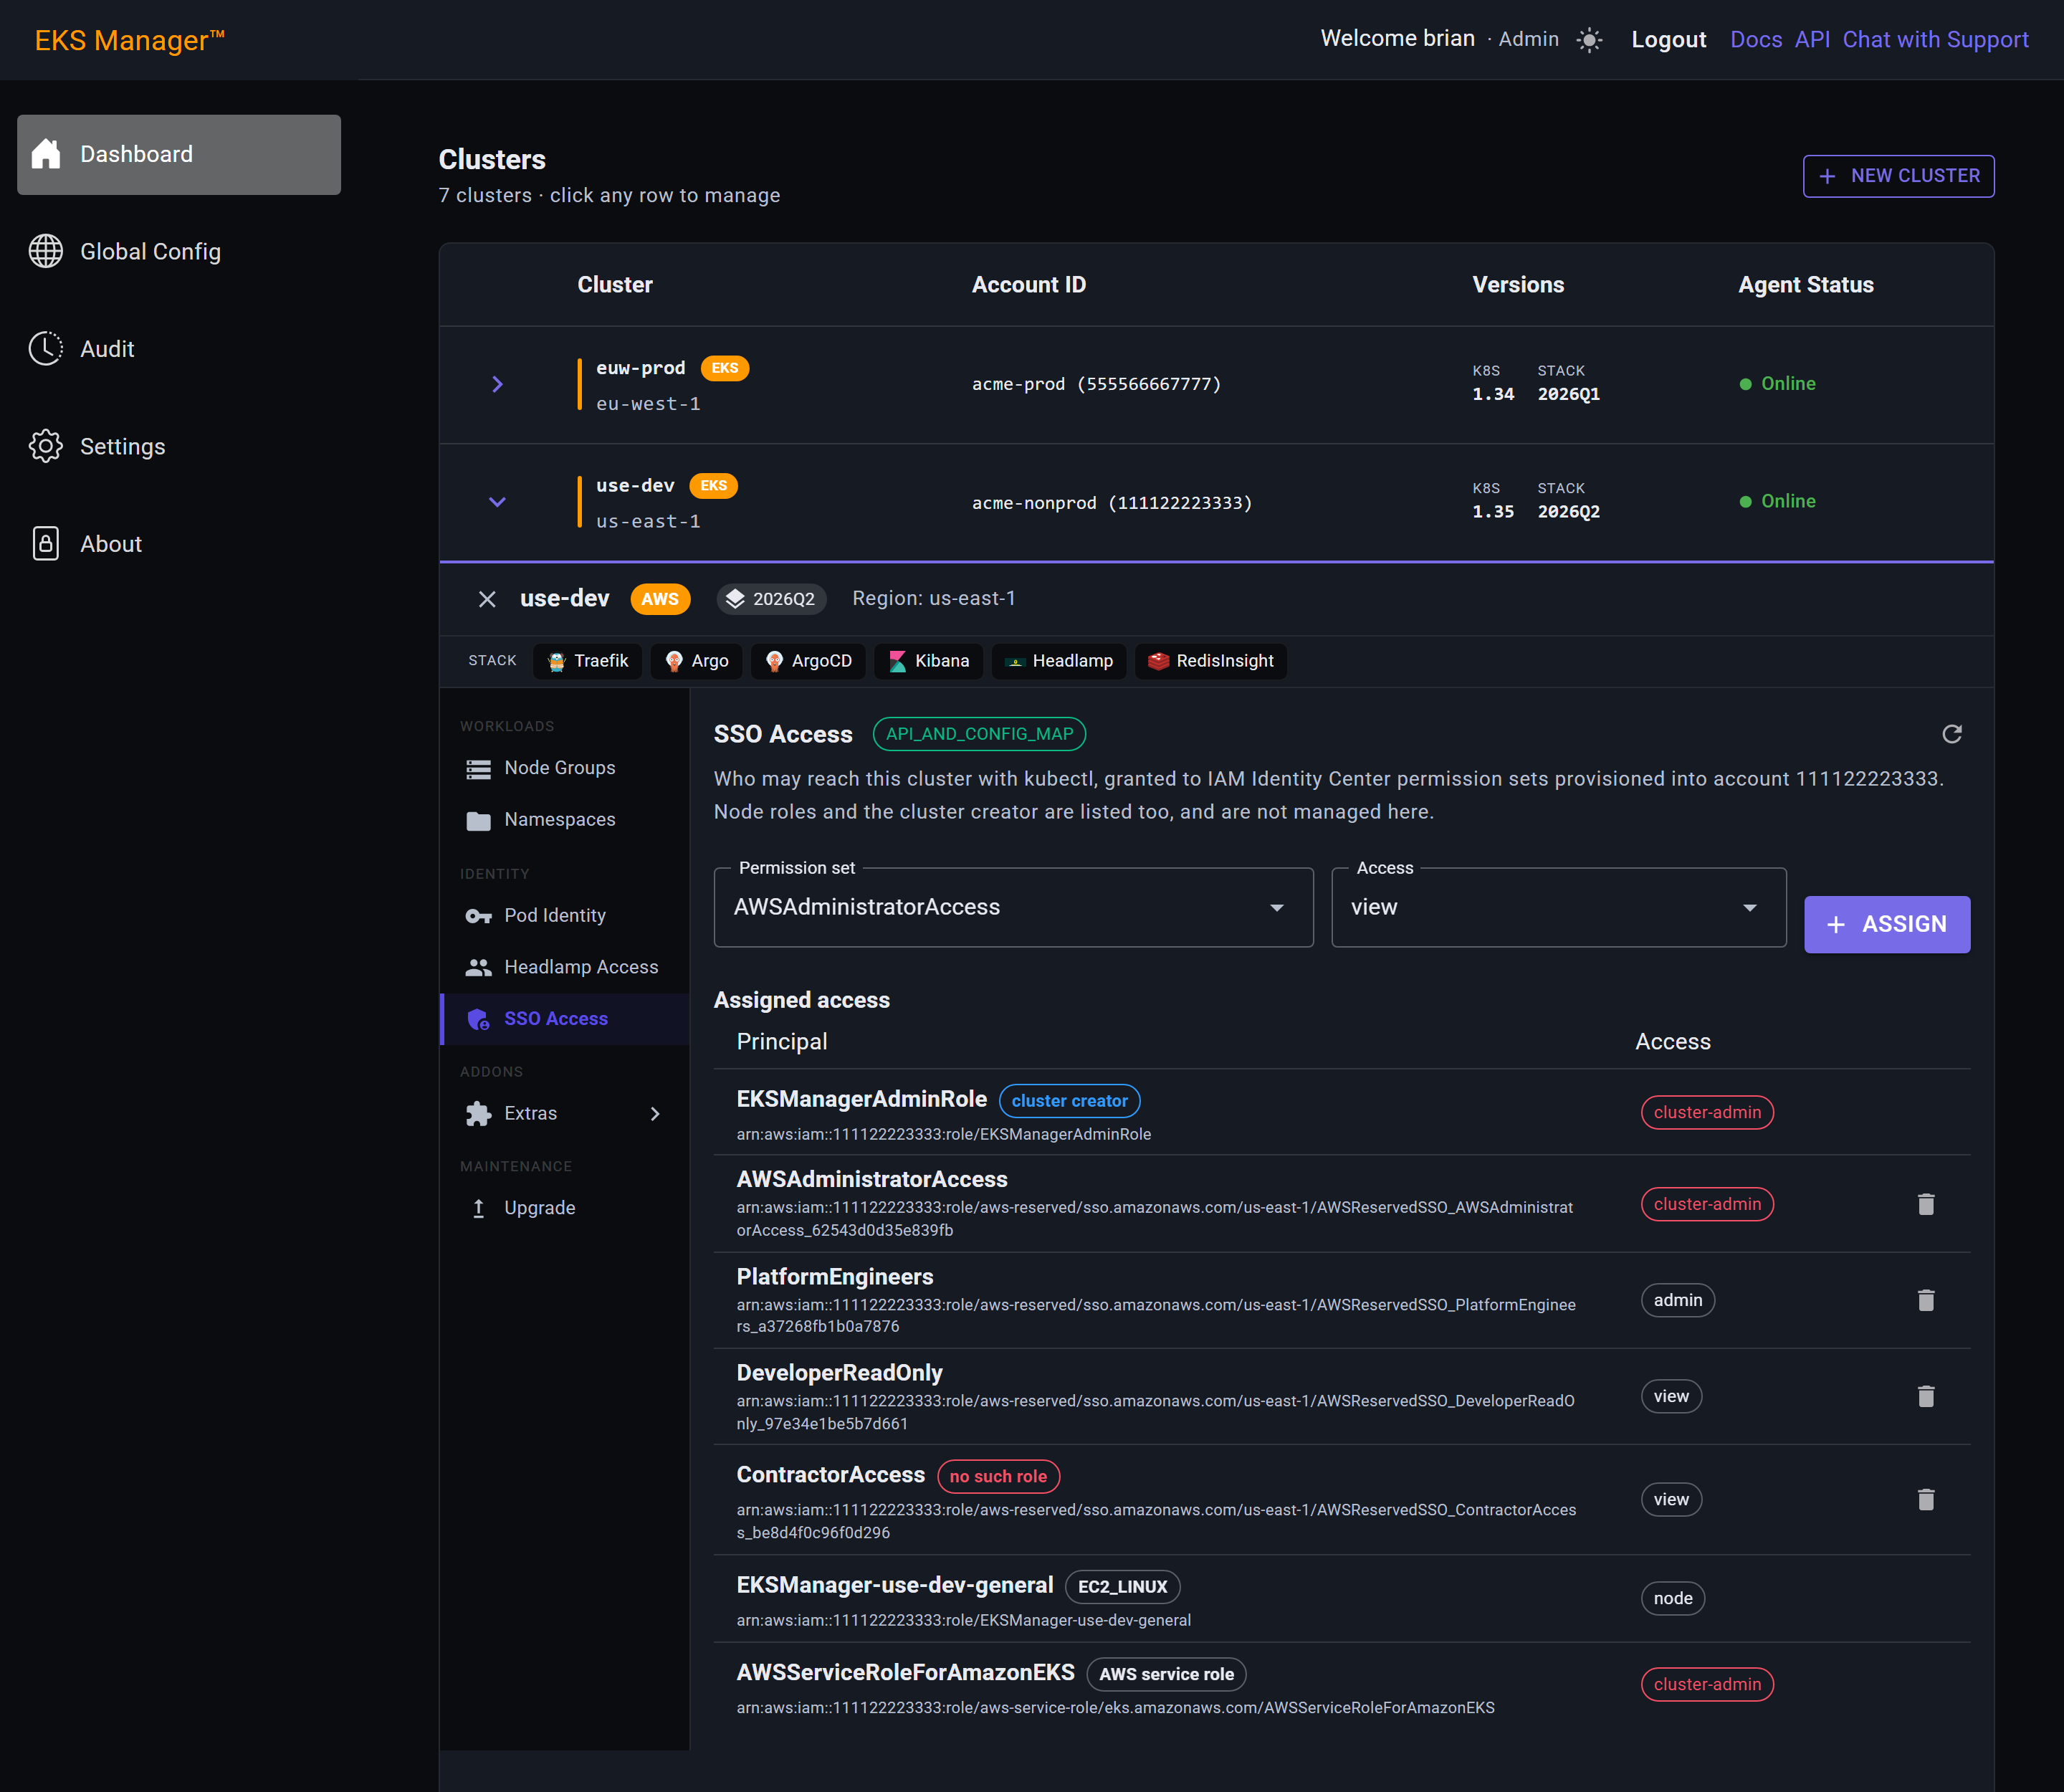
A cluster whose authentication mode is CONFIG_MAP has no access entry API at all, and the section will say so rather than offer a form that cannot work. The mode is shown beside the heading.
It is a one-time change per cluster, and it is one-way:
API_AND_CONFIG_MAP rather than API: the second stops the aws-auth ConfigMap being read at all, and that mapping is what the product's own agent depends on to reach the cluster. Clusters built by EKS Manager since this feature arrived are already in the right mode.
Extras
Extras holds the optional pieces — things a cluster can have rather than things it must. GitHub Runner puts self-hosted Actions runners in the cluster; K8s Restart puts a small console there for restarting workloads.
These are deployed by GitOps Manager into the cluster. They are not AWS add-ons and they are not part of the core stack, so an upgrade does not touch them.
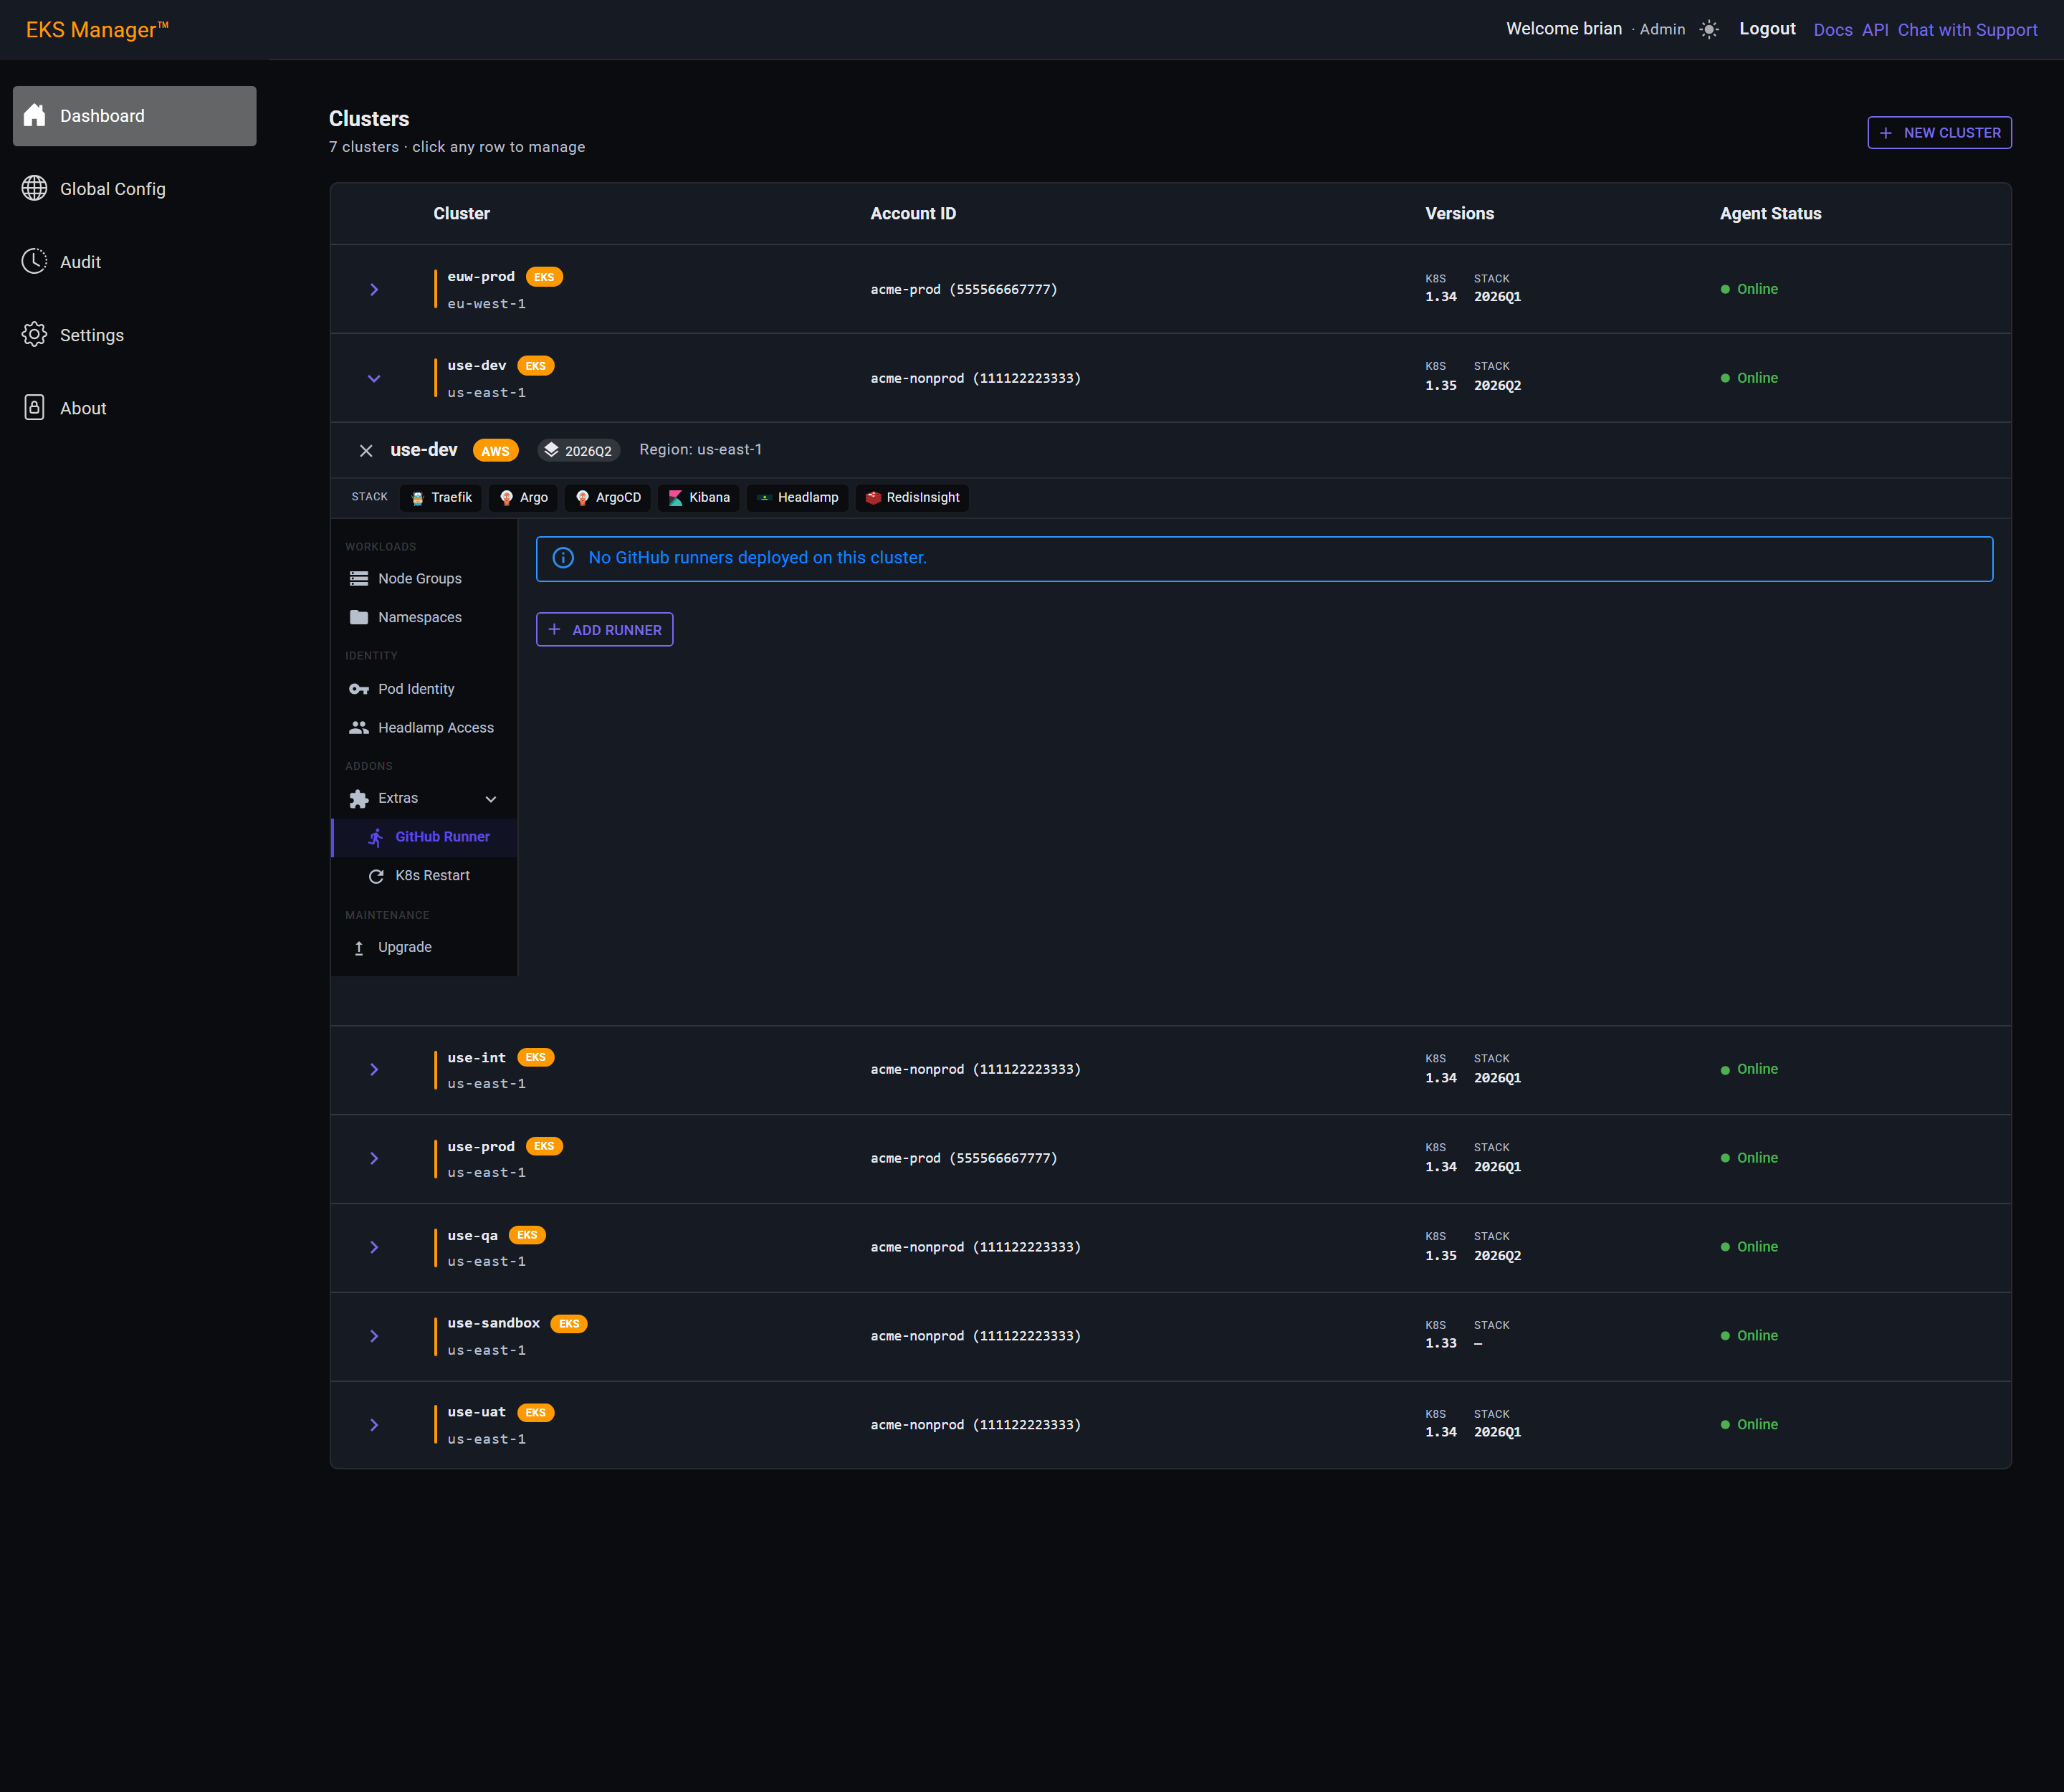
GitHub ARC is the GitHub Actions Runner Controller. EKS Manager deploys two runners from it: a build container that supports Docker Bake, and a deploy container. Both integrate with the GitOps Manager open-source CI/CD actions and workflows.
A new cluster has neither. Runners are an extra you add when something needs to build or deploy from inside this cluster, and they are per cluster — a workflow that targets one here runs with this cluster's network and this cluster's identities.
Deploying them also creates an ARC pod identity. The runner service account gets its own IAM role, so a pipeline running here can reach AWS without a credential written into the workflow. It appears on the Pod Identity page as one of the rows marked Restricted — deleting it stops the runners being able to do anything.
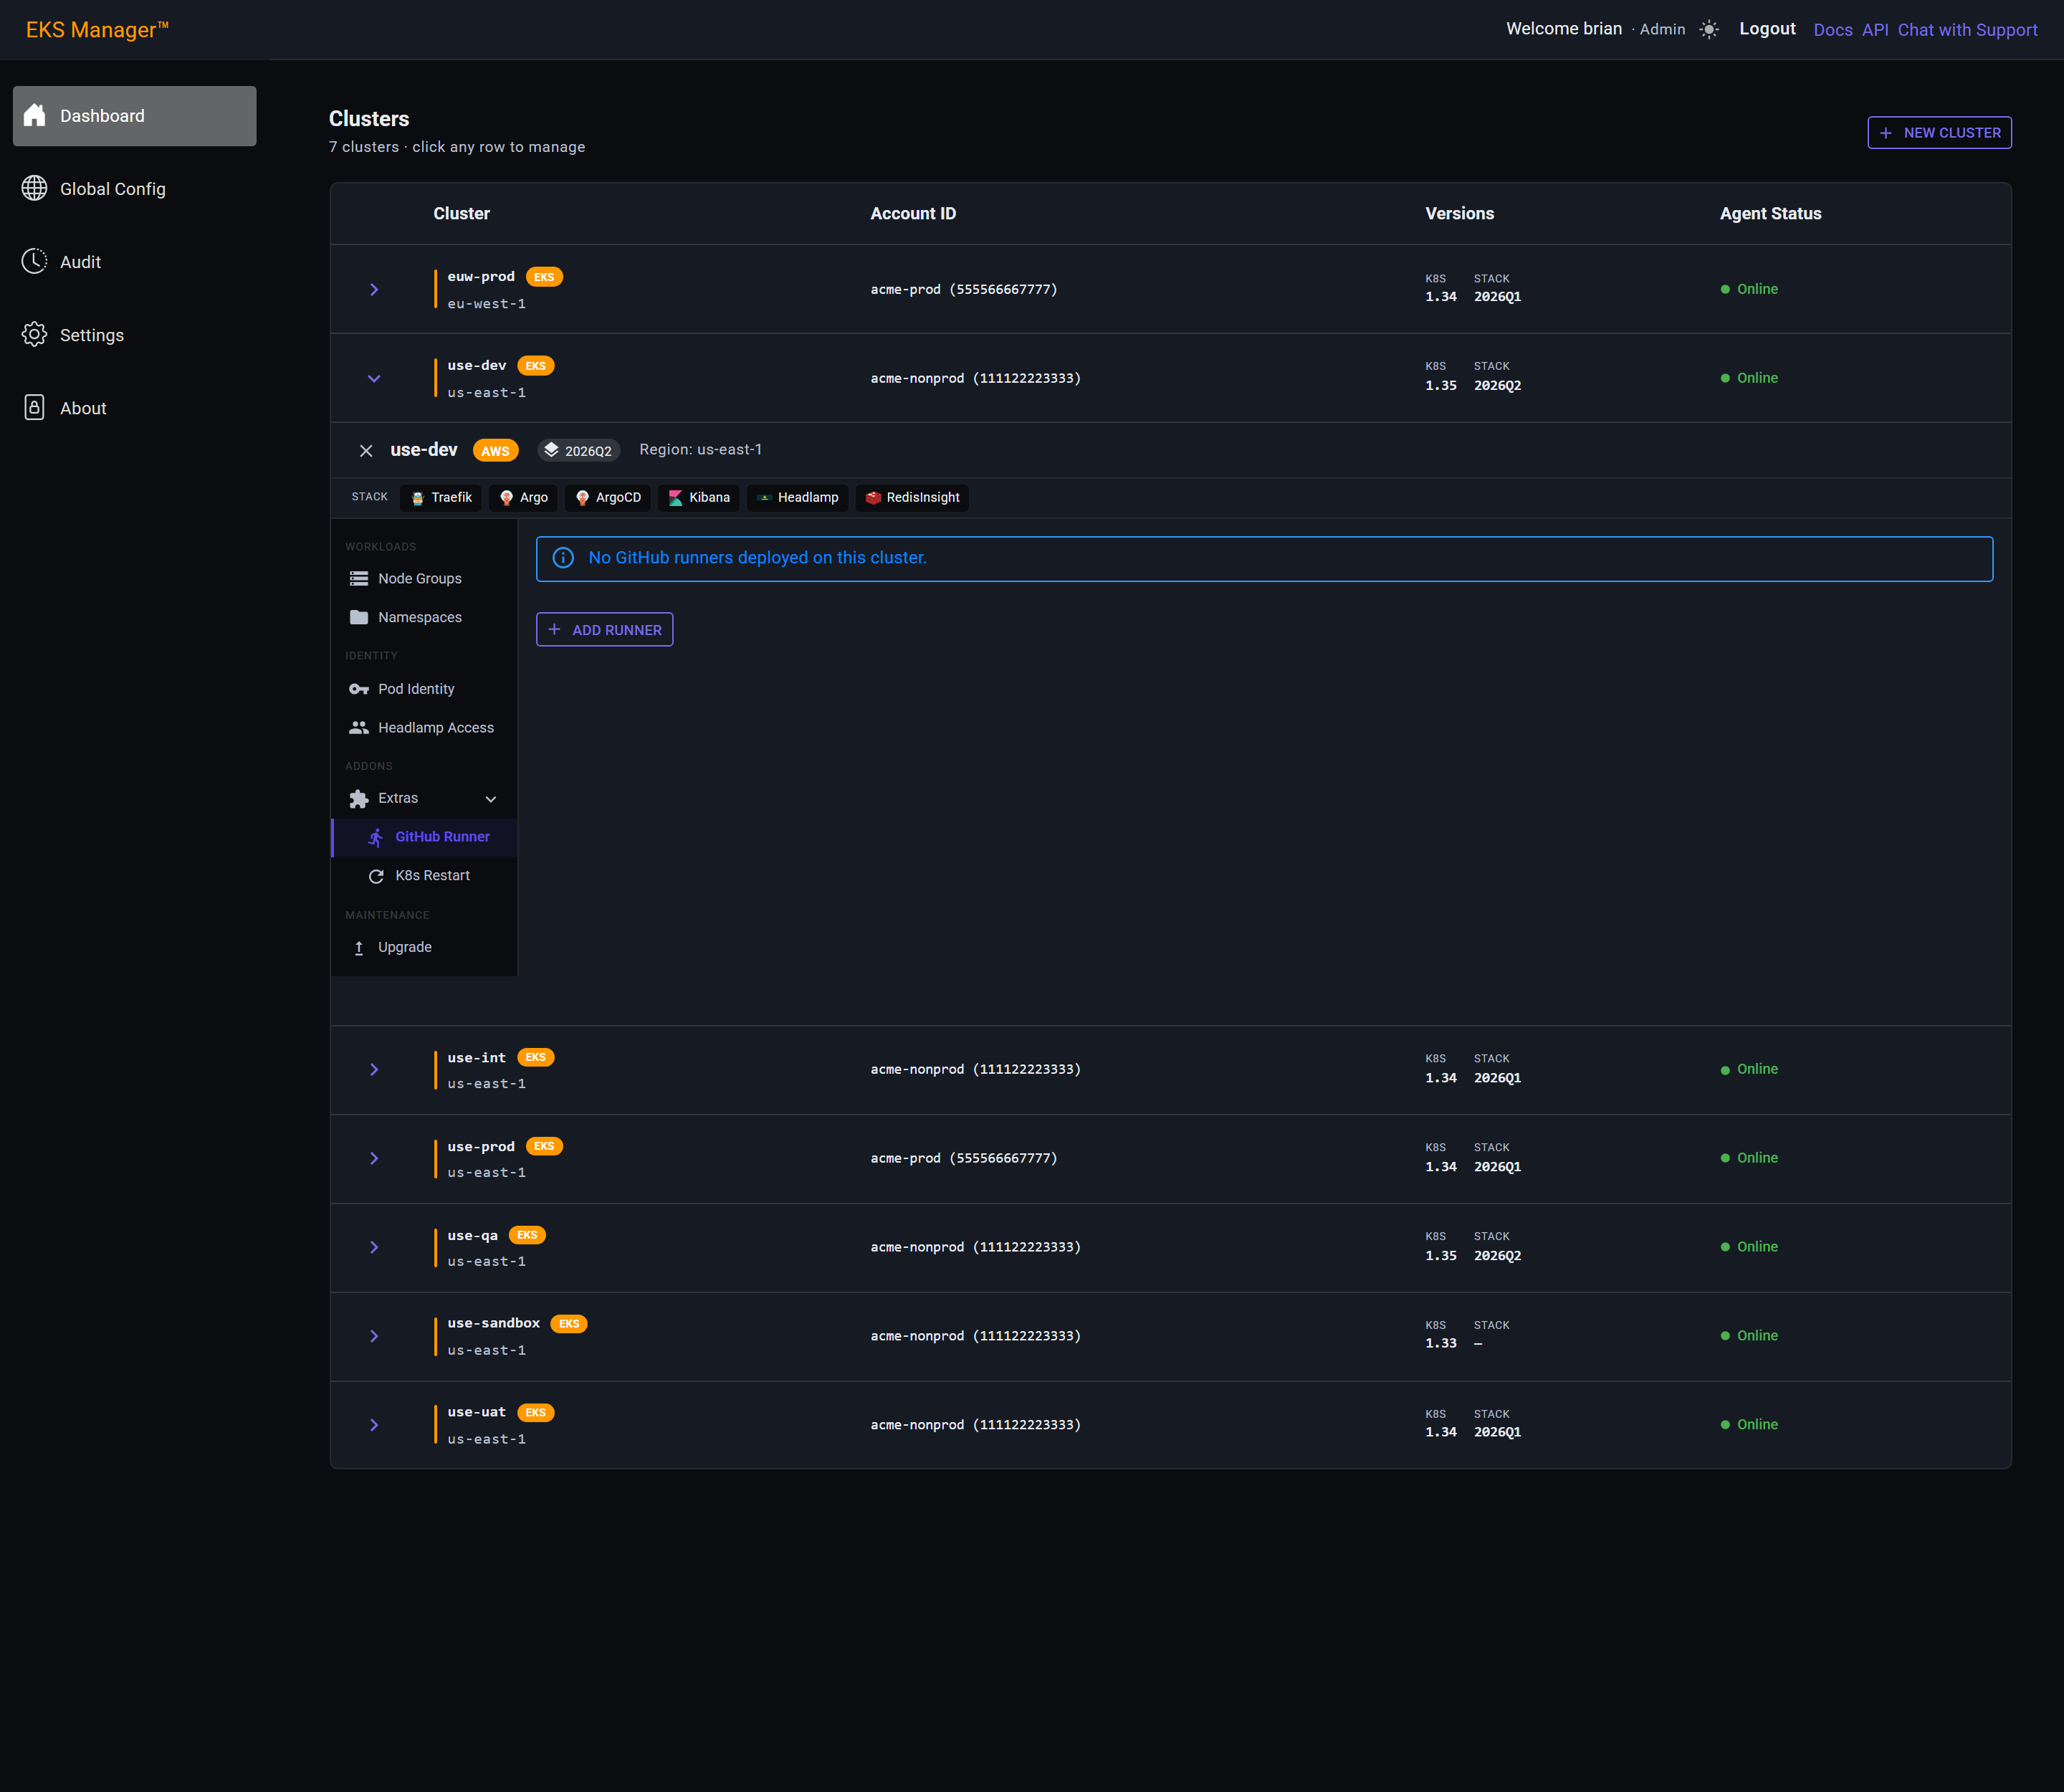
Add Runner asks which GitHub organisation the runners register with. The list is the organisations this installation is connected to — a new one is added in Global Config, not here.
GitHub Group is optional. Left empty the runners land in the organisation's Default group, which is what most setups want.
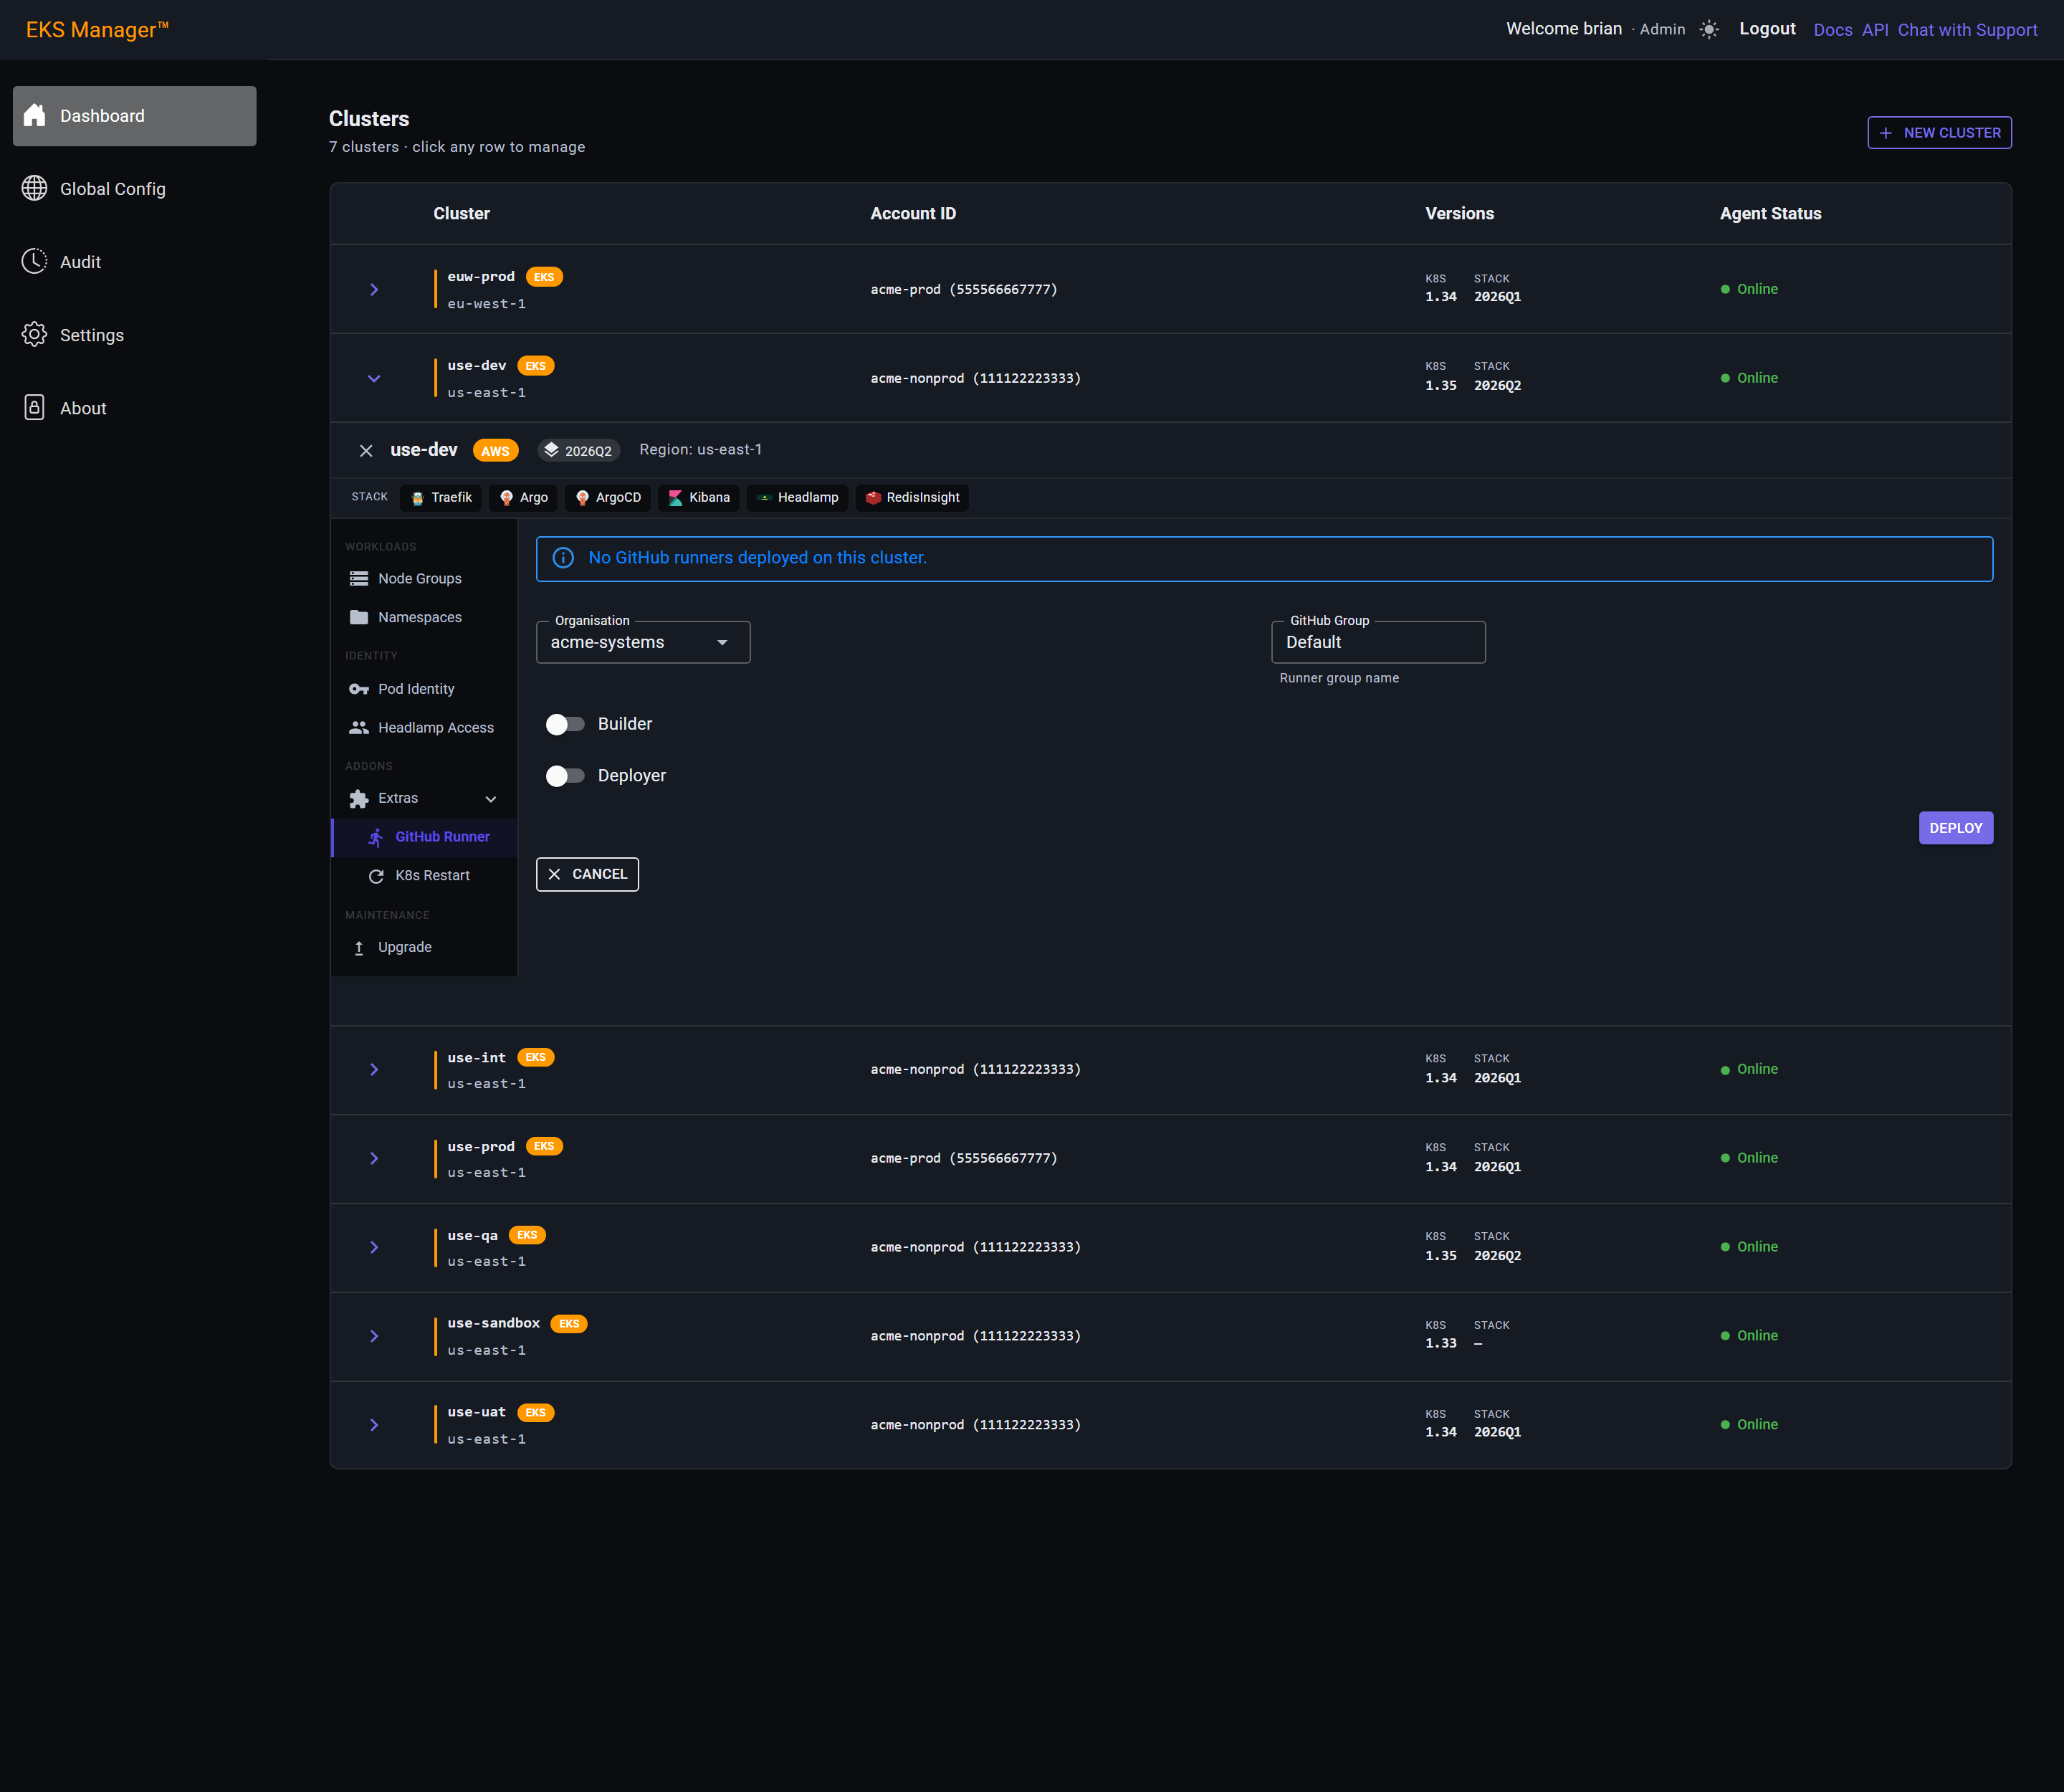
The two roles are separate switches, and each is pinned to its own node group. Turning both on gives the pair most pipelines want: one runner that builds, one that deploys.
They are pinned apart on purpose. arc carries the builds — spiky, memory hungry, and able to scale back to nothing between pipelines — while arcdep only ever runs deploy steps and stays small. Sharing one group means a heavy build can hold up a release that has nothing to do with it.
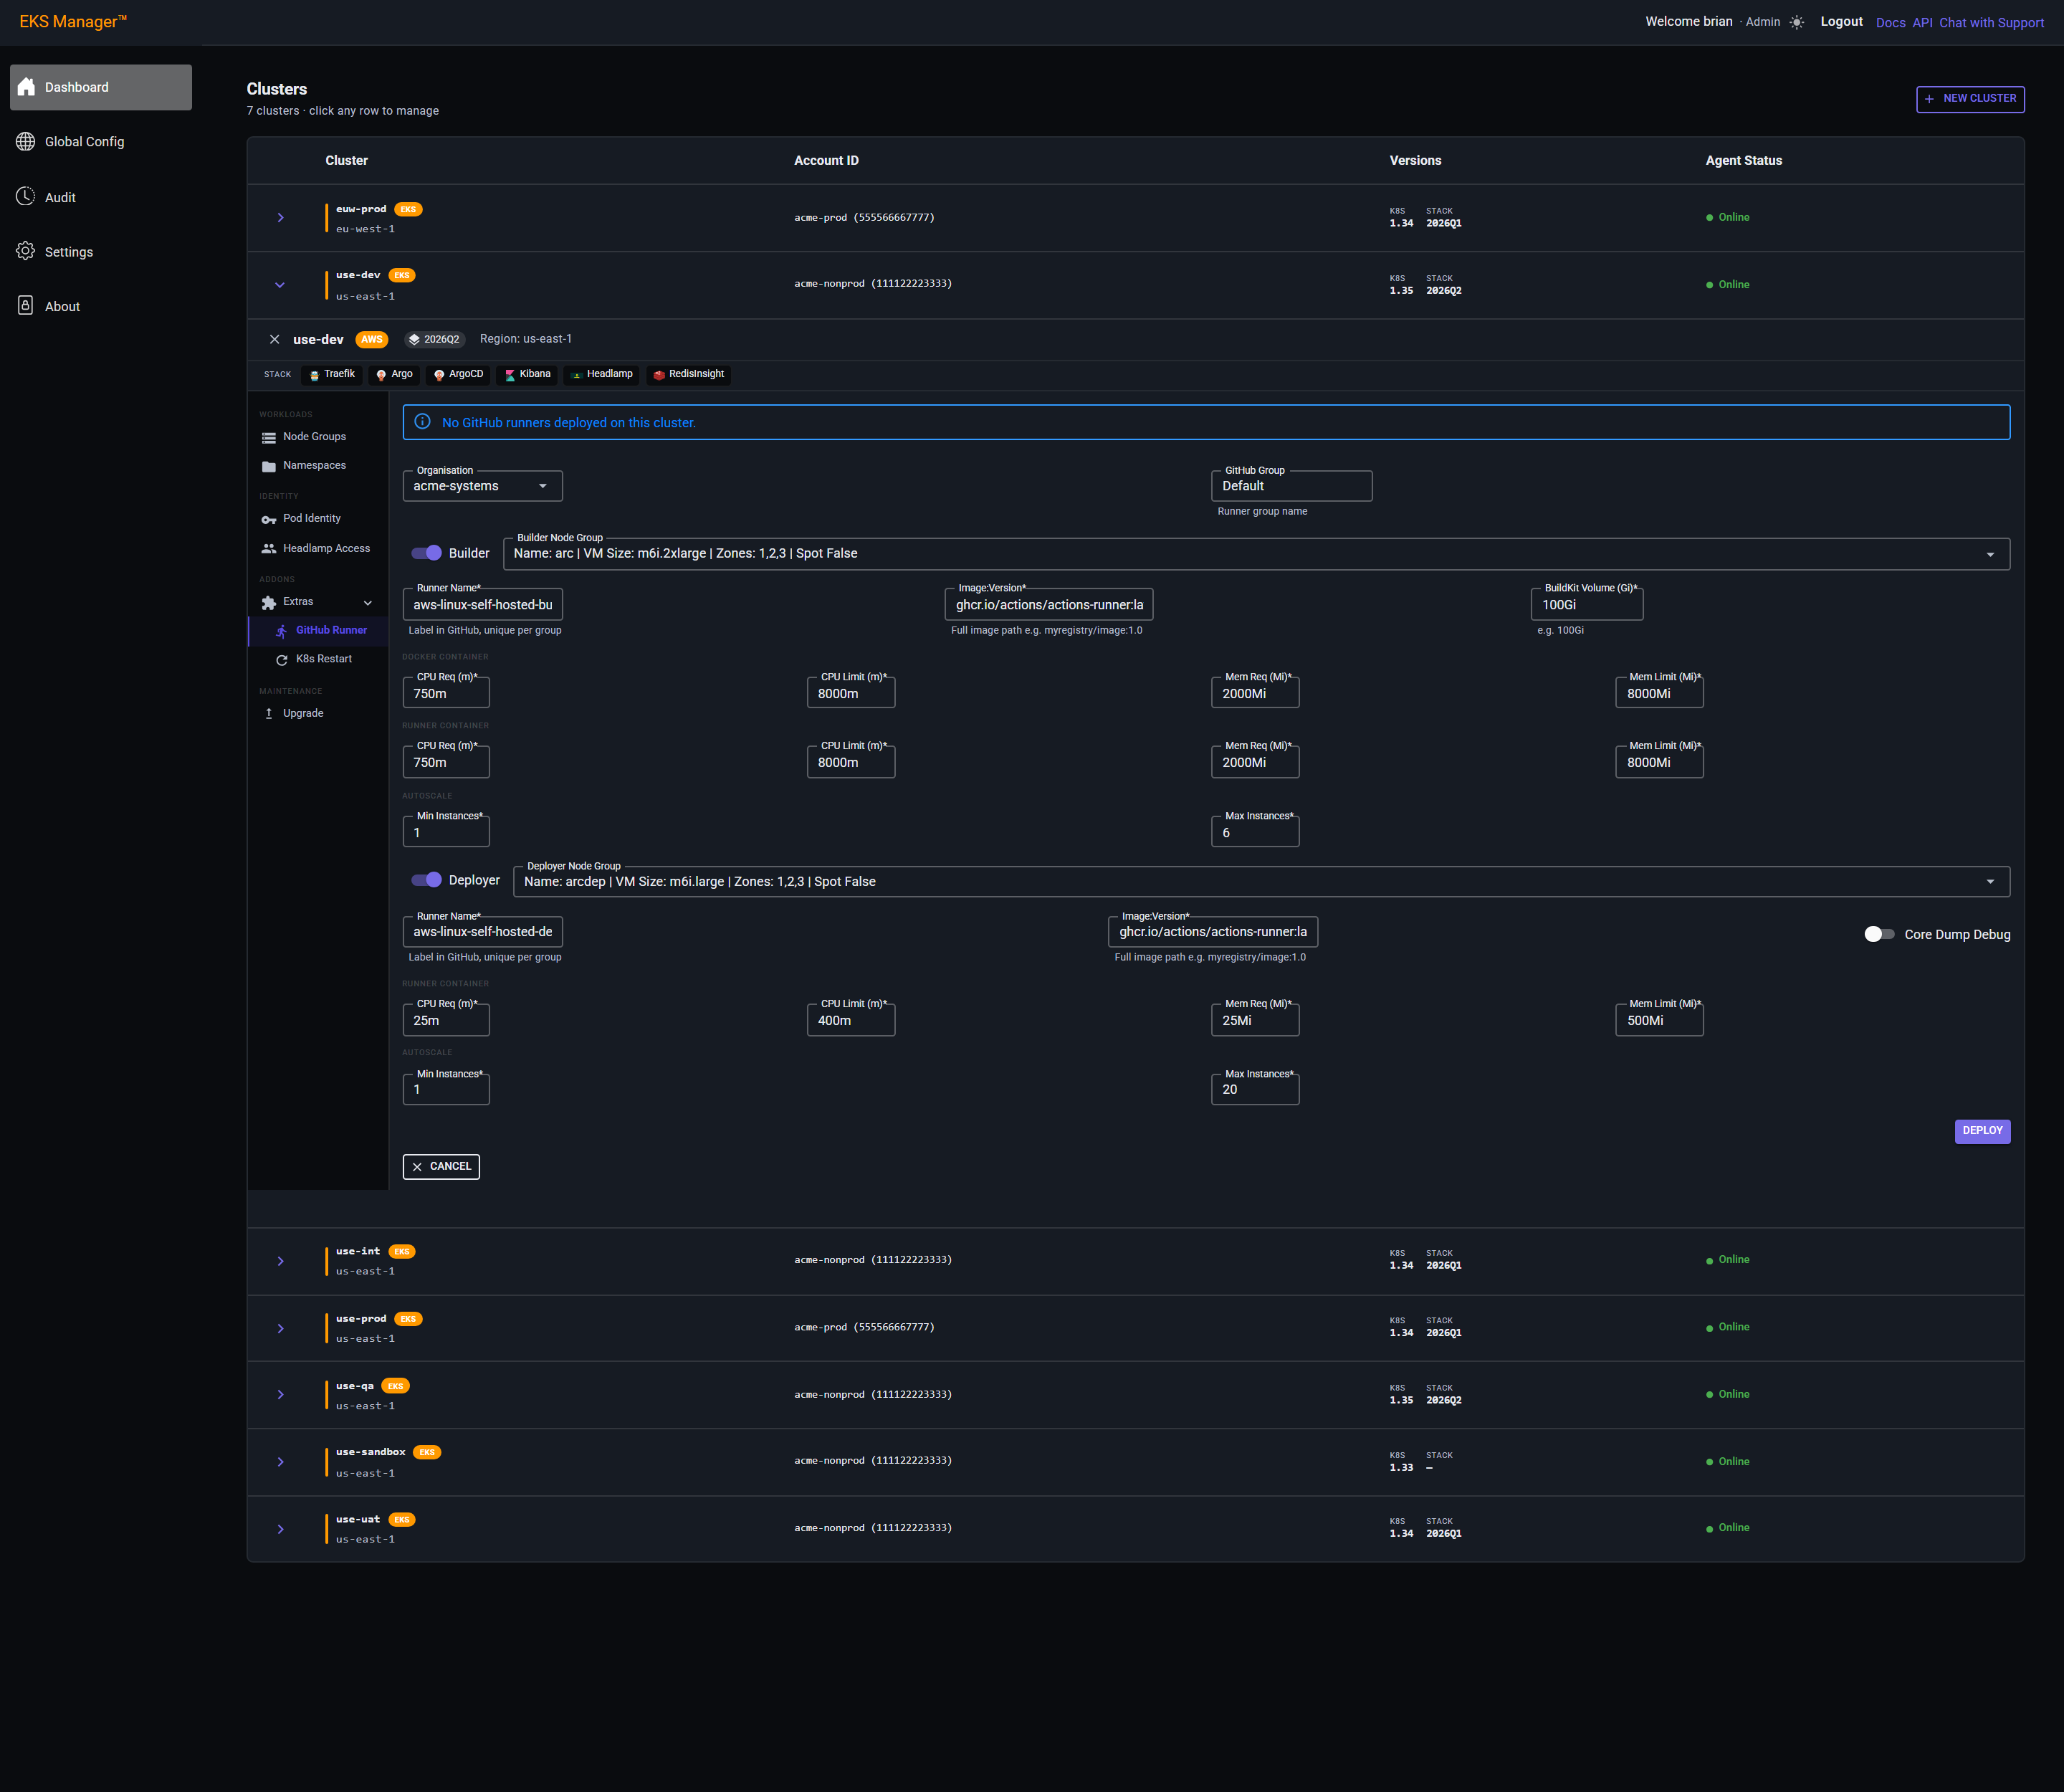
Deploy sends the request. Everything above it is still only a form until this is pressed — the switches, the node groups and the organisation have changed nothing in the cluster yet.
It does not go straight away. The next thing you see is a question.
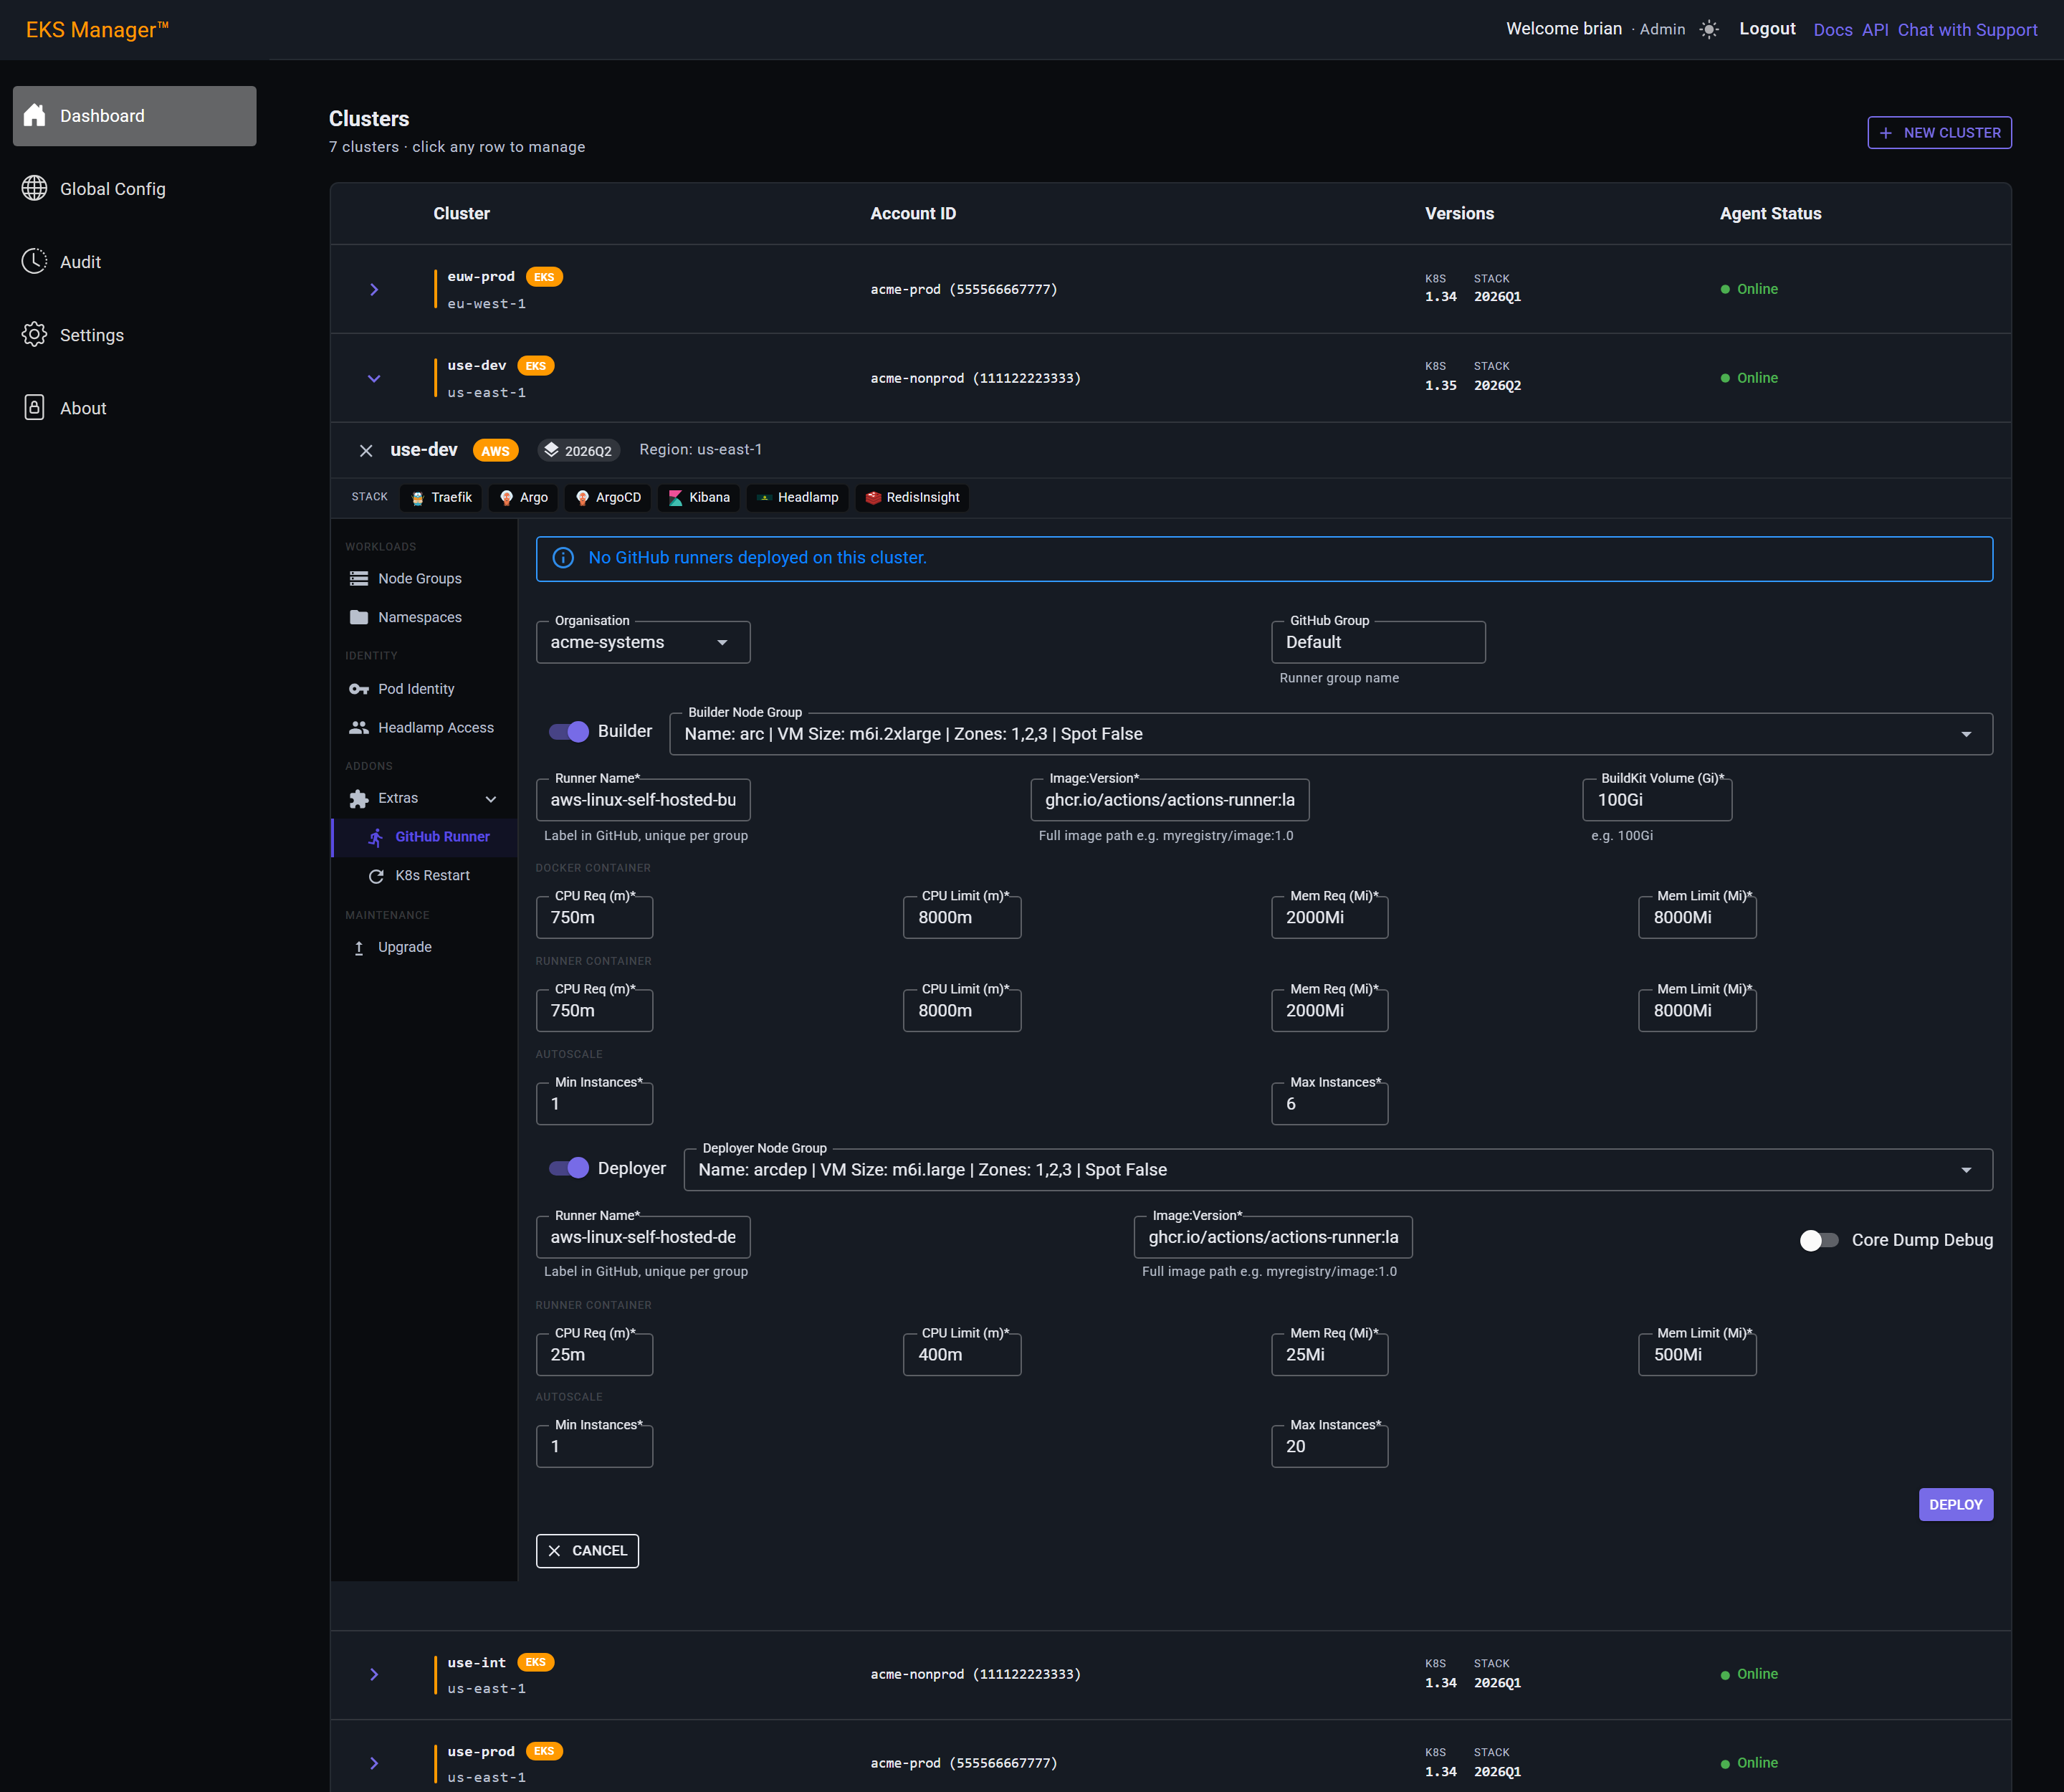
Deploy asks before it does anything, and the question names the namespace the runners are going into — arc- followed by the organisation.
Worth reading rather than clicking through. The namespace is derived from the organisation you chose, so this line is the last chance to notice you picked the wrong one.
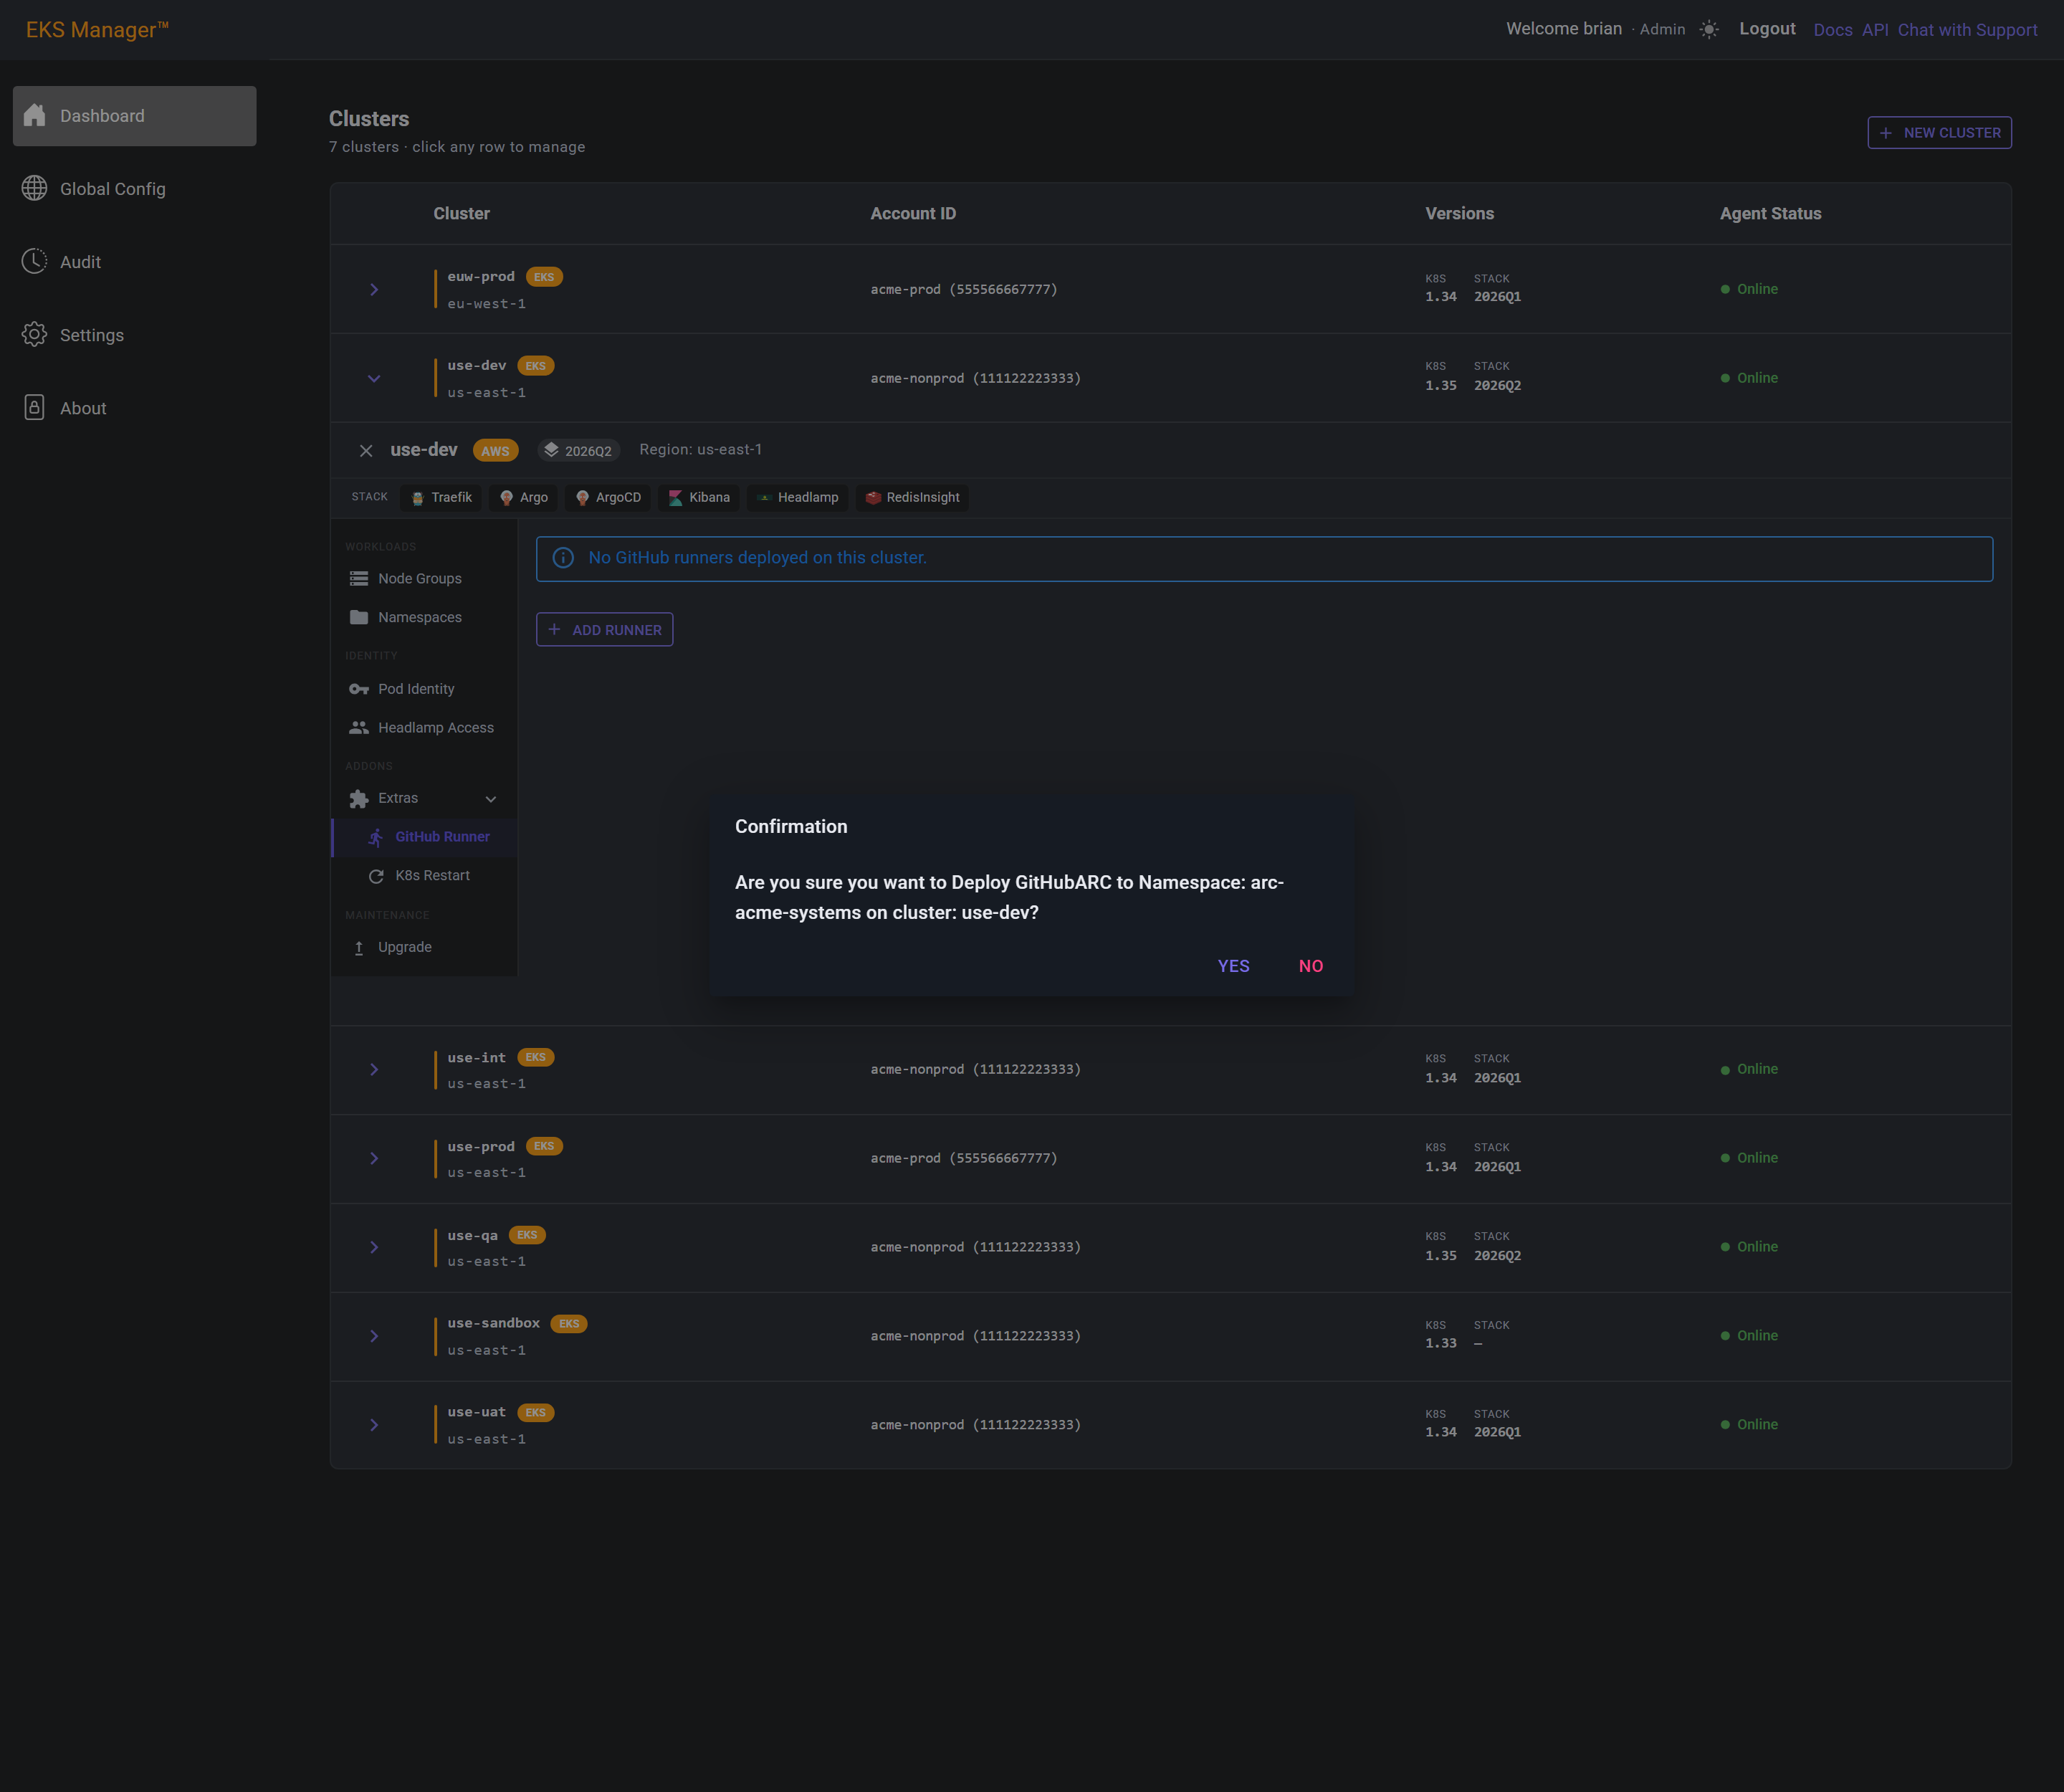
The agent installs the runner scale sets and registers them with the organisation. Two rows now exist where there were none — the builder and the deployer — named from the cluster's own scan, so a workflow can tell them apart from another cluster's pair.
Nothing runs on them until a workflow asks for them by name. They scale from zero, so an idle pair costs the cluster very little.
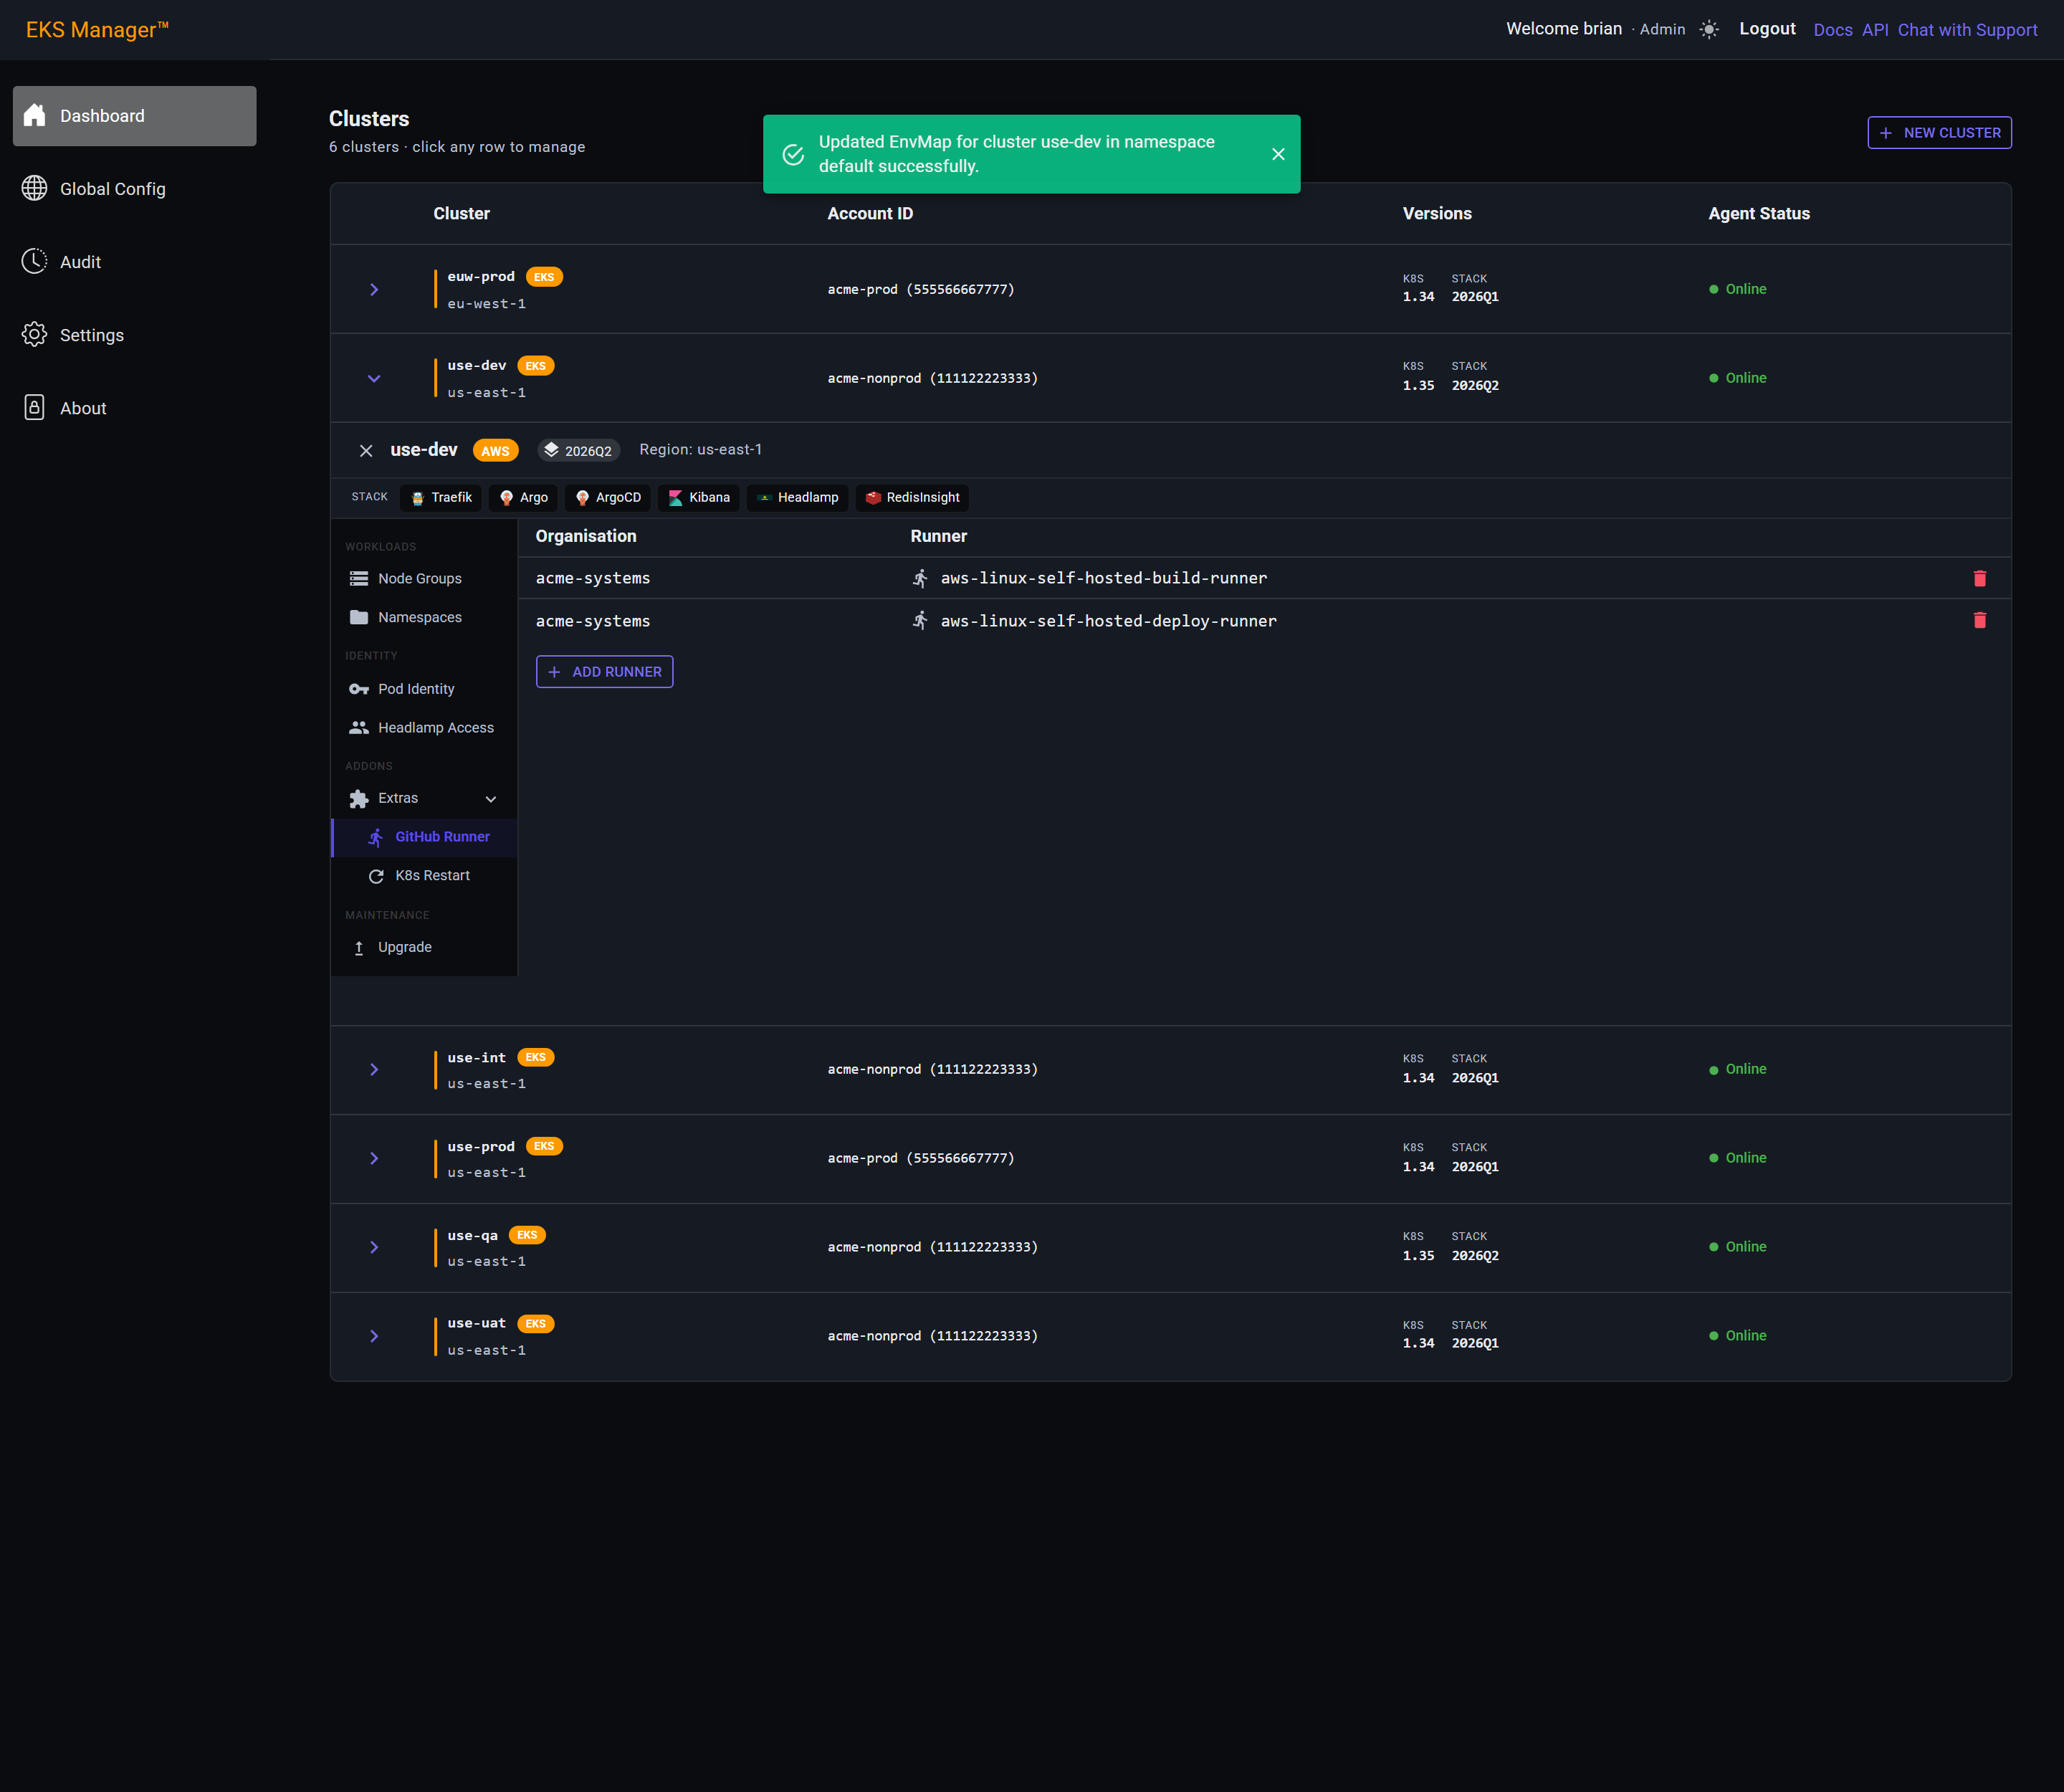
The other extra is a small web console deployed into the cluster that can restart a workload — roll a deployment, or kill a pod and let it come back.
It exists so that the person who needs to bounce a service does not need cluster credentials to do it. Deploy installs it, Delete takes it away again.
The console is published on the cluster's DNS zone, which means it is reachable by anyone who can reach that zone. Enable Authentication puts a username and password in front of it.
Turn it on. A page that restarts production workloads and asks nobody who they are is the kind of thing that is fine right up until it is not.
Install Core Stack / Upgrade
The core stack is released three times a year, in February, June and October. A release changes nothing in your clusters when it is published: it appears in the Stack Version list on this screen and stays there until you choose it and run the upgrade. EKS Manager does not apply a release to a cluster on your behalf, so there is no vendor maintenance window to plan around.
Every release is published with its release notes and its breaking changes, and both are readable before you upgrade rather than after. Breaking Changes on this screen reports what the versions you have selected would change. Audit, Core Stack Versions holds the notes for every release, which is what you need when you skip a release: the breaking changes of each one in between still apply.
Upgrade on your own schedule. Production Support covers clusters running the current or the immediately previous release, so the supported window is two releases rather than one.
Upgrade under MAINTENANCE is where the core stack is installed, and where both it and the cluster are moved forward later. It is the same screen for both jobs — a new cluster simply has nothing installed yet.
It takes a stack version for the core tools and a Kubernetes version for the cluster itself, and either can be skipped independently.
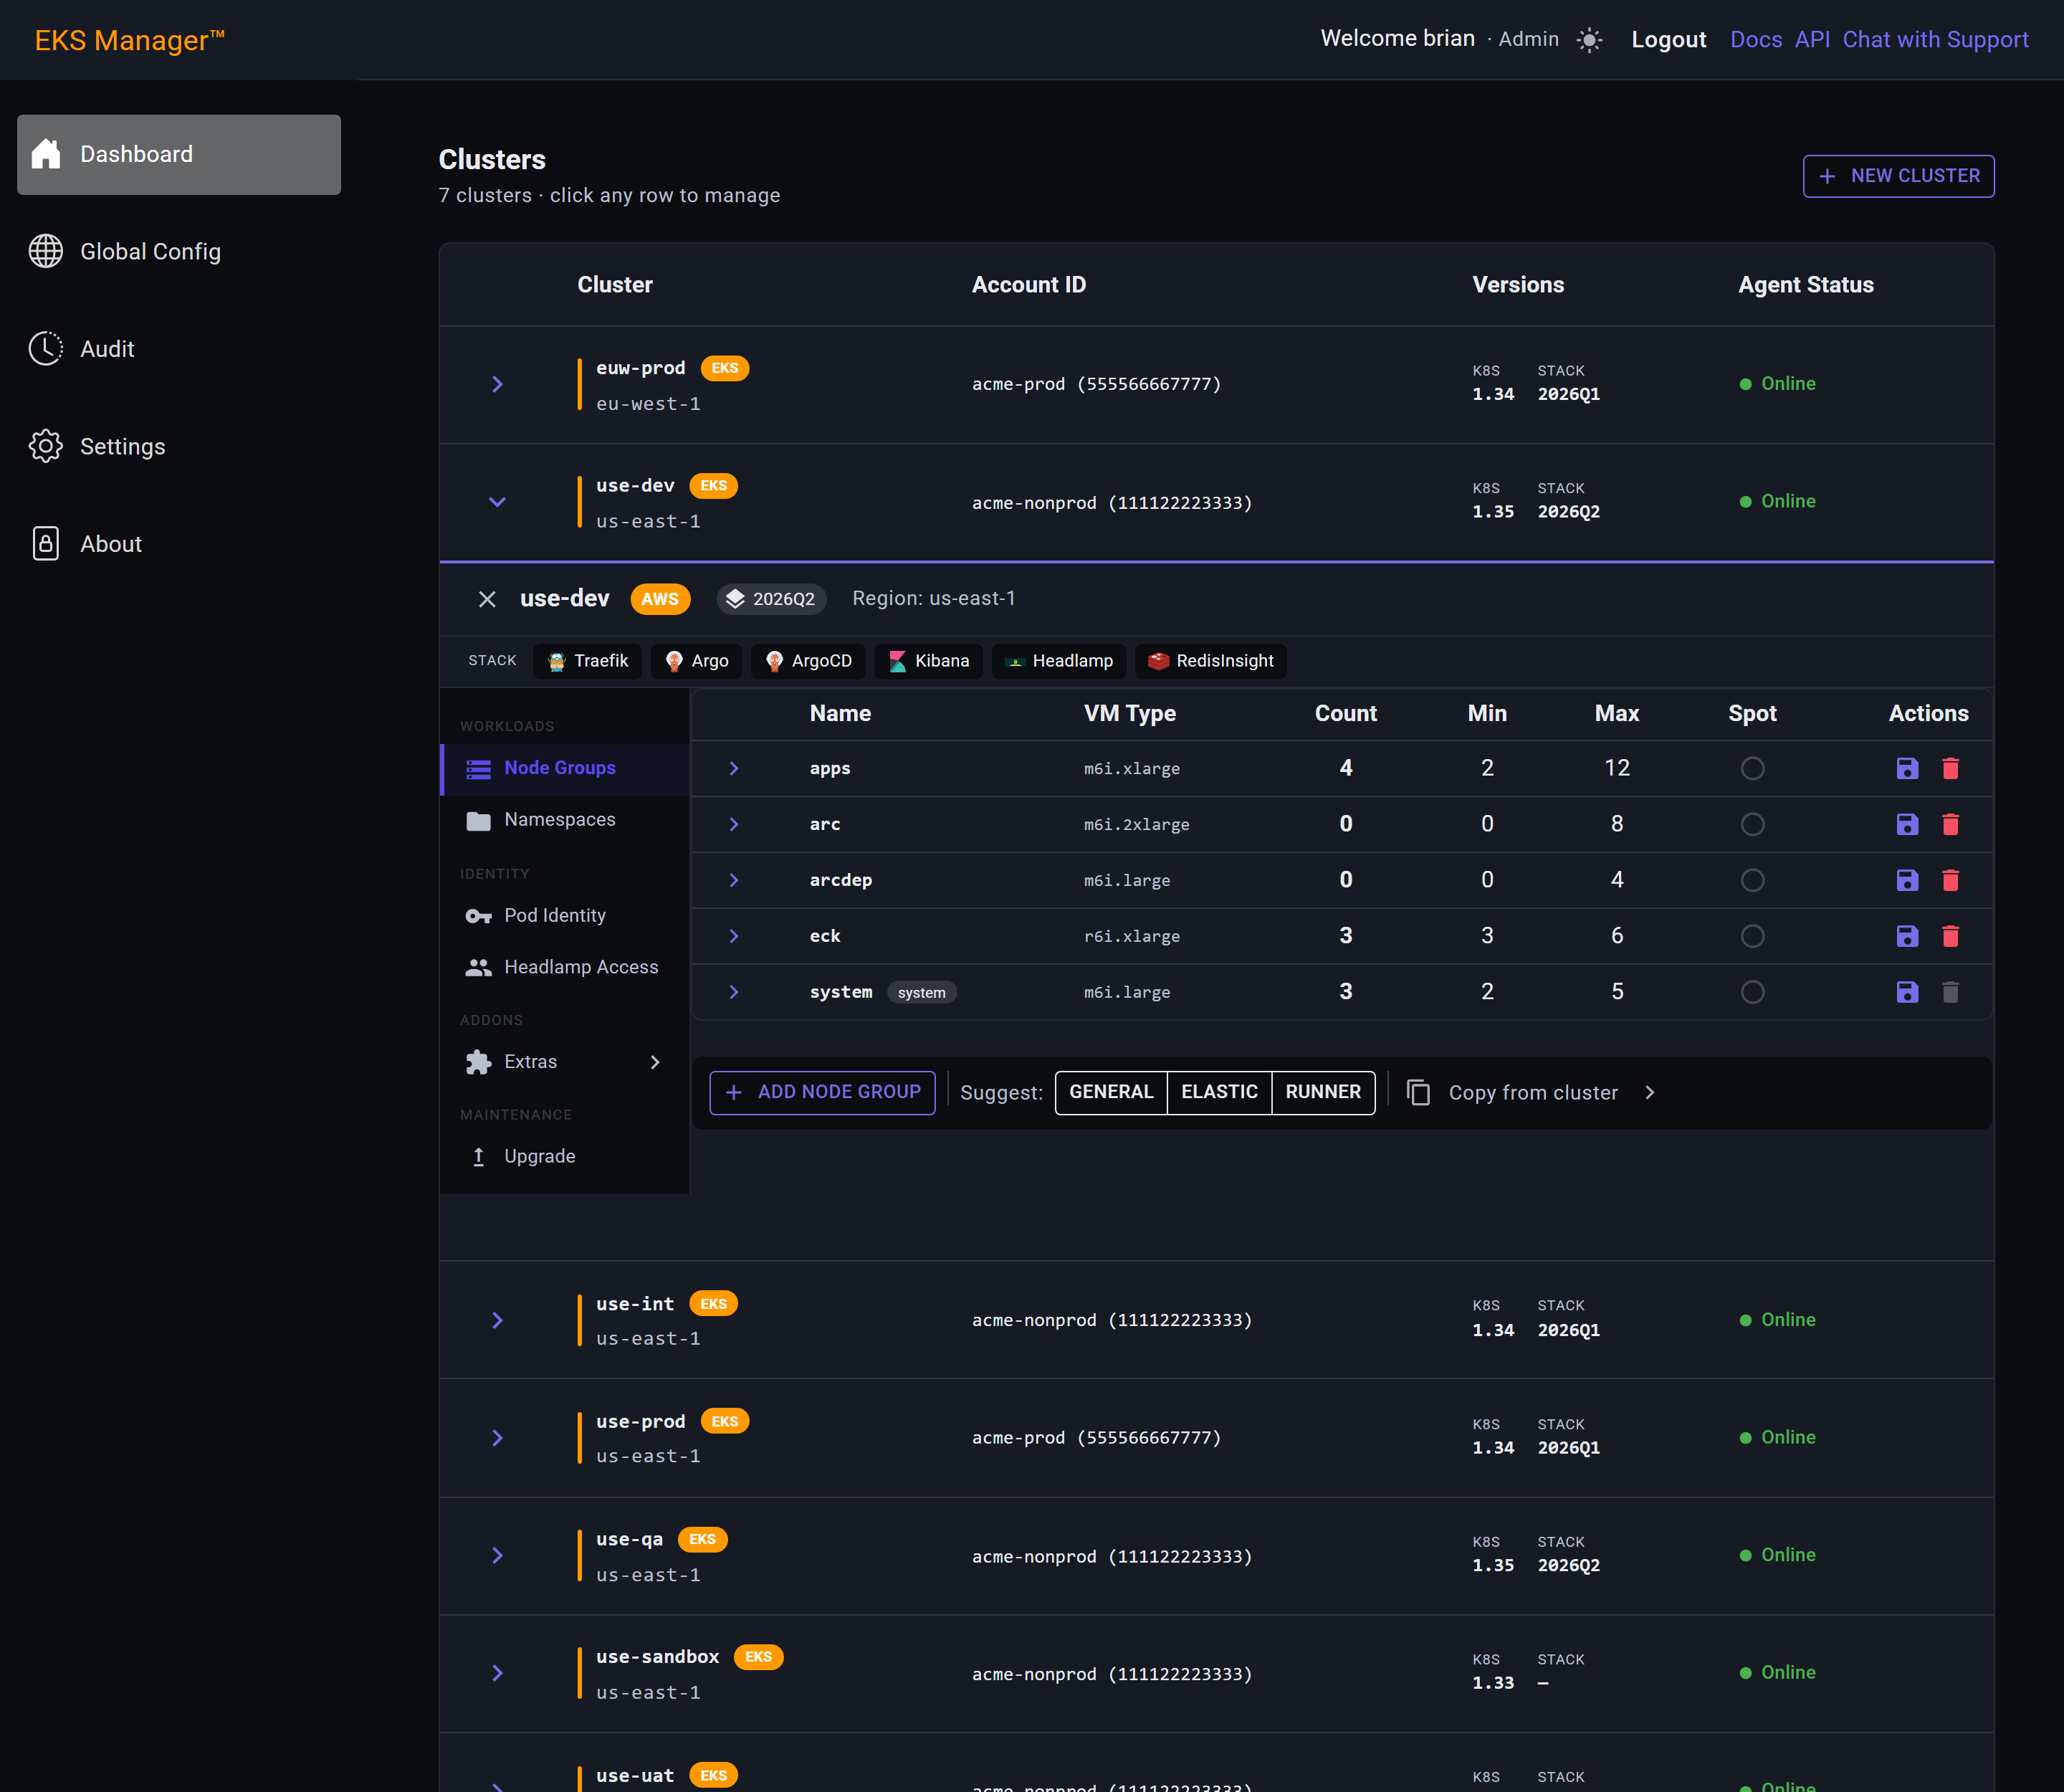
Stack Version lists the published releases of the core stack. Pick the one to install — here 2026Q2.
Skip Component Upgrade leaves the stack exactly where it is, which is what you want when you are only changing the Kubernetes version.
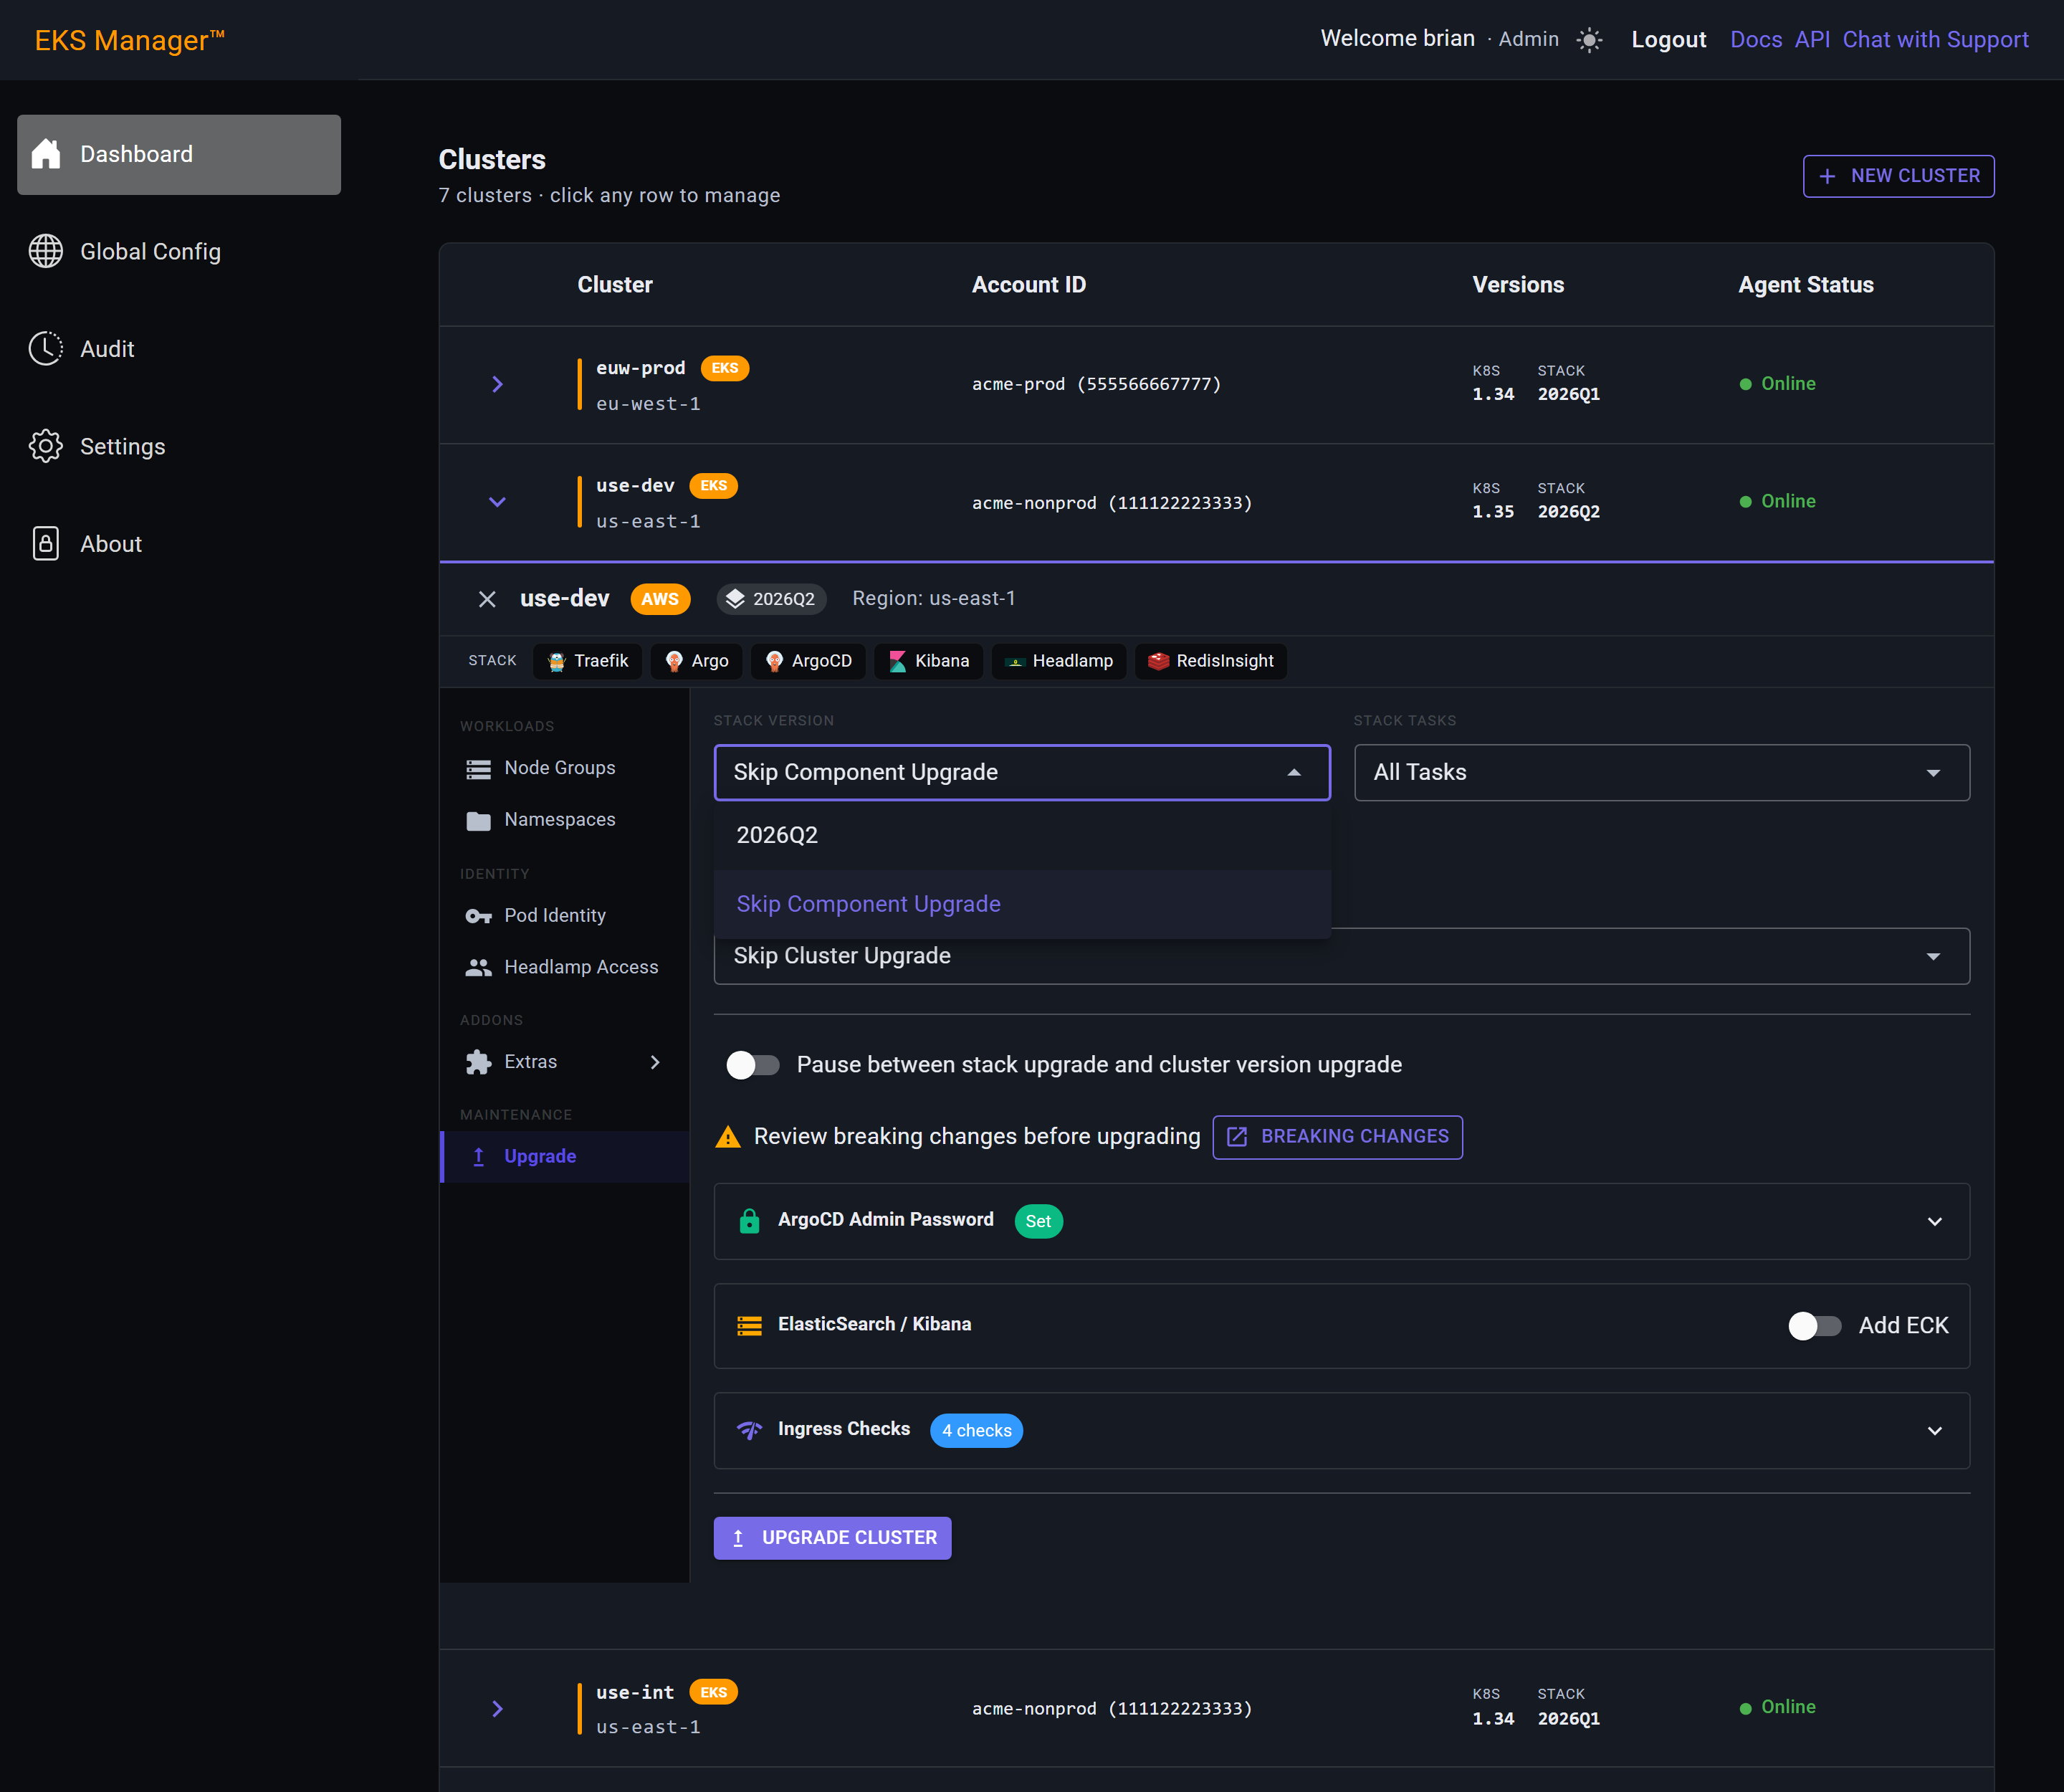
With the stack version set, K8s Version offers the versions this cluster can move to — one minor version at a time, which is the only path EKS allows.
Here that is 1.36.
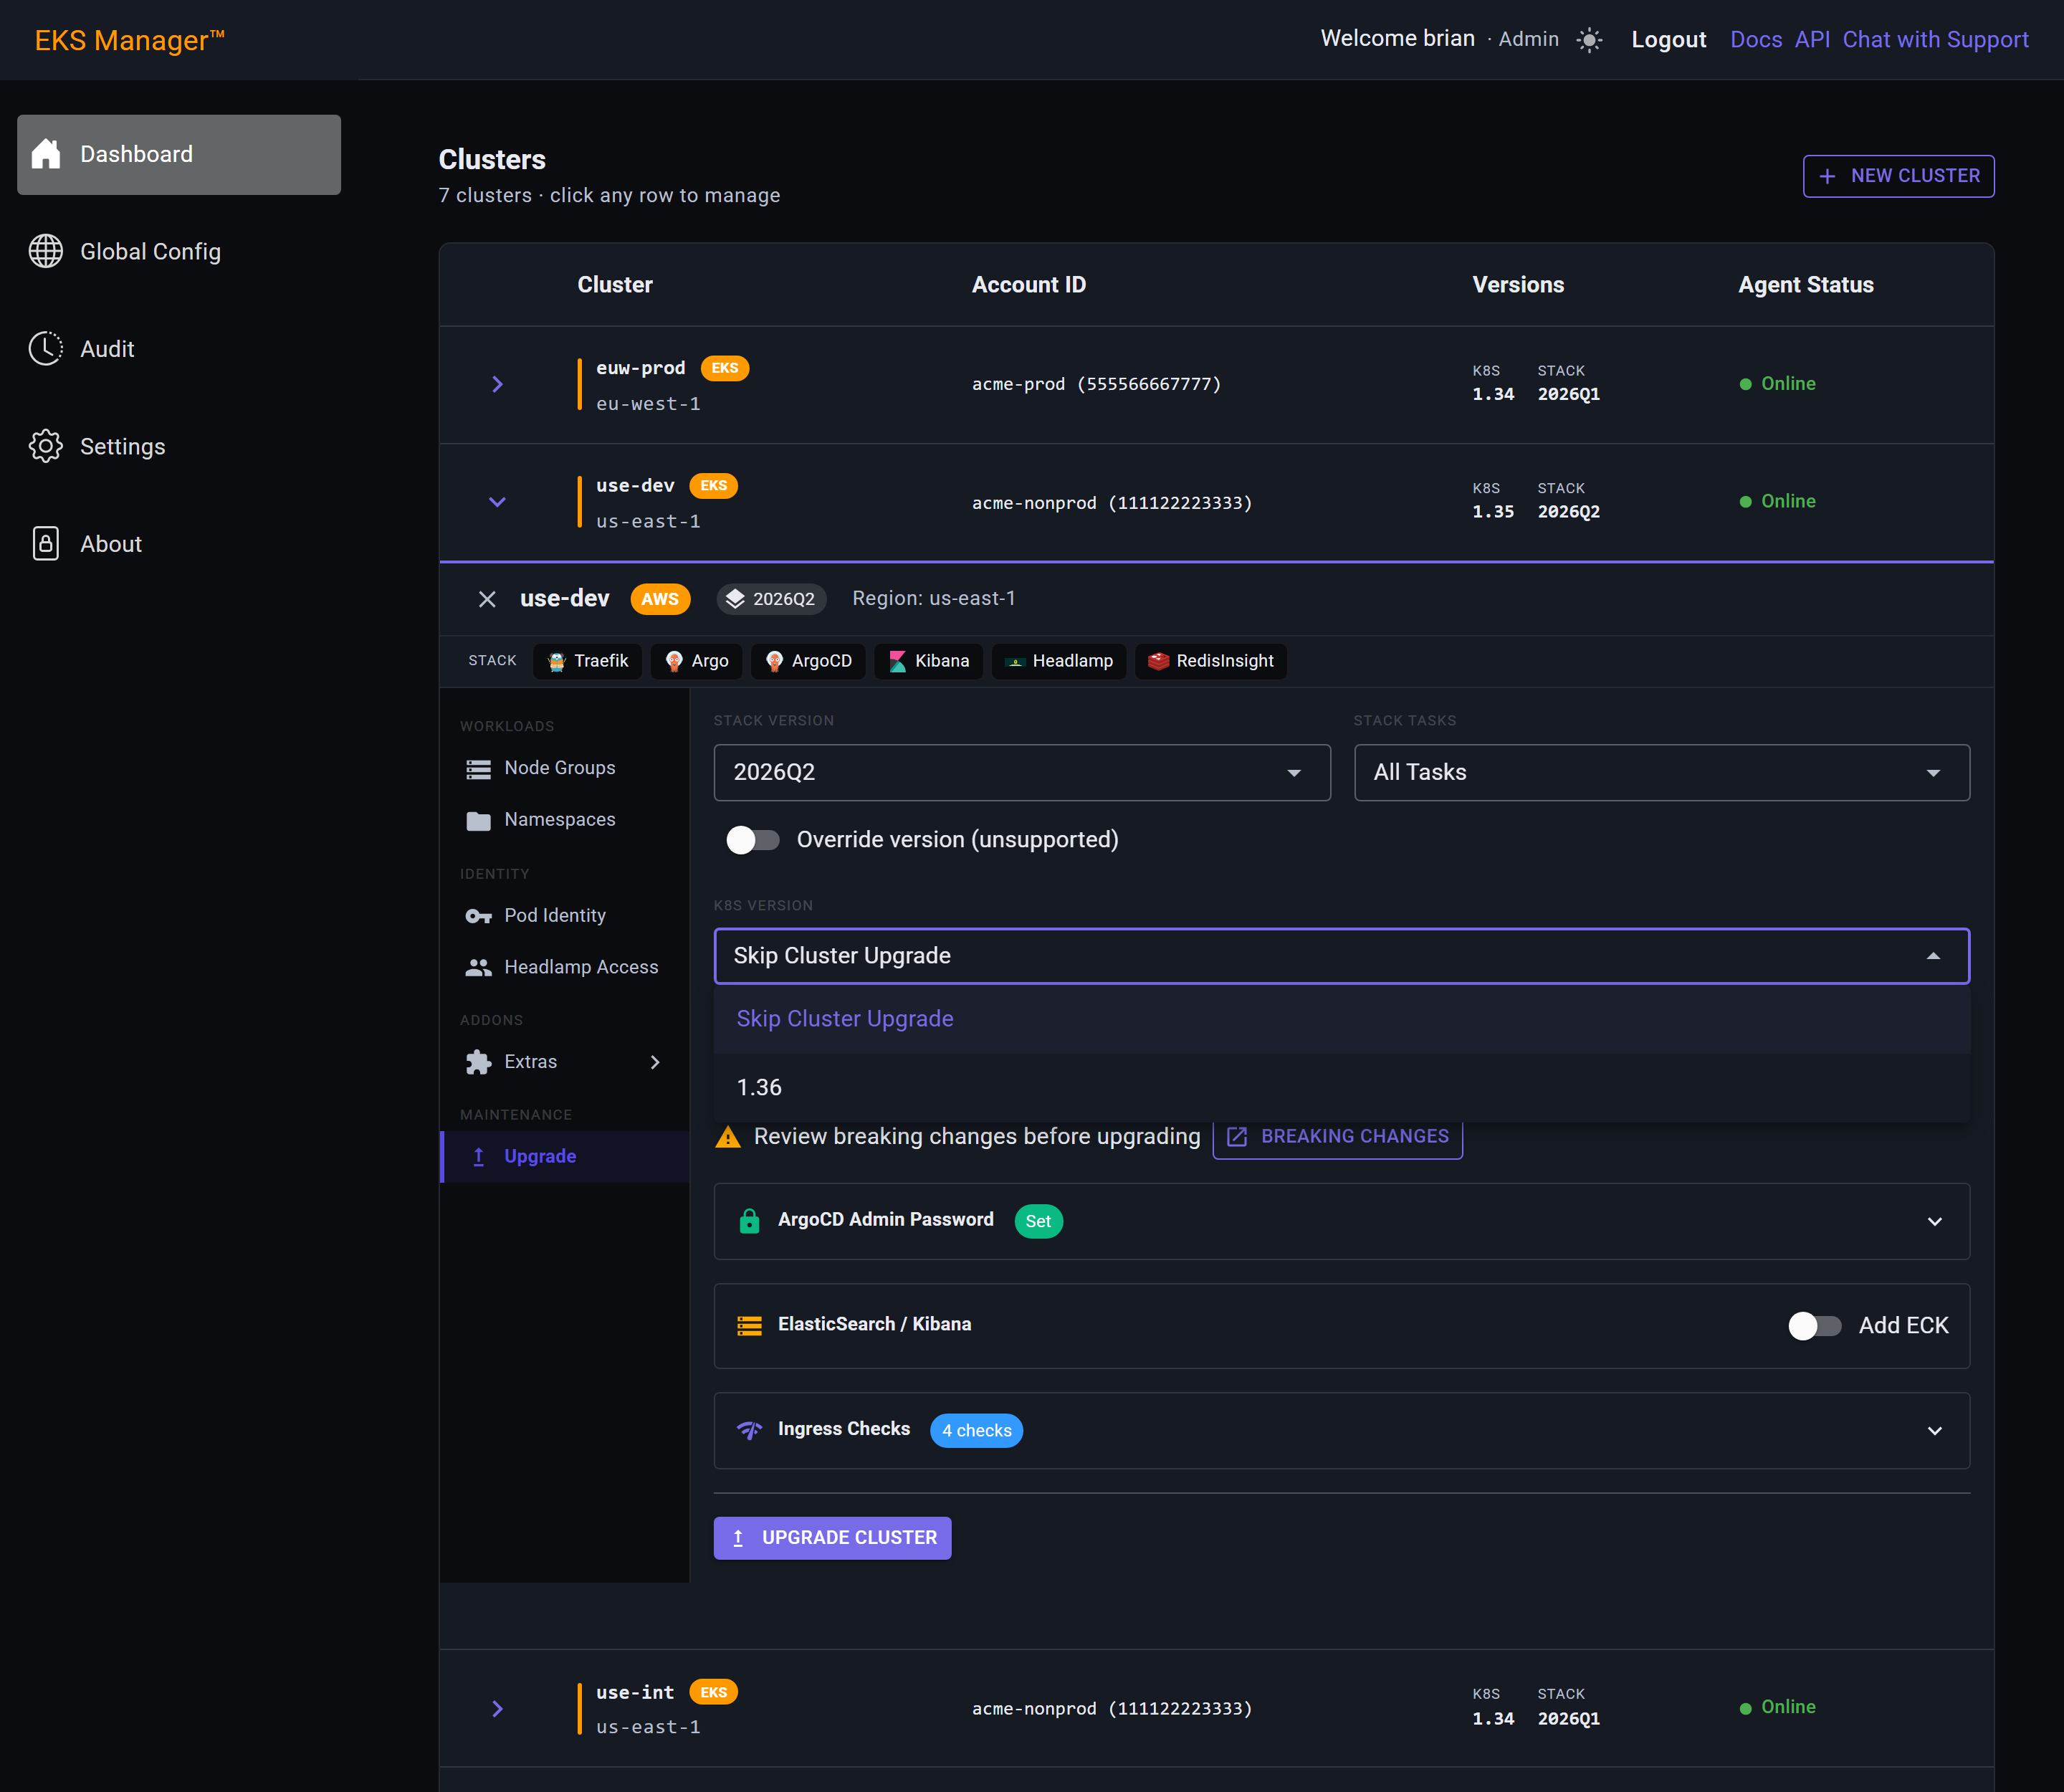
Both versions are now set. The core stack still cannot be installed until ArgoCD has an admin password: until it does, the row reads Required and Upgrade Cluster will not run.
On a cluster you have just created, leave K8s Version on Skip Cluster Upgrade. You chose the Kubernetes version when you created the cluster, so there is nothing to upgrade yet — a first install is a stack install only.
Click the row to open it and the password field appears.
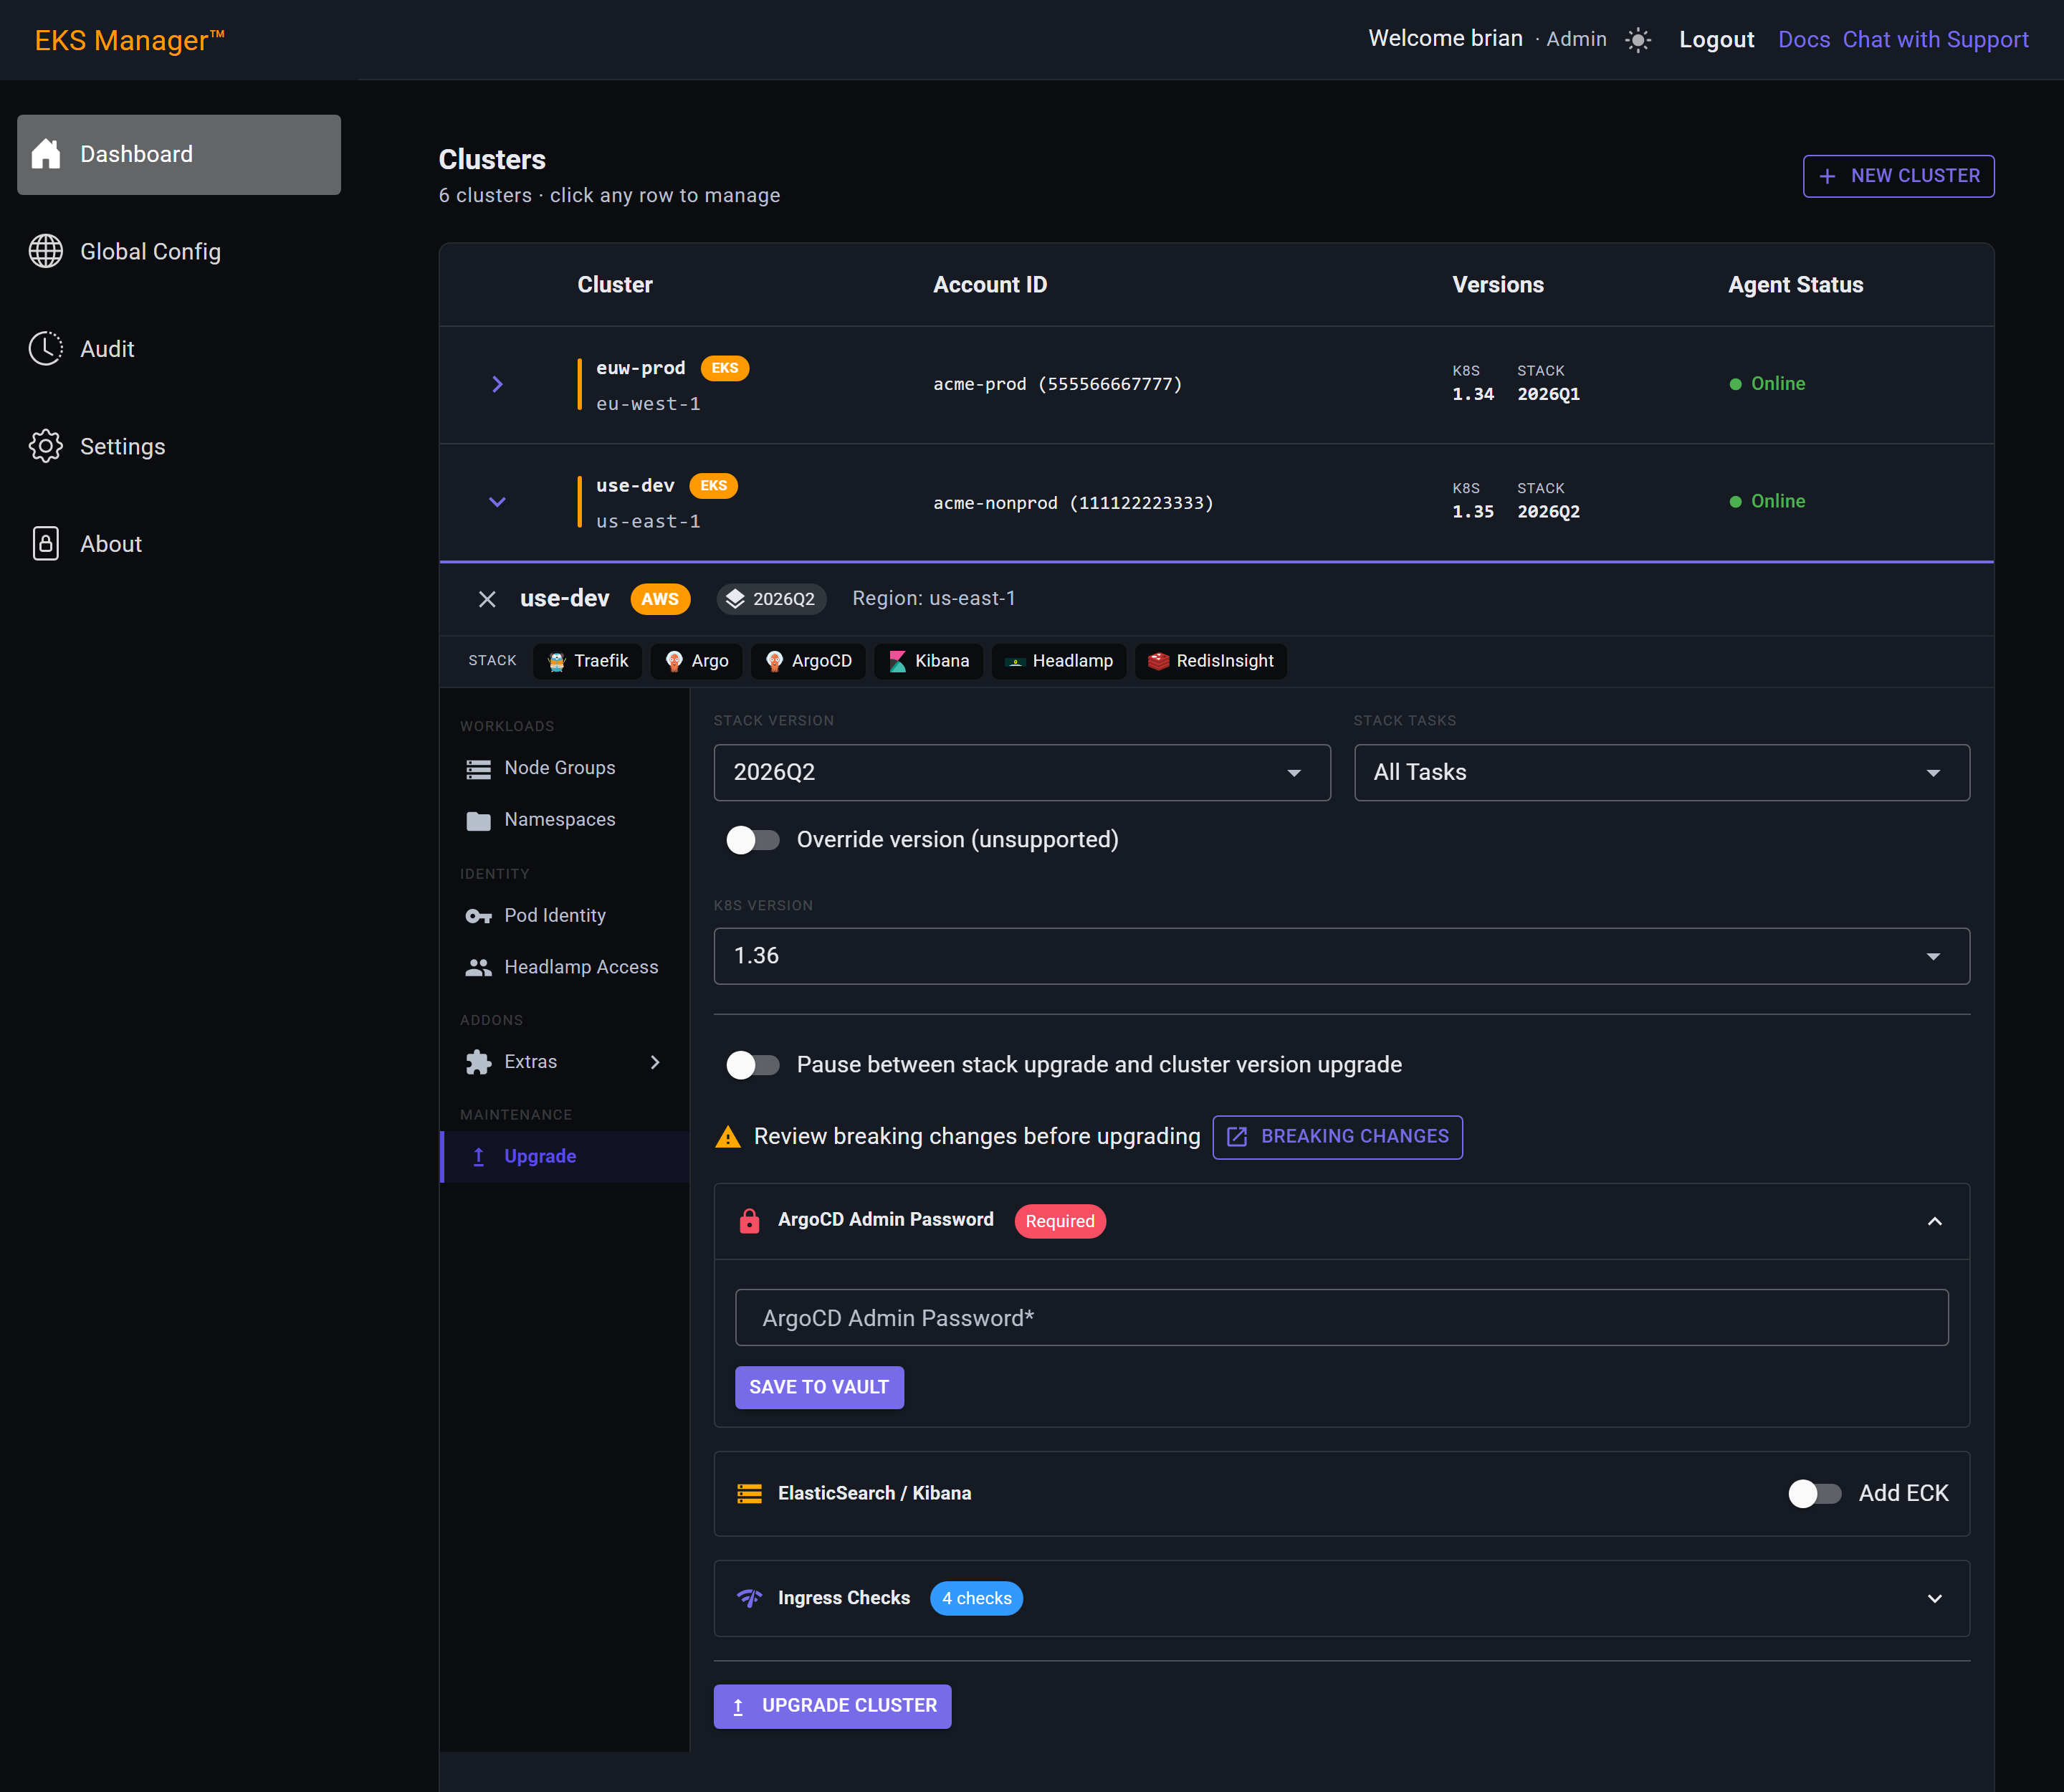
Type the password and press Save to Vault. It is written to the secret store — Secrets Manager on AWS, Key Vault on Azure — and is not kept anywhere else.
This is the password you will sign in to ArgoCD with.
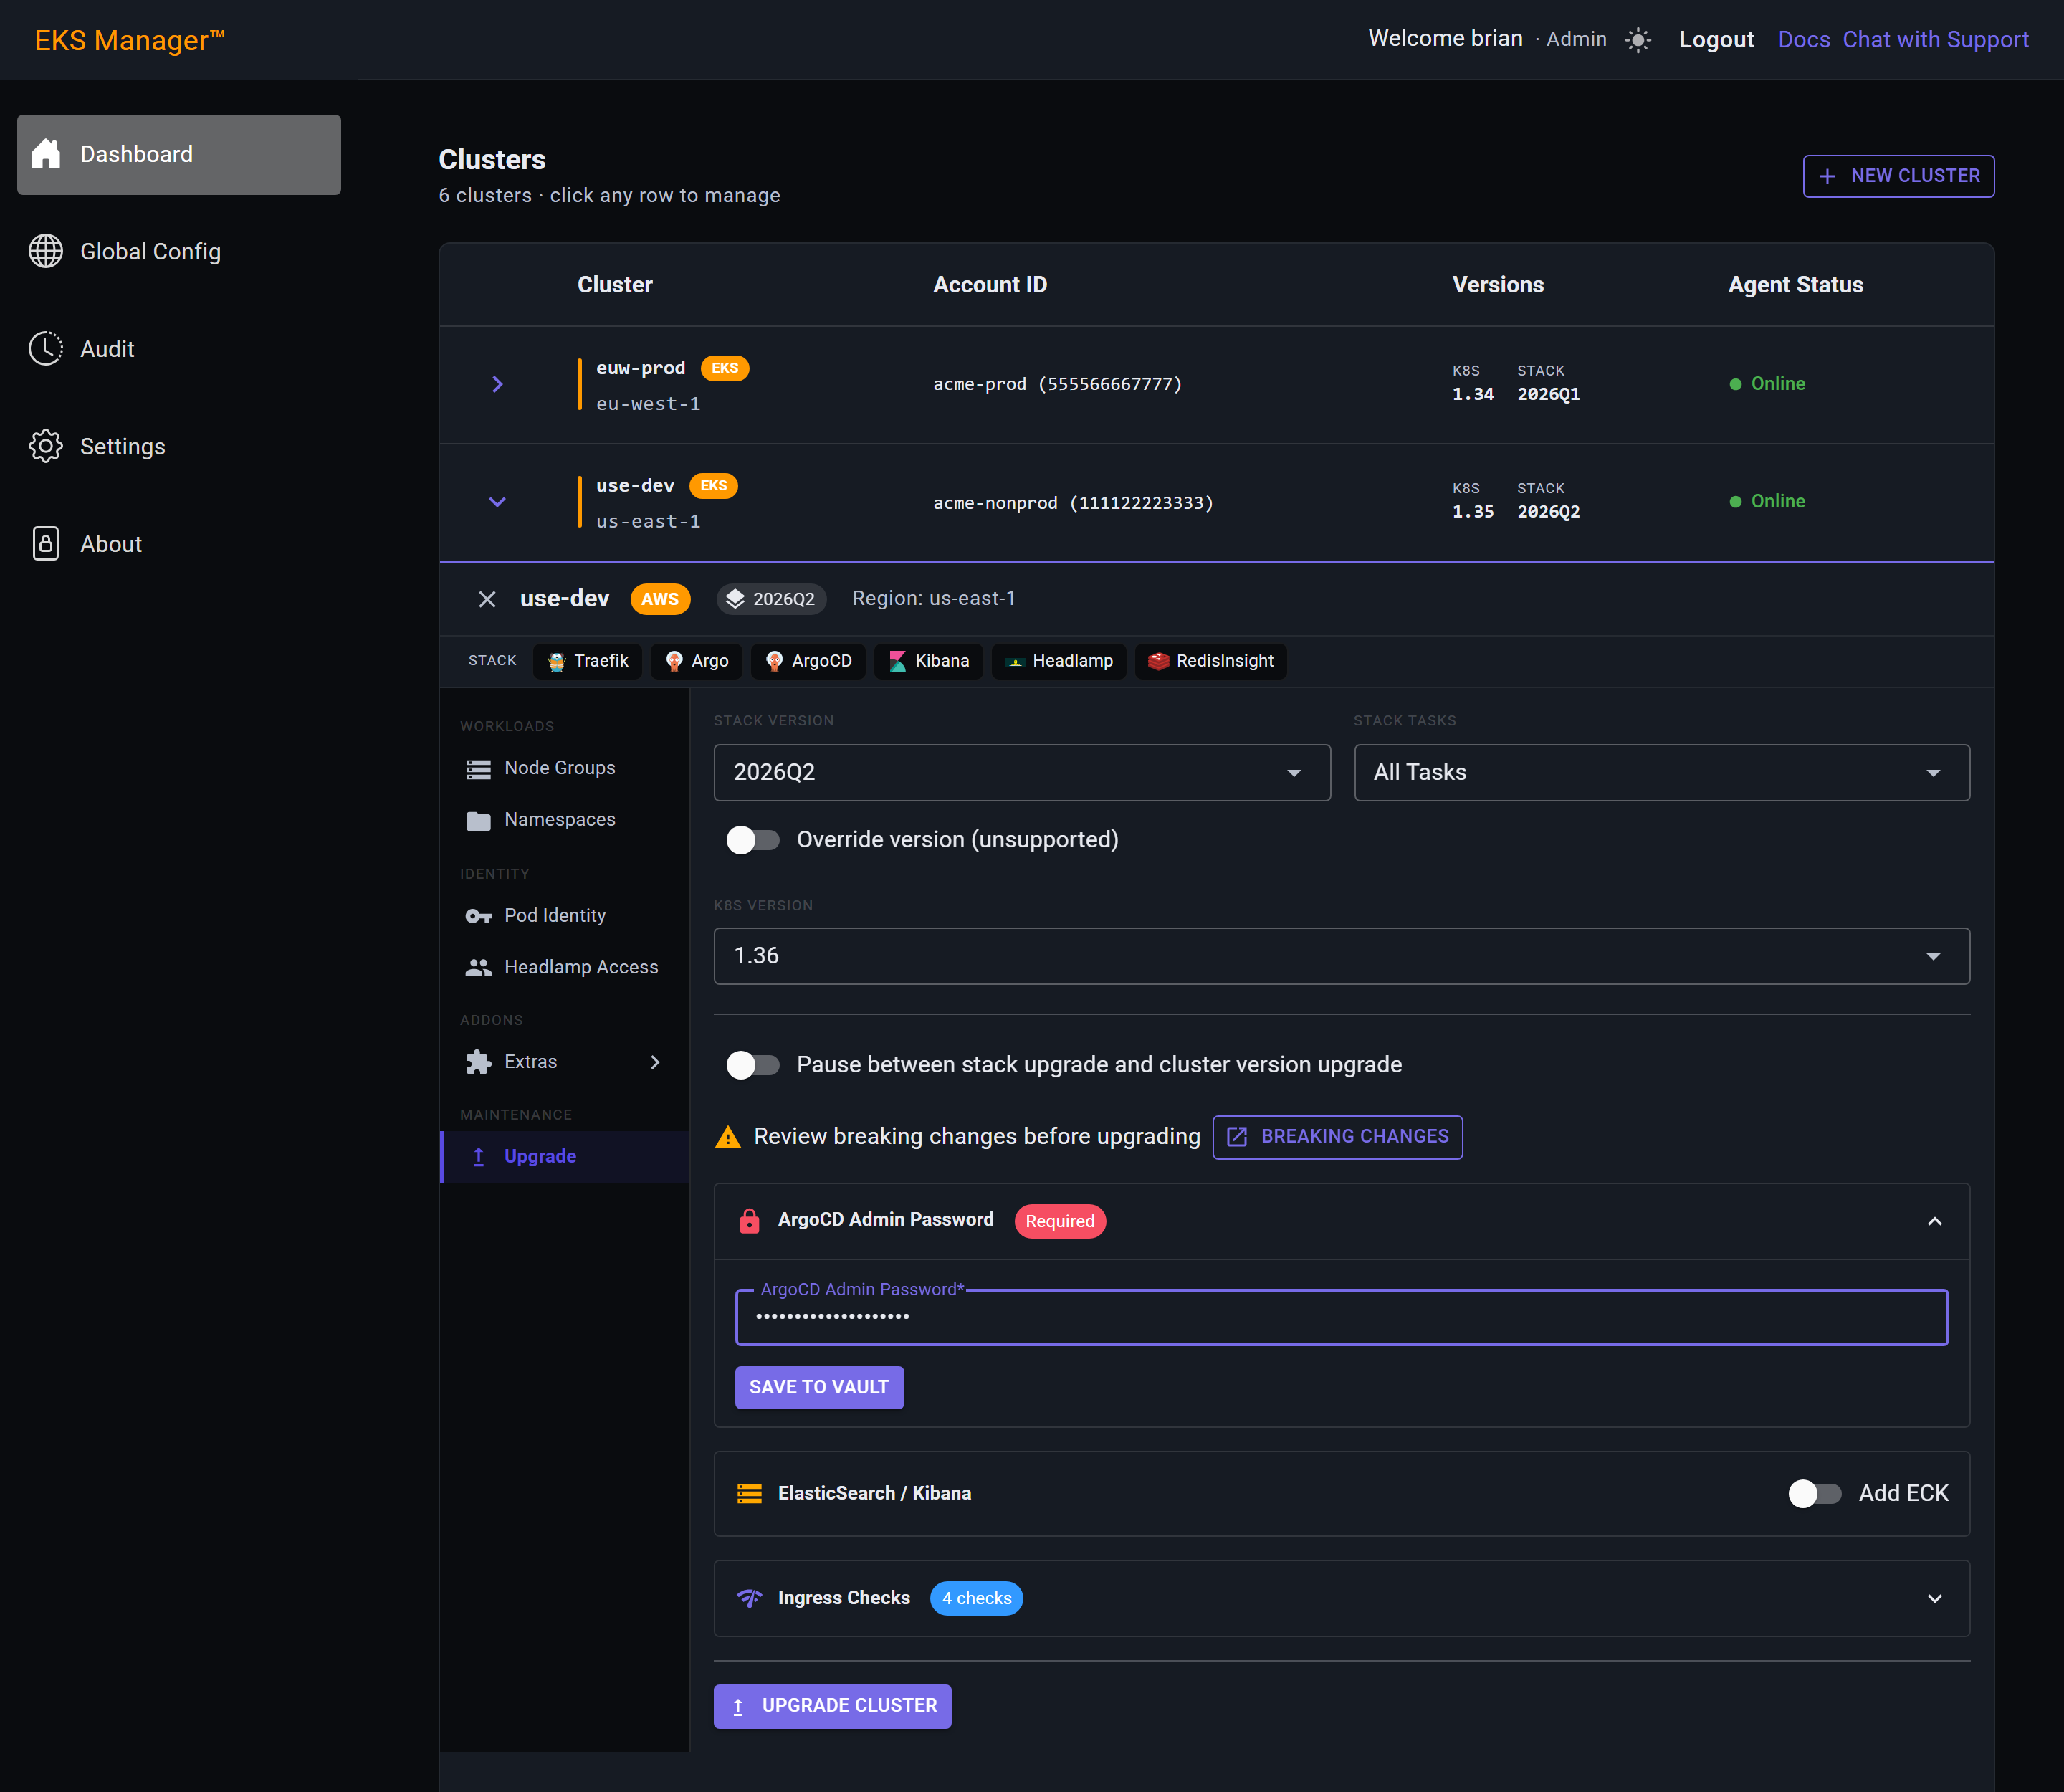
Two notifications follow: the secret is sent to the vault, then confirmed once it is actually there. The row changes to Set.
That is the last thing the stack requires. Everything below it is optional — starting with Add ECK, which installs Elasticsearch and Kibana for logs and metrics on this cluster. It can be turned on later from this same screen.
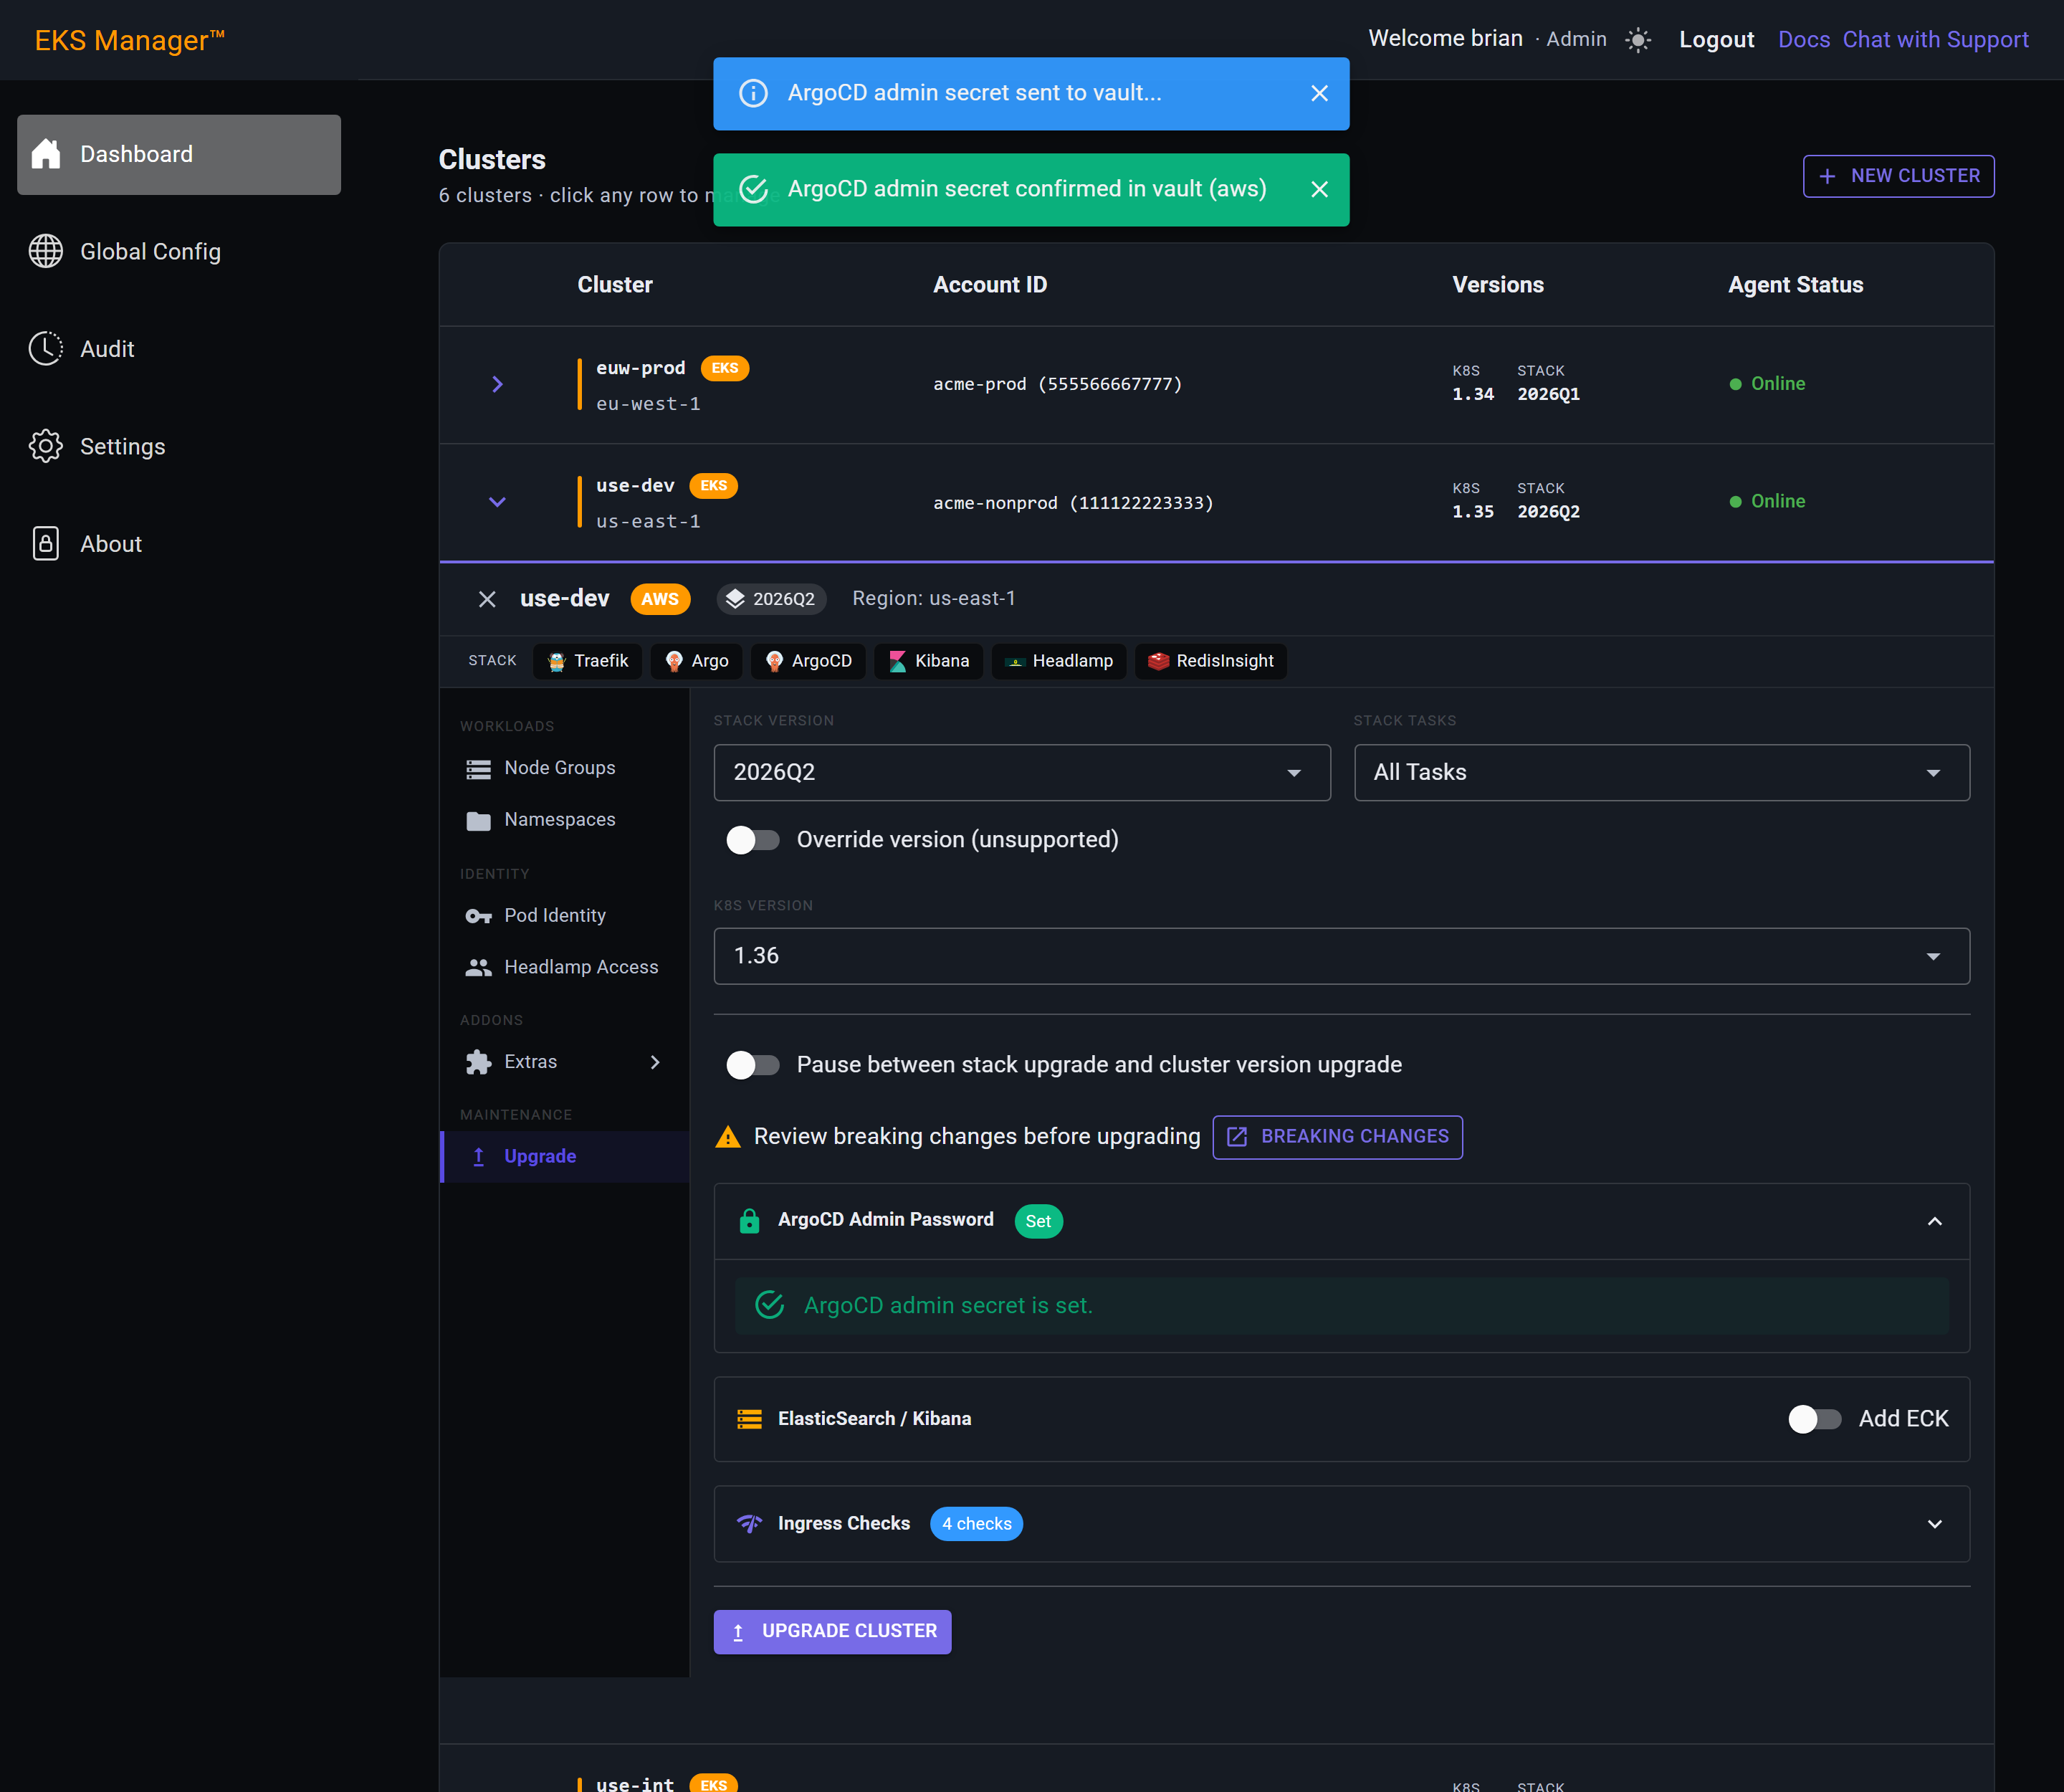
Switched on, ECK asks which node group to run on. Choose the dedicated eck group rather than the general one — Elasticsearch is memory-hungry and belongs on nodes sized for it, and that group's taint keeps everything else off them.
If there is no eck group yet, add one first from Node Groups.
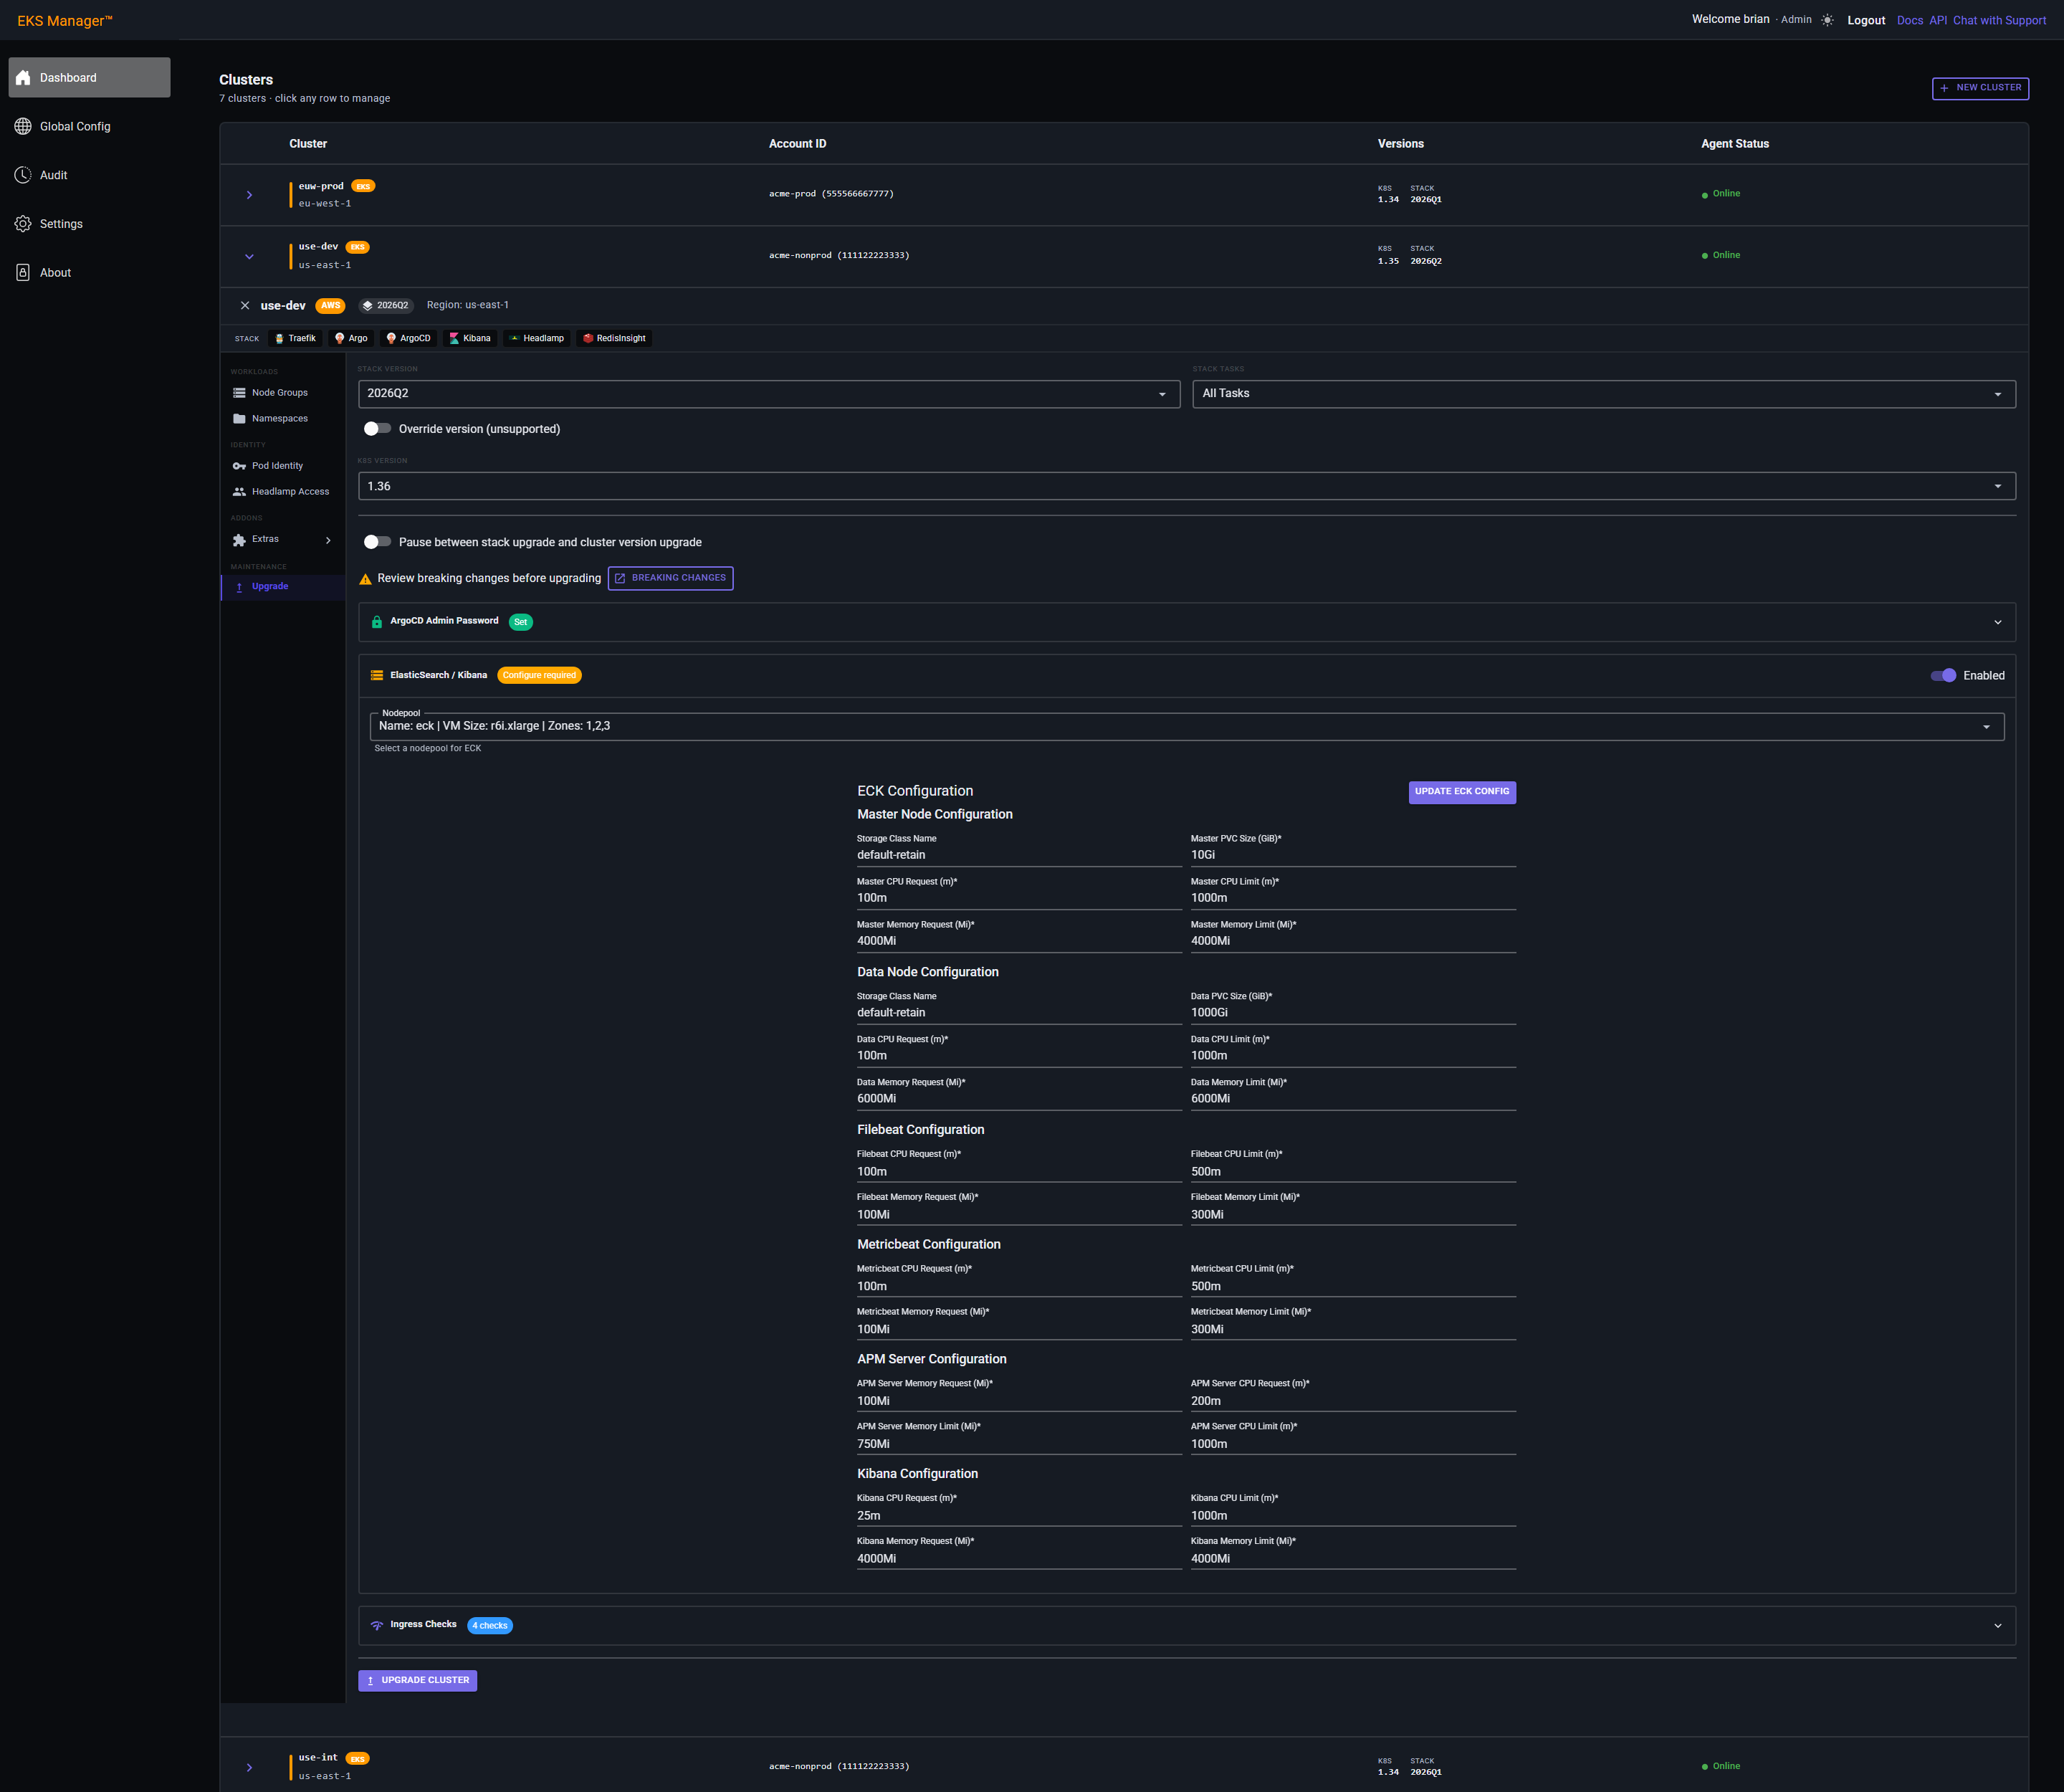
Below the node group, ECK Configuration holds the sizing for the master and data nodes, Filebeat, Metricbeat and the APM server: storage class, PVC size, CPU and memory requests and limits. The defaults are sensible — change them only if you know you need to.
Update ECK Config validates the lot and saves it.
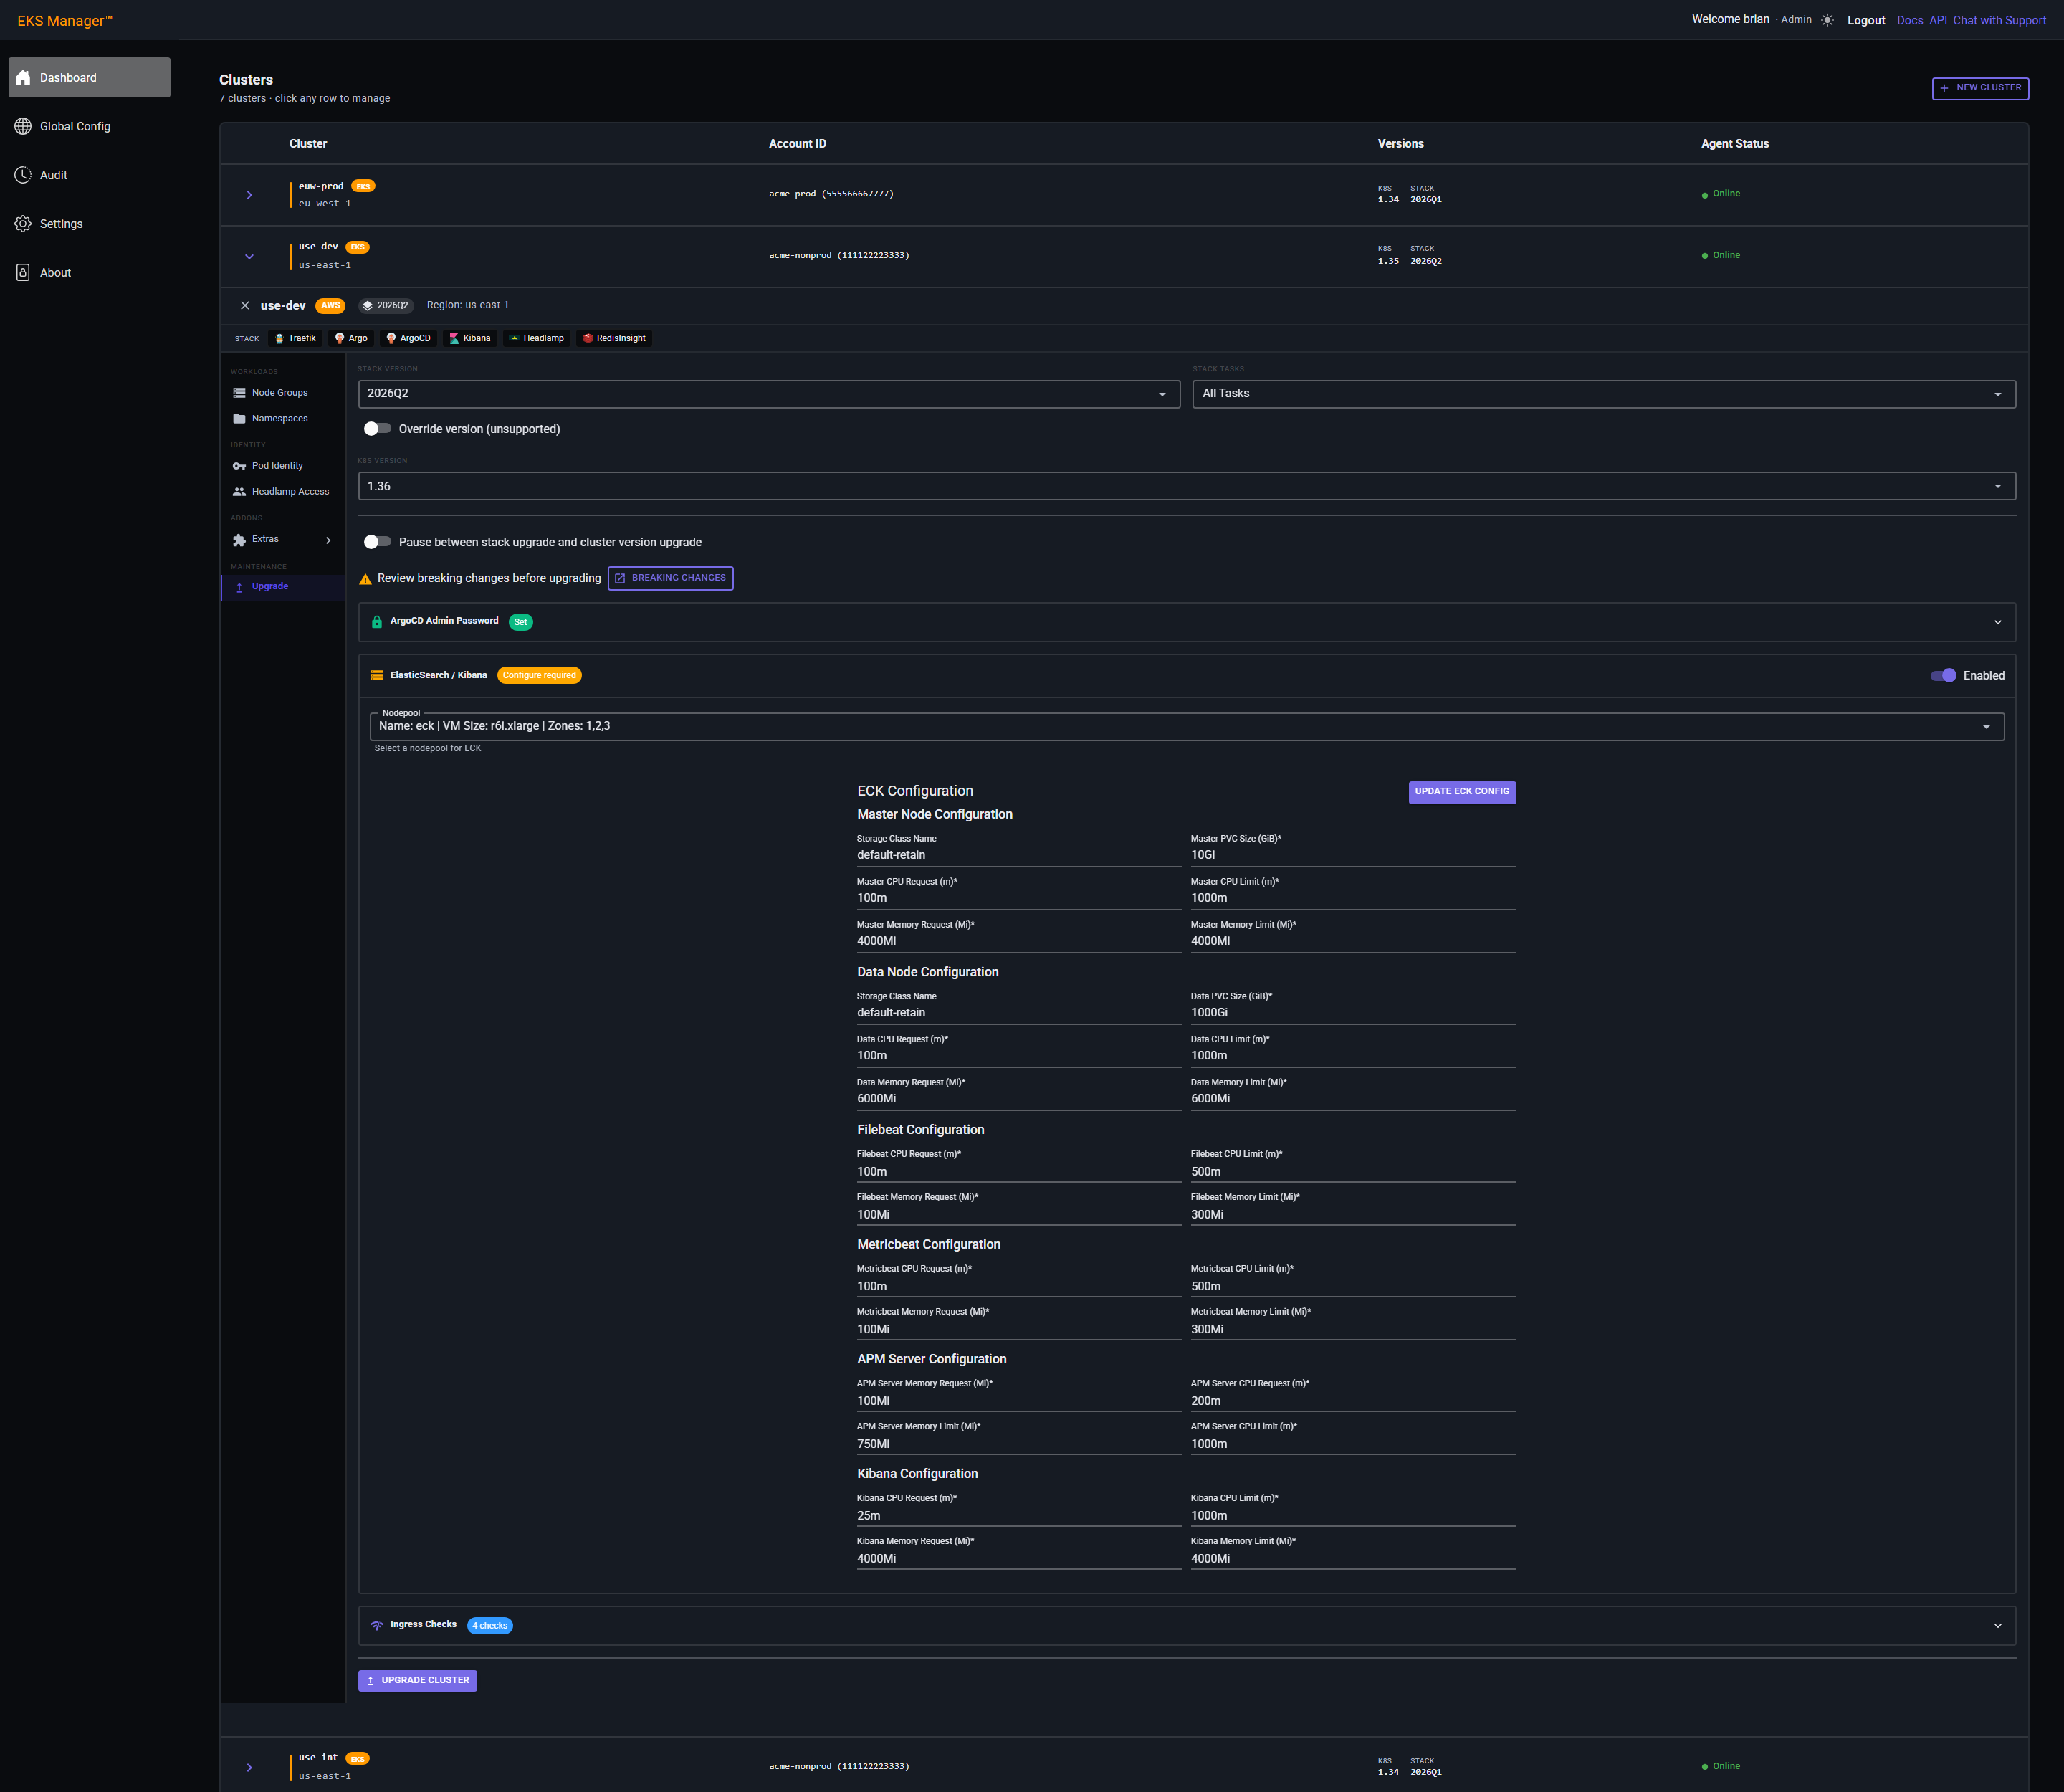
The section collapses to a single row: a green Configured chip and nothing else to fill in. A notification confirms the settings are valid.
It cannot be changed from here any more — Edit reopens it if you need to change the node group or the sizing.
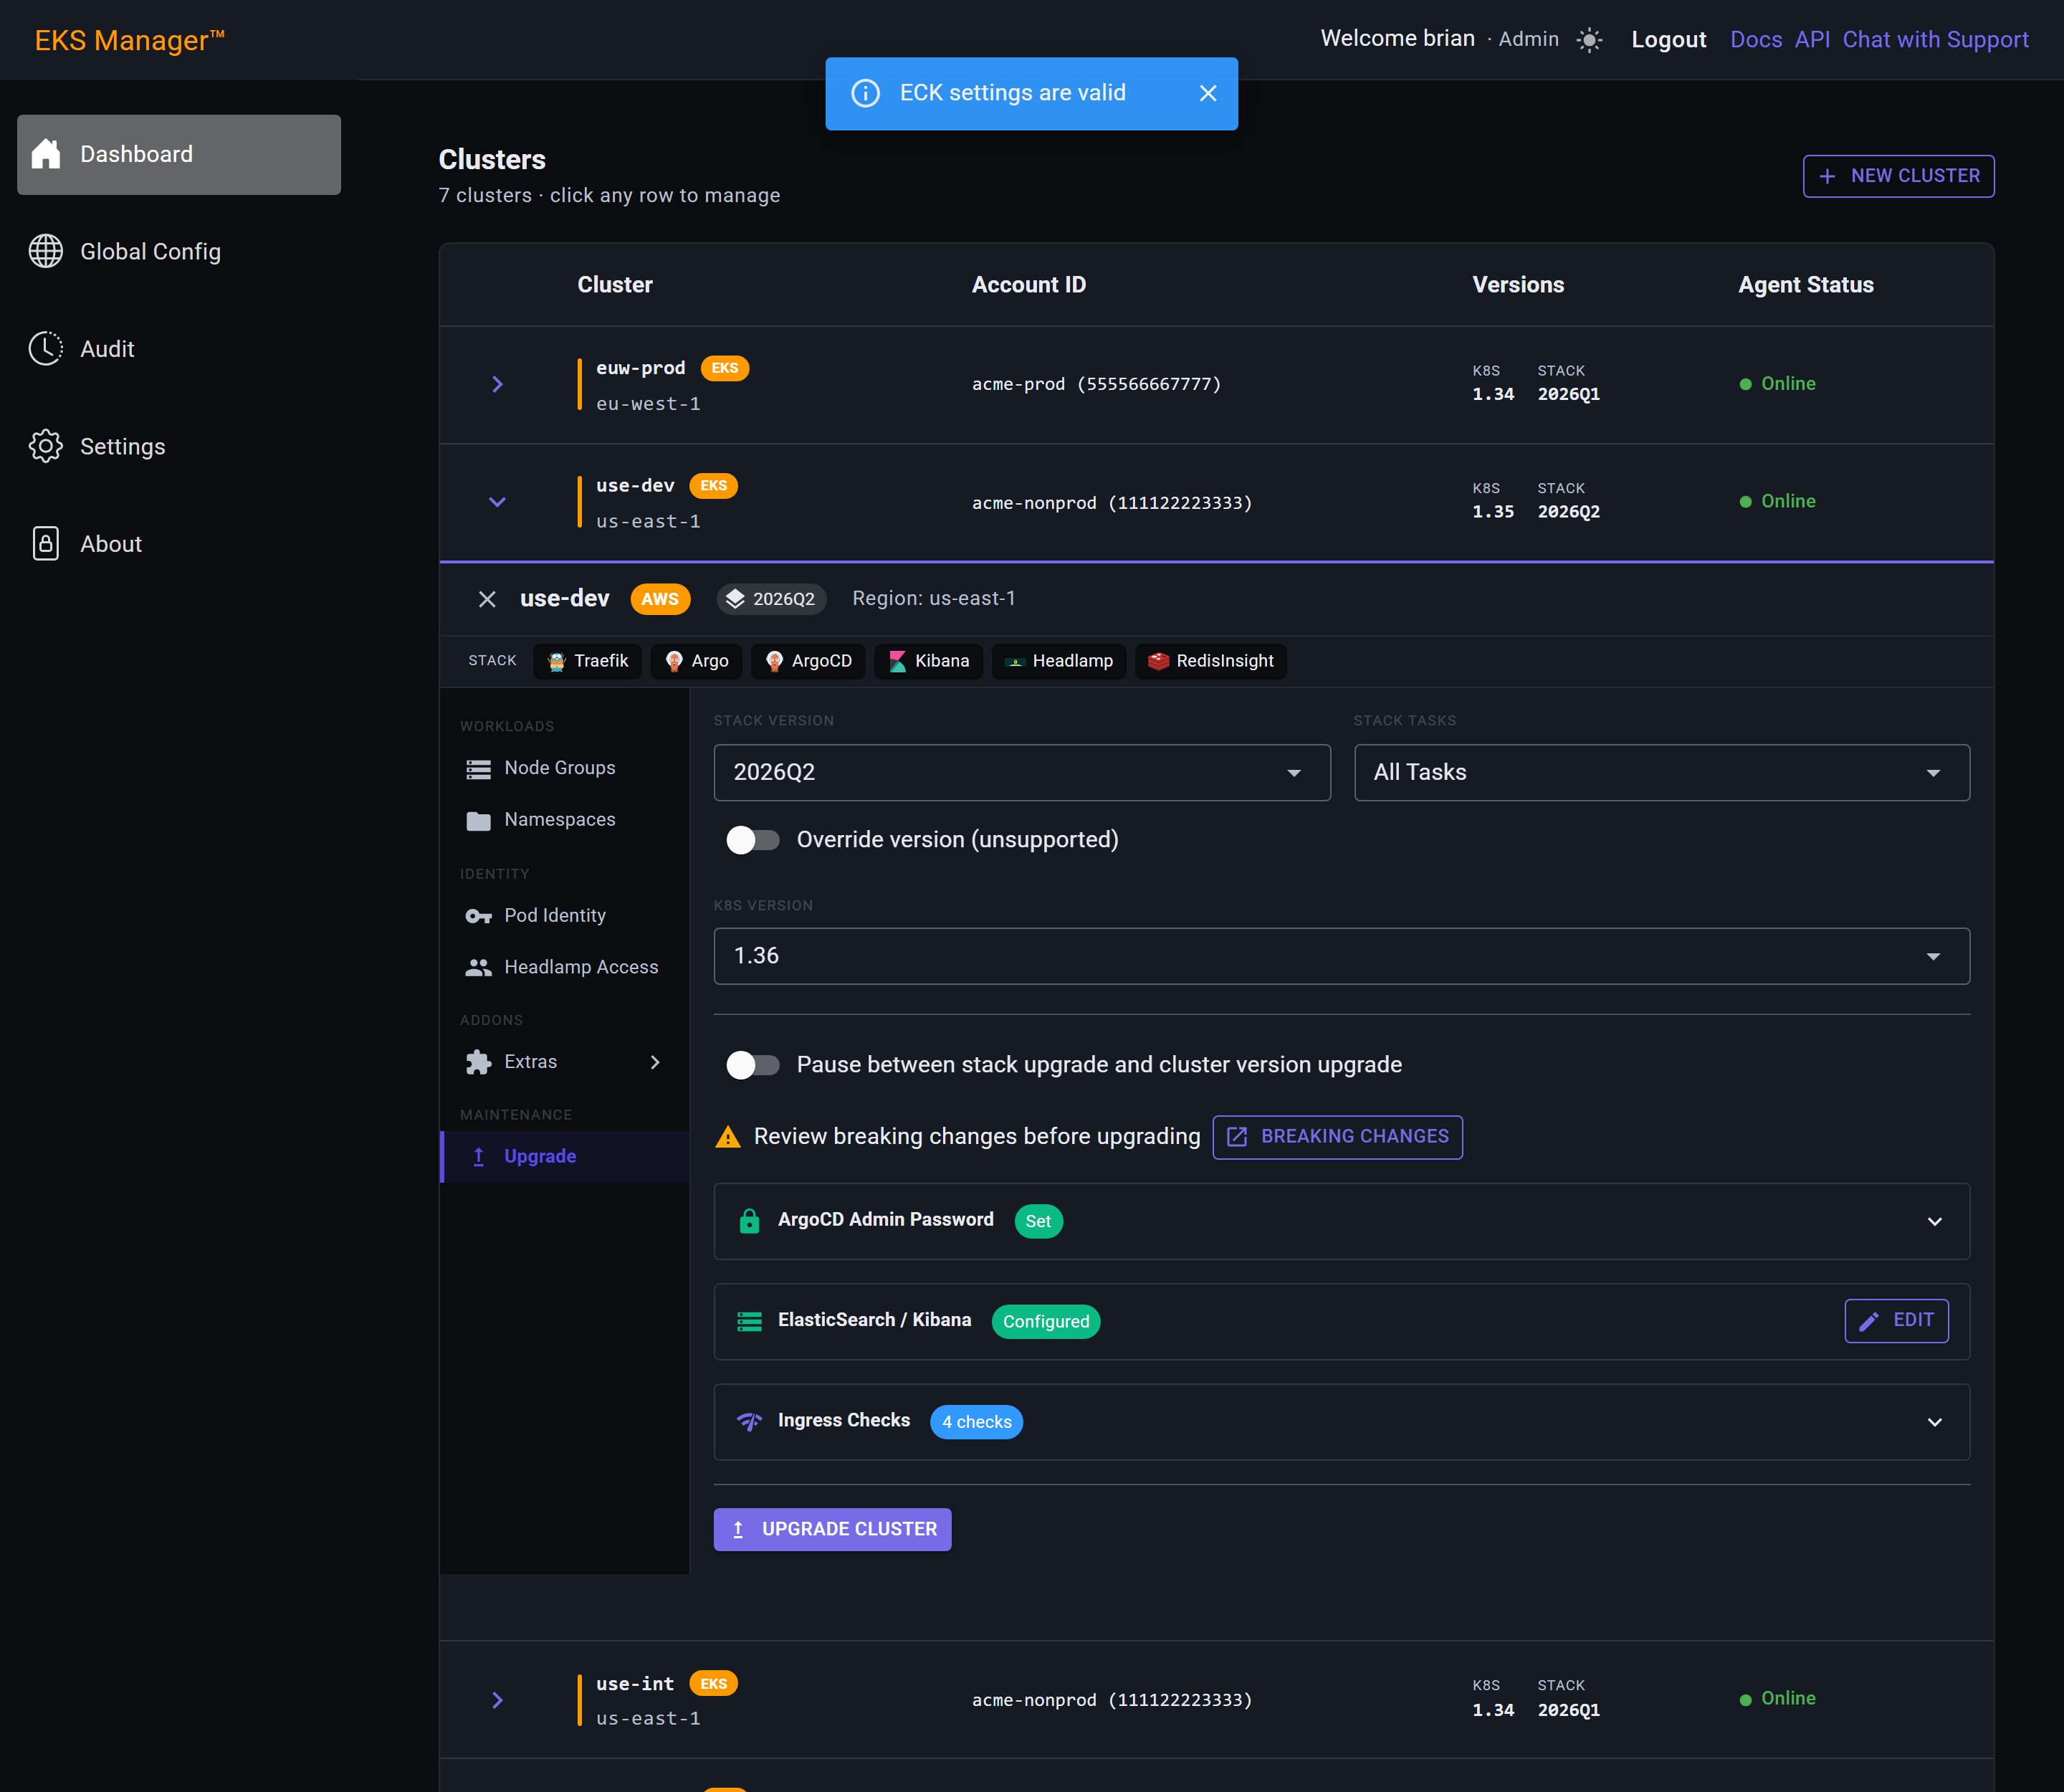
Breaking Changes reports what the versions you have chosen actually change — before anything runs, rather than from a half-upgraded cluster.
Worth reading on any upgrade. On a first install there is nothing yet to break.
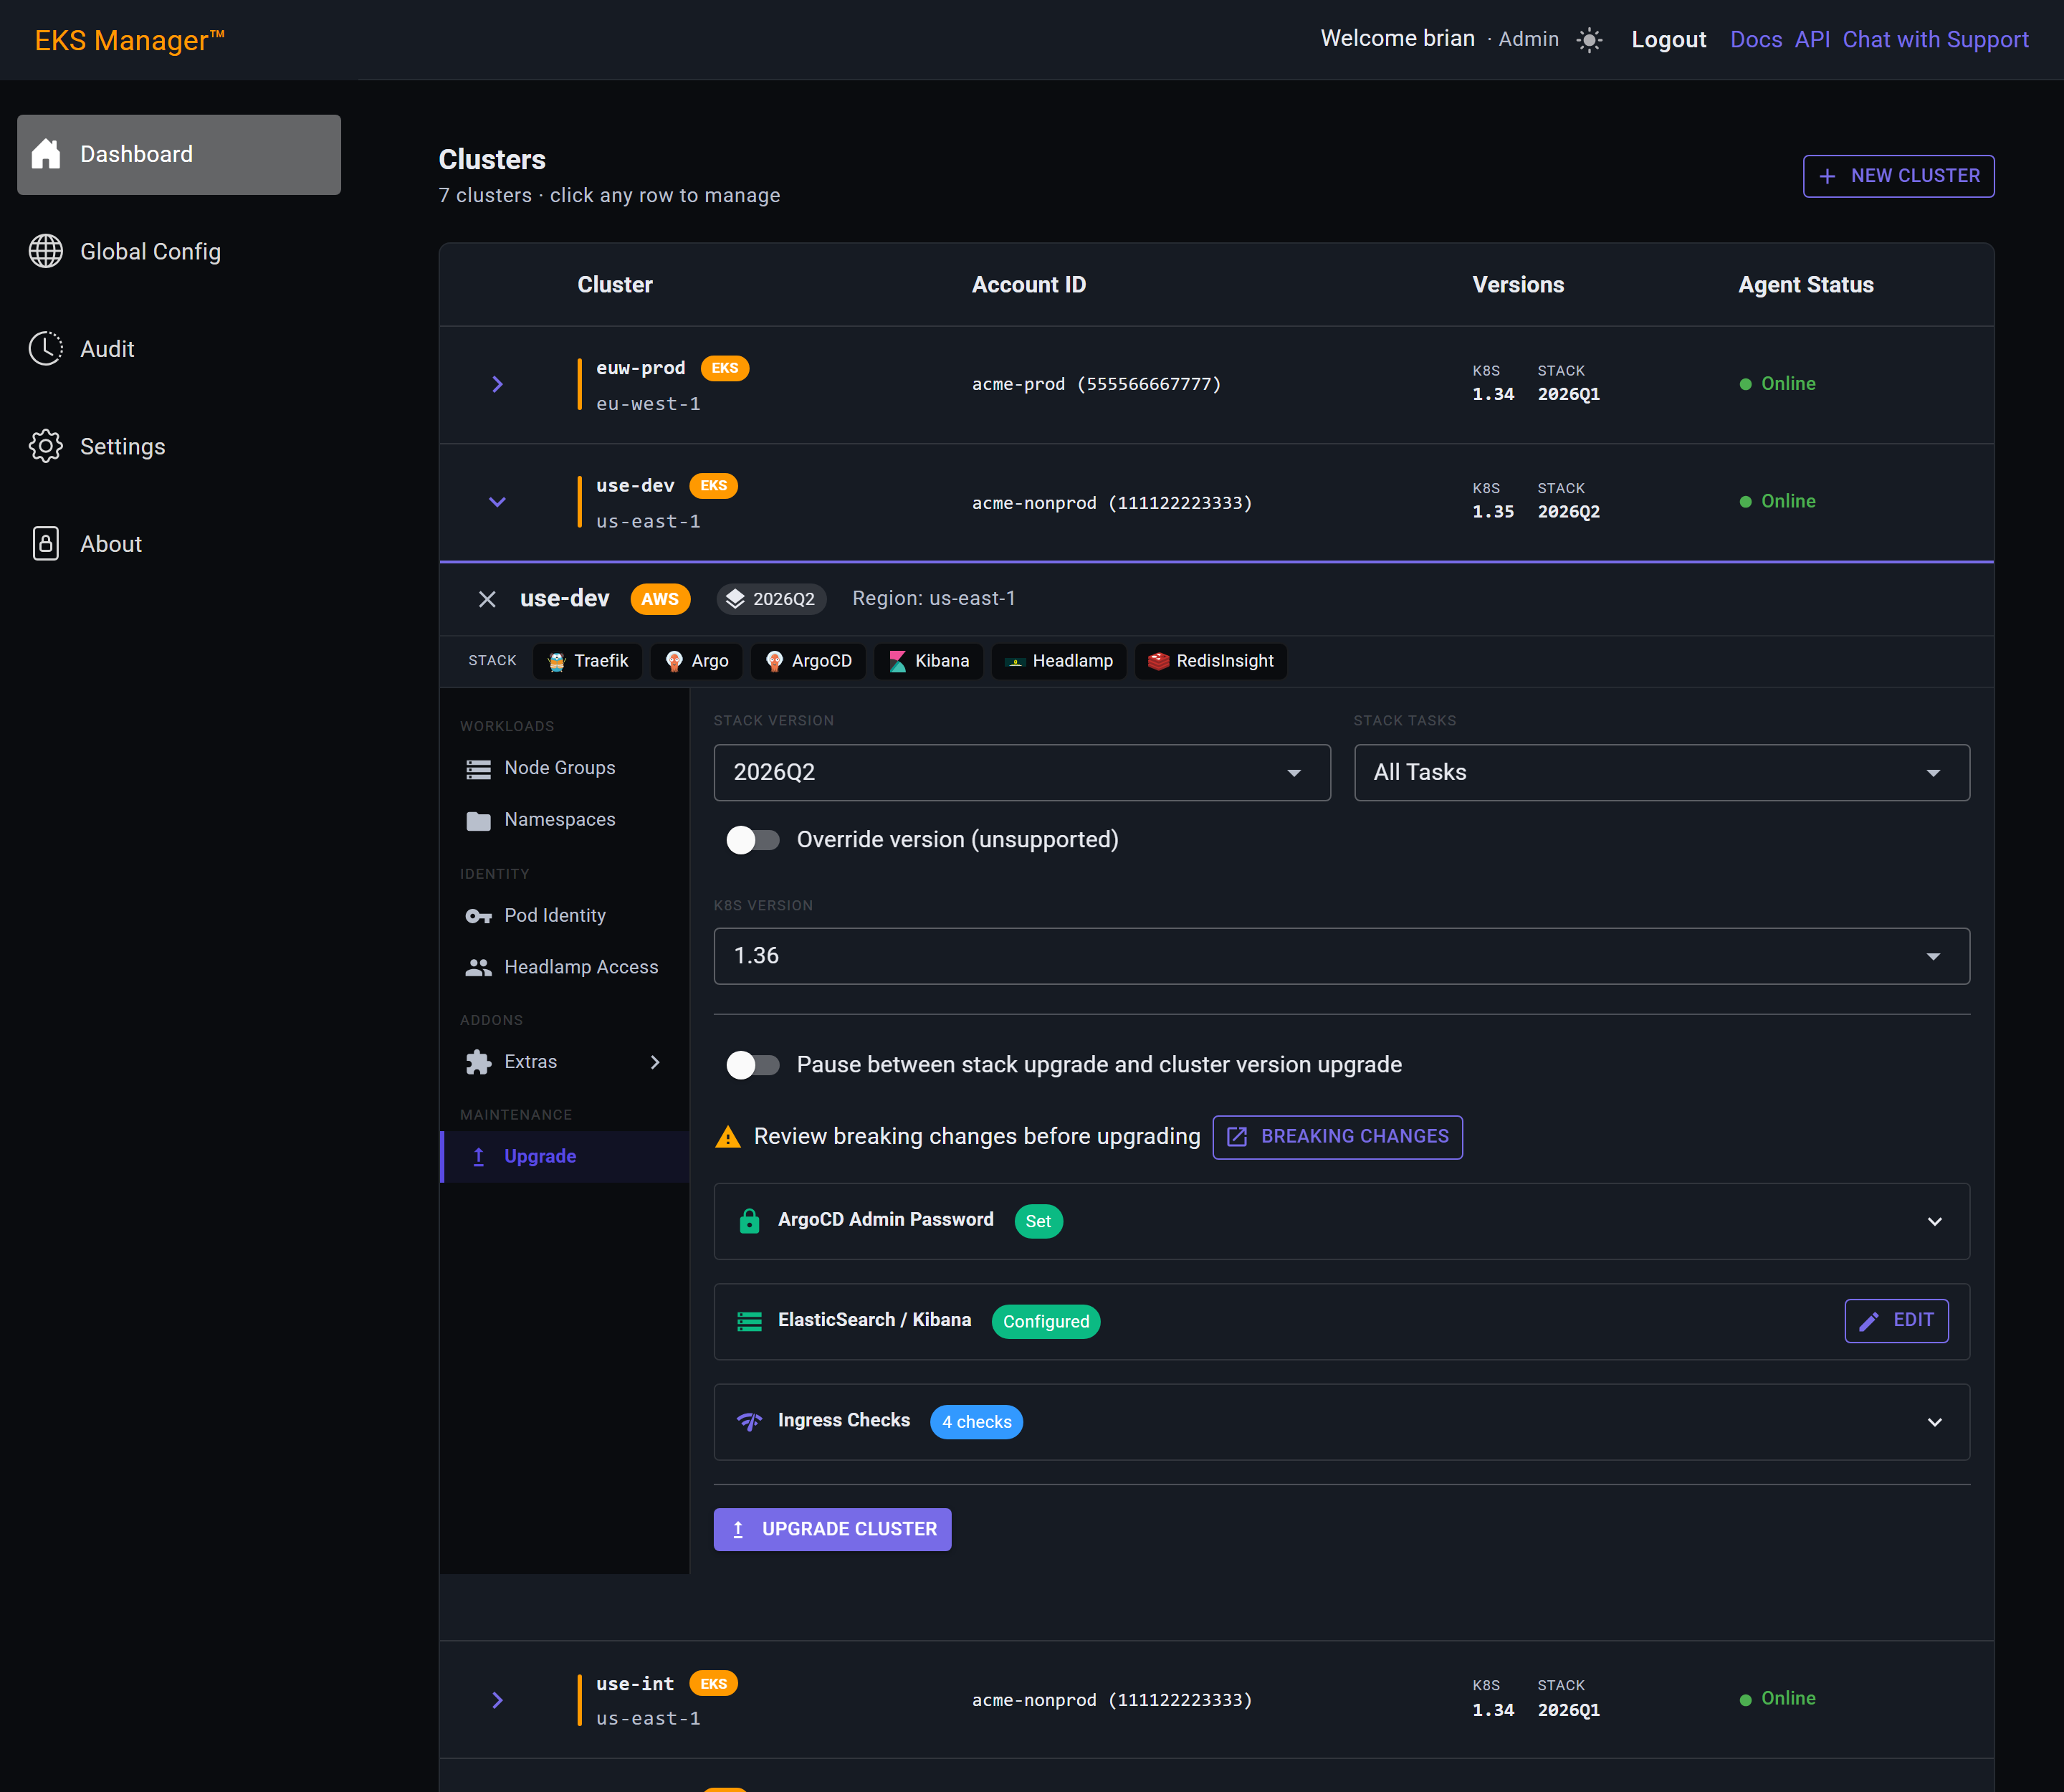
Everything the stack needs is in place: a version to install, the ArgoCD password saved, and ECK configured. Upgrade Cluster starts it.
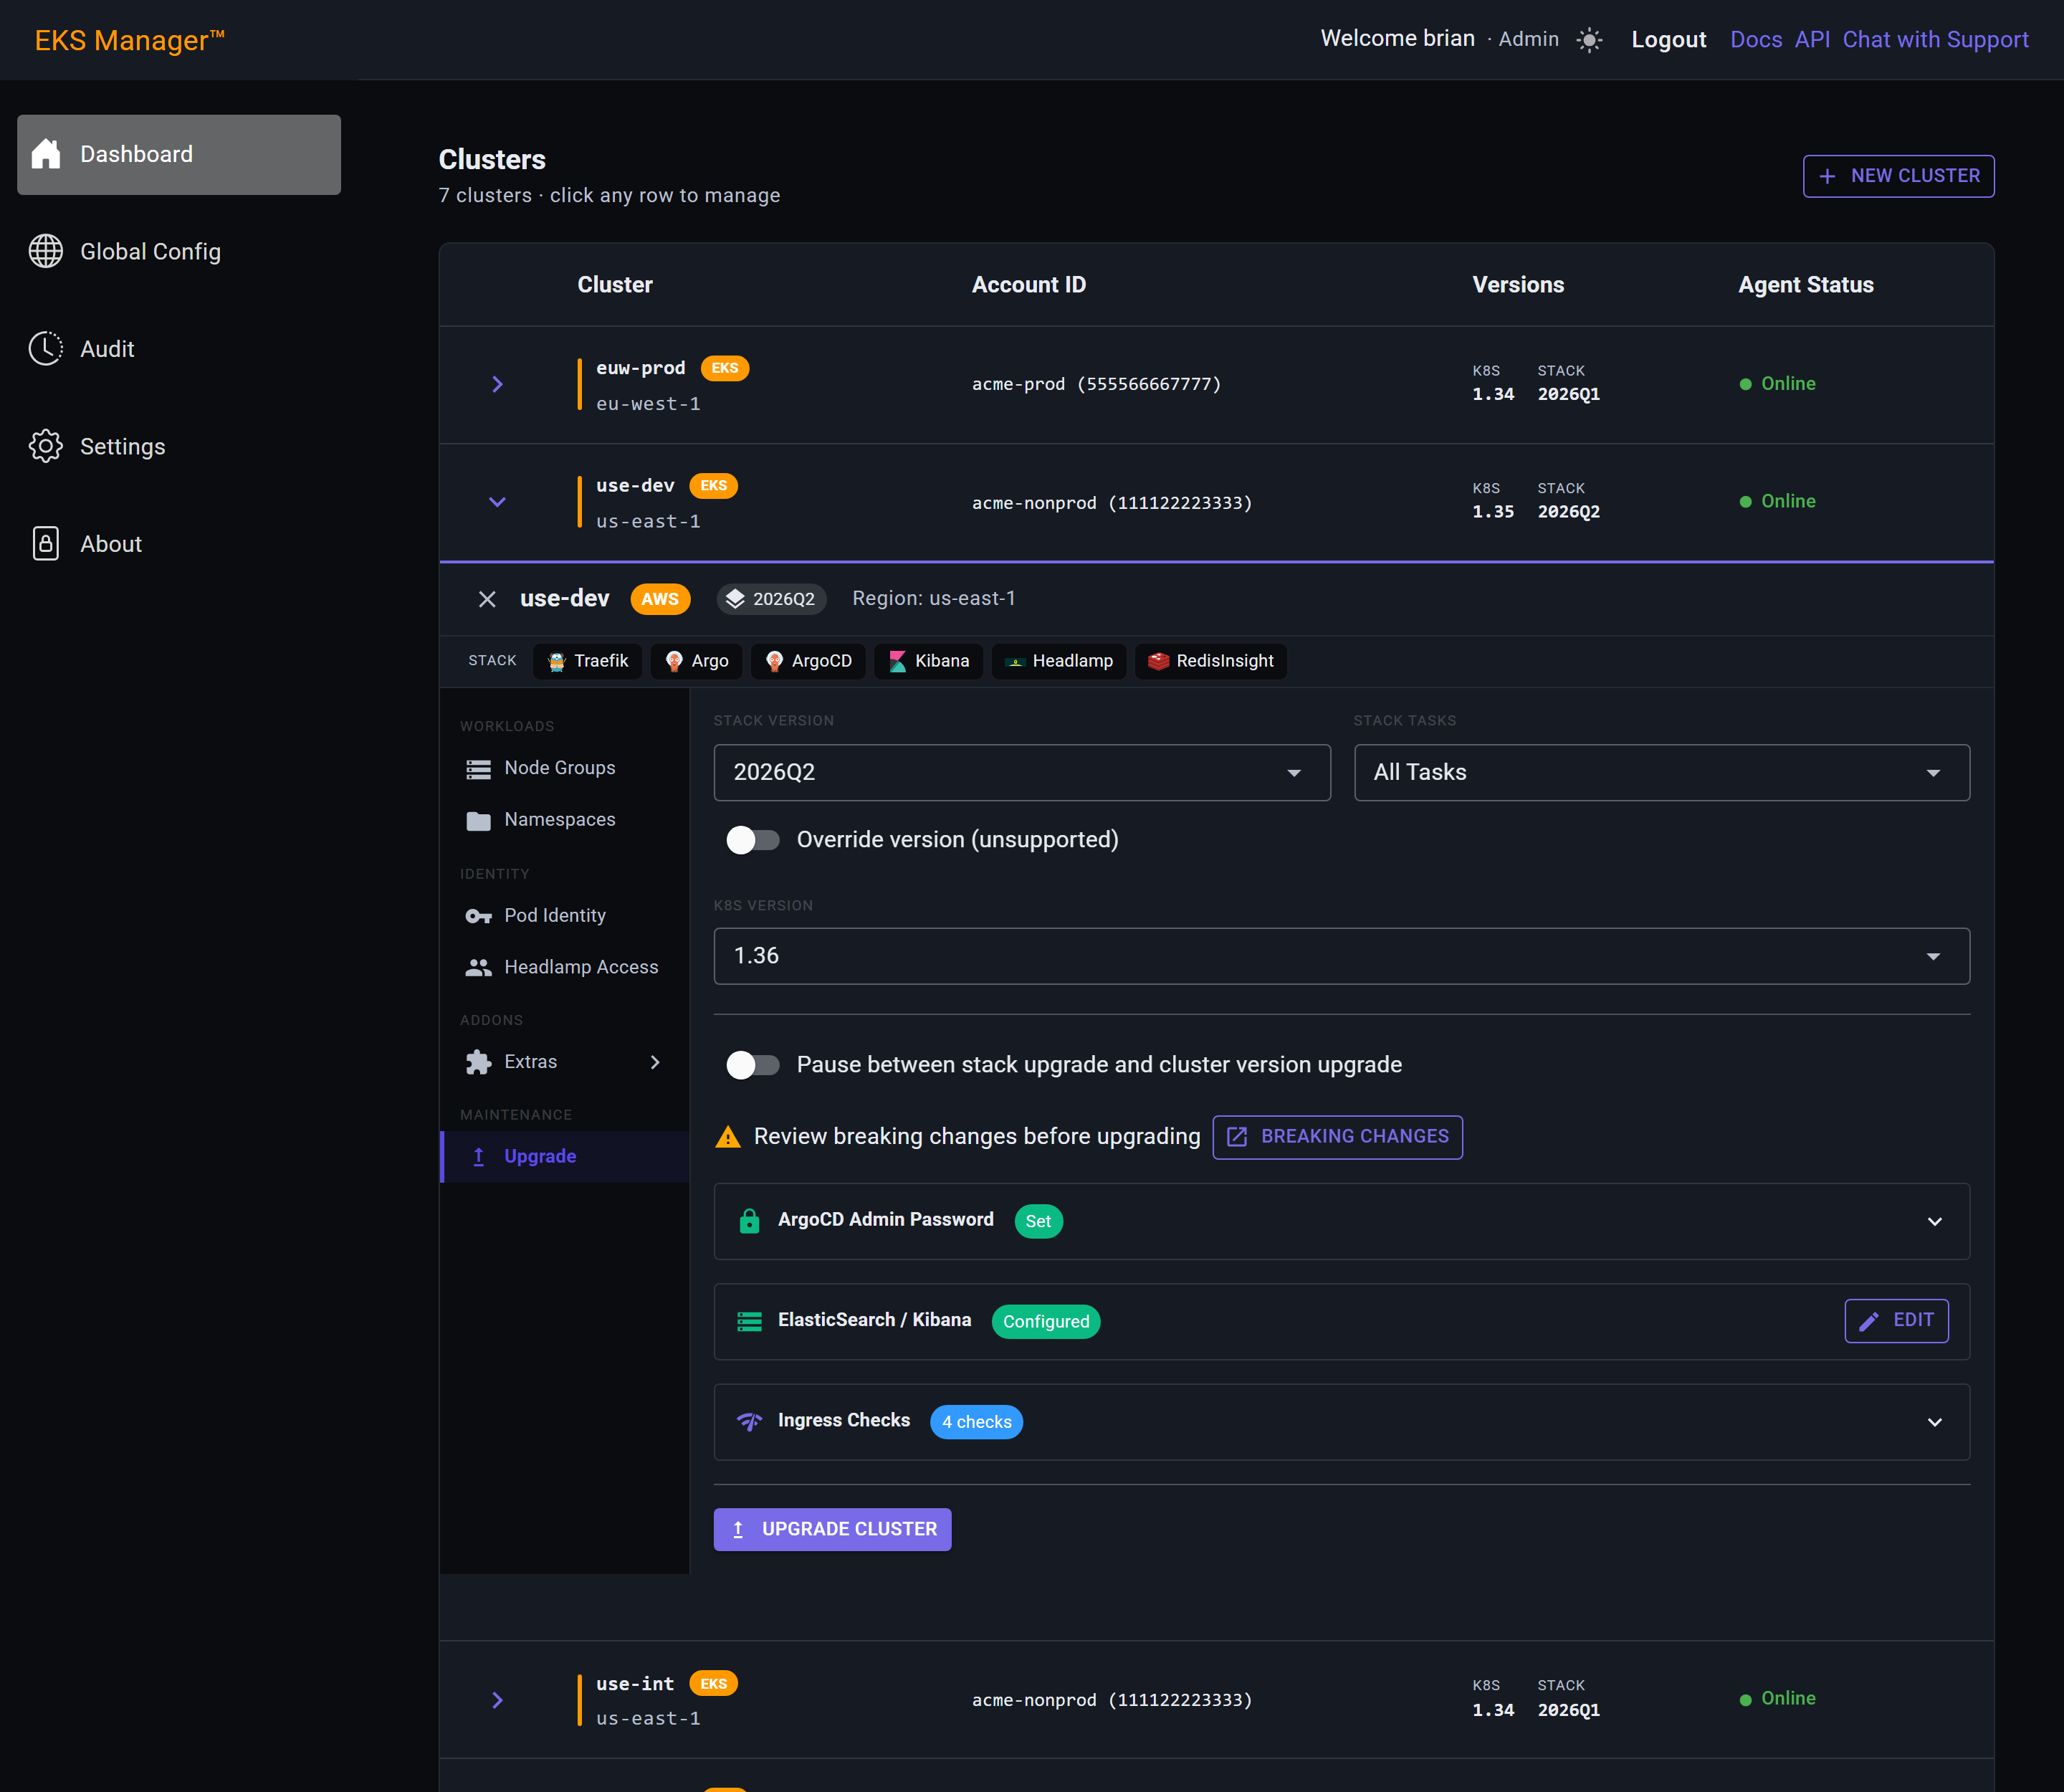
Nothing starts until you say so. The confirmation restates exactly what will happen: the cluster, its region and cloud, and each version being moved to.
Read it, then press Yes.
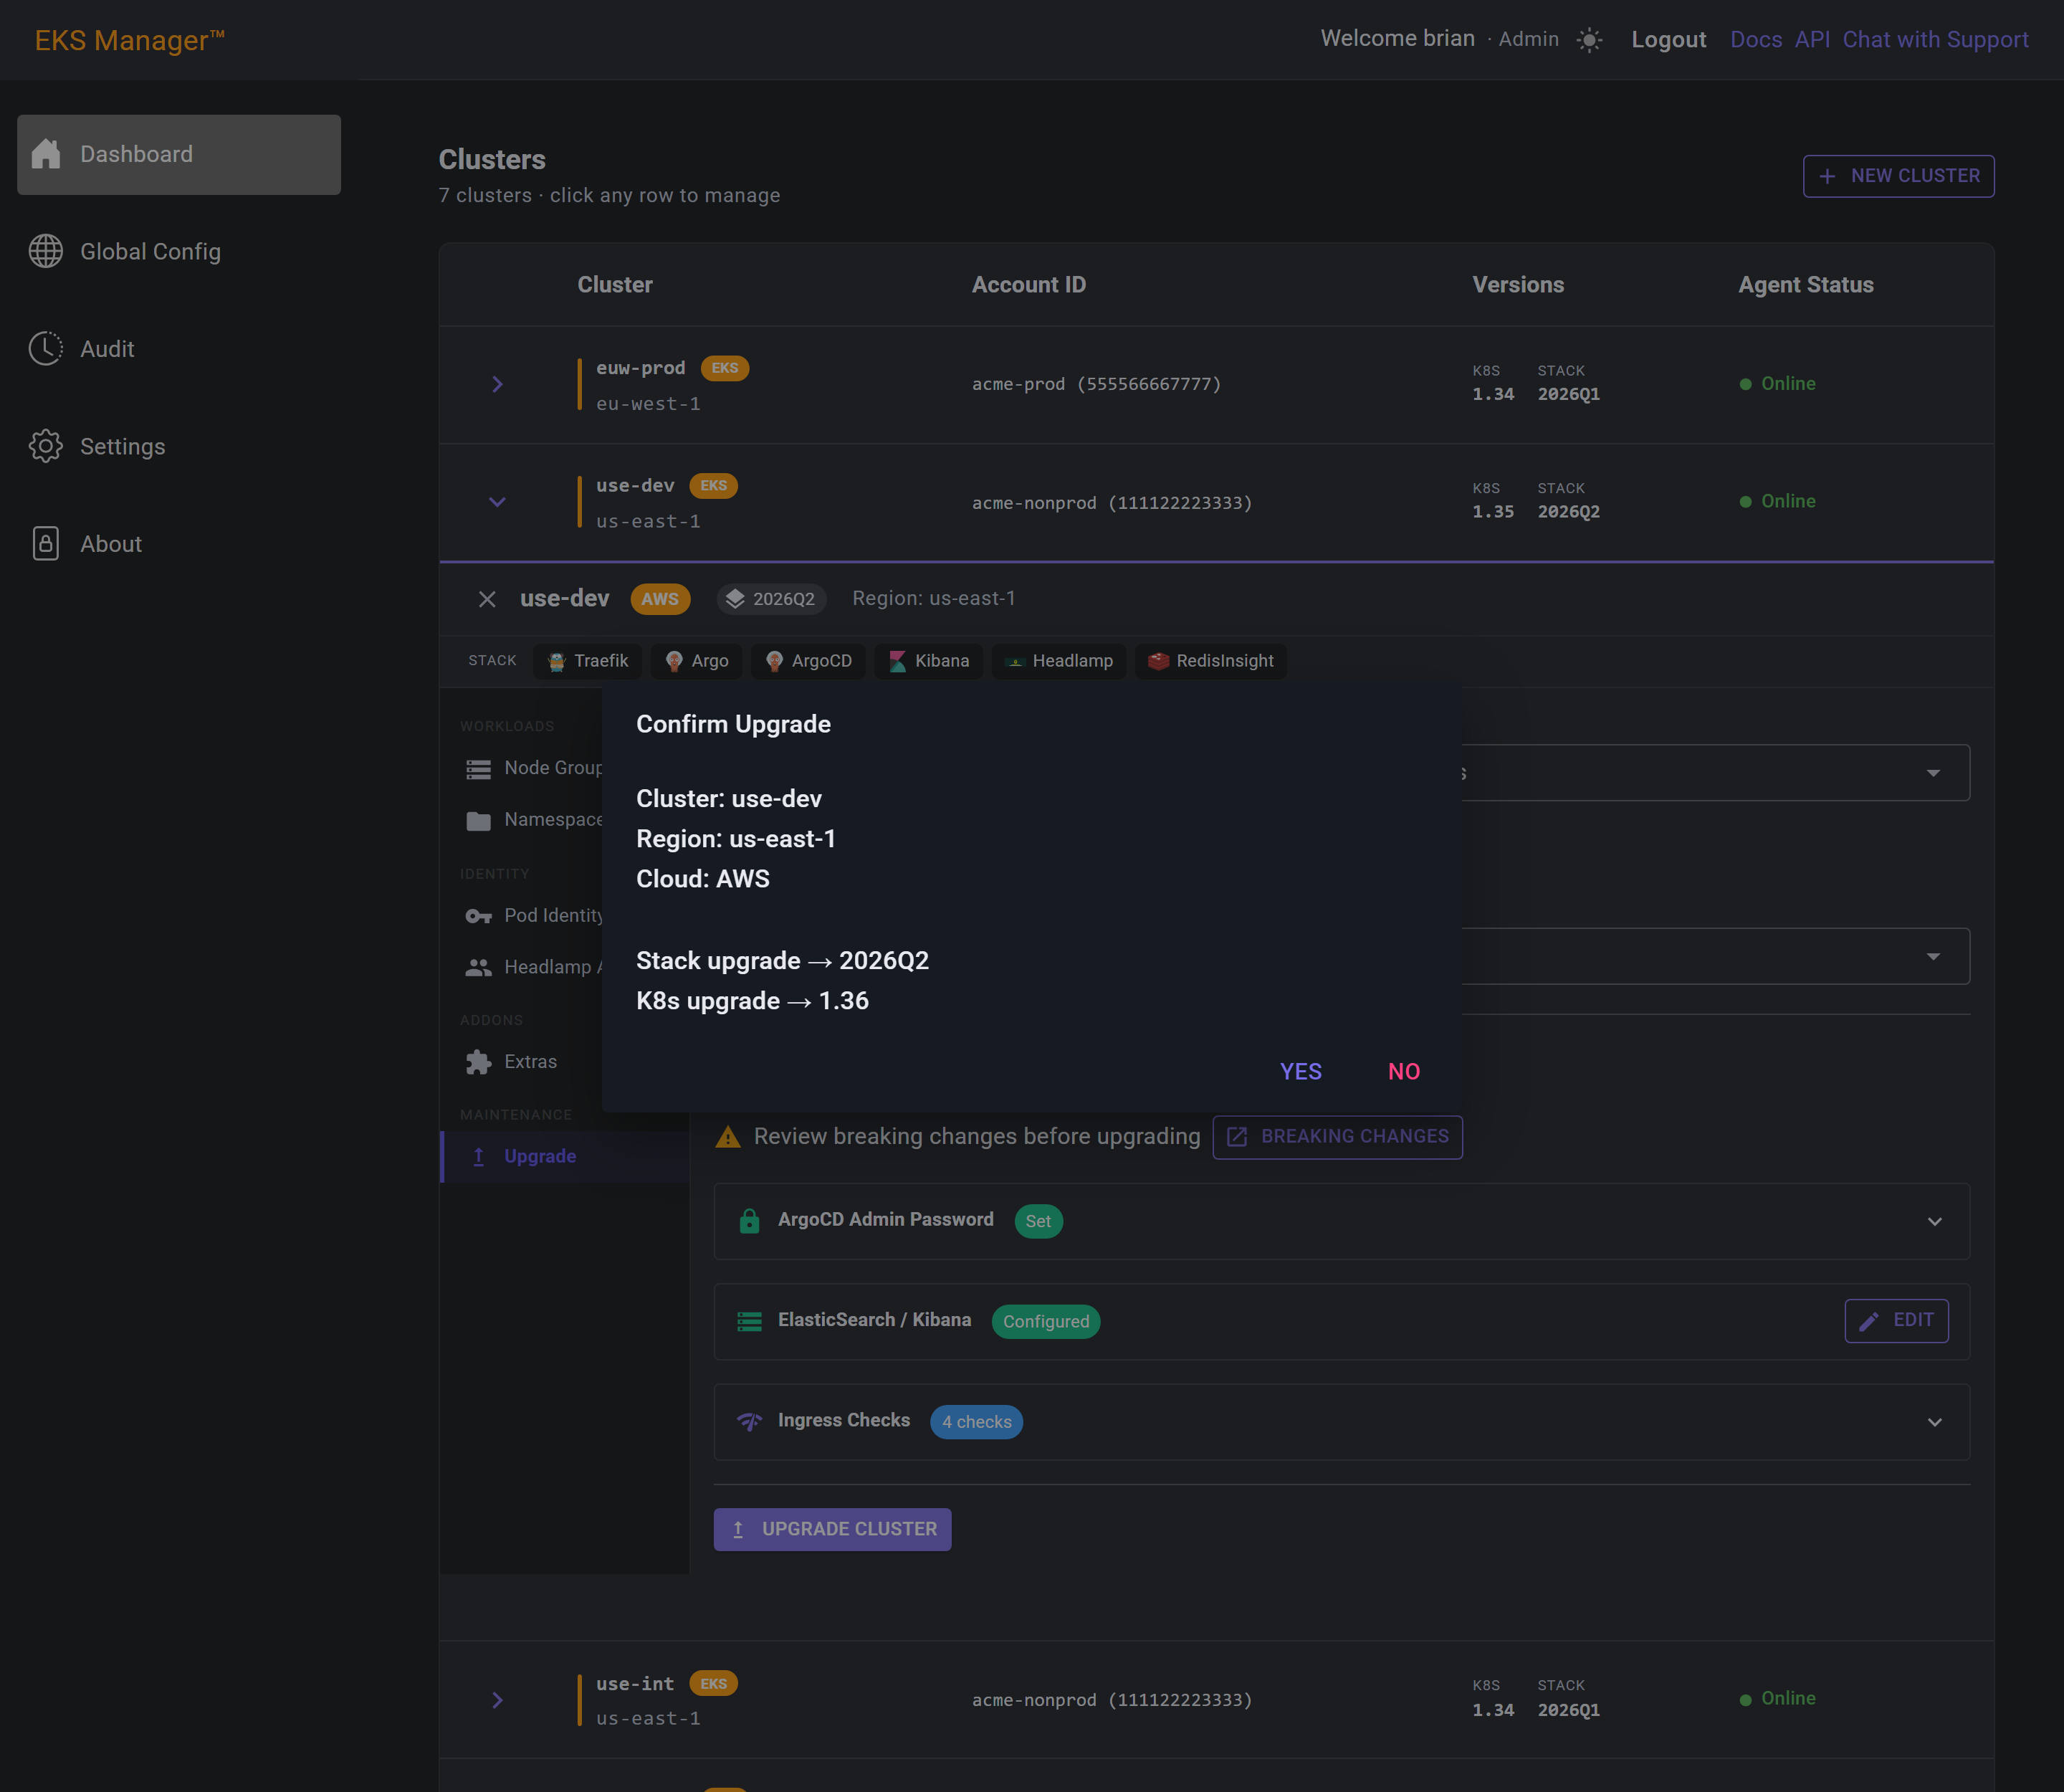
Confirming takes you straight to Upgrade Status, where the run is watched. Each cluster shows the action, the version it is coming from and going to, the stack version, and how far along it is.
An upgrade takes over the whole application. While a run is active, every signed-in user is moved to this screen — nobody can manage clusters, node groups or anything else until it ends. Always finish or cancel a run rather than leaving it open: an abandoned upgrade leaves everyone locked to this page.
Every task in the run is listed below, in the order it will execute.
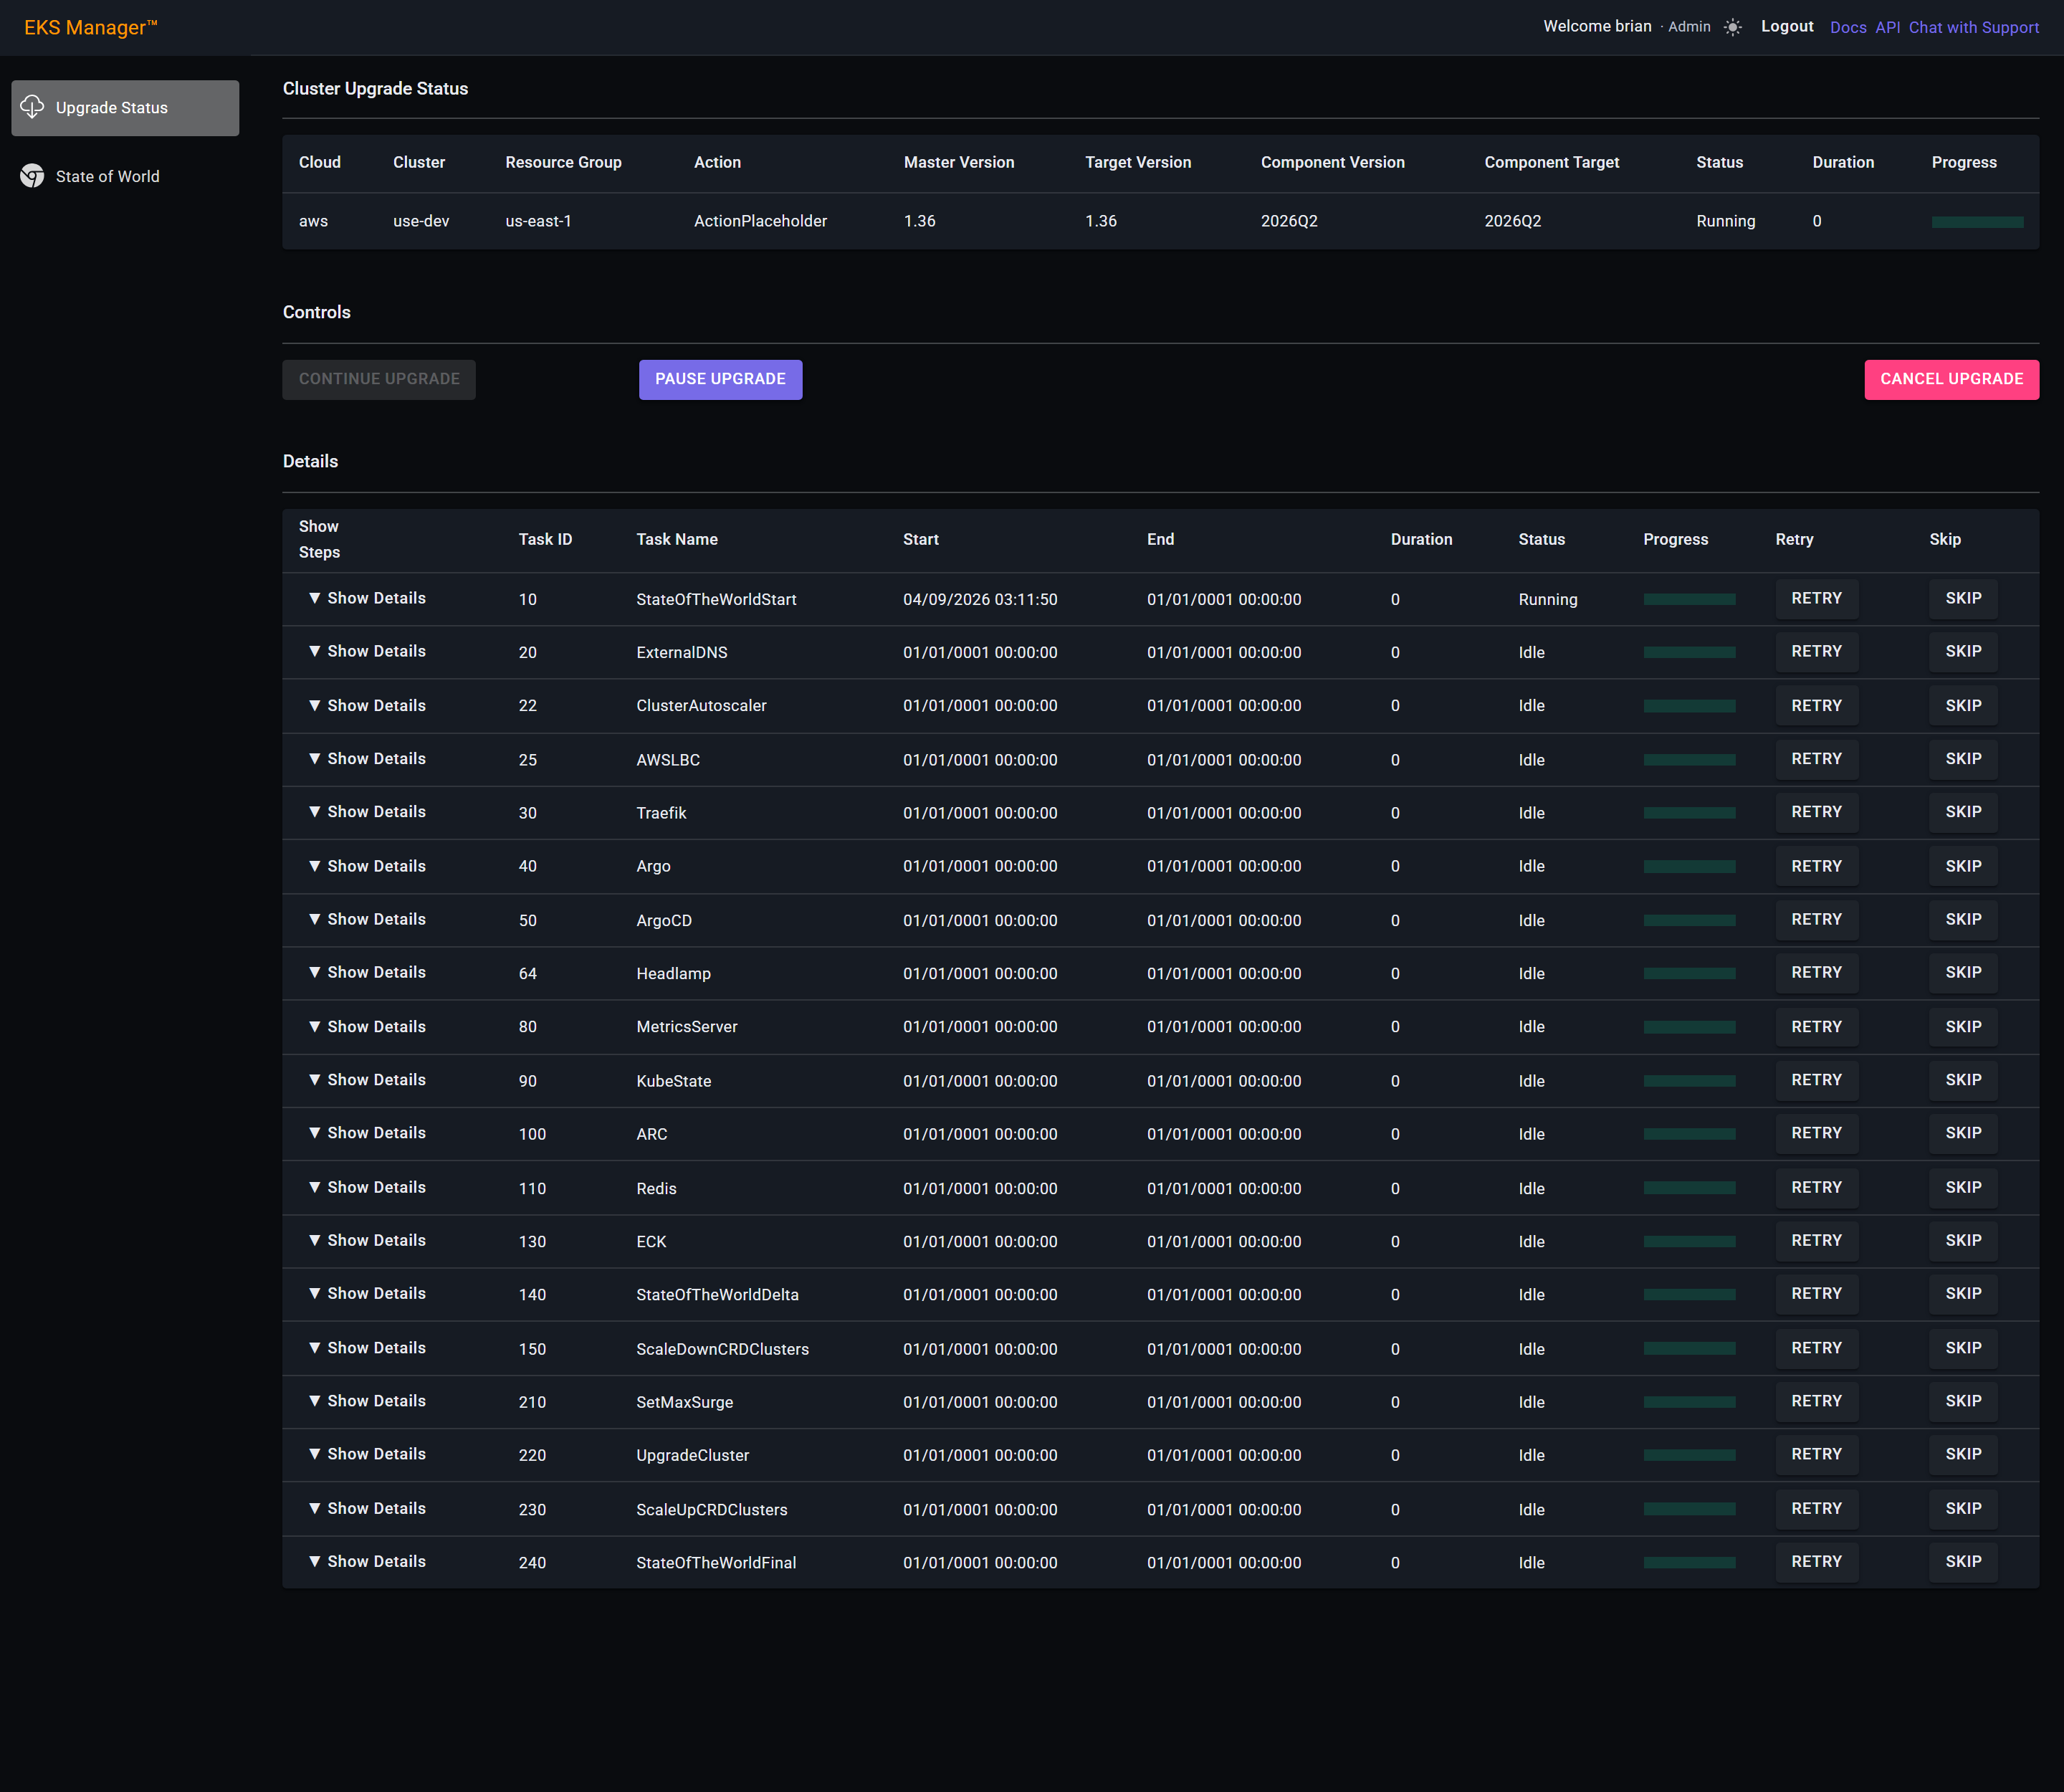
Tasks turn green as they finish, and the progress bar on each fills as its steps complete. The run works down the list in order — the state of the world is captured first, then each component of the stack, then the cluster itself.
Show Details on a running task shows which step it is on right now.
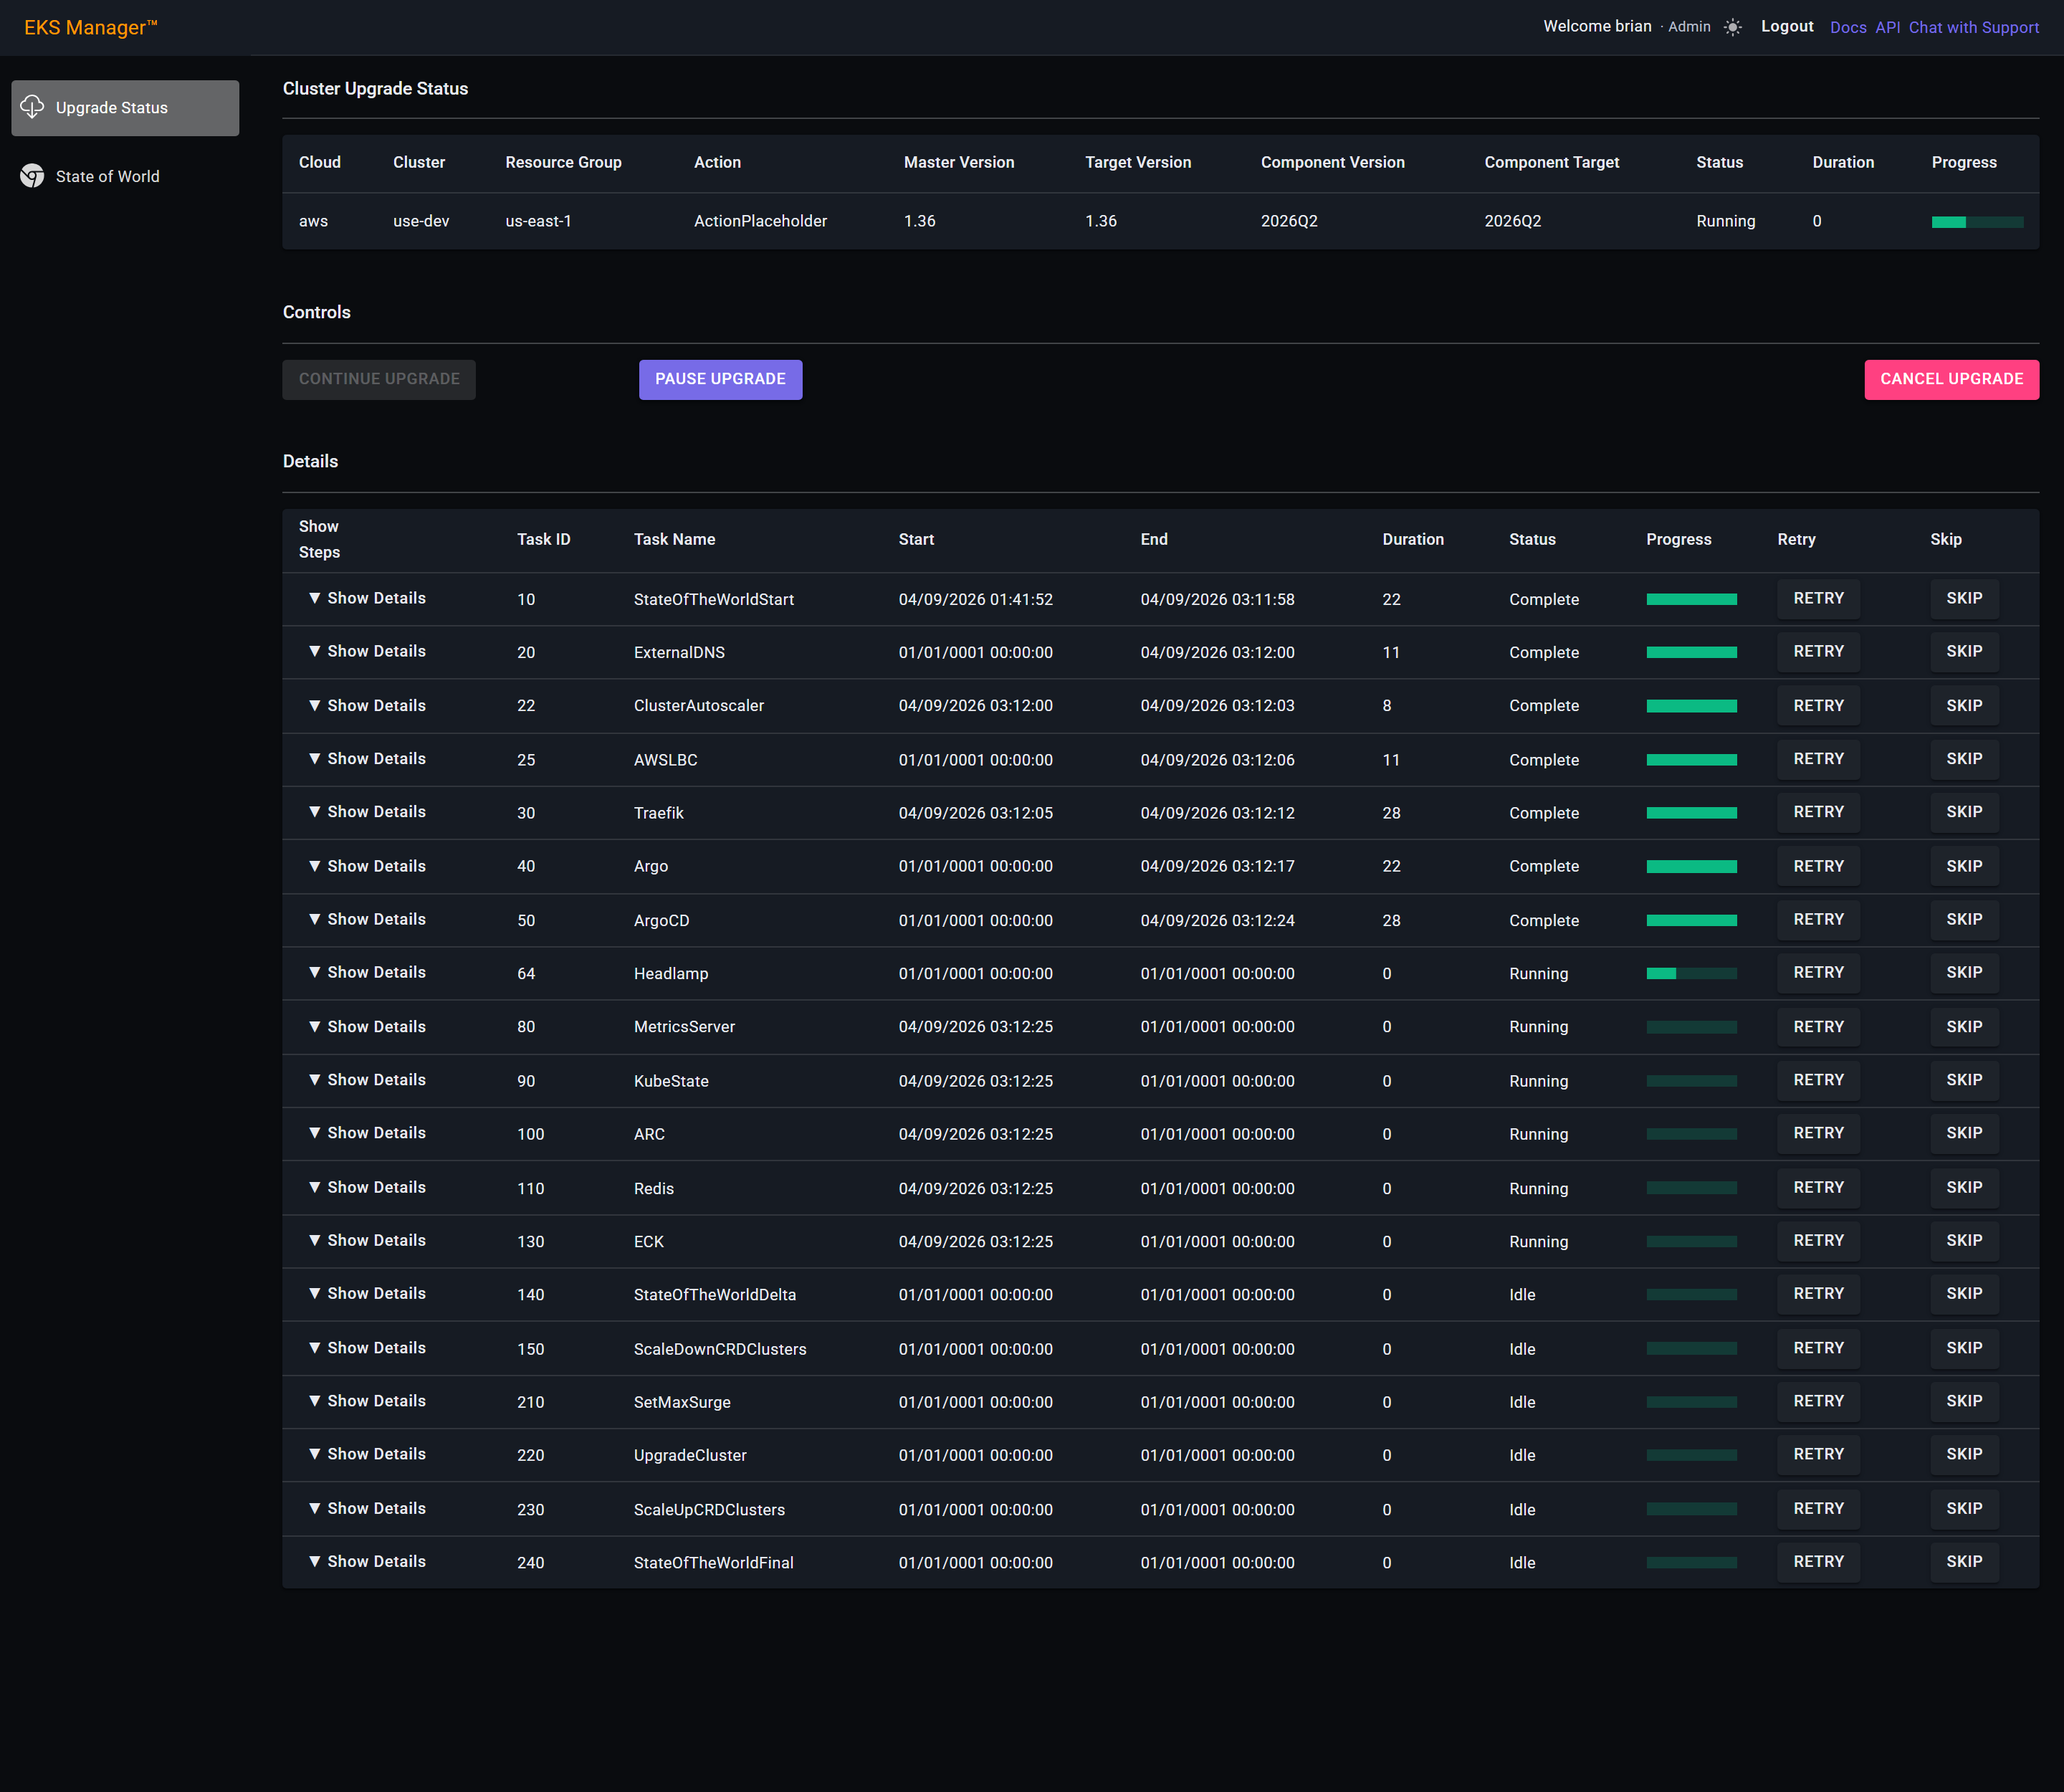
A dialog confirms the run has finished and offers to return you to the main menu. Every task reads Complete behind it, with the time each one took.
The status line above still says Running: the screen stops refreshing while this dialog is up, so it shows the moment the run ended rather than the result. Dismissing the dialog updates it.
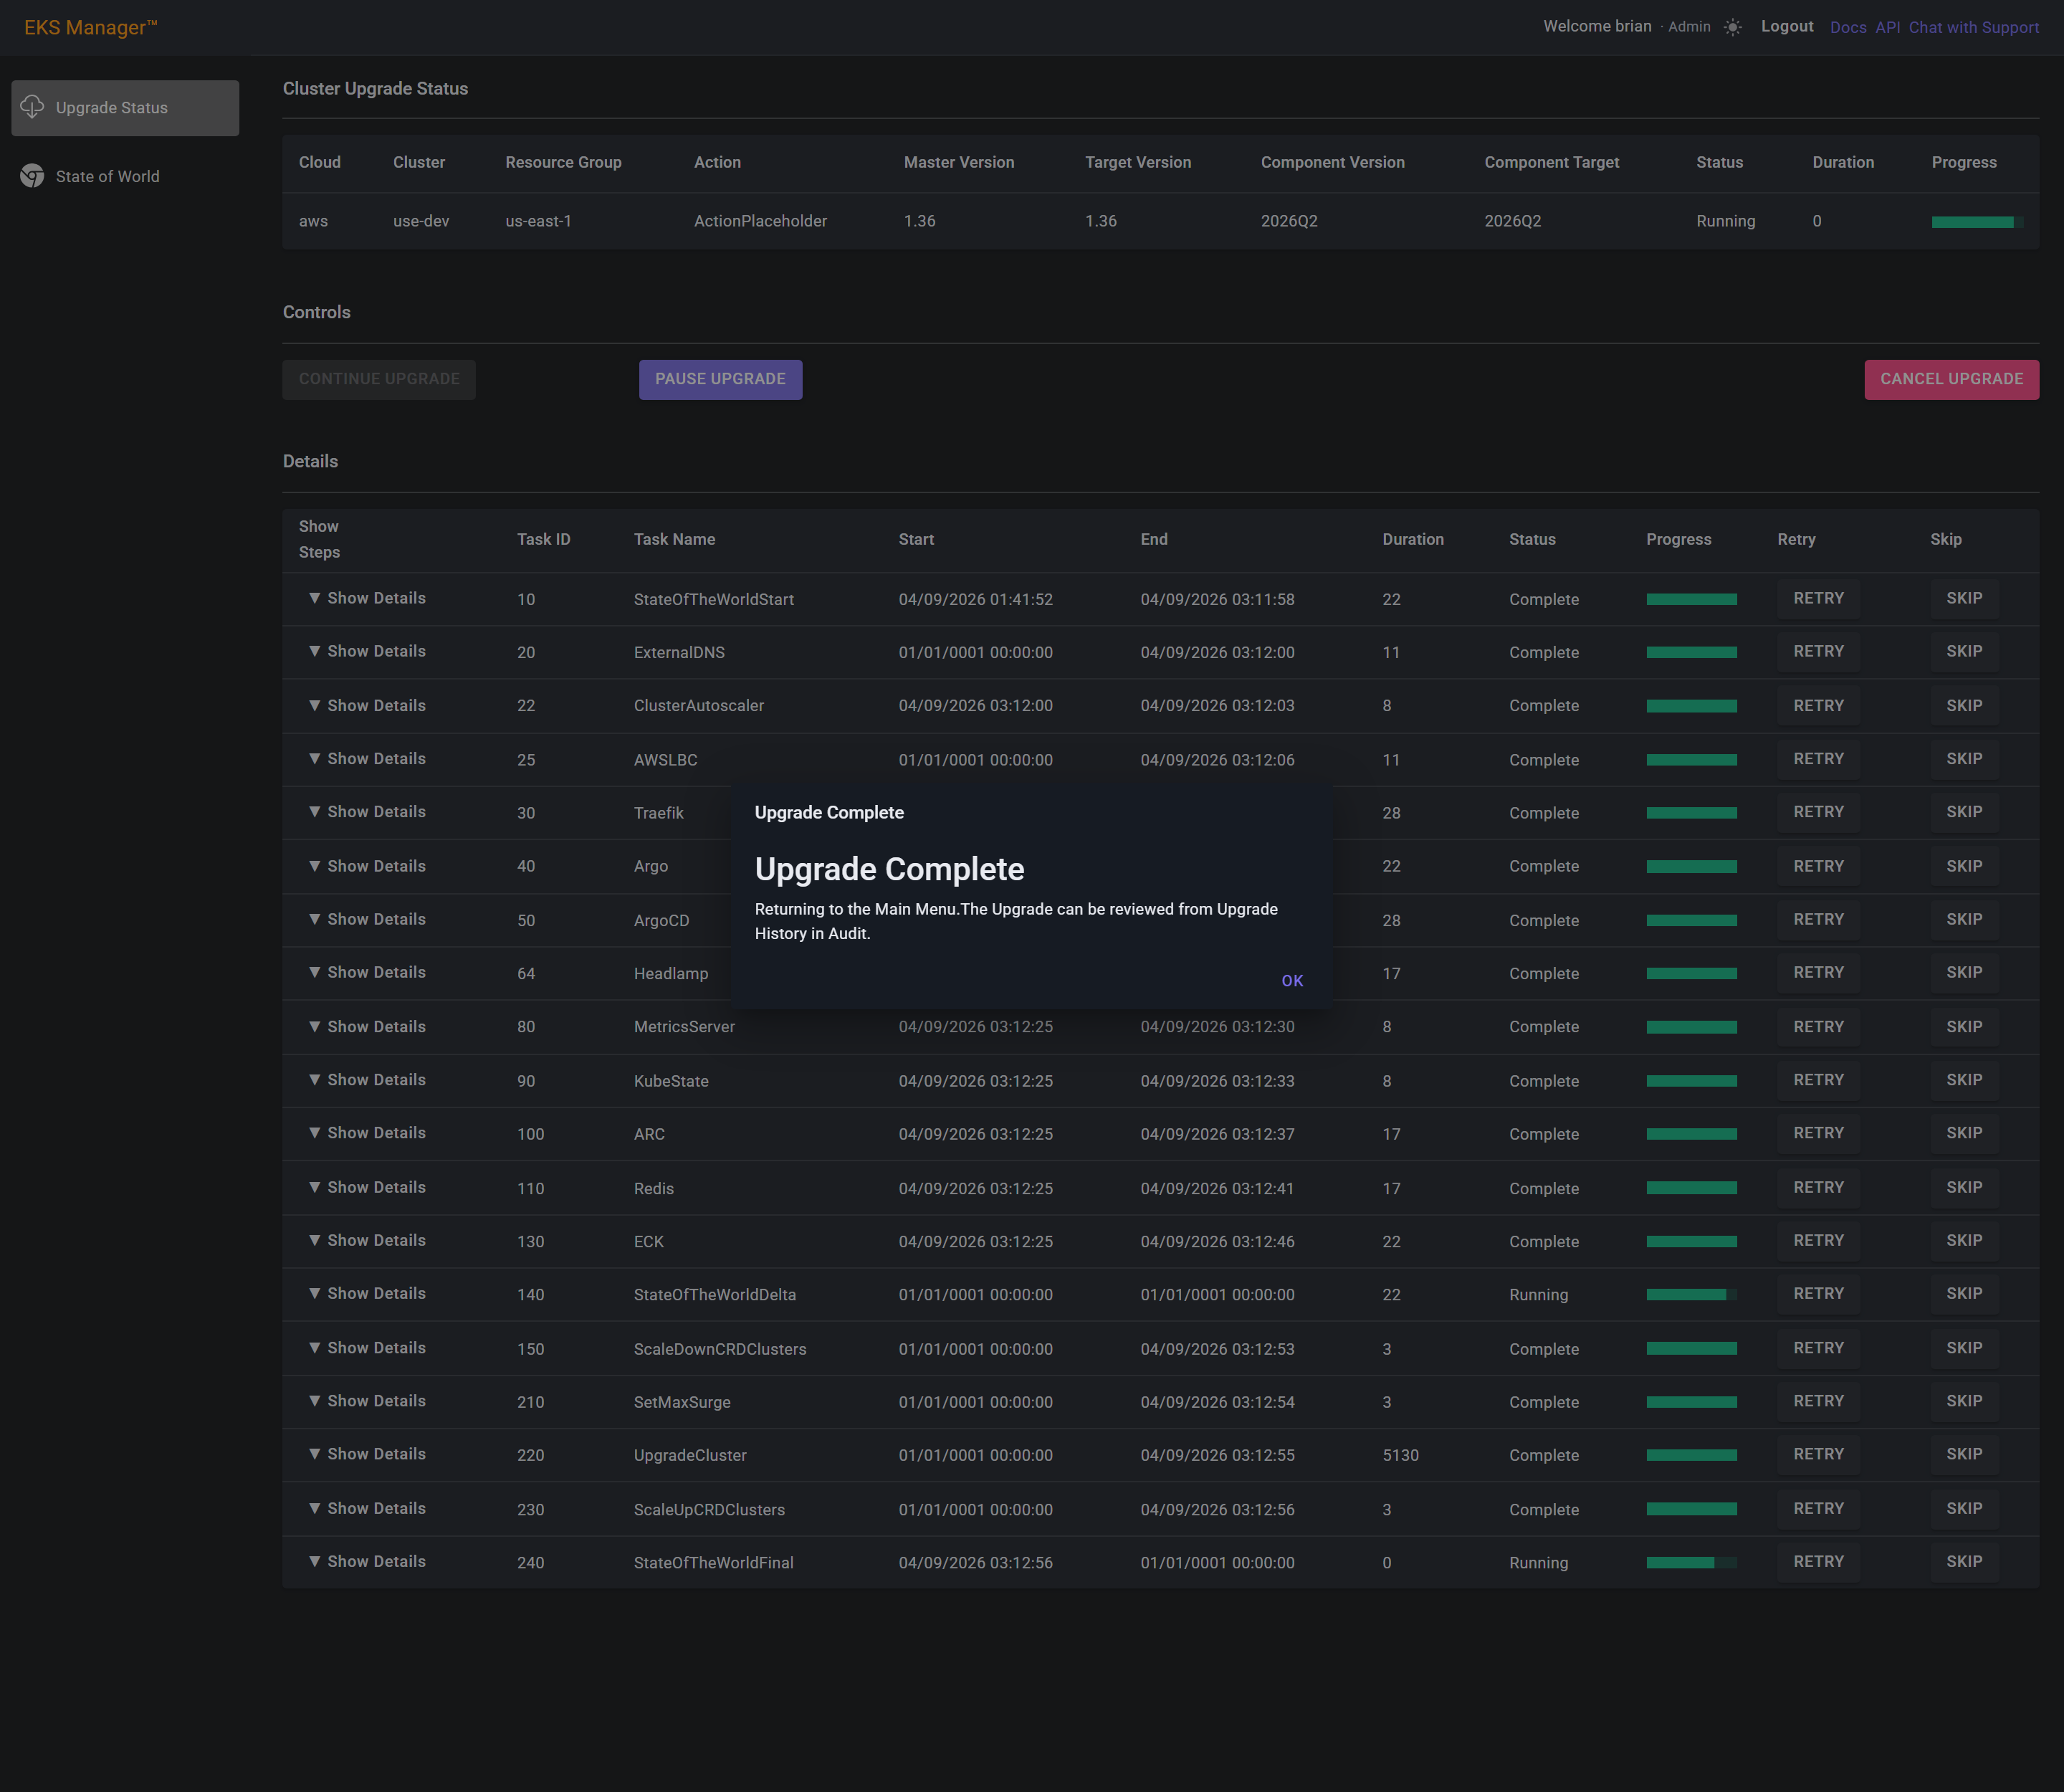
With the dialog dismissed the screen refreshes: the run reads Complete, and the total is the whole upgrade end to end — about an hour and a half here, because this run upgraded the cluster as well as the stack. A stack-only install is a few minutes.
Caution: do not leave the application sitting on this page. An open upgrade holds every other user on the upgrade screen — nobody can manage clusters or anything else until the run finishes or is cancelled.
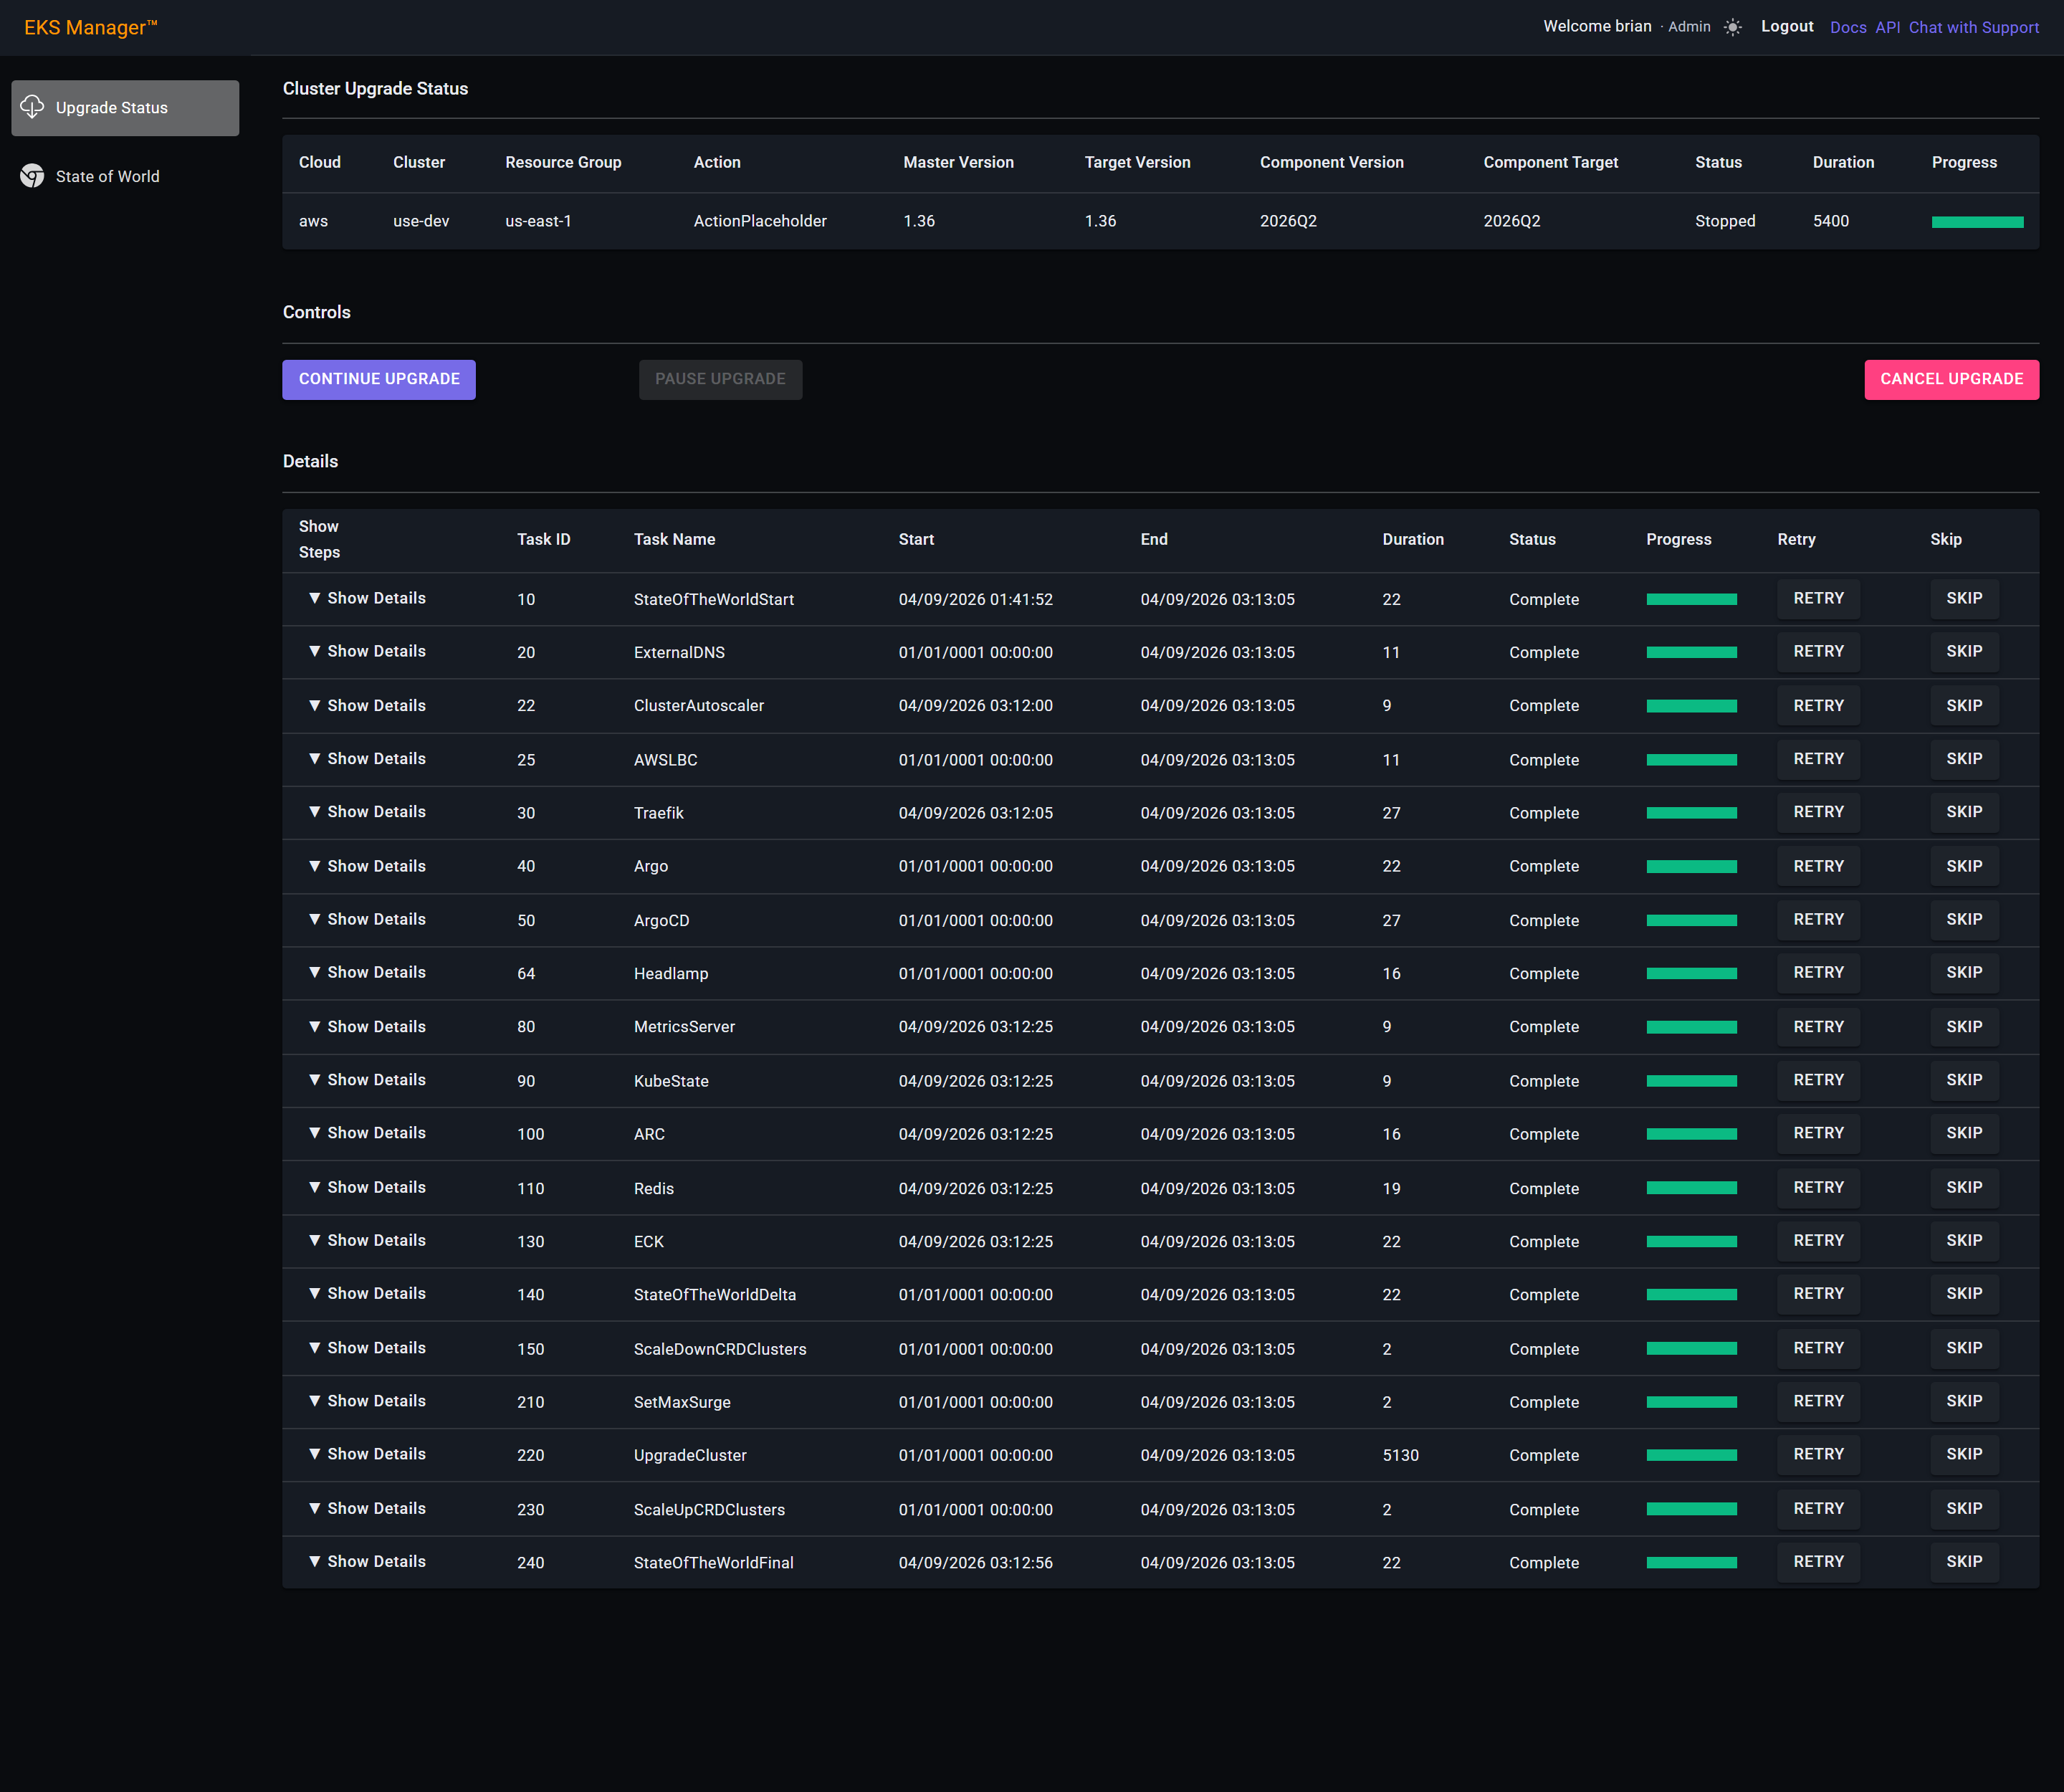
Show Details on any task opens the steps inside it, each with its own start and end time, duration, status and progress.
This is how you tell which step a running task is on, rather than just which task. Retry and Skip work at this level too, so a single failed step can be re-run without redoing the whole task.
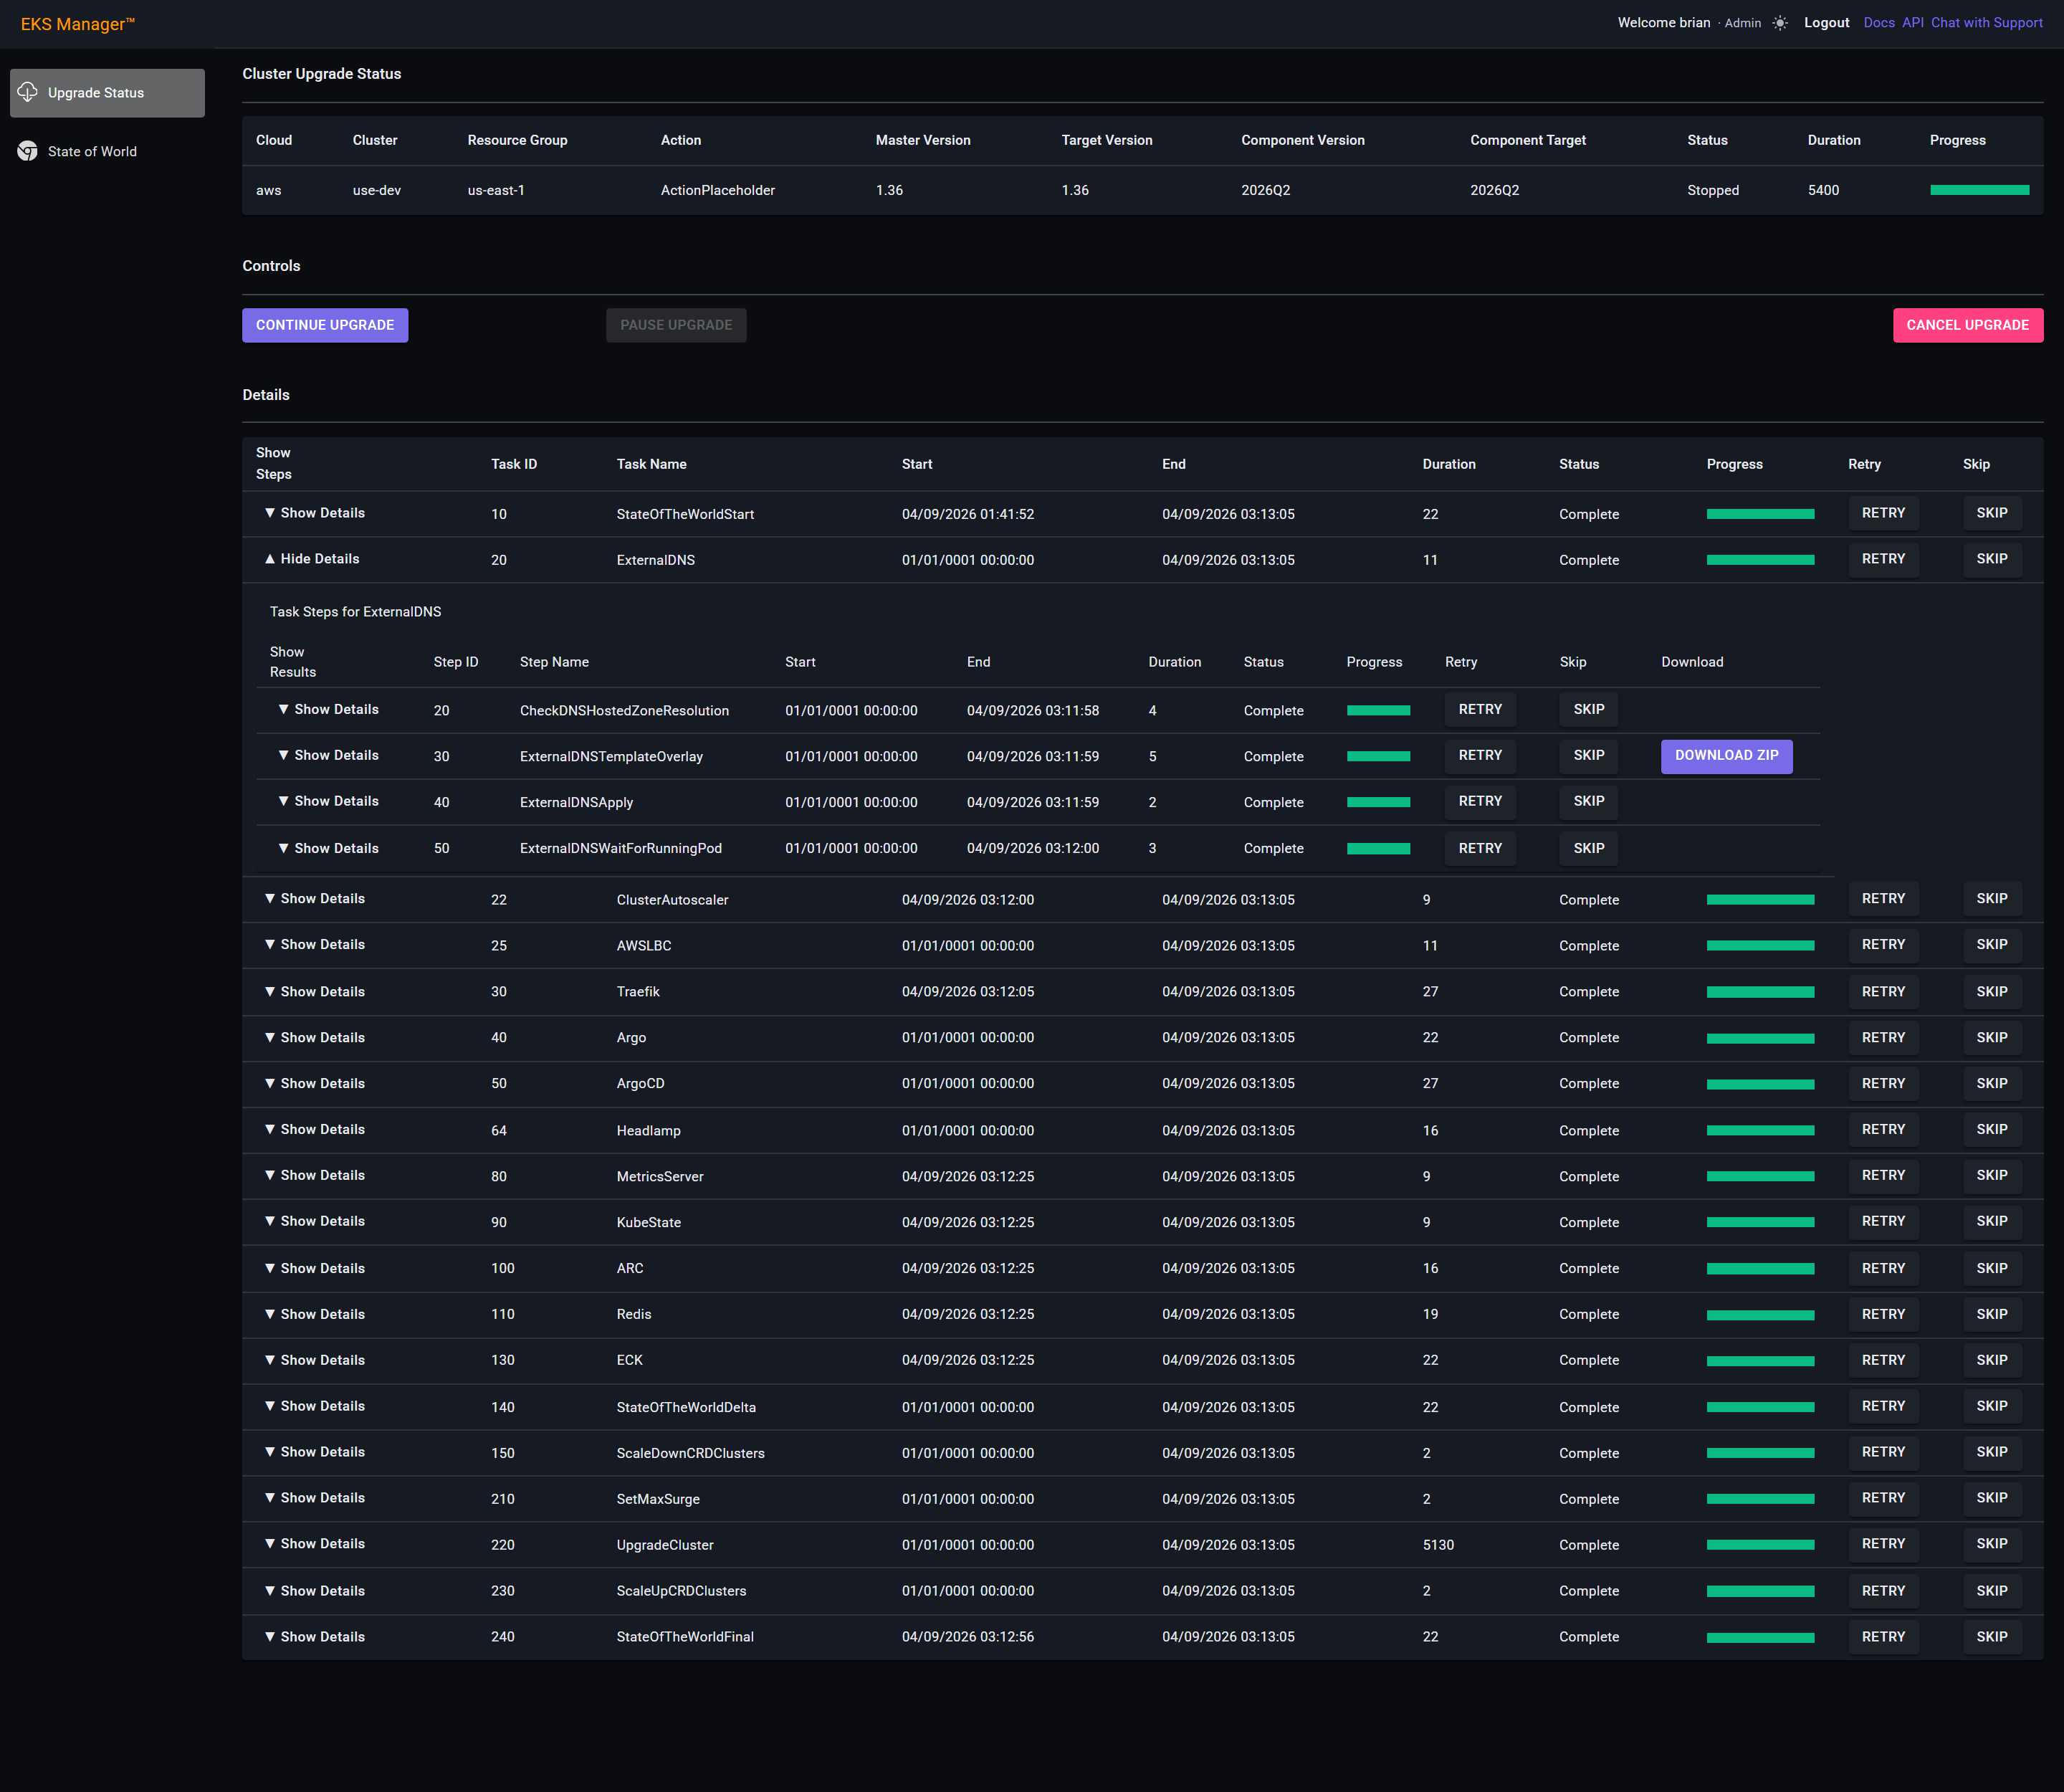
Each step has a Show Details of its own, opening Stdout and Stderr panels for that step. Both start closed — click either to read it.
That is where a failure is diagnosed: the output the step produced is on the page, rather than somewhere in a log on a machine you would otherwise have to go and find.
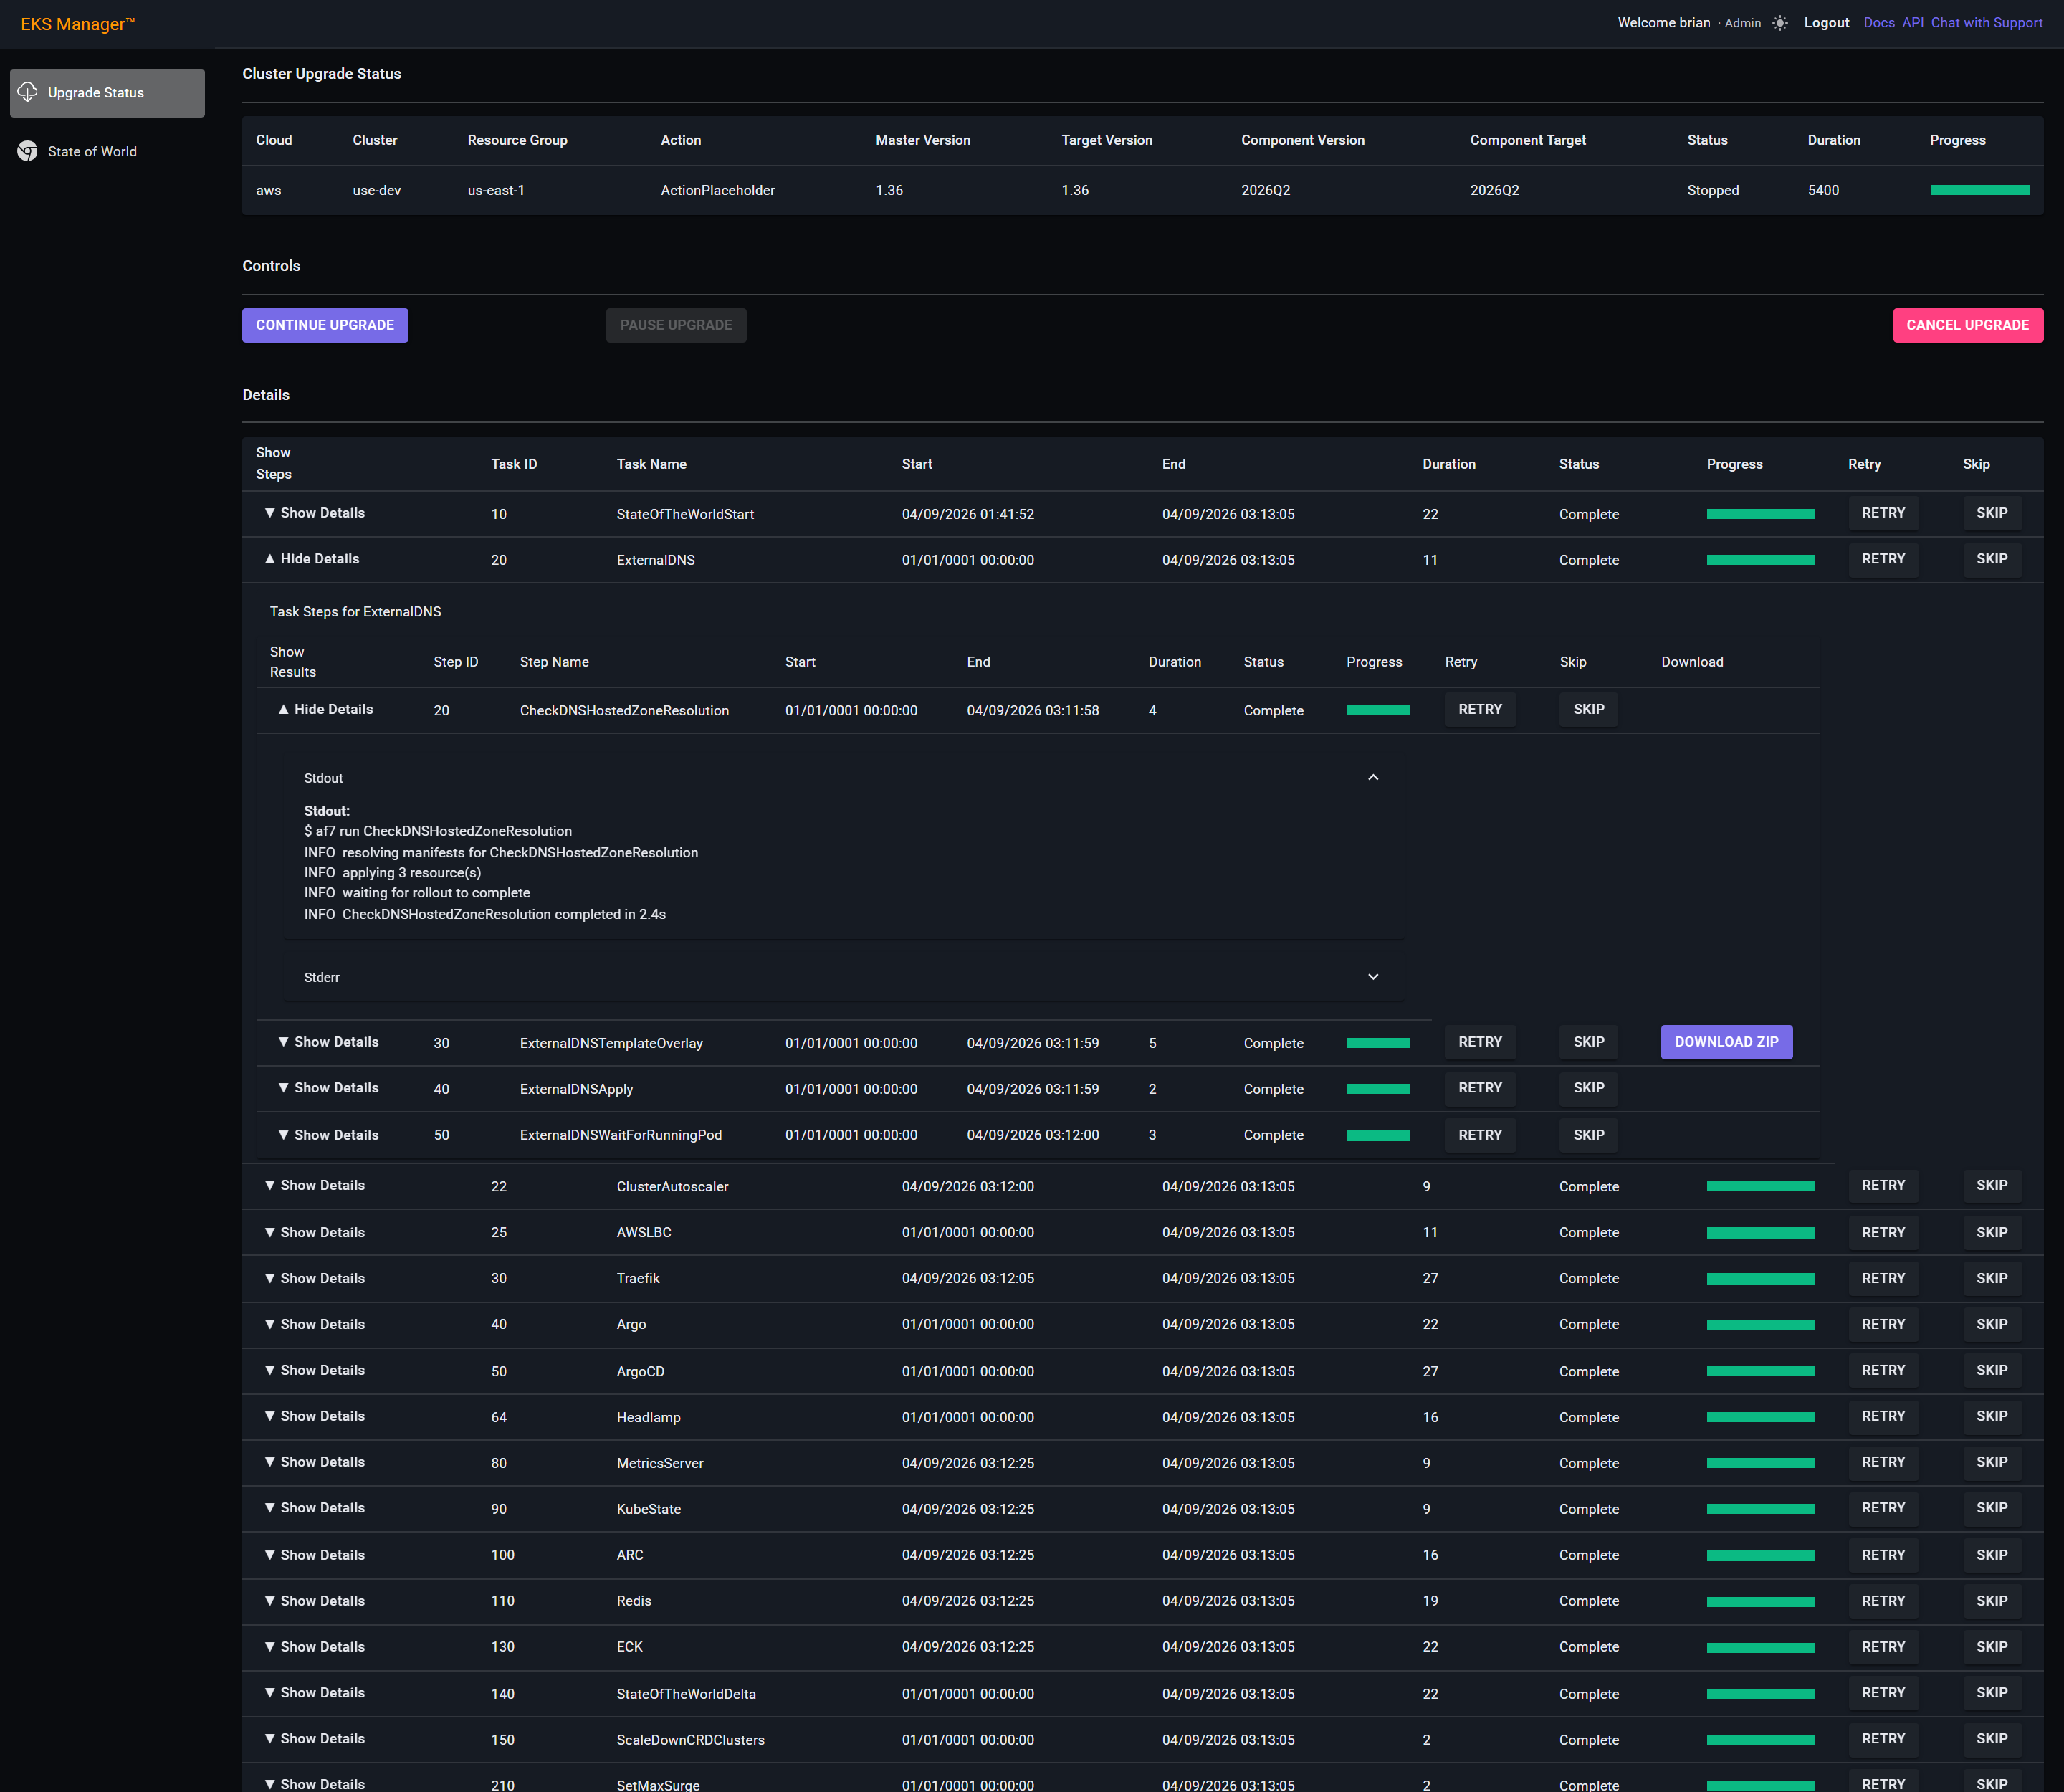
Global Config
Global Config holds the two things defined once and used across the estate: secrets, and global namespaces. Neither belongs to a single cluster, which is why they are here rather than on a cluster's own panel.
They work differently, and each has its own section below. A secret is placed on the clusters and namespaces you choose. A global namespace goes to every cluster there is.
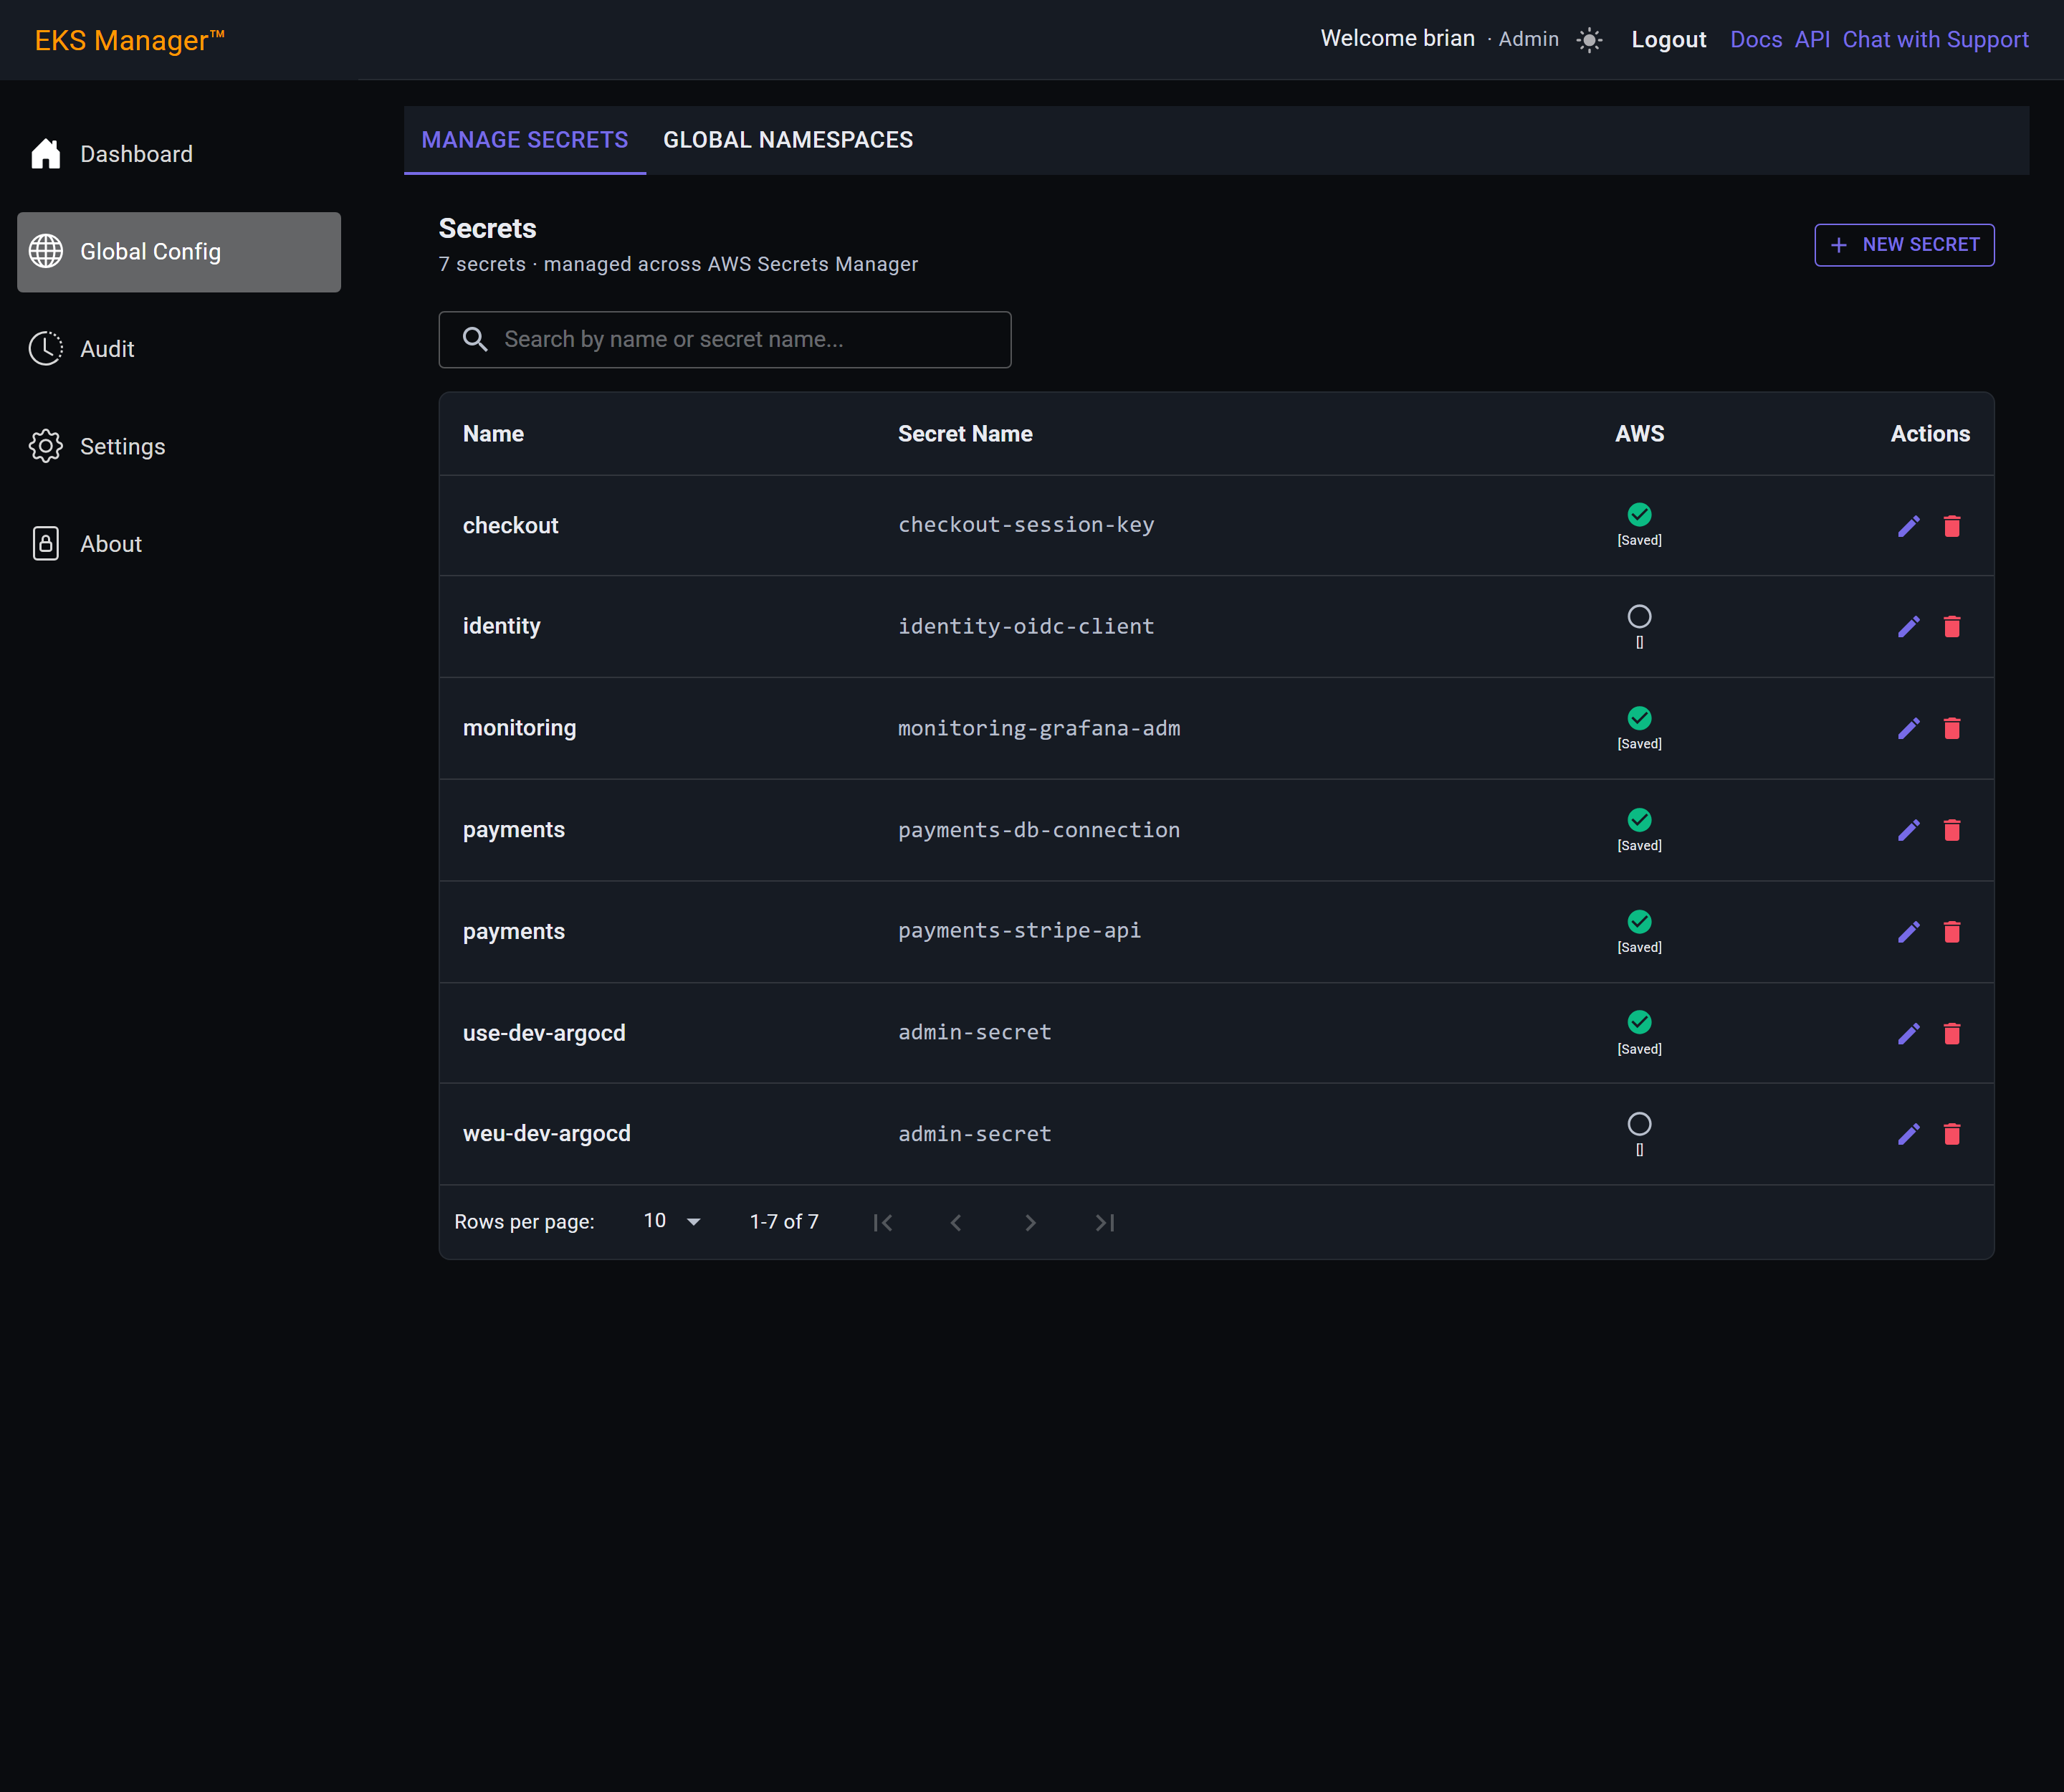
Continue with:
Secrets
Each row is a secret: the name it is filed under, the secret name it takes inside Kubernetes, and whether it has been saved to the cloud's secret store.
A secret is stored once and can then be deployed to as many clusters and namespaces as you need.
New Secret opens the form over the list.
Name is an environment prefix — dev, prod, global — and groups secrets that belong together. Secret Name is the name Kubernetes will use, so it is lowercase letters, numbers and dashes.
The rules and the length allowed are stated under each field.
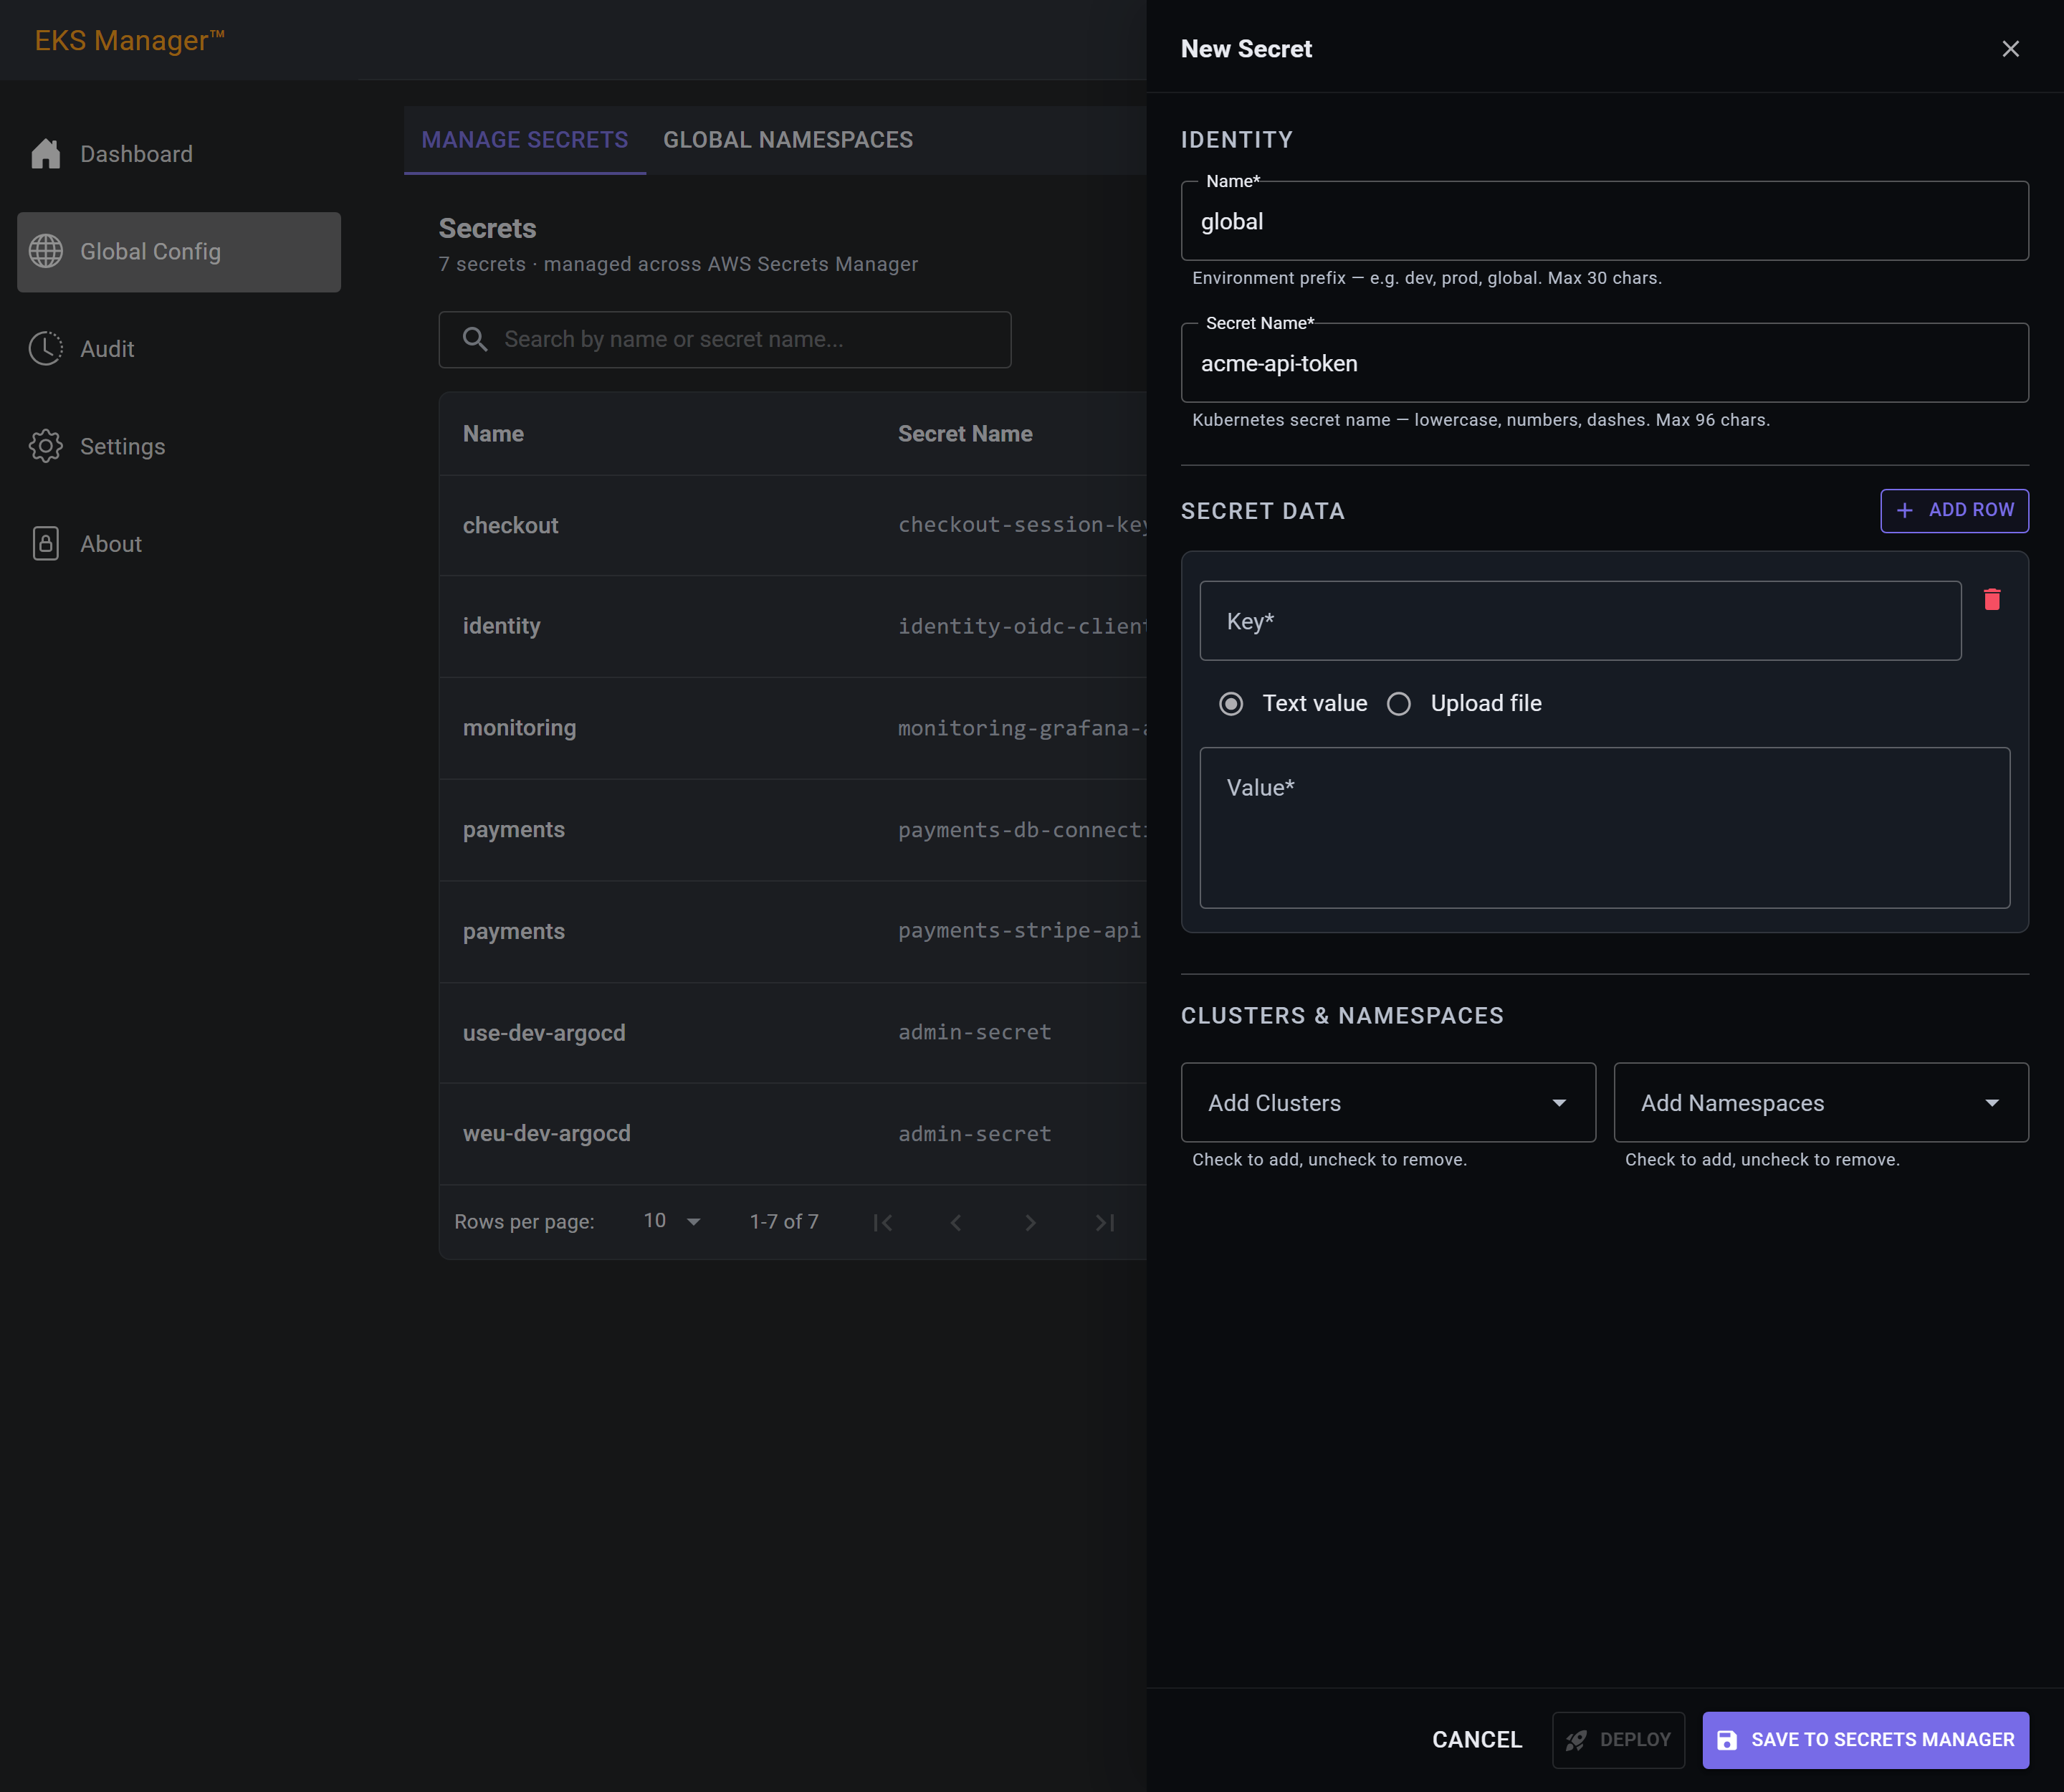
Under Secret Data, each row is one key and its value. Add Row adds another, so one secret can carry several keys.
A value can be typed, or read from a file with Upload file — which is how certificates and keyfiles get in without being pasted through a browser.
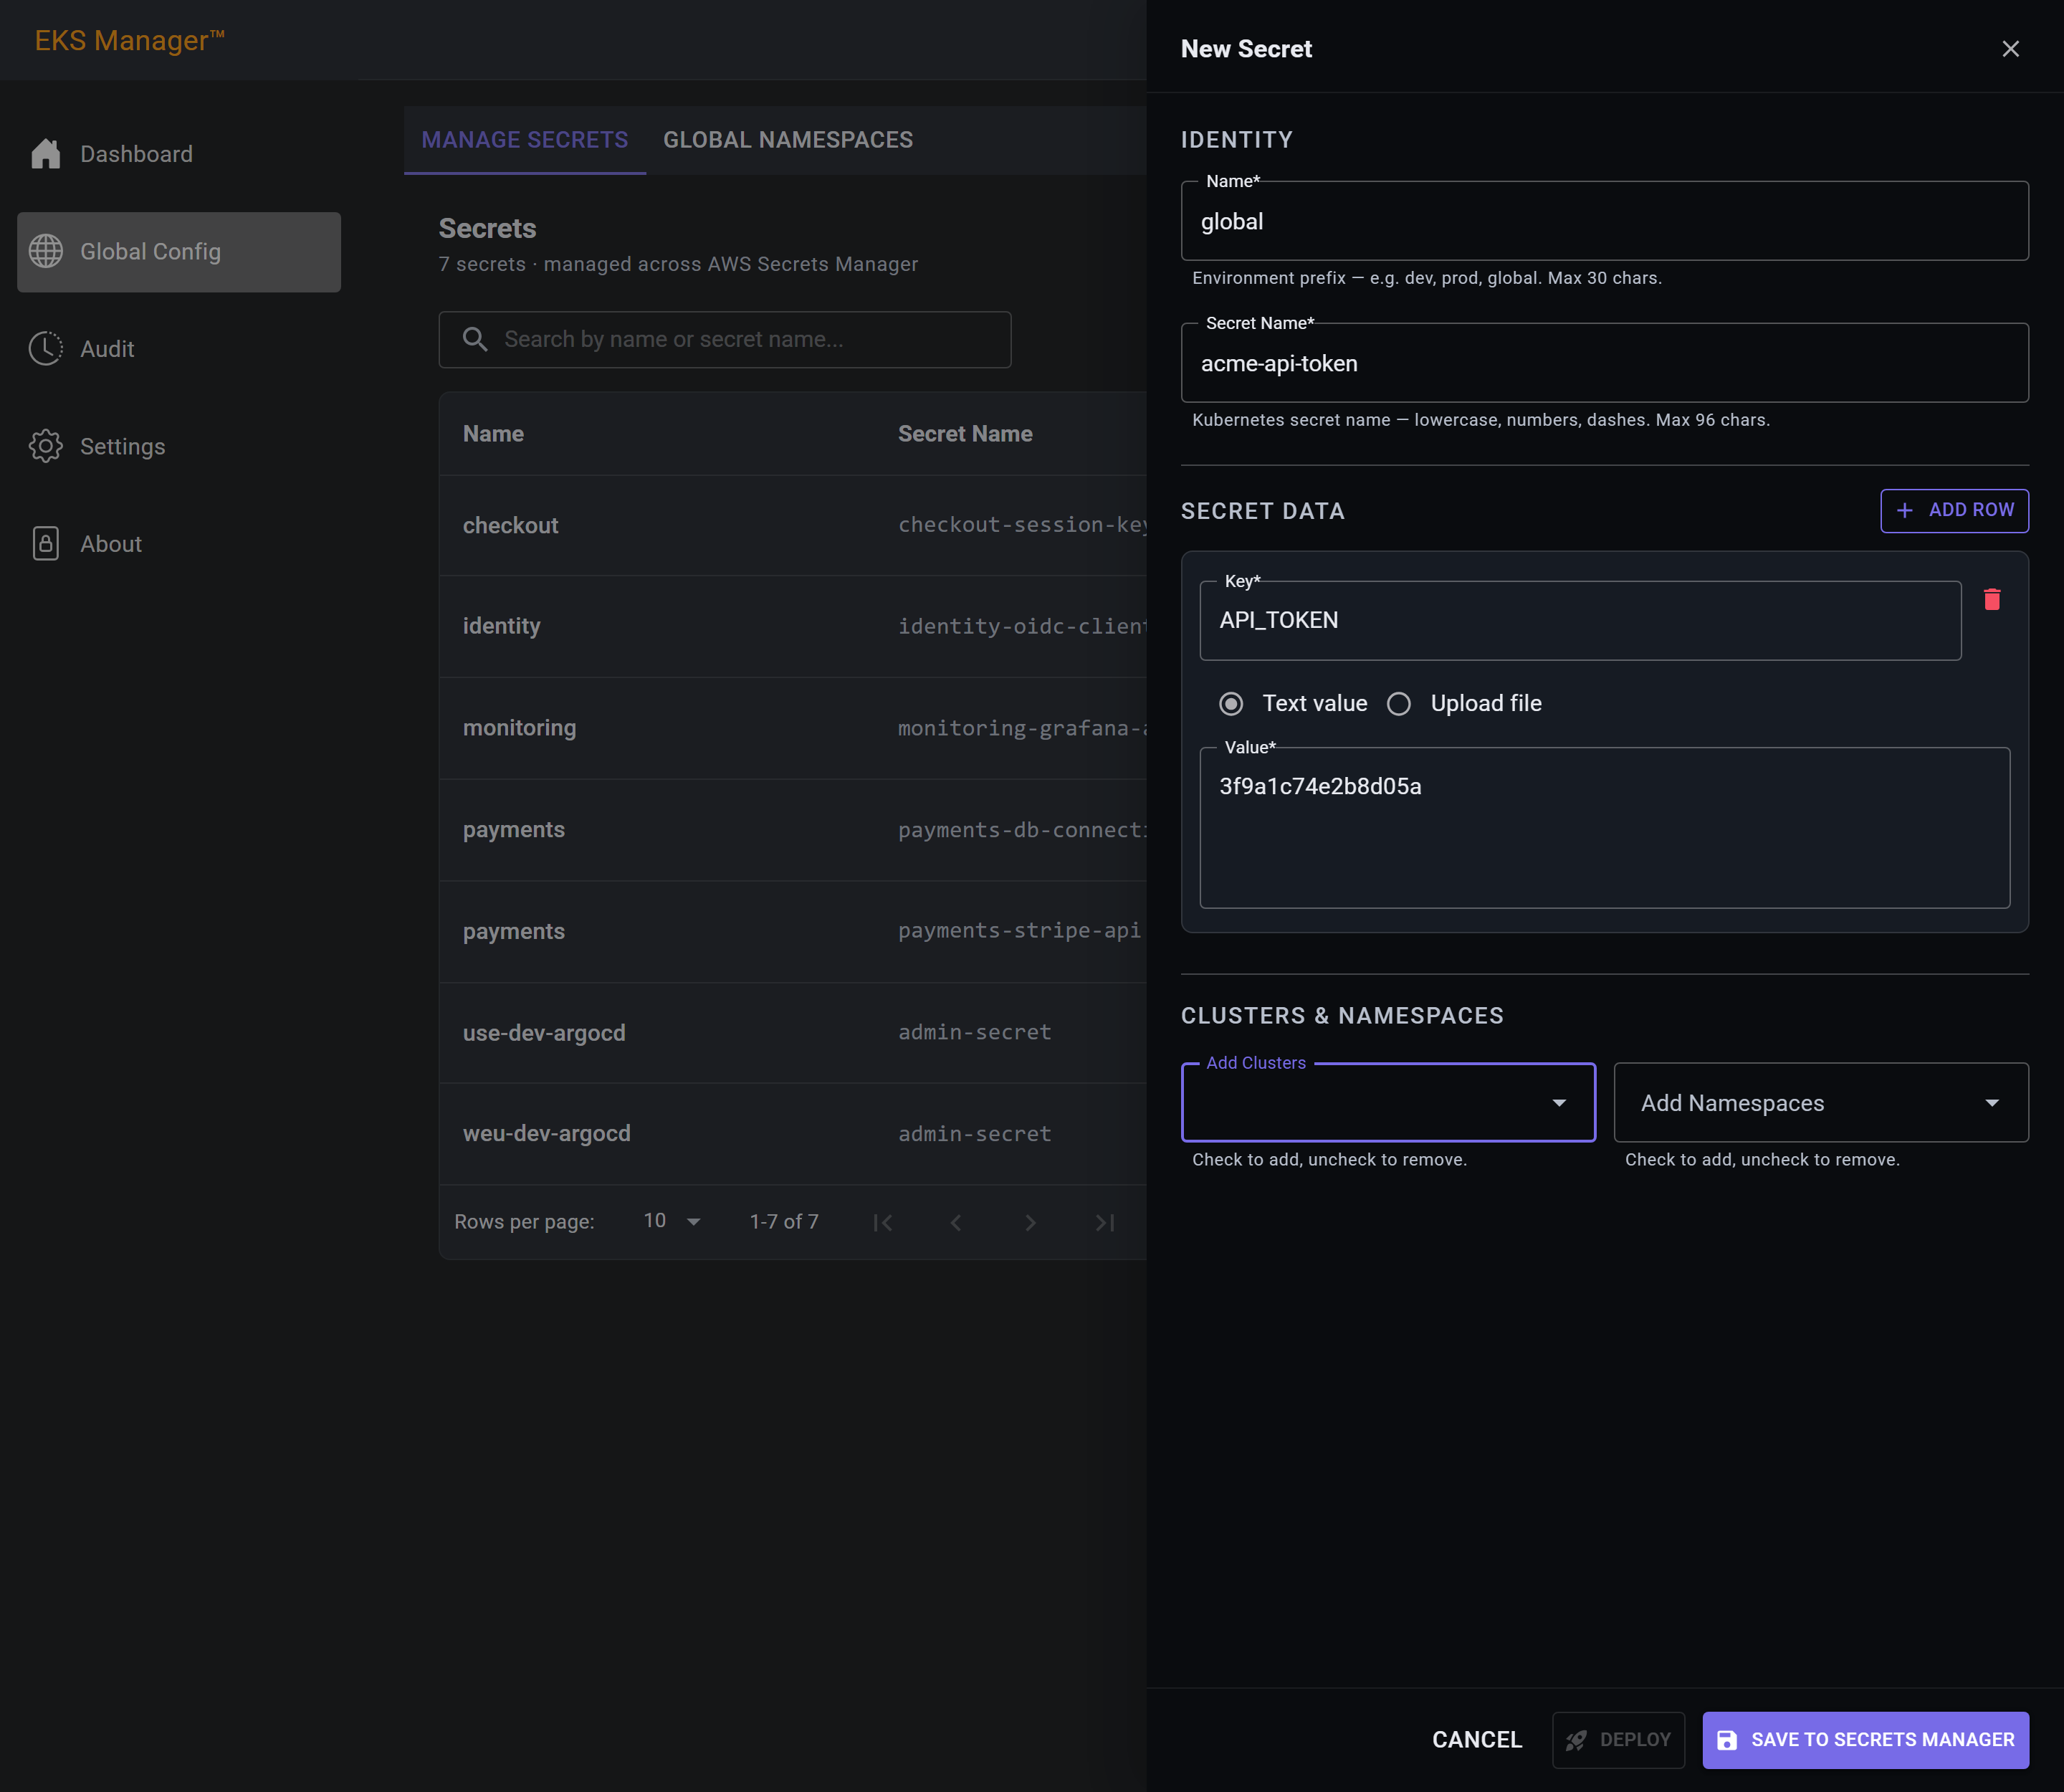
Add Clusters lists every cluster the agent manages. Ticking one adds the secret to it; unticking removes it again.
This is a choice, unlike global namespaces: a secret goes only where you put it, and more clusters can be added later from this same form.
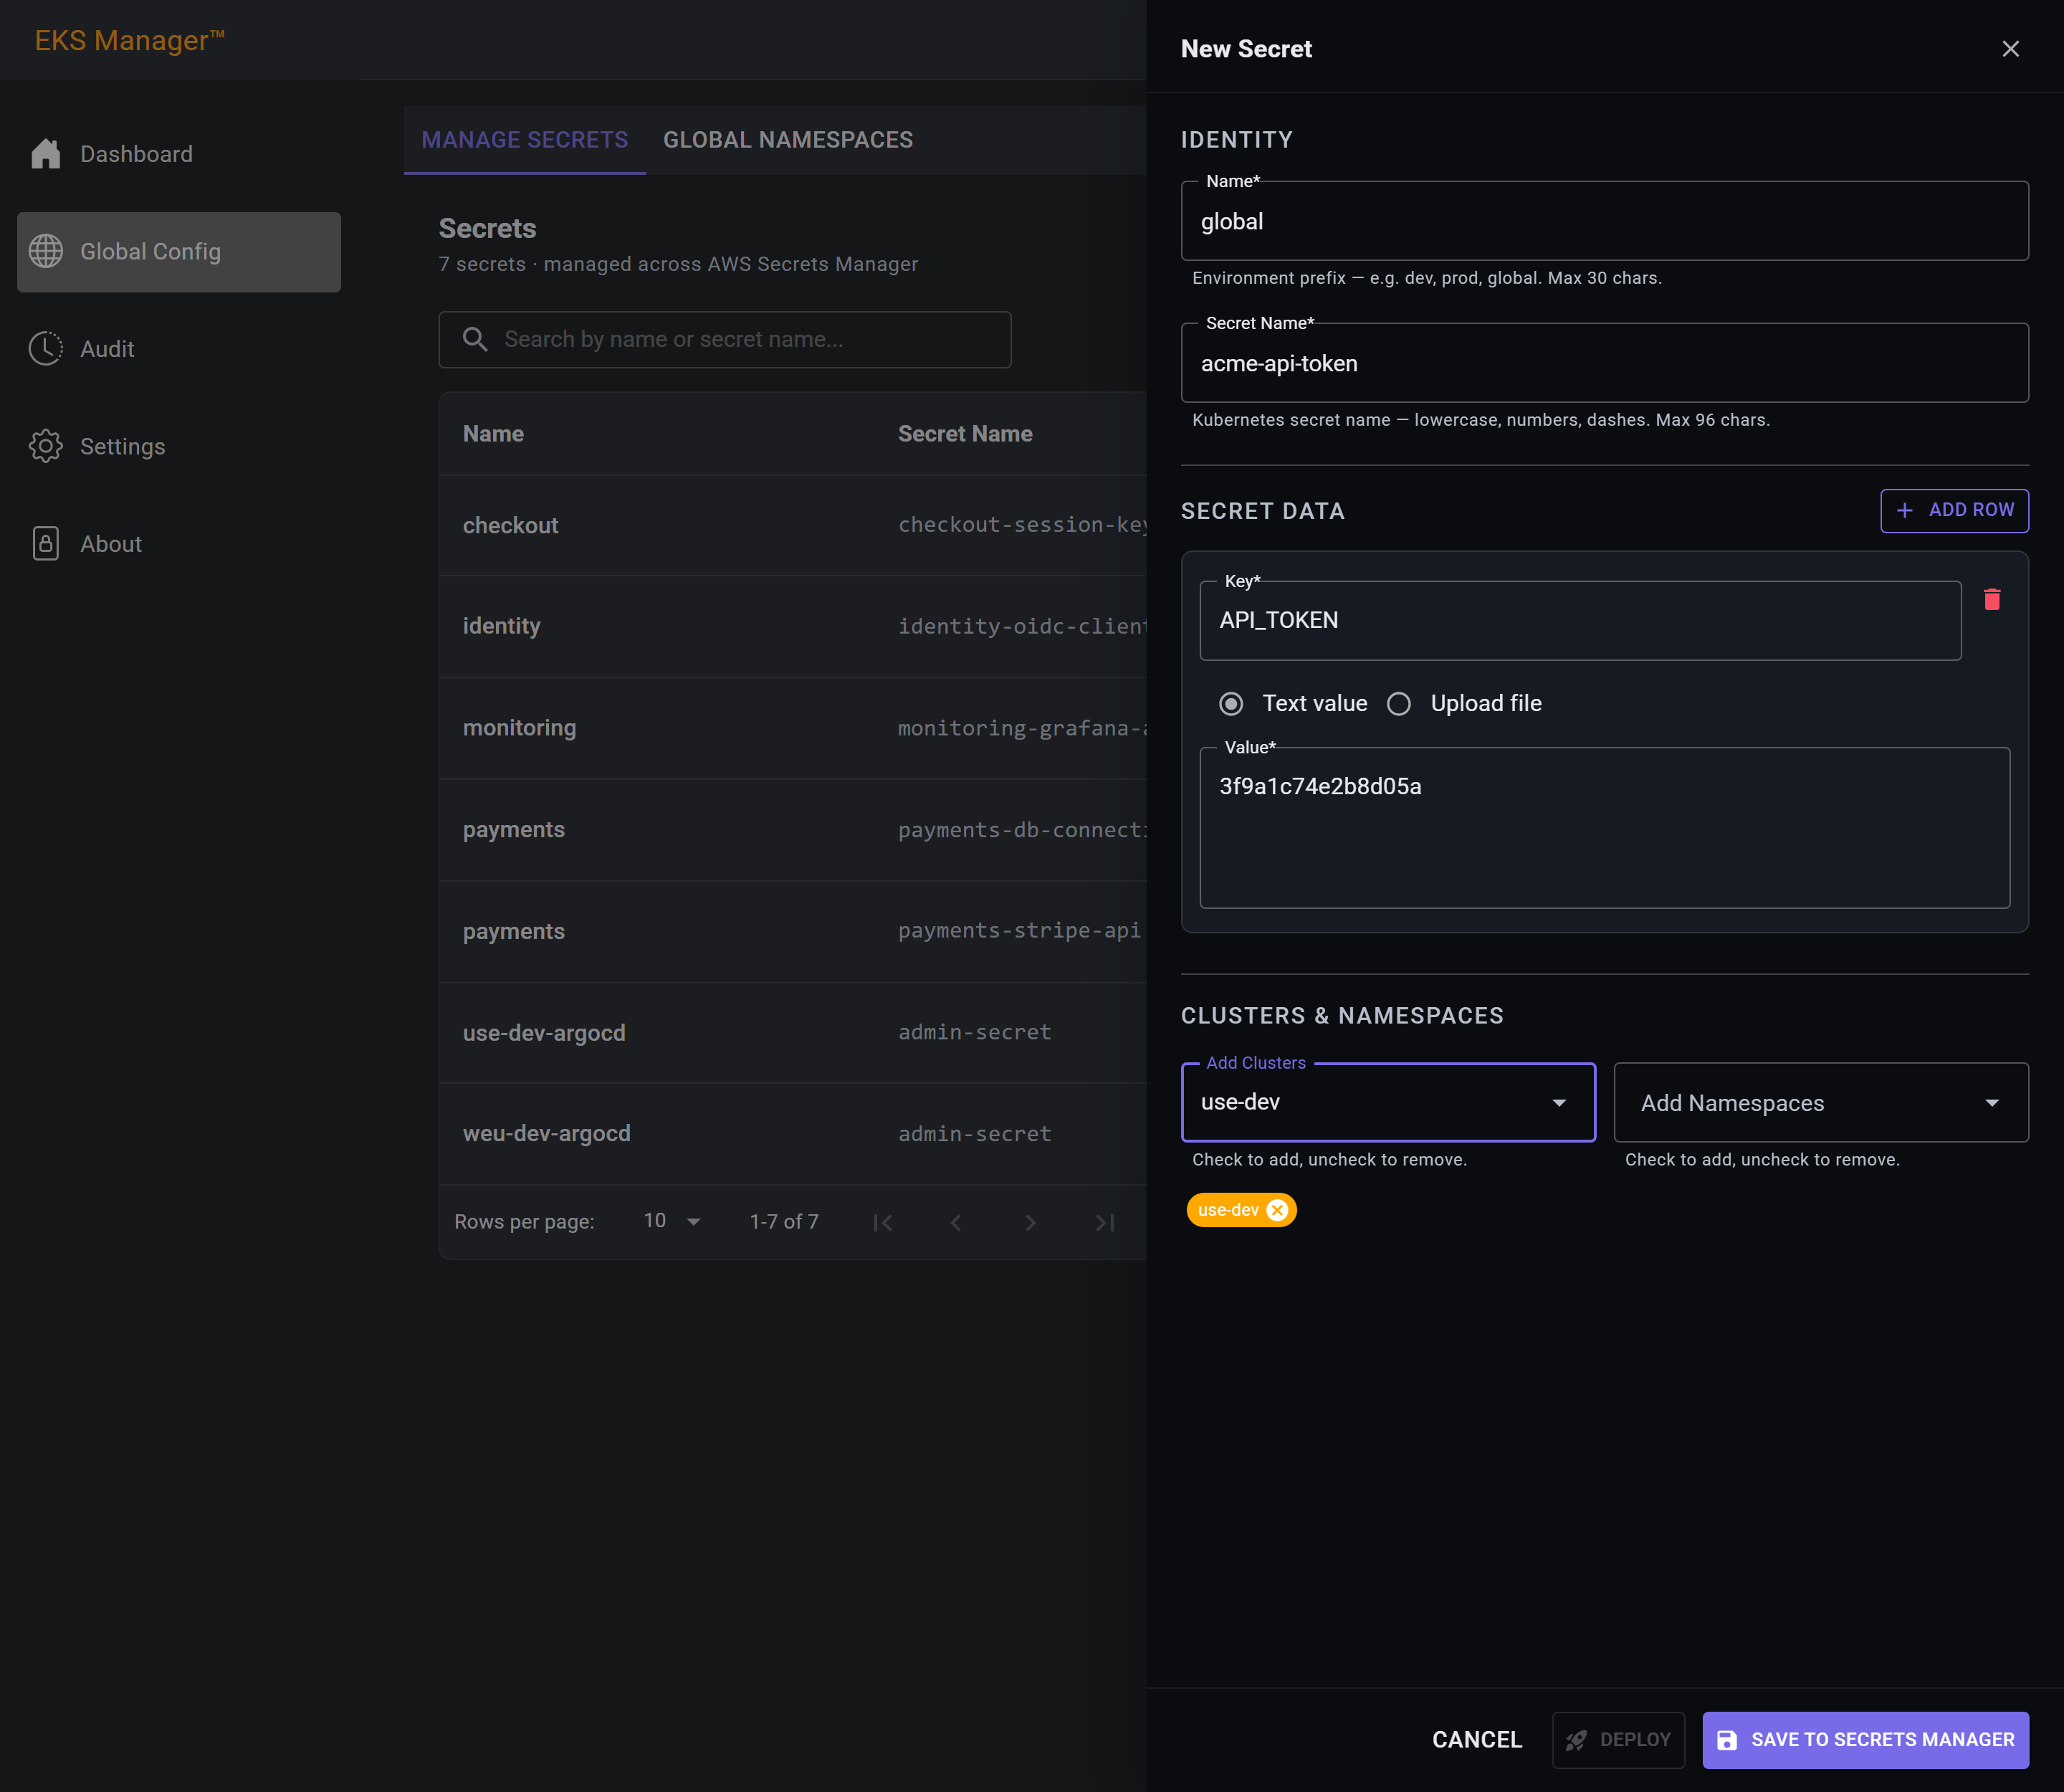
Add Namespaces chooses where the secret is created on each cluster you picked. More than one can be selected.
It is not only application namespaces. kube-system is where the platform's own components run — Traefik and external-dns among them — so a secret those need goes there rather than into an application's namespace.
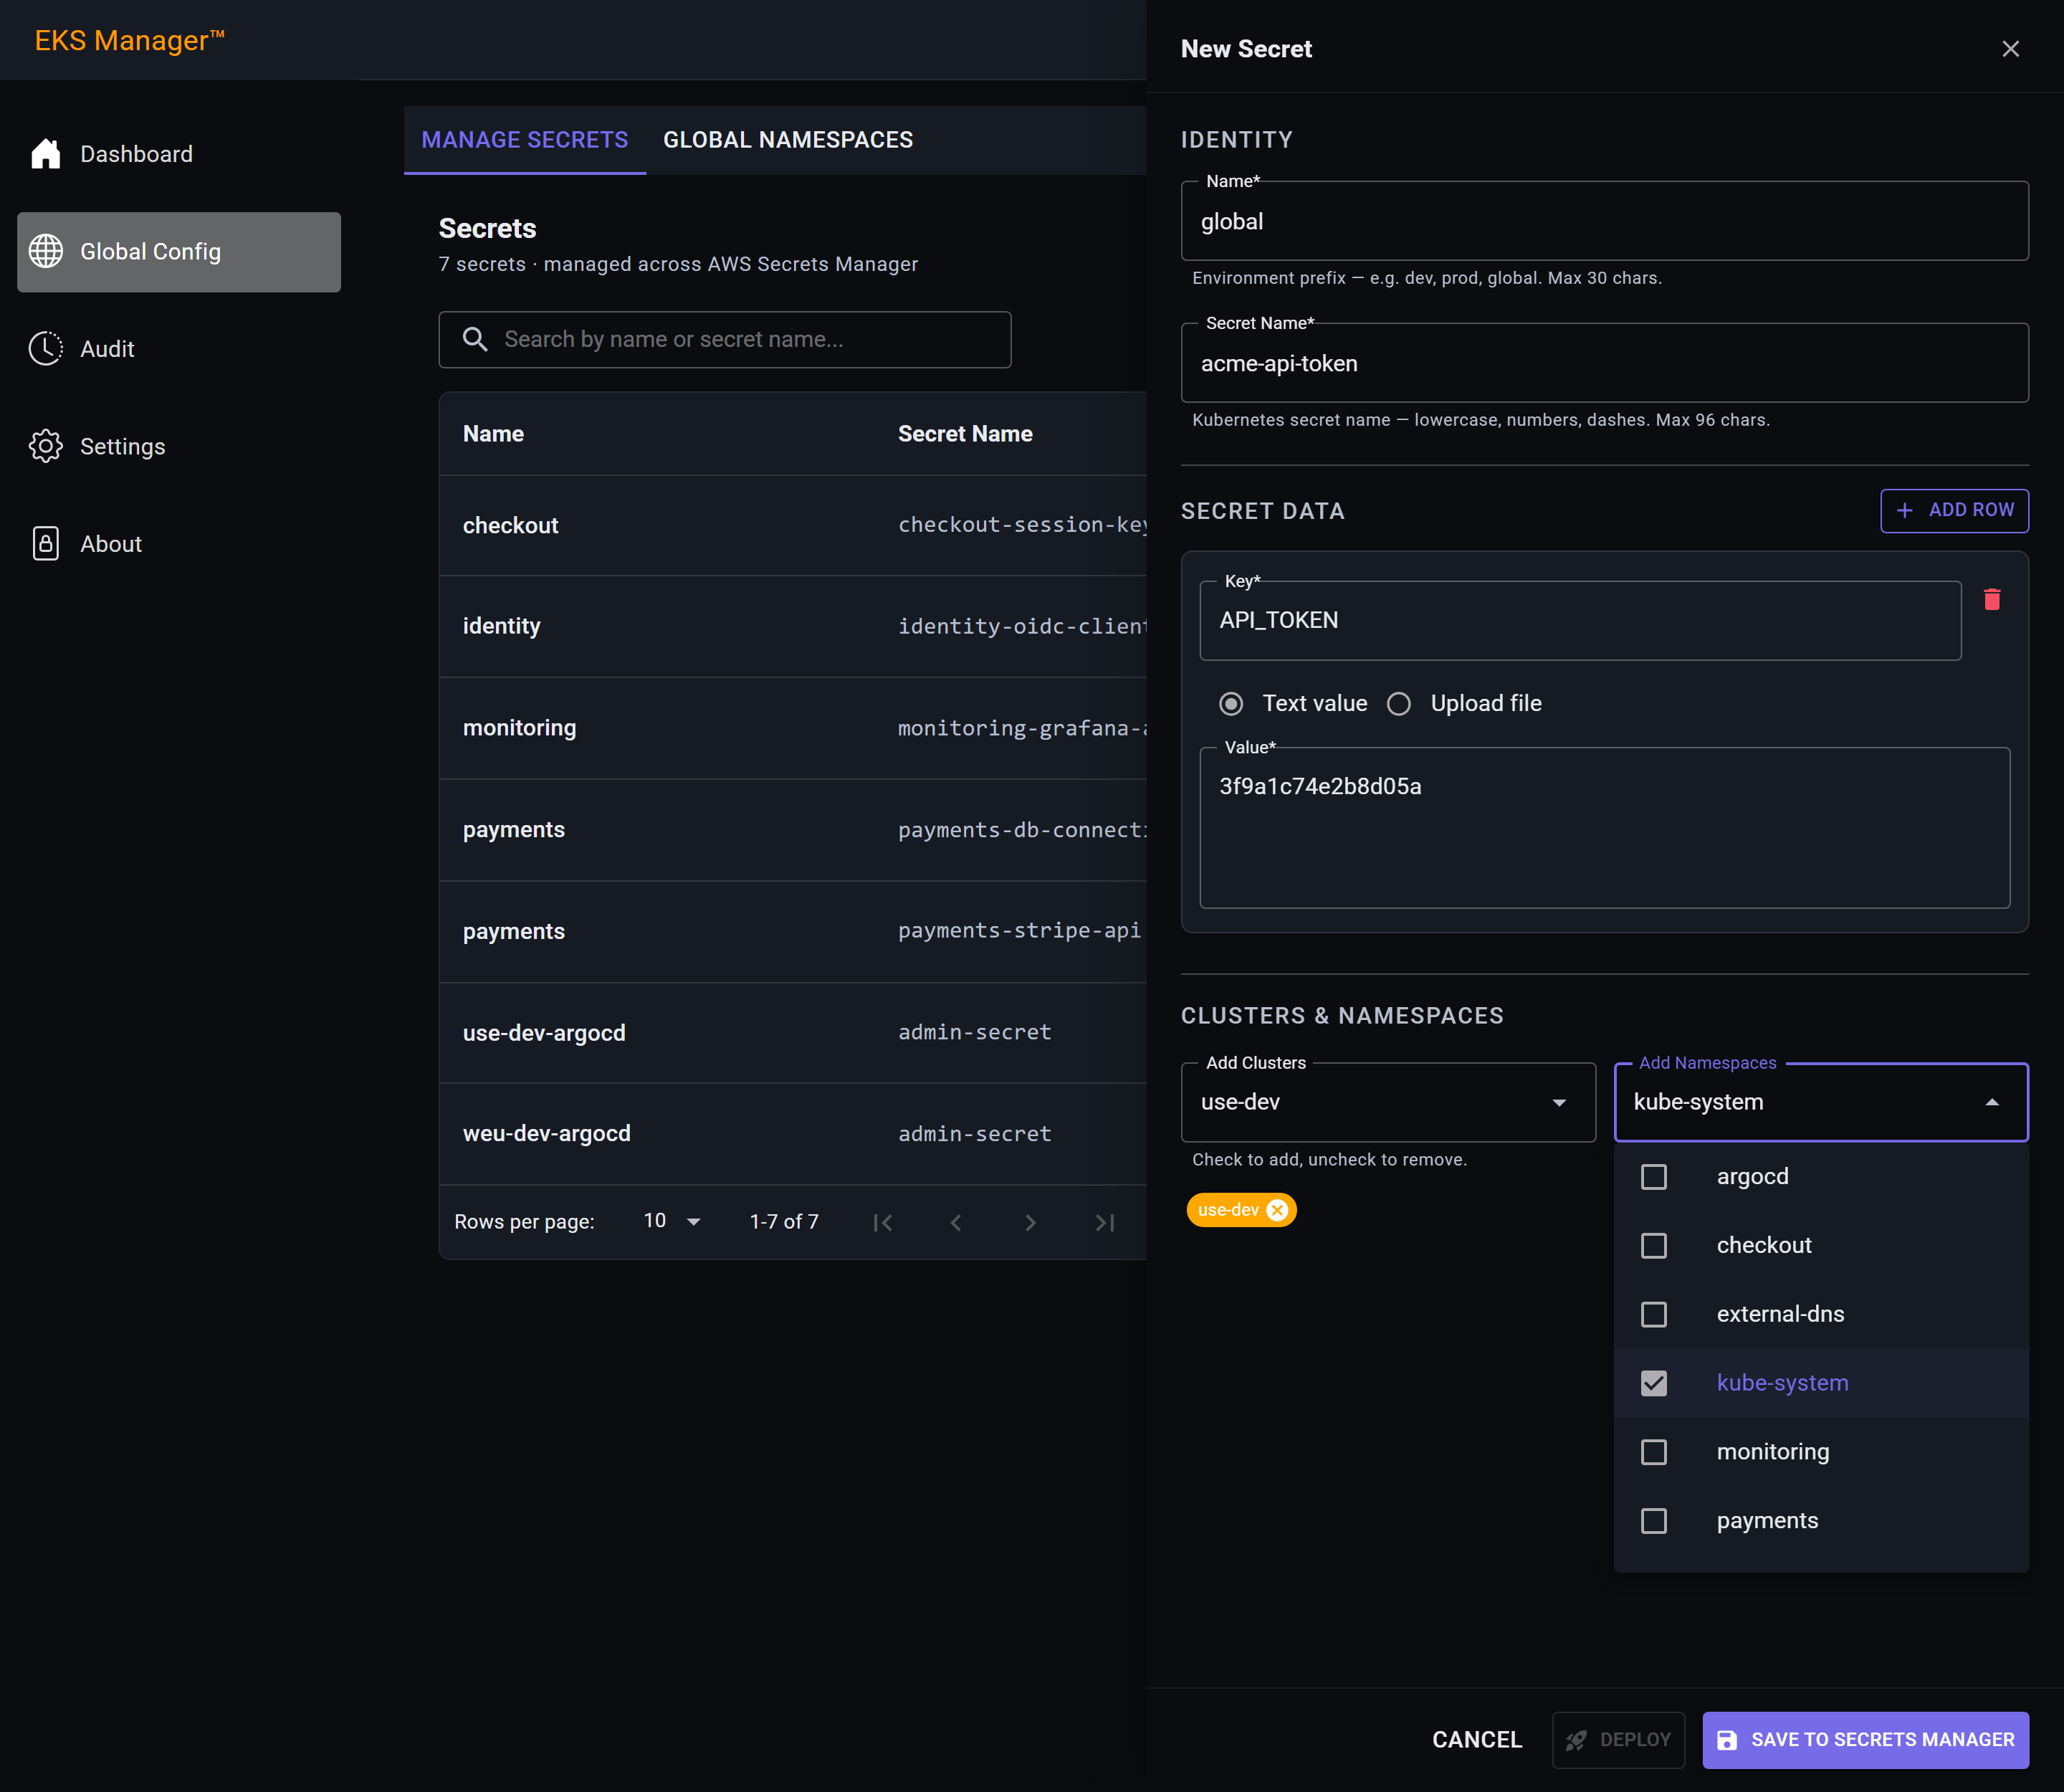
Save to Secrets Manager writes the secret to the cloud's secret store — Secrets Manager on AWS, Key Vault on Azure — which is the system of record.
It is written through the agent rather than from the browser, so it reports progress briefly before confirming.
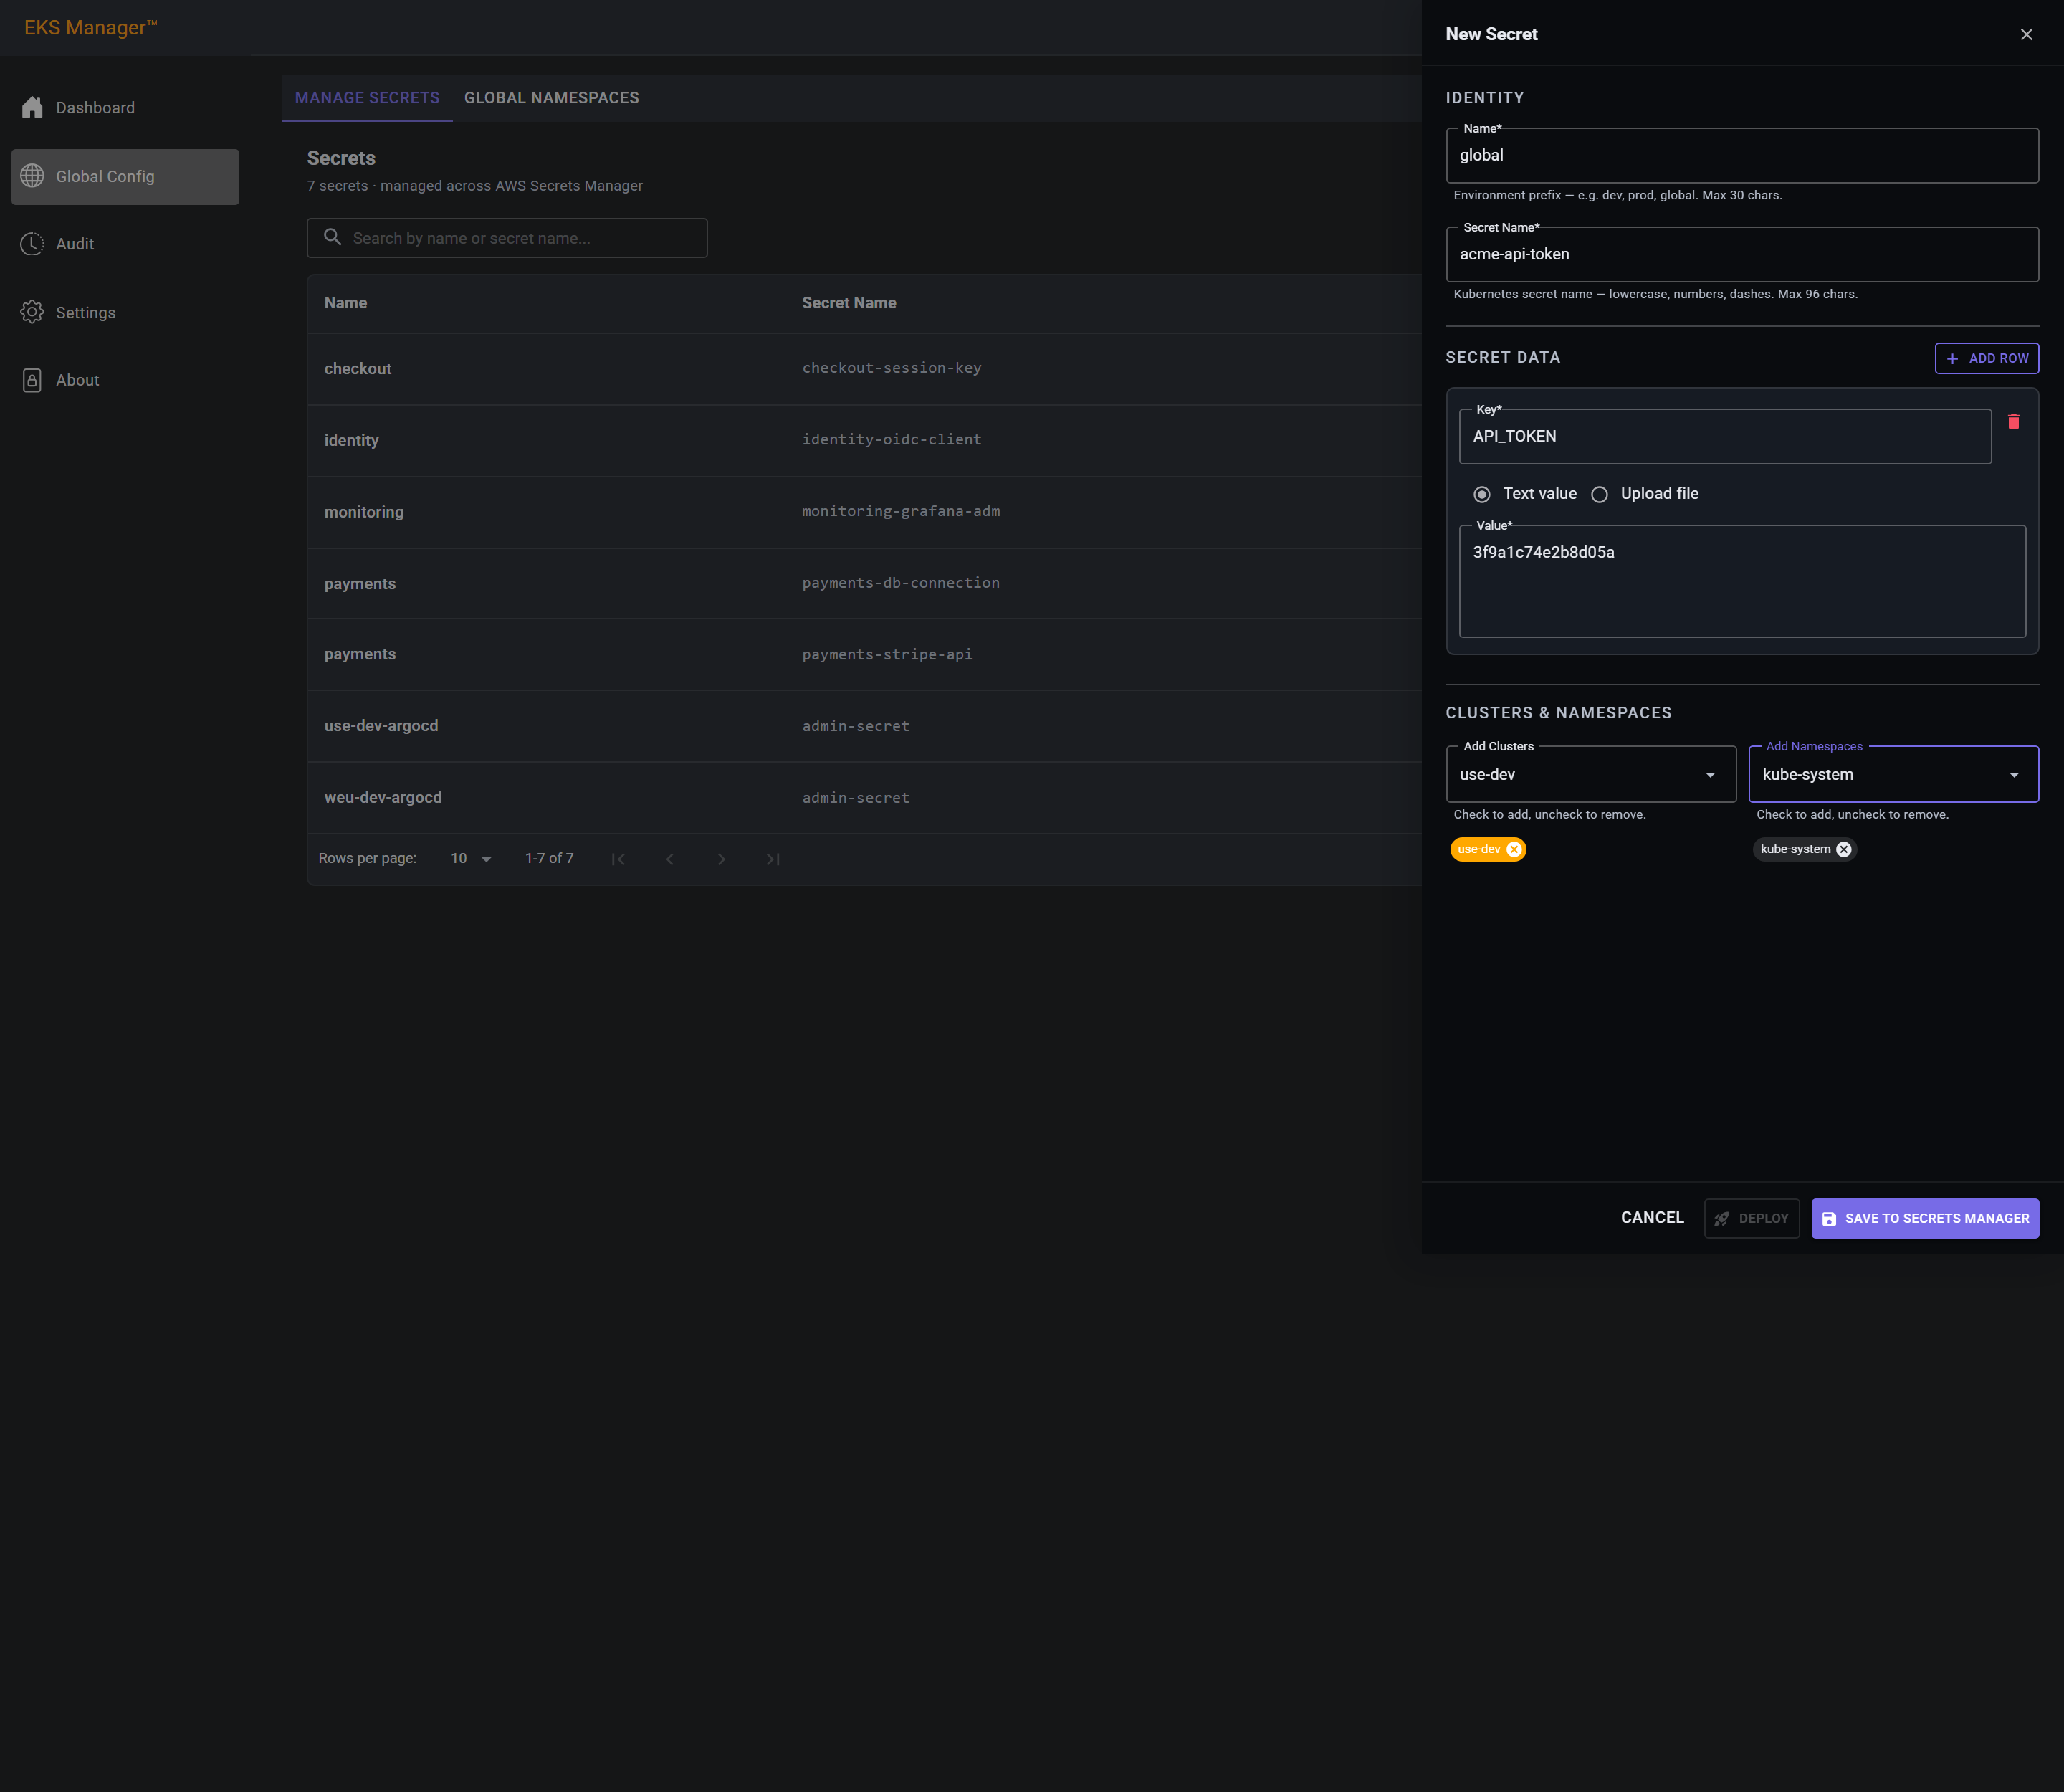
Once it is stored, the deploy dialog opens by itself — storing and deploying are separate steps, but you are asked to do the second straight after the first.
Anything unticked here is skipped for this deployment only; the secret itself is unchanged. Clear All empties a list if you would rather pick a few.
The button counts the clusters, so there is no doubt about the scope of what you are about to do.
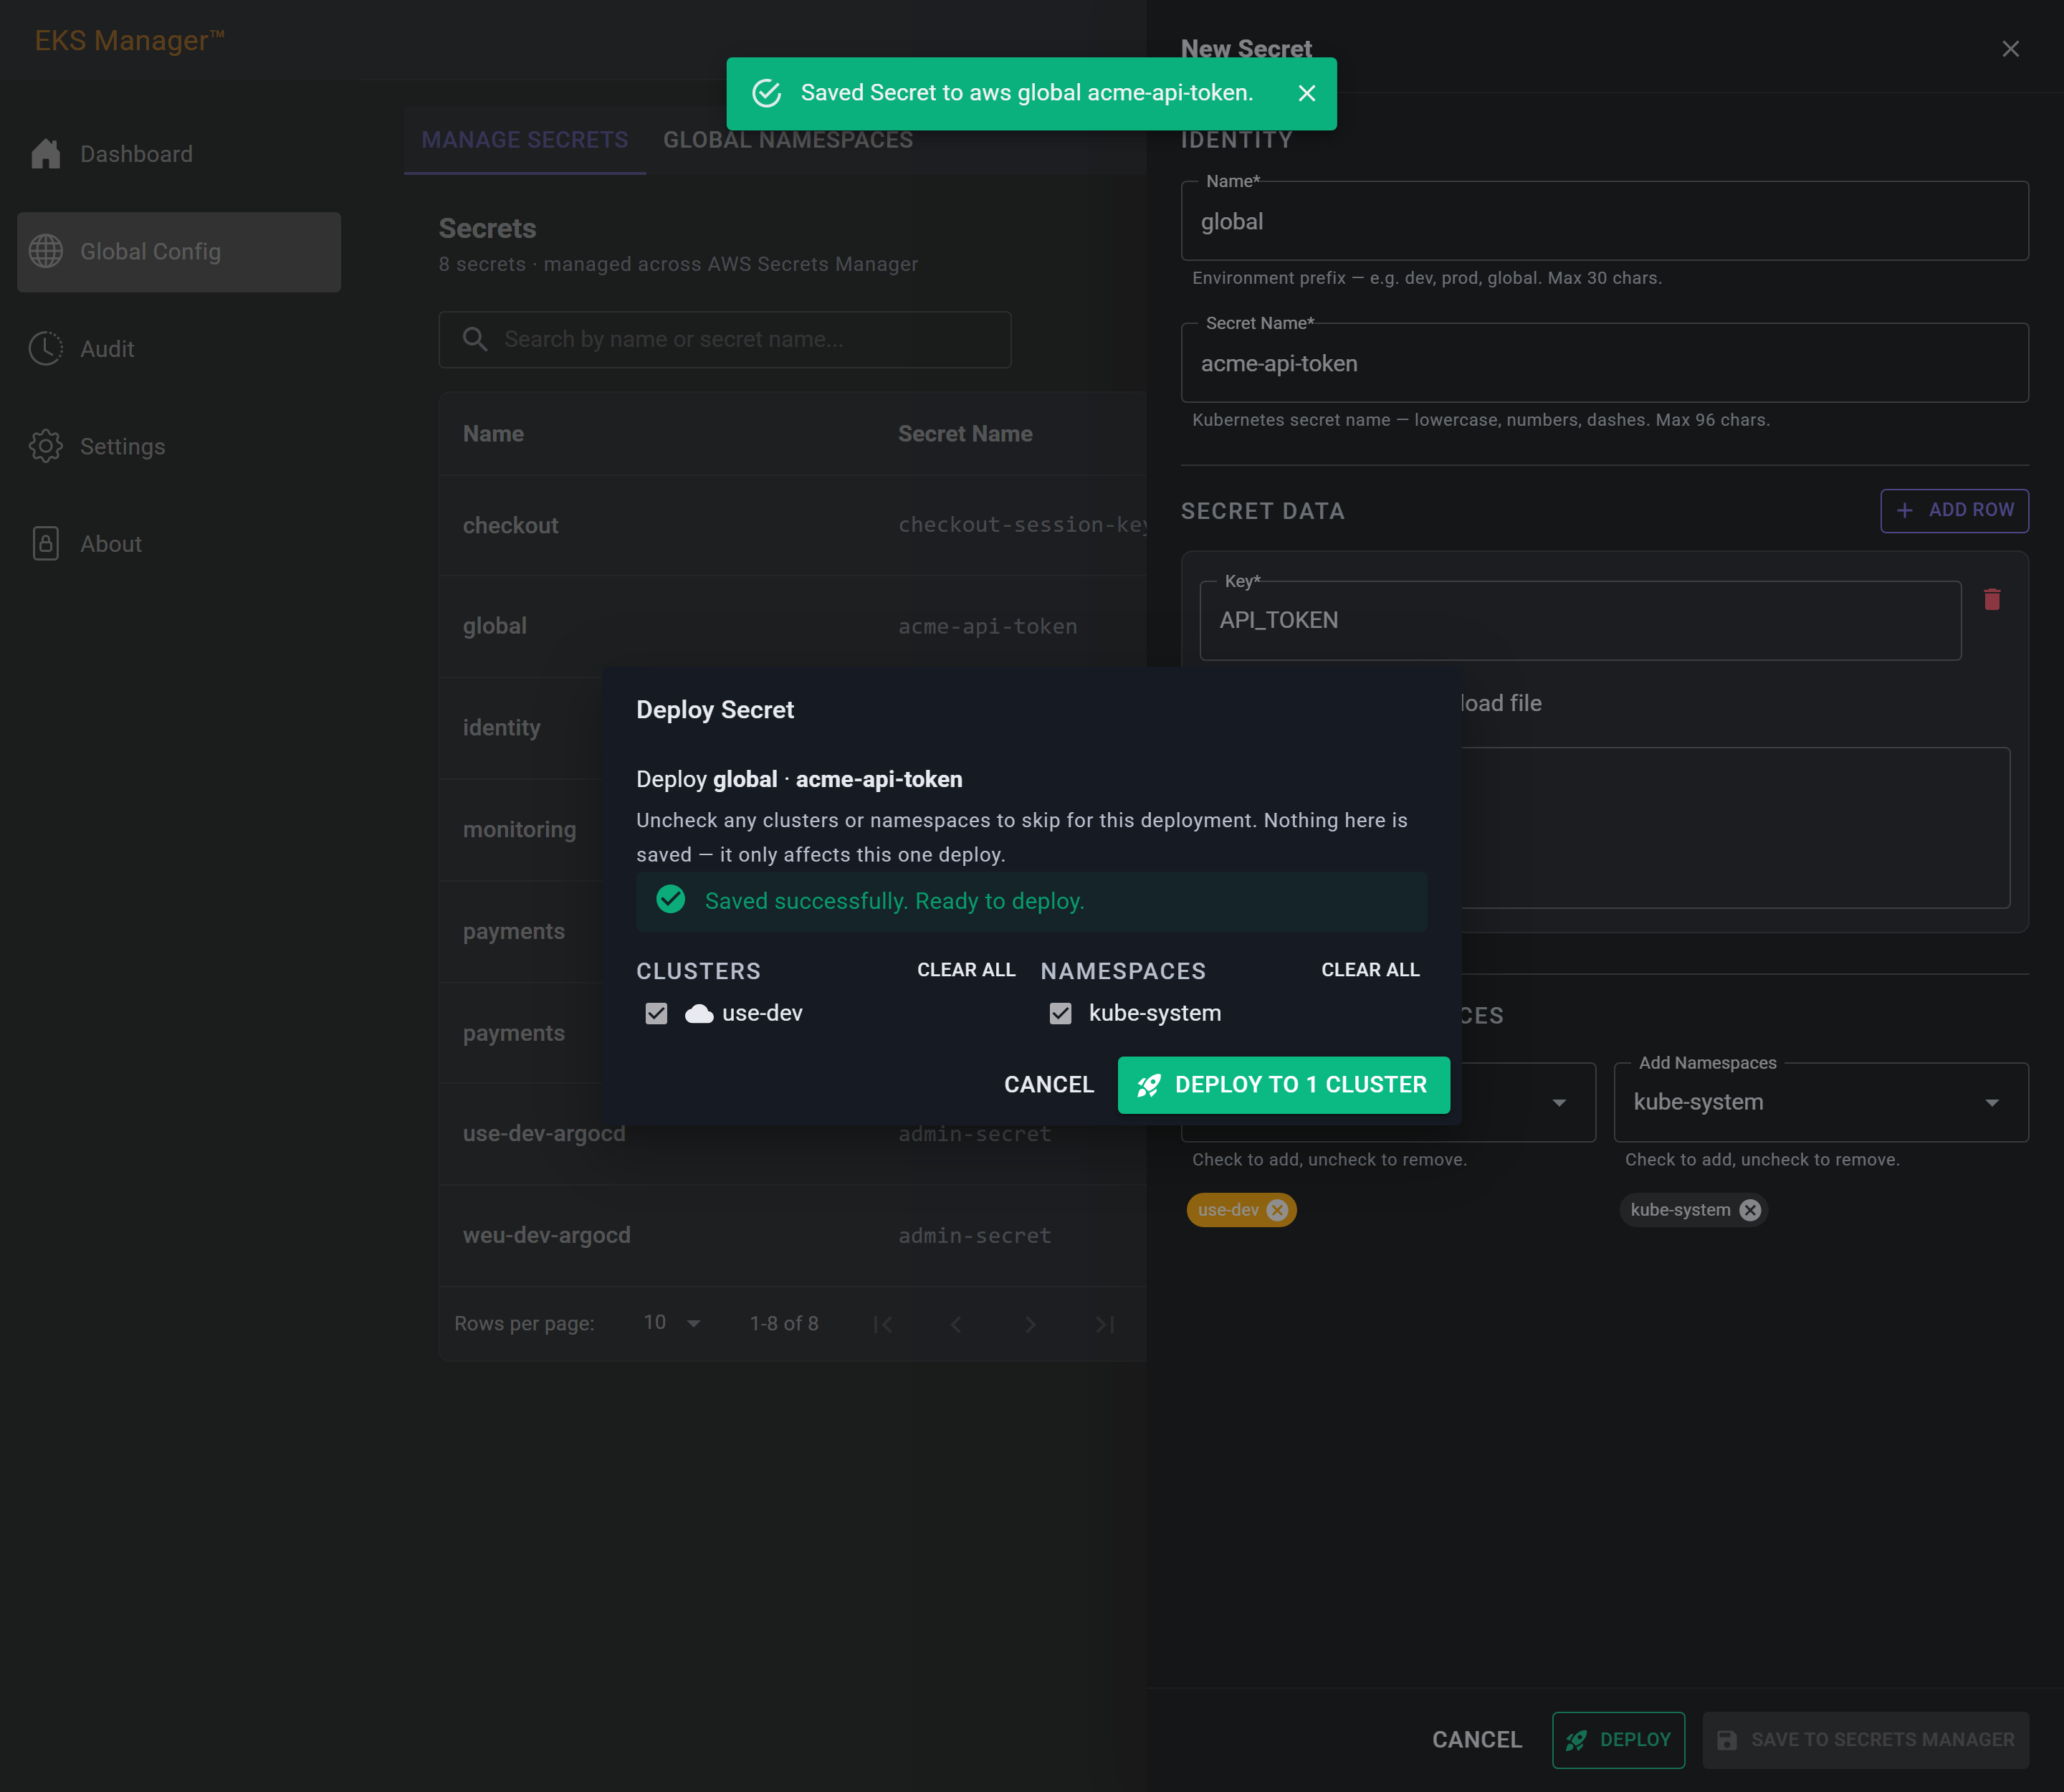
The results report every namespace against every cluster, so a secret that reached three clusters but missed a namespace on one of them is visible at a glance.
Show Detailed Results opens what each cluster actually said — which is where you look when the summary is not enough.
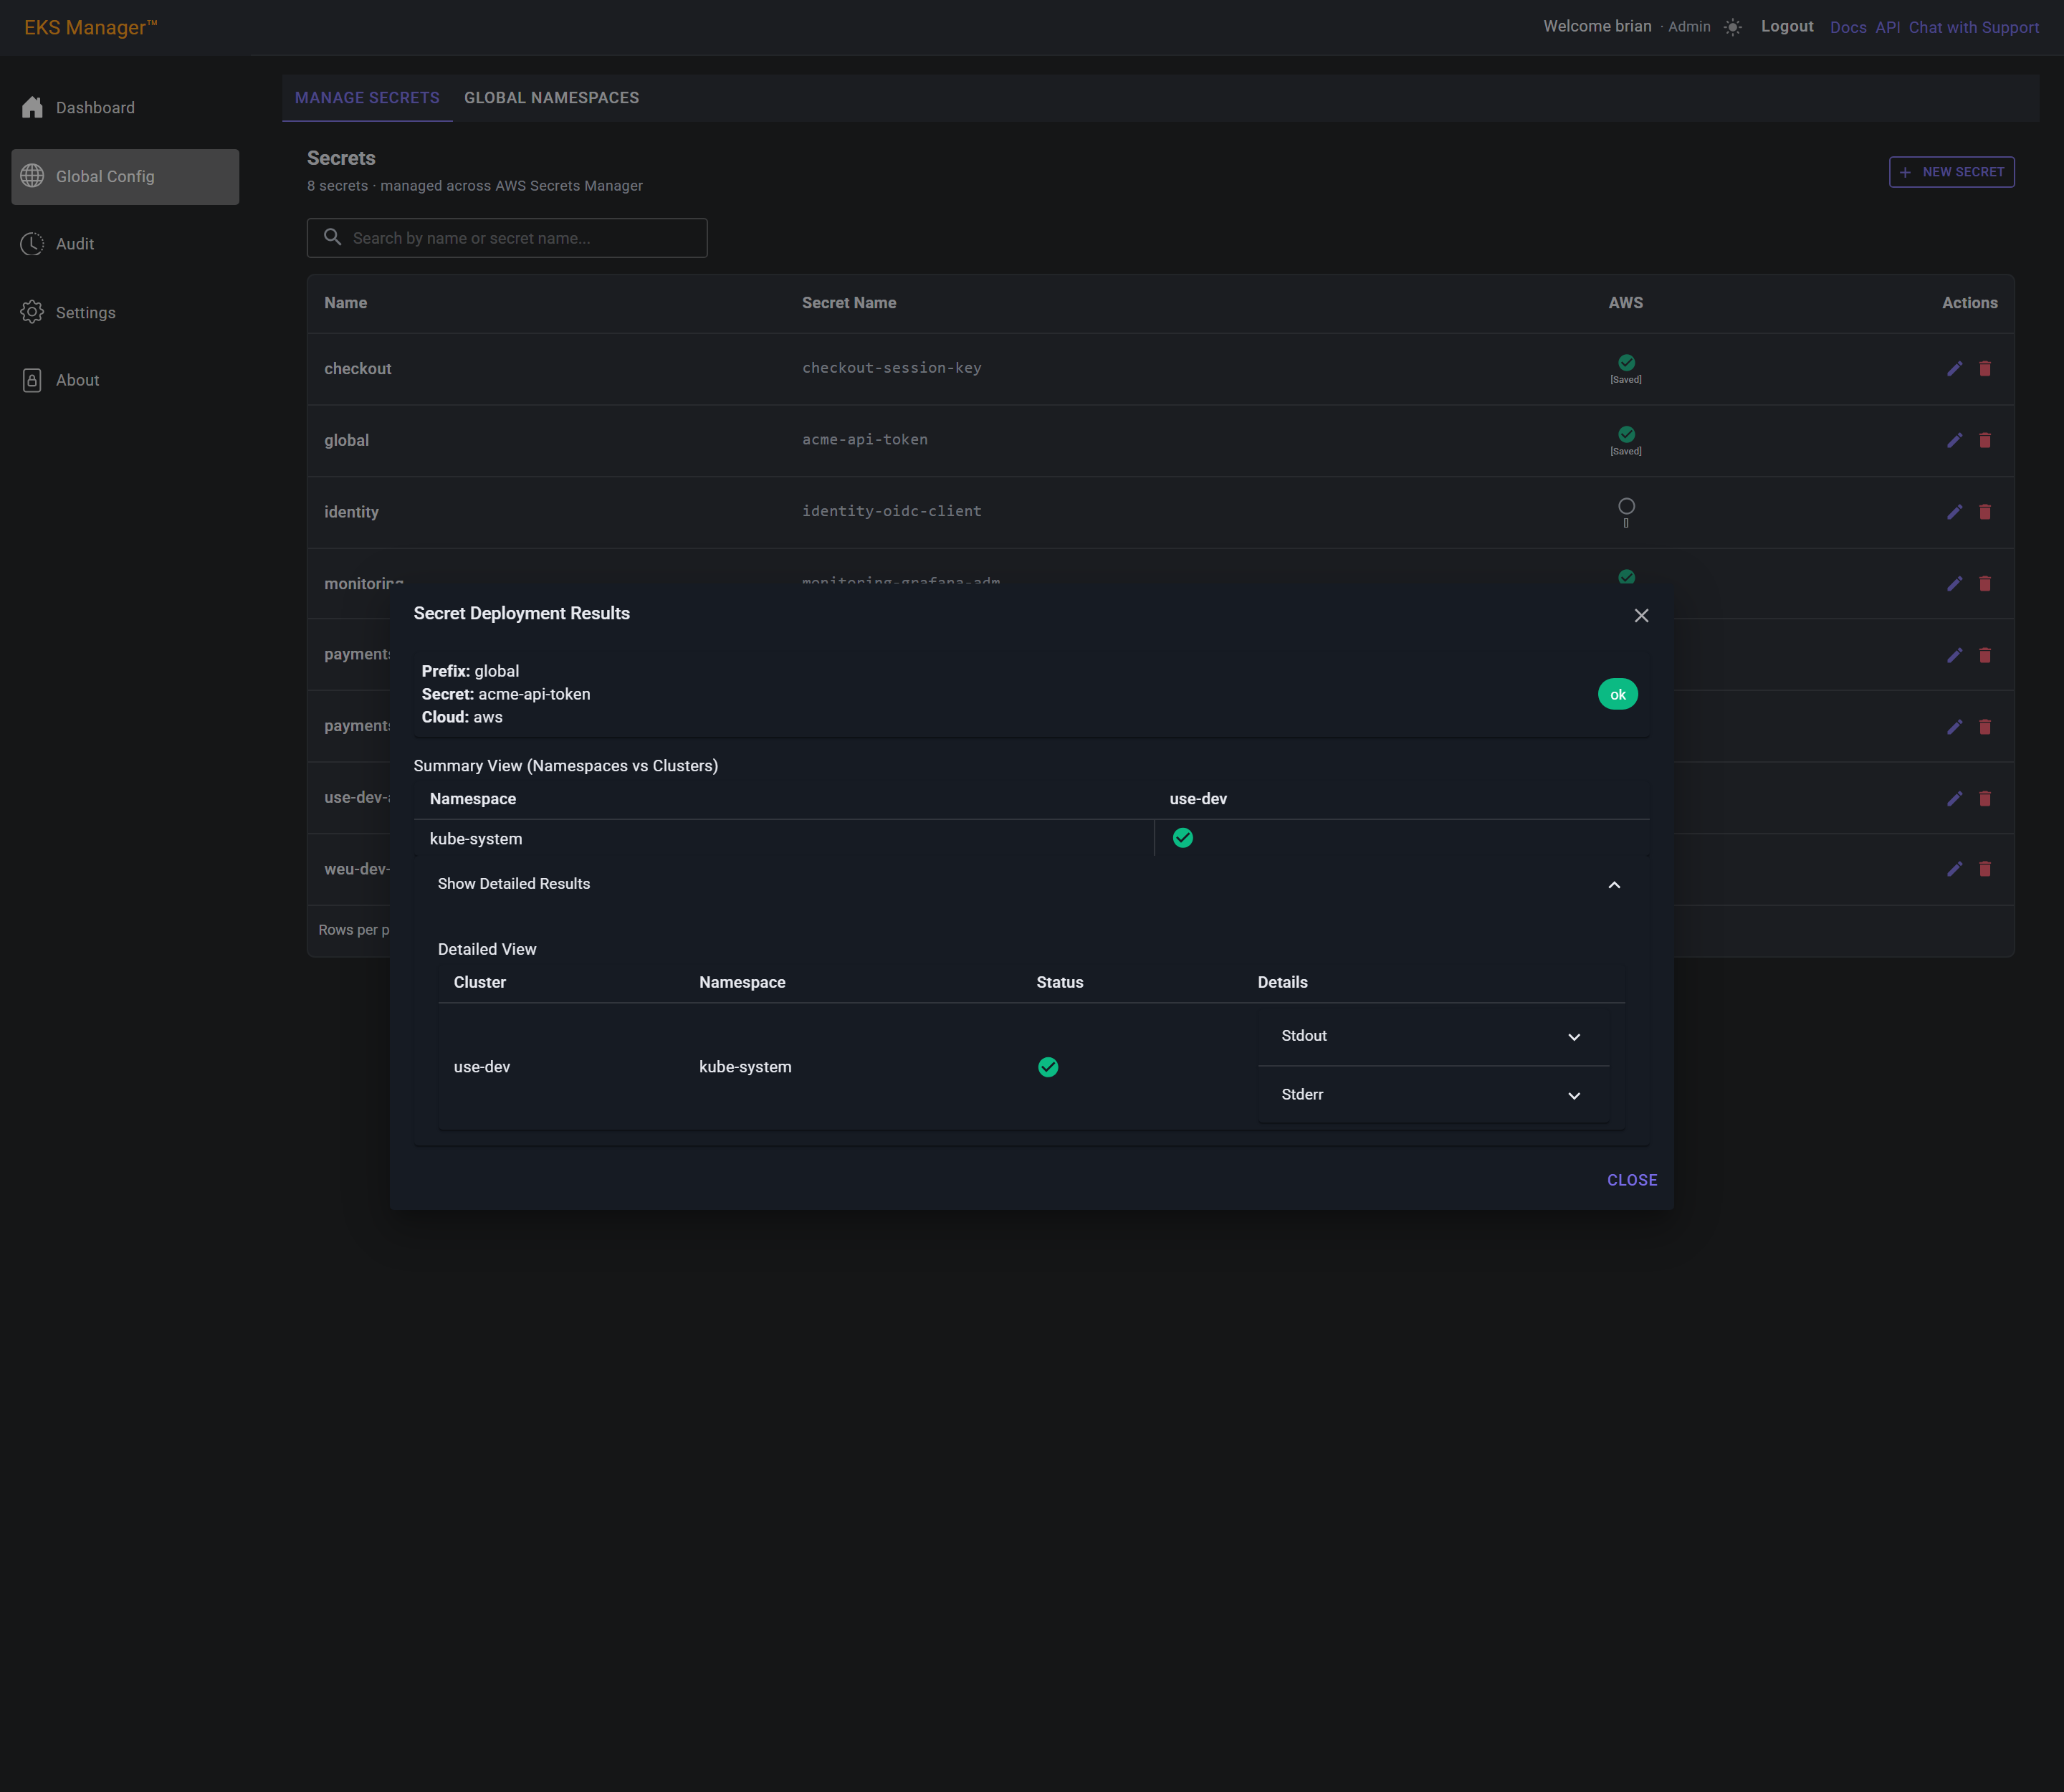
The pencil on any row reopens a secret with the clusters and namespaces it is already deployed to — but not its values. Those live in the secret store, not in the browser.
Edit Secret Data asks the agent for them. It reads the secret from Secrets Manager or Key Vault and sends it back, so the button is replaced by a progress indicator while you wait.
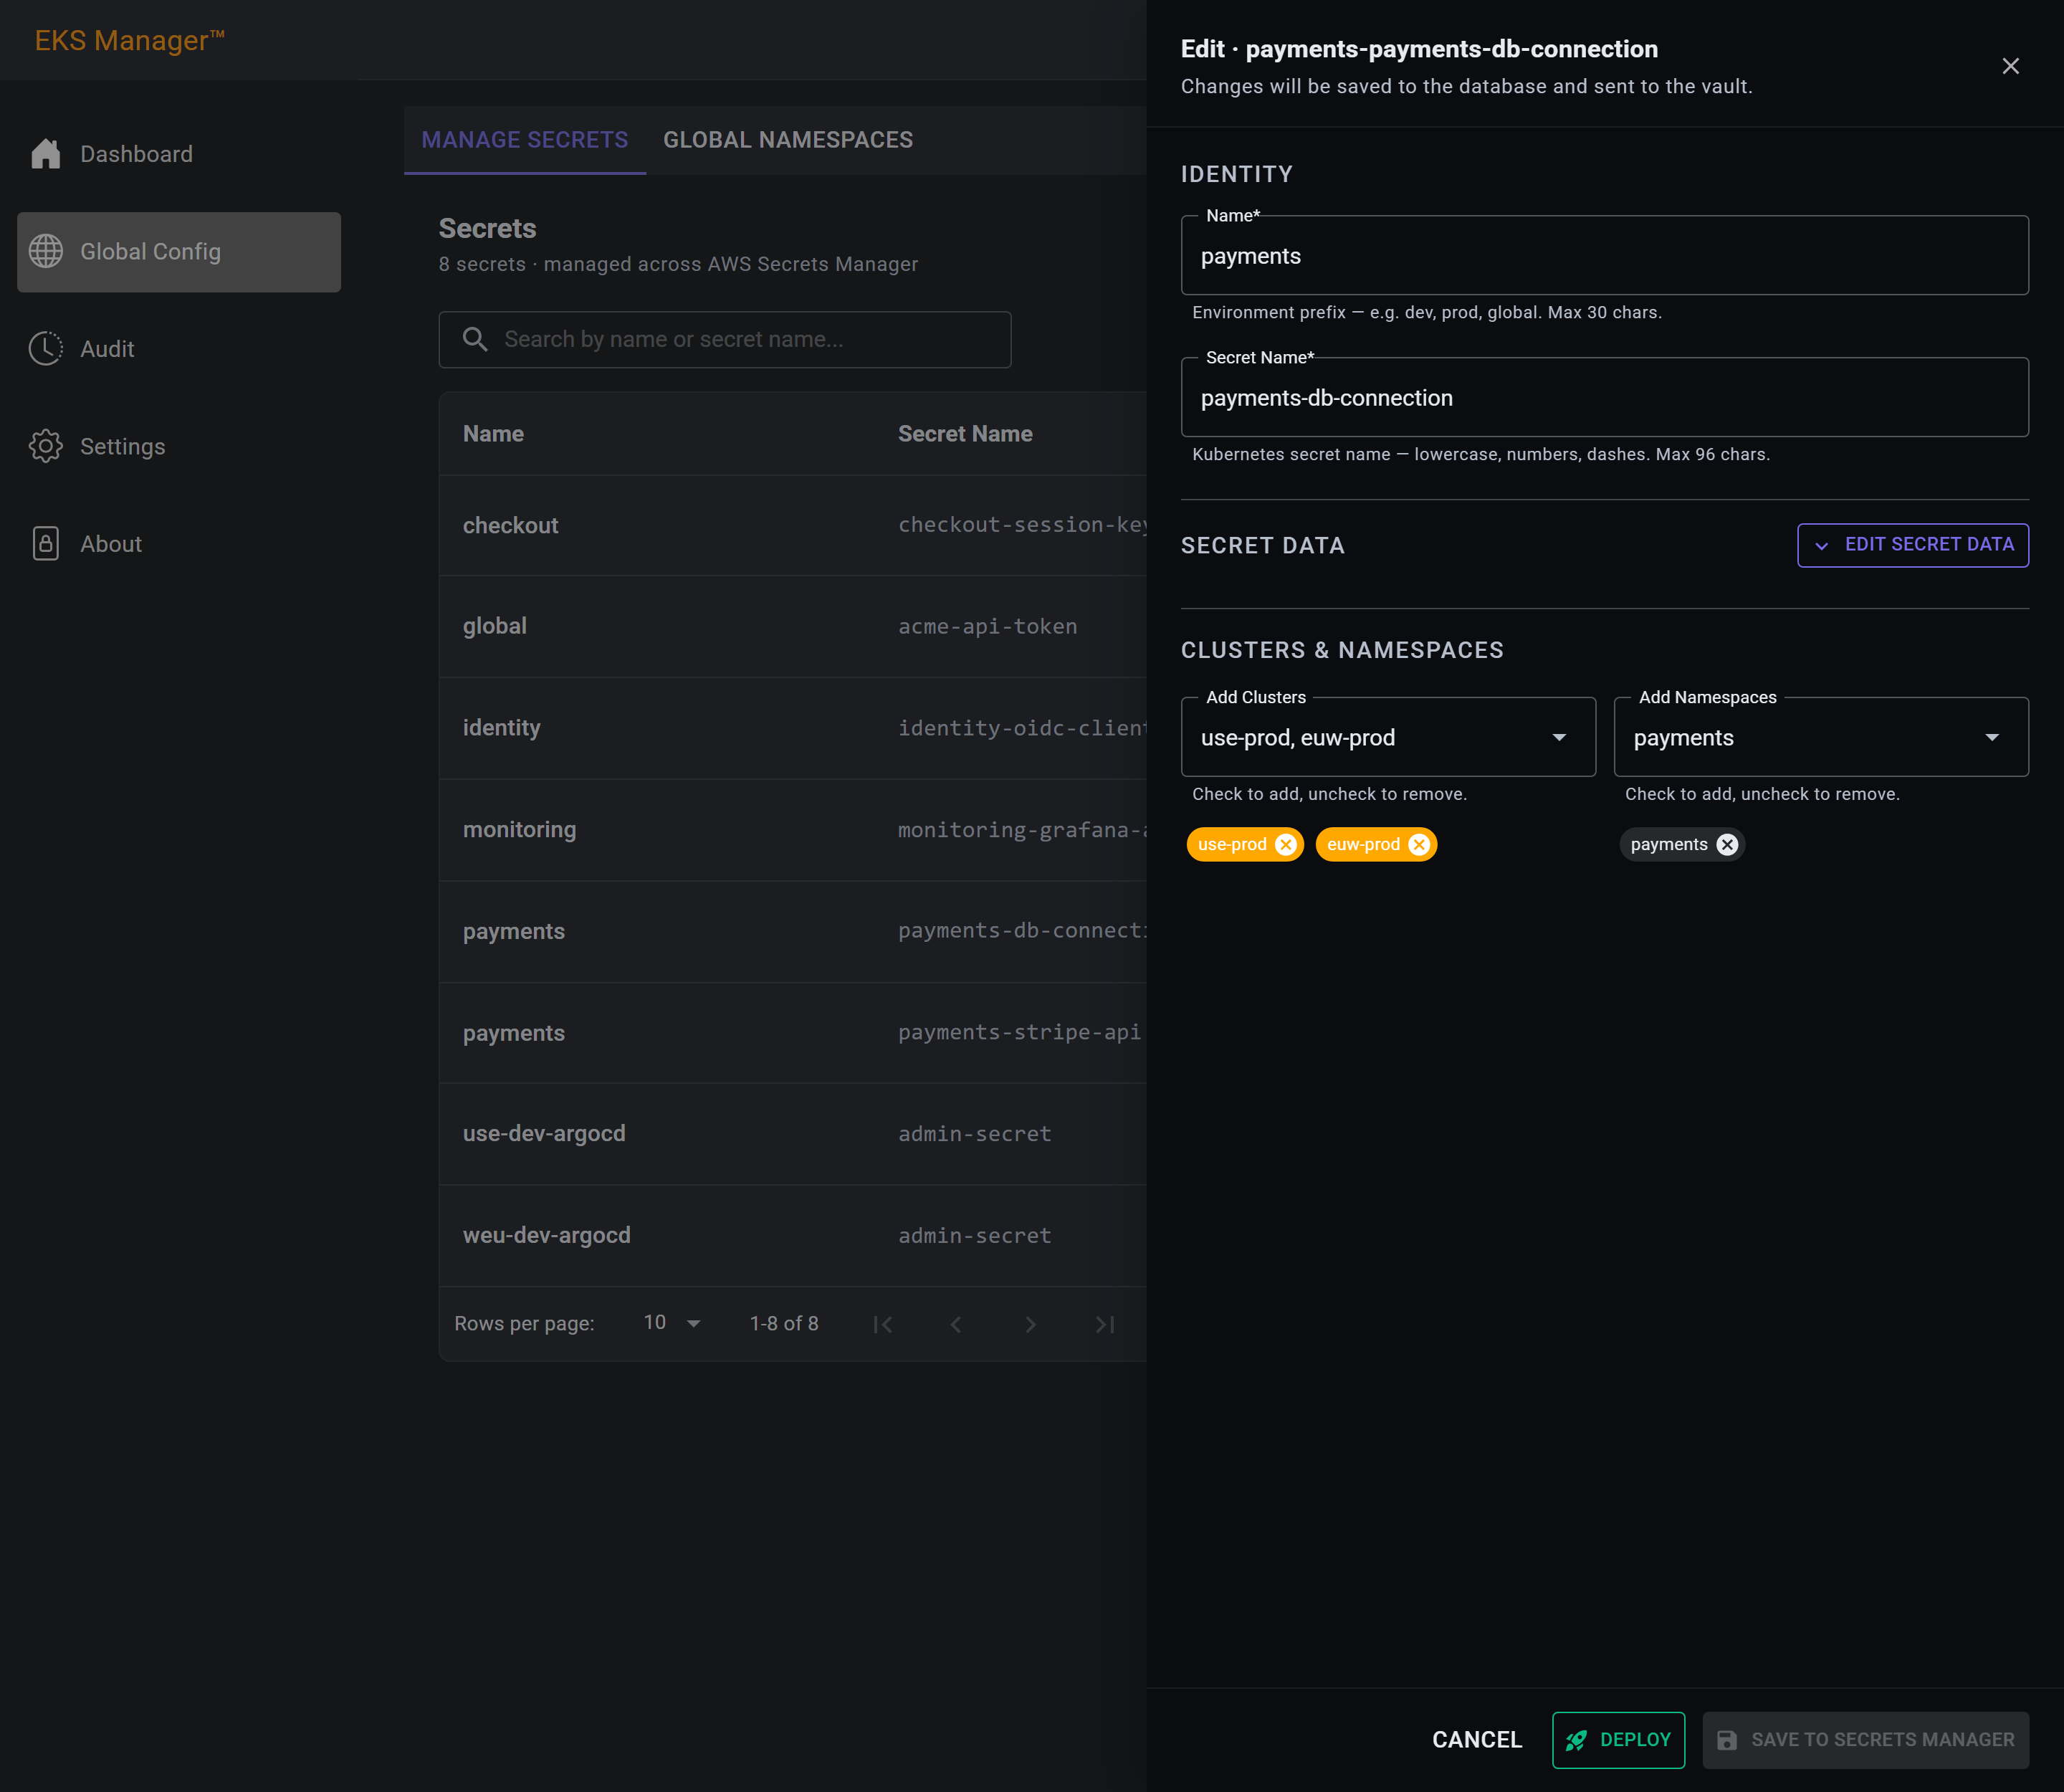
The rows fill in: every key the secret holds, with its value.
This is the only place the values appear. Rotating one means changing the value here, saving it to the store again, and deploying — the same path as before.
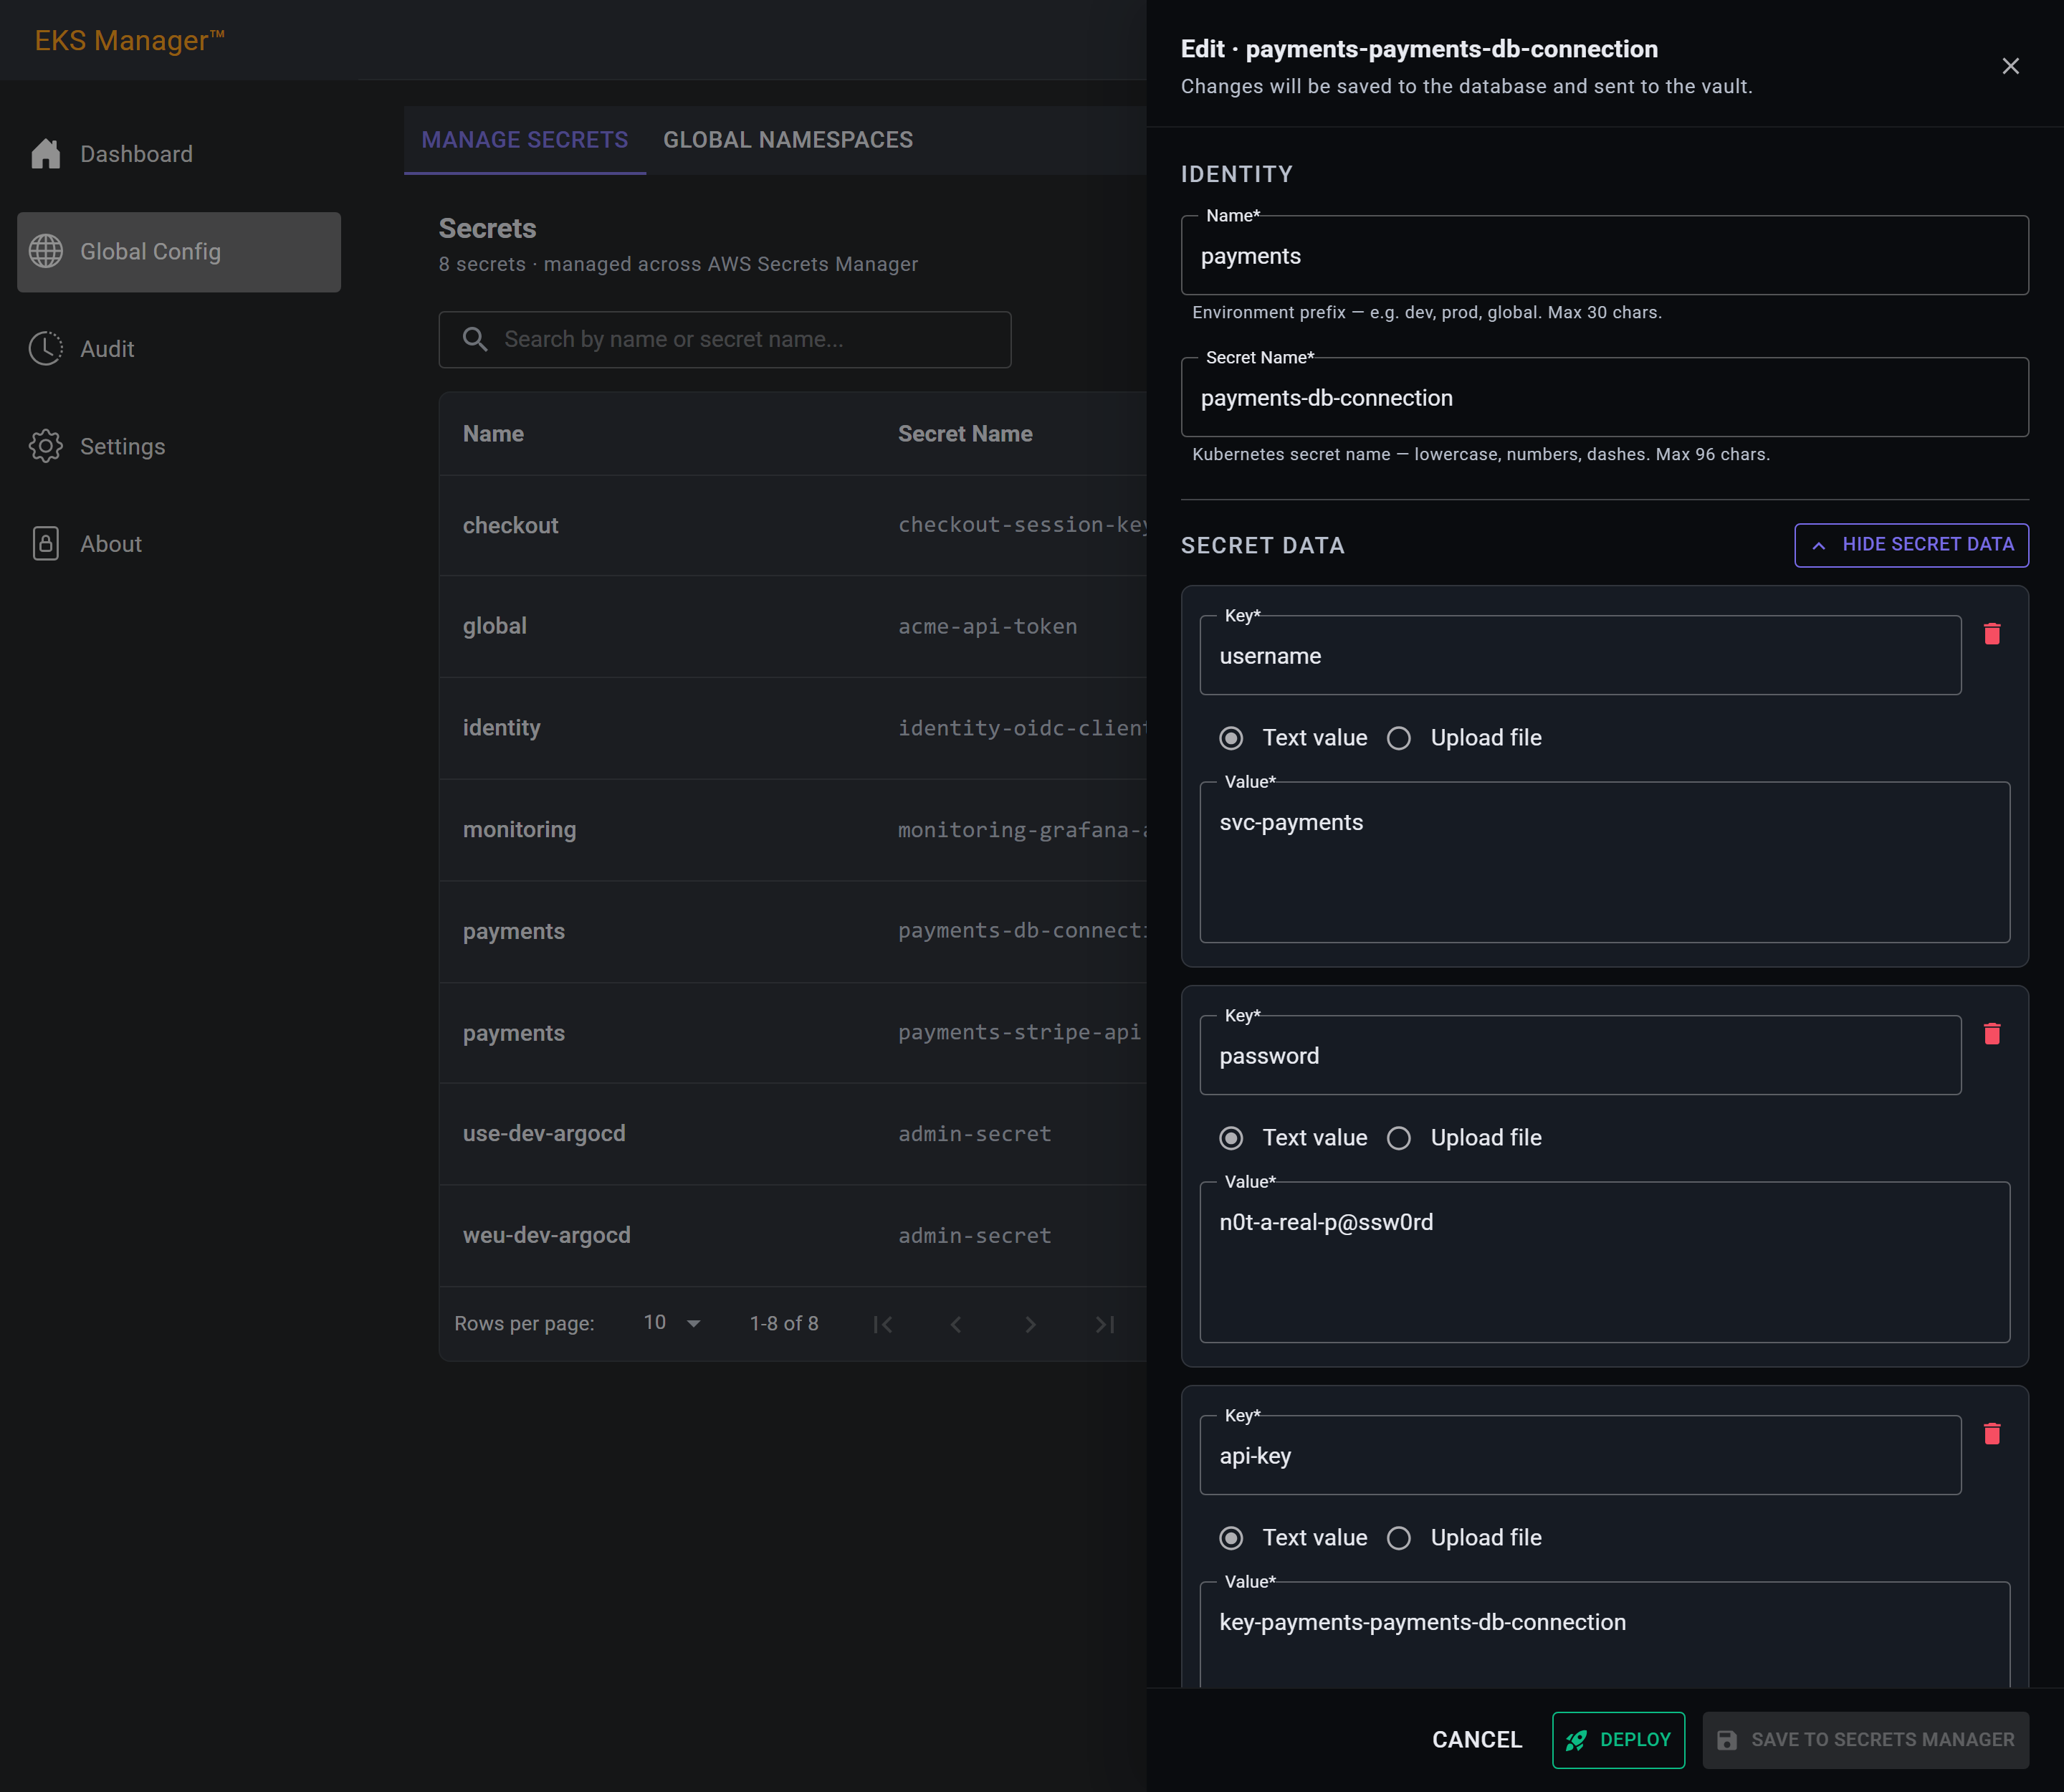
The search box filters the list as you type, matching on either column — the name a secret is filed under, or the Kubernetes secret name.
A few letters is usually enough. Here pay narrows five secrets to the two payments ones, which is quicker than paging through an estate's worth of them.
Global Namespaces
This tab lists the namespaces created on every cluster.
That is what makes them global: there is no cluster to choose, because a namespace defined here exists on all of them, including any cluster created afterwards.
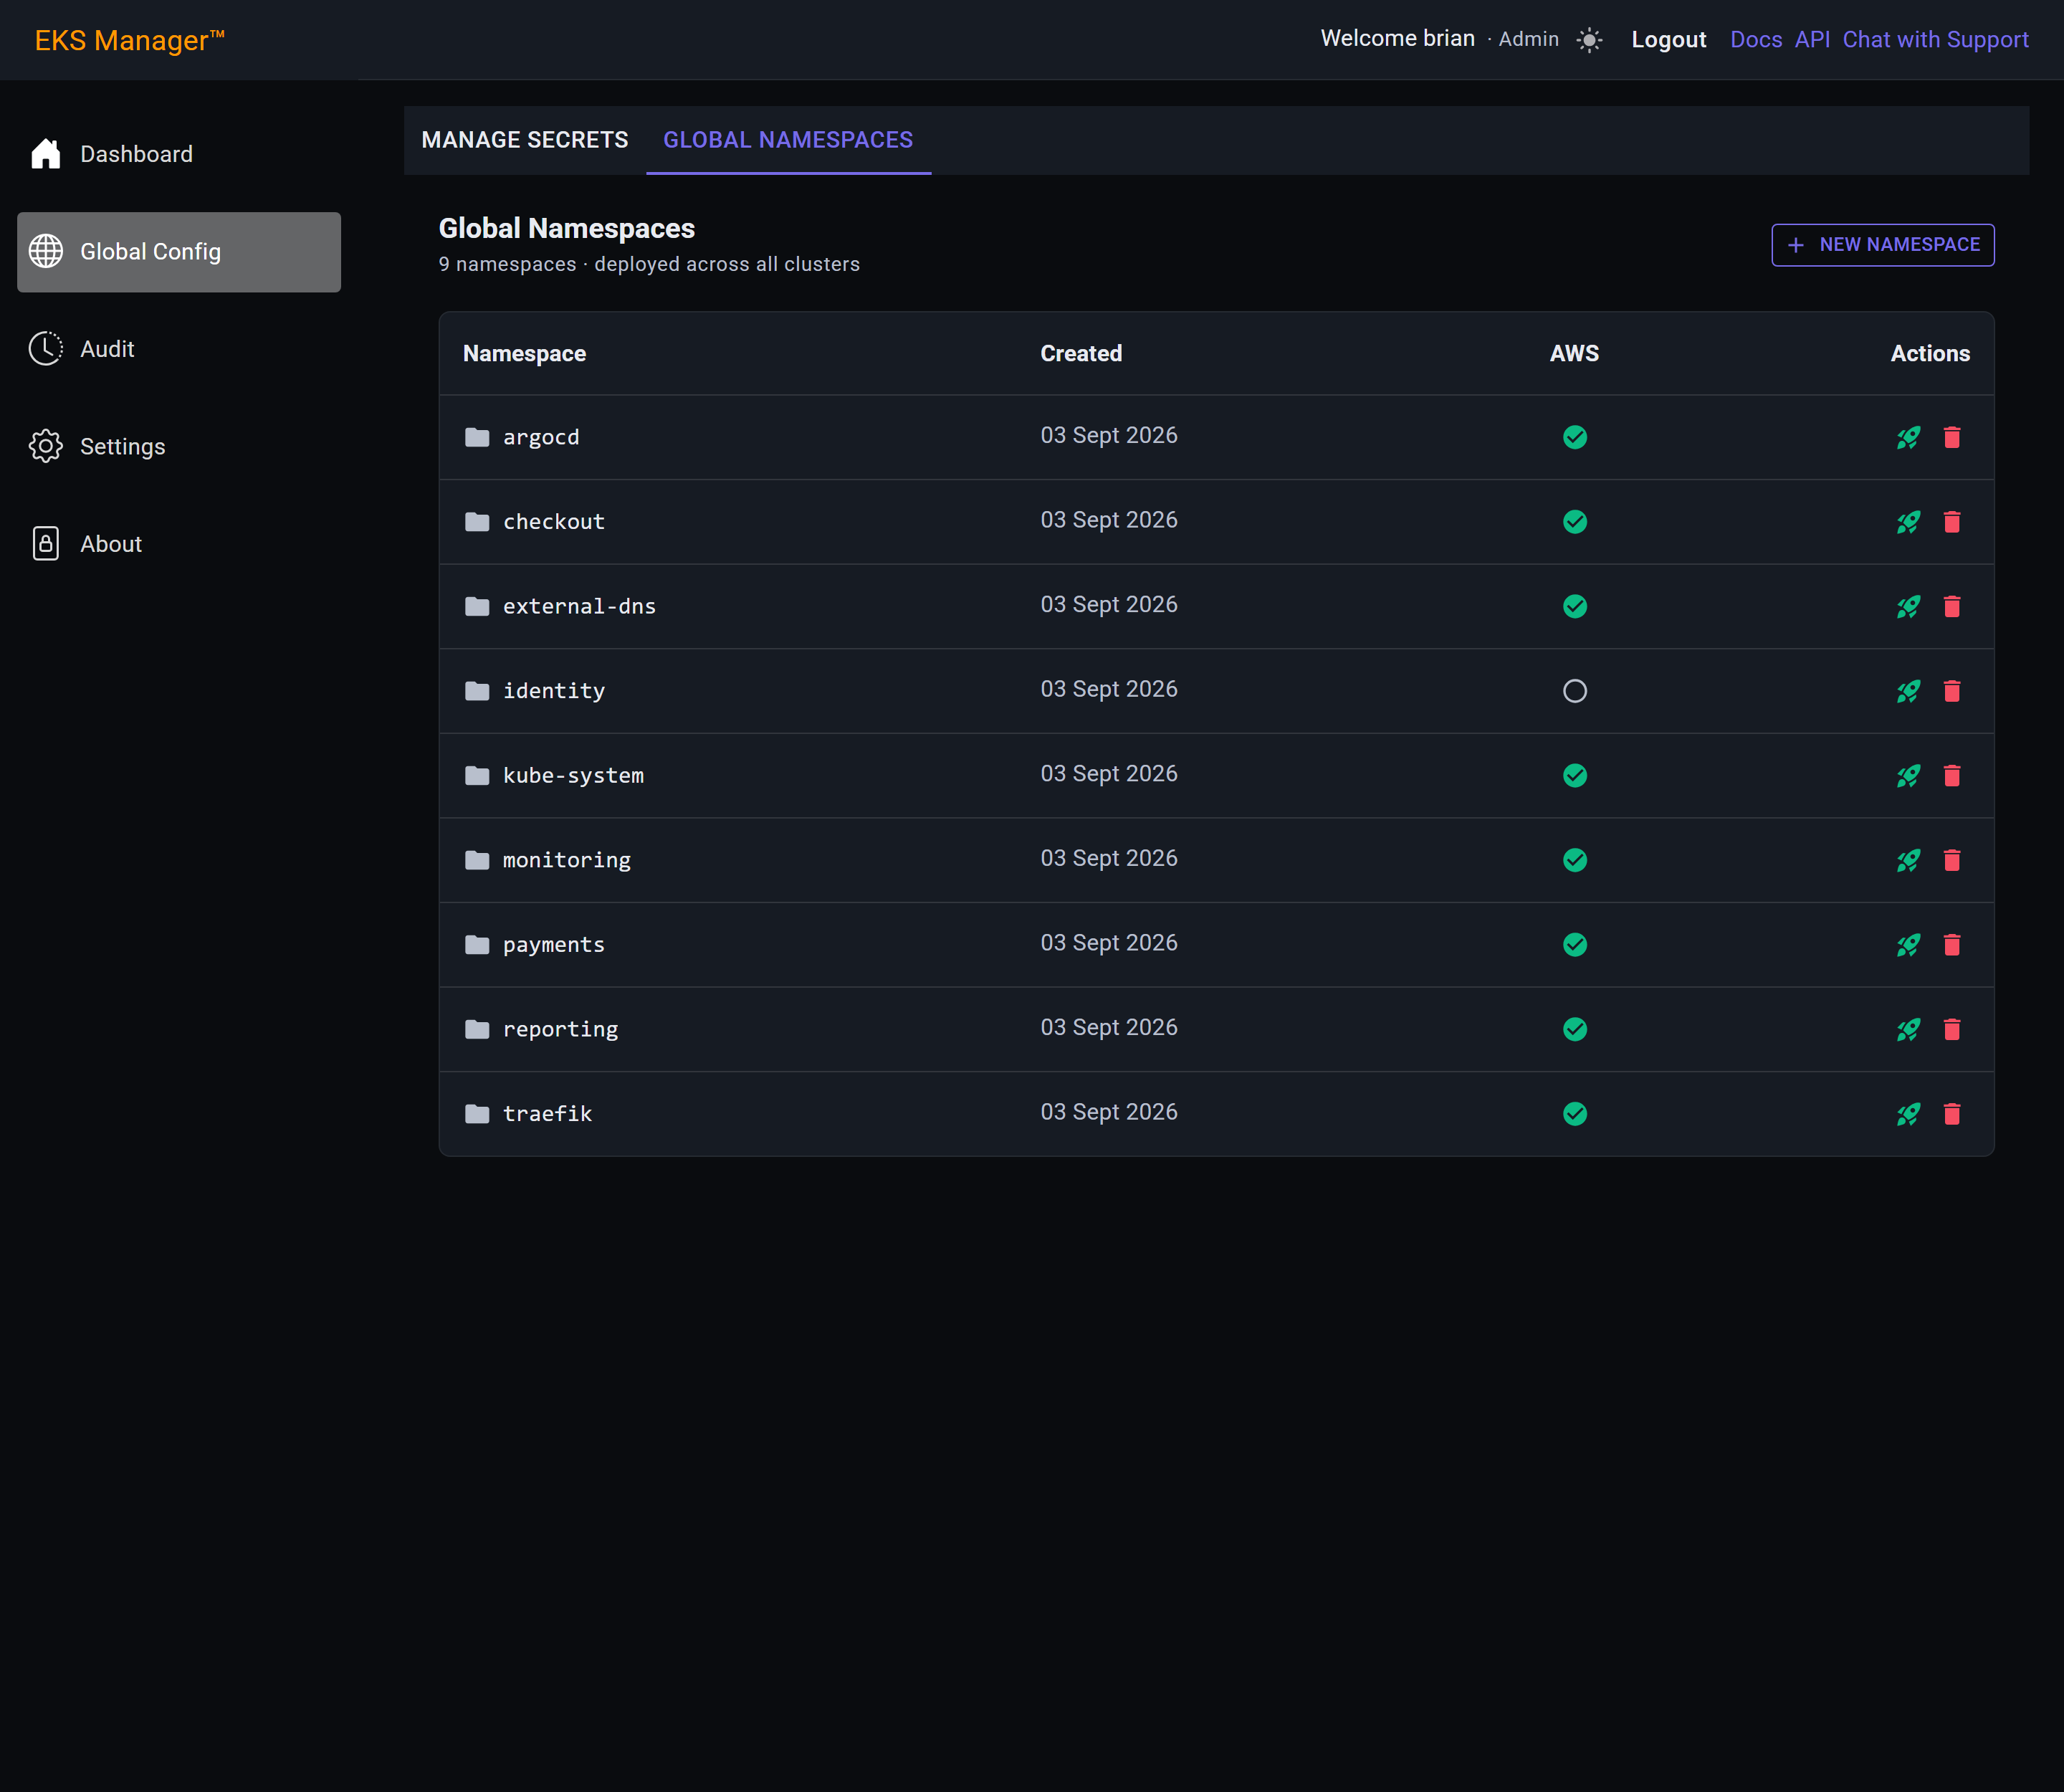
New Namespace asks only for a name — lowercase letters, numbers and dashes — because there is nothing else to decide.
Create records it. It does not reach the clusters until it is deployed, which is the next step.
The new namespace appears in the list straight away. That records it — it does not put it on any cluster yet.
Deploying is the next step, and it is deliberately separate: the same action redeploys later, which is how a cluster that was unreachable at the time is brought back into line.
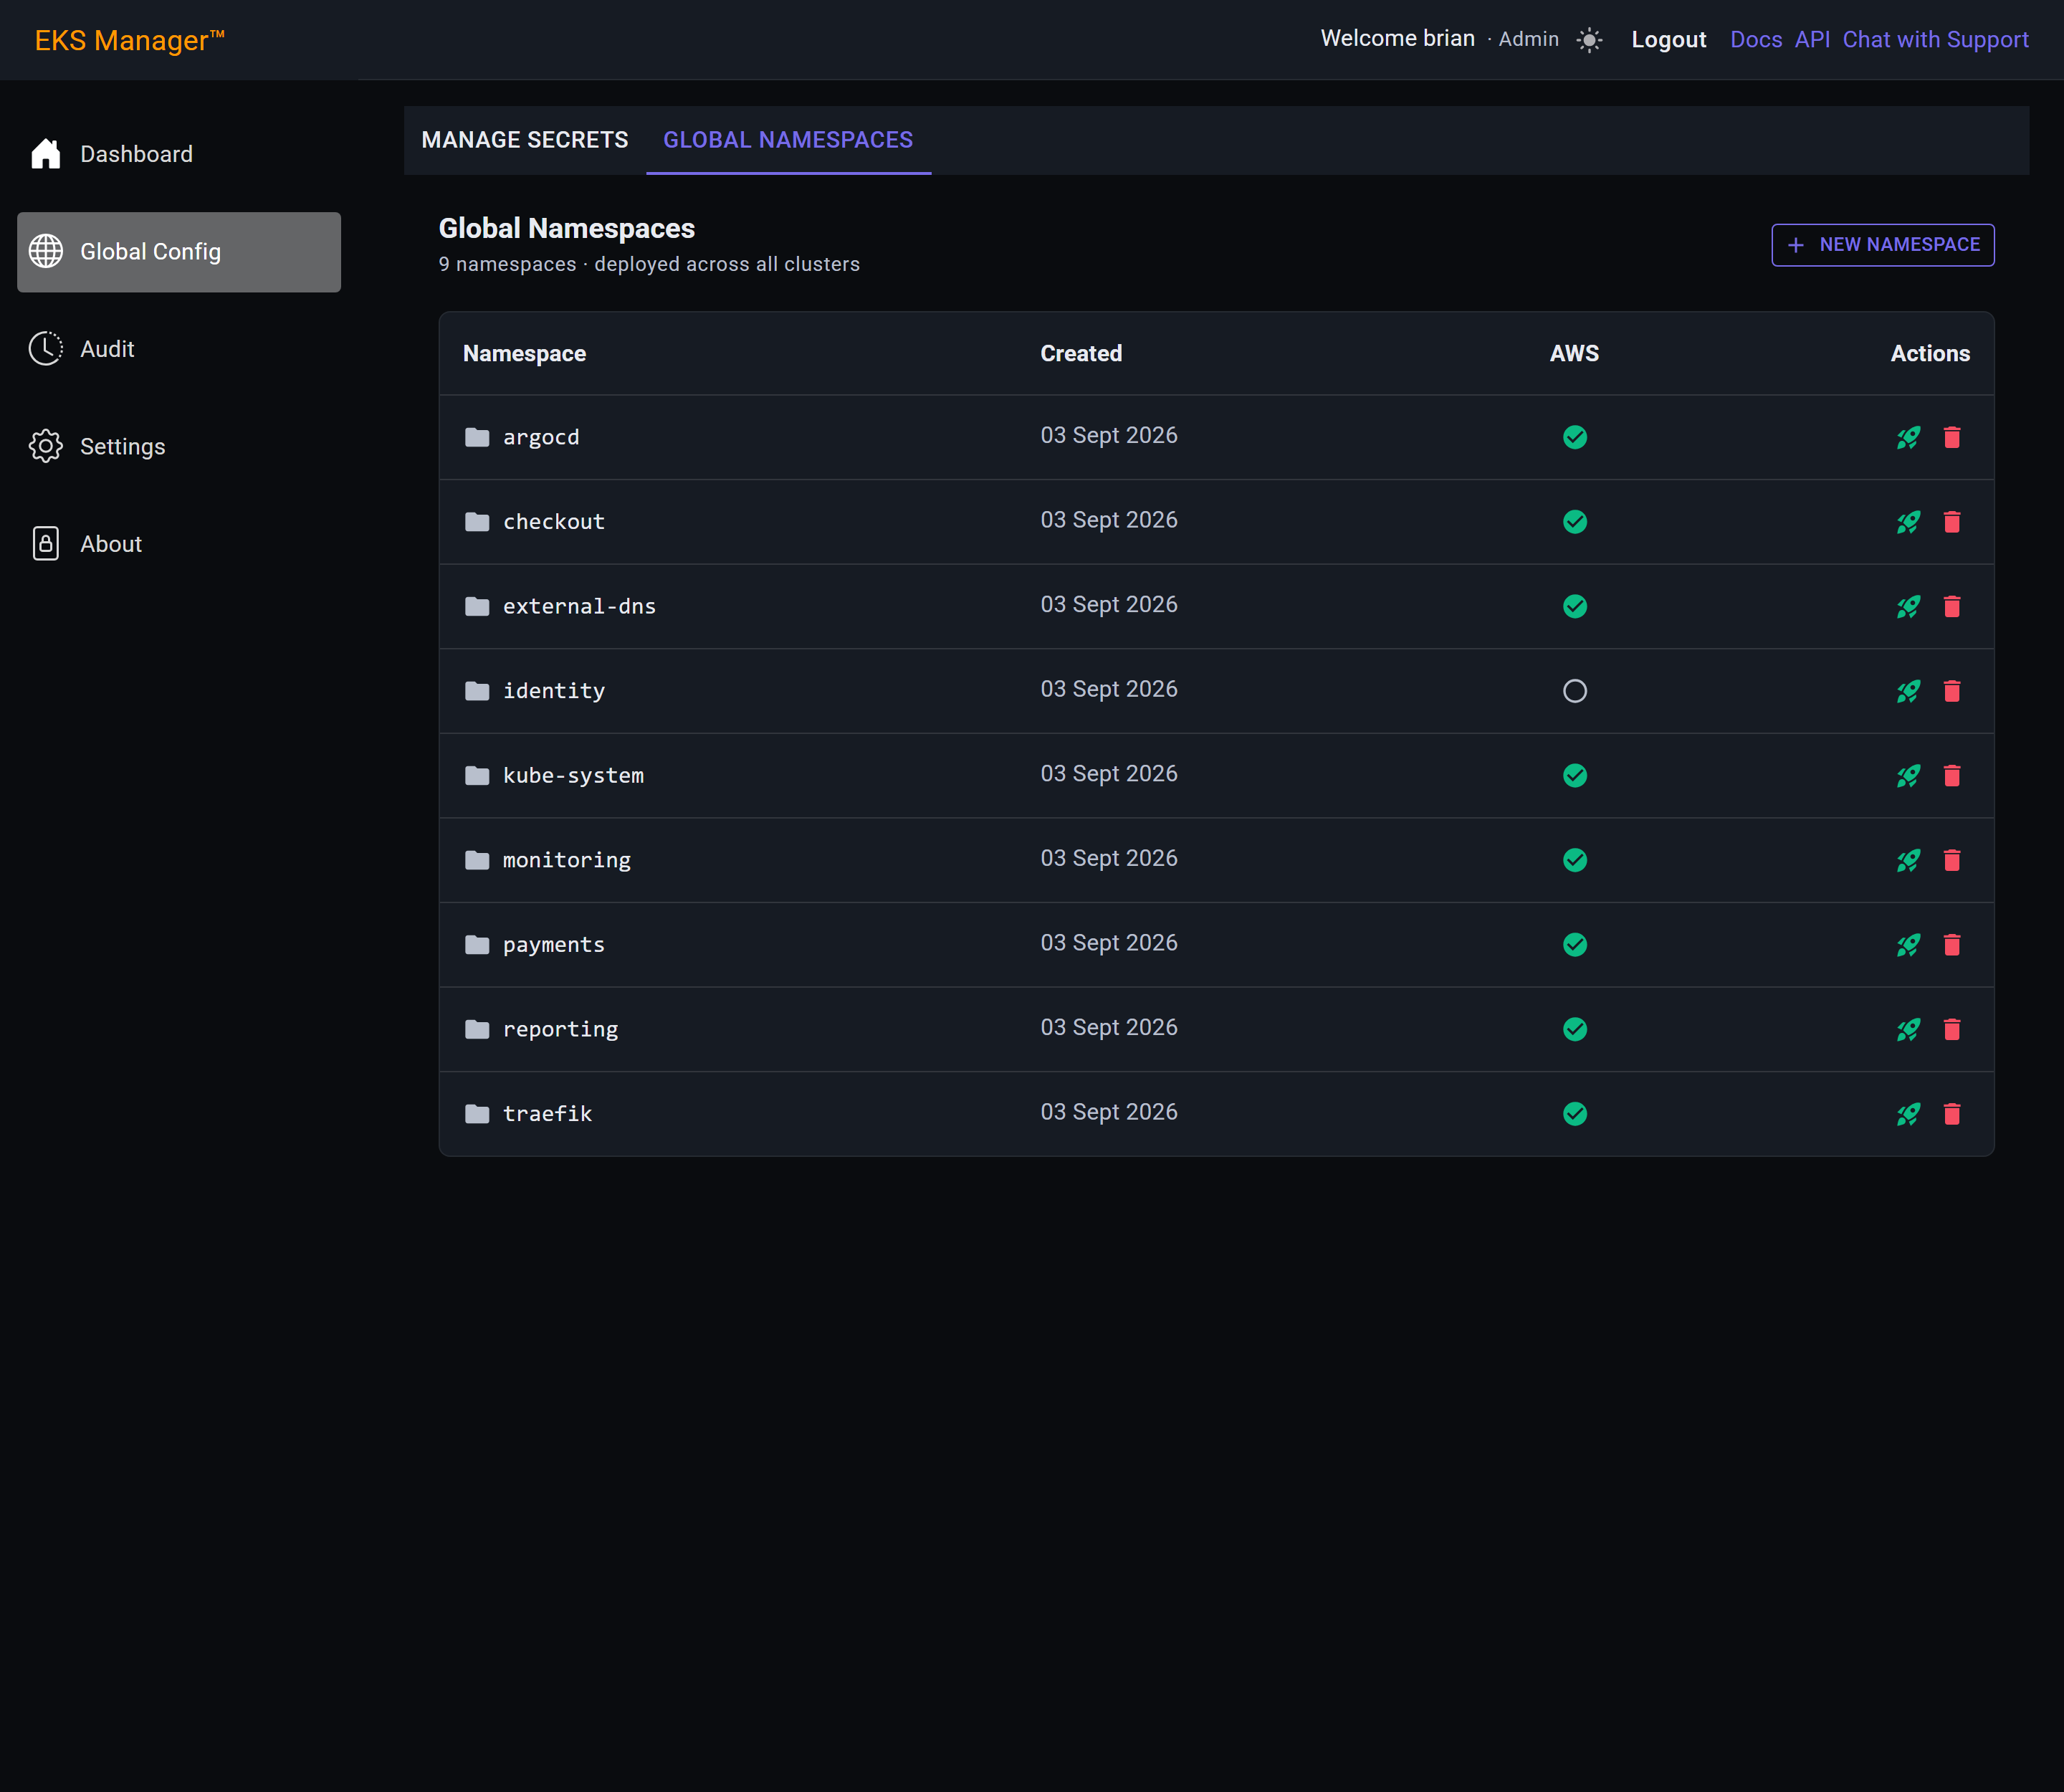
Creating a namespace records it; it does not reach the clusters until it is deployed. The new row's first action does that.
The same action redeploys it later, which is how a cluster that was unreachable at the time is brought back into line.
It asks first, because there is no partial answer here: a global namespace goes to all clusters or none. There is no list to narrow, unlike deploying a secret.
Yes sends it.
Two notifications: the request going out, then confirmation that the namespace was created on that cloud's clusters.
With both licences you get one confirmation per cloud, since the namespace is created on every cluster of each.
Audit
Audit is the record of what has happened: who did what, what each upgrade did, where every secret went, and what the software itself logged while doing it.
It is one page of sections rather than separate screens, so a question that starts in the activity log can be followed down into the logs underneath without leaving the page.
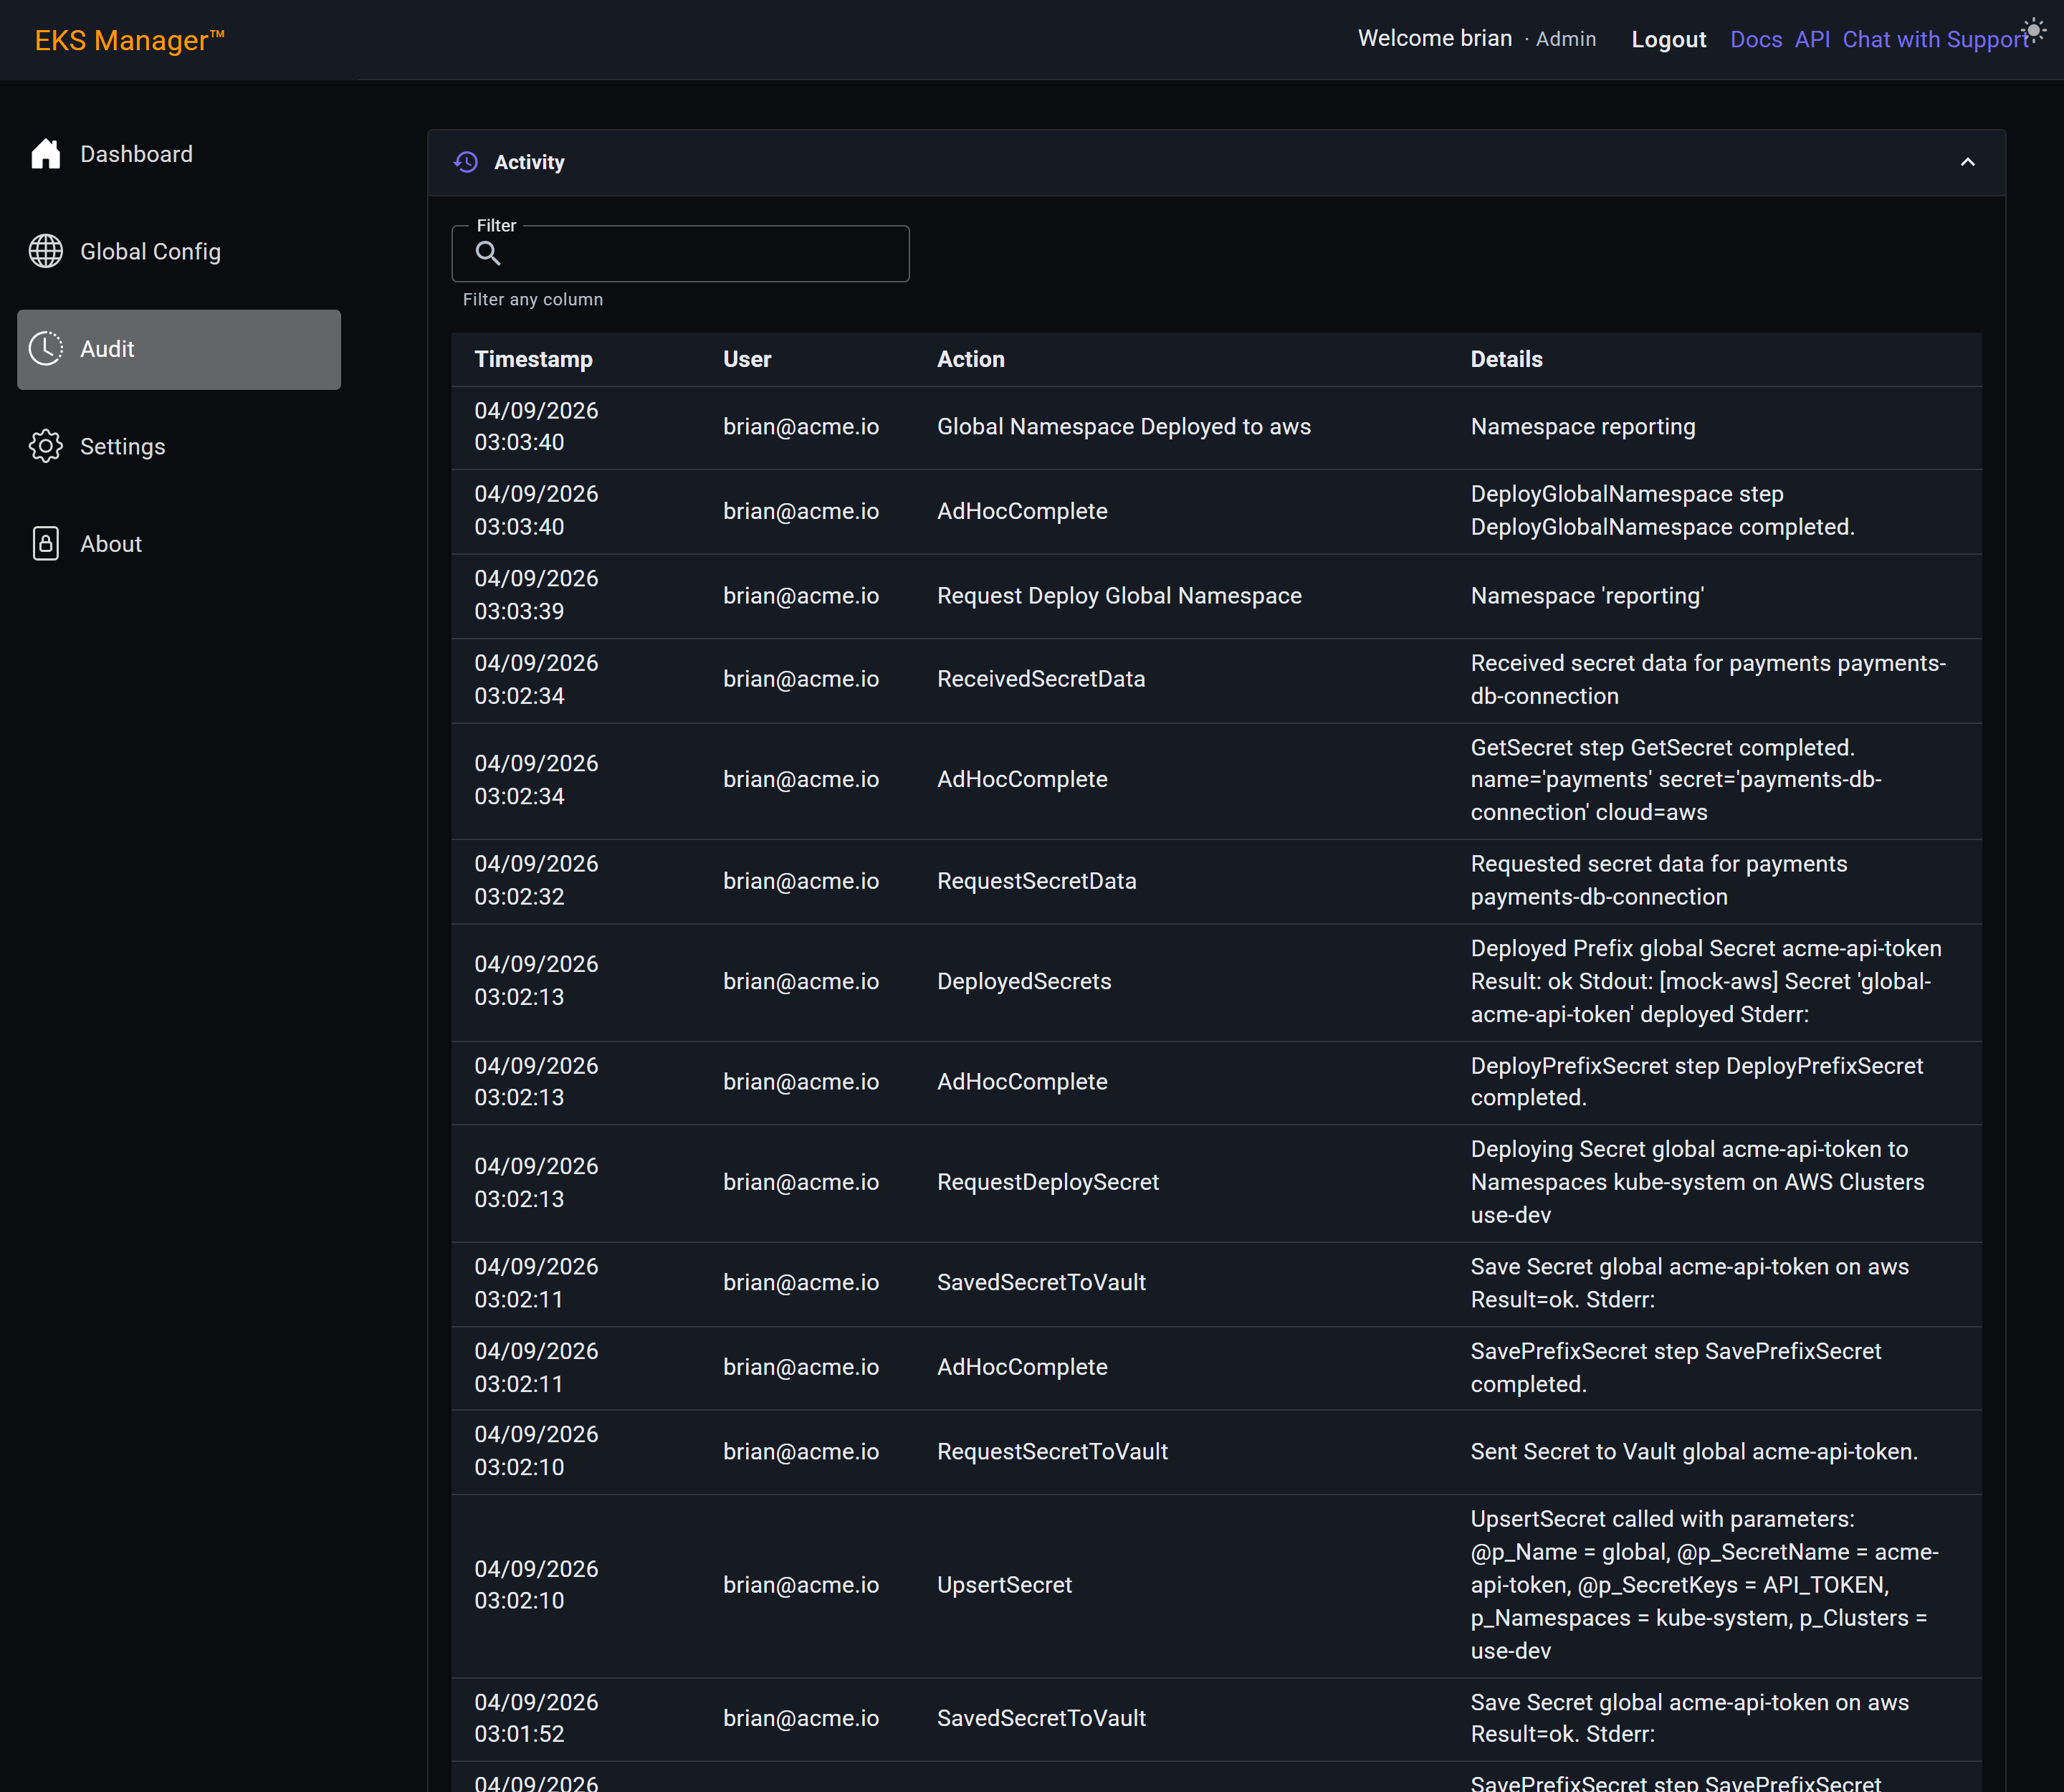
Activity is the human record: a row for every action taken through the application, with the time, the user who did it, the action, and enough detail to identify what it touched.
It covers everything — creating clusters, saving and deploying secrets, starting upgrades — so it is the first place to look when you need to know who changed something and when.
The filter matches on any column, so the same box finds a user, an action or the thing acted on.
Here Secret reduces the log to the secret activity: requested, received, saved and deployed. Typing a cluster name instead would show that cluster's history.
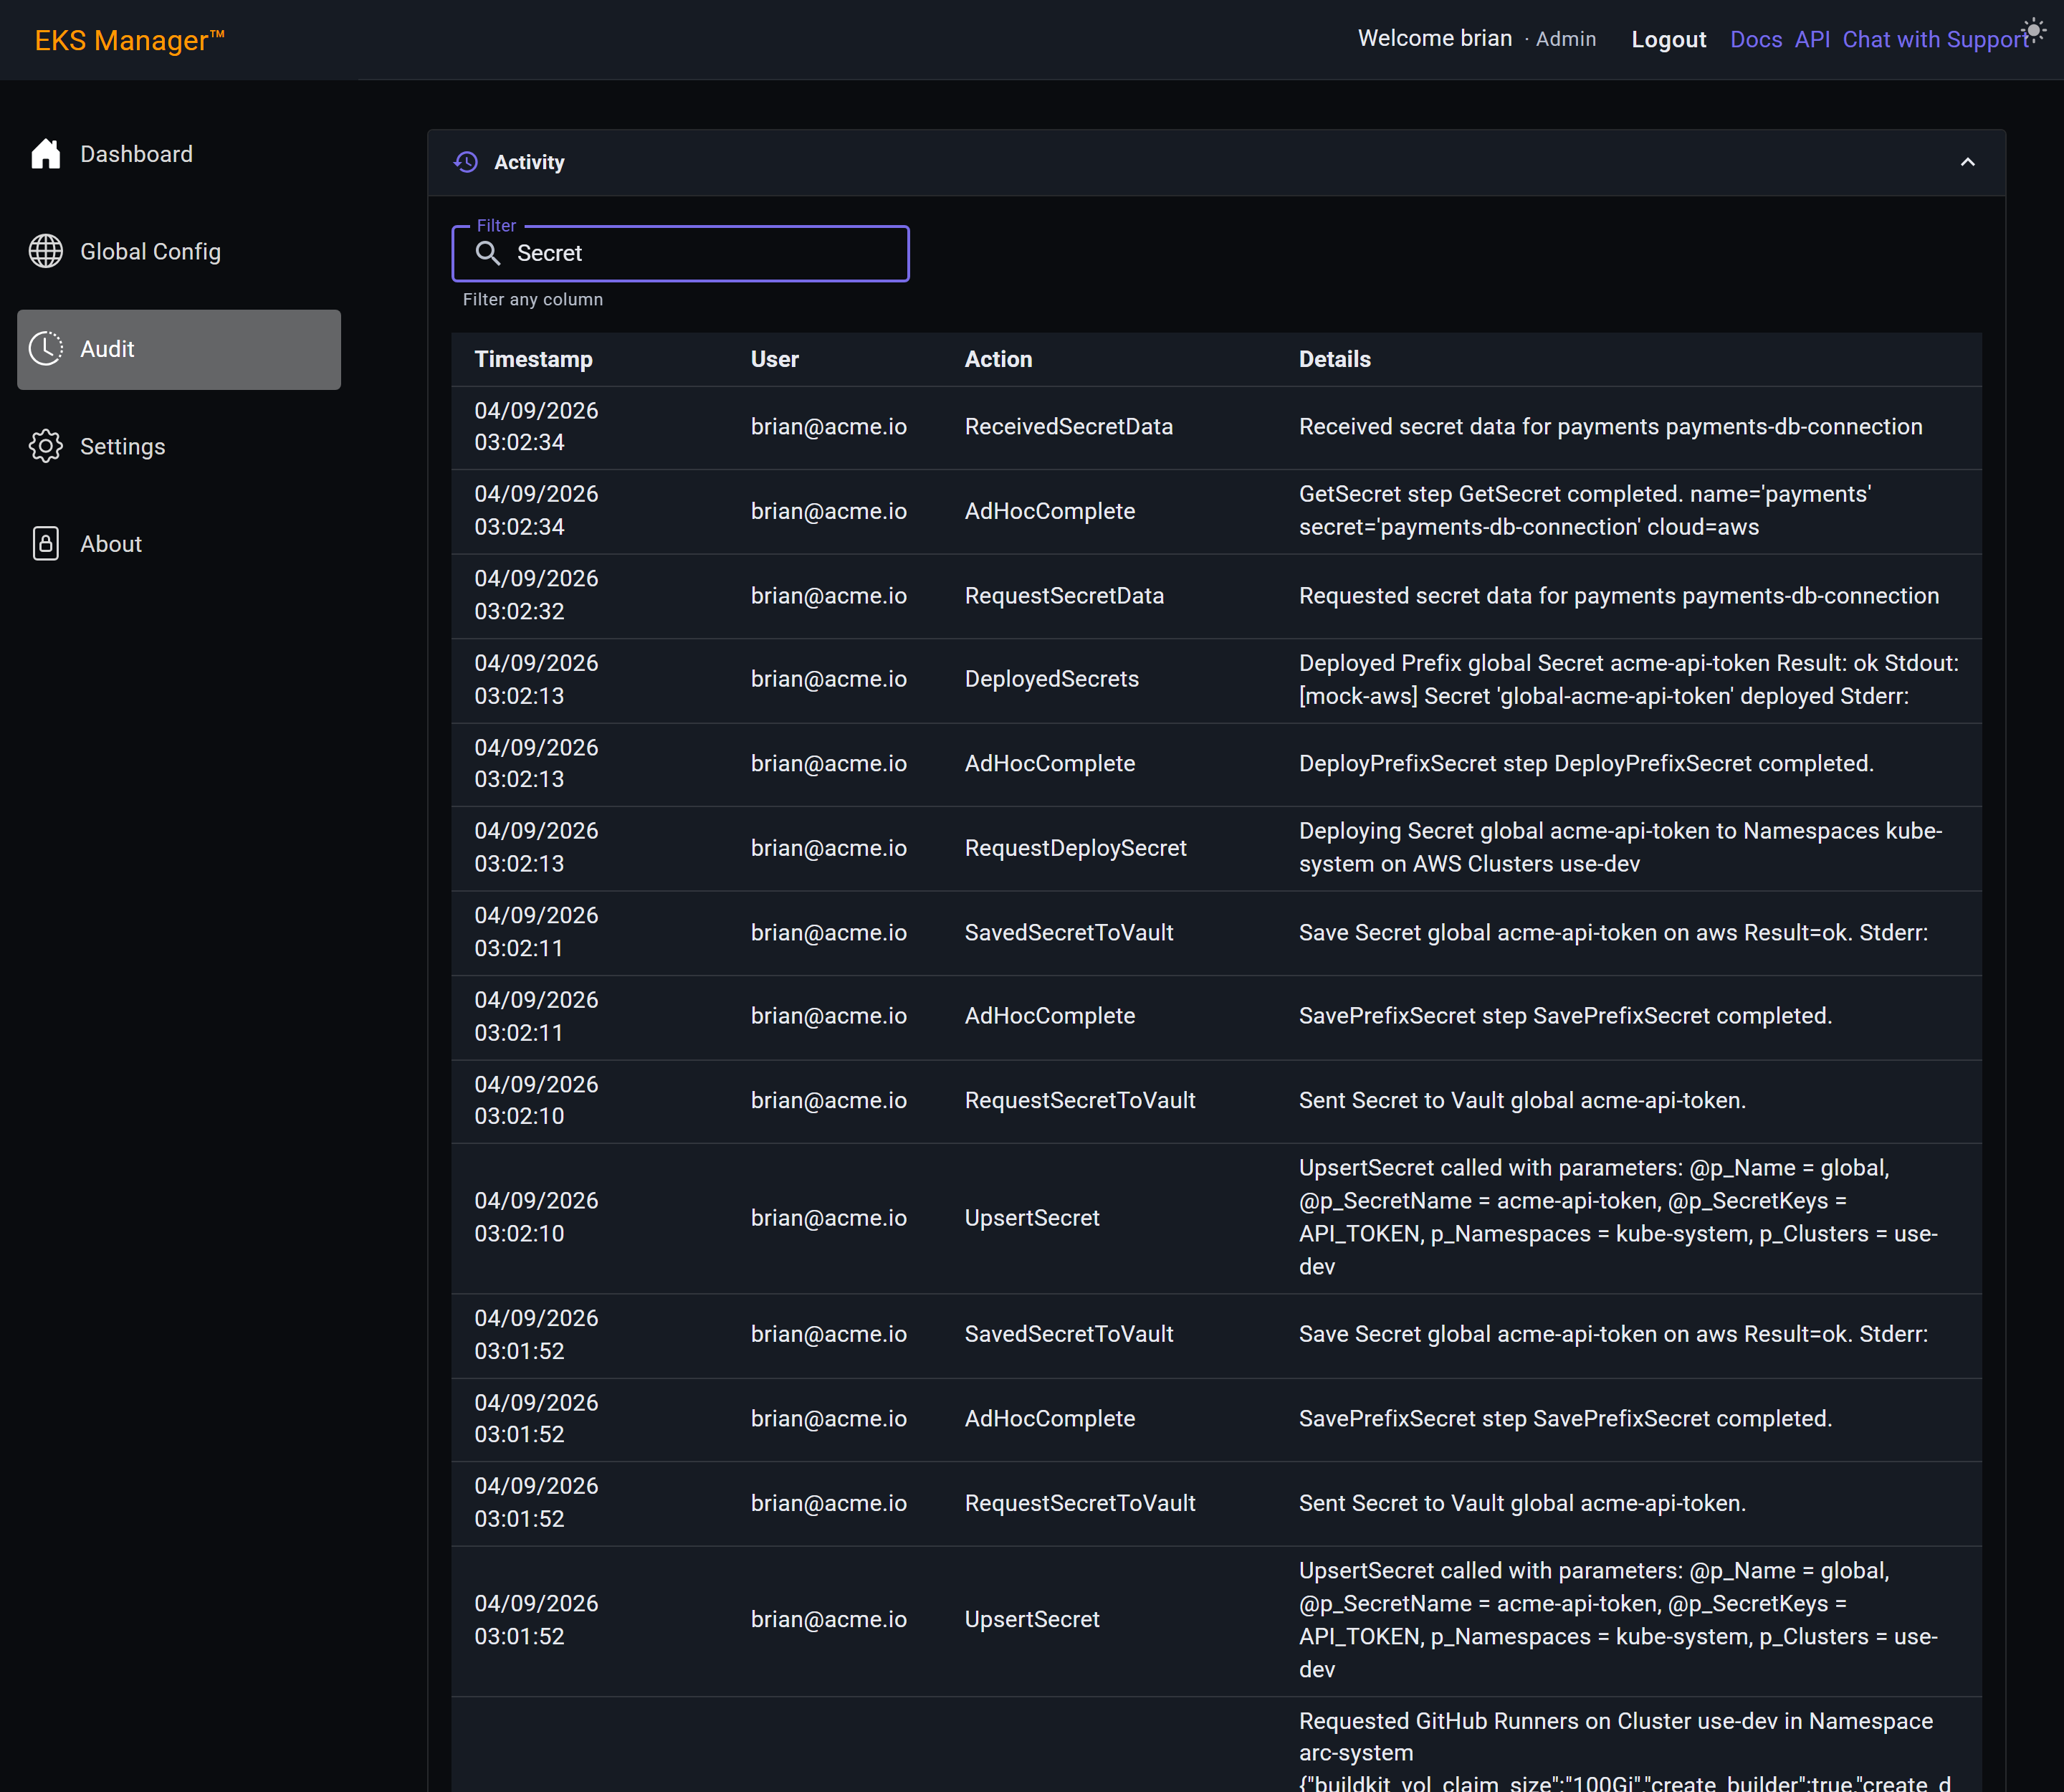
Every section is an independent toggle: open it on its heading, close it the same way. Nothing here depends on anything else being open, and opening one does not close another.
The activity log is long, so closing it brings the rest of the page into view. It is worth working that way — open the section you are asking about and leave the others shut.
Core Stack Versions holds the release notes for each core stack release: the component versions it ships, and anything in it that breaks.
Breaking Changes leads, because that is the part that decides whether an upgrade needs work before it runs rather than after.
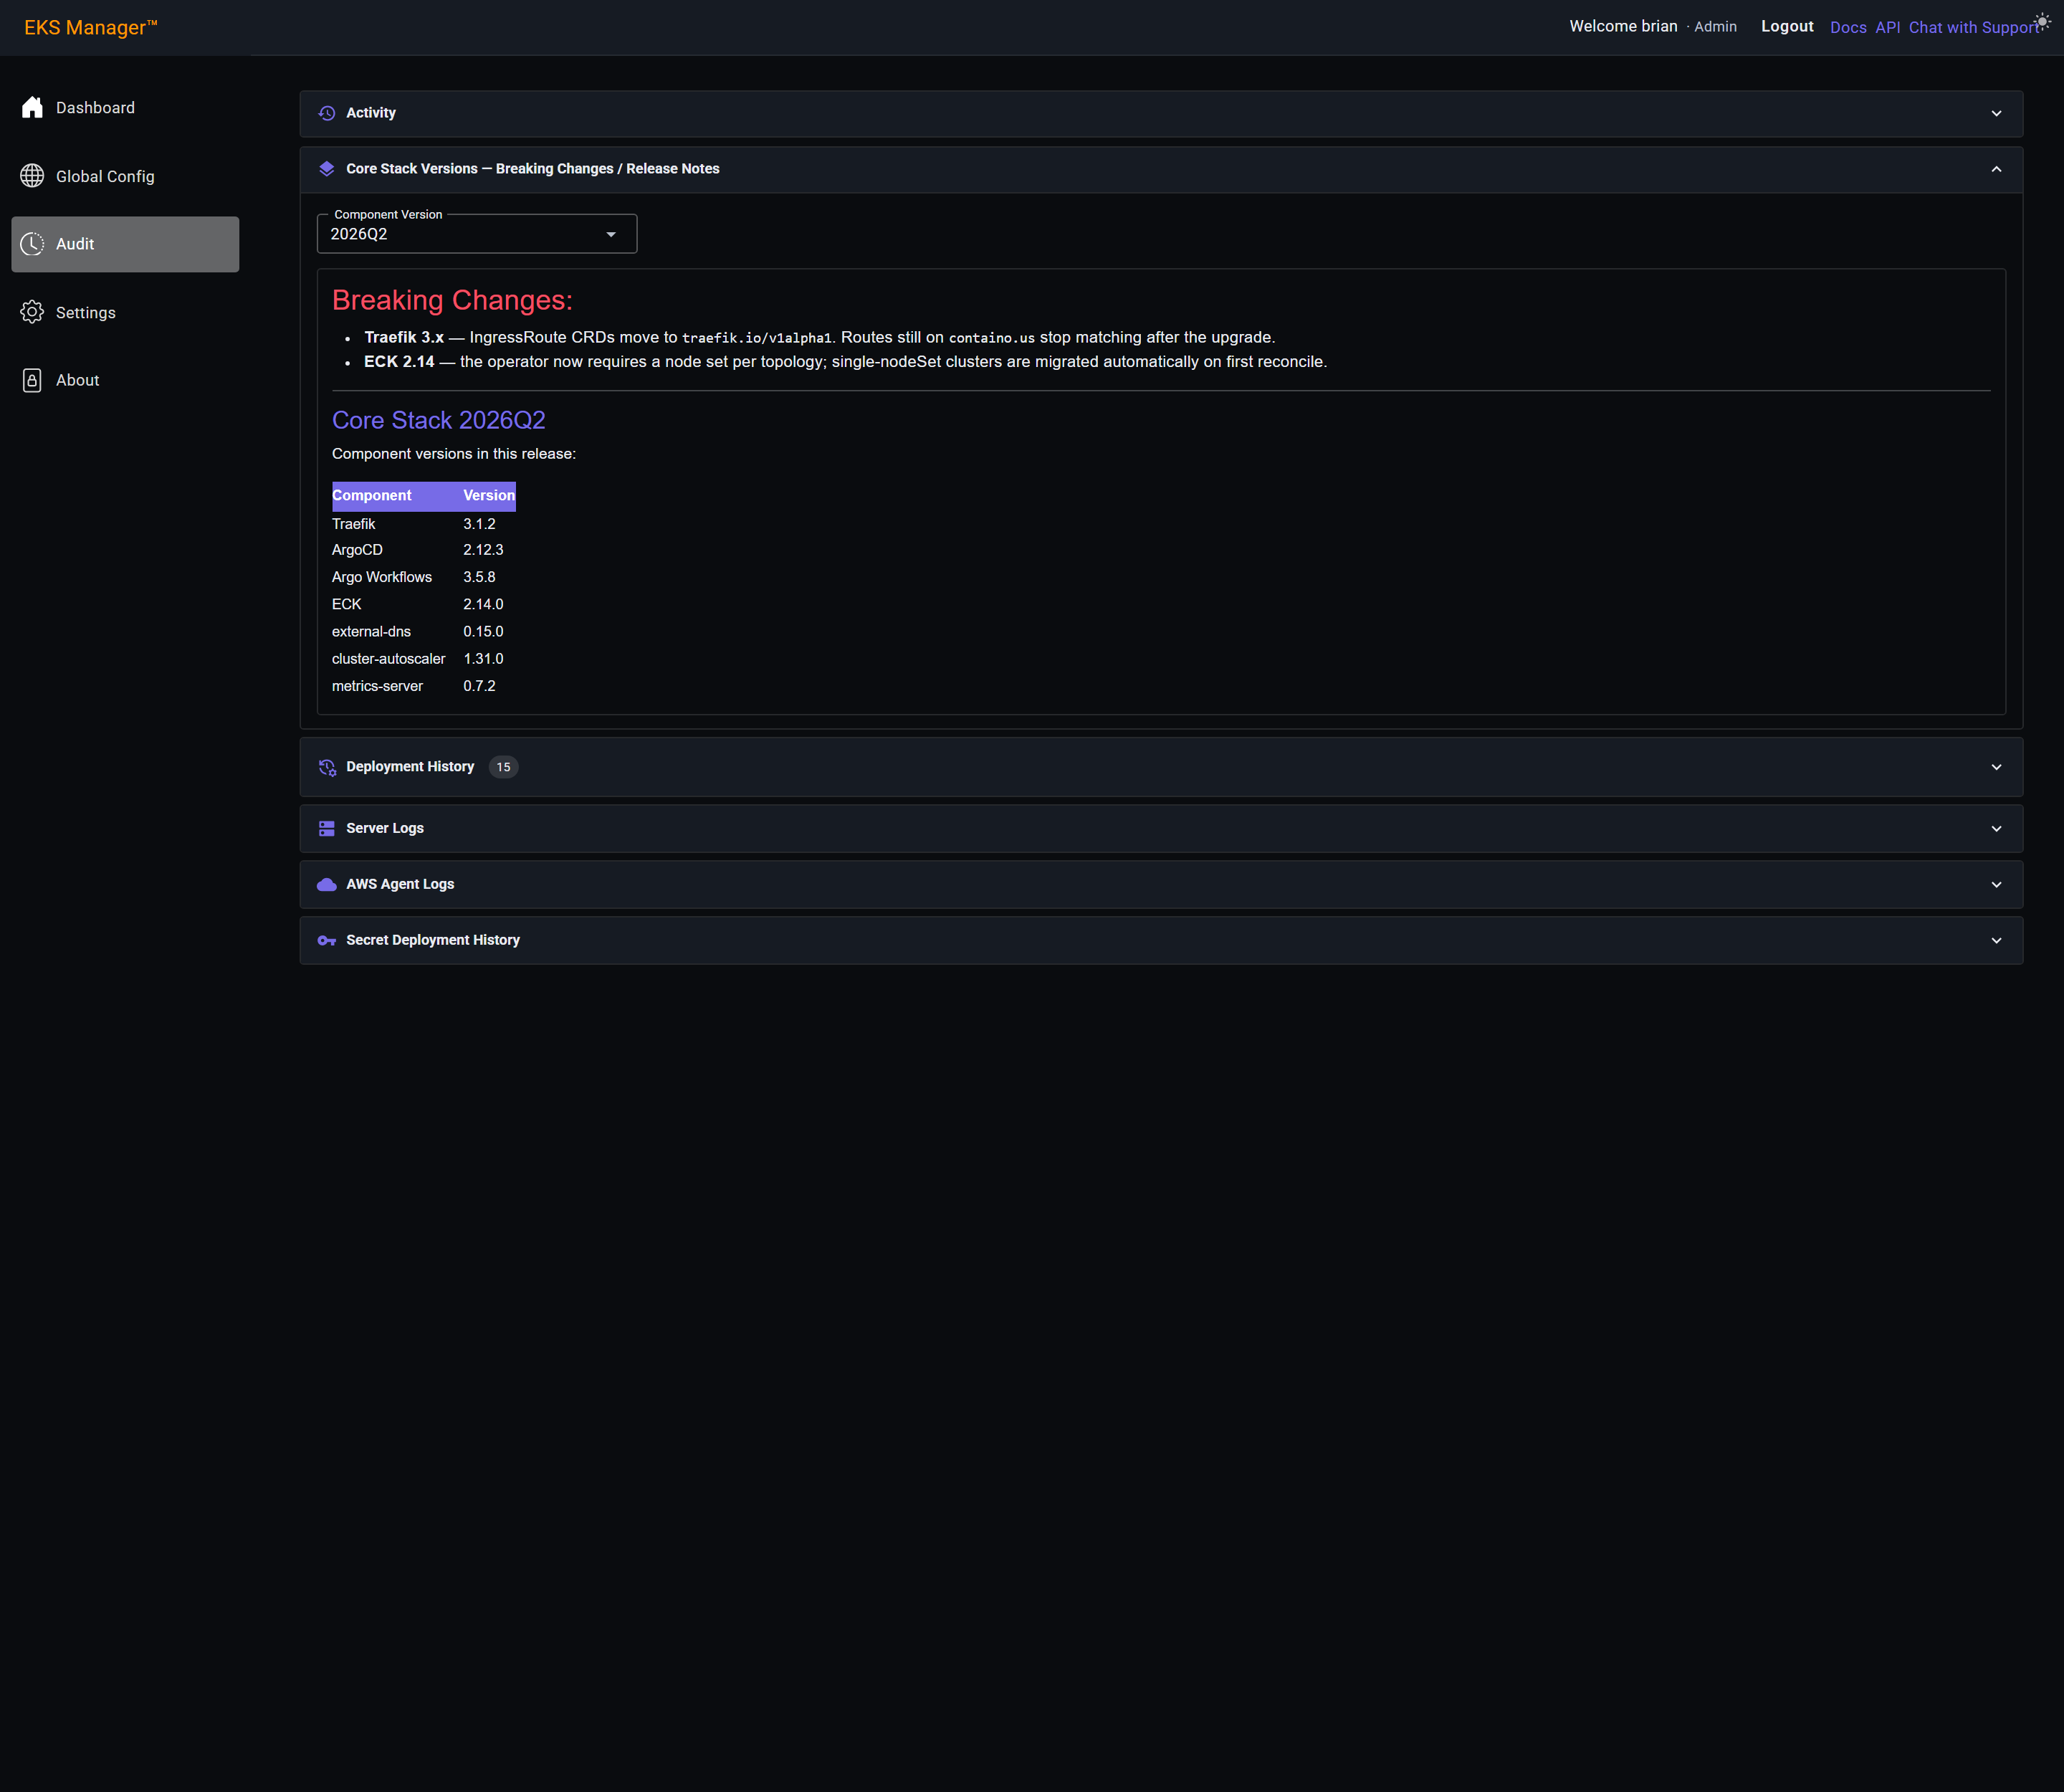
The picker lists every release, so the notes for the version you are on and the one you are moving to can both be read from here.
That matters when skipping a quarter: the breaking changes of every release in between still apply, and this is where to find them.
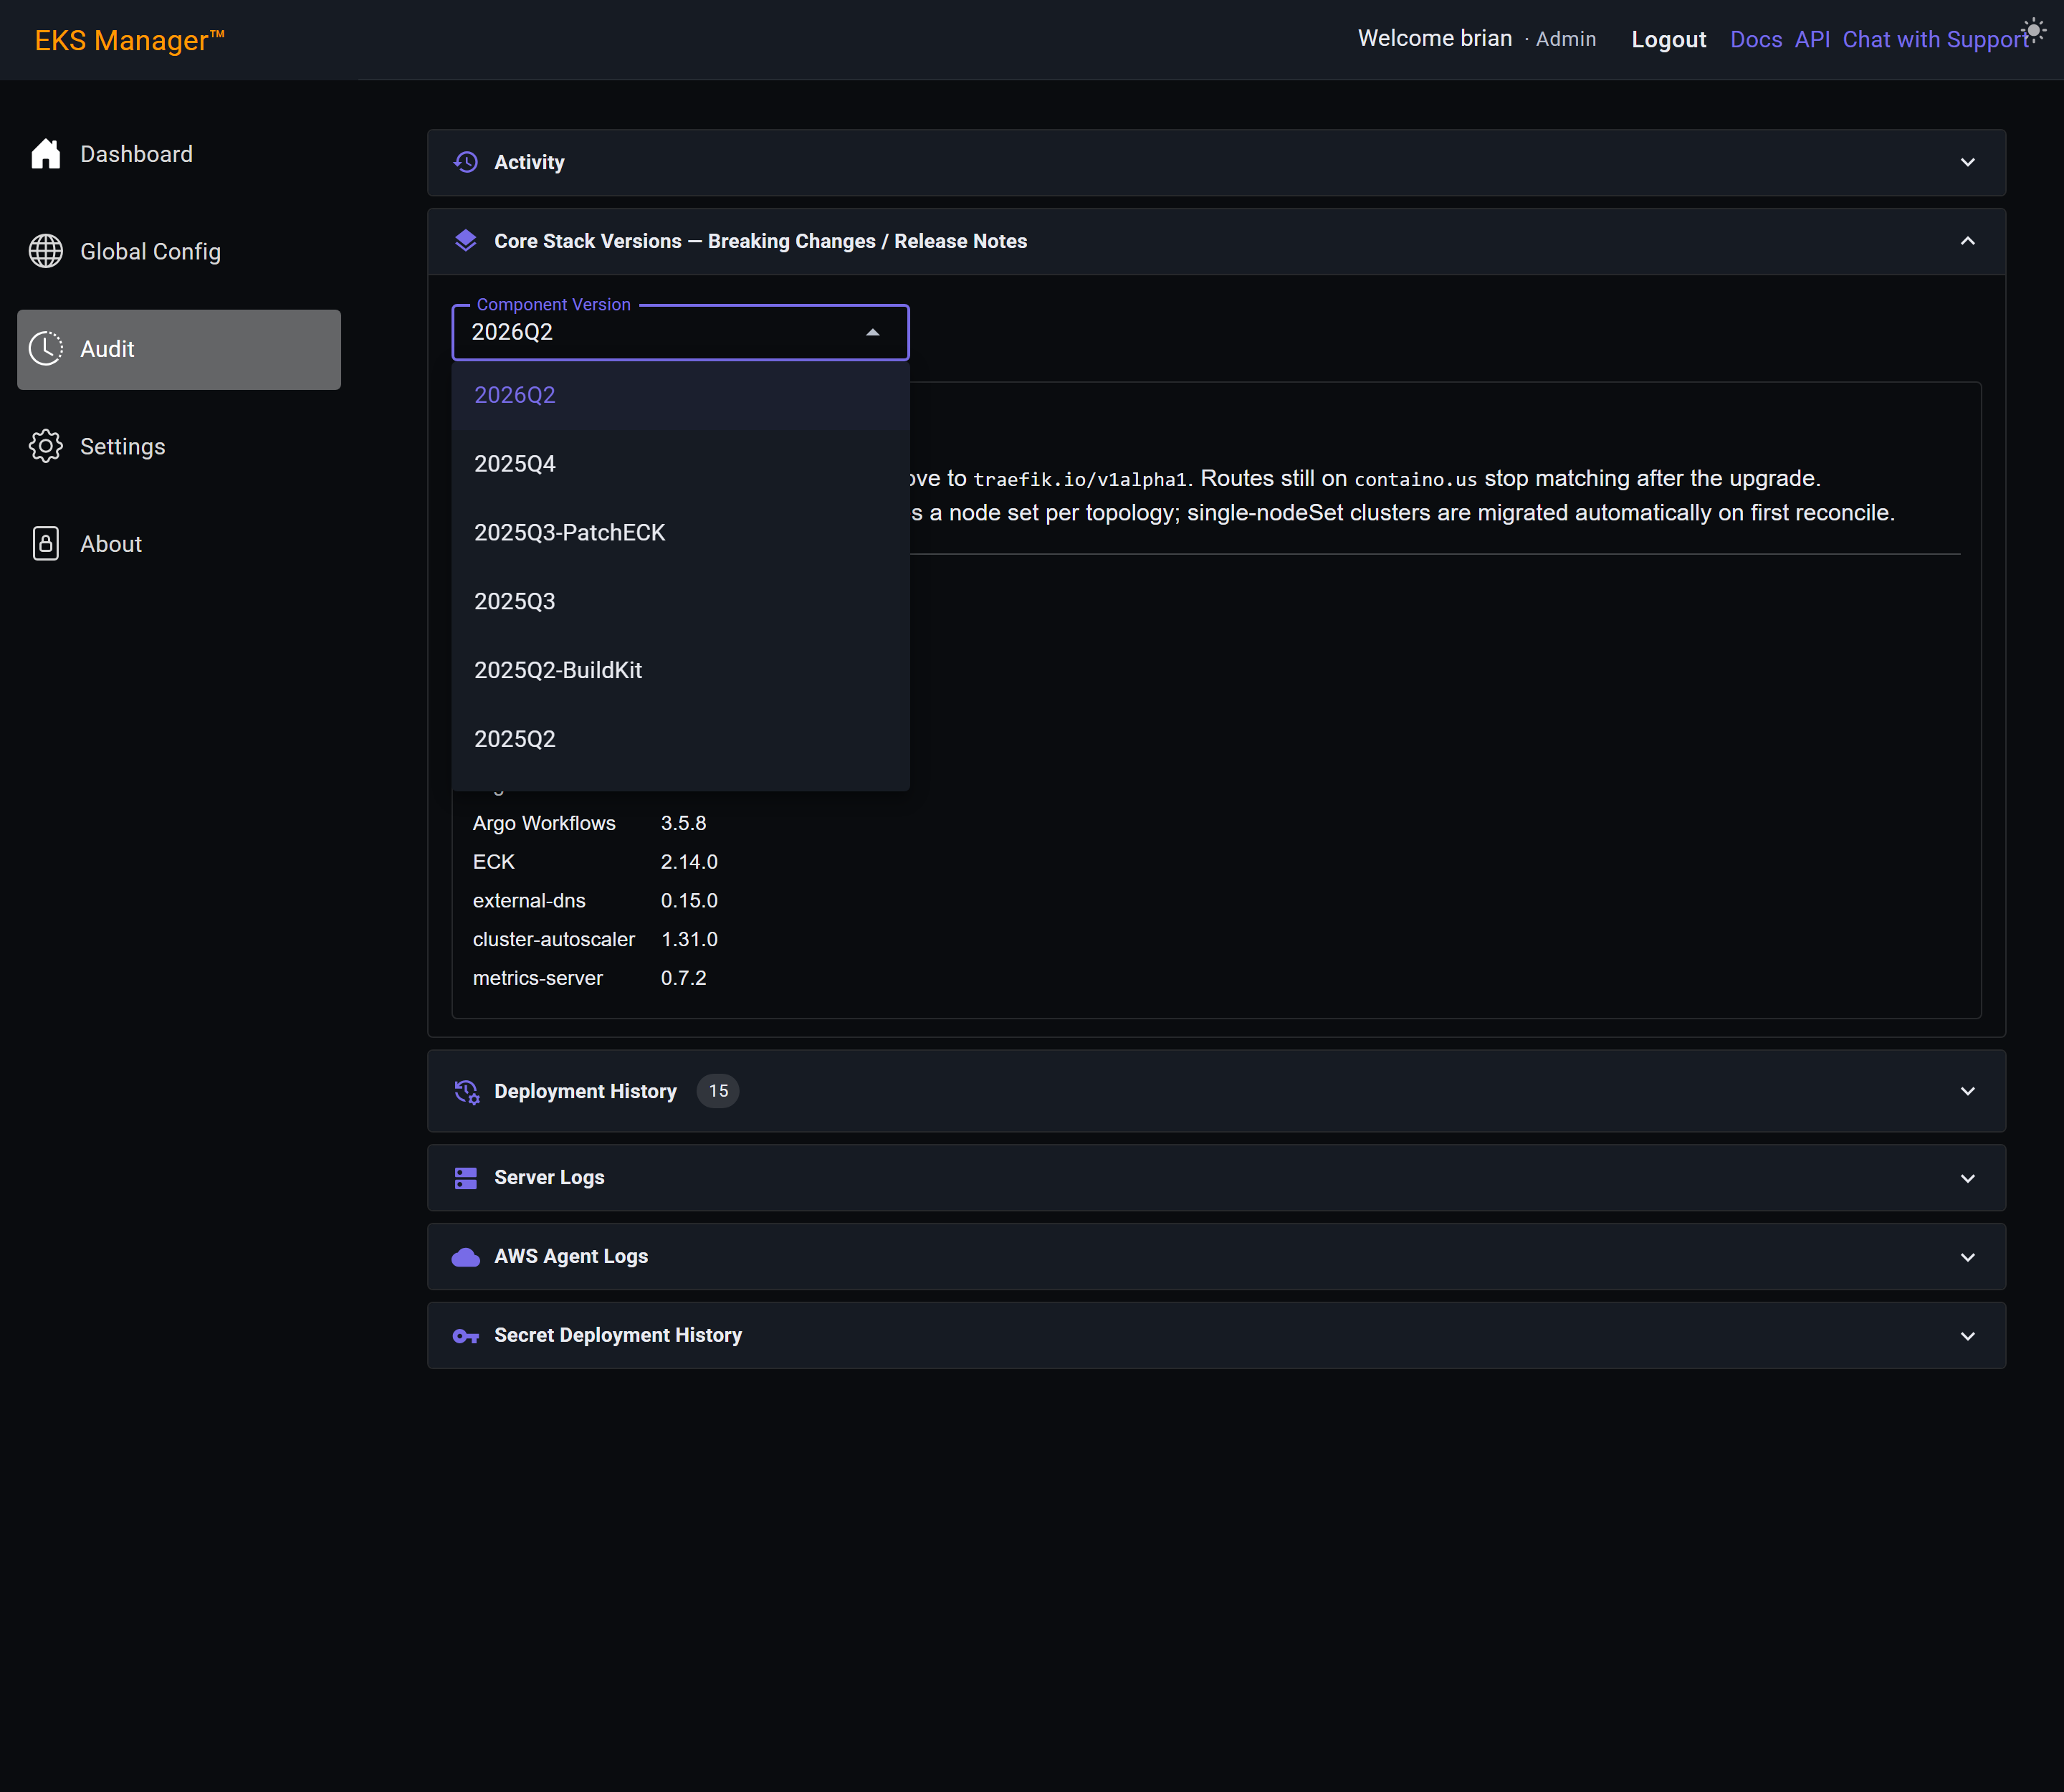
Server Logs tails the application's own log. Choose a component and how many lines, and Request Logs fetches them.
The filter narrows the tail to matching lines, which is the quickest way to follow one request through the server.
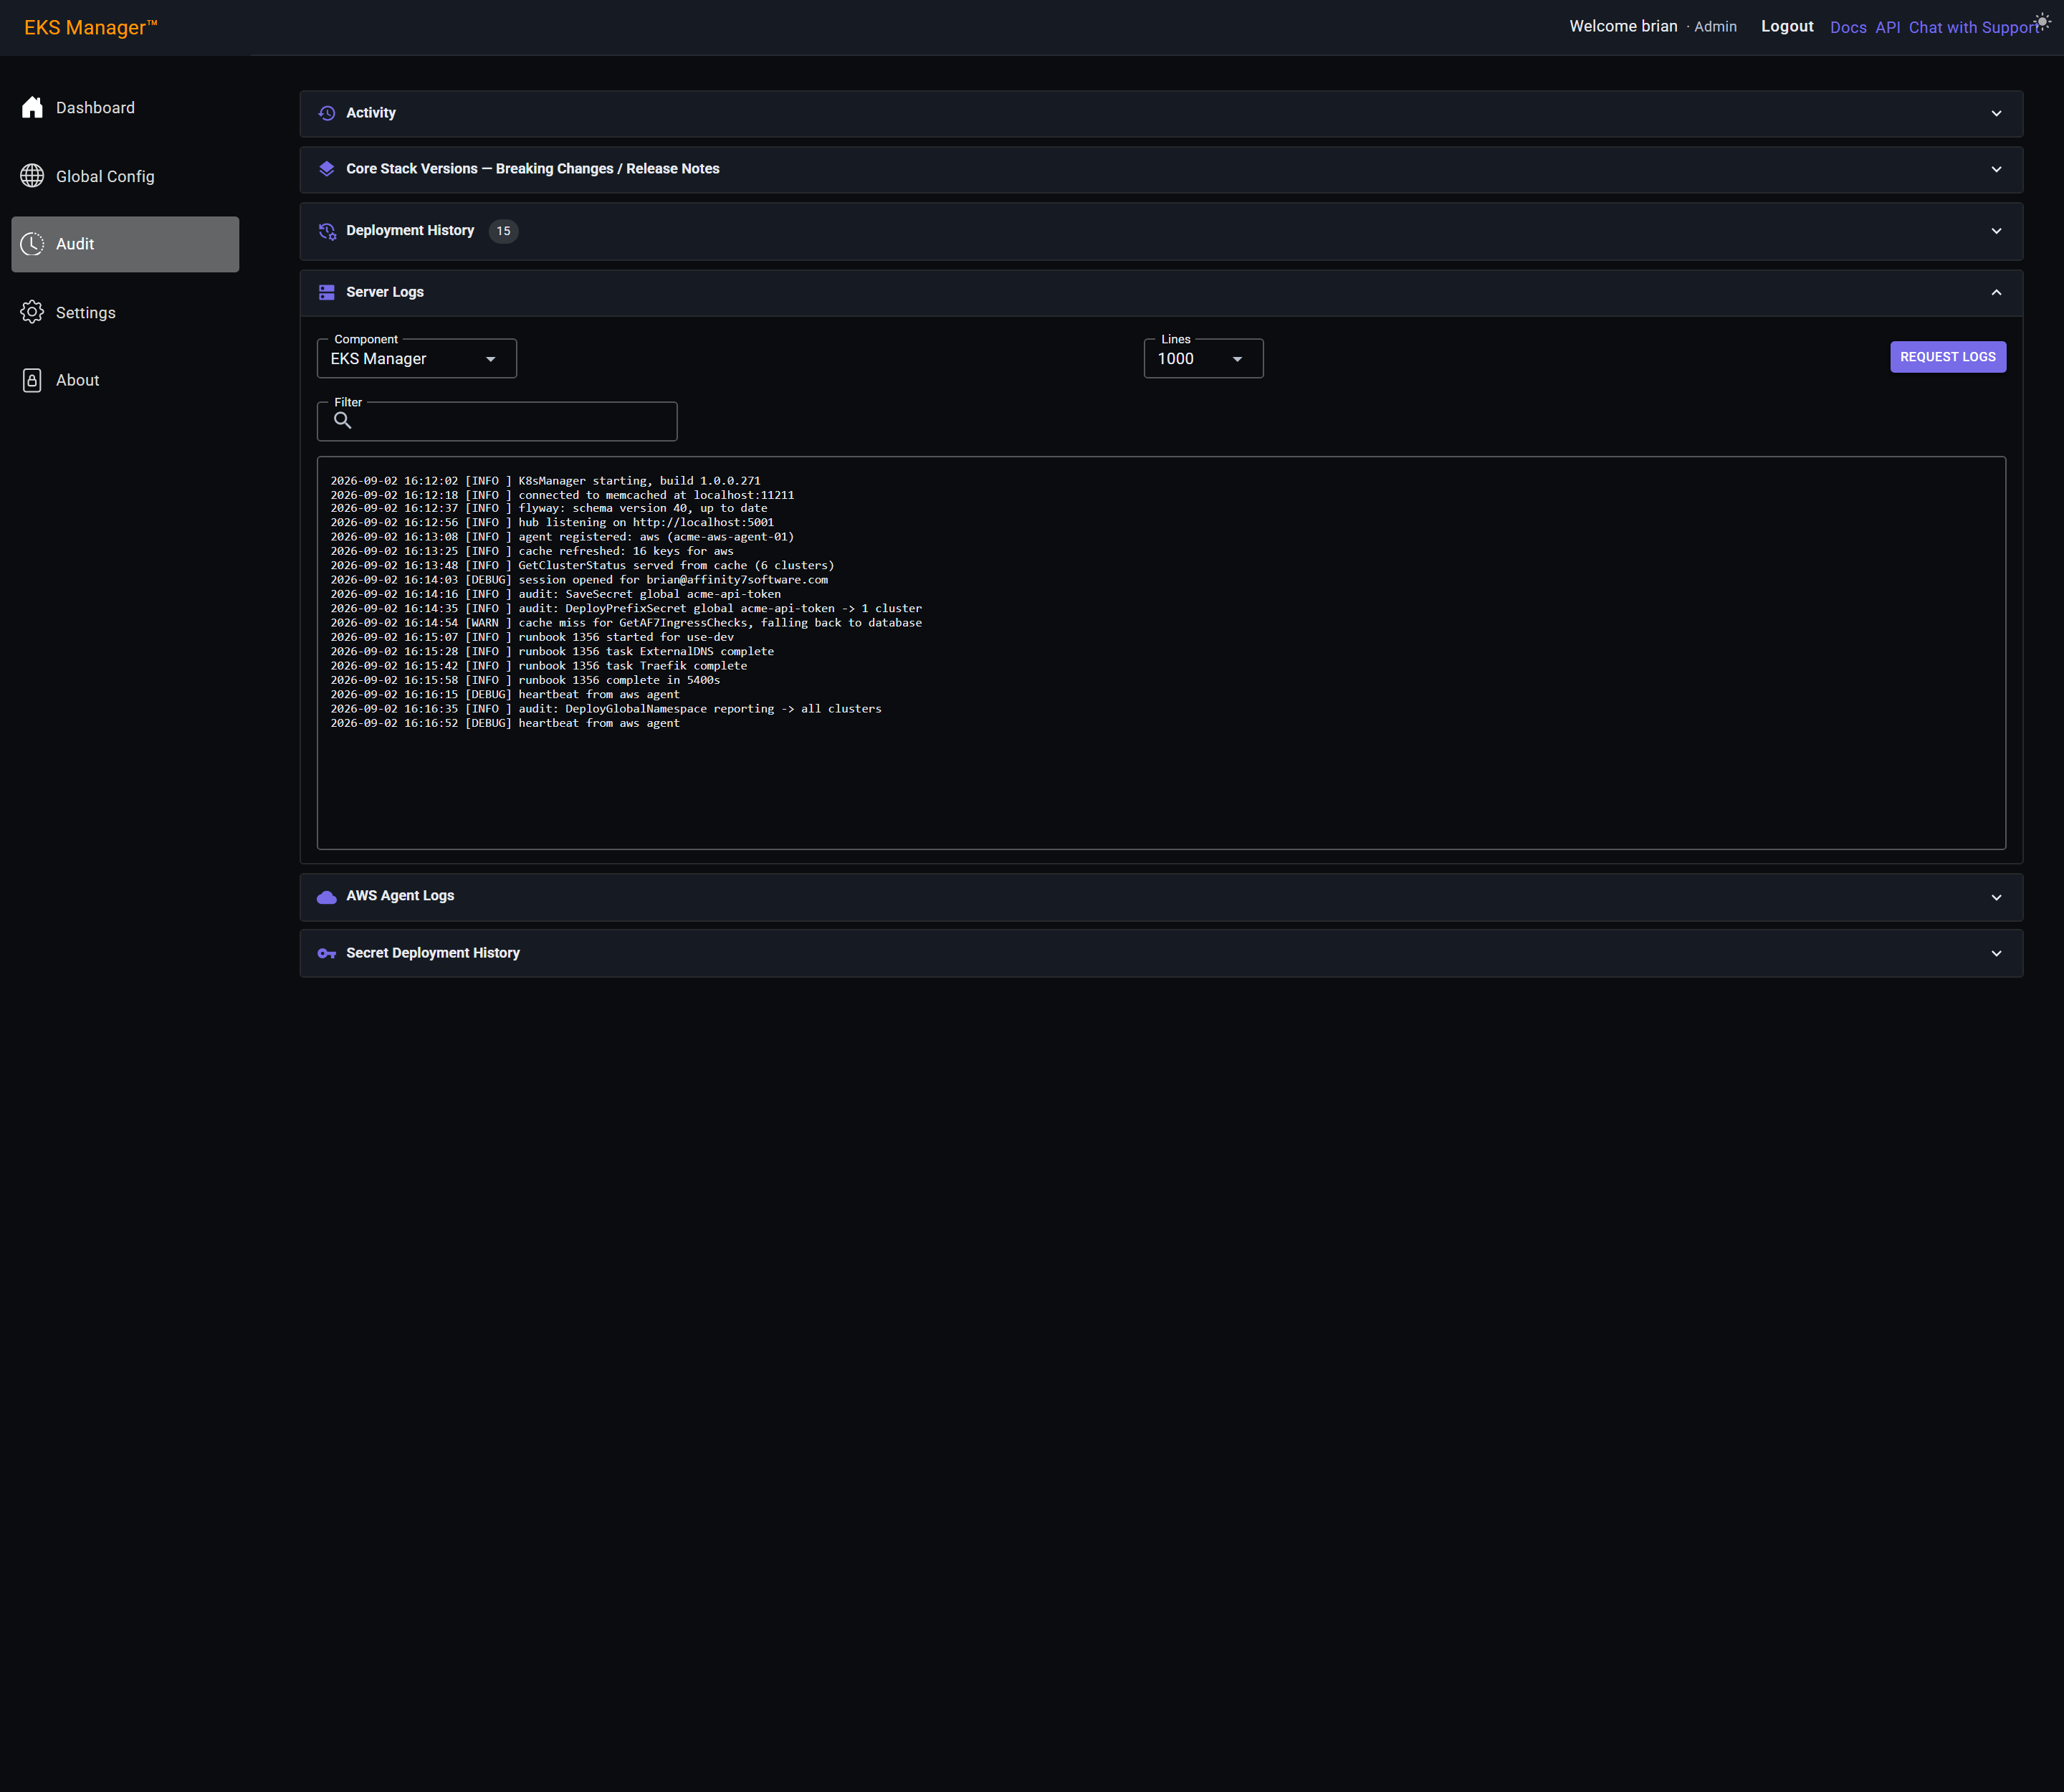
The agent runs in your own cloud account, so its logs are fetched through it rather than read from a file: pick the component, and the agent returns that many lines.
This is the other half of a problem the server log only shows one side of — the server records what it asked for, the agent records what happened when it tried.
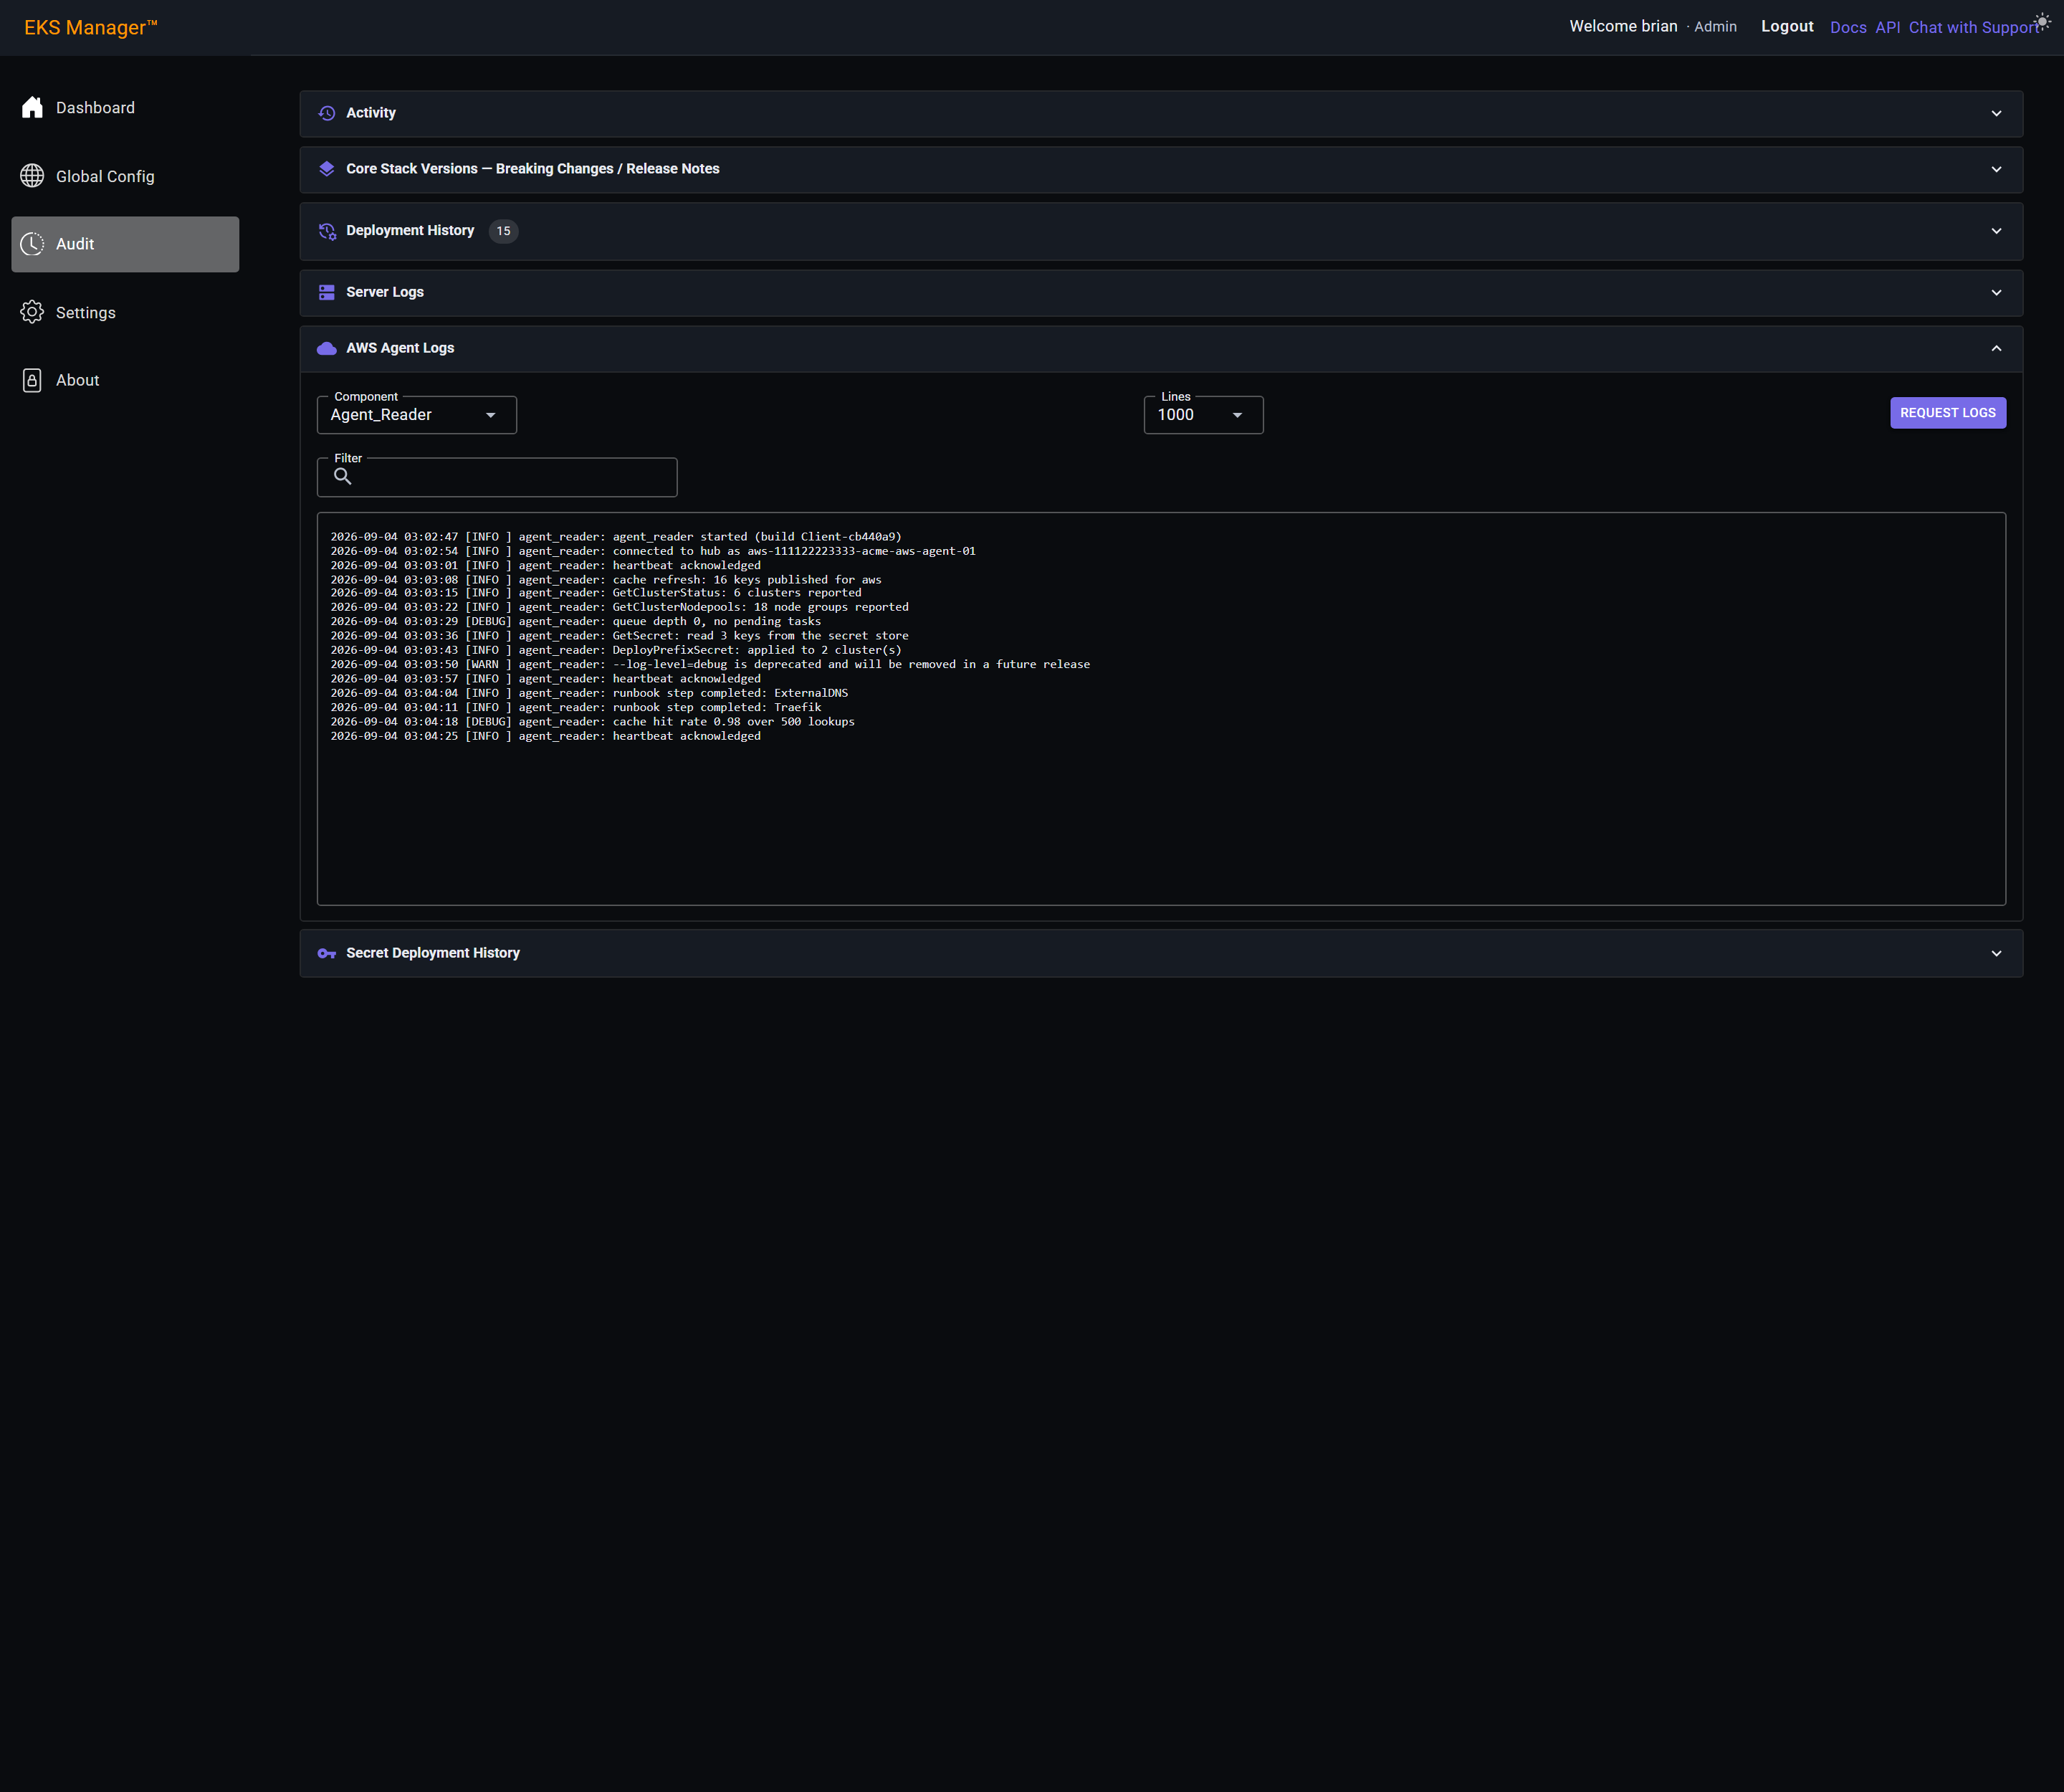
Secret Deployment History records every deployment: which secret, by whom, to which clusters and namespaces, and whether it succeeded.
StdOut and StdErr hold what each cluster actually returned, so a deployment that reported a problem can be read here rather than reproduced.
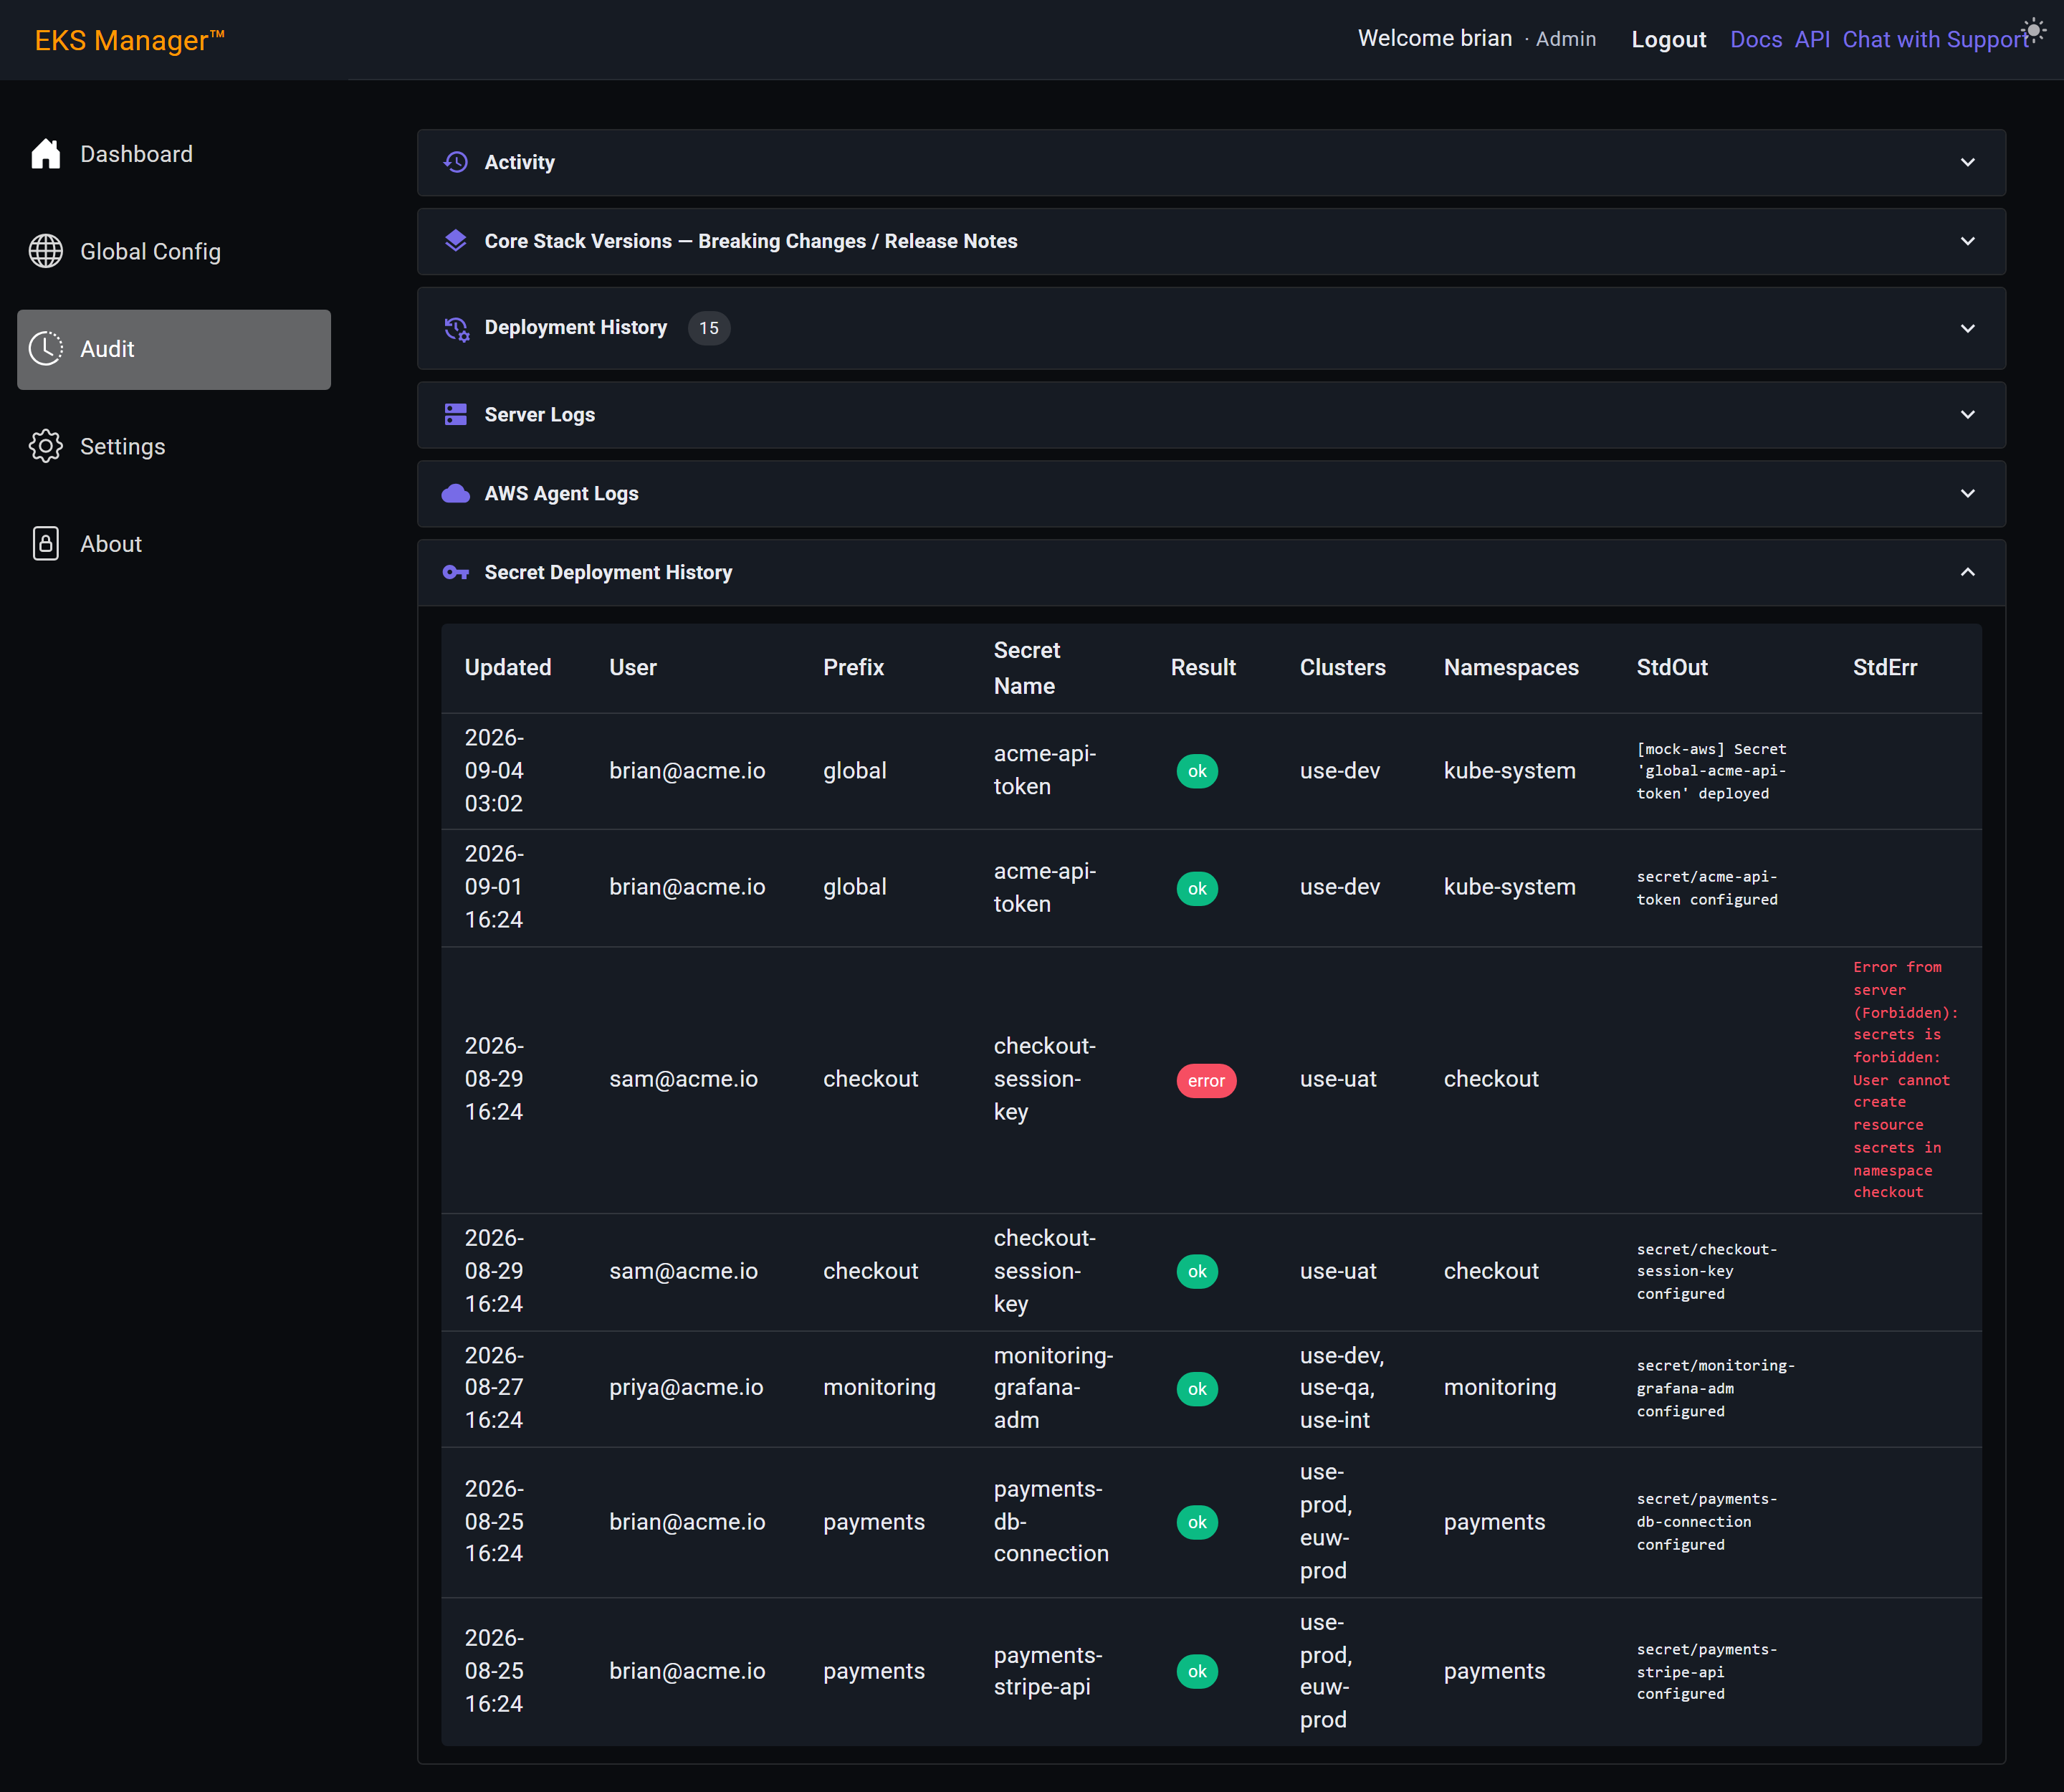
Continue with:
Upgrade History
Deployment History is the list of runs — every core stack install and every cluster upgrade, finished or abandoned, with who started it and when.
A run is chosen from the menu. Nothing opens until one is picked, because everything below this point is about one particular run rather than about the installation.
With a run chosen, two buttons open it. Upgrade Status reopens the run itself — every task and step, as it appeared while it ran. State of World shows what was on the cluster at that point.
Each opens in its own tab, so the history list stays where it is and runs can be compared side by side.
Continue with:
Upgrade Status
A past run opens exactly as it appeared while it was running: the cluster, the versions it moved between, and how long the whole thing took.
The status reads Complete, and the duration is the real elapsed time — the stack tasks are minutes, and the cluster upgrade is most of the rest.
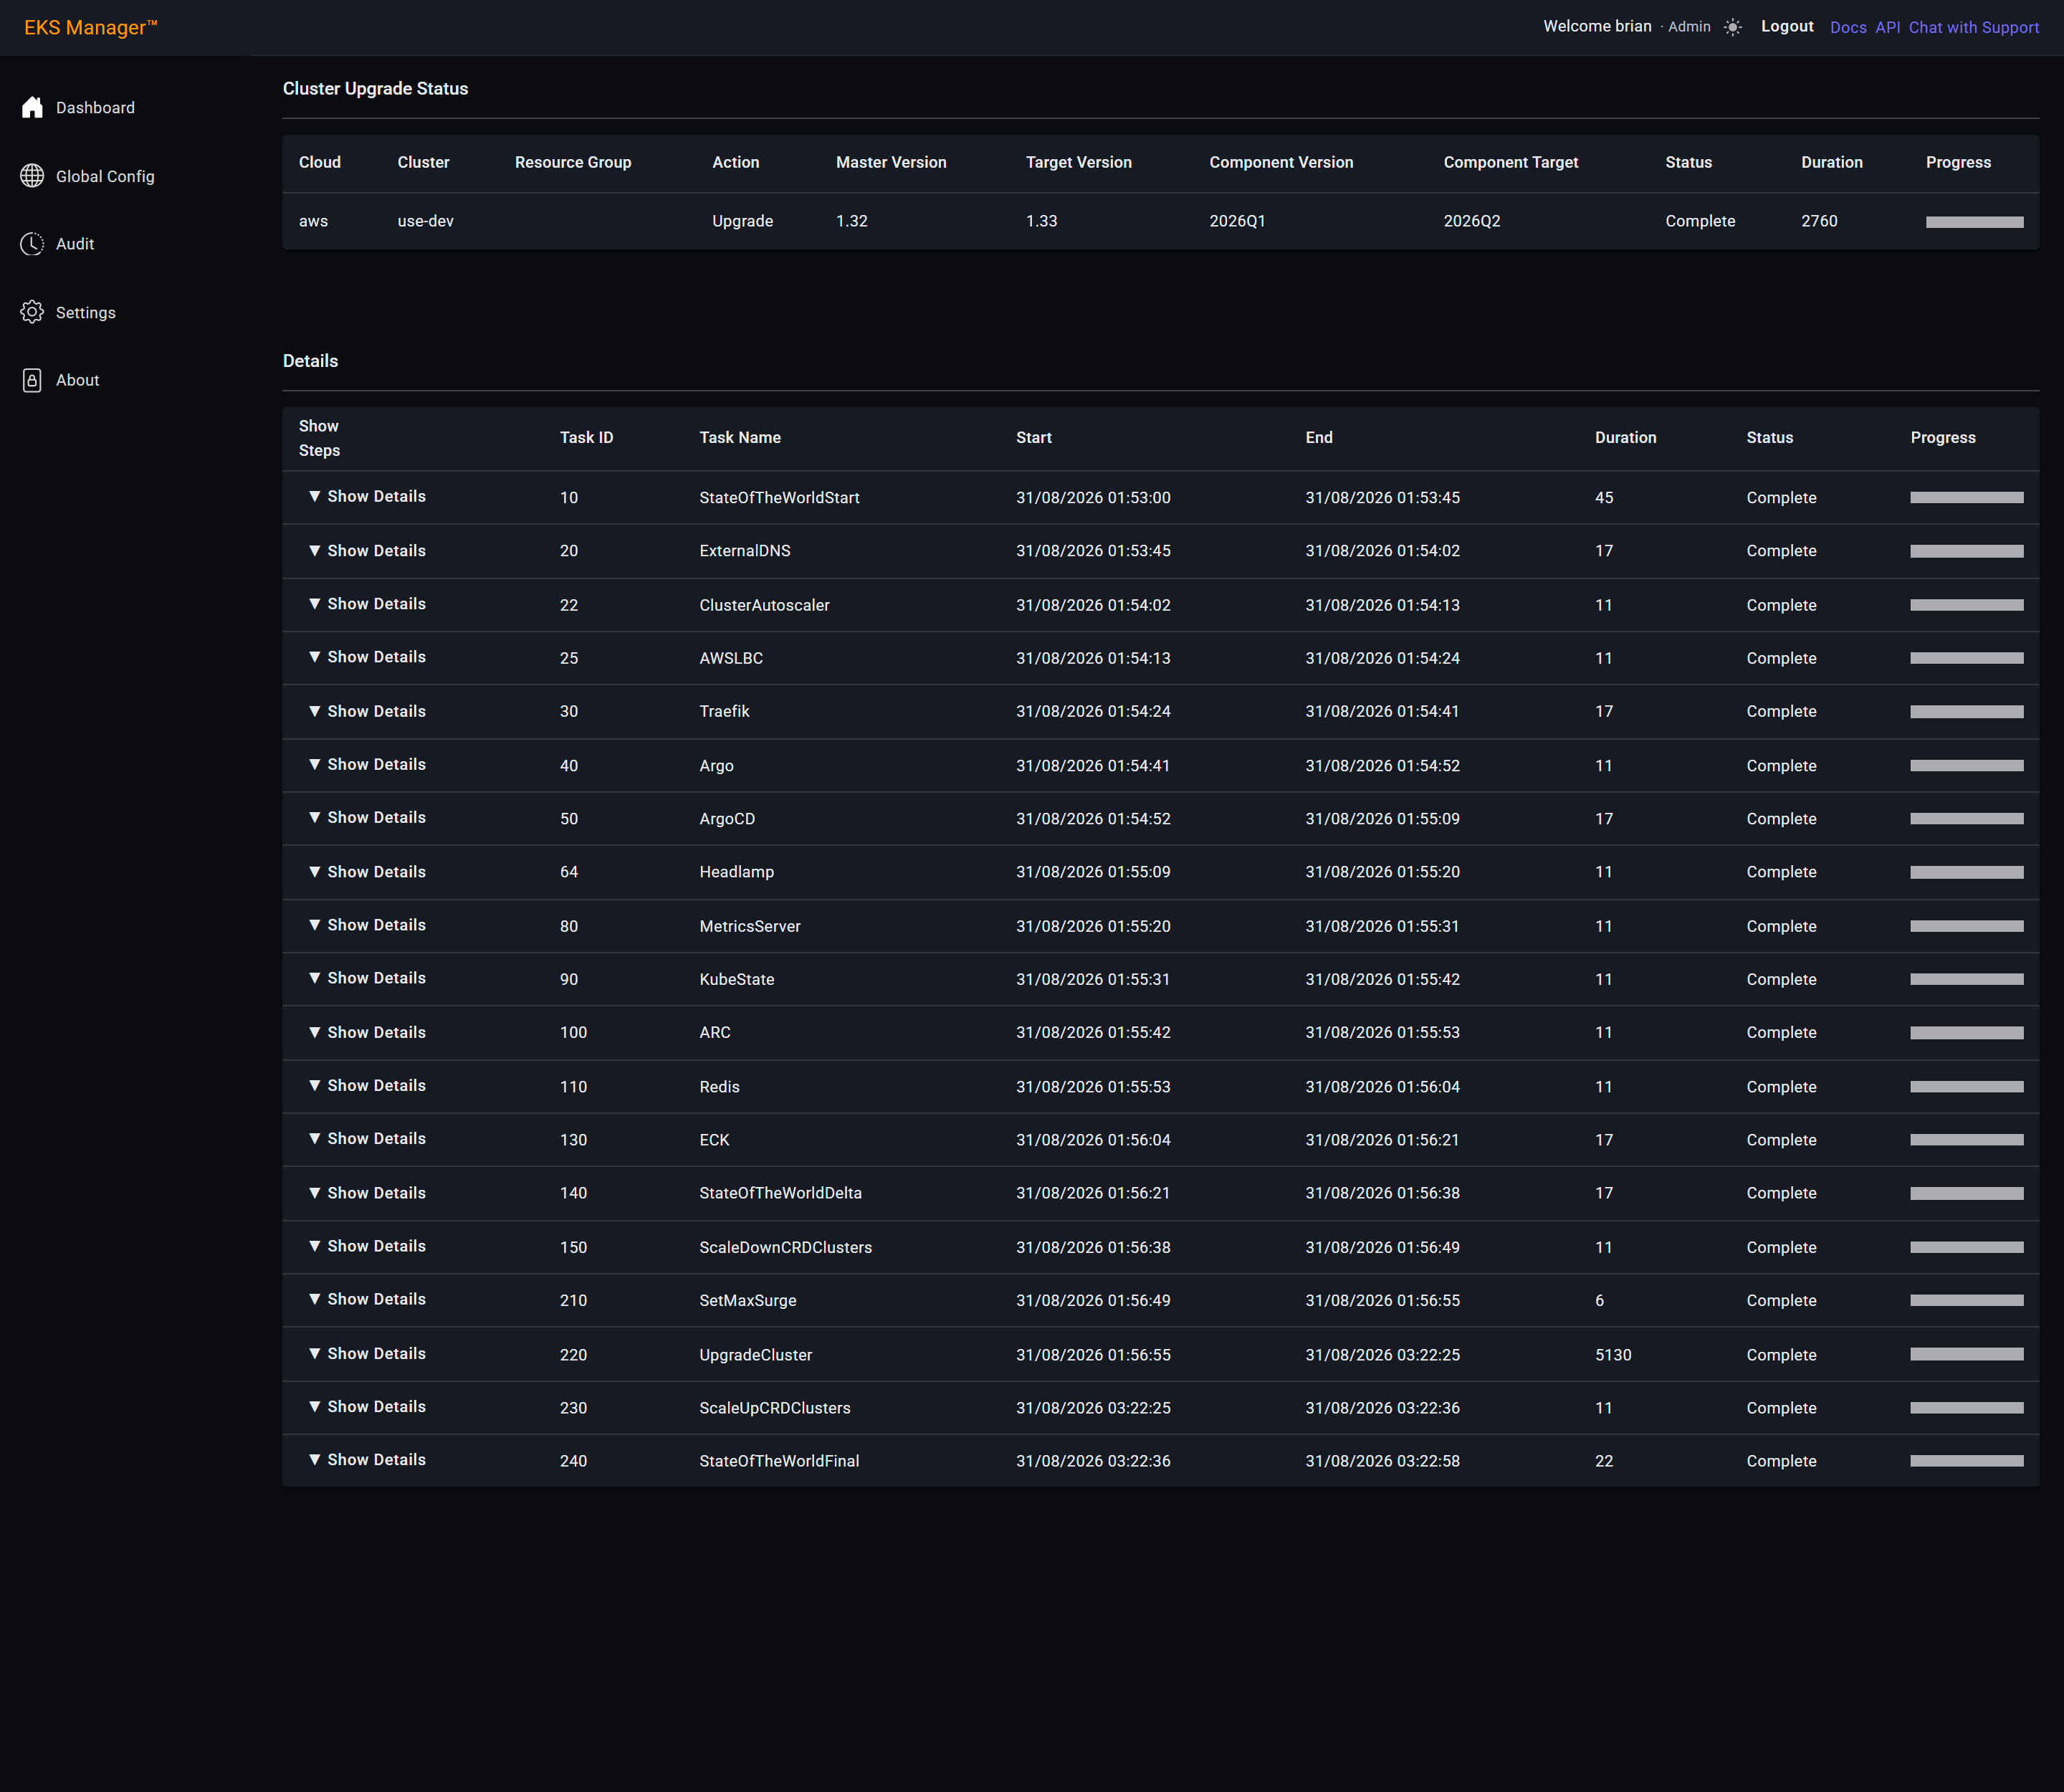
The progress bars are grey here, not green. Green is a run in progress; grey is a run that has already finished.
It is worth knowing which you are looking at — this page is the same one the live upgrade uses, so the colour is the quickest way to tell a historical record from something happening now.
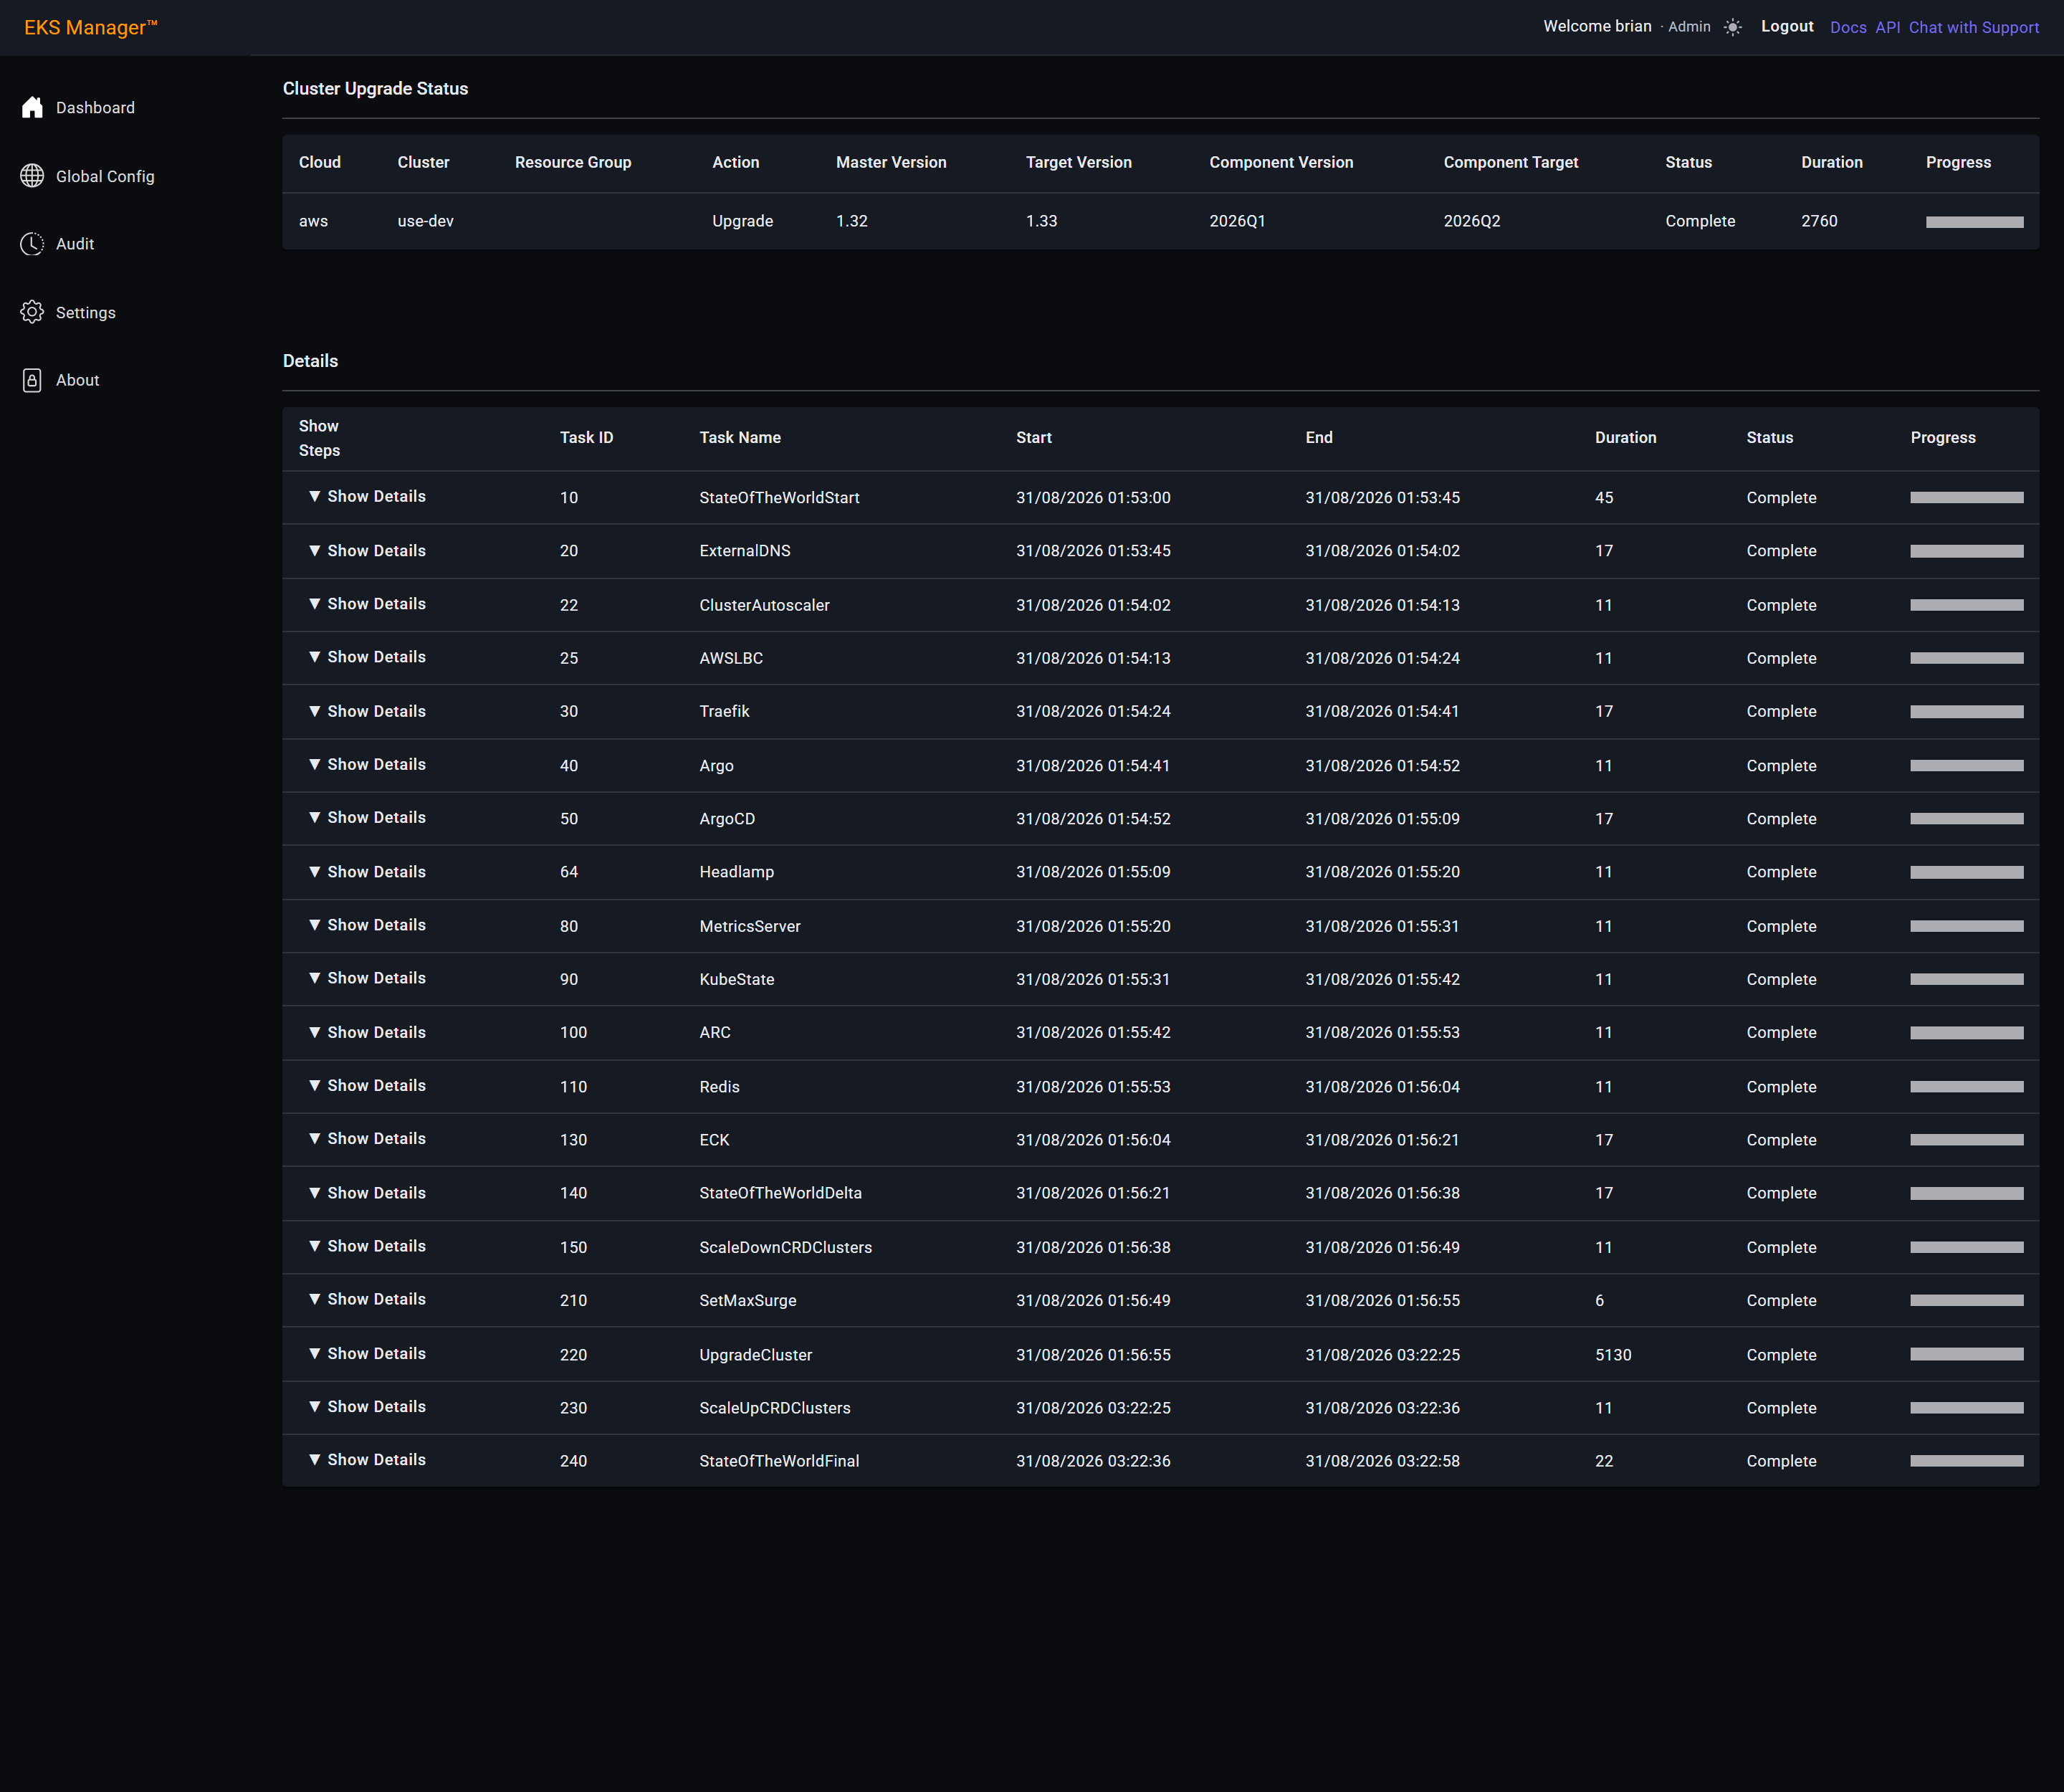
The task list is the whole runbook, in order, with what each task took.
Show Details opens the steps inside a task, exactly as during the run: each step's status, its duration, and the output it produced. A run that failed months ago can be read here without reproducing it.
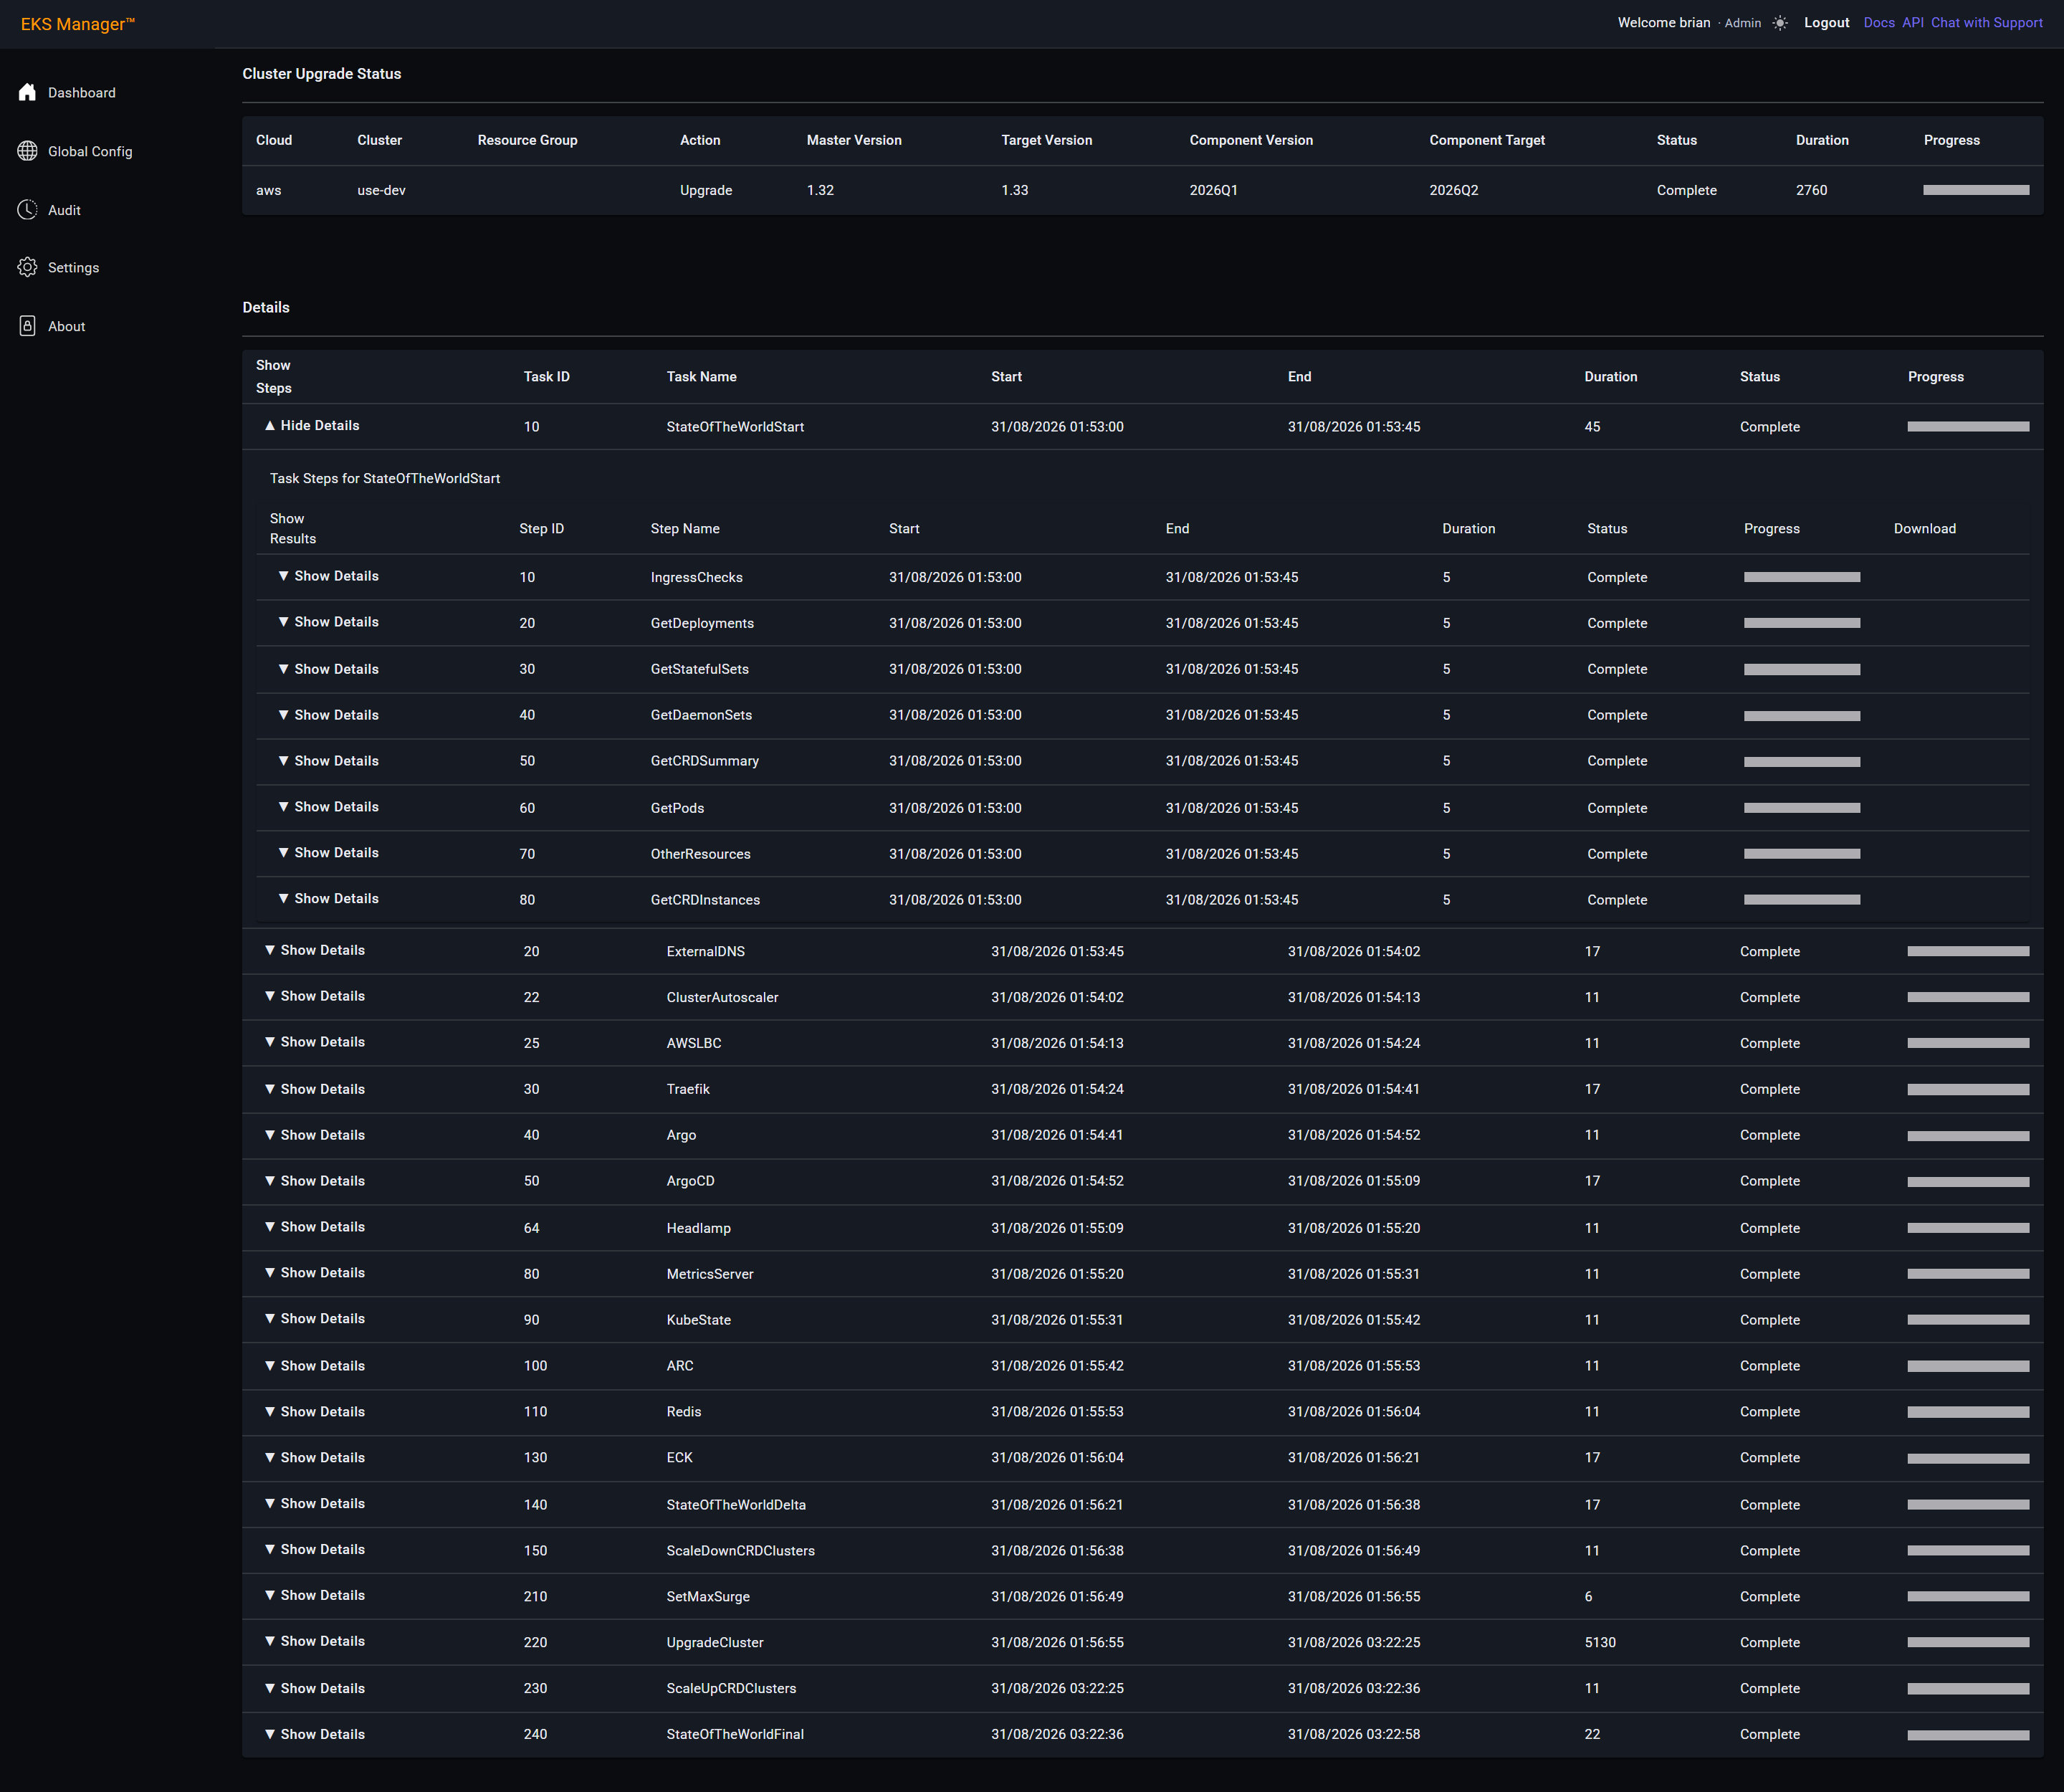
State of World
State of World is the cluster as it stood at a point in an upgrade, captured by the run itself rather than queried now.
It is recorded before the upgrade starts and again when it finishes, which is what makes "what changed" a question with an answer.
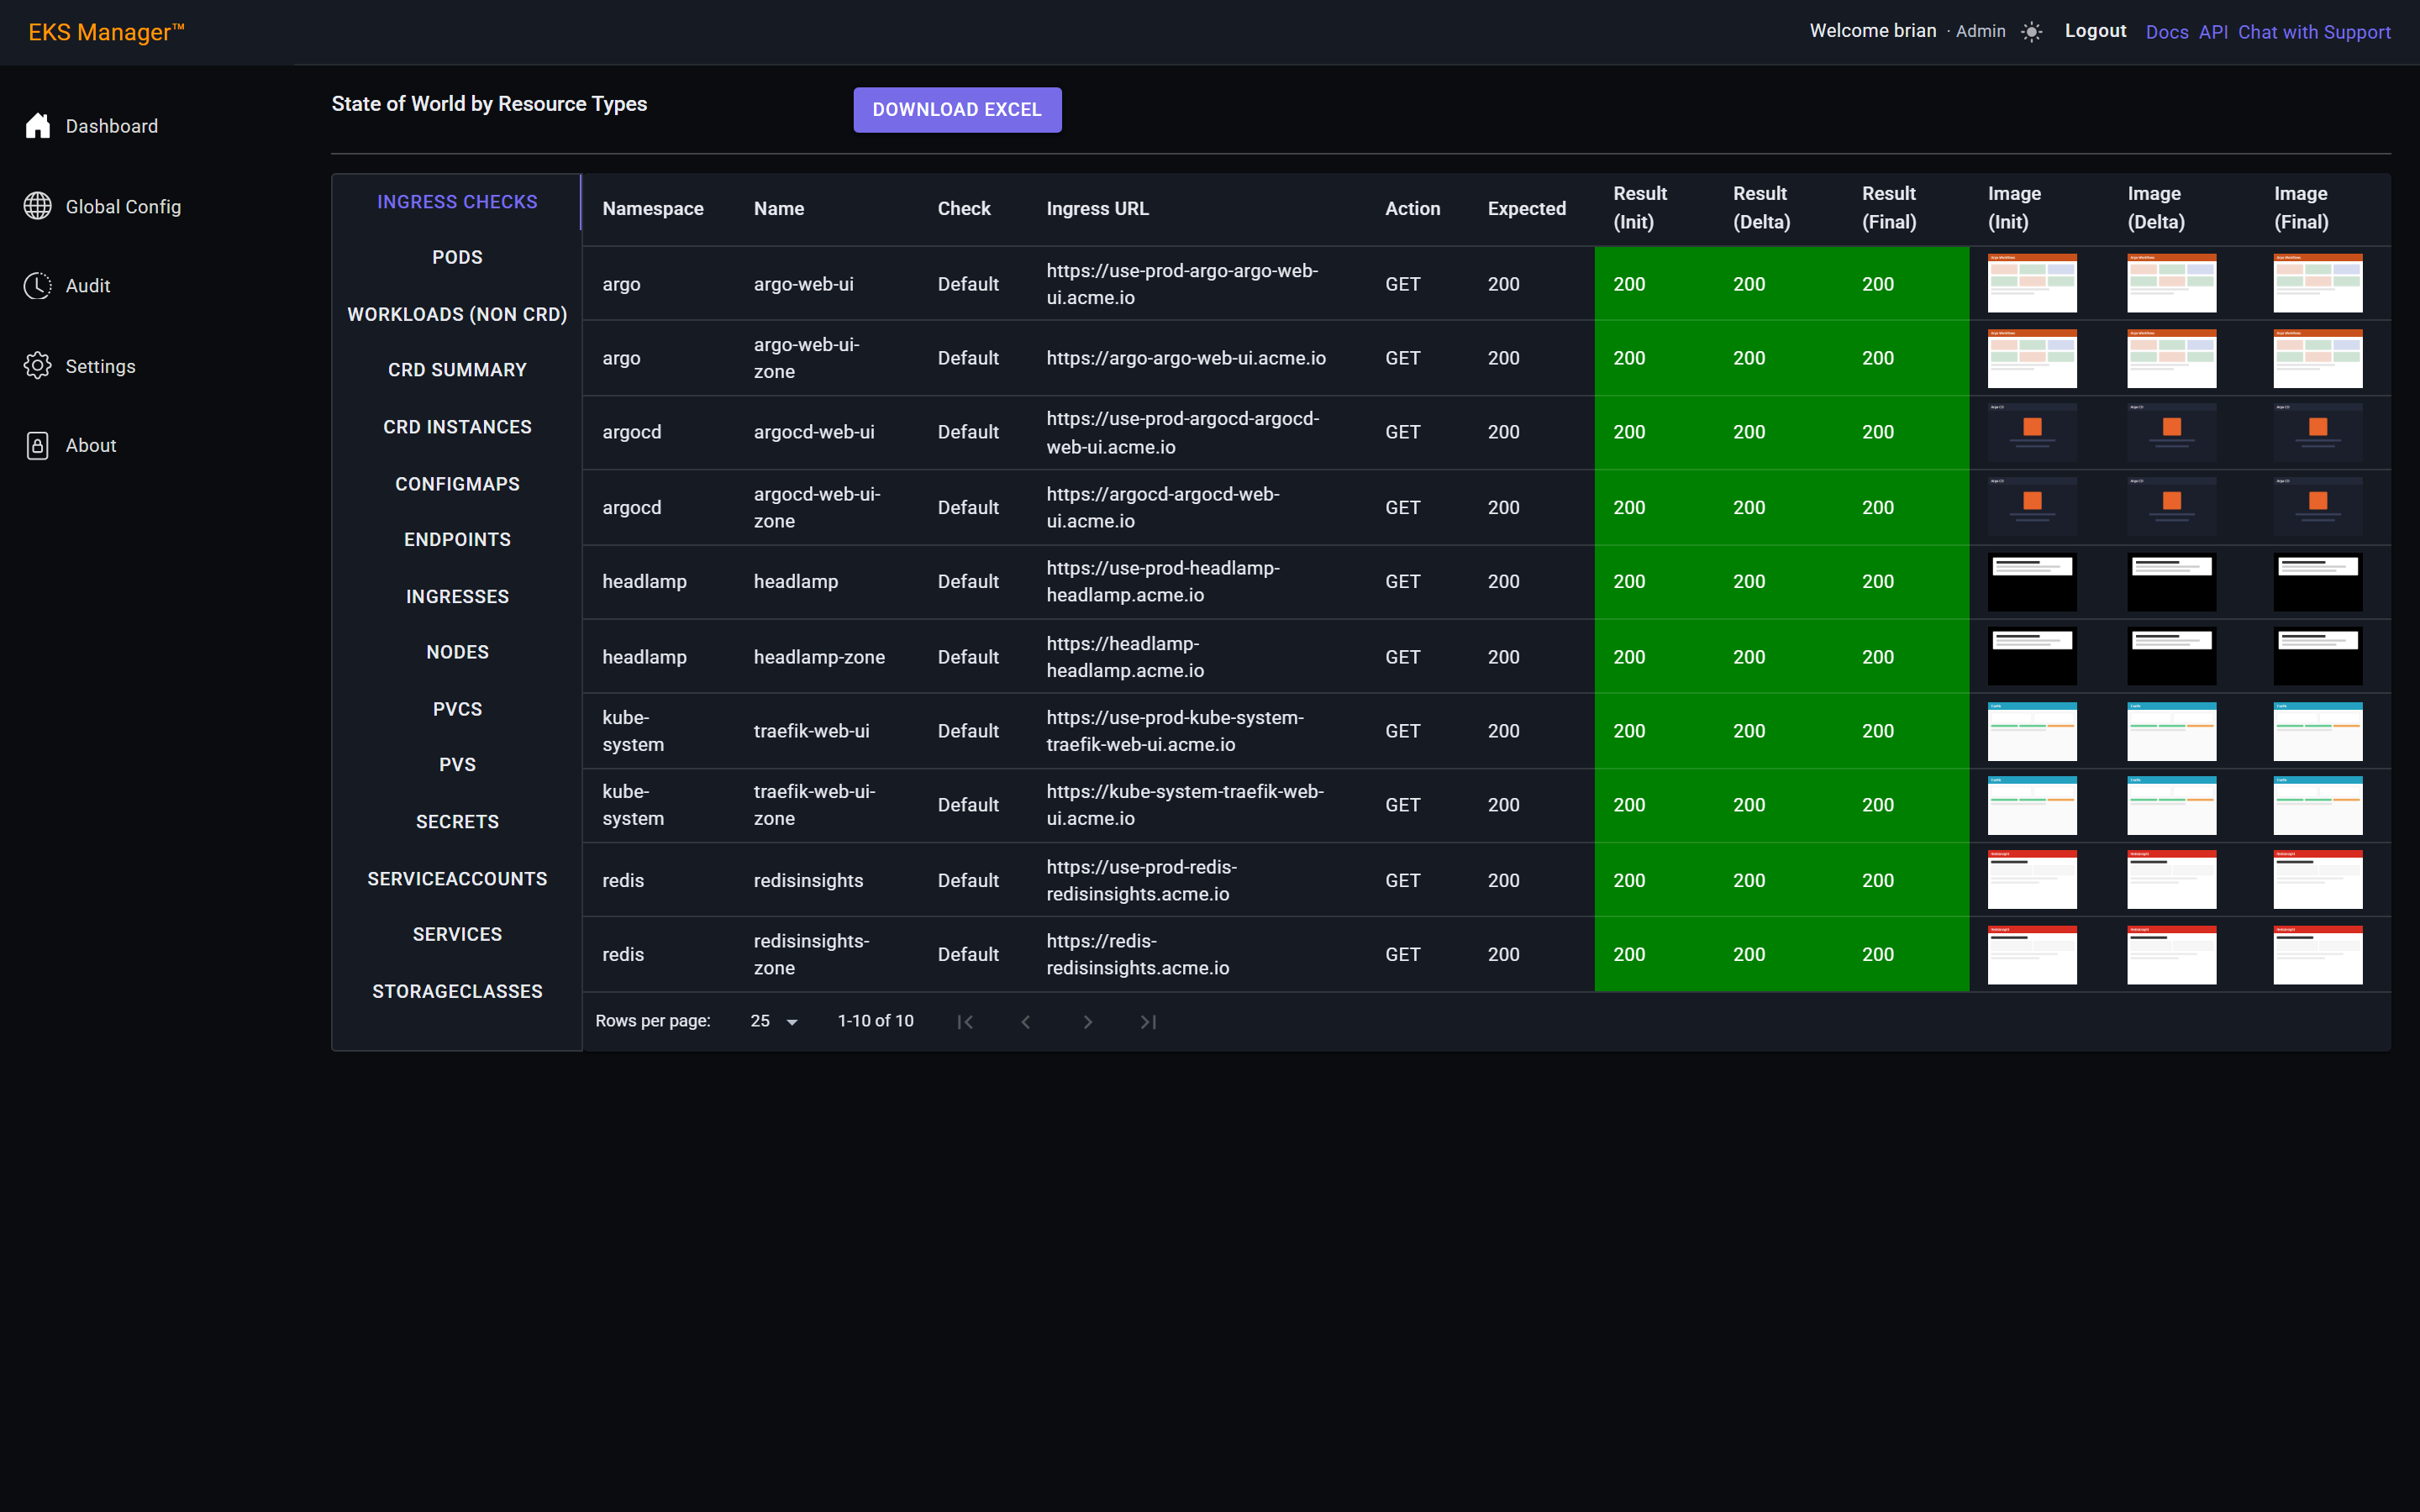
The tabs cover what the cluster held: pods and workloads, nodes, ingresses and the ingress checks, config maps and secrets, storage classes, volumes and their claims, service accounts and services, and the CRDs with their instances.
Each is the recorded state, so a resource that has since been deleted is still here.
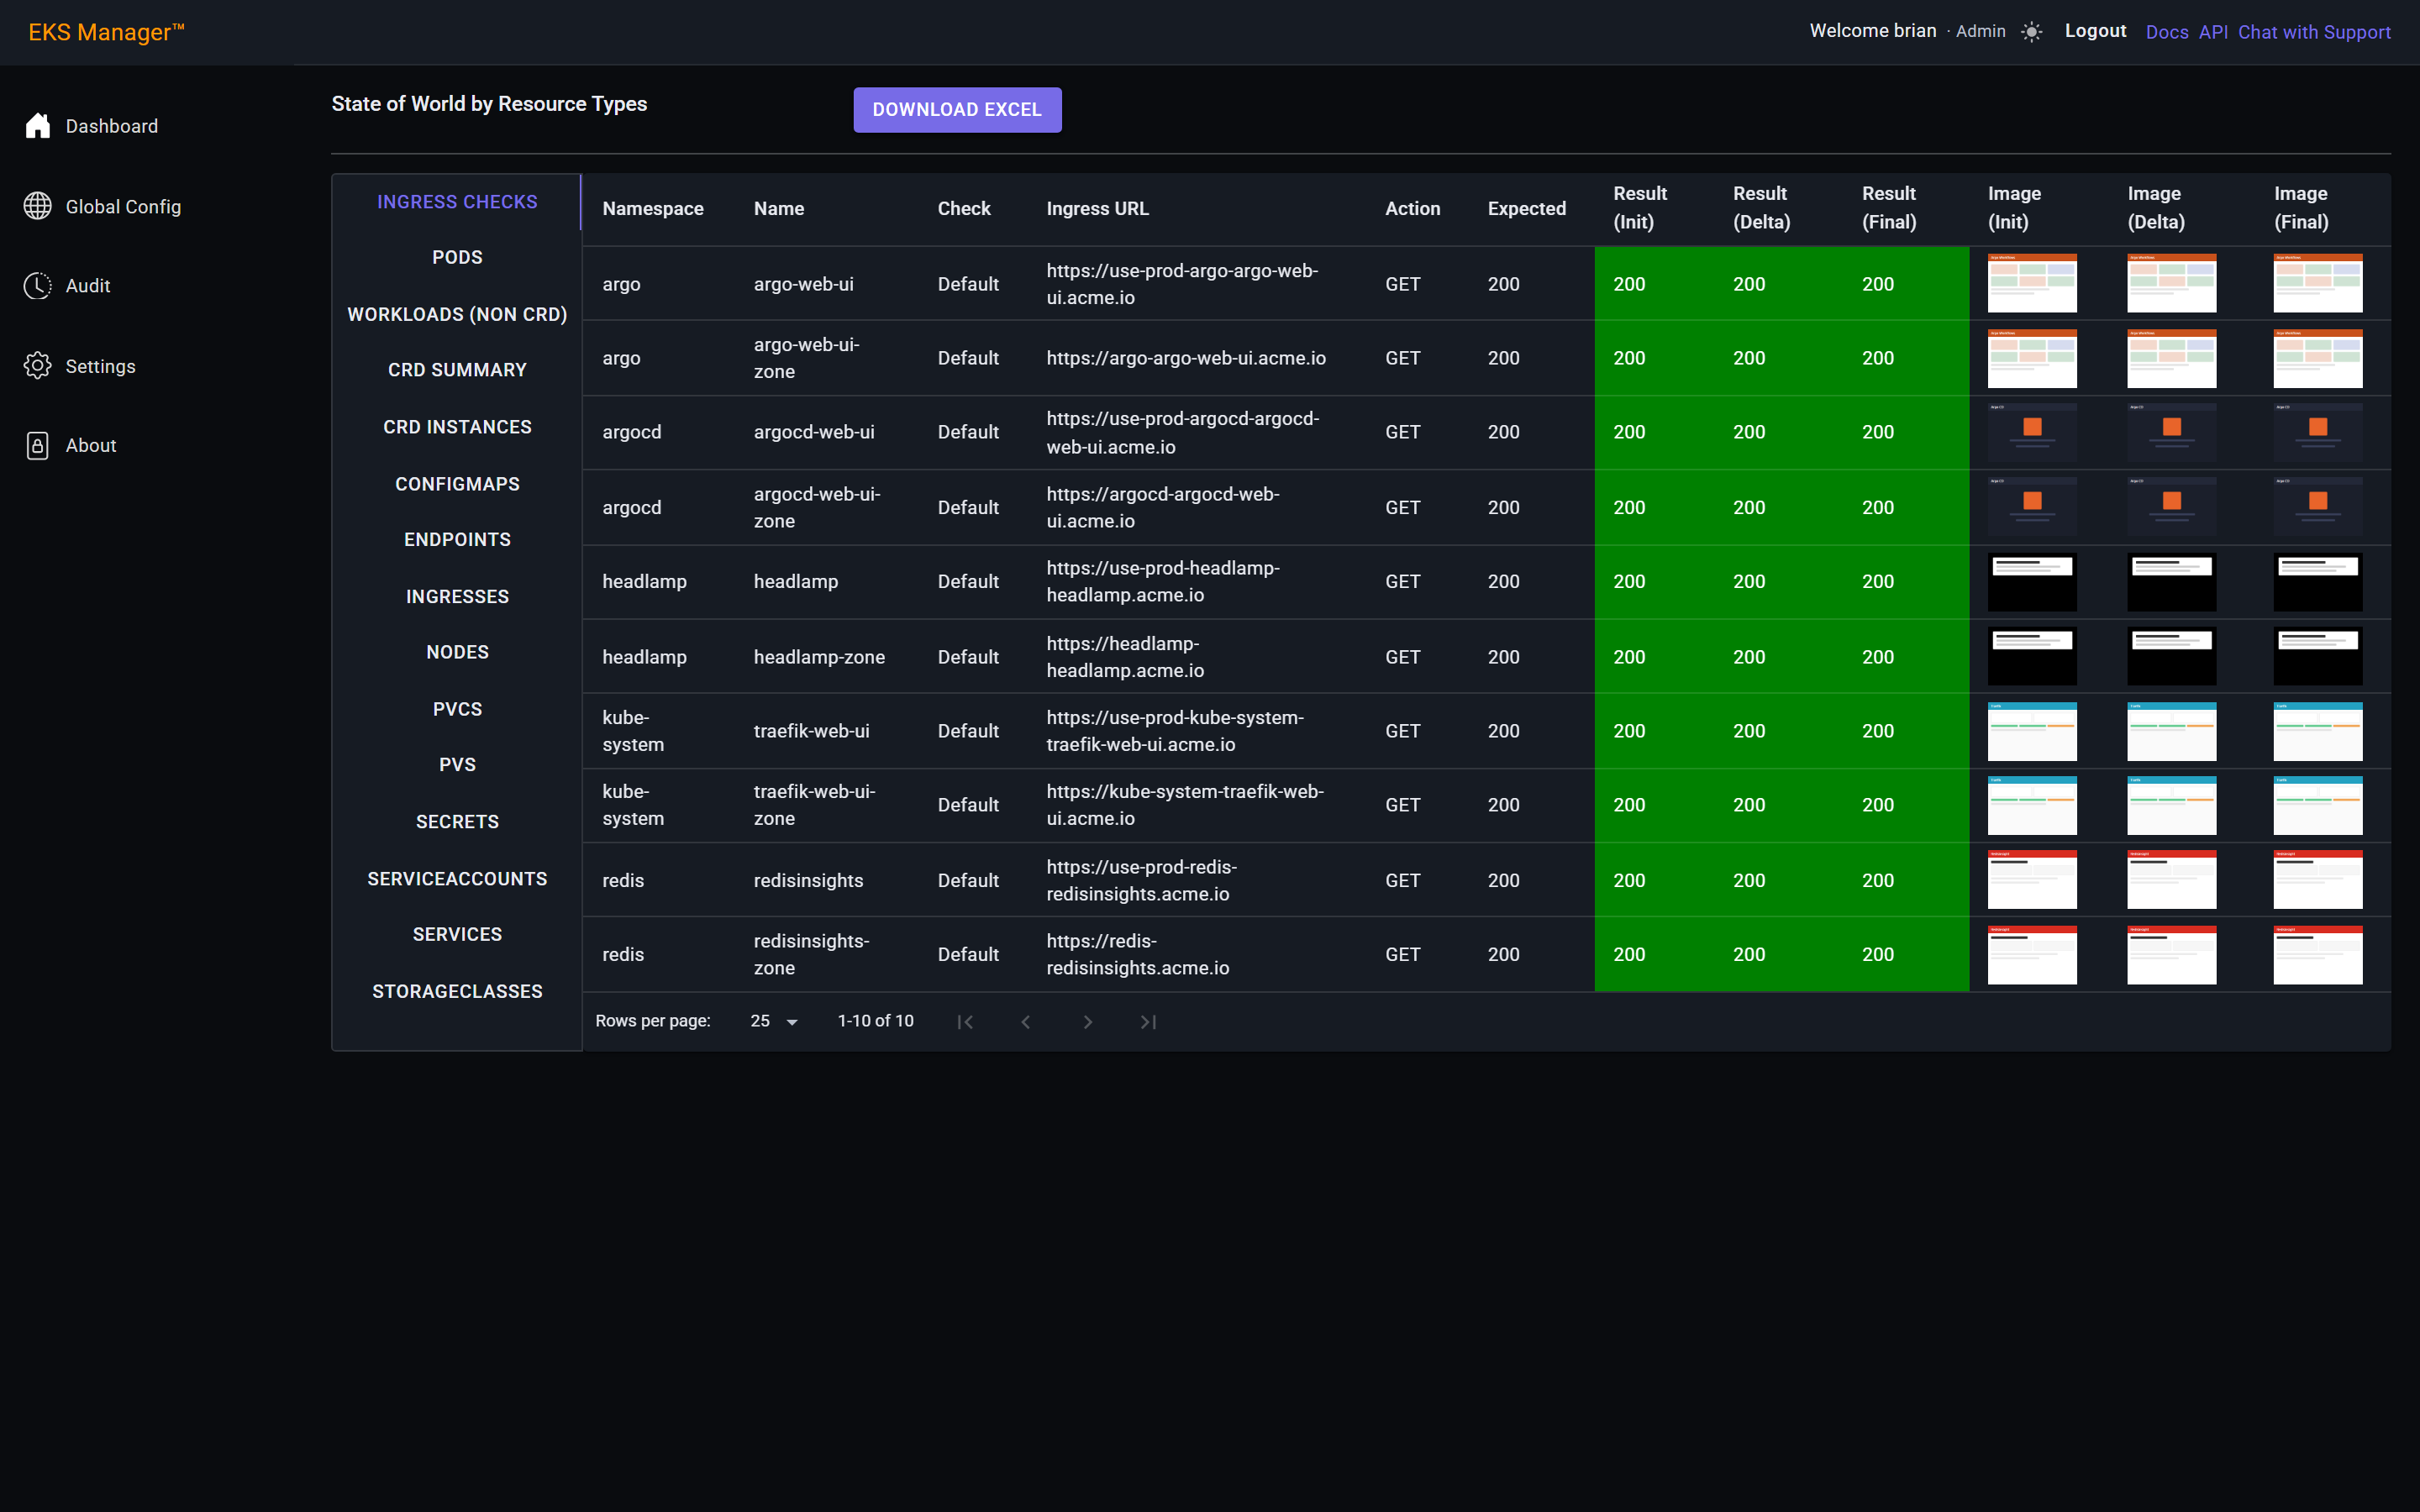
Download Excel exports the captured state as a workbook — a sheet per resource type.
That is the practical route for an audit or a review meeting, where the people who need it are not going to be logging in to read it.
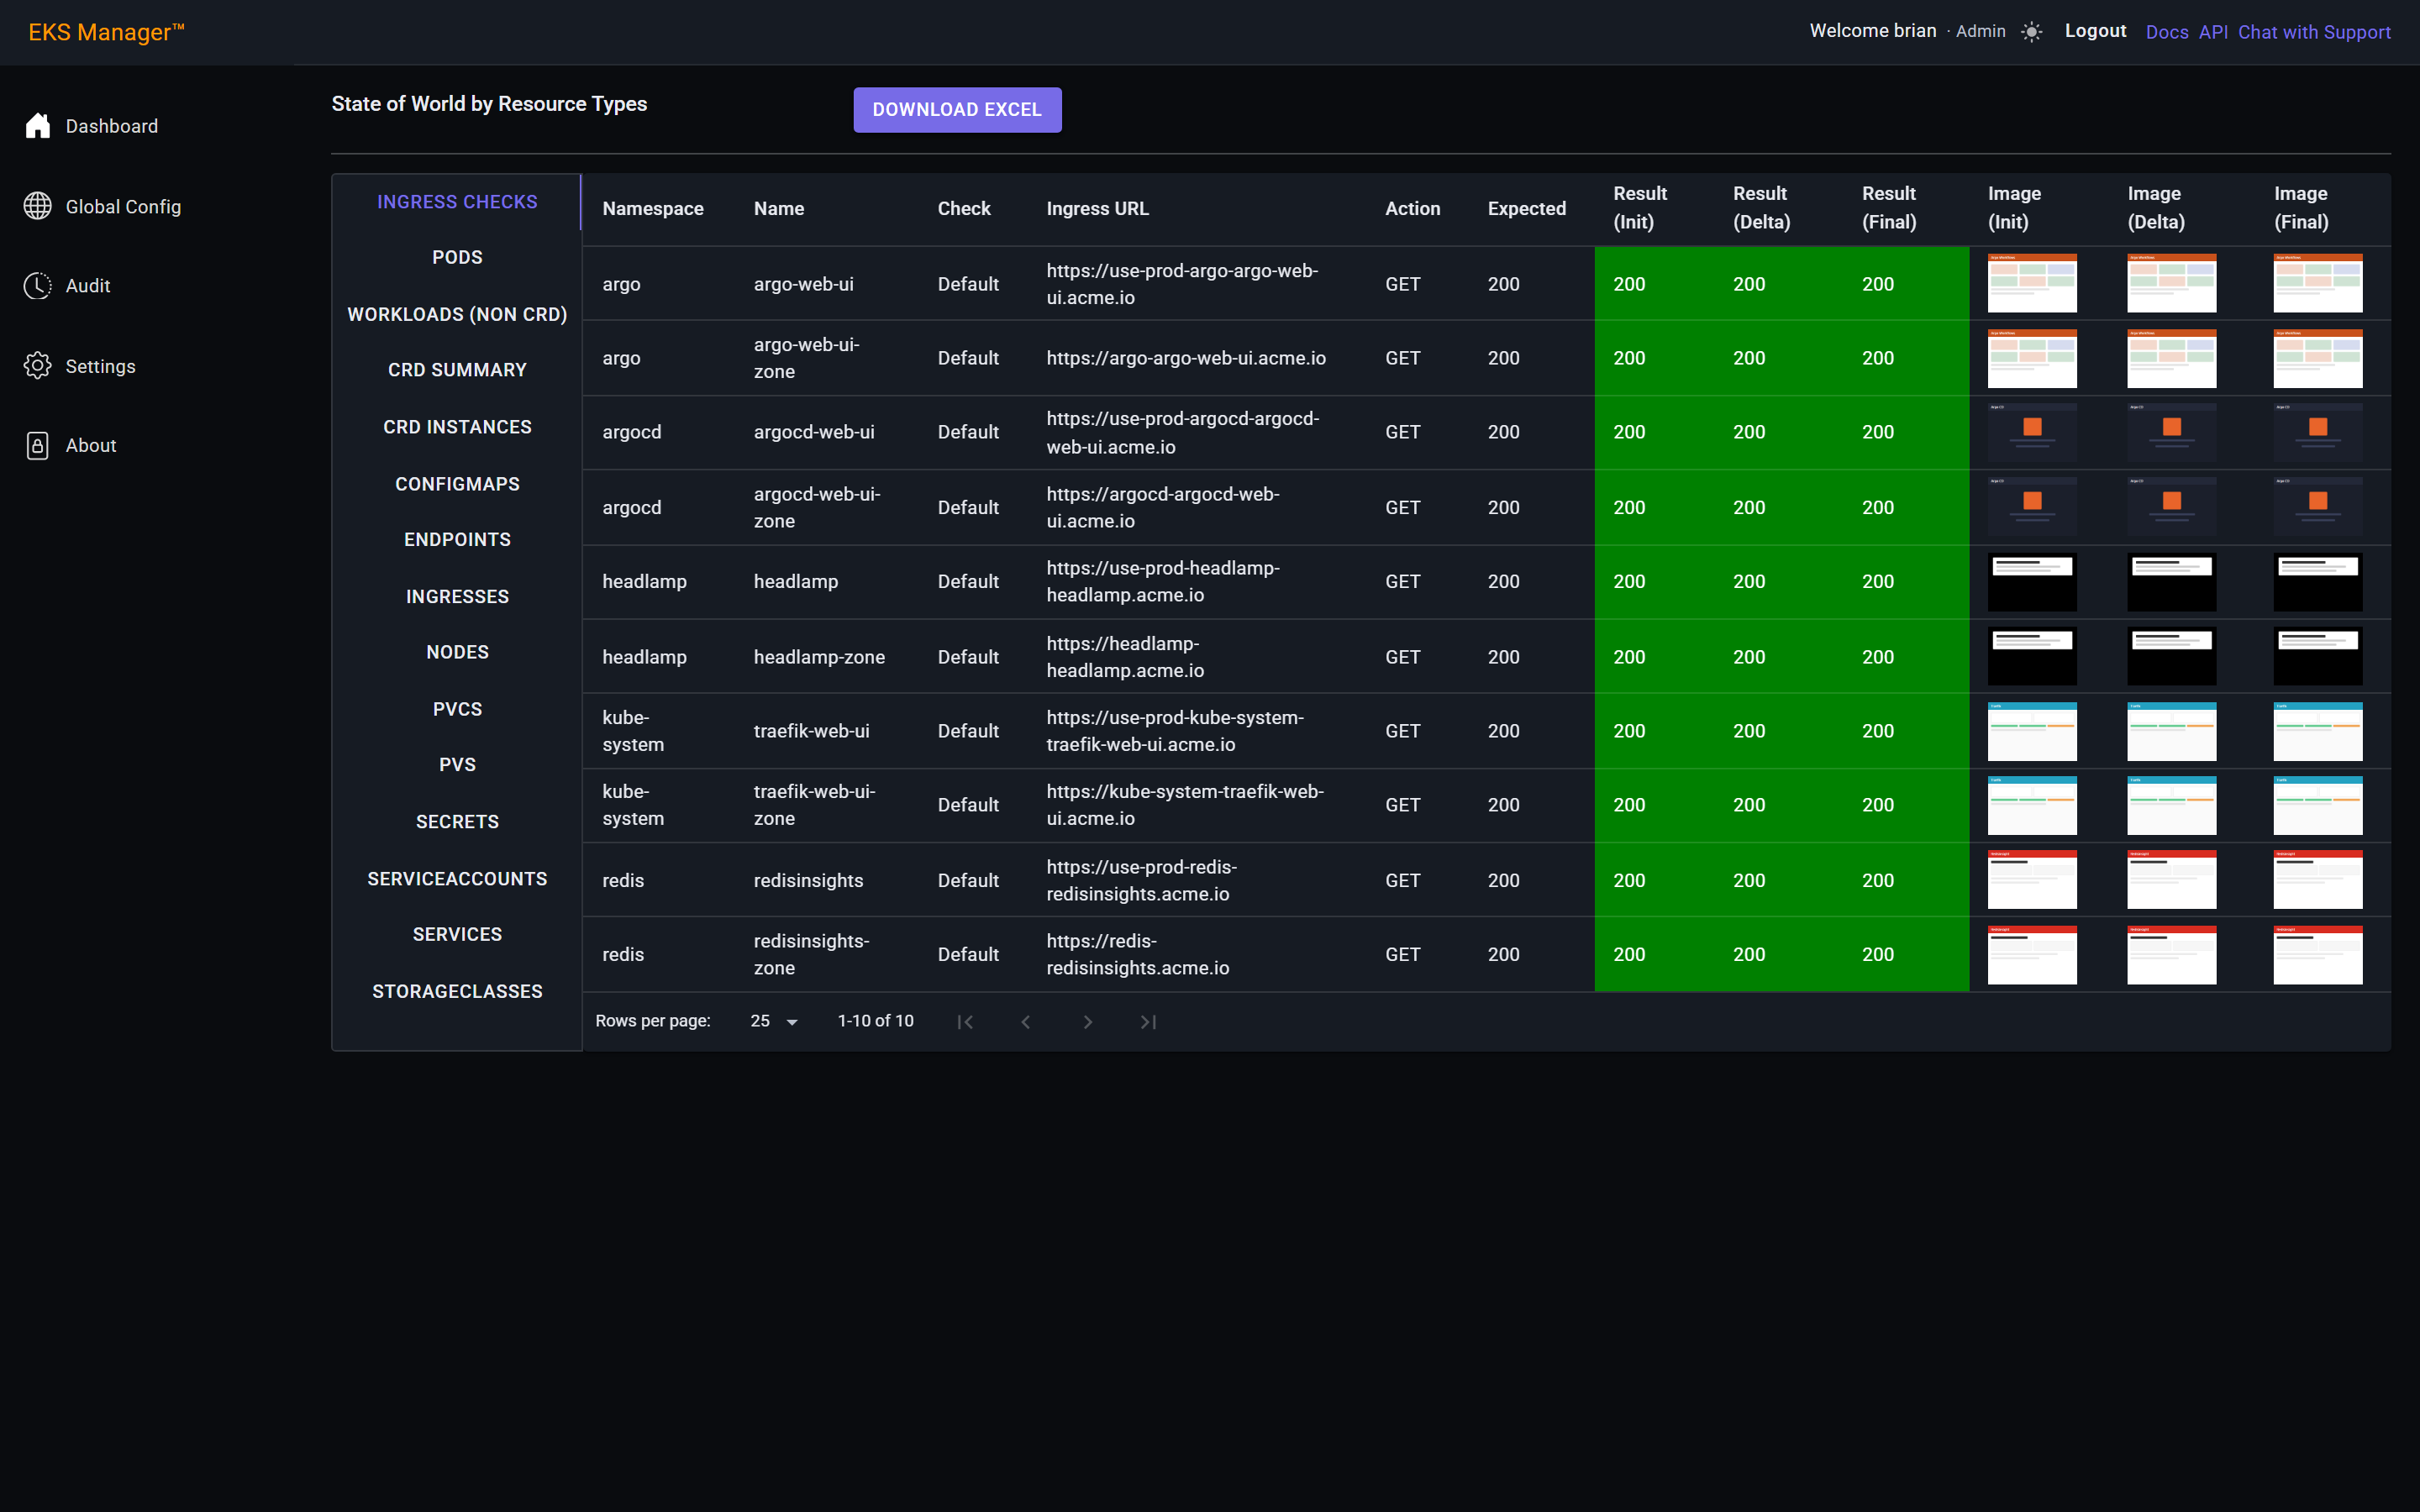
About
About reports the versions of every part of the installation — the interface you are looking at, the server behind it, the database schema, and each cloud agent.
It is the first place to look when something behaves unexpectedly after an upgrade, and the first thing to quote when raising a support request.
Each section is collapsed until you open it.
GUI is the build of the web interface itself, given as a version and the exact commit it was built from.
The interface is released from its own repository, so its version is independent of the server and the agents — it is not expected to match theirs, and there is nothing to read into a difference here.
Quote the commit when reporting a problem: it identifies the build precisely, where a version number may cover several.
Server lists the components running behind the interface — the queue manager, the reader and writer, the worker and the task runner — each with the client-tasks build and the package set it is running.
The server and the agents are released and upgraded together, so the package set should be the same here as it is under every agent below. That is what this page is for: one screen on which the parts can be compared.
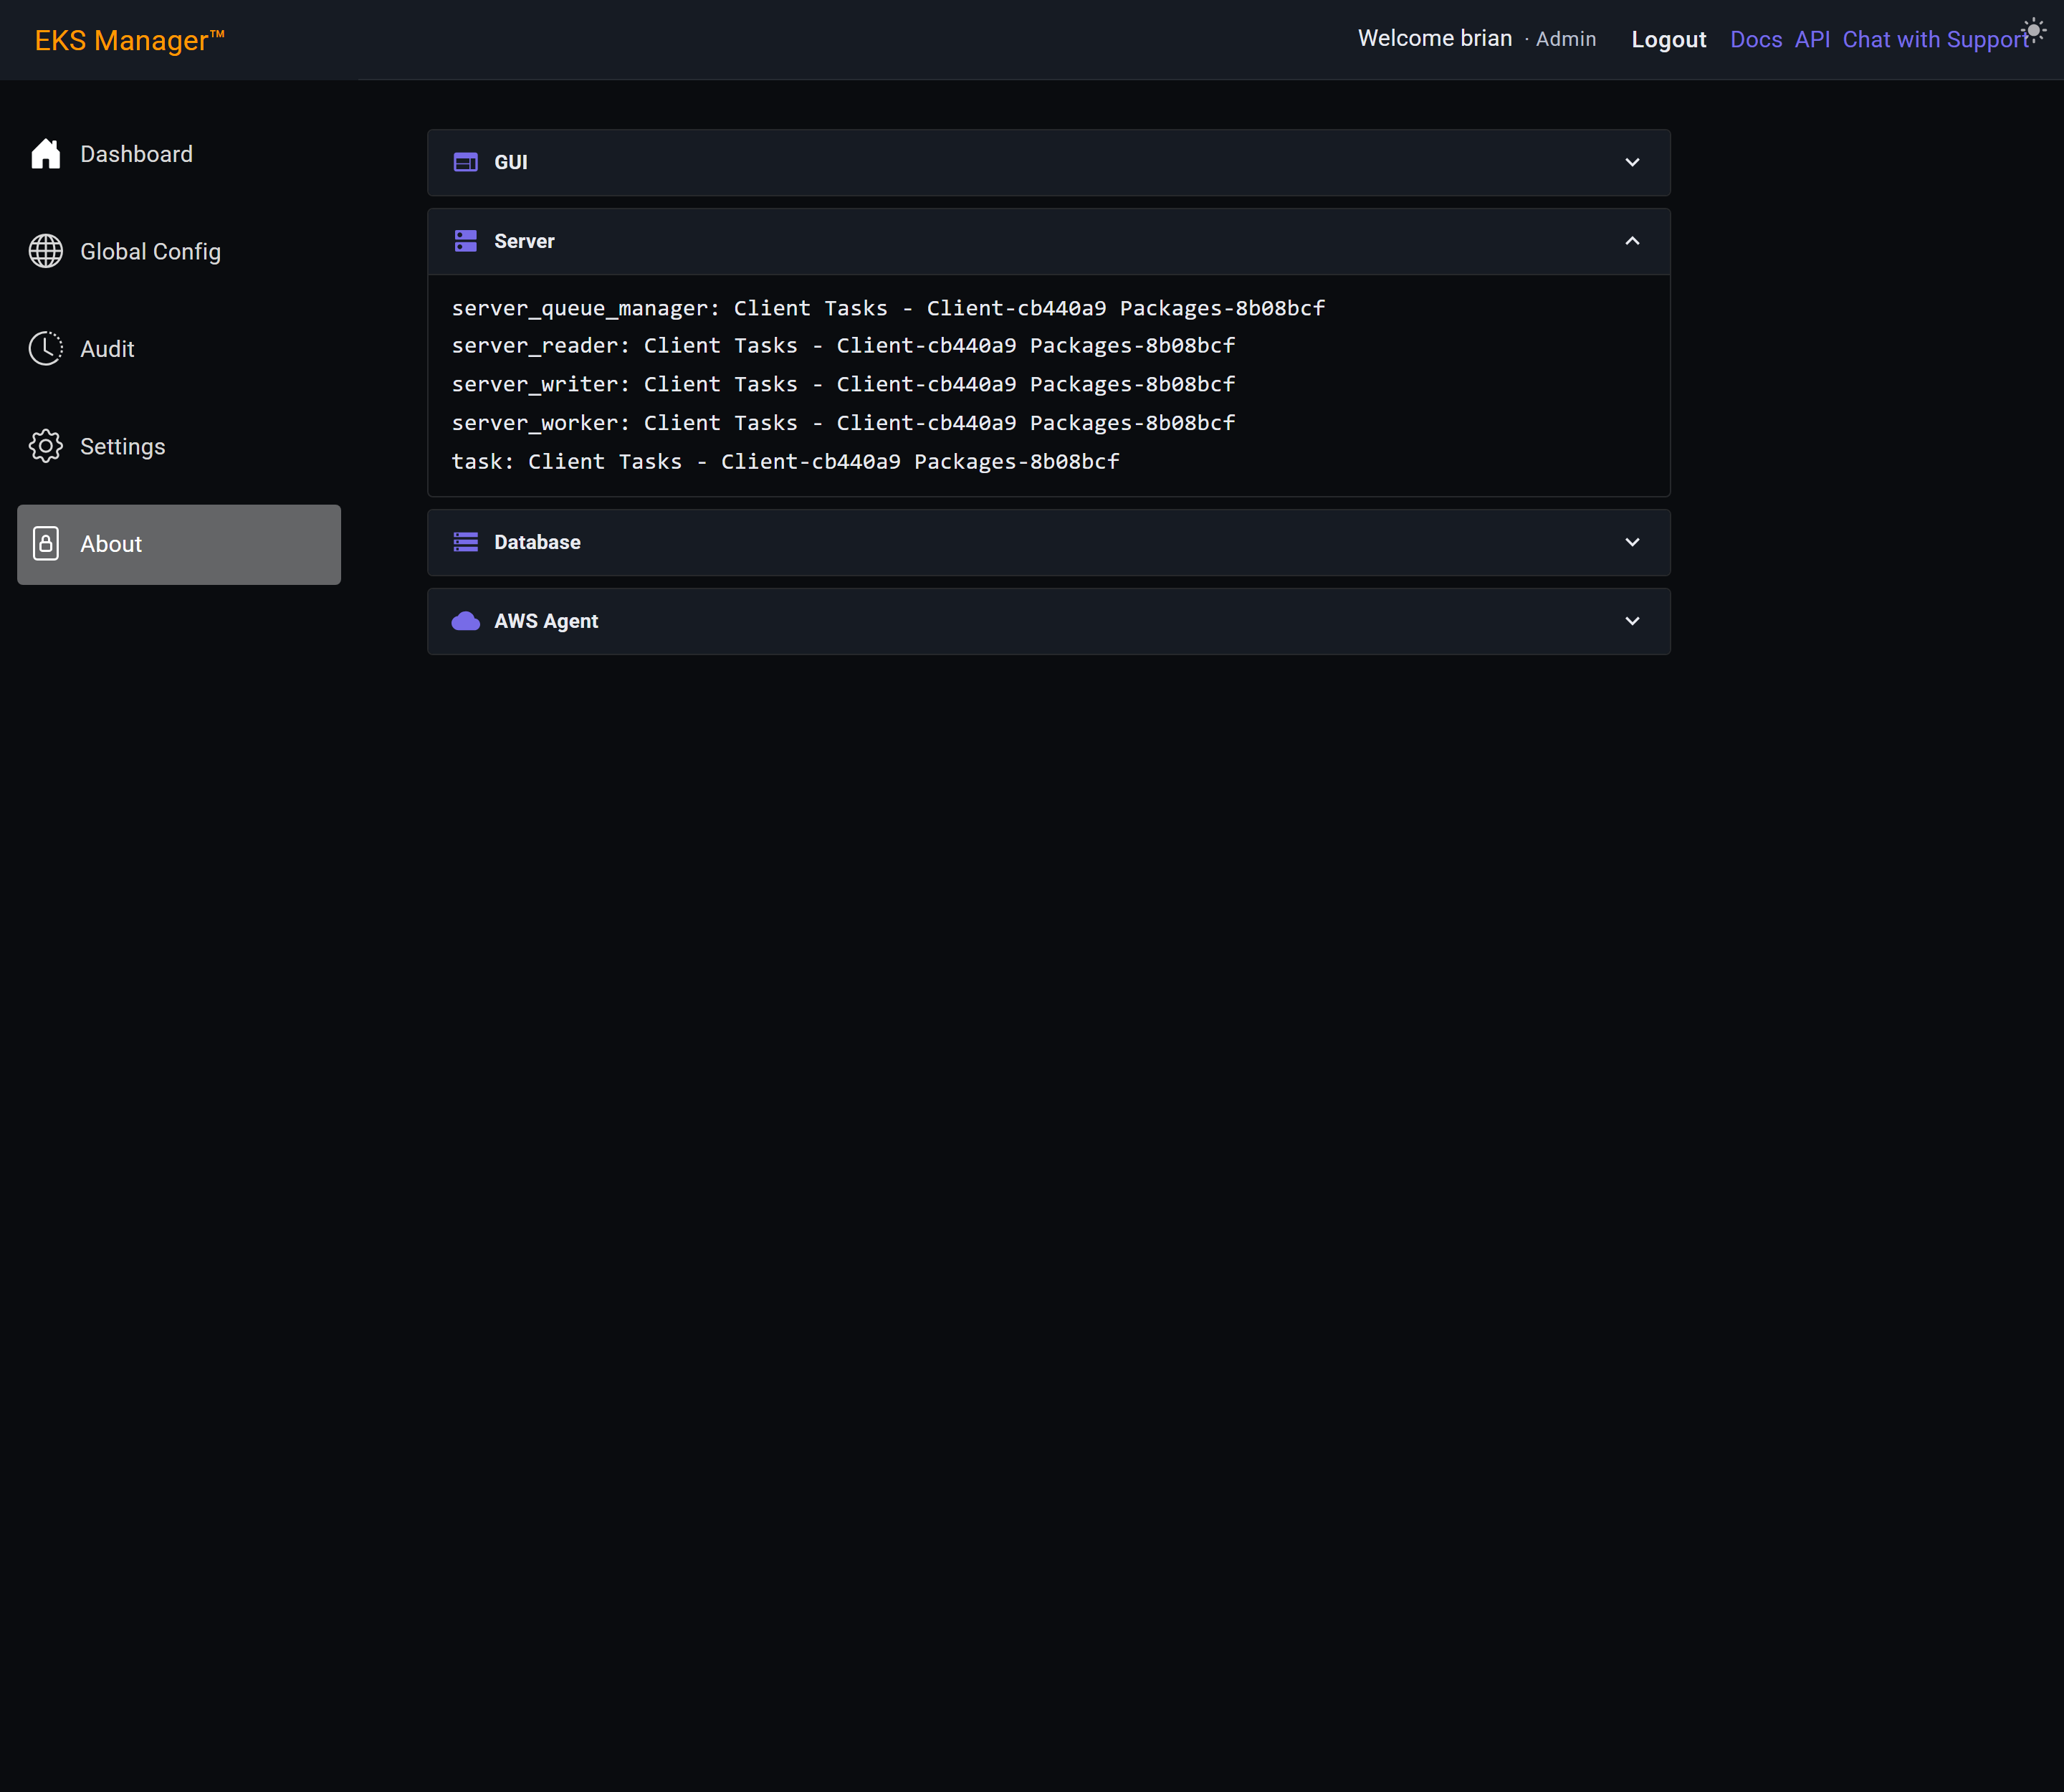
Database shows the schema version and the migrations that have been applied to it.
Schema version and the summary are what you normally want — whether the database is up to date, and how many migrations have run. The full history is below them and scrolls.
A schema that is behind the server build is the usual explanation for a feature that is present but does not work.
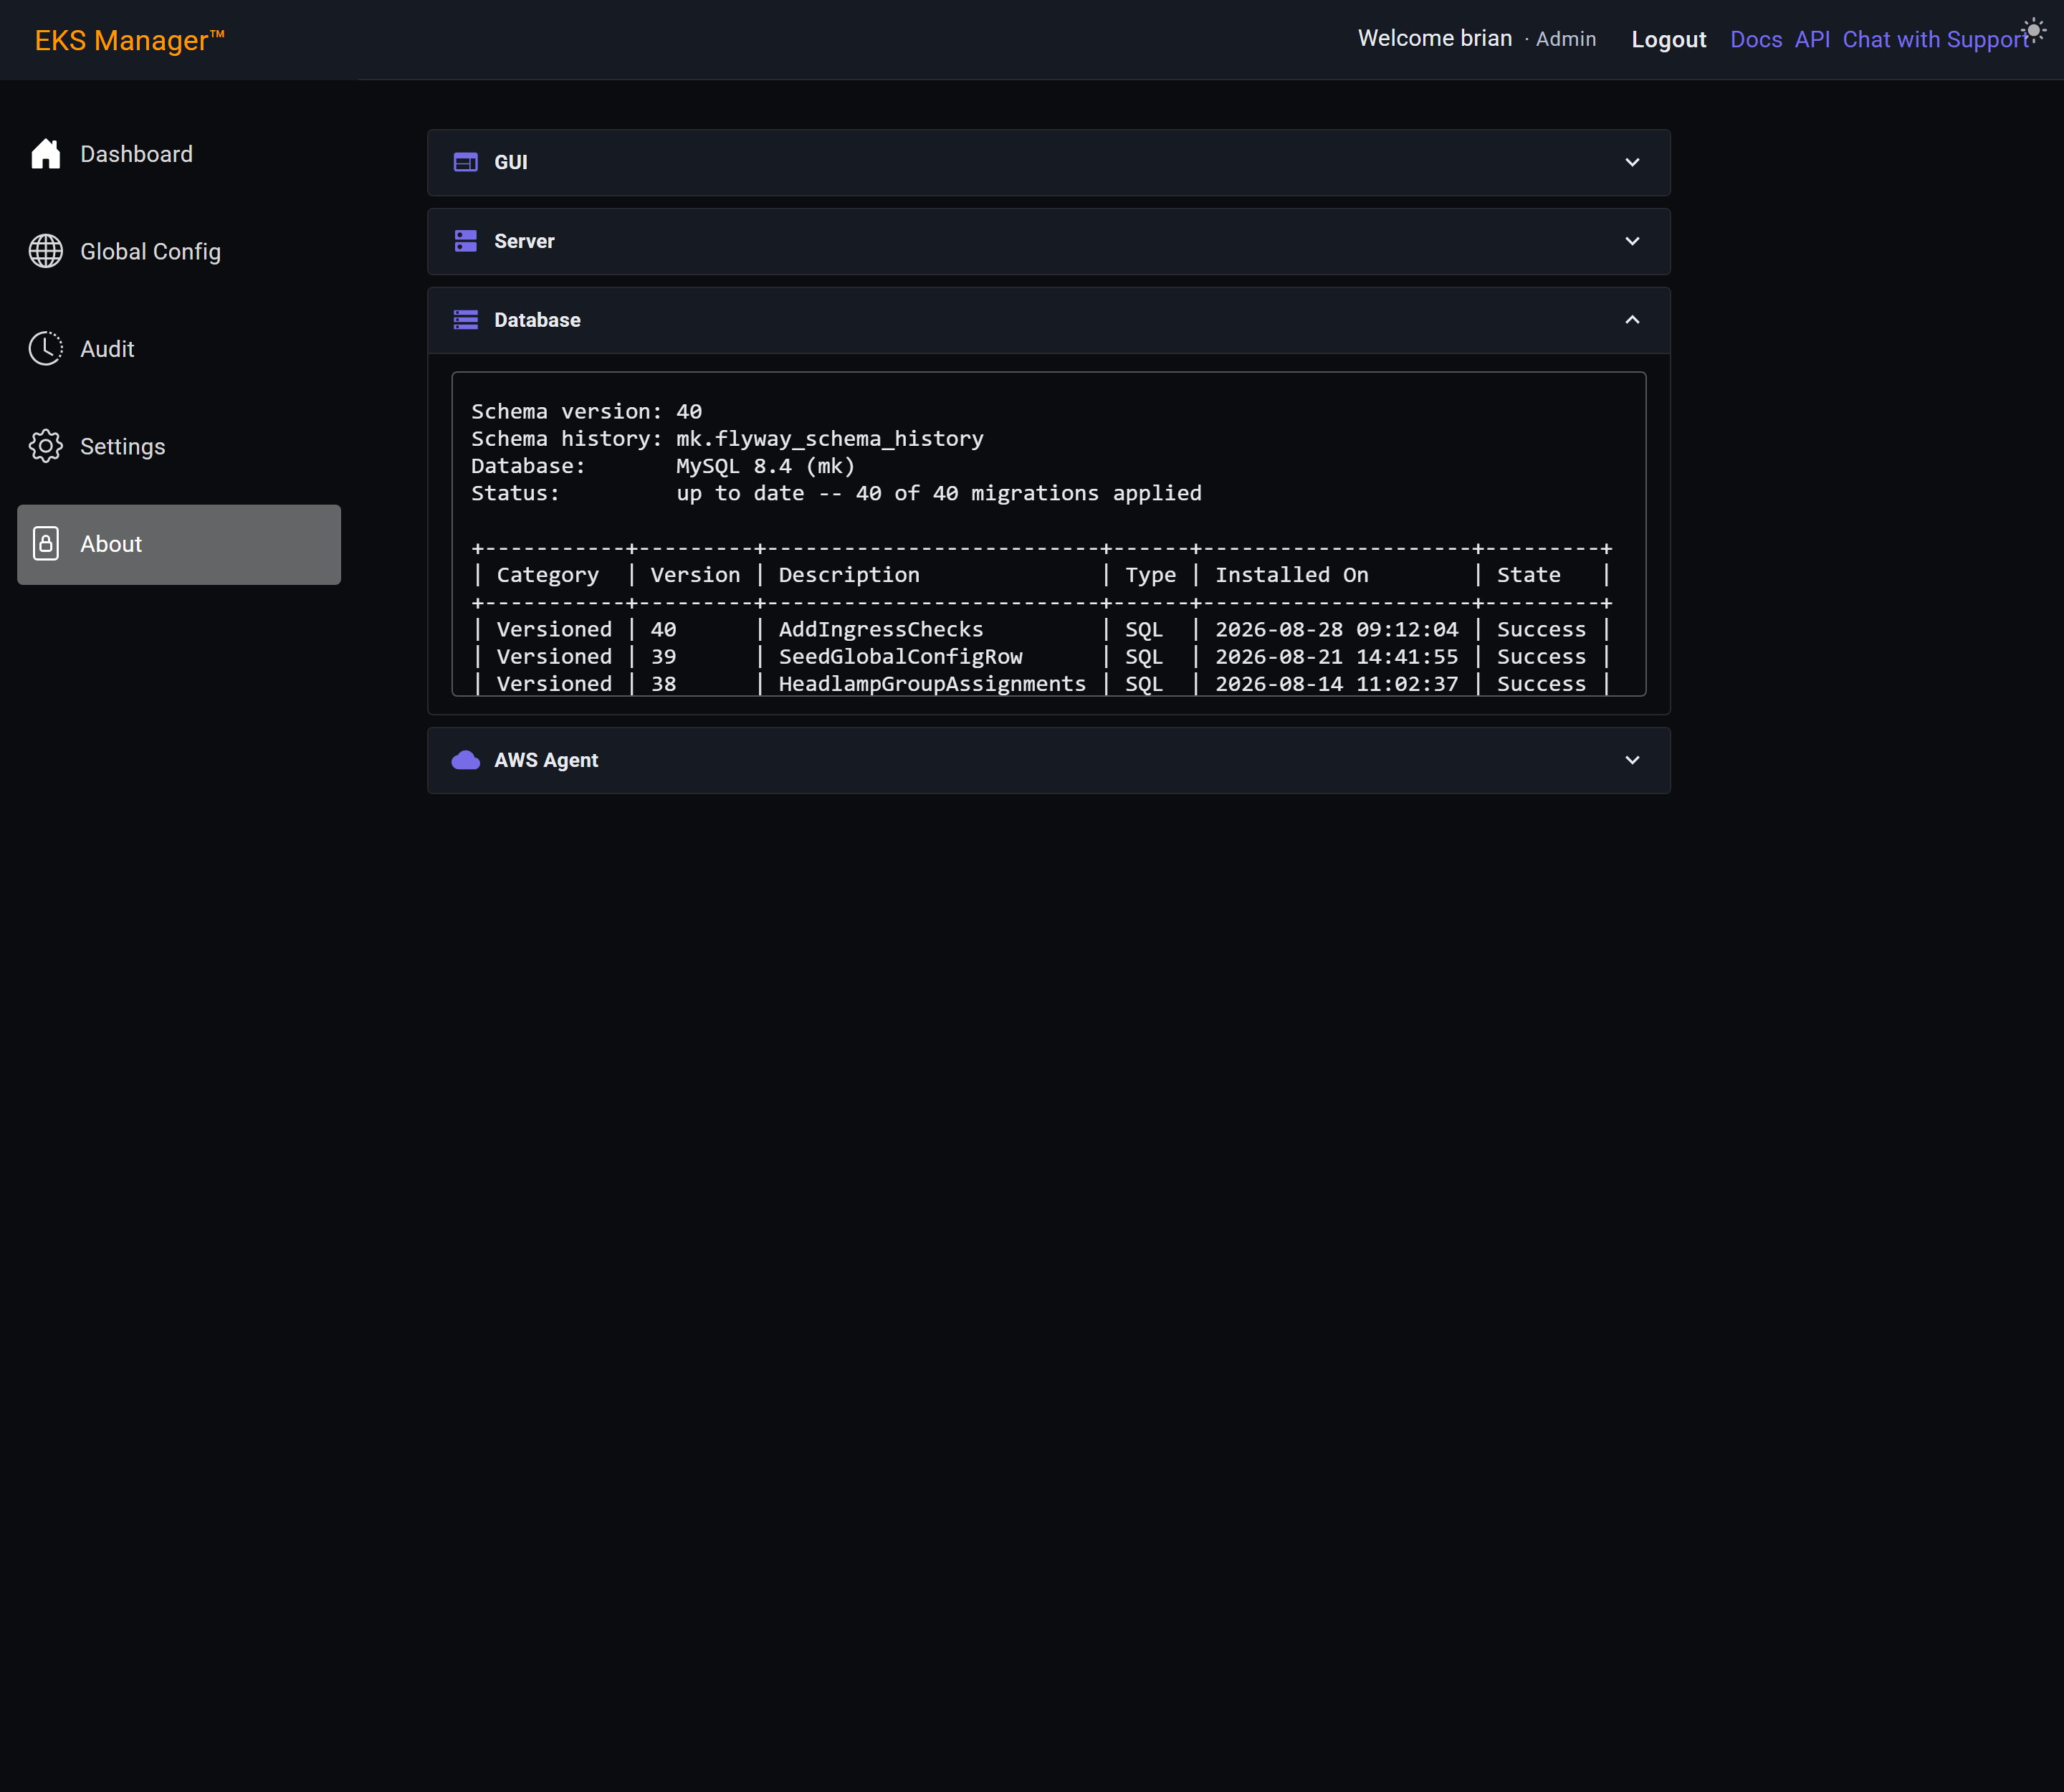
Each agent reports its own components: the readers and writers, the cache and its responder, the queue manager, the worker, and the upgrade component.
Compare them with the server, and — where there are two — with each other. They are upgraded together, so they should be reporting the same package set. An agent that has fallen behind the server, or behind the other agent, is one that did not take an upgrade.
An EKS-only installation shows one agent, for AWS.
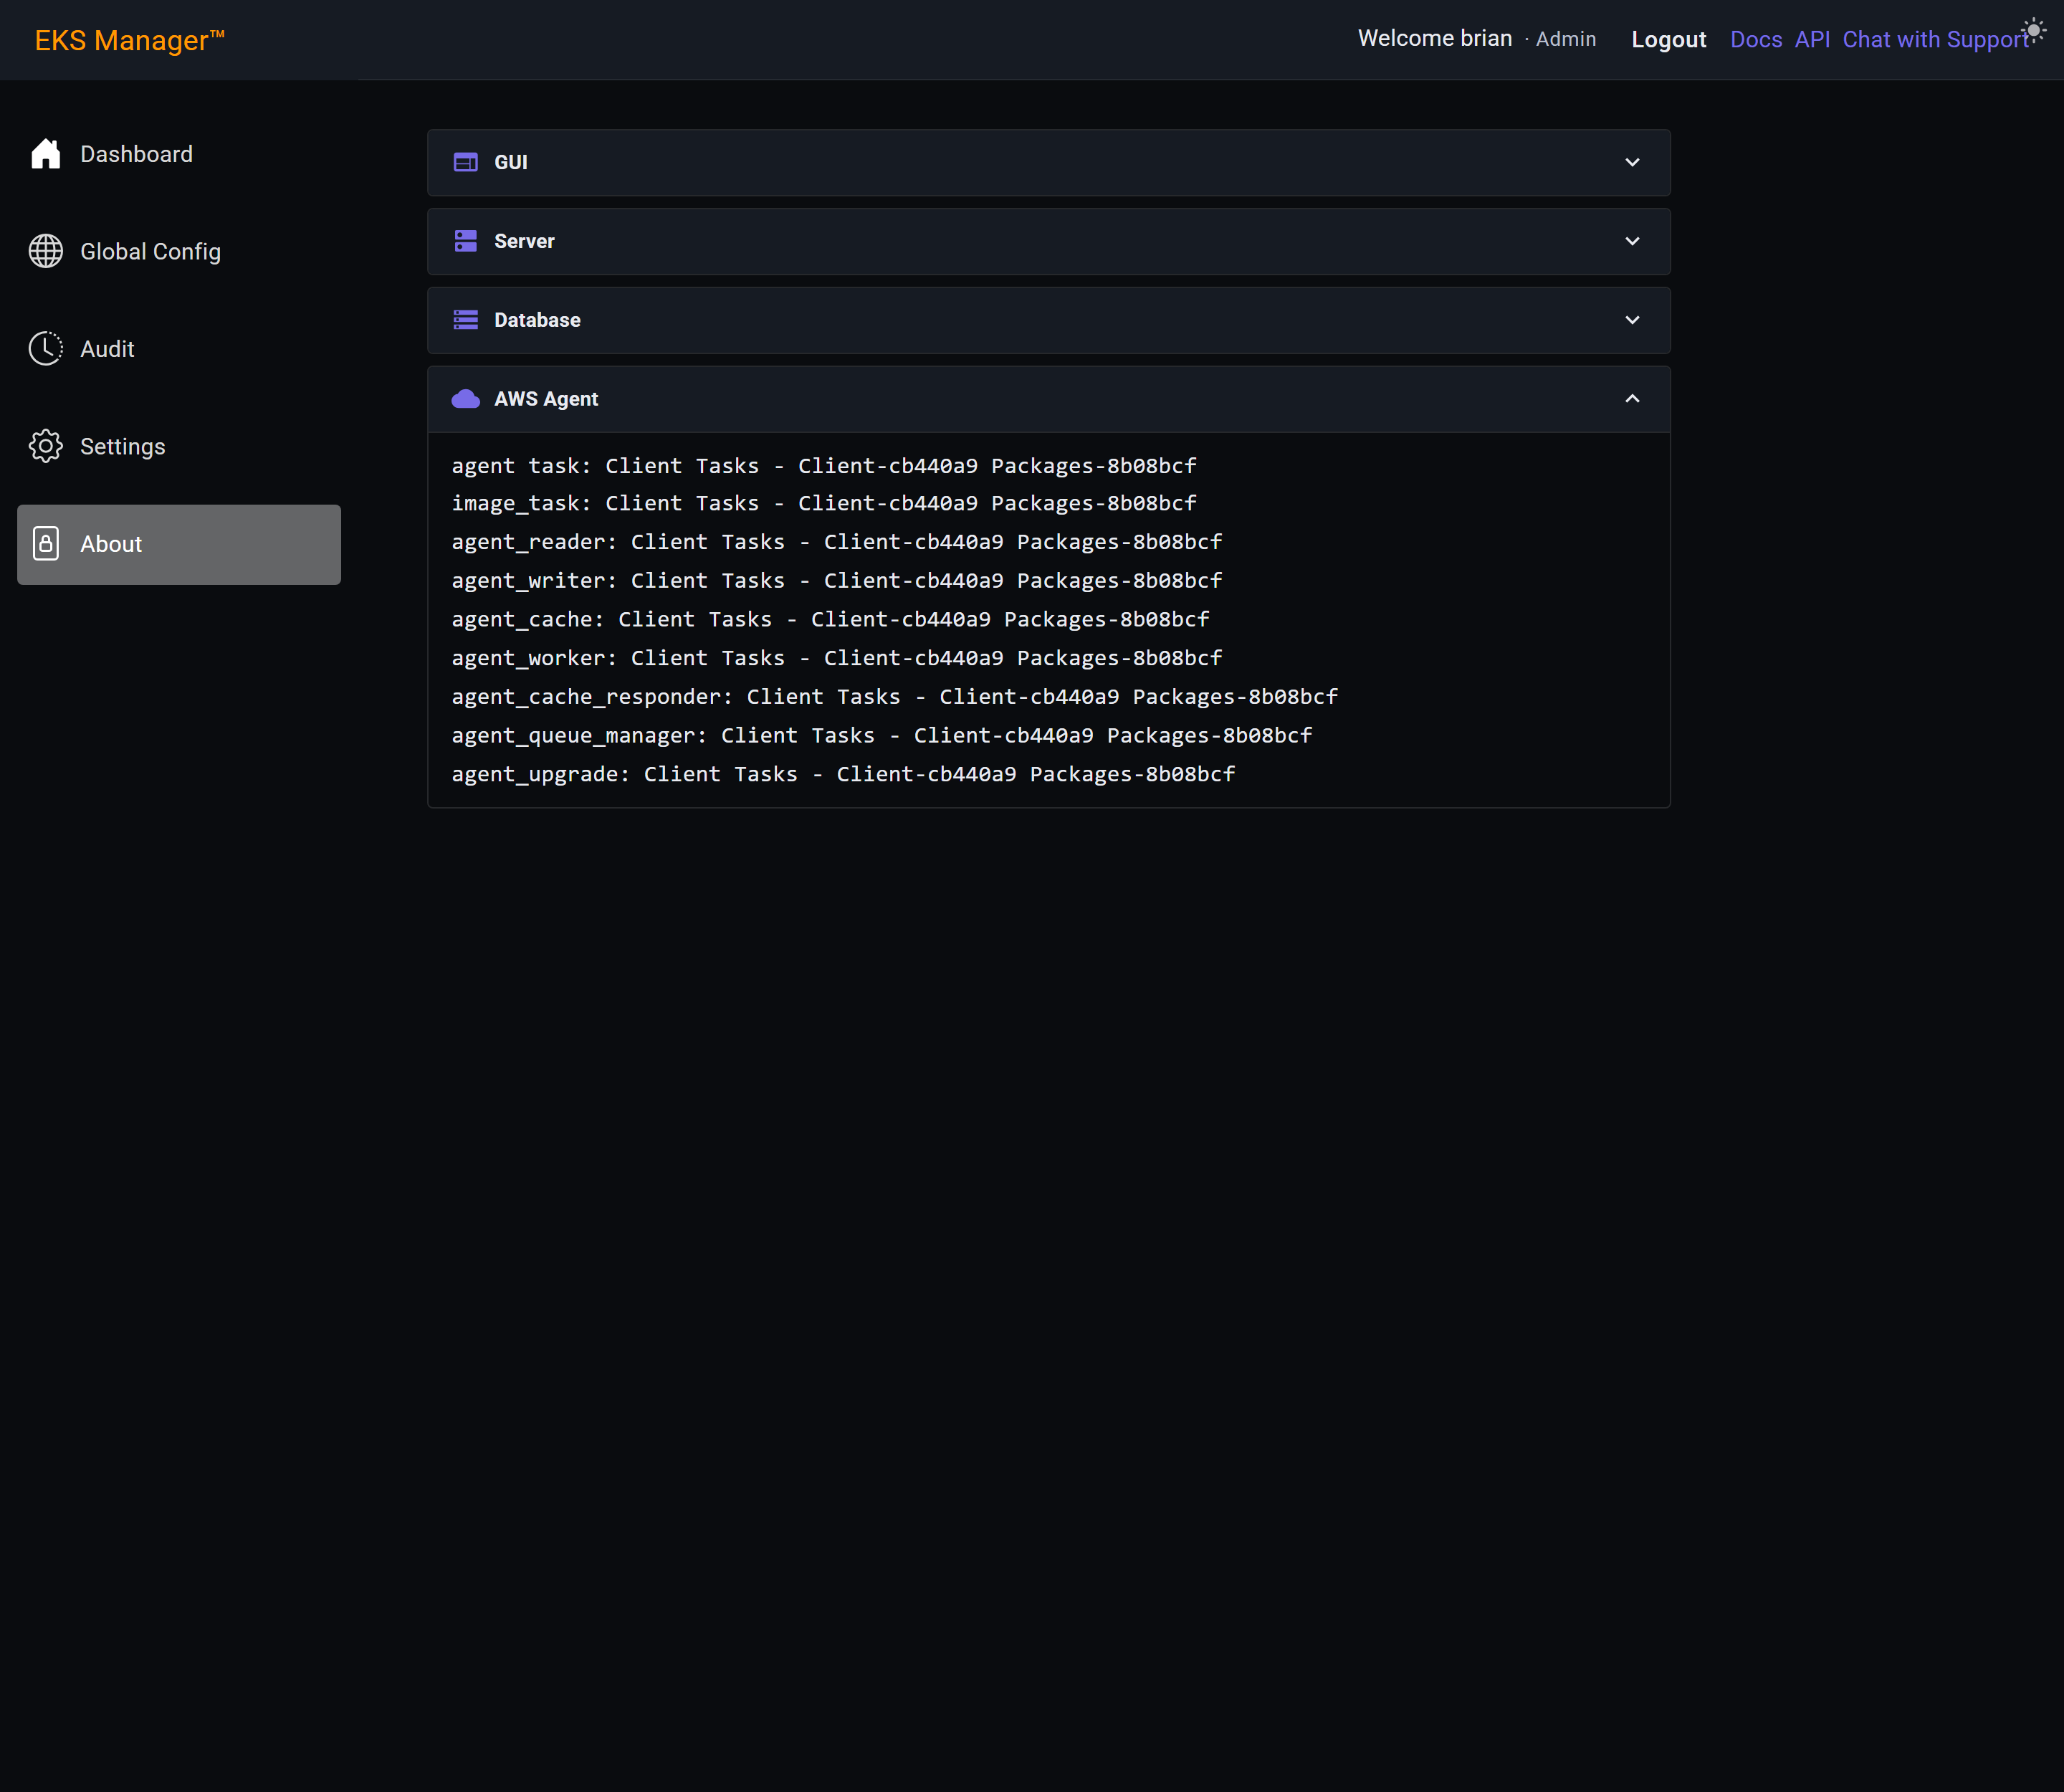
User Guide
EKS Manager · 132 steps
Everything the product does, as it appears to the people using it. Pages marked Admin need the Admin group; the rest are open to any signed-in user.